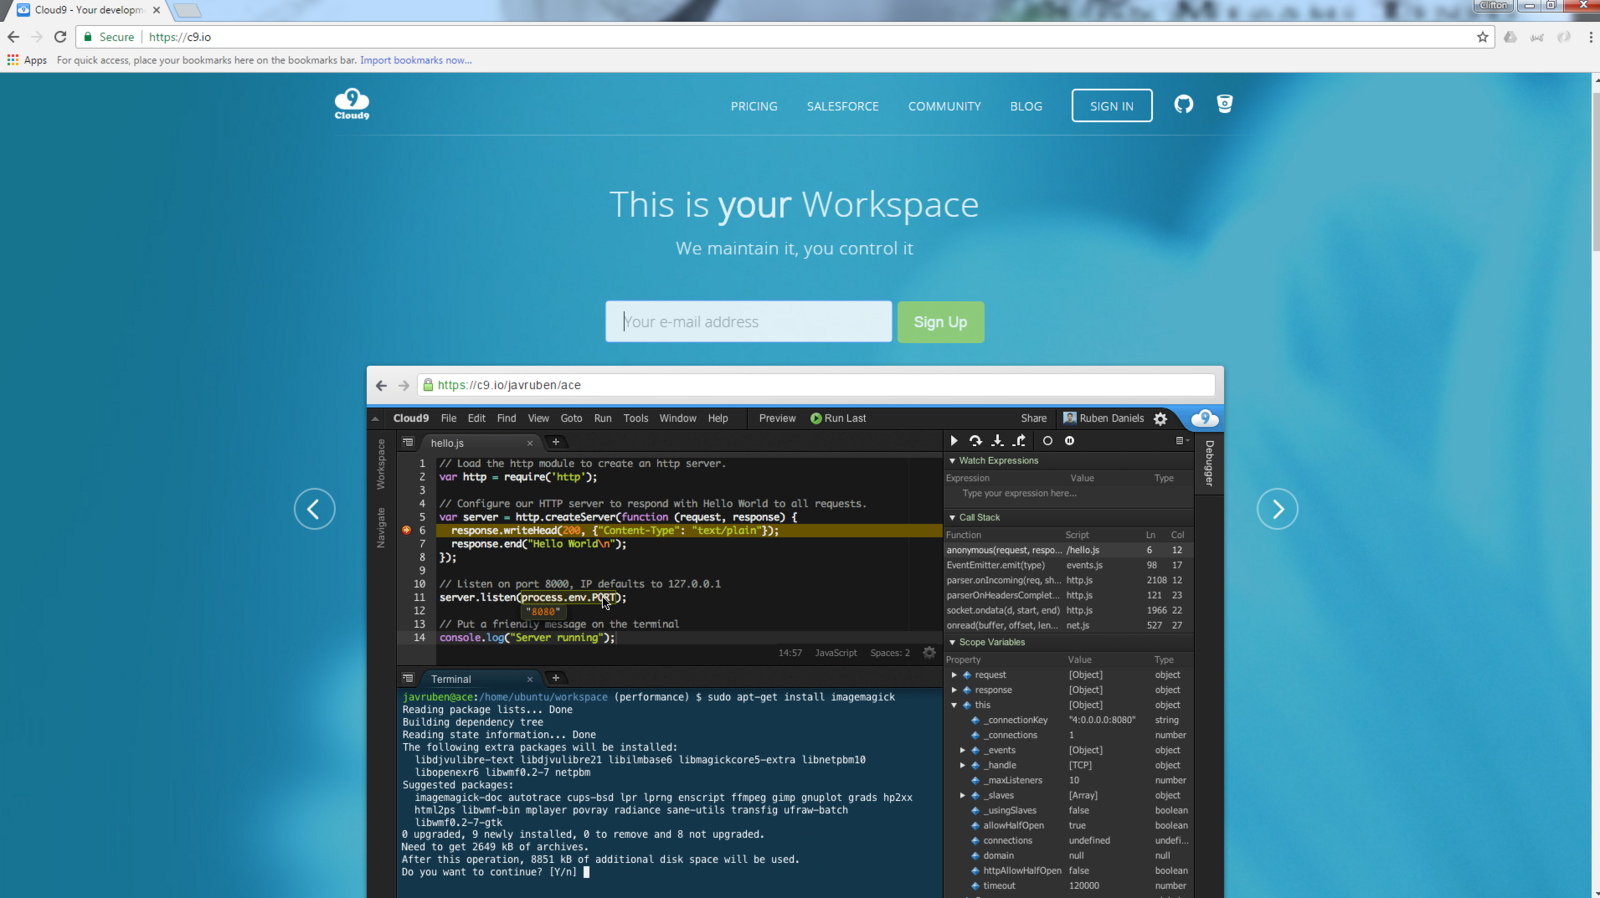
Cloud9 IDE Setup

Cloud9 Advantages
- Familiar IDE features:
- File Tree
- Editor
- Terminal/console
- Same IDE regardless of OS
- Accessible on other computers without reinstalling
- The main IDE used by instructor Cliff when running workshops
- built in Web servers.
- Unix (ubuntu) based work space.
- Most common system interface in Developer work force
- Matches MacOS terminal system.
- Multiple work spaces for different language environments
- Not installing items on personal computer
- less risk of damage to personal PC for bad commands
C9.io
Enter email or better option is to click GitHub icon in upper
right next to Sign In. (check create git account slideshow)
Go through setup process
Enter a Credit or Debit Card
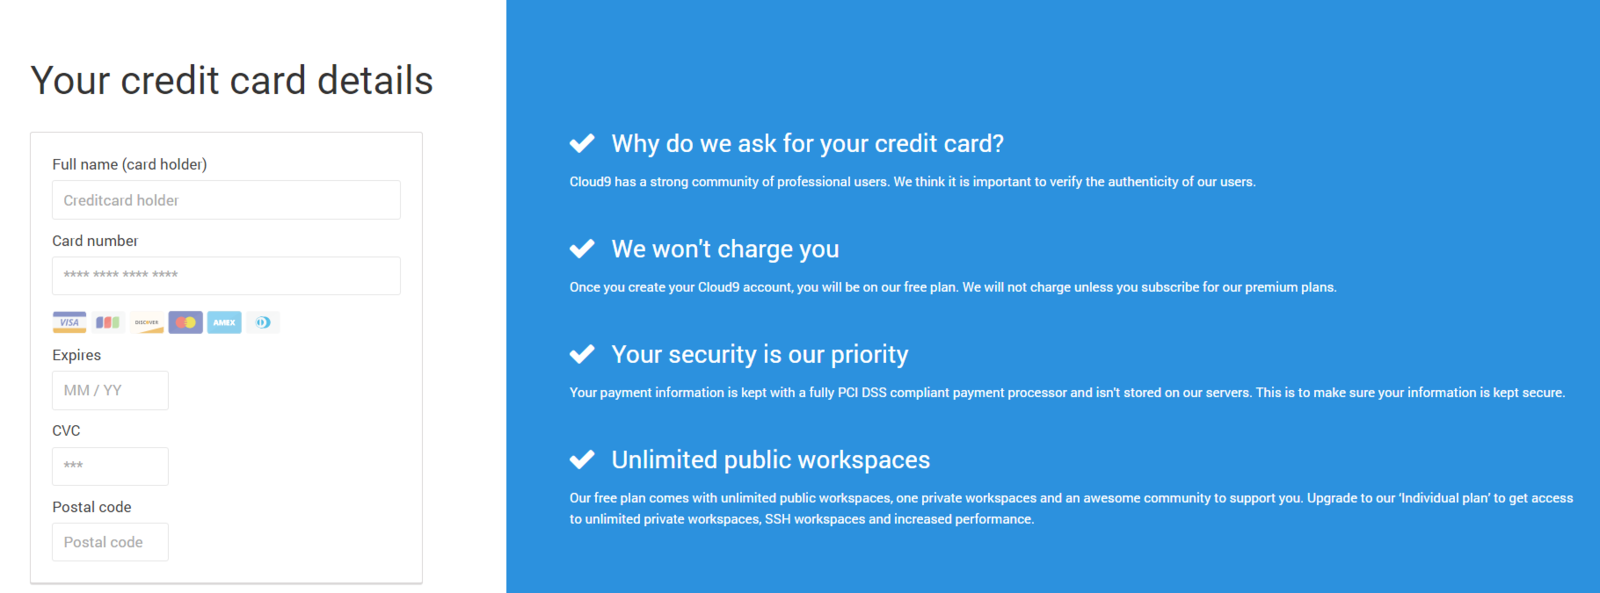
Cloud9 was purchased by Amazon
They now require Credit Card info for Verification
You will NOT be charged!
If you choose not to do this check out the Local IDE Slides Guide
Create first work space
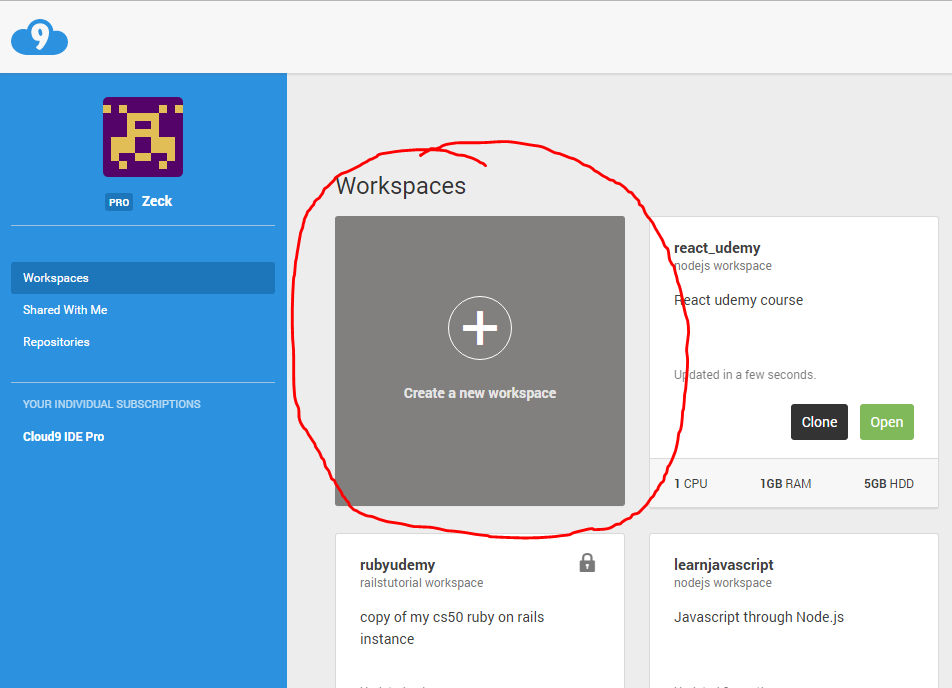
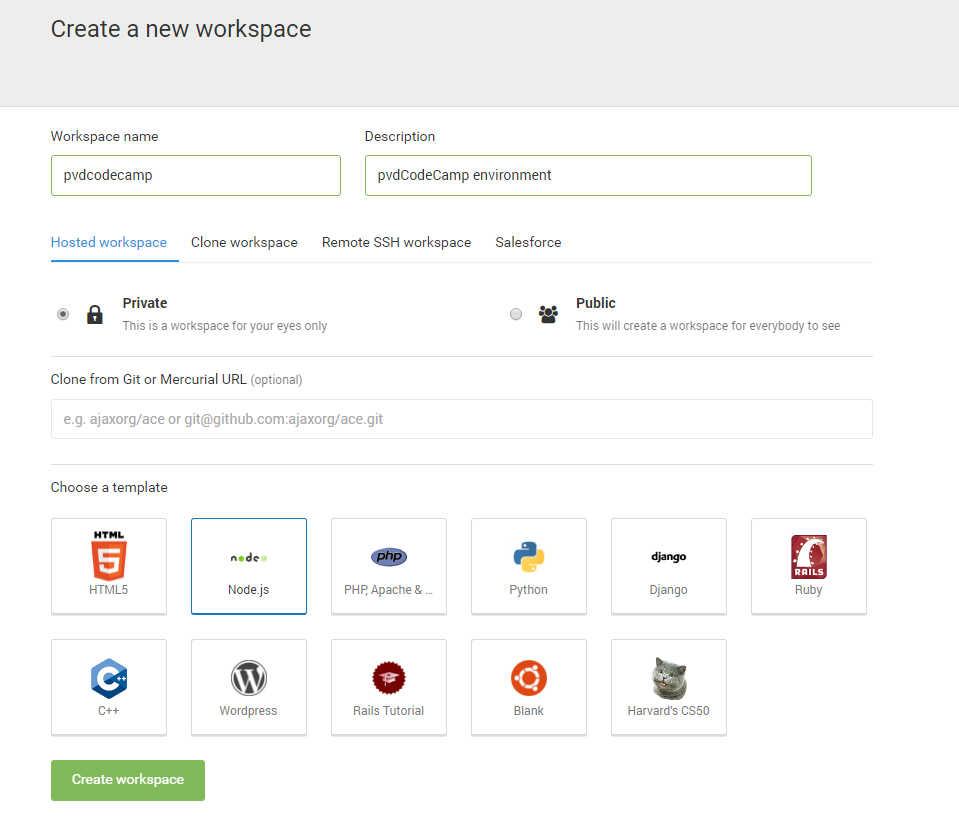
workspace options
-
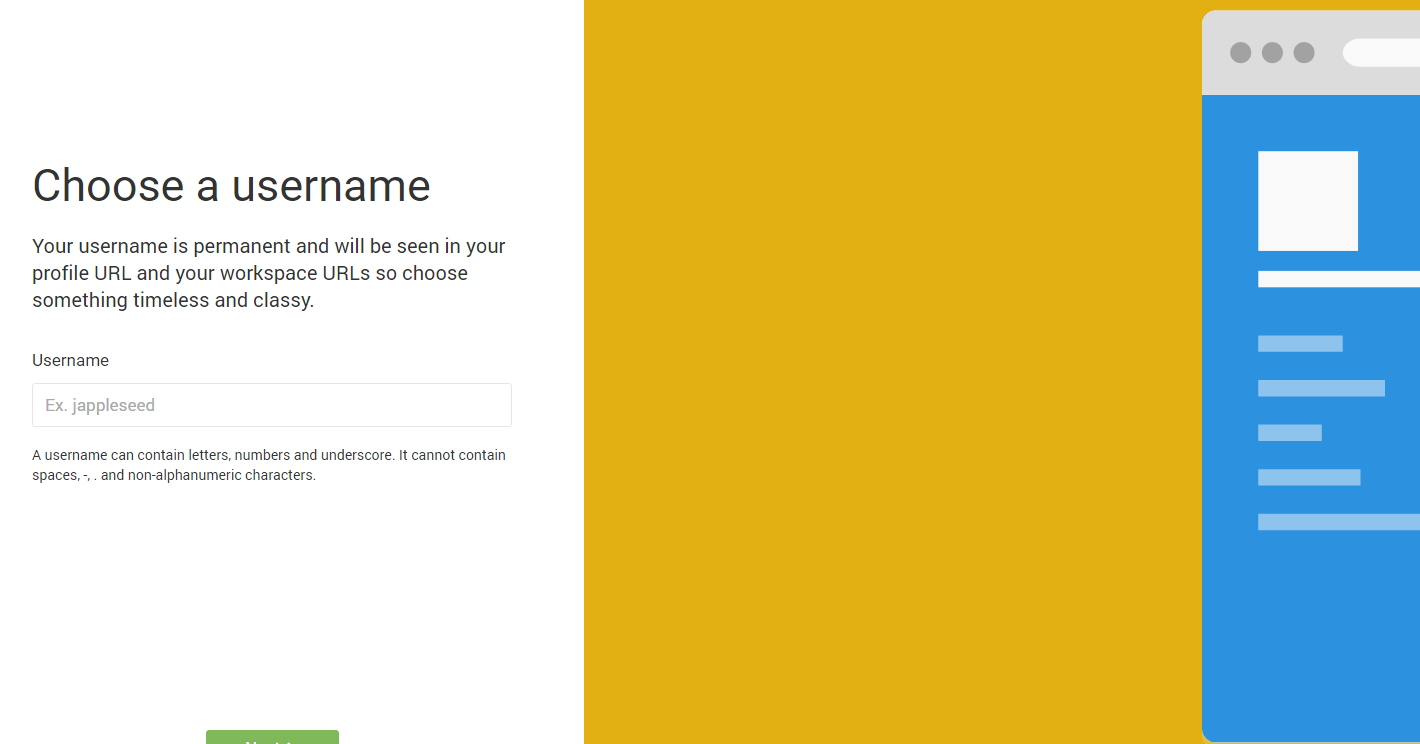
name your Work Space
- no spaces all small caps
- pvdcodecamp recommended
- description can contain all characters
-
private or public
- Only one public work space on Free accounts
- option does not matter for class
- Select the Node.js option
- Create Workspace.
The Environment
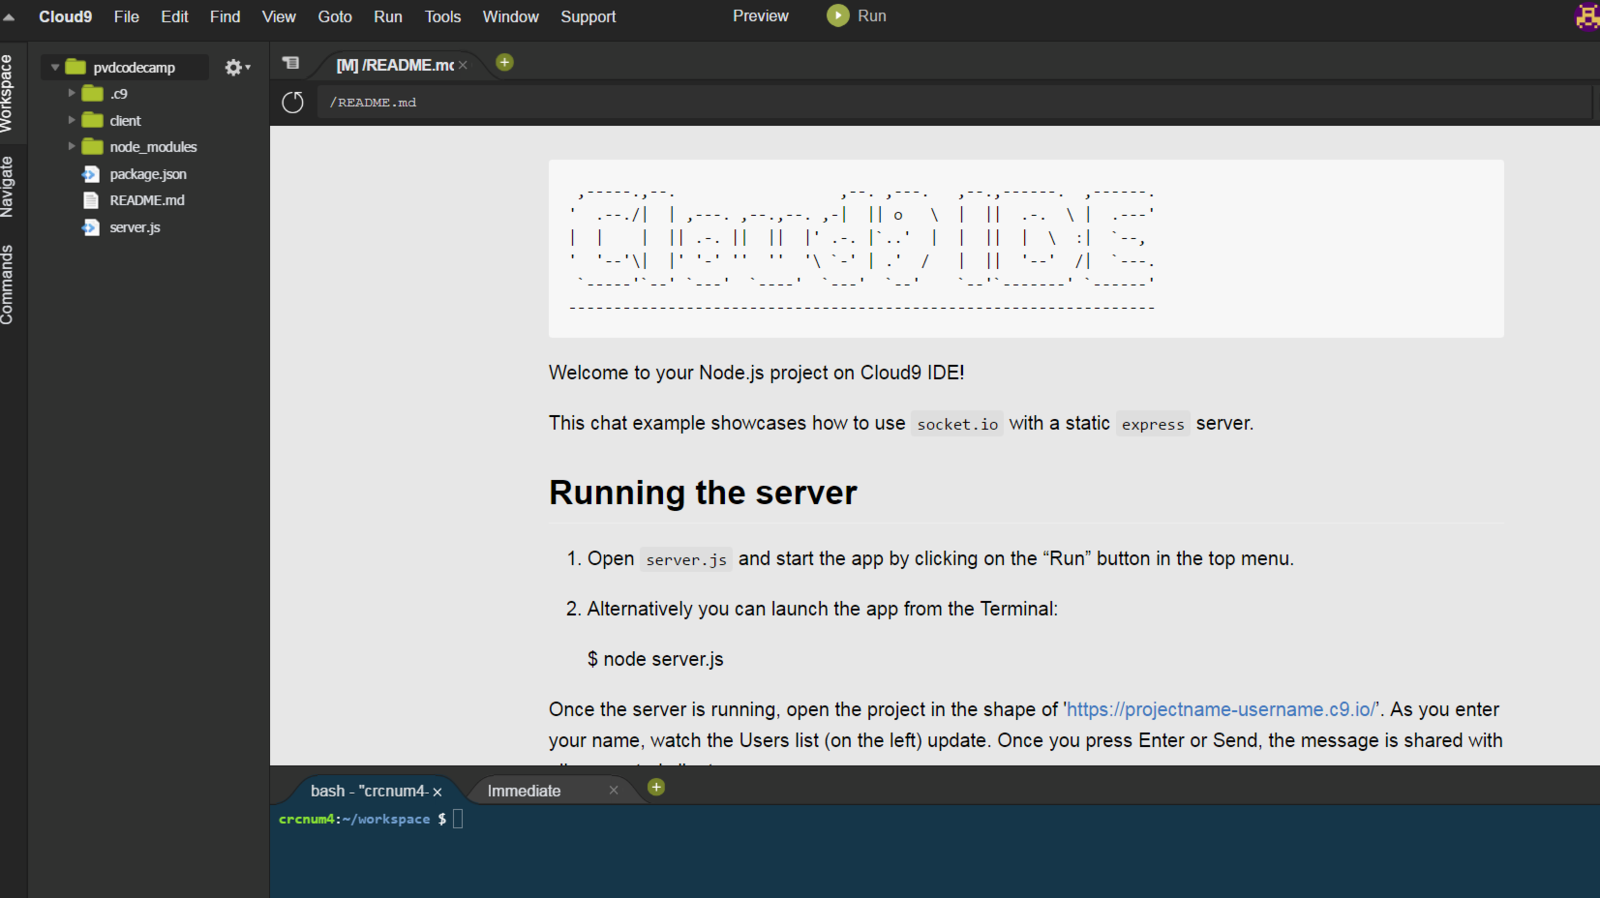
File Tree
Editor/Preview area
Terminal/Console
Testing the Environment
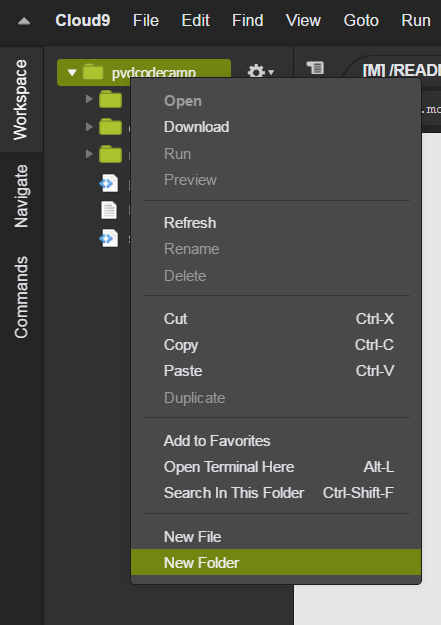
Right click work space name
select new folder
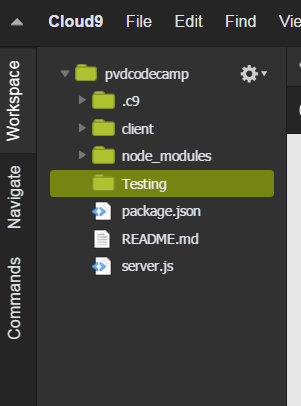
Create Testing folder
Repeat for folder 'public'
right click>new file>index.html
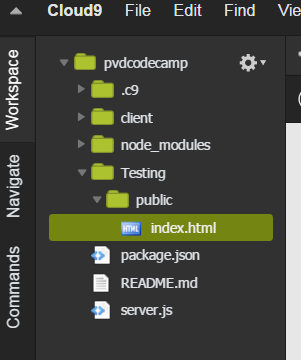
You side bar should look like below
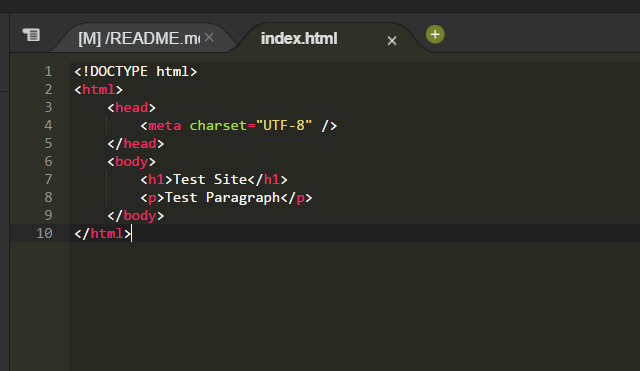
Double click index.html and in the Editor section fill out as below. Save the file.
ctrl+S on PC | cmd+S on MAC for shortcut
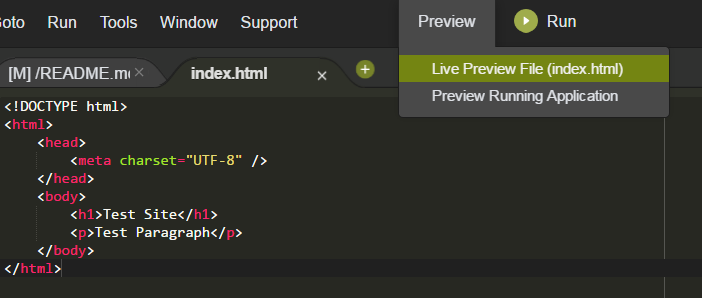
Click preview>Live Preview
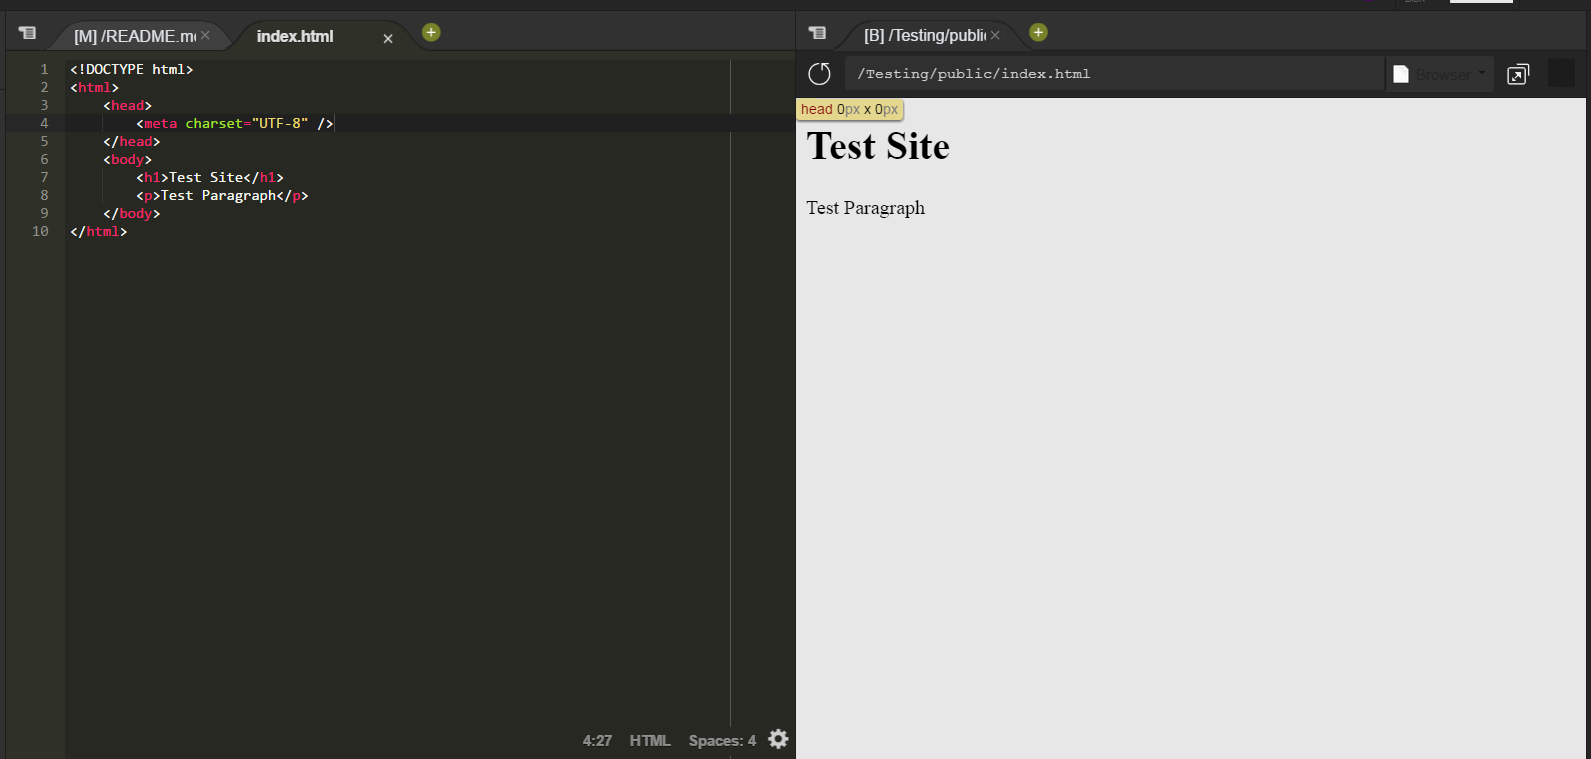
Successful Test
Cloud9 IDE Config
By cliffc