


Content ITV PRO
This is Itvedant Content department
Learning Outcome
6
Use components inside Angular app
5
Understand component file structure
4
Generate components using CLI
3
Declare components correctly
2
Learn what AppModule is
1
Understand purpose of components
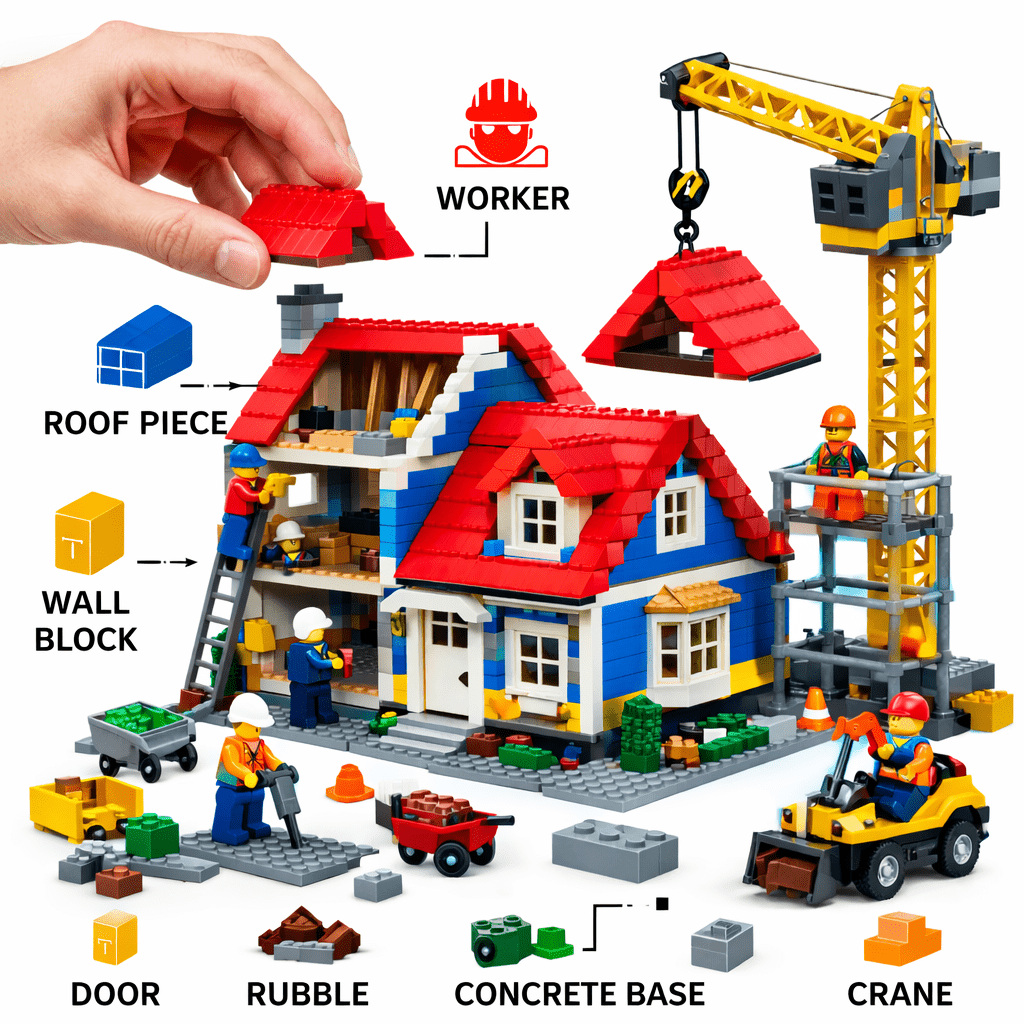
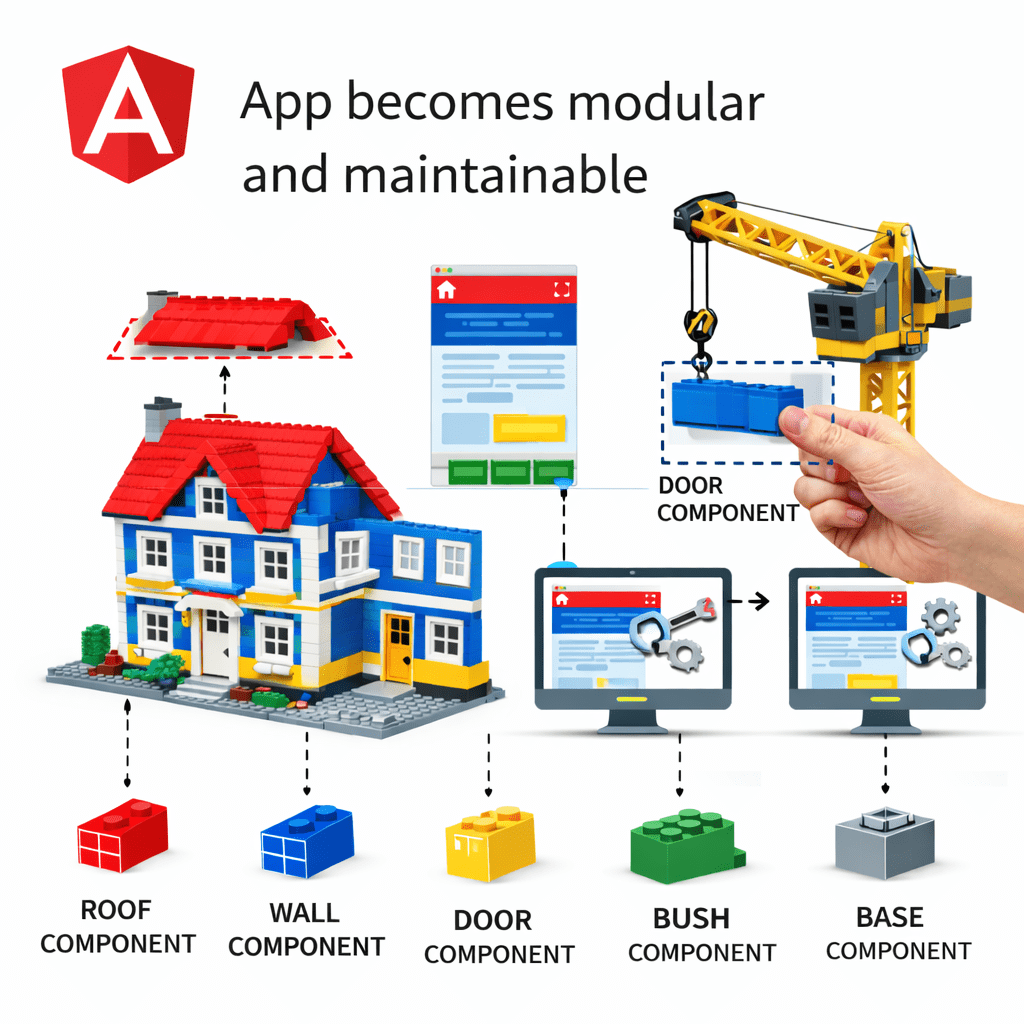
LEGO Analogy
Imagine building a big house using LEGO.
Each block has a specific role
Easy to replace or modify one block
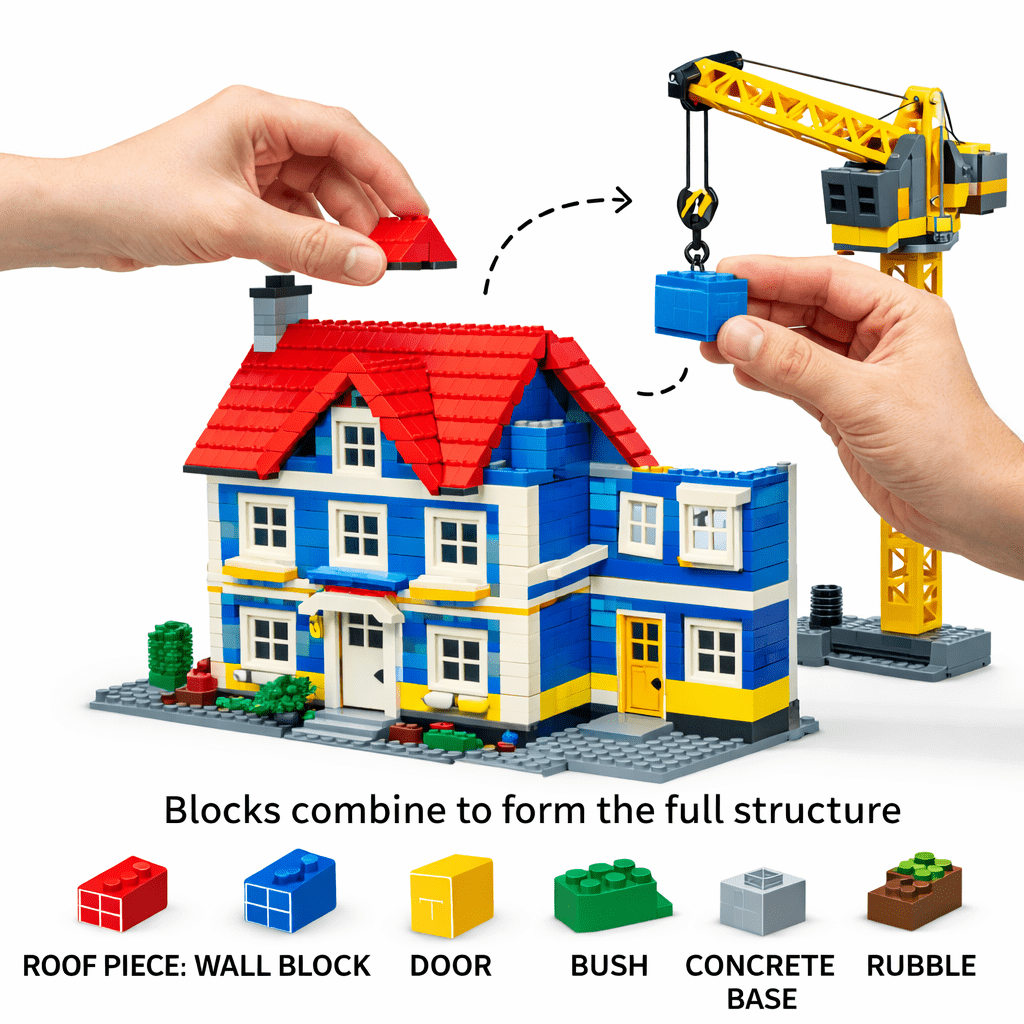
Analogy to Real Concept
Component = Building Block of Angular
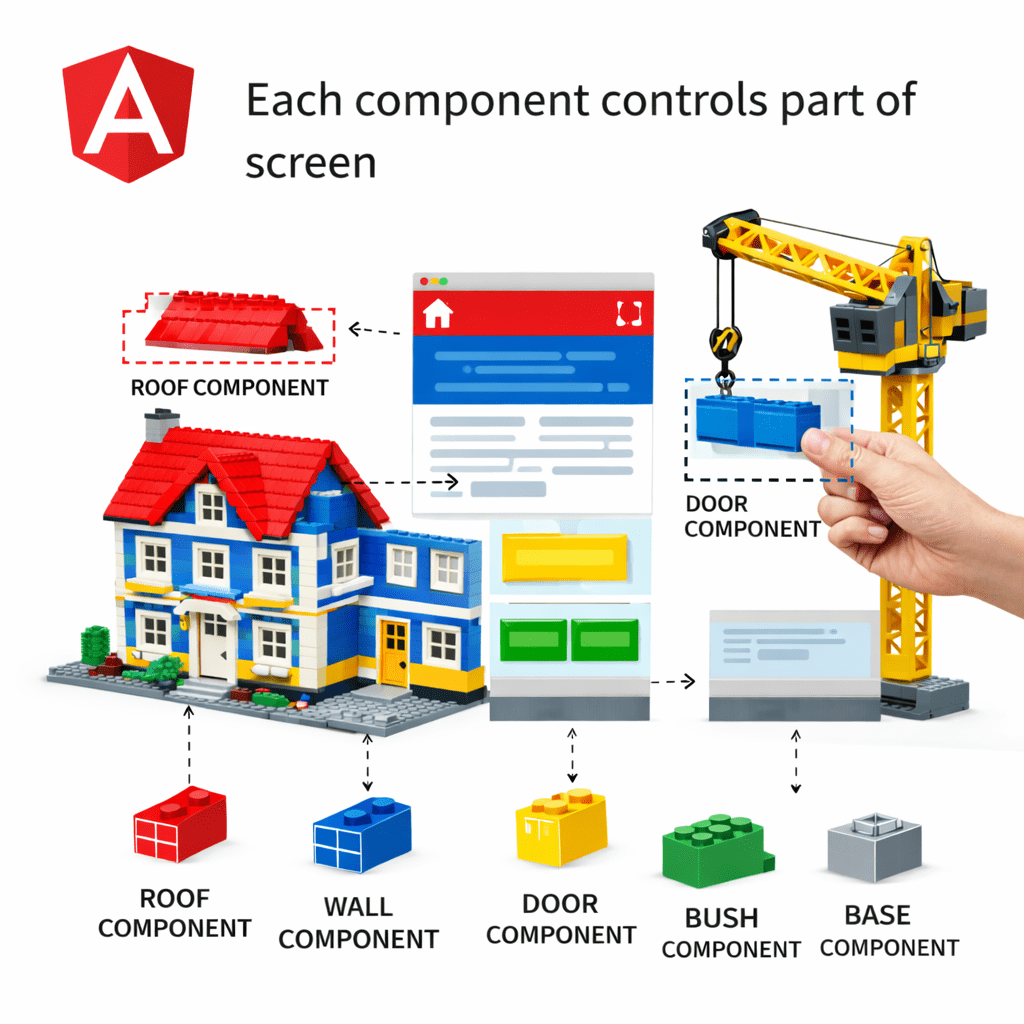
Same Happen In Website
Each Component Controls part of Screen
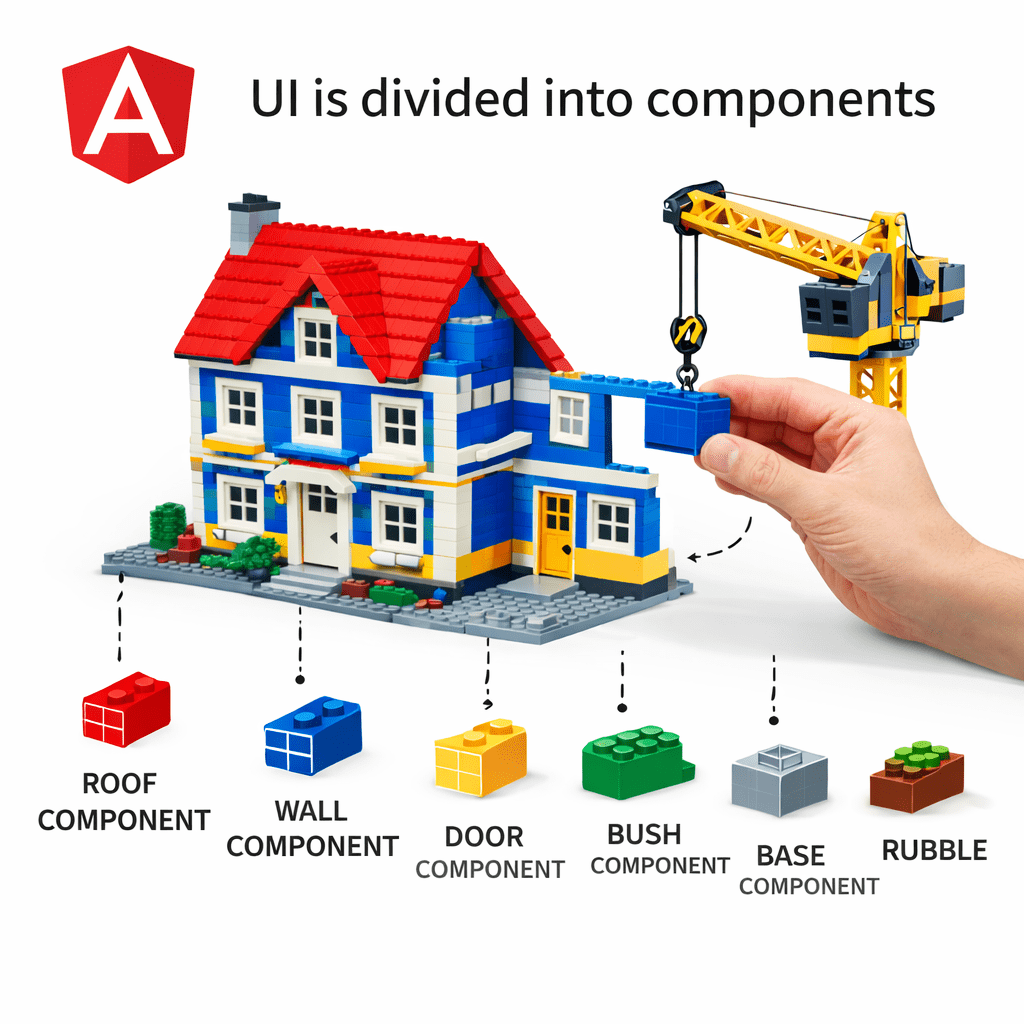
UI is Divided into Components
App becomes modular and maintainable
Analogy to Real Concept
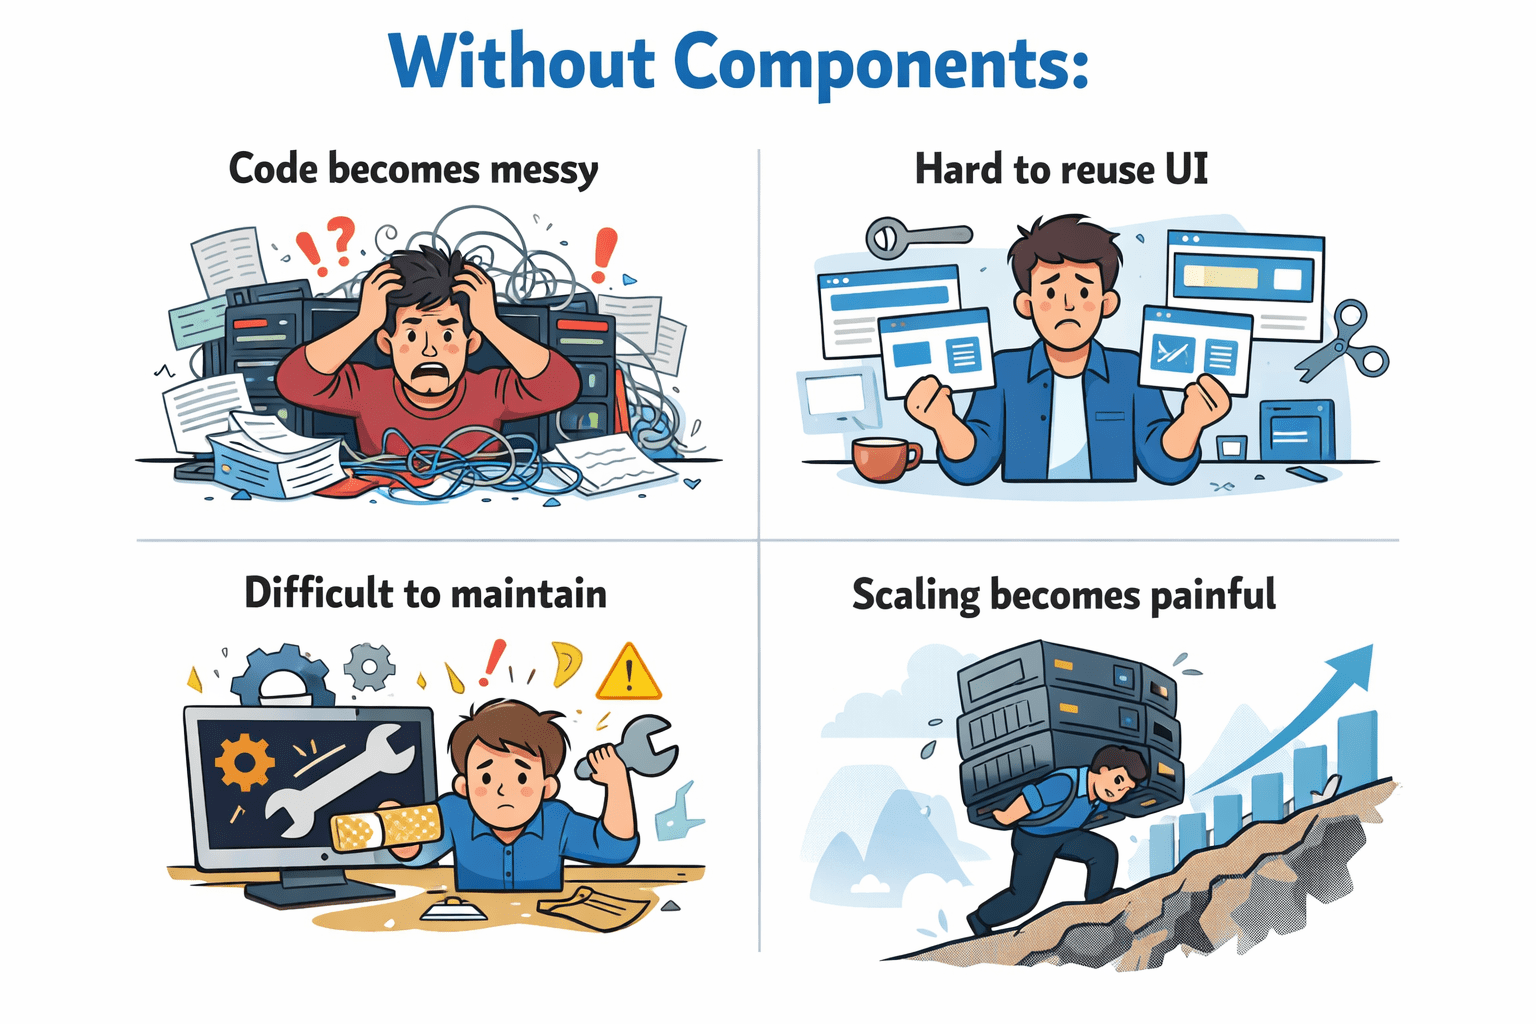
Why Components Matter :
Without Component
Angular solves this using:
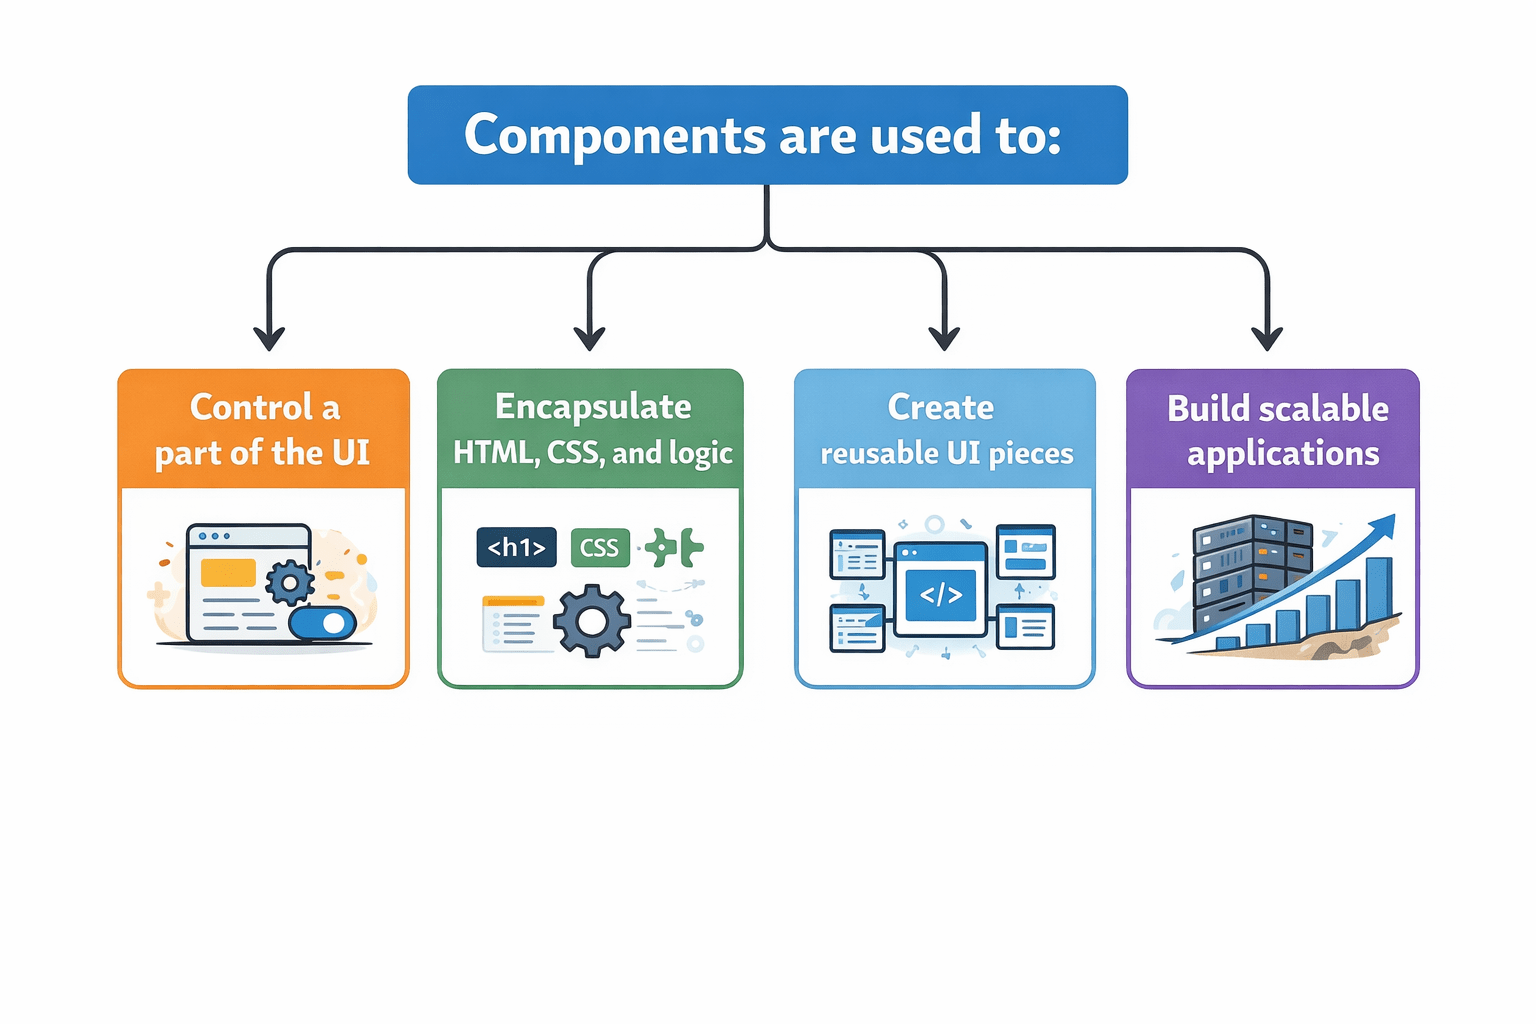
Purpose of Components in Angular
One component = One UI responsibility
Components are used to:
@Component({
 selector: 'app-hello',
 template: `<h2>Hello Angular</h2>`
})
export class HelloComponent {}
Basic Component Example
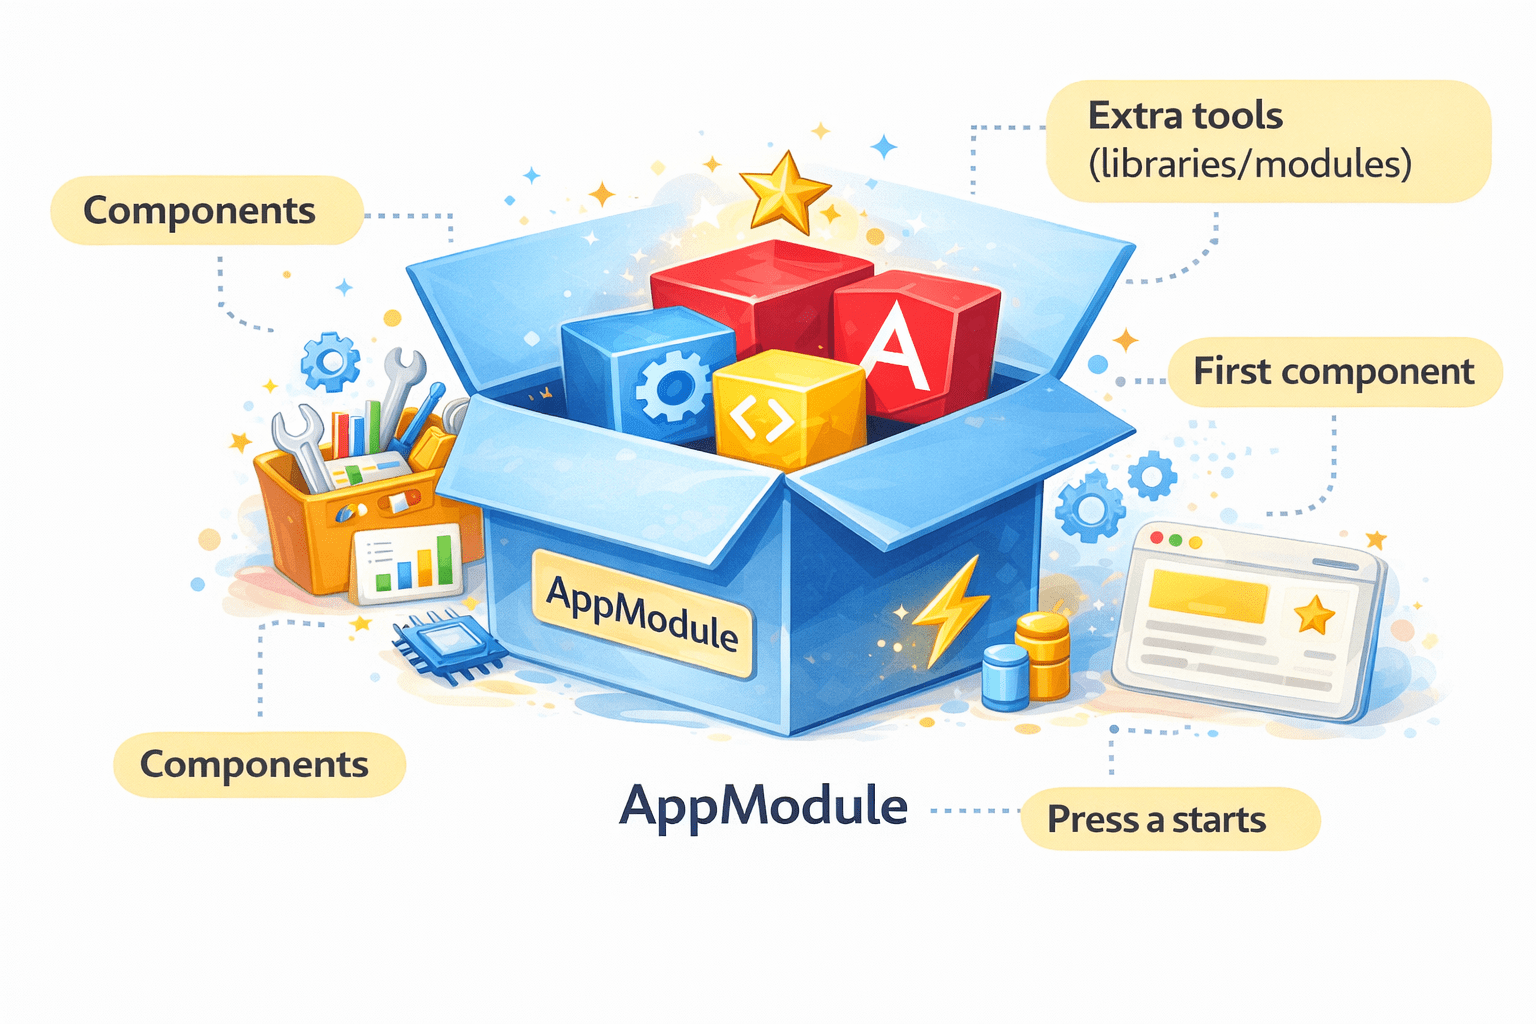
What is AppModule?
Think of AppModule as the main box of your Angular app.
Inside this box, you:
@NgModule({
  declarations: [AppComponent],   // Components we use
  imports: [BrowserModule],       // External modules
  providers: [],                  // Services
  bootstrap: [AppComponent]       // First component to load
})
export class AppModule { }
Creating Components using CLI
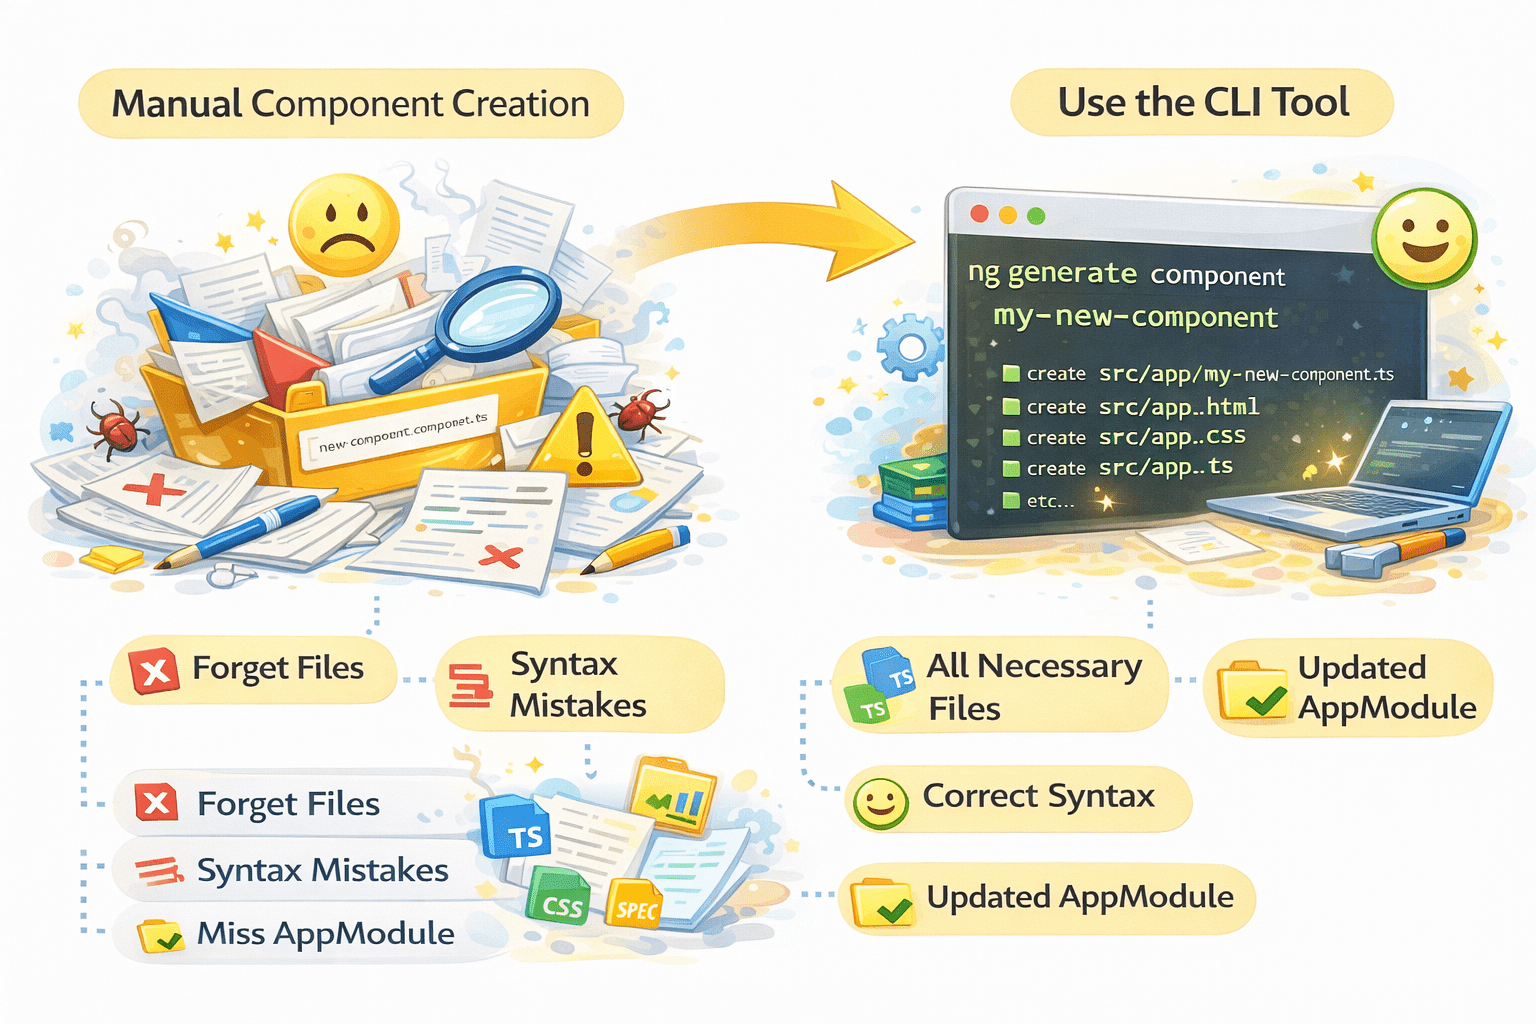
user/
├── user.component.ts
├── user.component.html
├── user.component.css
└── user.component.spec.ts
CLI Automatically declares Component in AppModule.
ng g c userShortcut
Angular CLI makes component creation easy.
ng generate component userOutput : Ready to use Component
Creating Components using CLI
Can we create a component manually?
Yes, but sometimes we might forget some files, make syntax mistakes, or forget to add the component to AppModule.
Always prefer CLI over manual creation.
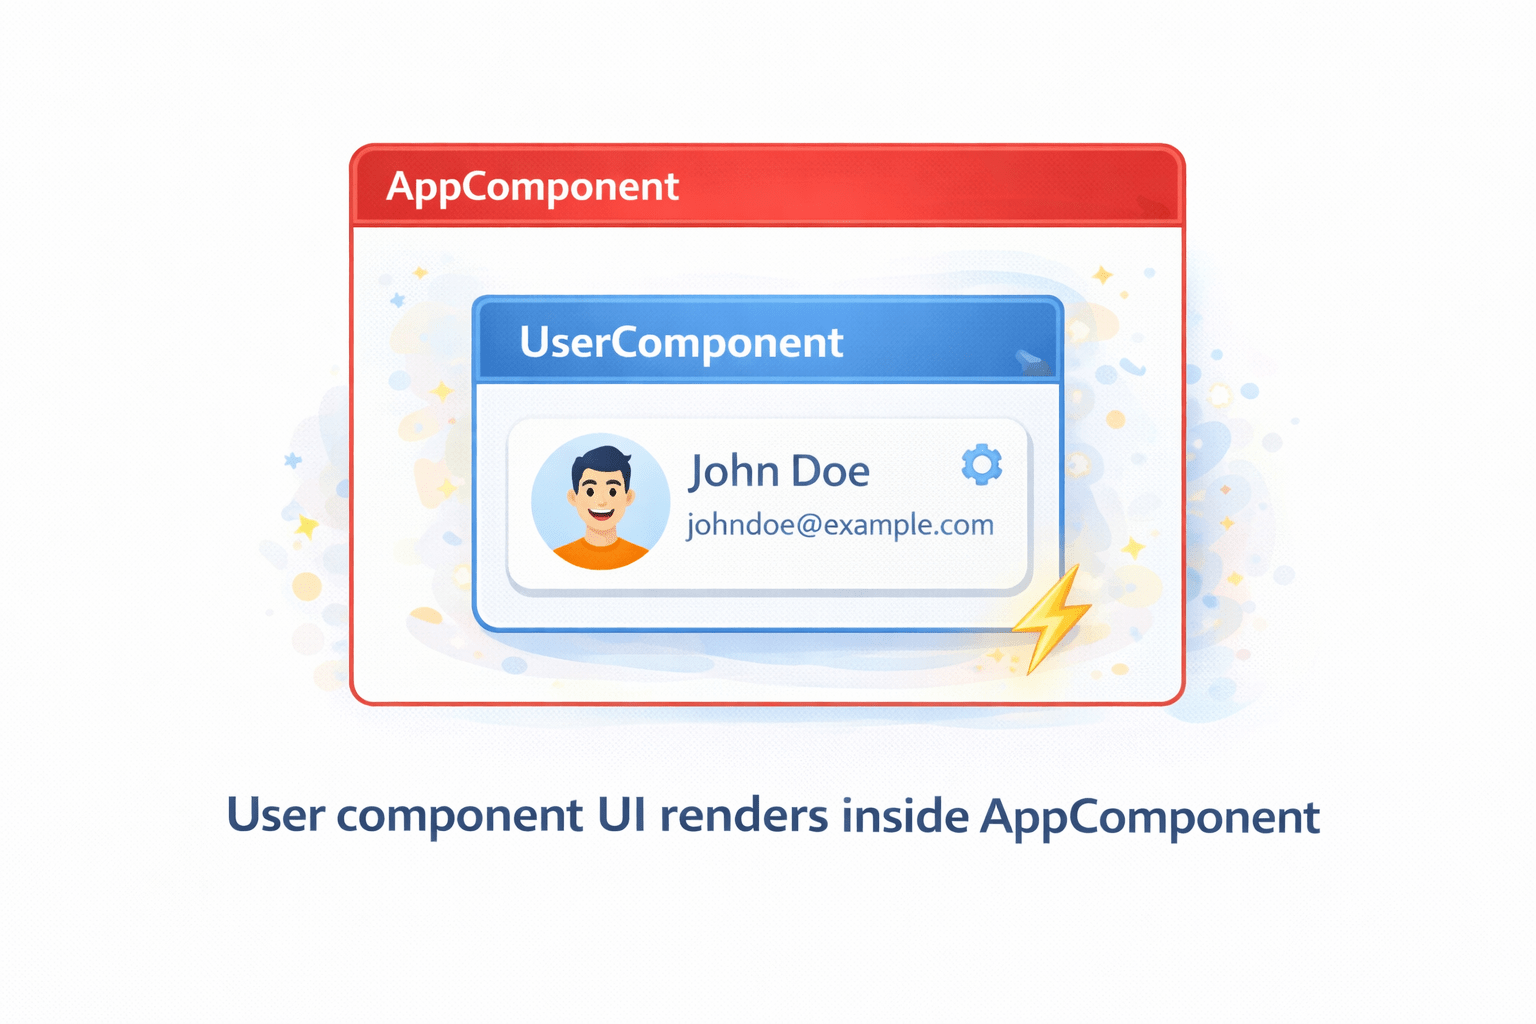
Using a Component
After creation:
Use component selector
@Component({
 selector: 'app-user',
 templateUrl: './user.component.html'
})
export class UserComponent {}
Place inside parent HTML
<app-user></app-user>Understanding Component Files
user/
├── user.component.ts
├── user.component.html
├── user.component.css
└── user.component.spec.ts
Angular generates 4 files per component.
export class UserComponent {
 name = "Swapnil";
}
component.ts (Logic)
Handles data and methods
<h2>User Name: {{ name }}</h2>component.html (Template)
Displays UI.
h2 {
 color: blue;
}
component.css (style)
Component styling.
Understanding Component Files
user/
├── user.component.ts
├── user.component.html
├── user.component.css
└── user.component.spec.ts
Angular generates 4 files per component.
describe('UserComponent', () => {
 it('should create component', () => {
   expect(true).toBeTrue();
 });
});
component.spec.ts (Testing)
Used for unit testing (can ignore initially).
Summary
5
Each component has 4 main files
4
CLI simplifies component creation
3
Component declaration is mandatory
2
AppModule is root module
1
Components are core building blocks
Quiz
Angular application building block is:
A. Module
B. Component
C. Service
D. Pipe
Quiz-answer
Angular application building block is:
A. Module
B. Component
C. Service
D. Pipe
By Content ITV


