Amazon CloudFront
Hands-On
Demo

In this demo, we will:
1. Create an S3 bucket and upload a sample HTML file.
2. Create a CloudFront distribution.
3. Configure the S3 bucket for CloudFront access.
4. Test the CloudFront distribution.
5. Enable additional CloudFront features.
6. Clean up resources.
Agenda

Demo Overview
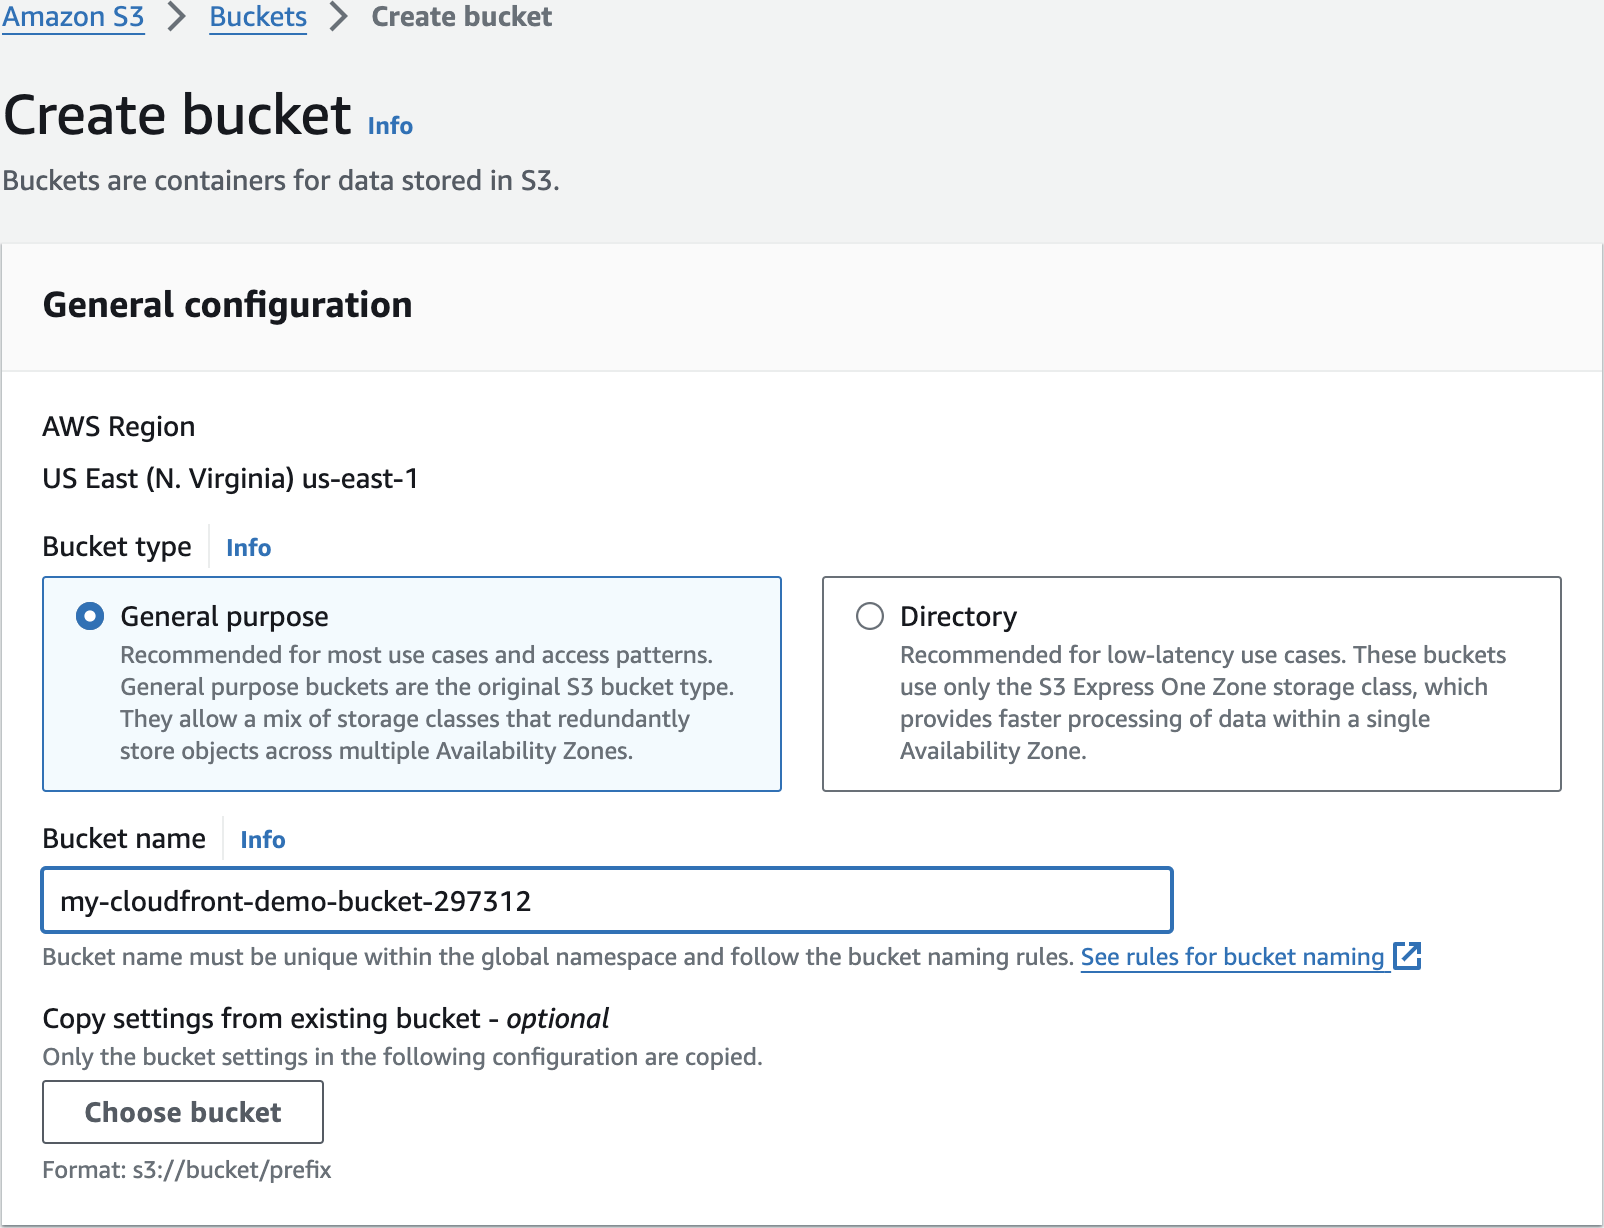
my-cloudfront-demo-bucket-297312Create bucket


<!DOCTYPE html>
<html lang="en">
<head>
    <meta charset="UTF-8">
    <meta name="viewport" content="width=device-width, initial-scale=1.0">
    <title>CloudFront Demo</title>
</head>
<body>
    <h1>Hello from CloudFront!</h1>
    <p>This content is being served through Amazon CloudFront.</p>
</body>
</html>
index.html
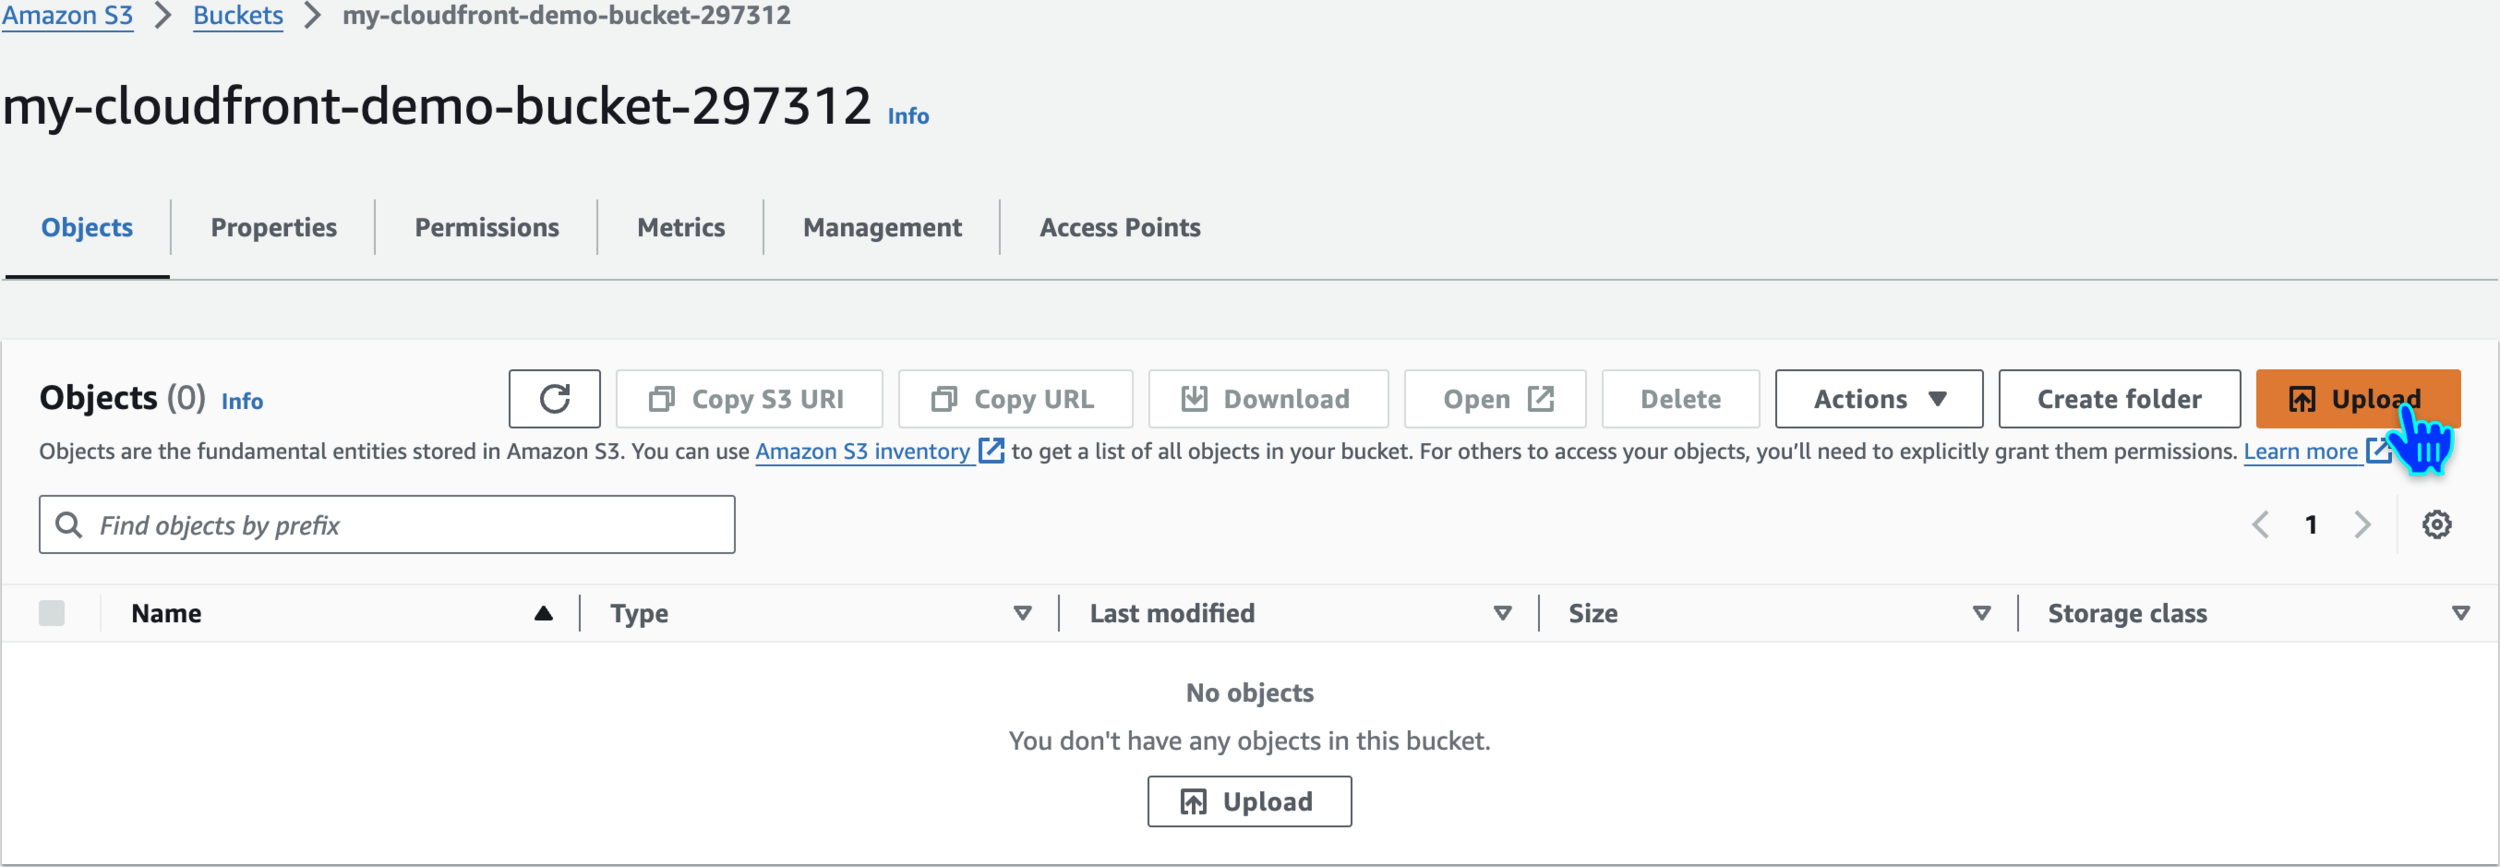
Upload index.html


Create CloudFront distribution


Create new OAC

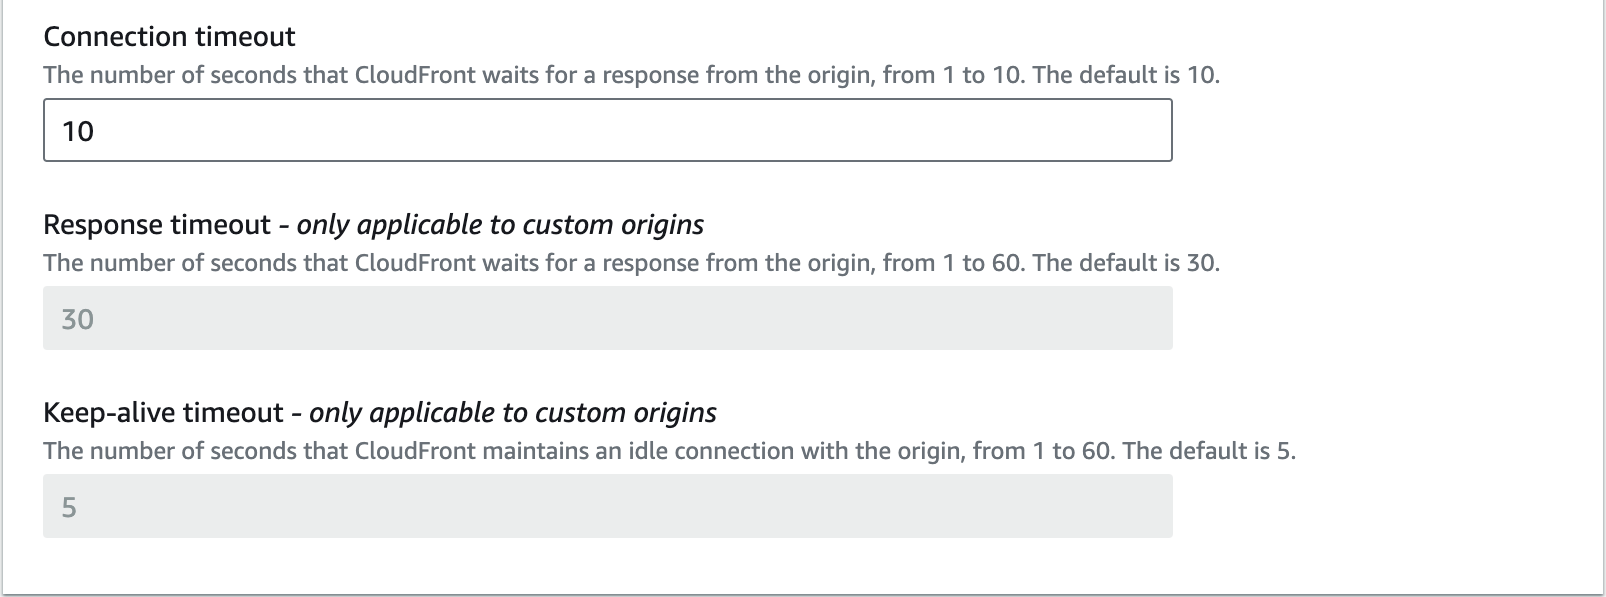


Default cache behavior


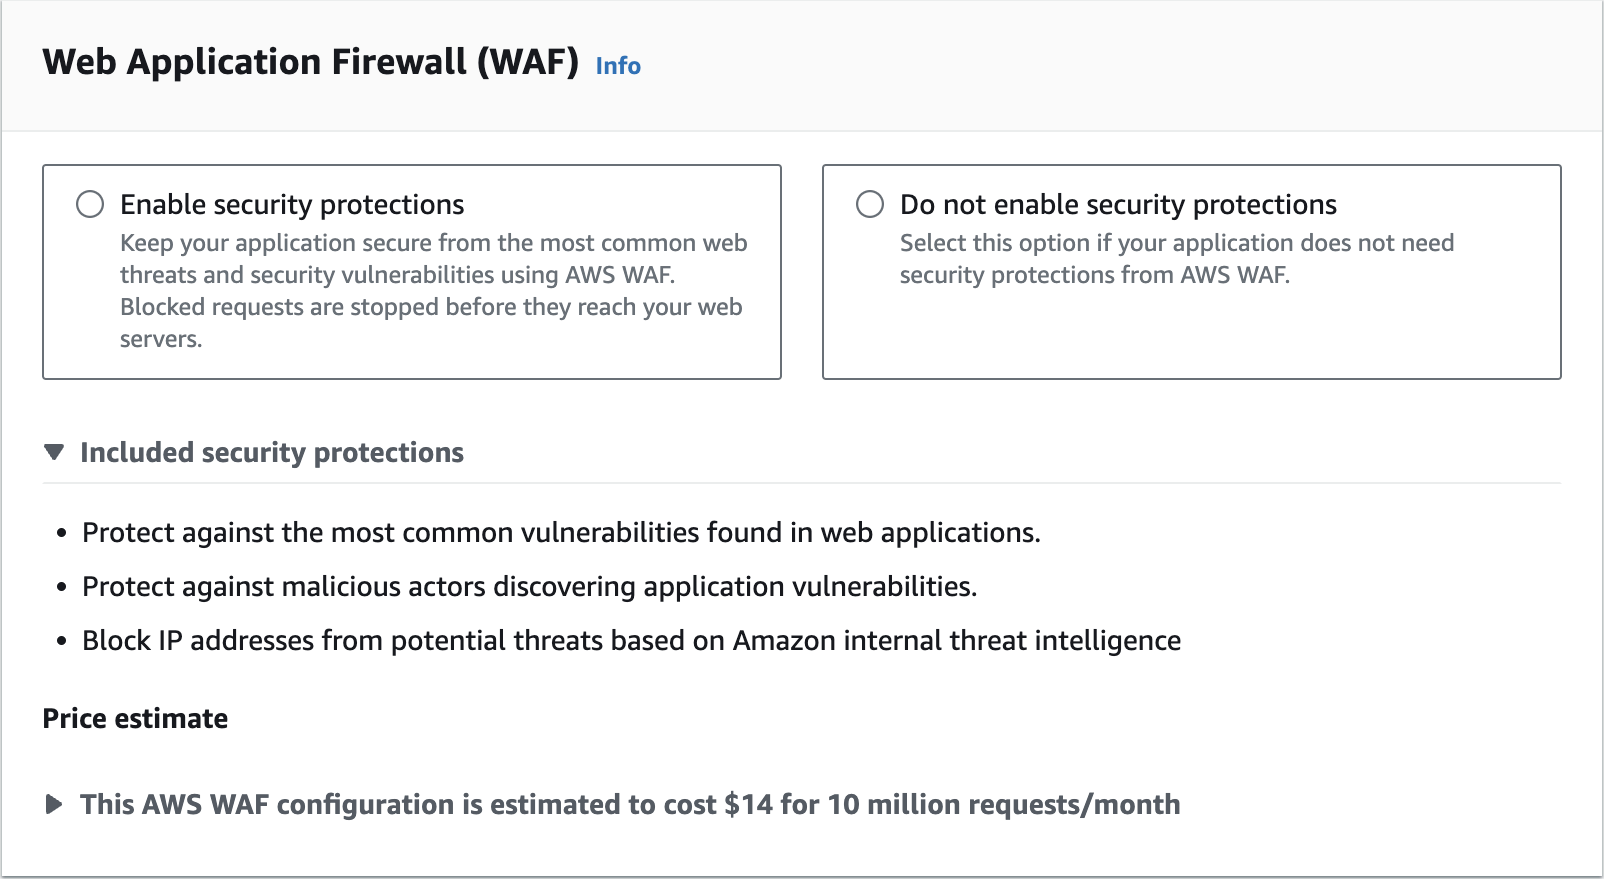


Web Application Firewall

Copy policy

Go To S3 Bucket and Edit Bucket Policy

Paste The Bucket Policy
{
        "Version": "2008-10-17",
        "Id": "PolicyForCloudFrontPrivateContent",
        "Statement": [
            {
                "Sid": "AllowCloudFrontServicePrincipal",
                "Effect": "Allow",
                "Principal": {
                    "Service": "cloudfront.amazonaws.com"
                },
                "Action": "s3:GetObject",
                "Resource": "arn:aws:s3:::my-cloudfront-demo-bucket-567444/*",
                "Condition": {
                    "StringEquals": {
                      "AWS:SourceArn": "arn:aws:cloudfront::651623850282:distribution/E1P8MNW9G4879Z"
                    }
                }
            }
        ]
      }
Save changes

Test CloudFront Distribution
Copy Distribution URL

Paste the Distribution URL with http:// at the start and index.html at the end
http will get automatically redirected to https

Cache Behavior Settings

Clean Up

Disable The Distribution


Wait - Delete Distribution


Empty The S3 Bucket


Delete The S3 Bucket

🙏
Thanks
for
Watching
Amazon CloudFront - Hands-On Demo
By Deepak Dubey
Amazon CloudFront - Hands-On Demo
Amazon CloudFront - Hands-On Demo


