Digital Media I
Introduction to 3D Graphics
48-120 F'17
Online version:
Feedback
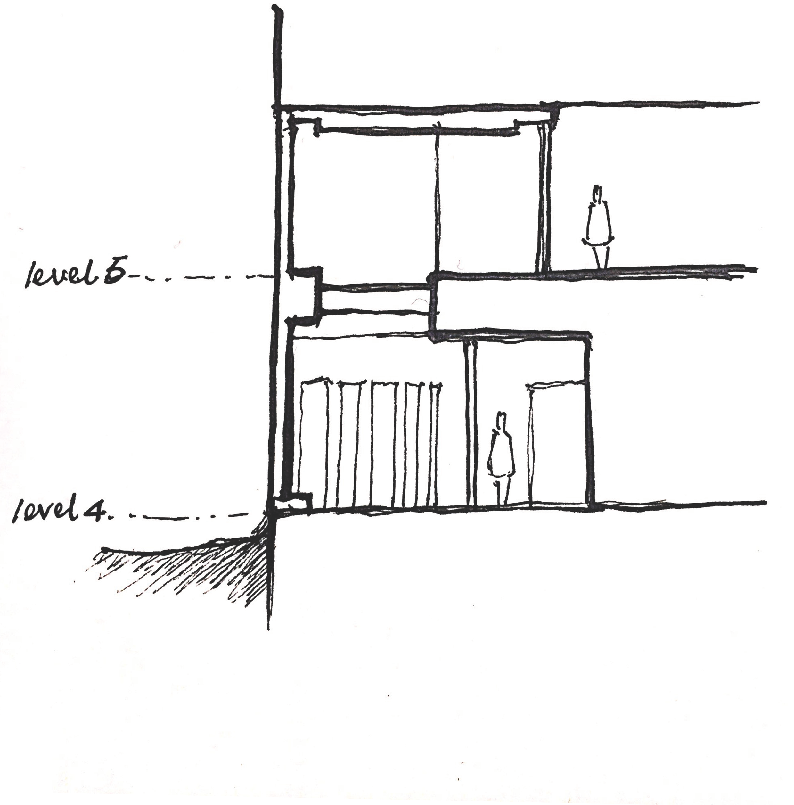
Assignment 1: 2D Drafting & Rendering
Feedback
Assignment 1: 2D Drafting & Rendering
Feedback
- Take the requirements seriously! We are.
- Focus should be on the quality of the line drawing.
- Be careful not to let raster graphics distract your line drawing.
- Your submissions are direct reflection of how much understanding you have of the content covered in class.
- Don't forget—you are pursuing a professional degree.
- Your work should be at professional quality as well.
General Issues
- Not enough focus on line weight quality
- Missing / incorrectly scaled human figures
- Incorrect / improper use of scale bars
- Rasterized line work is unacceptable
- Colored line work is unacceptable
- Cursory work is generally unacceptable
- Poor understanding / representation of ground plane
- Unclear extent of the drawing
- Section (cut) lines is NOT the same as profile lines
- Section lines should represent thickness
- Be careful with the use of poche (Google it), when in doubt, don't use it
- Your drawings should represent reality, NOT fiction
- Shallow use of precedent research
Refer more closely to the Assignment Example!
Feedback
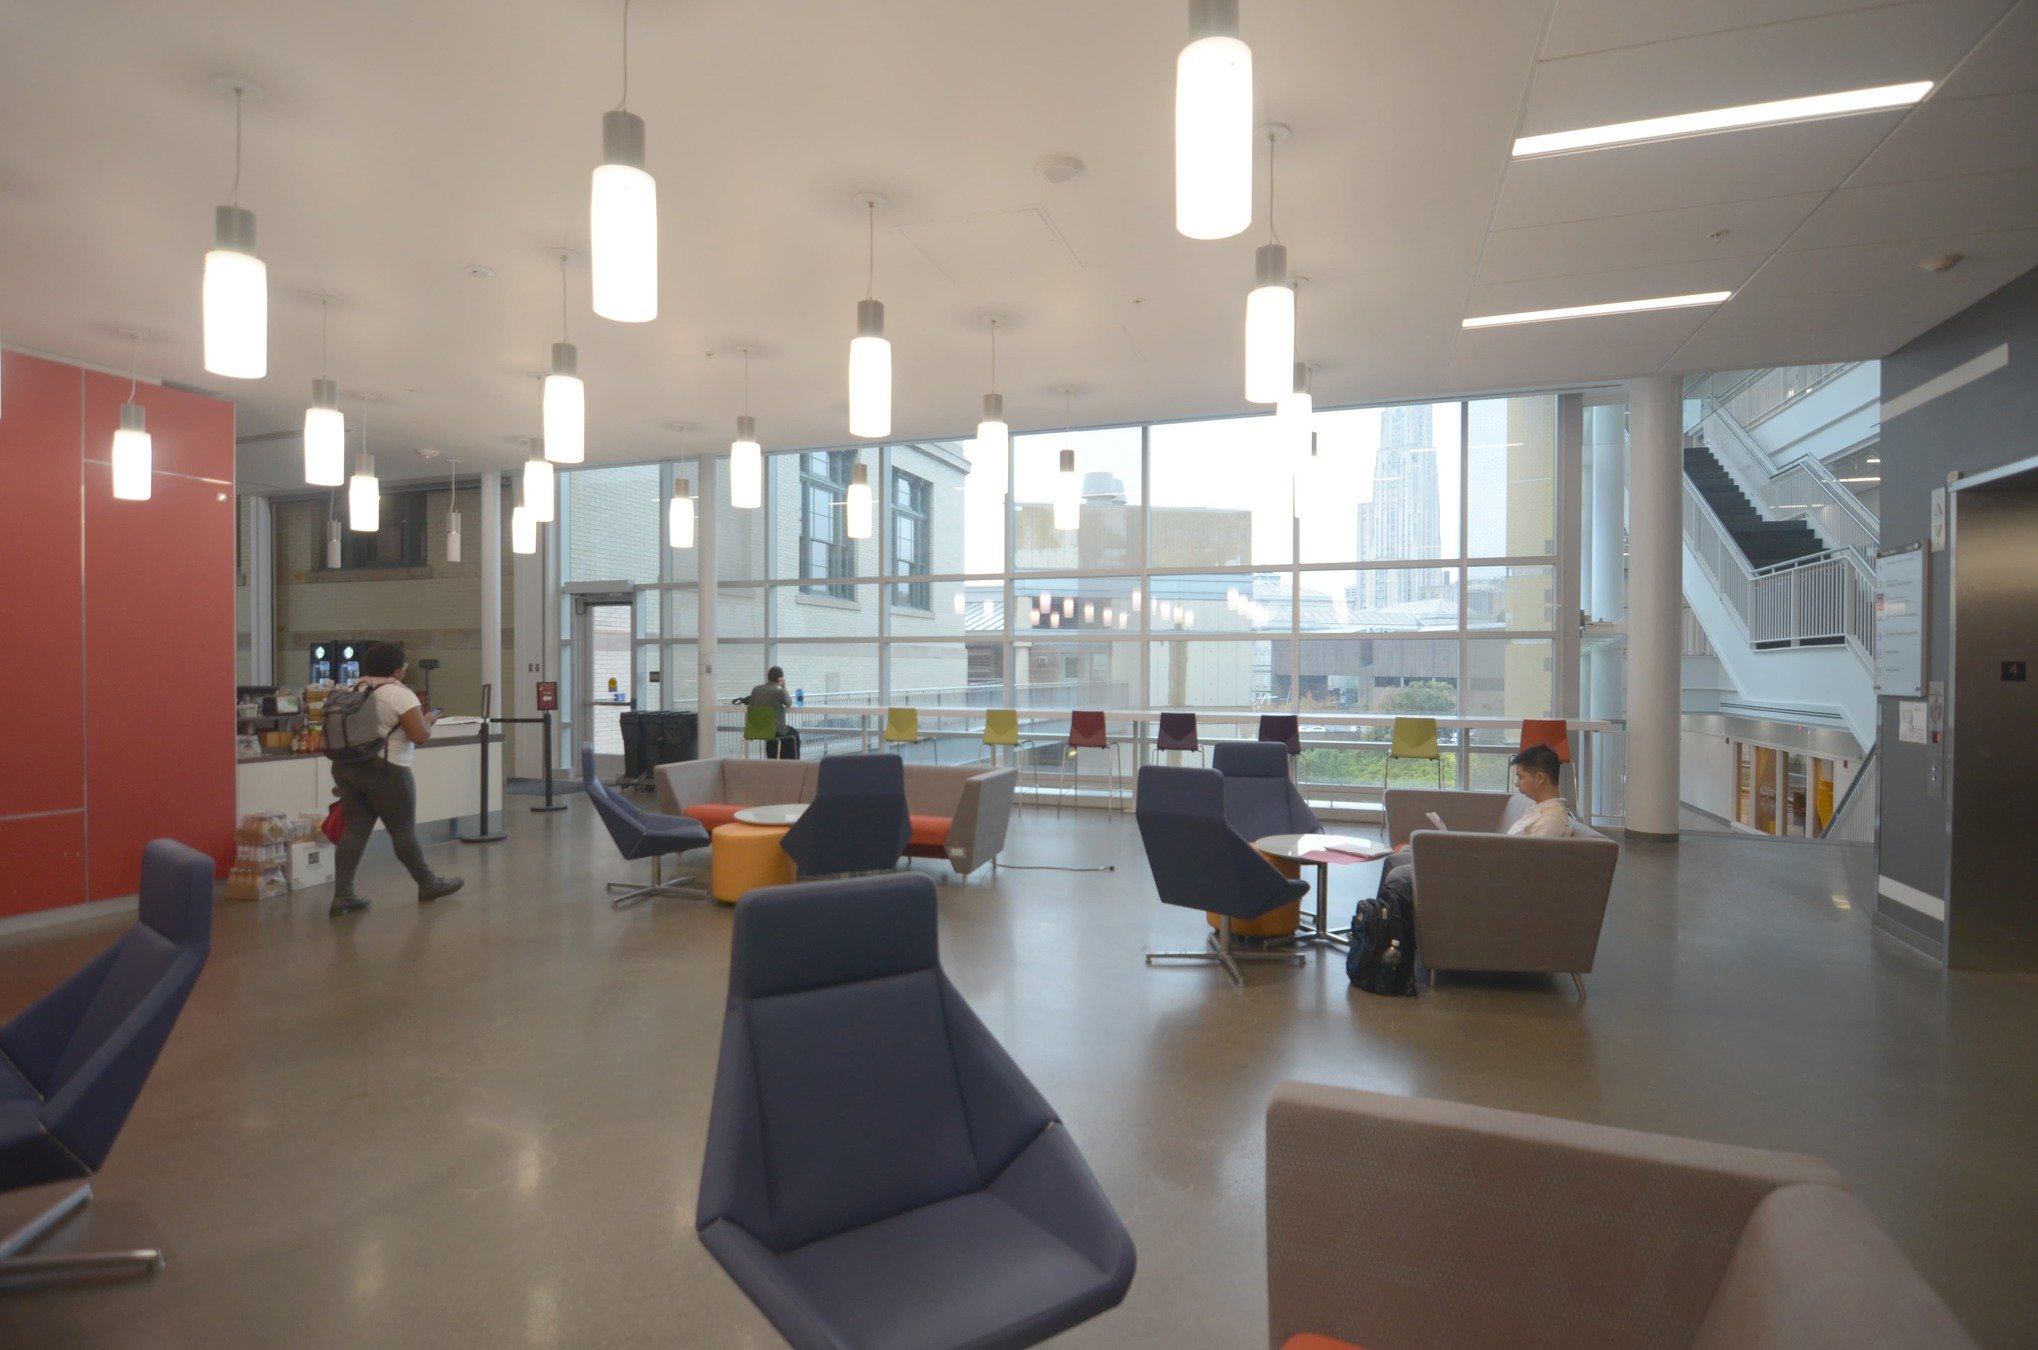
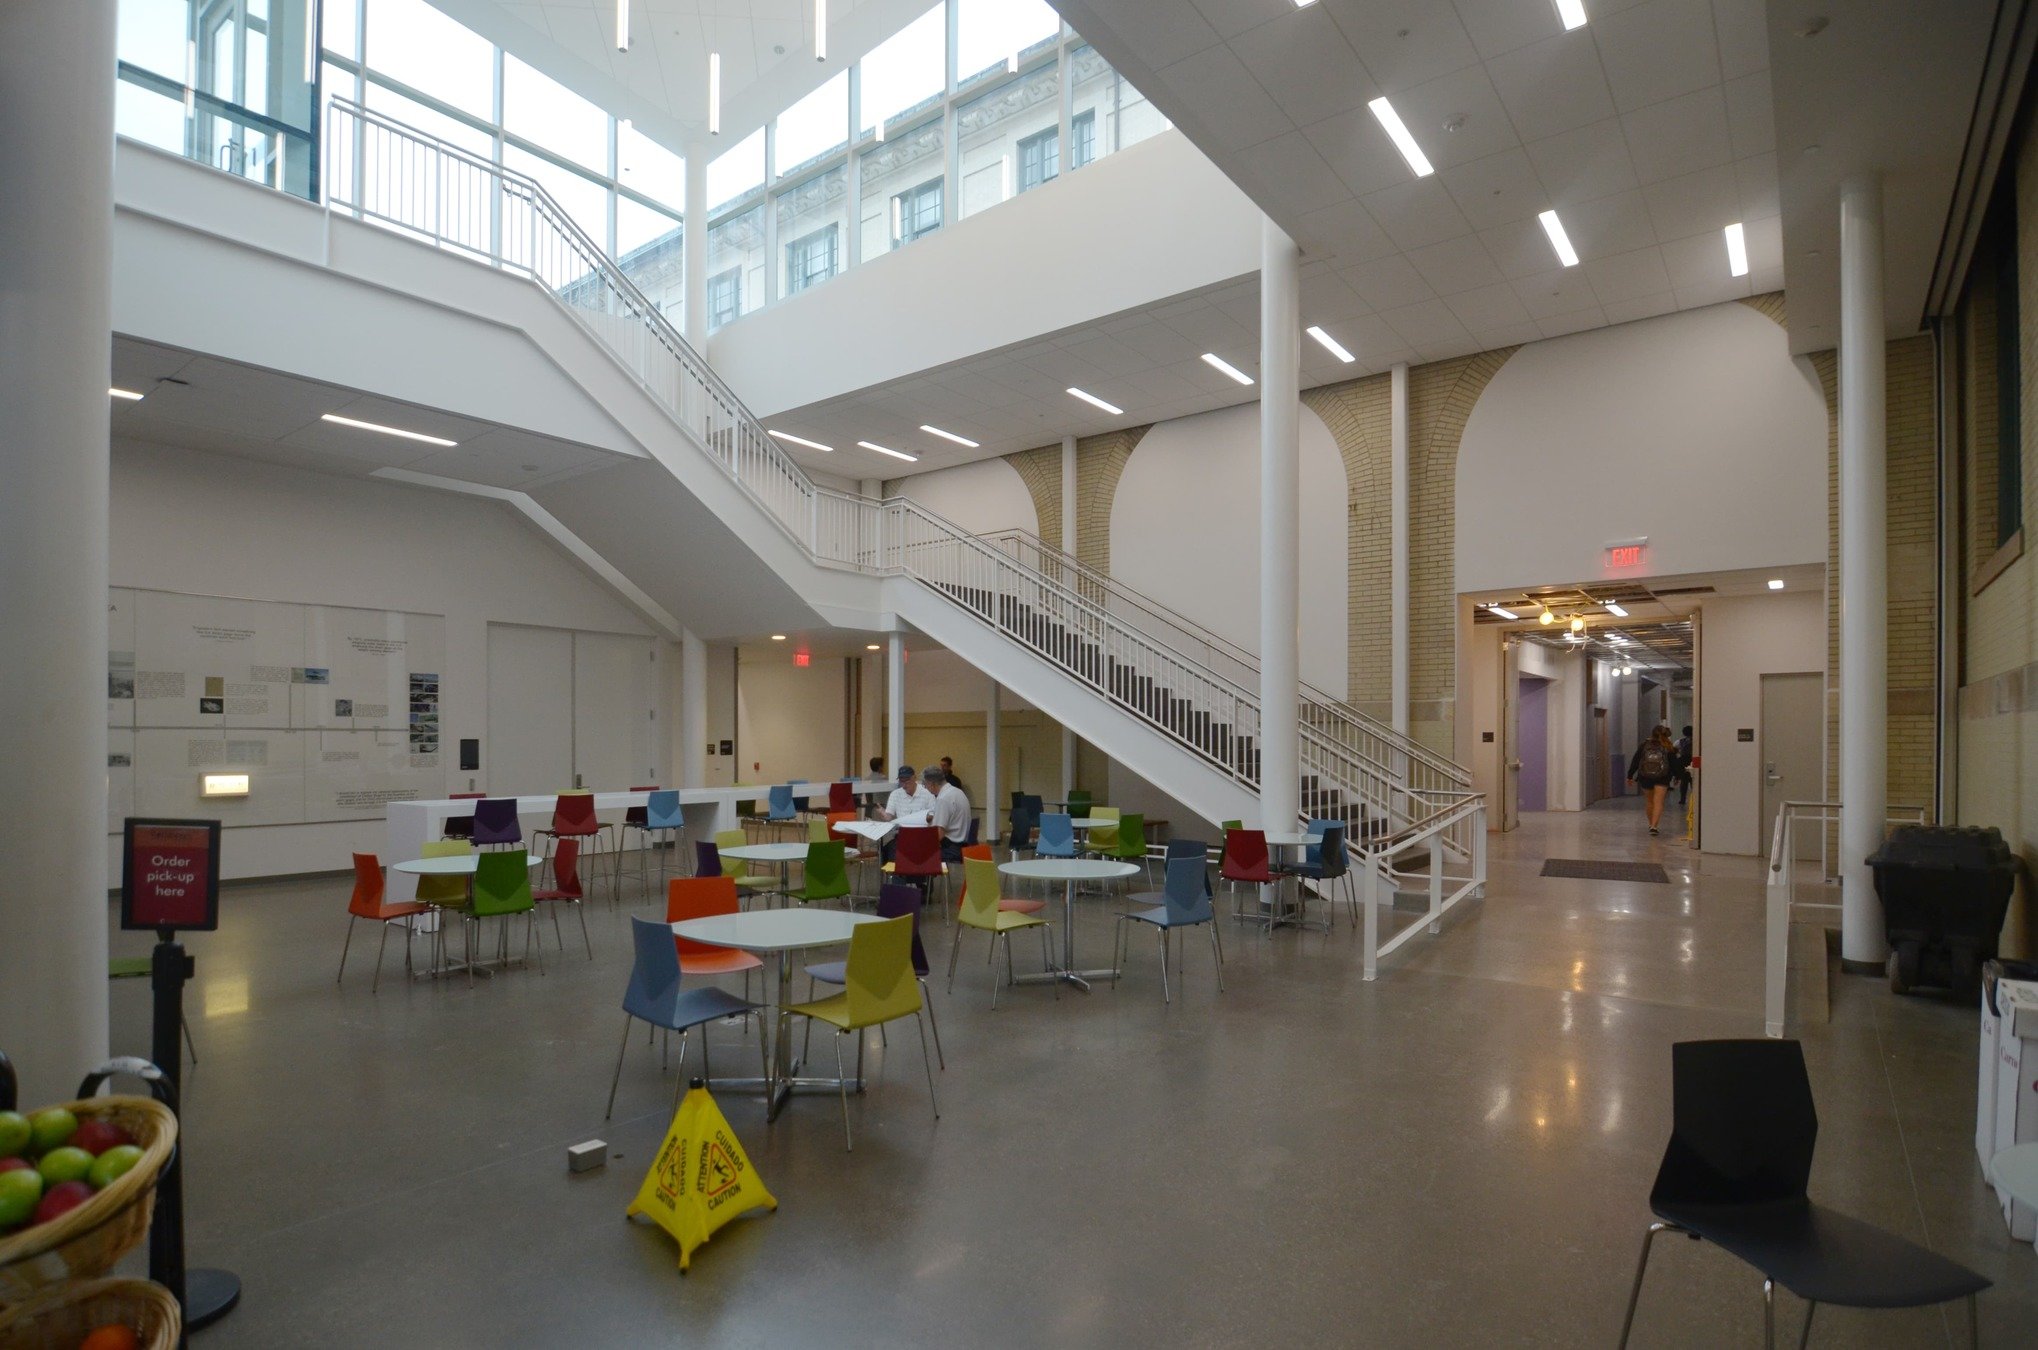
Section A – Sorrels Library, Wean Hall
TA: Elizabeth Levy
Feedback
Section A – Sorrels Library, Wean Hall
TA: Elizabeth Levy
Feedback
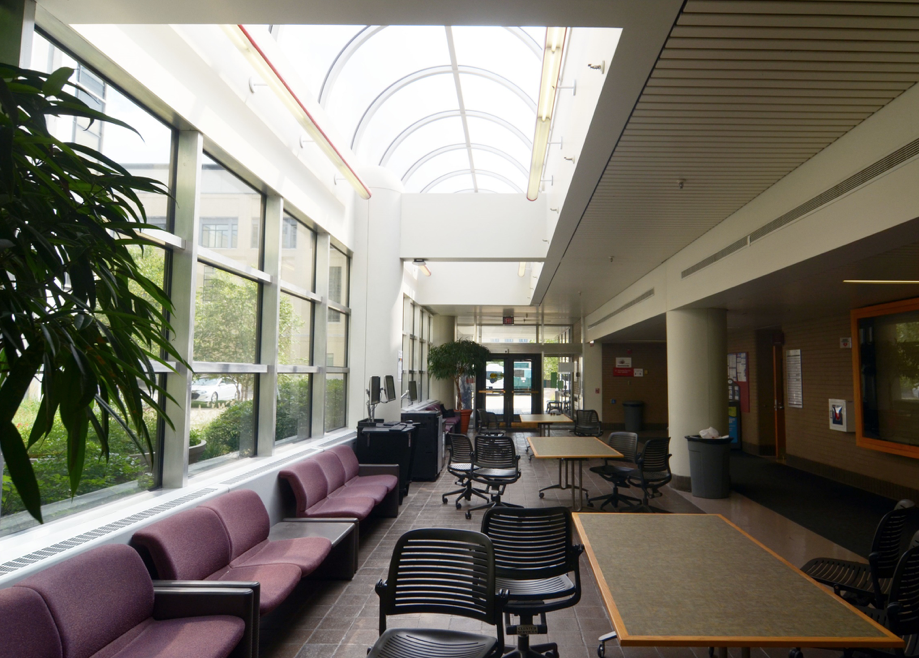
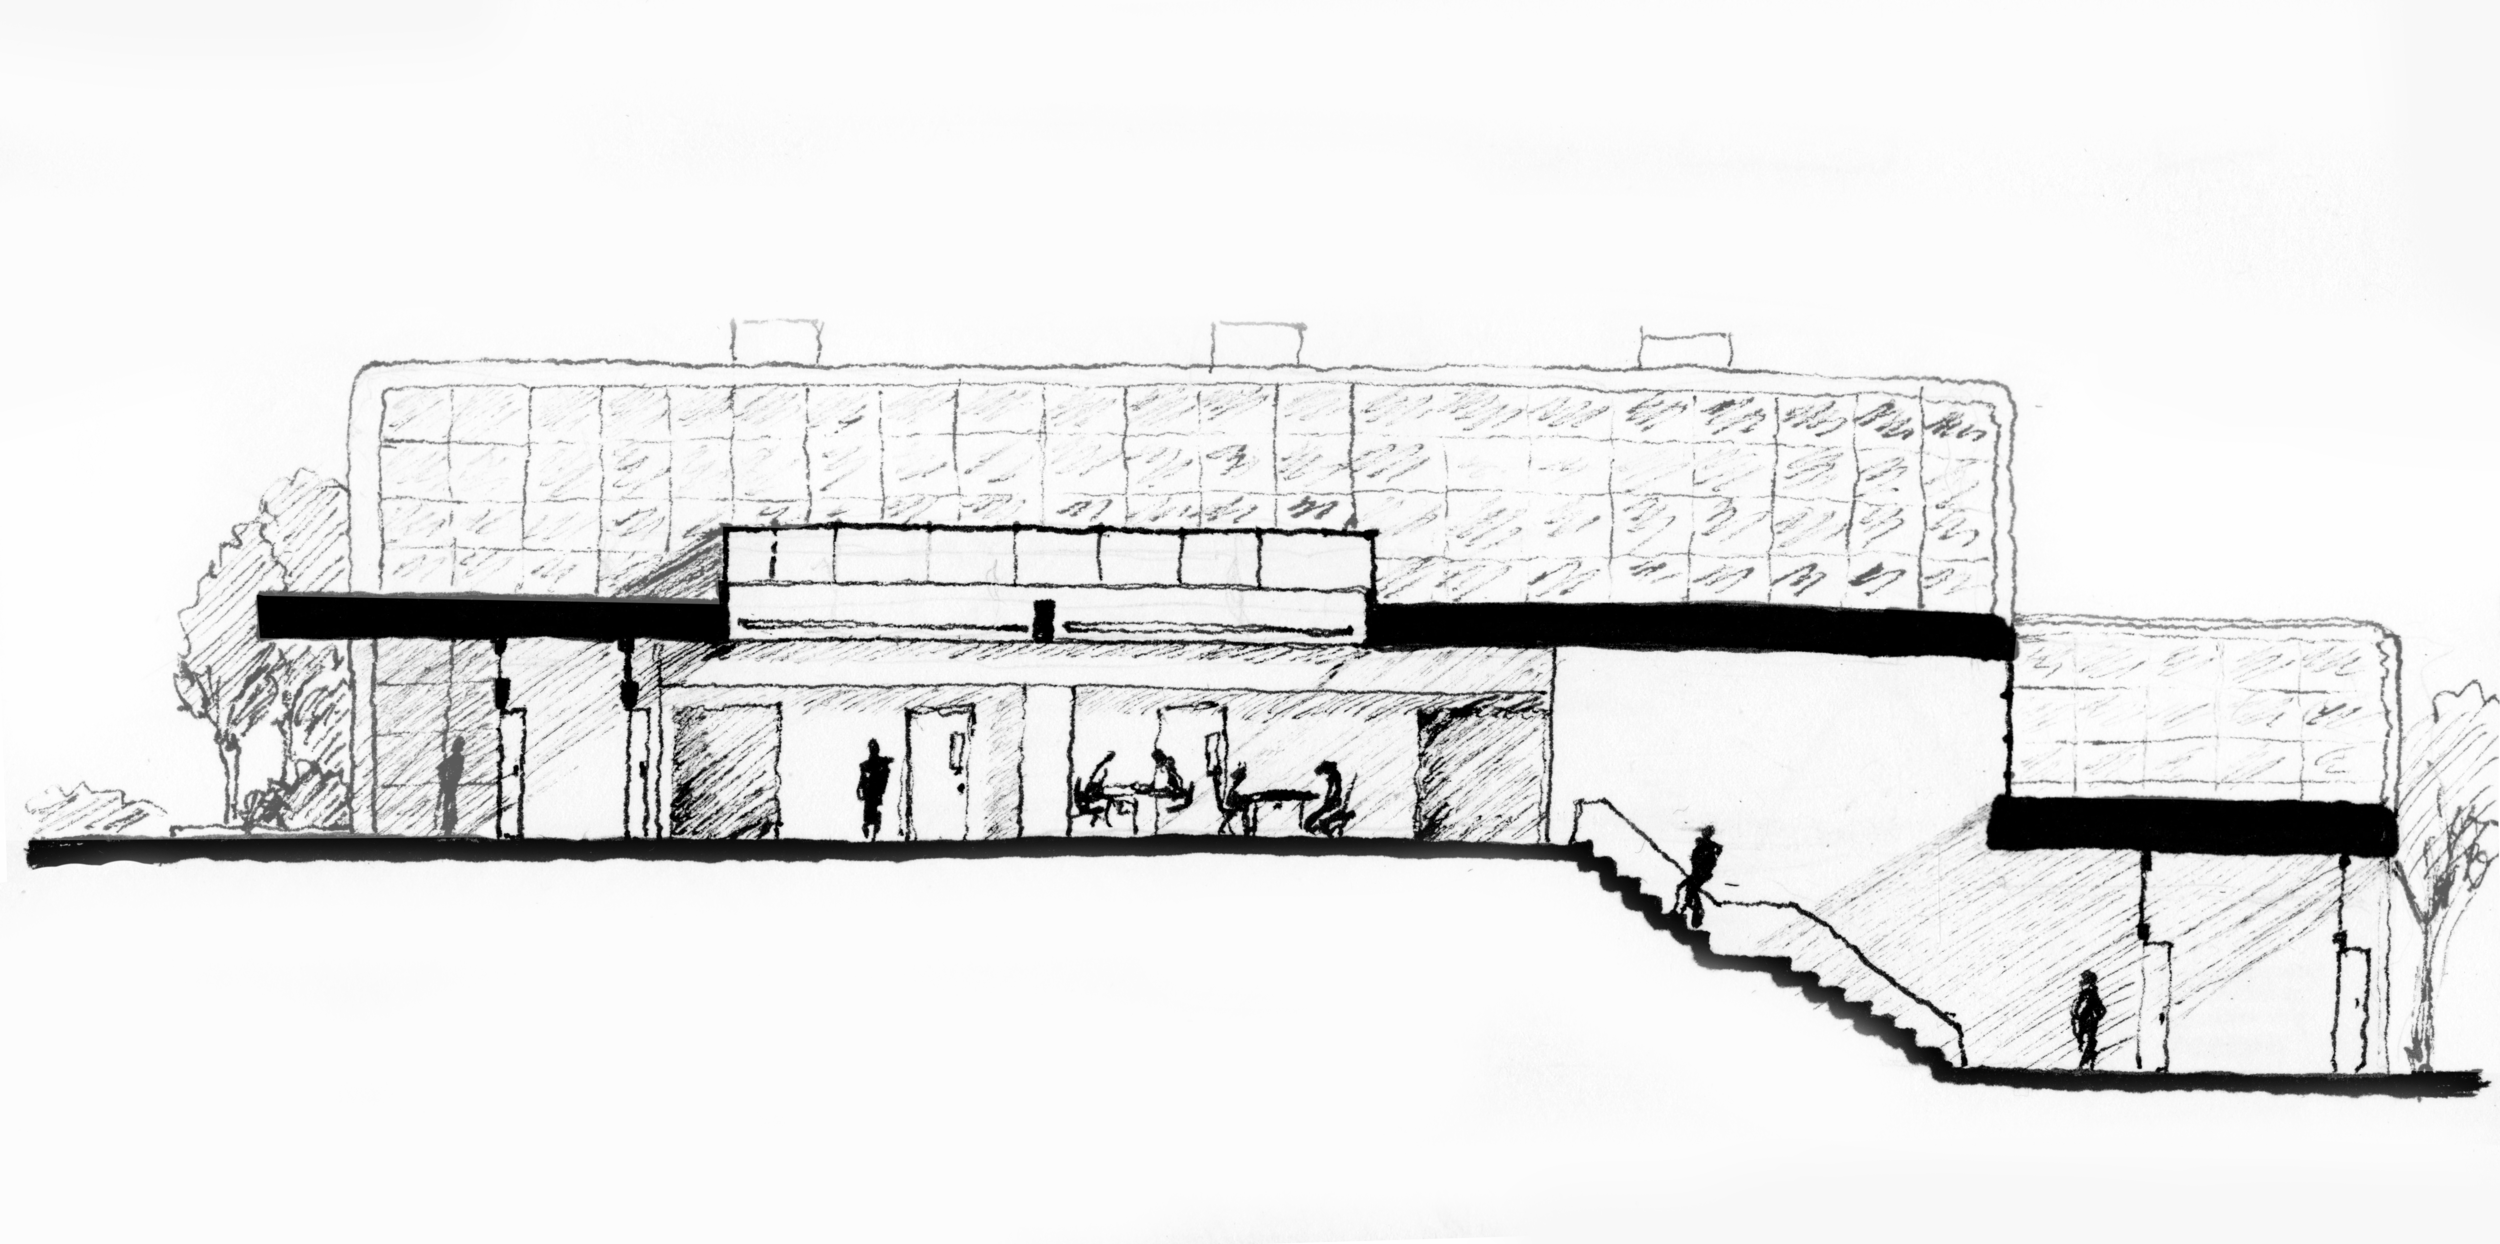
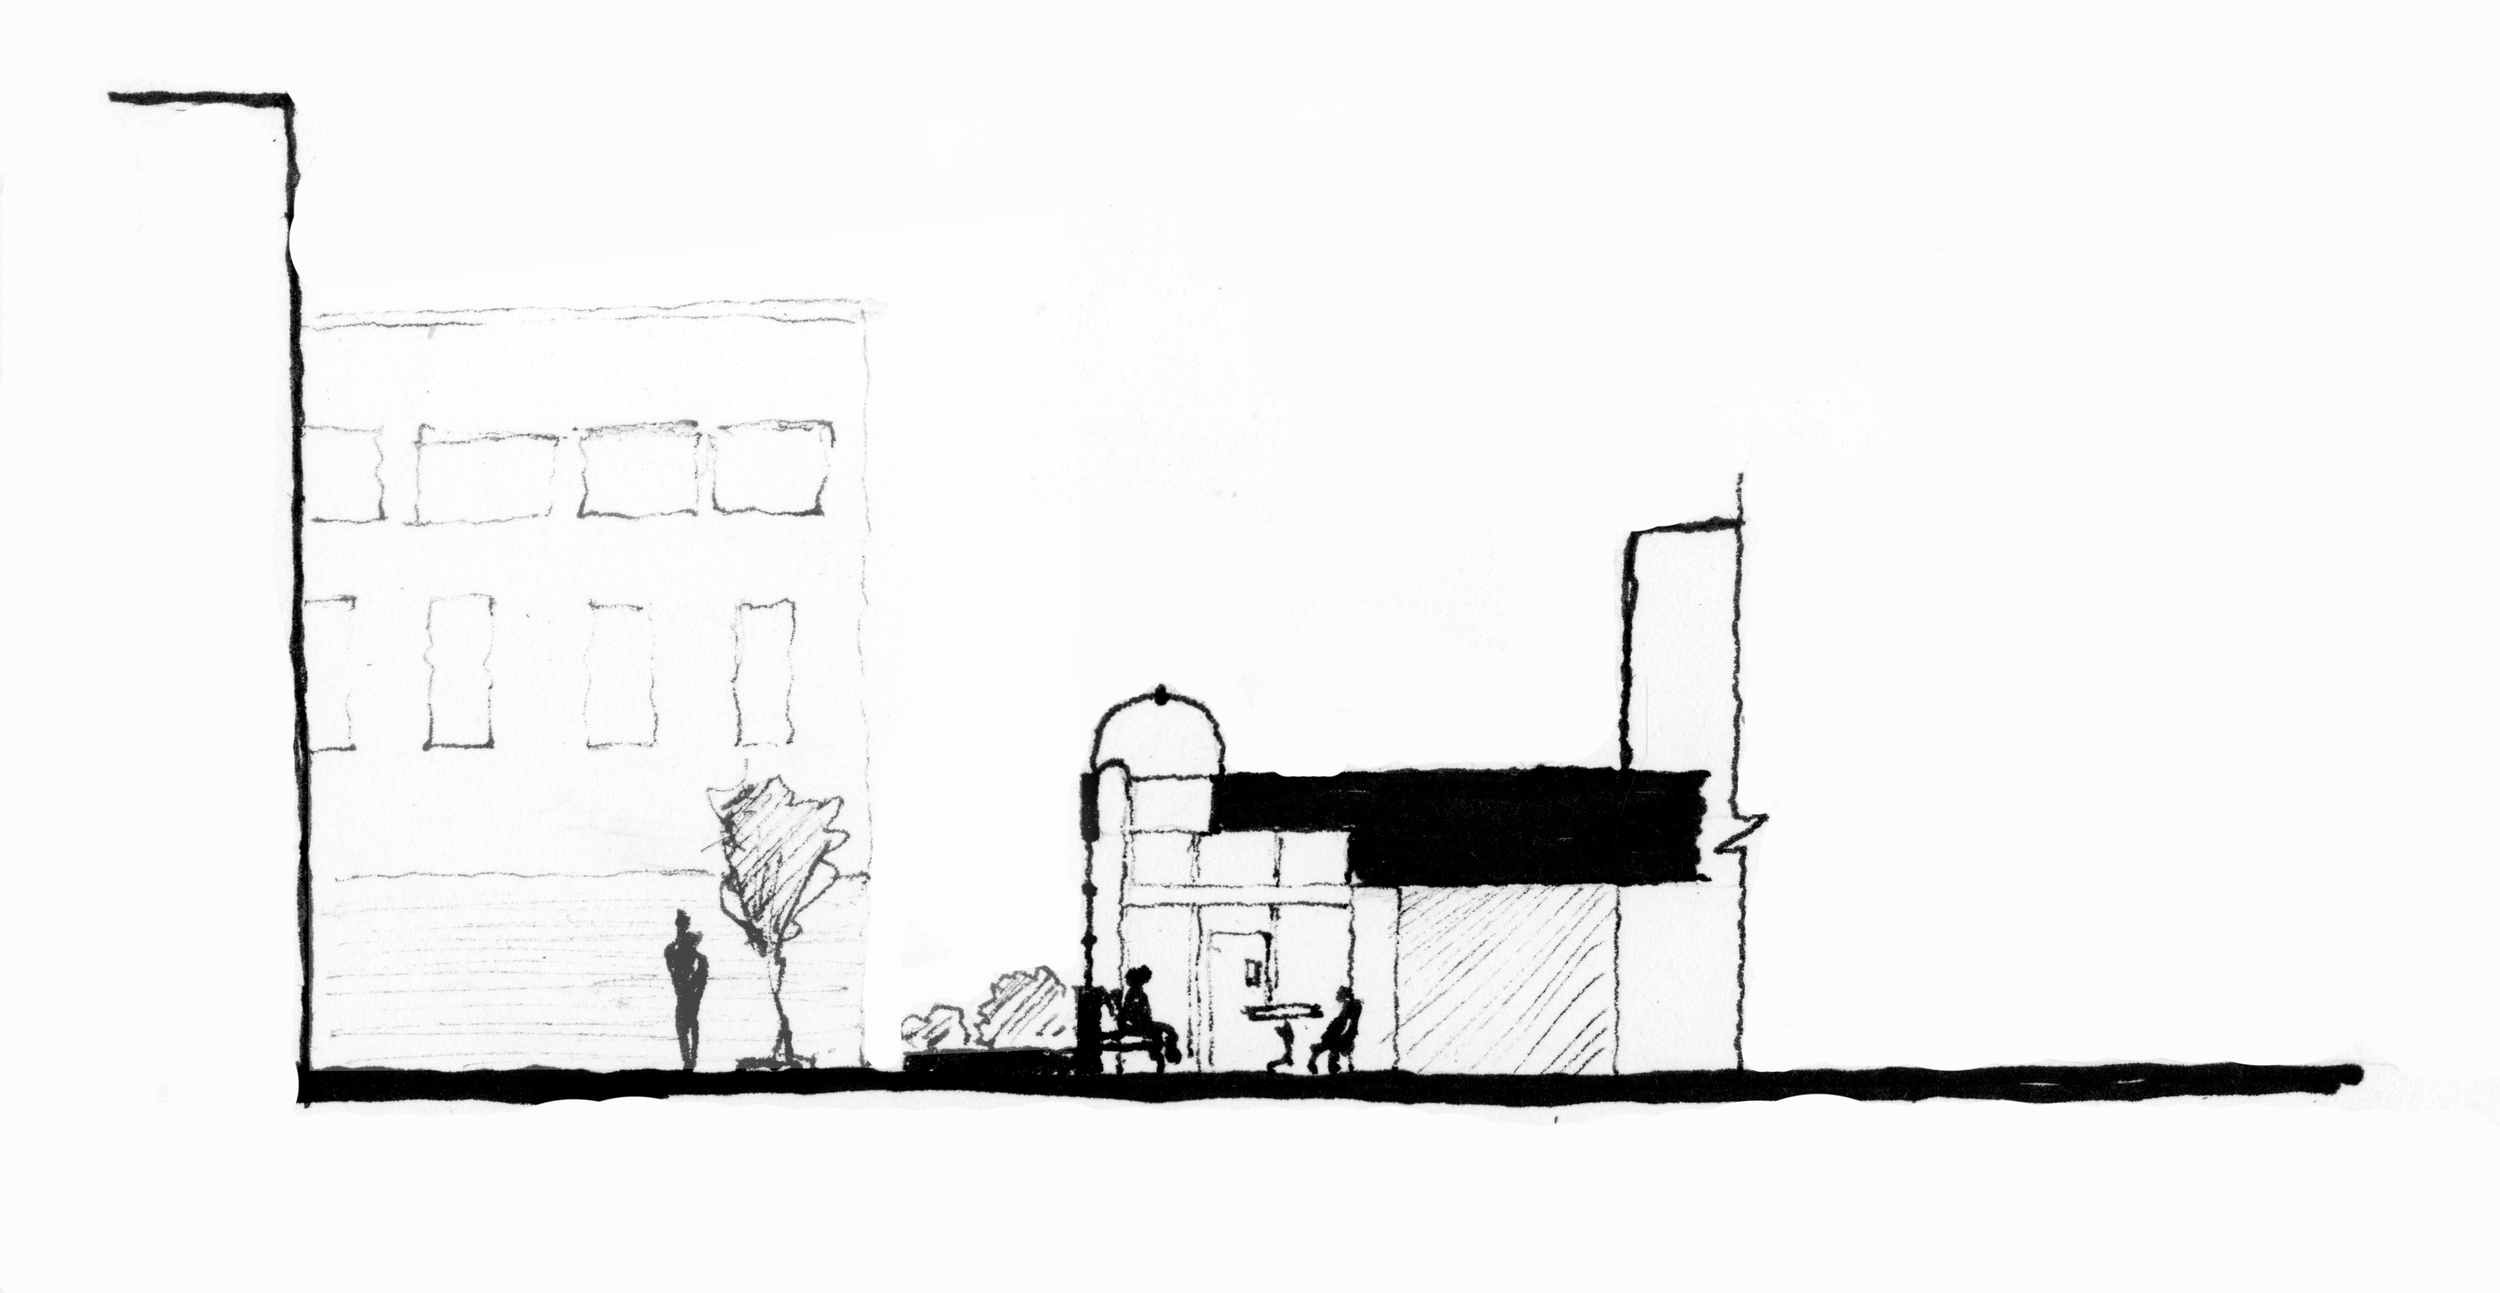
Section B – Perlis Atrium, Newell Simon Hall
TA: Kelly Li

Feedback
Section B – Perlis Atrium, Newell Simon Hall
TA: Kelly Li
Feedback
Section B – Perlis Atrium, Newell Simon Hall
TA: Kelly Li
Feedback
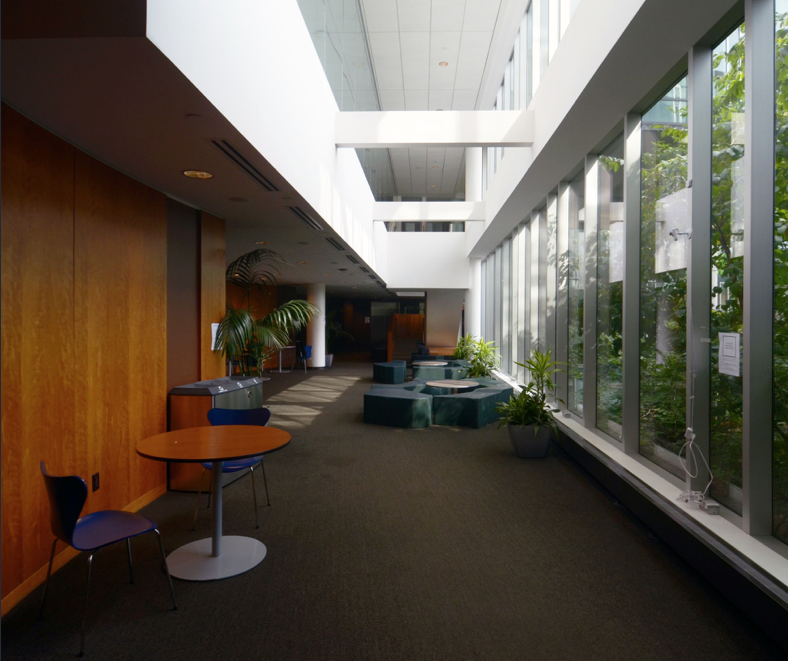
Section C – Cyert Hall Lobby
TA: Jihoon Park
Feedback
Section C – Cyert Hall Lobby
TA: Jihoon Park
Feedback
Section C – Cyert Hall Lobby
TA: Jihoon Park
Feedback
Section D – Gates Hillman Center 4300, 4400
TA: Shan Wang
Feedback
Section D – Gates Hillman Center 4300, 4400
TA: Shan Wang
Resubmission
- You may resubmit Assignment 1—most of you should.
- Resubmissions DUE Dec 14 at 12pm
- Same deadline as Assignment 4
- Resubmit PDF via Canvas; no need to resubmit plots.
- Notify your TA when you resubmit.
- Review the comments on your plots.
- Follow up with the instructional team as needed.
- This is the only assignment you will be allowed to resubmit.
- Use what you will learn this semester.
- Create something you can be proudly put in a portfolio.
- Portfolio is everything.
- Let's all strive for an A.
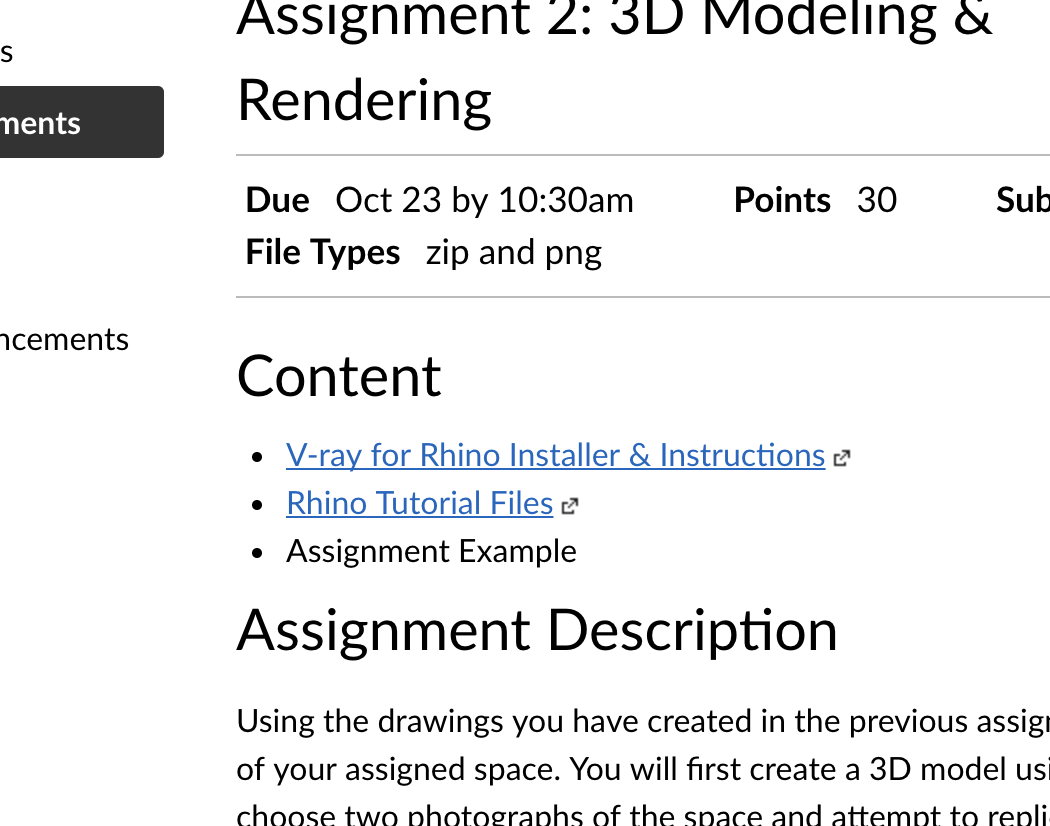
Assignment 2: 3D Modeling & Rendering
Moving on
Assignment 2 Overview
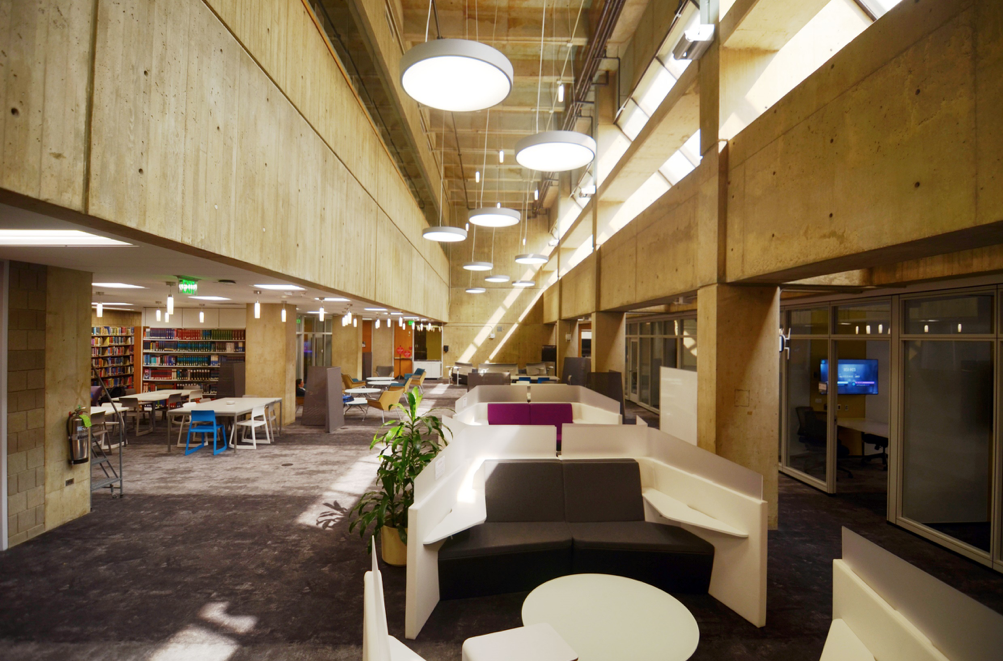
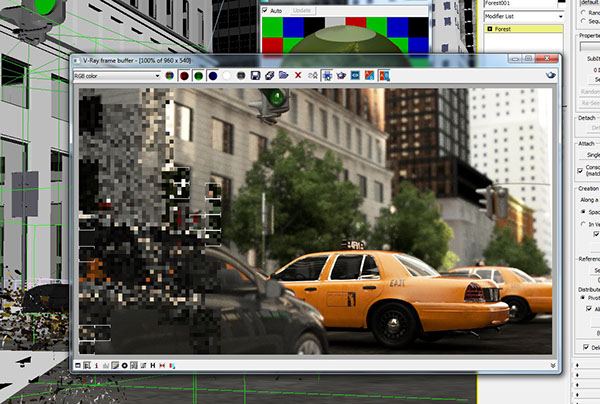
Using the drawings you have created in the previous assignment, you will create a detailed 3D model and renderings of your assigned space. You will first create a 3D model using Rhino with layers organized by materials. You will also choose two photographs of the space and attempt to replicate the photographs by creating photorealistically rendered images of the space using the Vray rendering plugin for Rhino.
Assignment Description
Assignment 2 Overview
Classes 7 ~ 9 – 3D Modeling – Rhino
Classes 10 ~ 11 – 3D Rendering – Vray for Rhino
Assignment Example coming soon...
Assignment 2 Overview
-
Detail-oriented 3D modeling and representational rigor
-
Effective communication of atmospheric qualities of the space
-
Imaginative renderings of users activating the space
-
Insightful inclusion of contextual information
-
Tidiness of work (e.g. layer management, accurately scaled textures)
-
Depth of research insight and inspiration, particularly in the employment of compositional techniques
-
Include as comment on Canvas
-
Grading Criteria
Assignment 2 Overview
Digital Submission – submit the following files via the course Canvas site:
-
2 renderings and their corresponding photographs of the space, each as 1920×1080 px (W×H) PNG image files
-
Research images, citations, and descriptions of how they have served as your source of conceptual and graphical inspiration, in a single 1920×1080 px (W×H) PNG image file
-
1 Rhino and texture files, all packaged into a single ZIP file
Final Deliverables Due Oct 23 at 10:30am
Assignment 2 Overview
-
PNG files must not have transparent background.
-
One of the renderings must be in grayscale with no textures (clay render).
-
The 3D model shall have optimal geometric, material, and layer organization.
Deliverables Requirements
Assignment 2 Overview
Suggested Research Channels
Assignment 2 Overview
Steps
- Import AutoCAD drawing into Rhino
- Set up and use AutoCAD drawing to create your 3D model in Rhino
-
Choose 2 views / photographs of your space that you will match.
-
Set and save views in Rhino to match the photographs.
-
Tweak render settings and materials to match the photographs.
-
Create final renderings.
- Add finishing touches to the final renderings in Photoshop.
Assignment 2 Overview
-
Rhino 5 Essential Training by Dave Schultze
-
Rhino: Architectural Interior & Detail by Dave Schultze
-
Rhino and V-Ray: Rendering by Dave Schultze
-
Rhino and V-Ray: Architectural Rendering by Dave Schultze
Supplemental Software Training ( Lynda )
Assignment 2 Overview
3D Modeling
- Class 8 – 2 photographs of the space that you will replicate: 1 color, 1 grayscale
- Class 9 – Rhino model screenshots
3D Rendering
- Class 10 – Rhino model screenshots to match the photographs
- Class 11 – Vray test renders
Critiques – To upload on Assignment RealtimeBoard
Assignment 2 Overview
Tips
Model towards the views you have chosen—do not attempt to model the entire building. Model just what you need for your views. Be smart (not lazy) about what you model.
Focus on natural lighting qualities—the priority should be on representing the lighting quality of the space. Be careful not to waste too much time on textures and artificial lighting.
Create accurate representations—if you are using textures, make sure they are properly scaled and accurately represents reality.
3D Graphics
Technology
3D Modeling
3D Rendering
(This distinction seems to be slowly collapsing)
Non Real-time
Real-time
CPU
(e.g. Vray)
GPU
(e.g. Rhino Interface)
Know the difference!

Memory
HDD
GPU
Memory
CPU
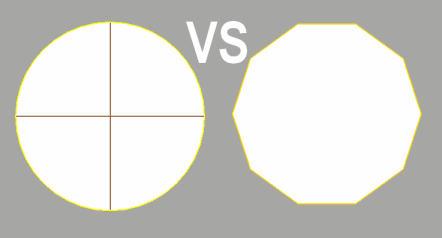
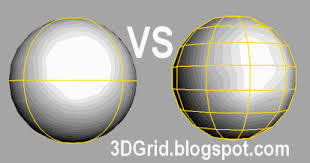
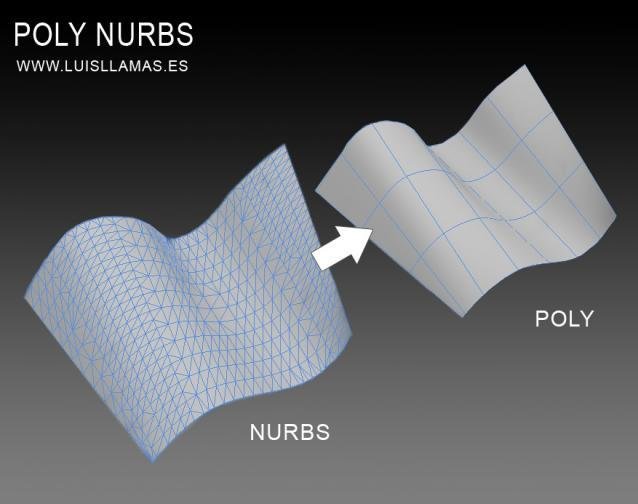
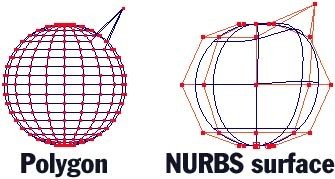
Polygons vs. NURBS
Polygonal Modeling
NURBS (Non-Uniform Rational Basis Spline)
Based on Mathematical Model, Higher Level, More Intuitive
Points (Vertices) > Curves > Surfaces (Abstraction that's ultimately rendered as polygons)
Points (Vertices) > Triangles (Mesh)
Lower Level, Less Intuitive, More Efficient for 3D Rendering
Know the difference!
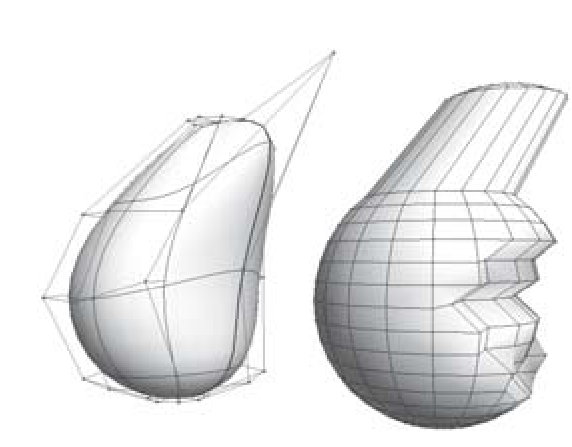
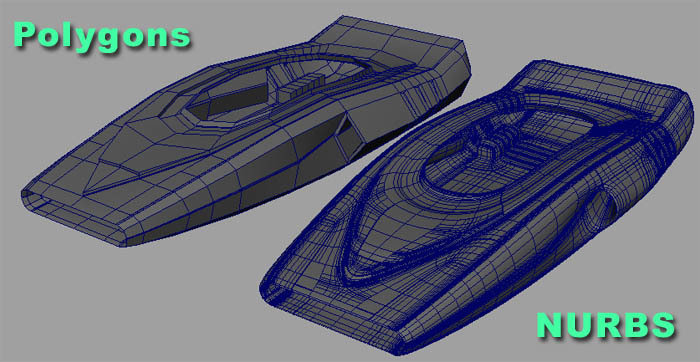
NURBS vs. Polygons

NURBS vs. Polygons
NURBS vs. Polygons
A
B
NURBS vs. Polygons
B
A
NURBS vs. Polygons
B
A
NURBS vs. Polygons
Polygons
NURBS
NURBS
Polygons
Polygons vs. NURBS
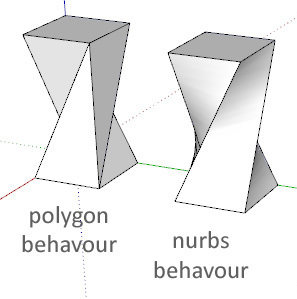
NURBS
Behavior
Polygon
Behavior
Solid Modeling
Emphasis on Physical Fidelity

Can Be Based on
Mathematical Functions
Solid Modeling
Boolean Geometric Operations

Solid Modeling
Boolean Geometric Operations
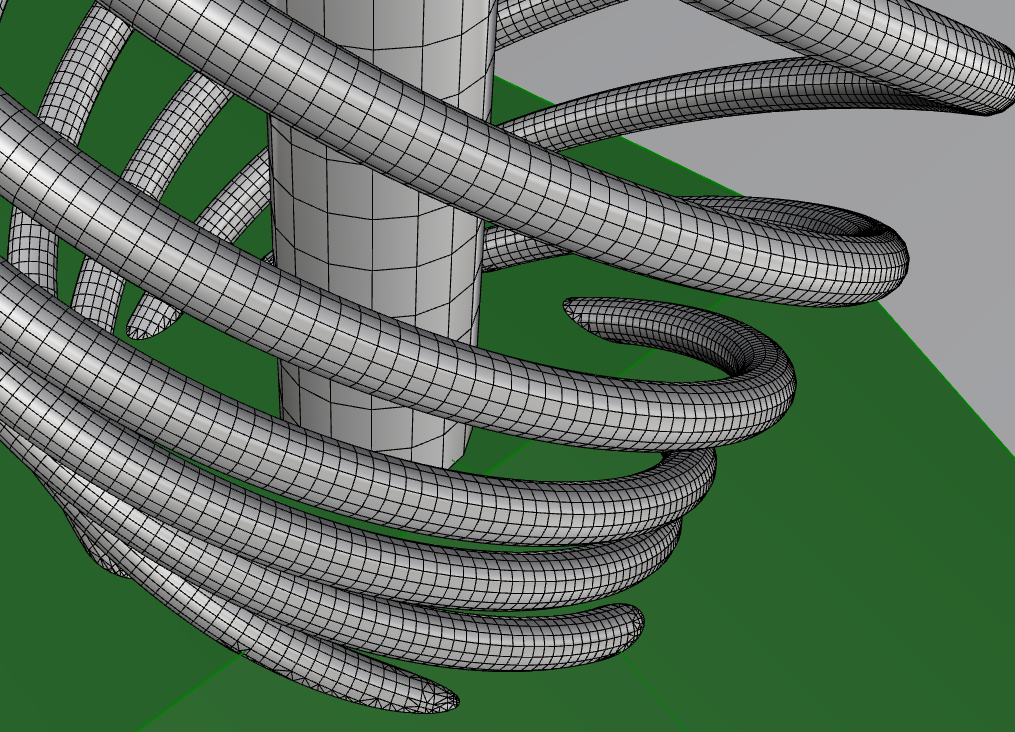
All 3D computer graphics abstractions are fundamentally comprised of small triangles (facets, faces, etc.)
Through the process of Tesellation

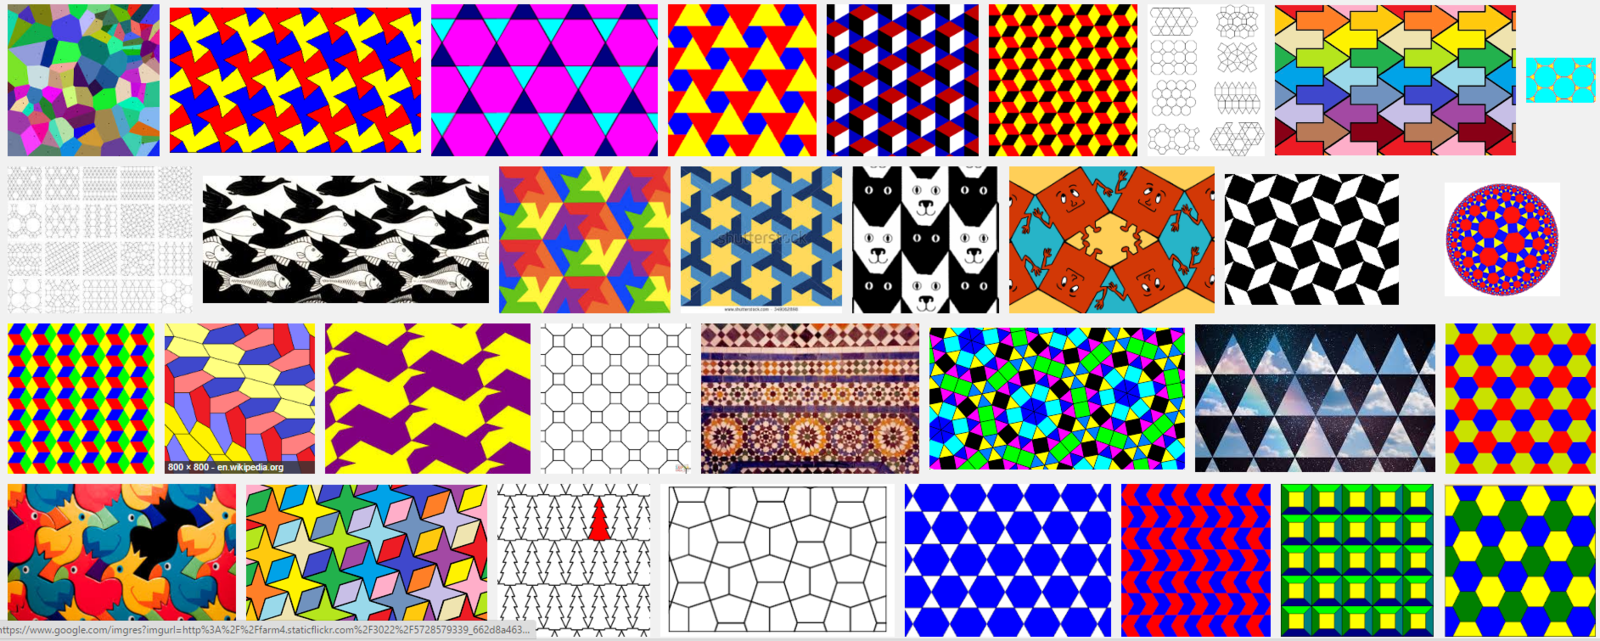
Graphic Tessellation
Architectural Tessellation
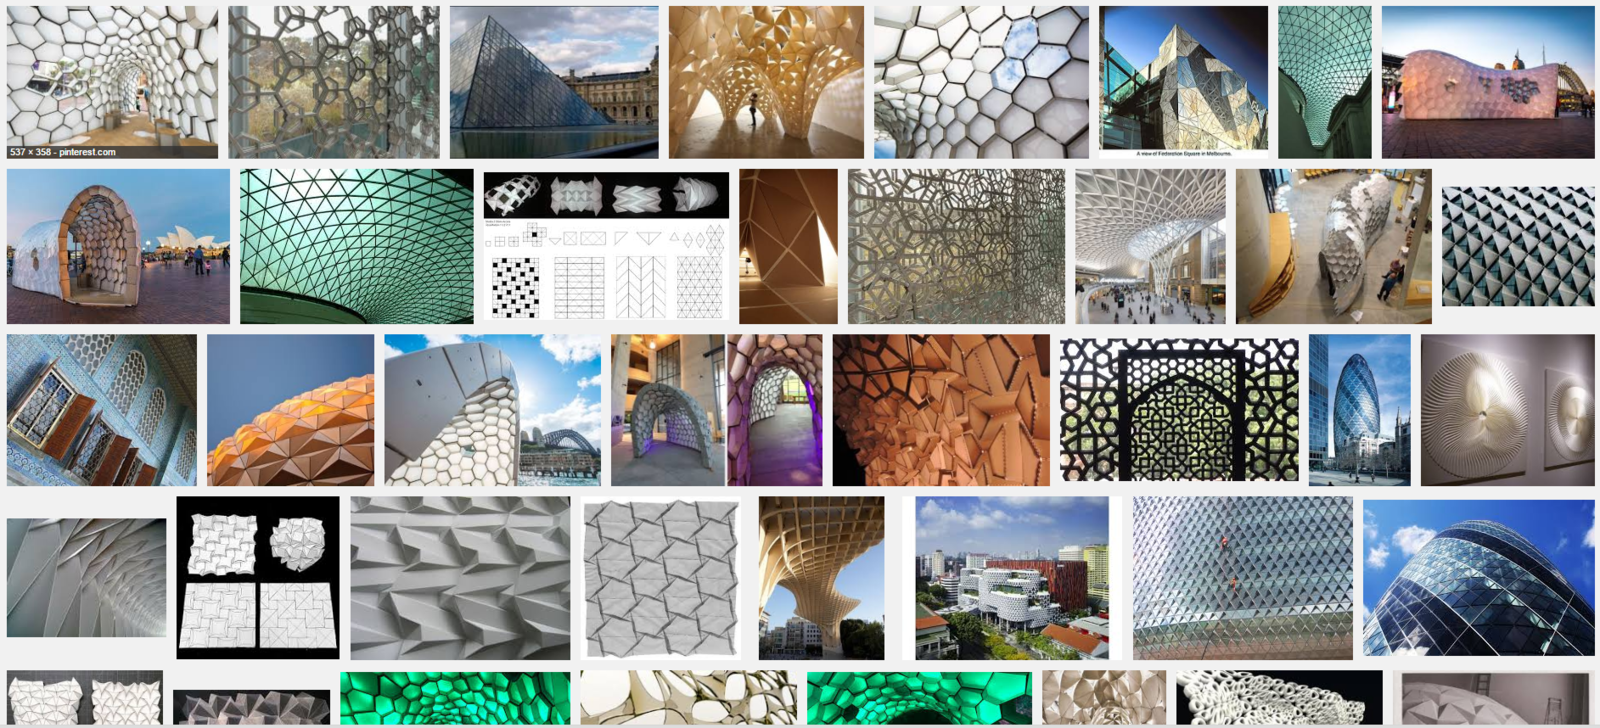
Number of vertices needed grows with the amount of curvature in the geometry.
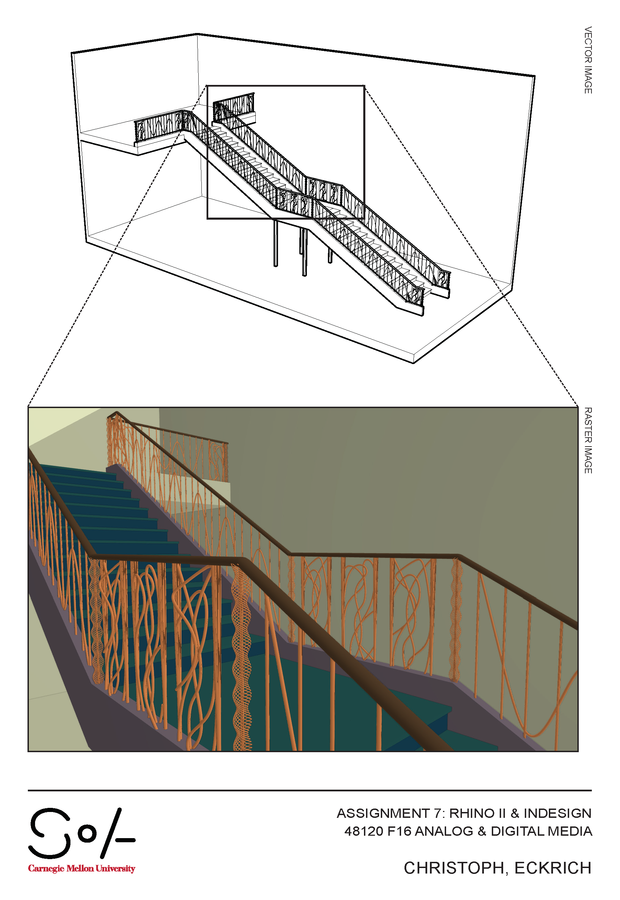
Try to imagine how many vertices/faces would be needed to model thin "piped" geometries.
e.g. Modeling hair is a difficult computational problem.
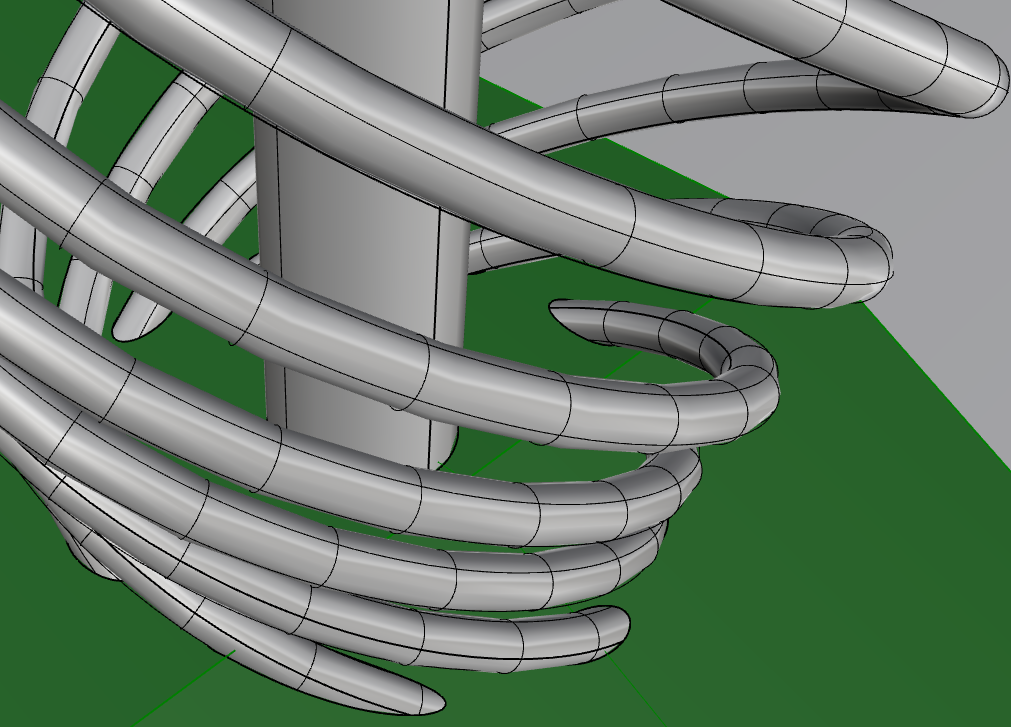
NURBS
Mesh (Polygons)
For this assignment, you will work mainly with NURBS
Except when you use 3D models from the web (e.g. 3D Warehouse), which will be in mesh (polygons)
Due Next Class
2 photographs of your space
One of these must be rendered in greyscale with no textures (Clay Render)
Rhino 5
Basic Tutorial
Download and follow along!
48120 F17 Class 7
By Eddy Man Kim


