HOW DID YOU USE MEDIA TECHNOLOGIES IN THE CONSTRUCTION AND RESEARCH, PLANNING AND EVALUATION STAGES?

RESEARCH AND PLANNING
During the pre-production time of my A2 level project, both YouTube and Vimeo were key to do some research. I chose to use both of these video-sharing sites to do some research into our chosen genre as they are two of the most used sites in the world that are used to access videos.
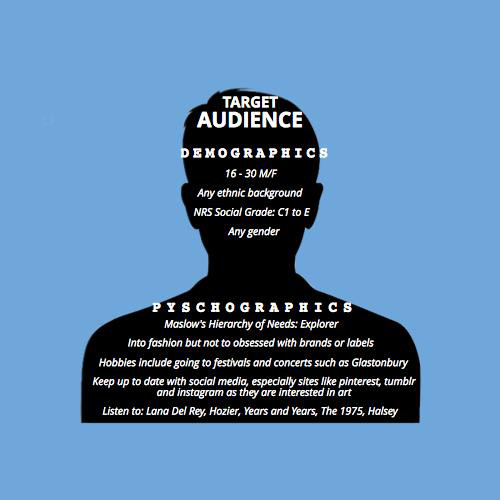
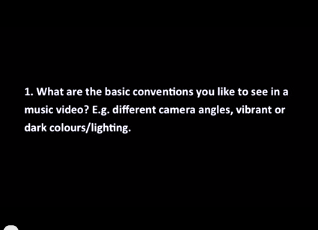
In order to do some in depth planning, my partner and I thought that it would be useful to gather a few of our target audience and do a mini focus group of them answering our chosen questions about our plan for our music video. This was useful because it helped us understand what our target audience would and would not prefer in out end product.
Before doing some in depth research in our genre, we just shot a little music video for the genre of R'n'B, just as a little practise to get a feeling of what it would be like to both direct and shoot a music video.
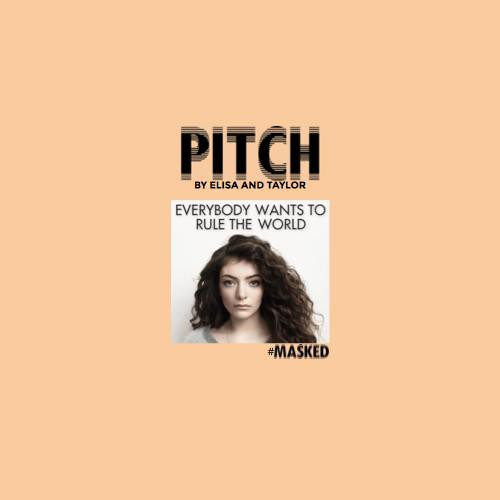
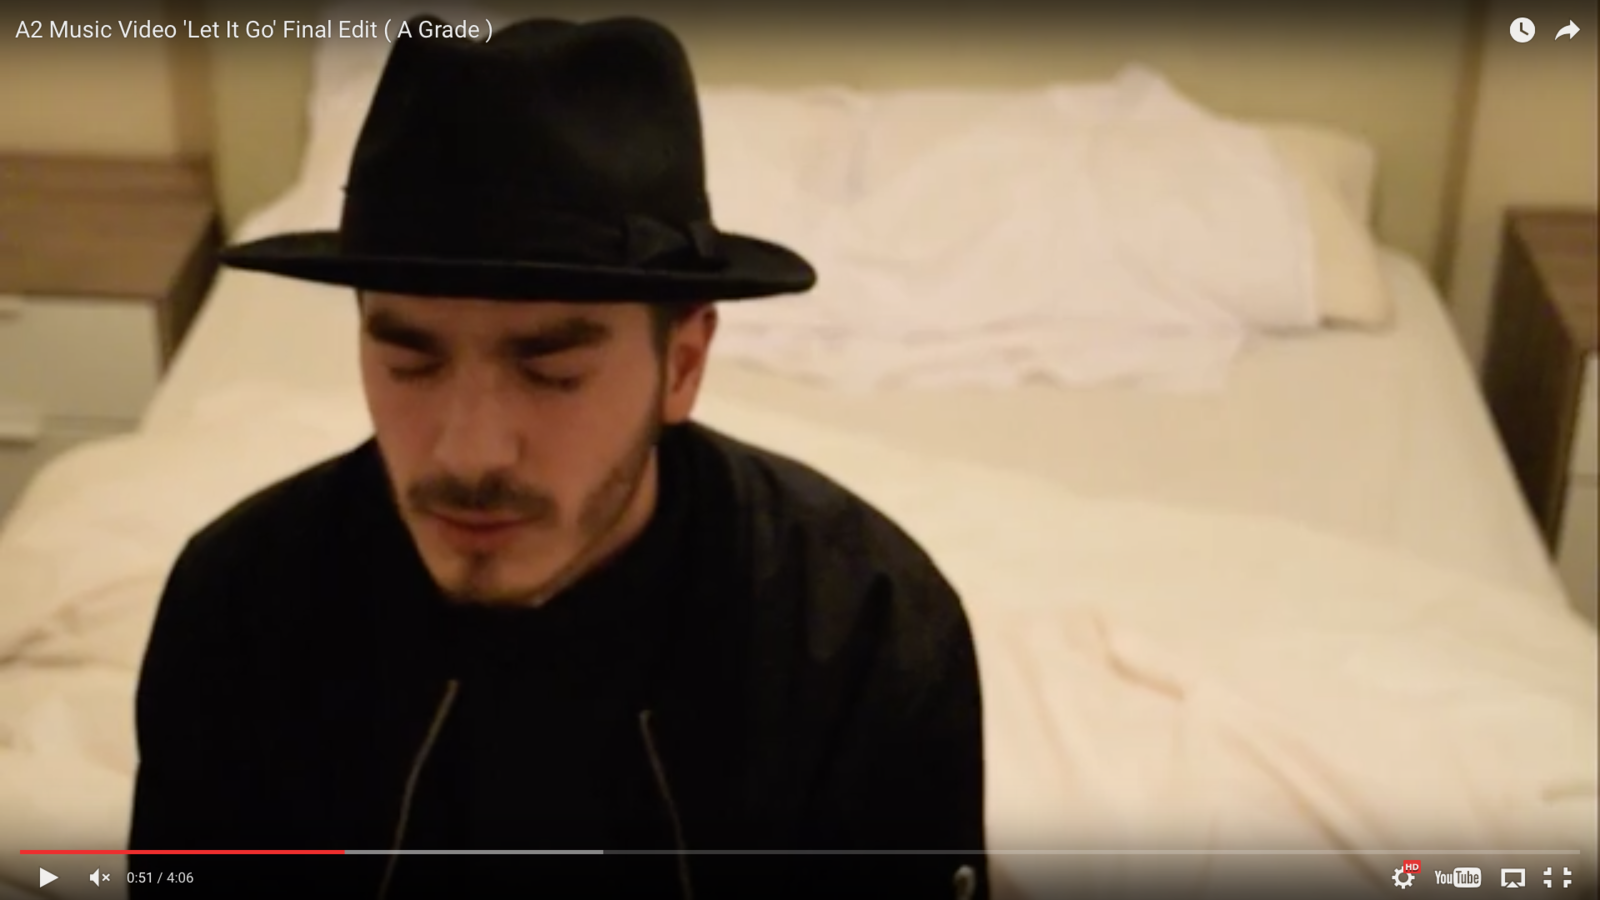
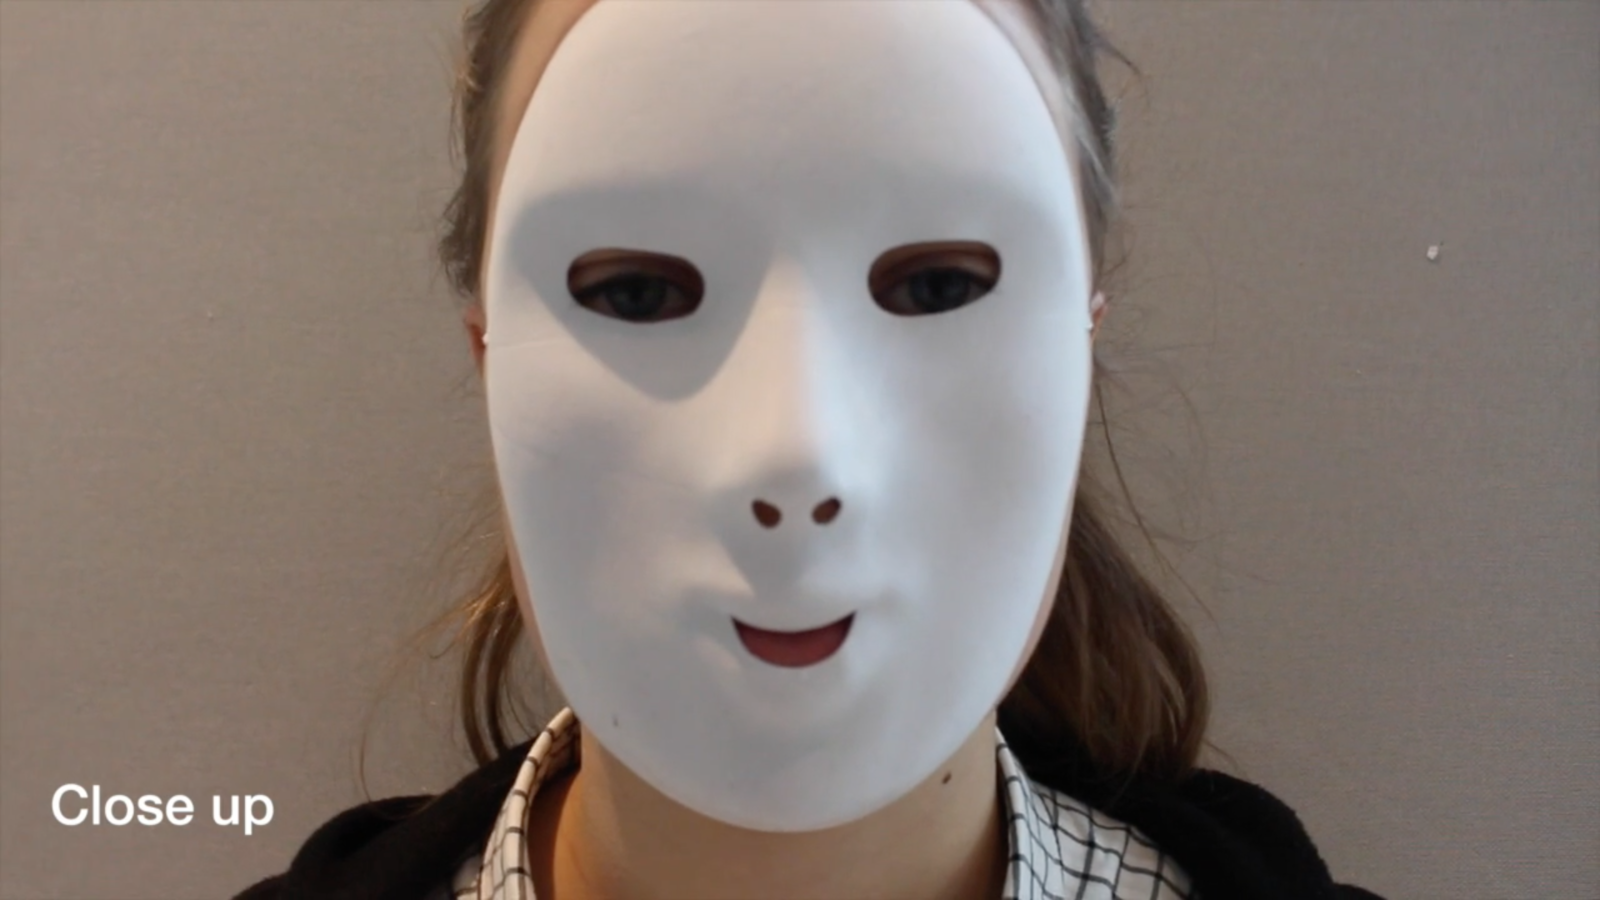
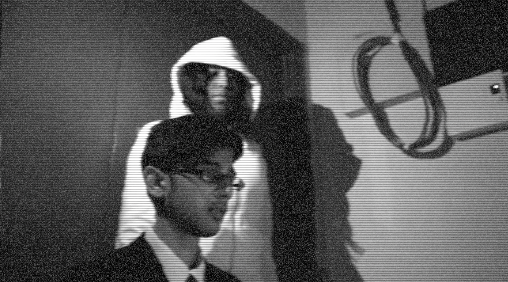
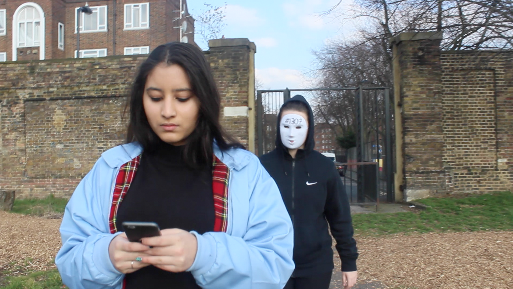
To do research that would help us during our production, we thought it would be both logical and useful to research into our chosen genre, indie-pop. Whilst researching existing music videos, I noticed that many Lana Del Rey and Hozier music came up so I looked more into their videos. Both artists had similar conventions in their videos. These mainly consisted of extreme close ups (to show emotions), a dark mies-en-scene and a meaningful narrative.
YouTube and Vimeo were also great websites to find other existing A2 level music videos. We thought it would be important to look at


Before starting to work on Final Cut Pro, my partner and I used iMovie to edit both our focus and practise video. iMovie was an okay piece of software to use. I found that it was quite hard to manage in terms of cutting and editing clips but it seemed to get the job done.
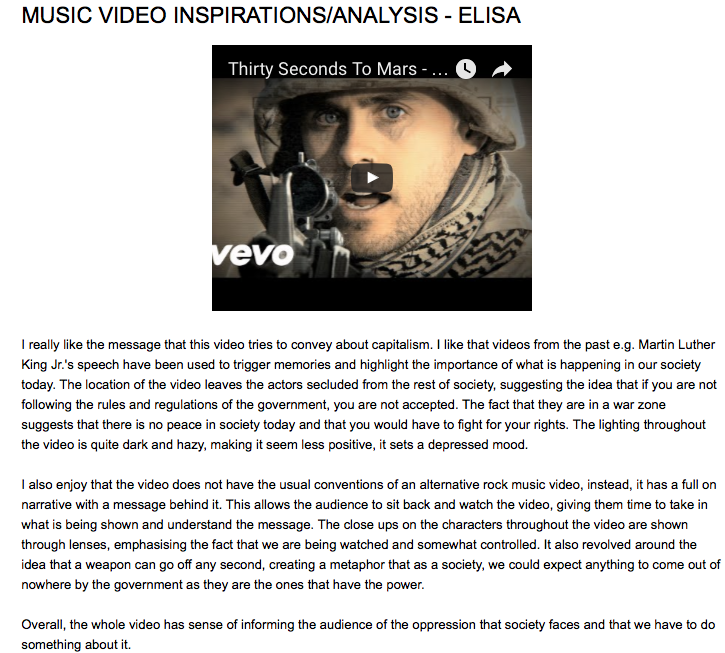
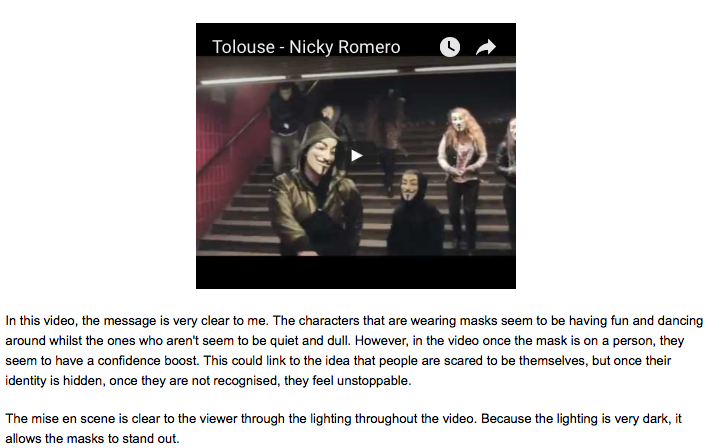
Below is some evidence of my analysis of existing indie-pop music videos.
these also as they helped give us an idea of what is expected of us on a professional level.
Canon EOS 600D
iMovie
Iphone 6
RESEARCH AND PLANNING
After we chose the song we wanted, we made a storyboard. This was essential in our research and planning as we had to make sure that we had the main idea on what each frame was going to look like in our music video.
However, due the storyboard being on paper, it was hard to see what it would look like as the frames were moving. Thus, we thought it would be a good idea to digitalise it. So, we took photos of each piece with our Canon EOS 600D camera and placed the files on the computer. We then used iMovie, to make it into a video. We also placed the audio file on the clip as well. This allowed for my partner and I to get a glimpse of what our music video could look like.
We then exported the video from iMovie to Vimeo. We figured some of the files we upload as part of our research and planning, we would upload these to vimeo. We chose this video sharing site over YouTube because it has more privacy options (e.g. a password can be put on a chosen video), the users of vimeo are more professional and does not have much
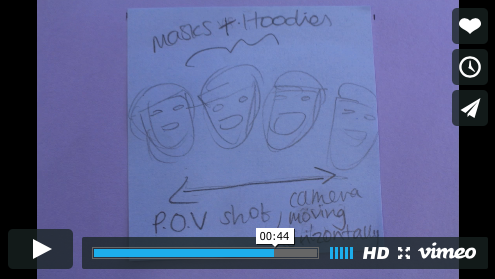
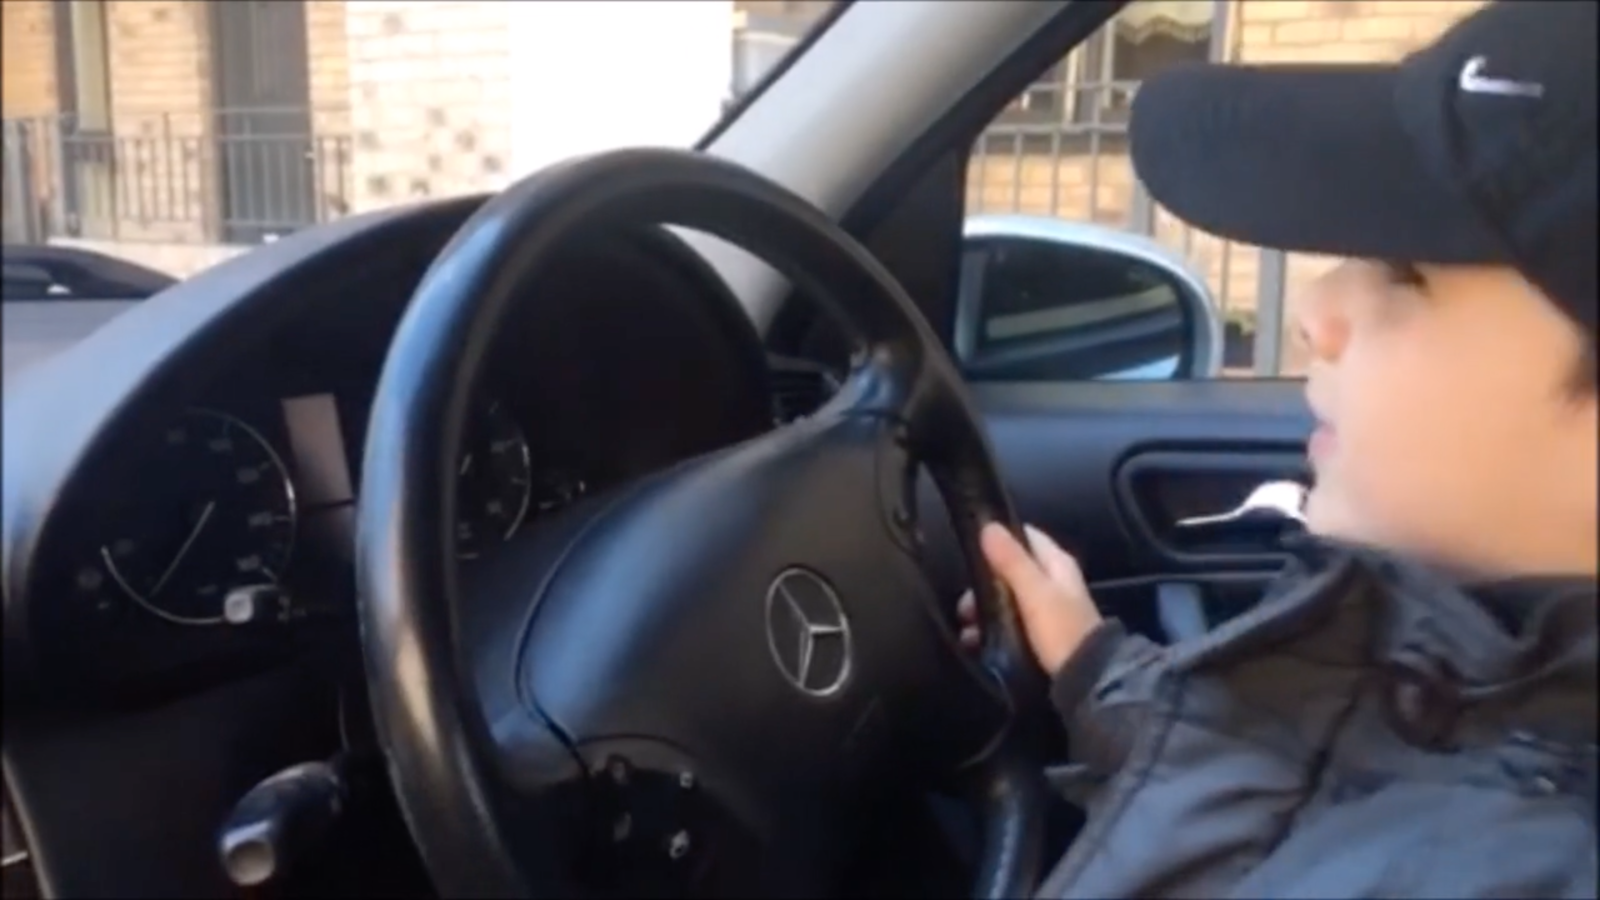
In addition, we wanted to shoot some practise shots in order to gain some experience with the camera (Canon EOS 600D) would be using in the final product.
Here are a few examples of some of the shots we took:
CONSTRUCTION
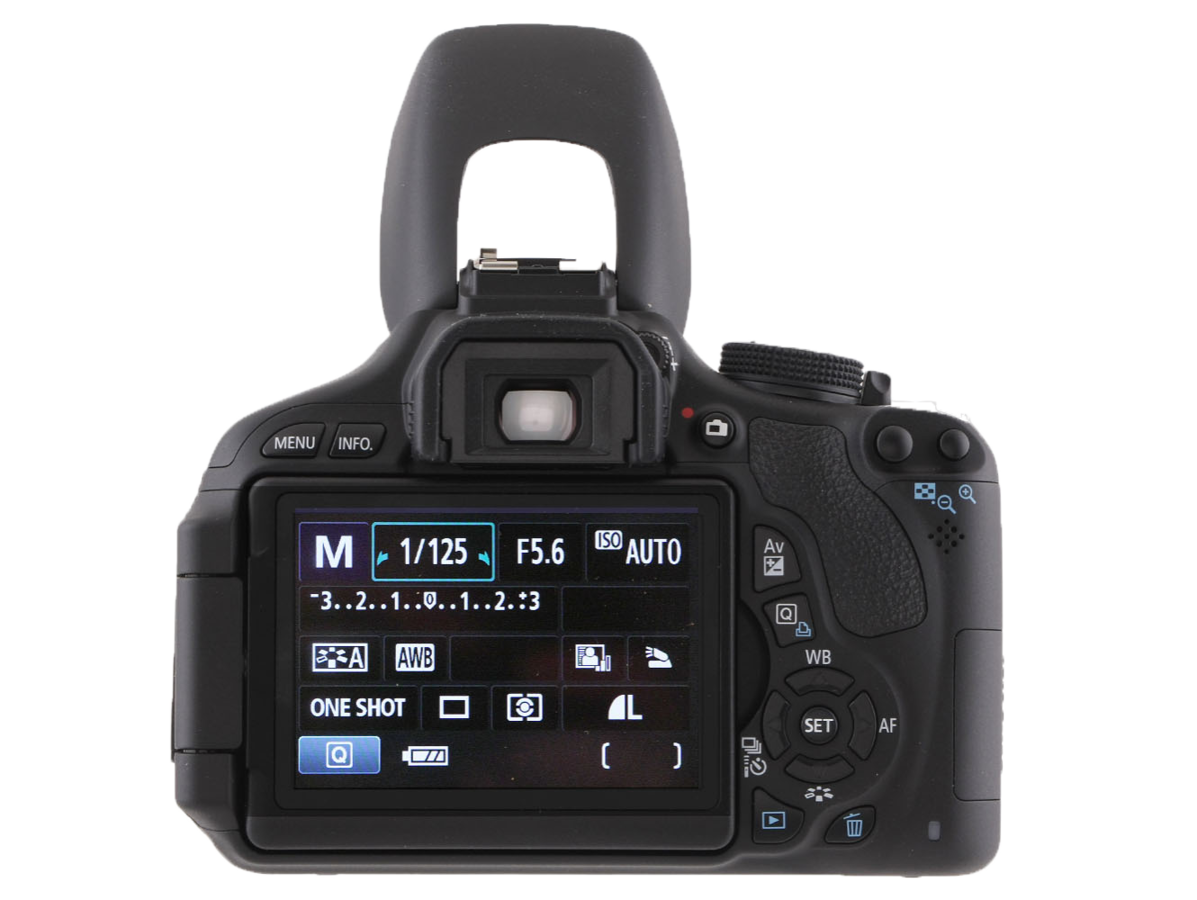
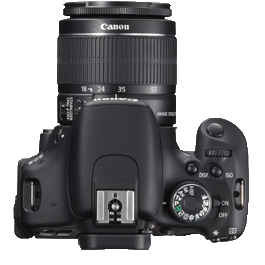
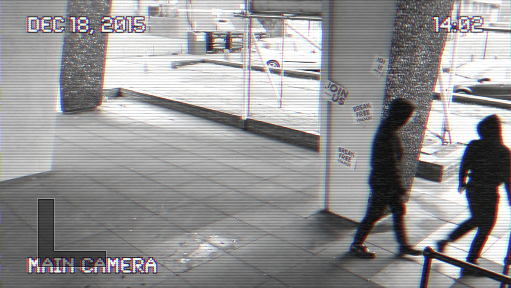
During production, we used a Canon EOS 600D. This was very beneficial when filming due to the in-built special features. This included the option of 'pull focus,' which allowed my partner and I to have control over what parts of our shots we wanted to have focus and which ones we did not - this worked well with the tone of the song we chose. Also whilst recording, the camera has a HD (1080p). This helped with the overall look of the end product.
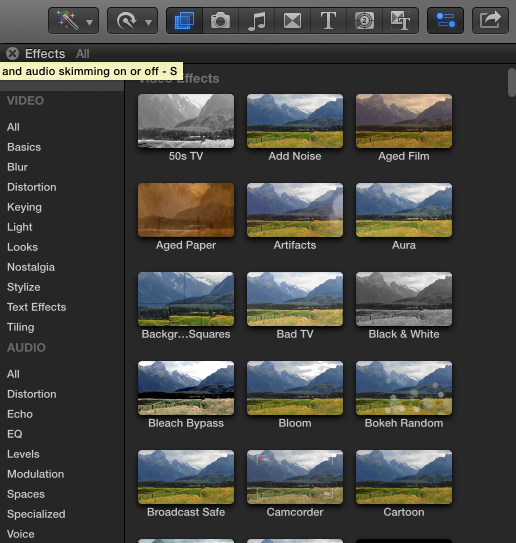
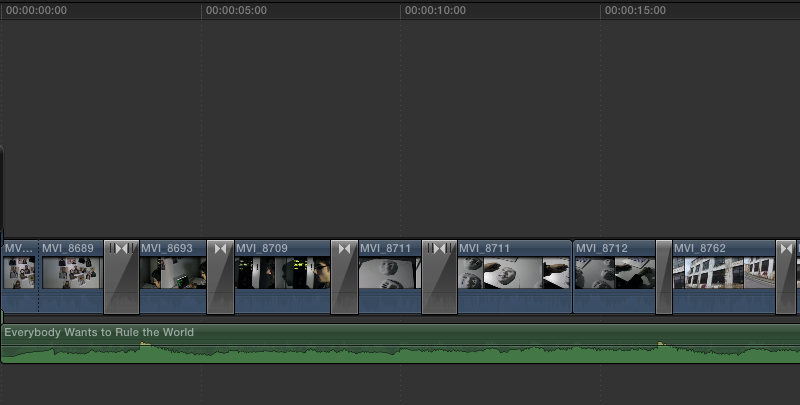
Final Cut Pro was a very important part of the construction of our end product. We were introduced to Final Cut Pro in our A2 year , which we realised is a much better enhancement of iMovie in which we used for some preliminary tasks. Compared to iMovie, Final Cut Pro had a large variety of filters and tools which allowed us to be as creative as we could have been. Whereas, on iMovie, it would have been very limited.
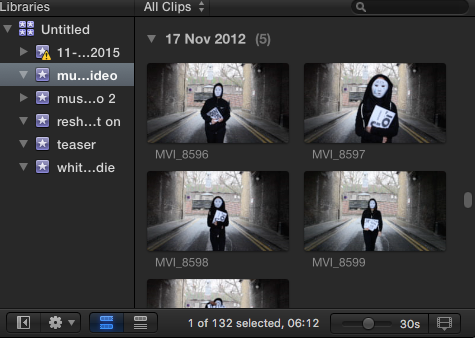
Final Cut Pro has a sidebar on the top left hand side where all the footage taken is placed. This was a very beneficial feature as my partner and I could easily identify clips that we had took and place them where we wanted in the video. This was also available in iMovie but the speed in which the videos were imported onto the software was very fast. In iMovie, this would have taken around five minutes whilst in Final Cut Pro it took seconds.
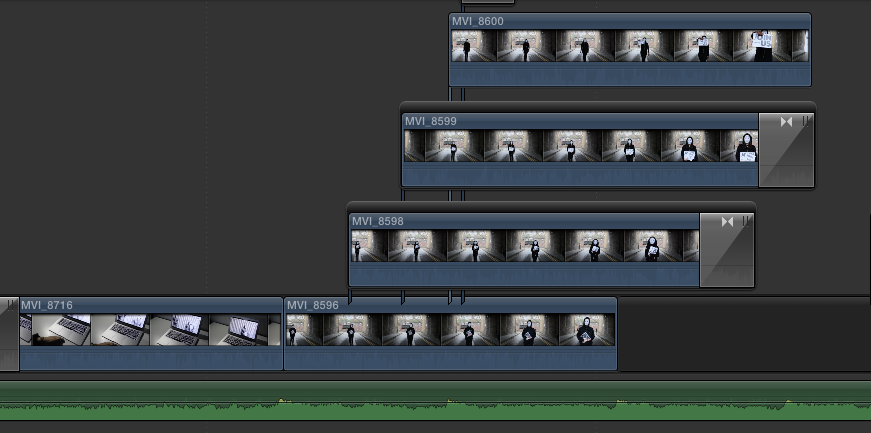
On Final Cut Pro we were able to layer videos. This gave my partner and I the opportunity to be innovative. By using the feature, something that was not available on iMovie, we were able to add visuals that we thought would be suitable for out song.
FINAL CUT PRO
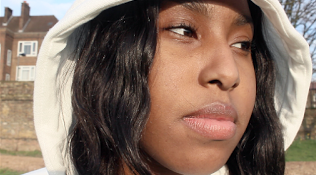
By using the layer feature, we were able to create what is on the picture on the left side.
Based on Andrew Goodwin's Theory, we wanted a relationship between music and visuals aspects. The tone and atmosphere of the visual reflects that of music
CONSTRUCTION
FINAL CUT PRO (2)

The box on the right side of Final Cut Pro helped manage the effects and the overall look of the selected layer of footage. This was incredibly useful whilst editing our music video.
Due to most of our footage taken handheld, some clips were shaky and were not stable. This did not work well with the general aesthetic we wanted for out final product. Fortunately, Final Cut Pro has a 'stabilization' option.

An example of using these features is this specific clip:
This toolbar on the right was also very helpful in the post-production stages as it enabled us to add effects and transitions to parts of our video that we thought were important to add.
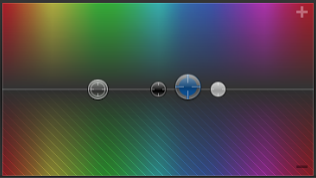
The side box on the right also has features to change the hue/saturation, colours and brightness/contrast. This is something that was hugely beneficial for us as it helped change the colour of some clips in order for them to suit the rest of the shots taken.

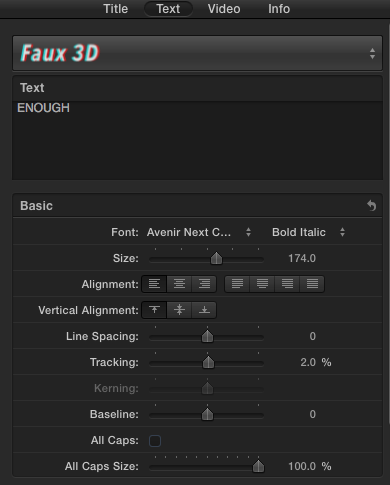
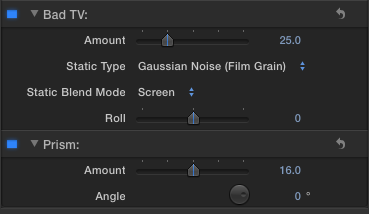
The side box also allowed my partner and I to edit text to what we wanted. Also, the effects that we chose is also available to edit through the side box to our preference e.g. the actual amount of the effect we want on the selected clip.
These are some examples of where we used the effect features.
CONSTRUCTION
FINAL CUT PRO (3)
Aside from being able to create layers on Final Cut Pro's timeline, it was very easy to use to edit during the post-production of my course. One factor of this was that the we could seethe audio clip in more detail. Meaning that we could see each bang and each beat of the song. This was very useful in the process of editing our video as we able to cut shots based on the certain beats. We were also able to raise the audio levels based on where we wanted them. For our video we chose to fade out as we thought it went well with our narrative.
The blade tool was also a very important feature because it allowed me and my peer to cut shots that we thought were too long and in order for them to suit parts of the song we thought were important. Although

the blade tool can be reached by
using the drop down menu above the timeline, we found that by just clicking the letter 'B' on the keyboard would bring it up. This helped speed up the process of post production.
Another reason why Final Cut Pro is an easier and much better software to use than iMovie is that when cutting clips on the timeline, Final Cut Pro has a red line appear which makes it much clearer on where exactly the user is determined to cut. Whereas, on iMovie when trying to cut clips it was very hard to understand where I was cutting. This allowed for clear and precise cuts to occur during our
This an example of using the blade tool. We wanted to have a shot reverse shot to show the audience a part the storyline and thought by cutting the clip in half and then inserting another clip in between did that exactly.
The crop and transform tools were also very useful in the editing process. While the crop tool allowed us to crop footage we thought needed to be cropped, the transform tool allowed us to rotate and move around parts of the video. An example below:
video.
CONSTRUCTION
ADOBE PHOTOSHOP
CC 2015


Photoshop was a very useful programme to use when creating/editing our ancillary tasks. This is mainly due to Photoshop being one of the top globally used photo editing software's. We thought this would add on to the professionalism of our final product as it would not look simplistic but instead, aesthetically pleasing.
Photoshop was also very helpful in bringing our designs to life. This made them our creations look very professional. These are some examples:


dafont.com helped my partner and I find fonts that we thought would suit the concept of our video. On the site we could search within categories to look for the type of font that we wanted. The site was very easy to use aswell as all we had to do is download the font that we wanted and it would come up on Photoshop.

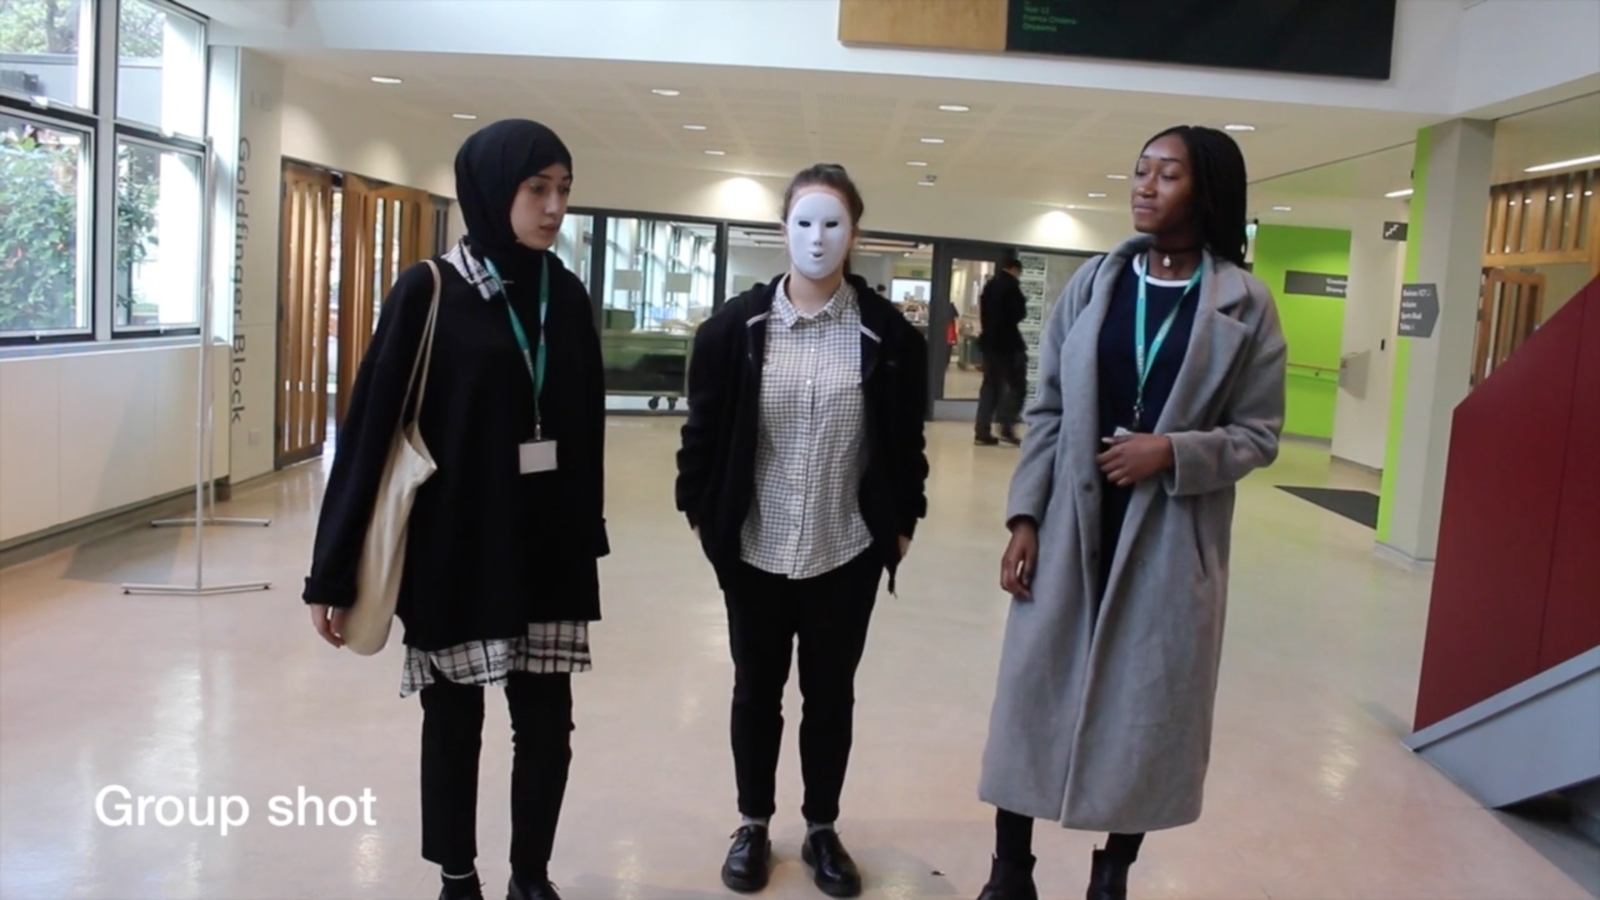
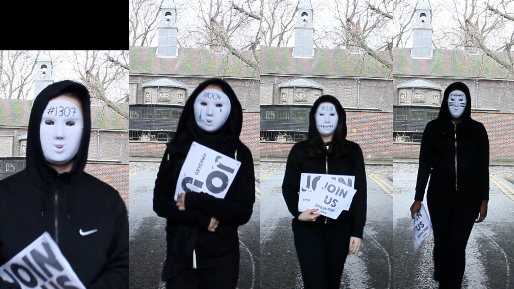
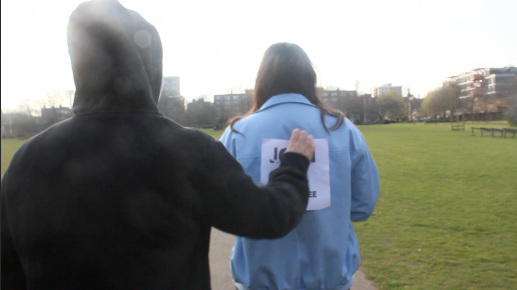
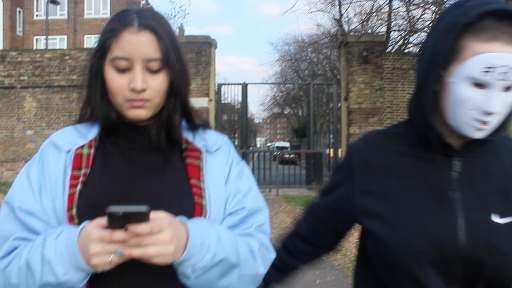
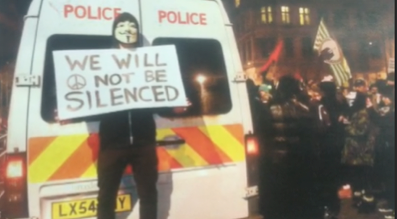
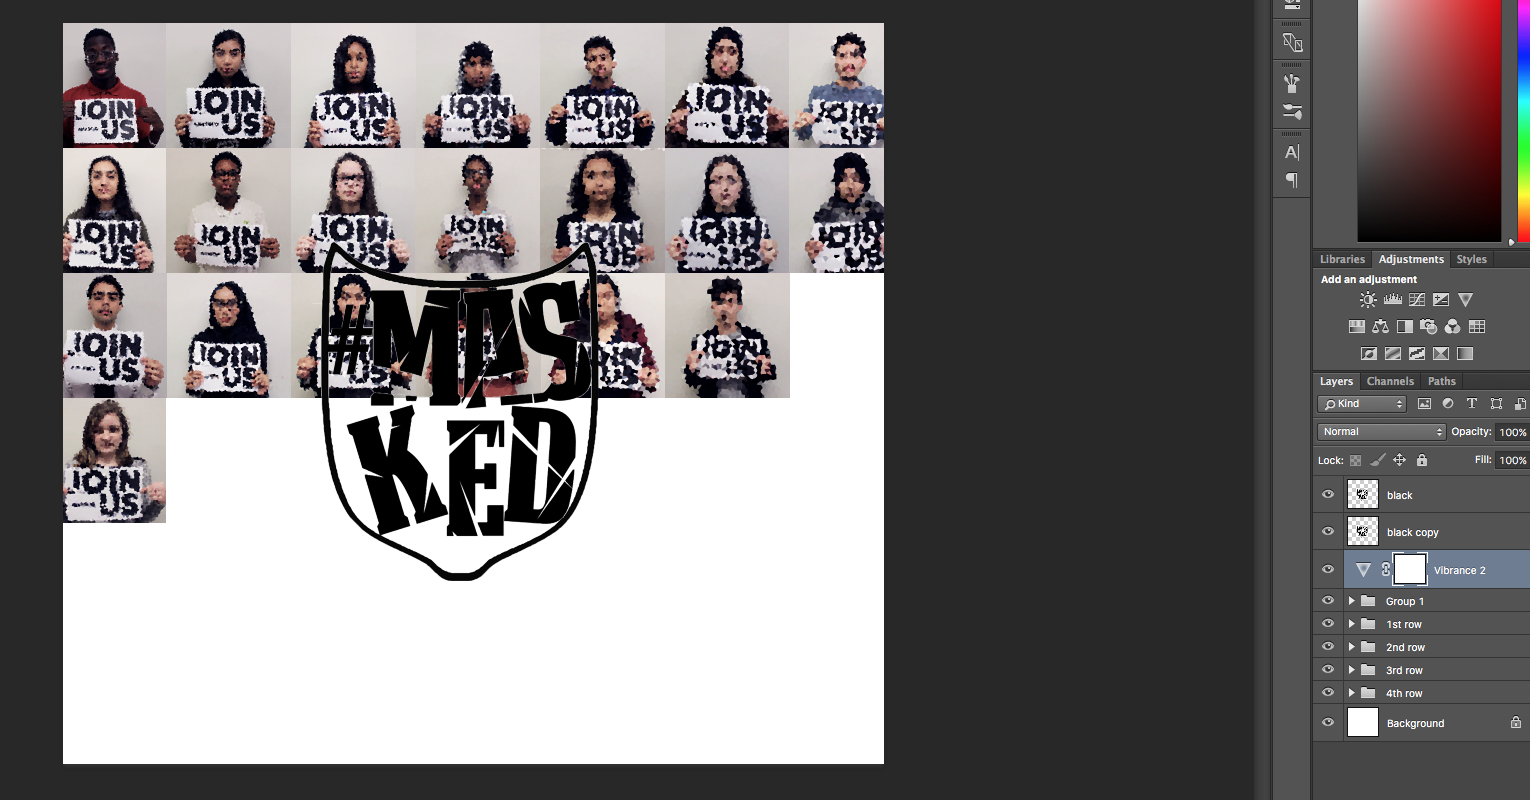
These posters were made during the pre-production stages as they would appear in our video as our masked and hooded characters would be putting them up on walls.
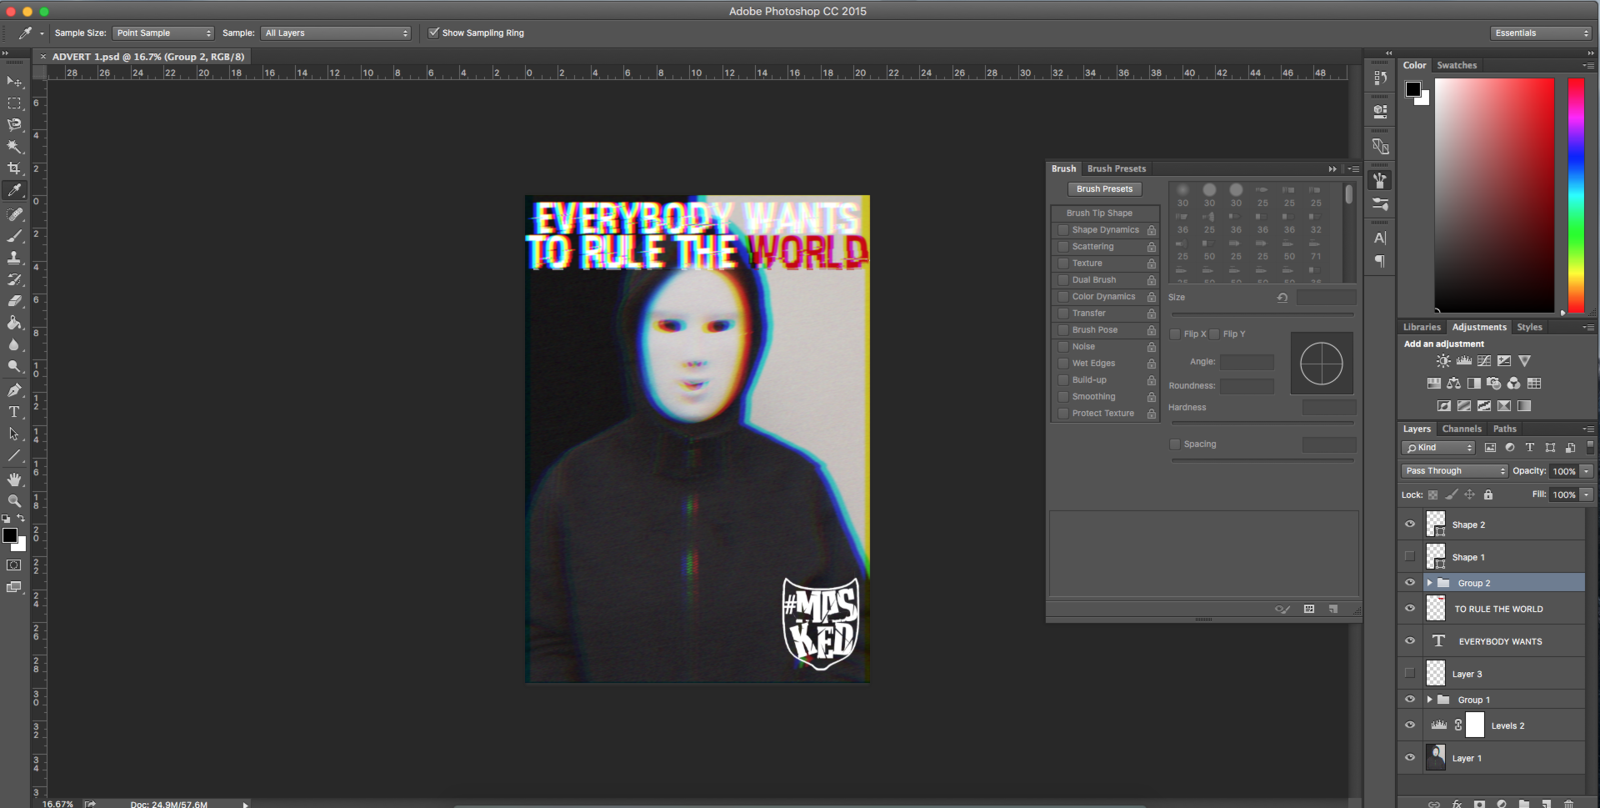
We also used Adobe Photoshop CC to create a magazine advert and CD cover/digipack for our music video. This allowed us to create something that we thought was suitable for our music video.
EVALUATION
BLOGGER
Blogger was a very important aspect of our production. It allowed us to post nearly every single step of our music video product.

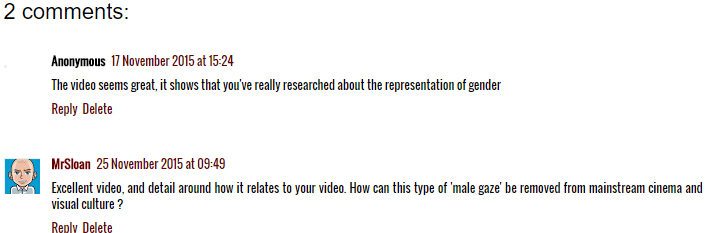
By doing this my partner and I were allowed to post our ideas and finished products online and gain audience feedback. This allowed us to take in suggestions to improve and/or see what our target audience thought of our final pieces.
We found that Blogger was also very easy to use which helped speed up the process of production - especially as it is online. If it were to be the on paper, the process might have taken longer which would have resulted with the quality of our work.
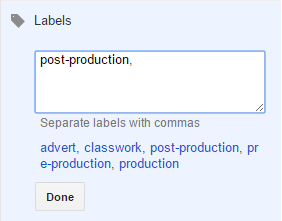
Also on the site, it gives the user the ability to be able to label their posts. Such as, with our posts, we would label them according to what part of production the post(s) suited. We thought this was entirely beneficial as it helped organised posts and would allow the person visiting our website to head to the direction they'd like in a quick and professional manner.
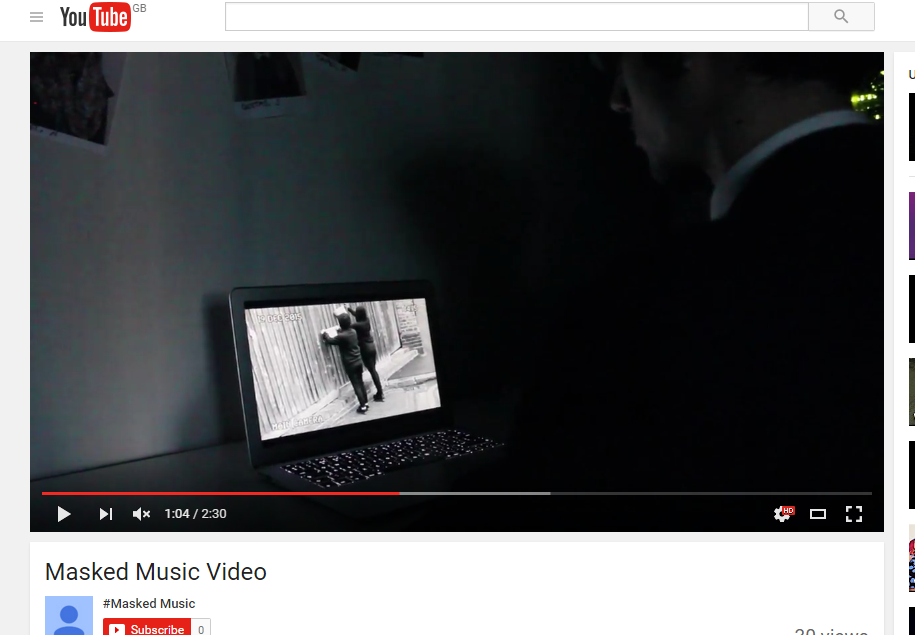
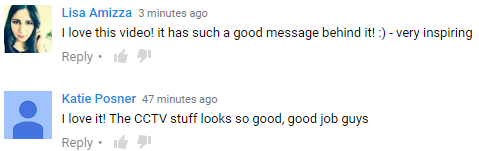
YouTube also played a huge part in the evaluation stage of our music video. This is where we posted the final video for our target audience to see. As YouTube is a global media platform, we thought that this was the best option if place to upload the video.
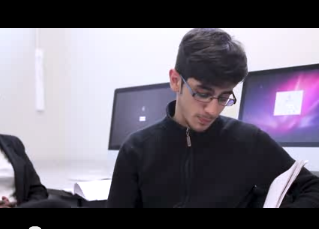
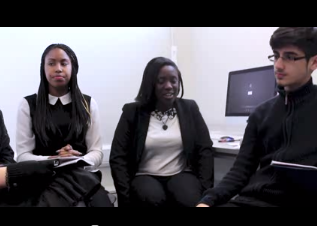
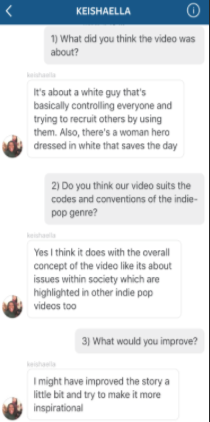
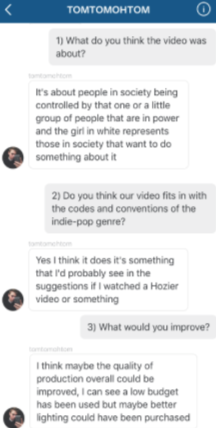
As part of our evaluation, my partner and I chose to shoot focus groups as we though this would be one of the best ways to get the audiences reaction. We shot the focus groups right after we played the video for them, this enabled us to get the true and genuine reactions from our target audience which we thought was beneficial to our evaluation.
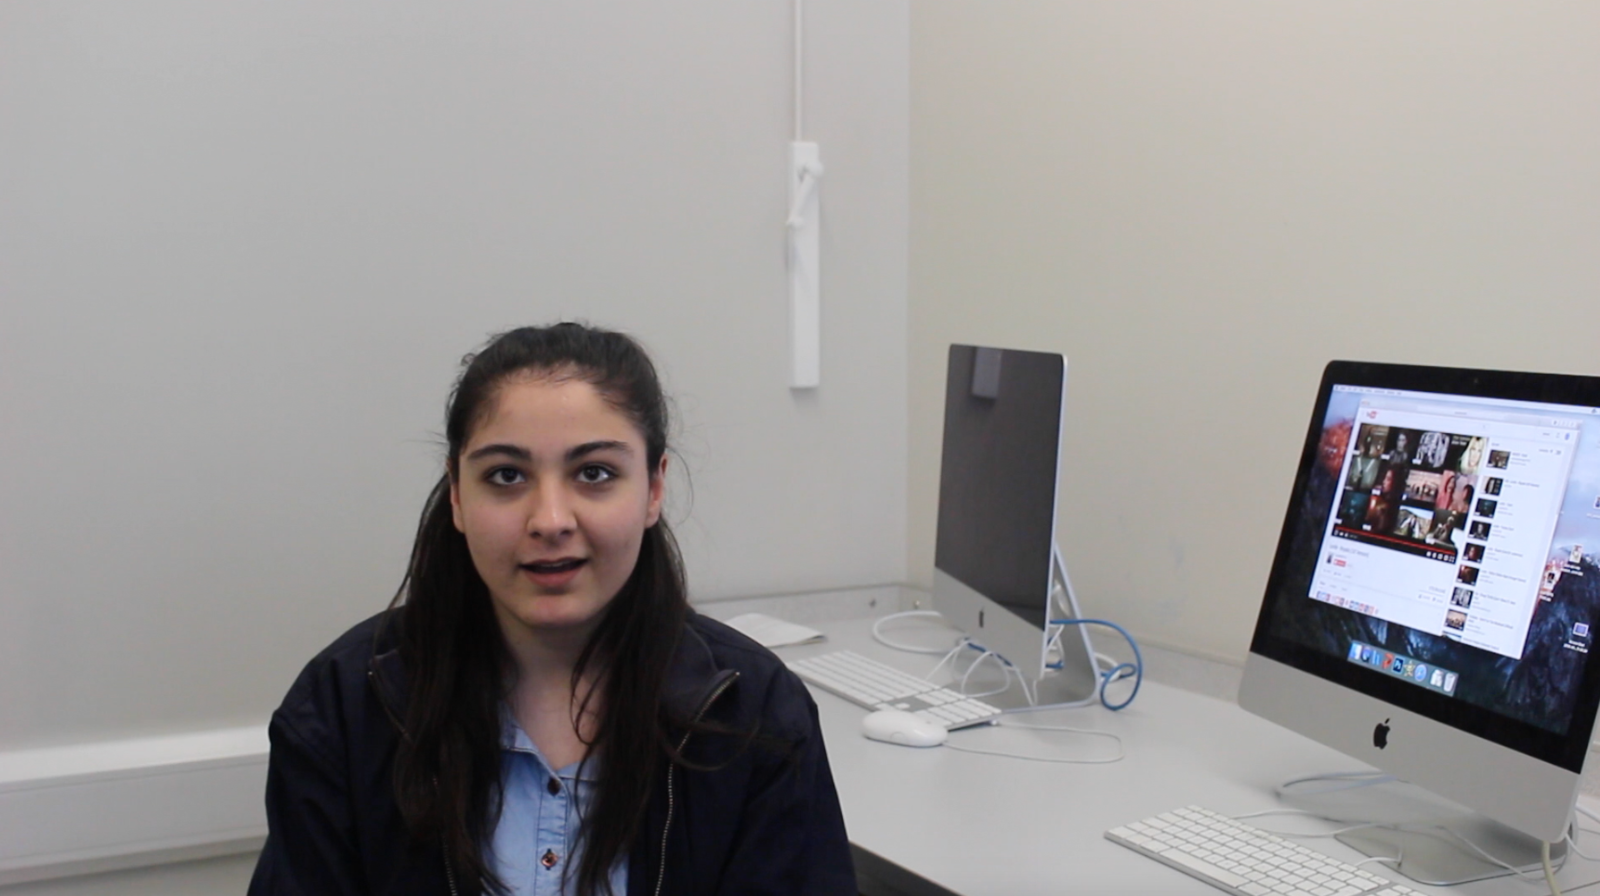
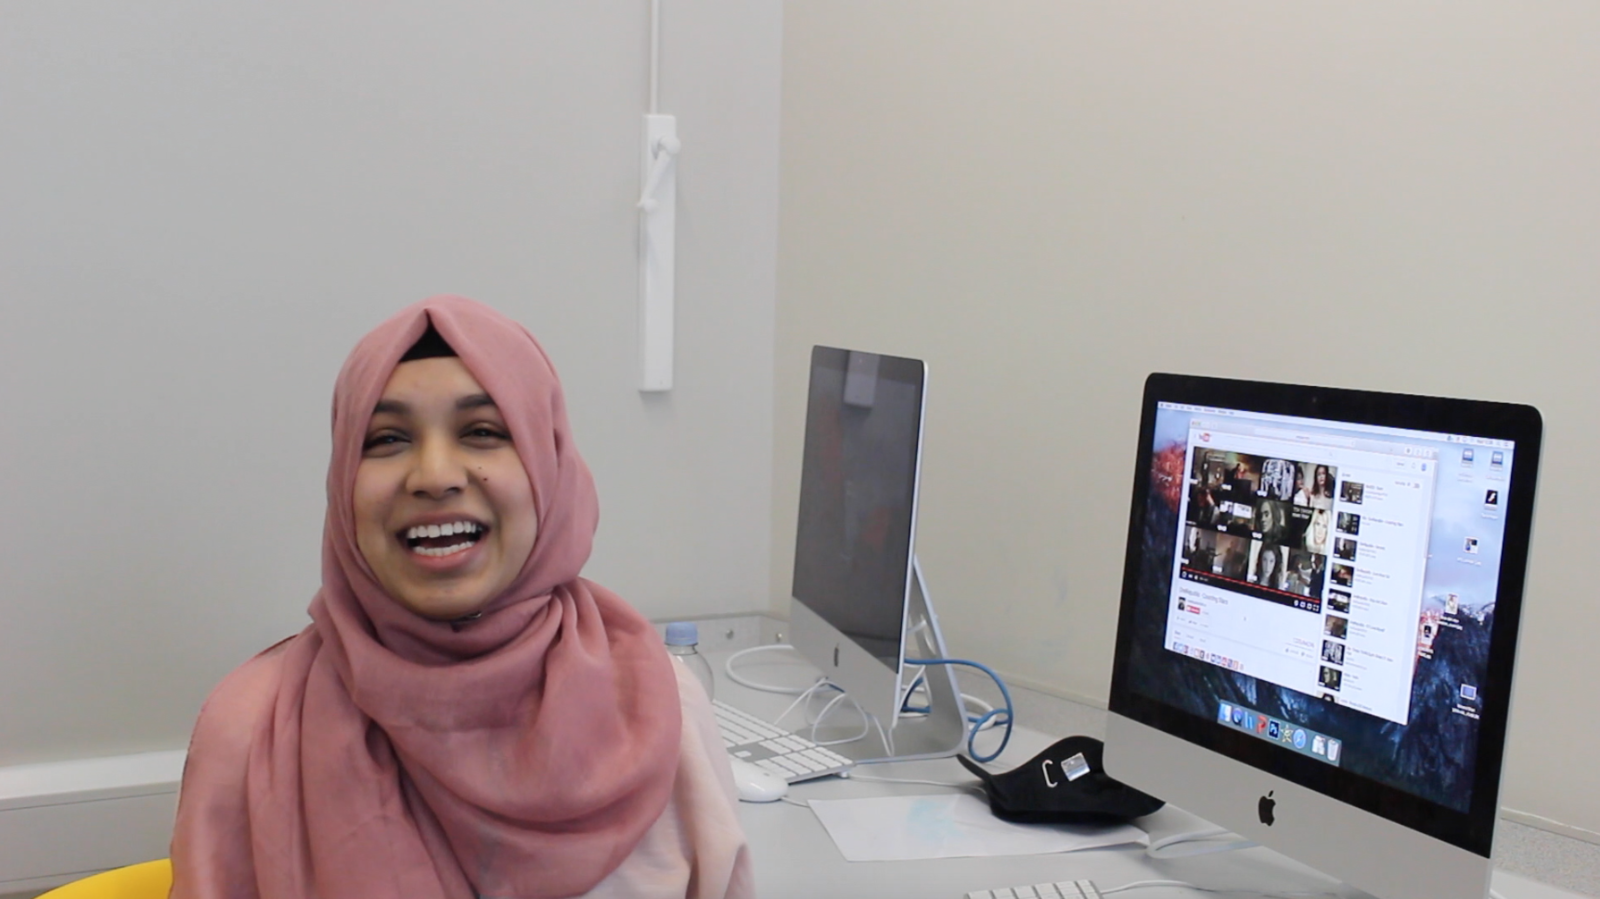
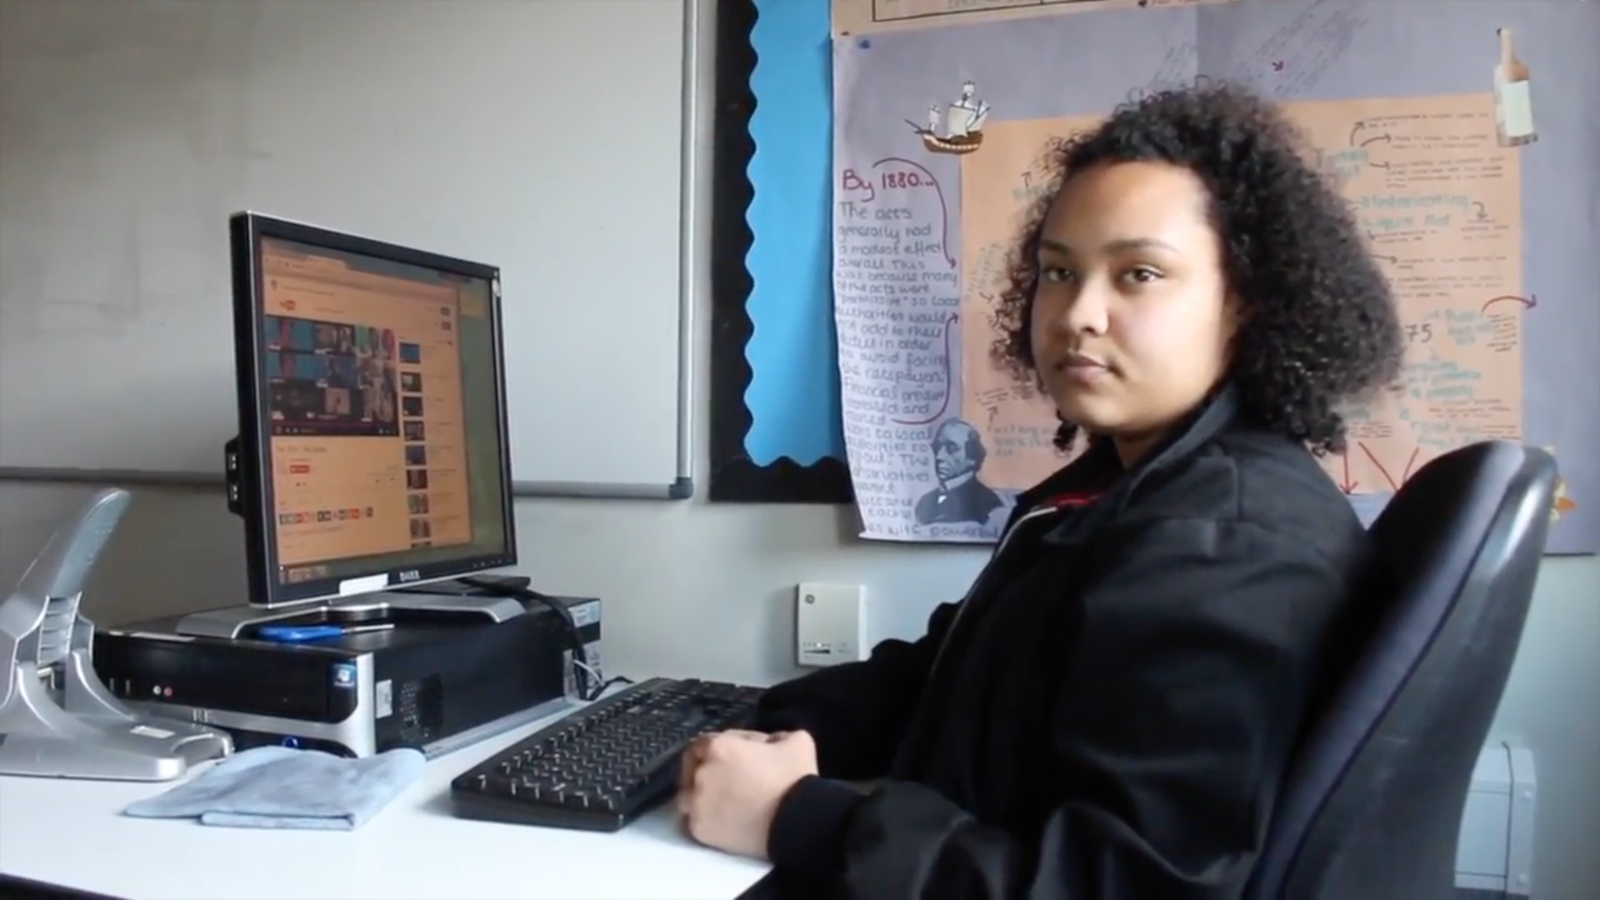
Canon EOS 600D
Youtube
EVALUATION


By posting the link to our video onto Instagram, we were able to reach our target audience globally.
Using social media allowed us to gain truthful feedback from our target audience. This is because people tend to be more truthful behind the screen as it is easier to give criticism when you are not talking to someone in person. It did have some downsides to it though as we could not see the audiences instant feedback.

We posted the videos on our personal accounts in which we each have over 200 followers. The little 15 second video on Instagram got 277 views which helped the overall views on the actual video on Youtube.
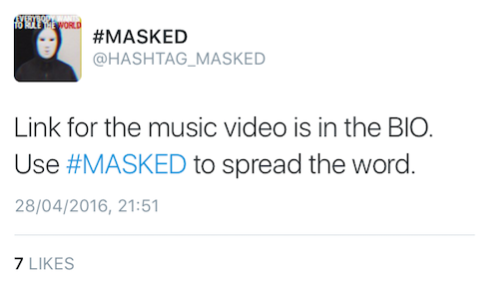

We thought Twitter would be very useful in getting feedback from our target audience. As Twitter has over 230 million users, our target audience would most likely be one of them.
So, we created an account for our band and tweeted about it, this allowed the YouTube views and feedback on there to increase.
Question 4
By Elisa Celikdemir