Robots 01 & 02
Robots 01
August 18th 2017
Motors
-
DC - converts direct current electrical energy into mechanical energy, 2 leads (+/-)
-
Servo - DC motor with gears, 3 leads (+/-/signal)
-
Stepper - Motor with certain number of steps representing a single revolution, 4 leads
All circuits with drawings made using
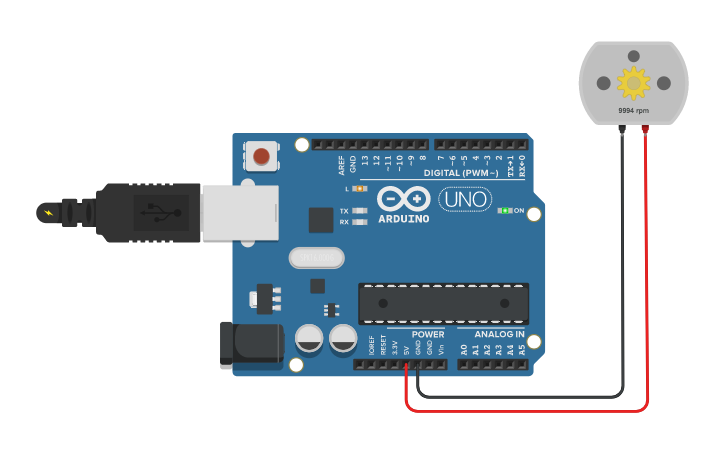
Simple DC motor
Arduino 5v output and ground
DC motor is always on
What happens when you switch the positive and negative wires?
DC motor with Fade
Arduino digital ~9 (can emulate analog write) and ground
This time we are going to use a breadboard, although this circuit is so simple, you could get away with skipping it
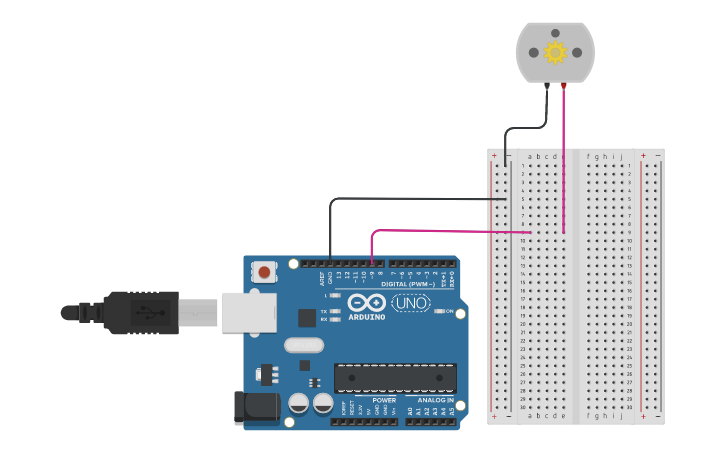
DC motor with Fade
int motor = 9;
int speed = 0;
int fadeAmount = 5;

void setup() {
  pinMode(motor, OUTPUT);
}

void loop() {
  analogWrite(motor, speed);
  speed = speed + fadeAmount;

  if (speed <= 0 || speed >= 255) {
    fadeAmount = -fadeAmount;
  }
  delay(30);
}
Servo motor with Knob
Arduino A0 and D~9, 5V, and ground, and a potentiometer knob
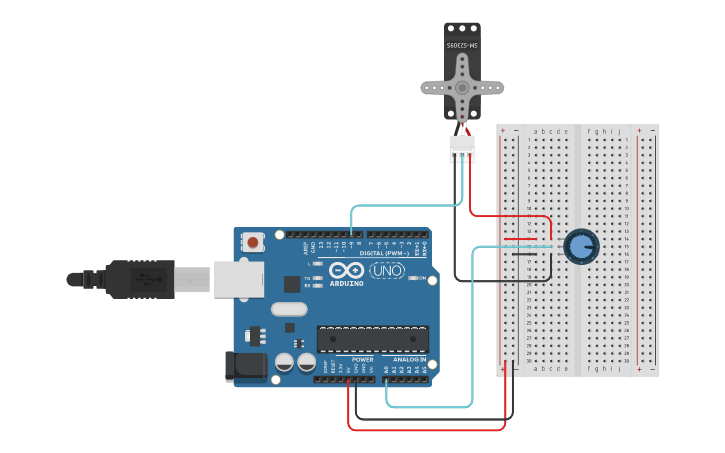
Servo motor with Knob code
#include <Servo.h>

Servo myservo;

int potpin = 0;
int val;

void setup() {
  myservo.attach(9);
}

void loop() {
  val = analogRead(potpin);
  val = map(val, 0, 1023, 0, 180);
  myservo.write(val);
  delay(15);
}
Servo motor with photoresistor
or touch resistor, same potentiometer code
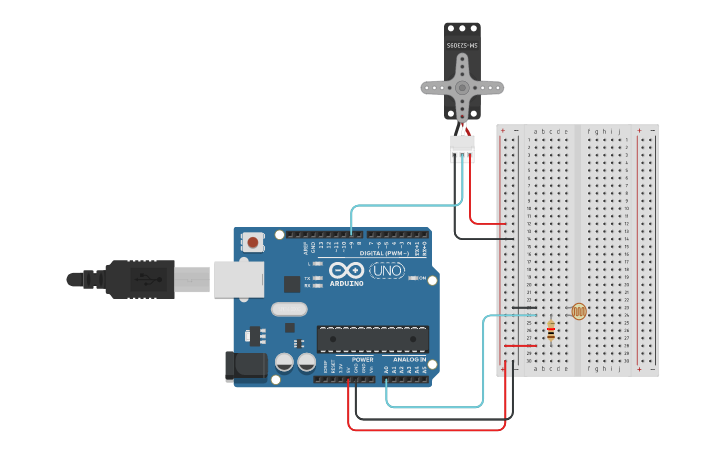
Stepper motor
Also need a "Big Easy Driver"
(no stepper motor or Big Easy Driver in Tinkercad 😭)
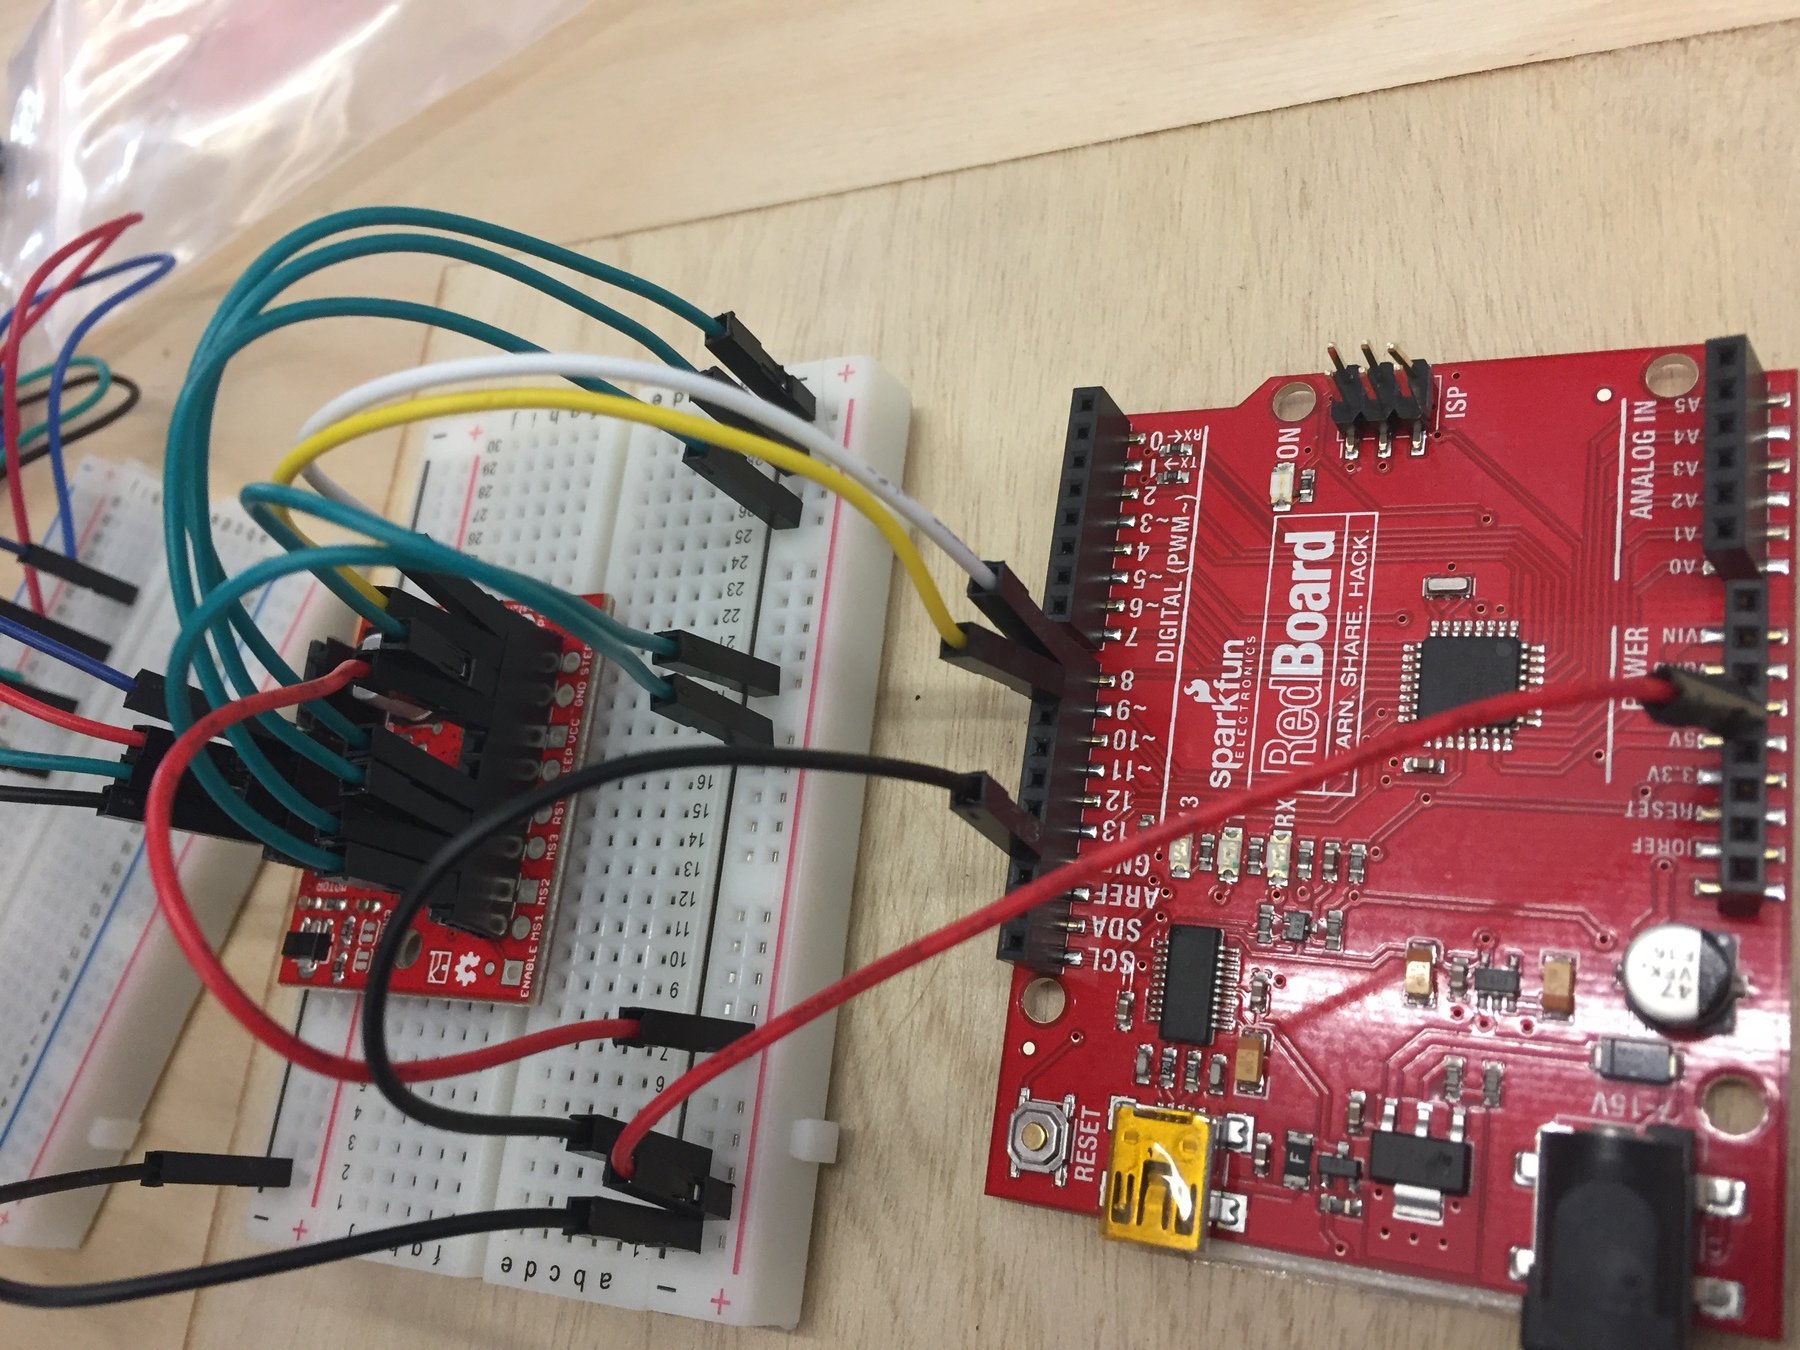
int dirPin = 8;
int stepPin = 9;

void setup() {
  pinMode(8, OUTPUT);
  pinMode(9, OUTPUT);
  digitalWrite(8, LOW);
  digitalWrite(9, LOW);
  Serial.begin(9600);
}

void loop() {
  // Basic
  digitalWrite(9, HIGH);
  delay(1);
  digitalWrite(9, LOW);
  delay(1);
}
// add `stepCount = 0;` to setup code block

//STEP AND COUNT
//step in one direction counting down from 0 to 1200.

//  for (int stepCount = 0 ; stepCount <= 1200; stepCount += 1) {
//    digitalWrite(8, LOW);
//    digitalWrite(9, HIGH);
//    delay(1);
//    digitalWrite(9, LOW);
//    delay(1);
//  }
//
// add `stepCount = 0;` to setup code block

//STEP AND COUNT
// step in opposite direction counting down from 1200 to 0.

//  for (int stepCount = 1200 ; stepCount >= 0; stepCount -= 1) {
//    digitalWrite(8, HIGH);
//    digitalWrite(9, HIGH);
//    delay(1);
//    digitalWrite(9, LOW);
//    delay(1);
//  }
Robots 02
We chose one of the following machines:
- up-down crank
- open close & cam
- *rotating and planetary gears*
- flapping and spur gears
Amy chose
Up-Down Crank
Emily chose
Rotate + Planetary Gears
Parts to collect for circuitry
- Servo
- 8 leads
- potentiometer
- Arduino Uno
- breadboard
- usb cable
Wire up circuit

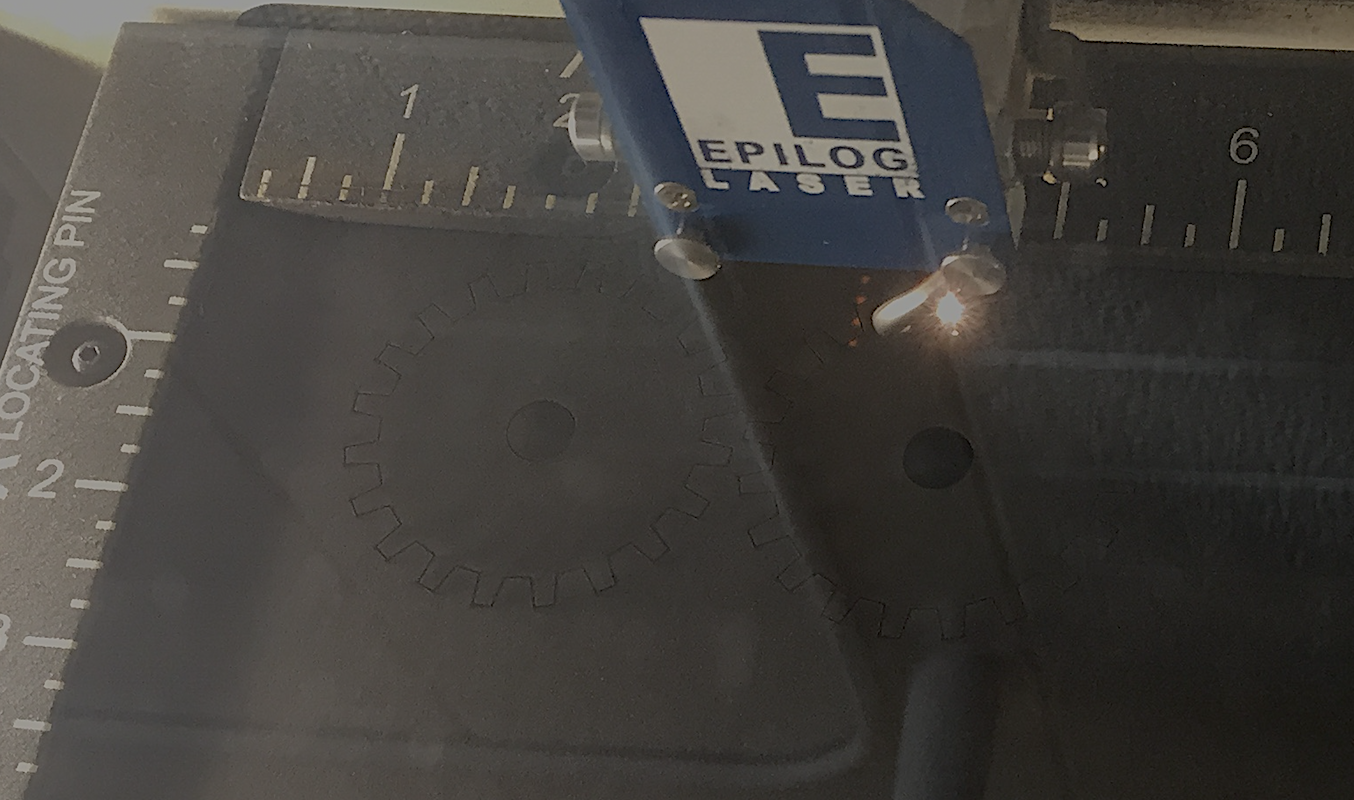
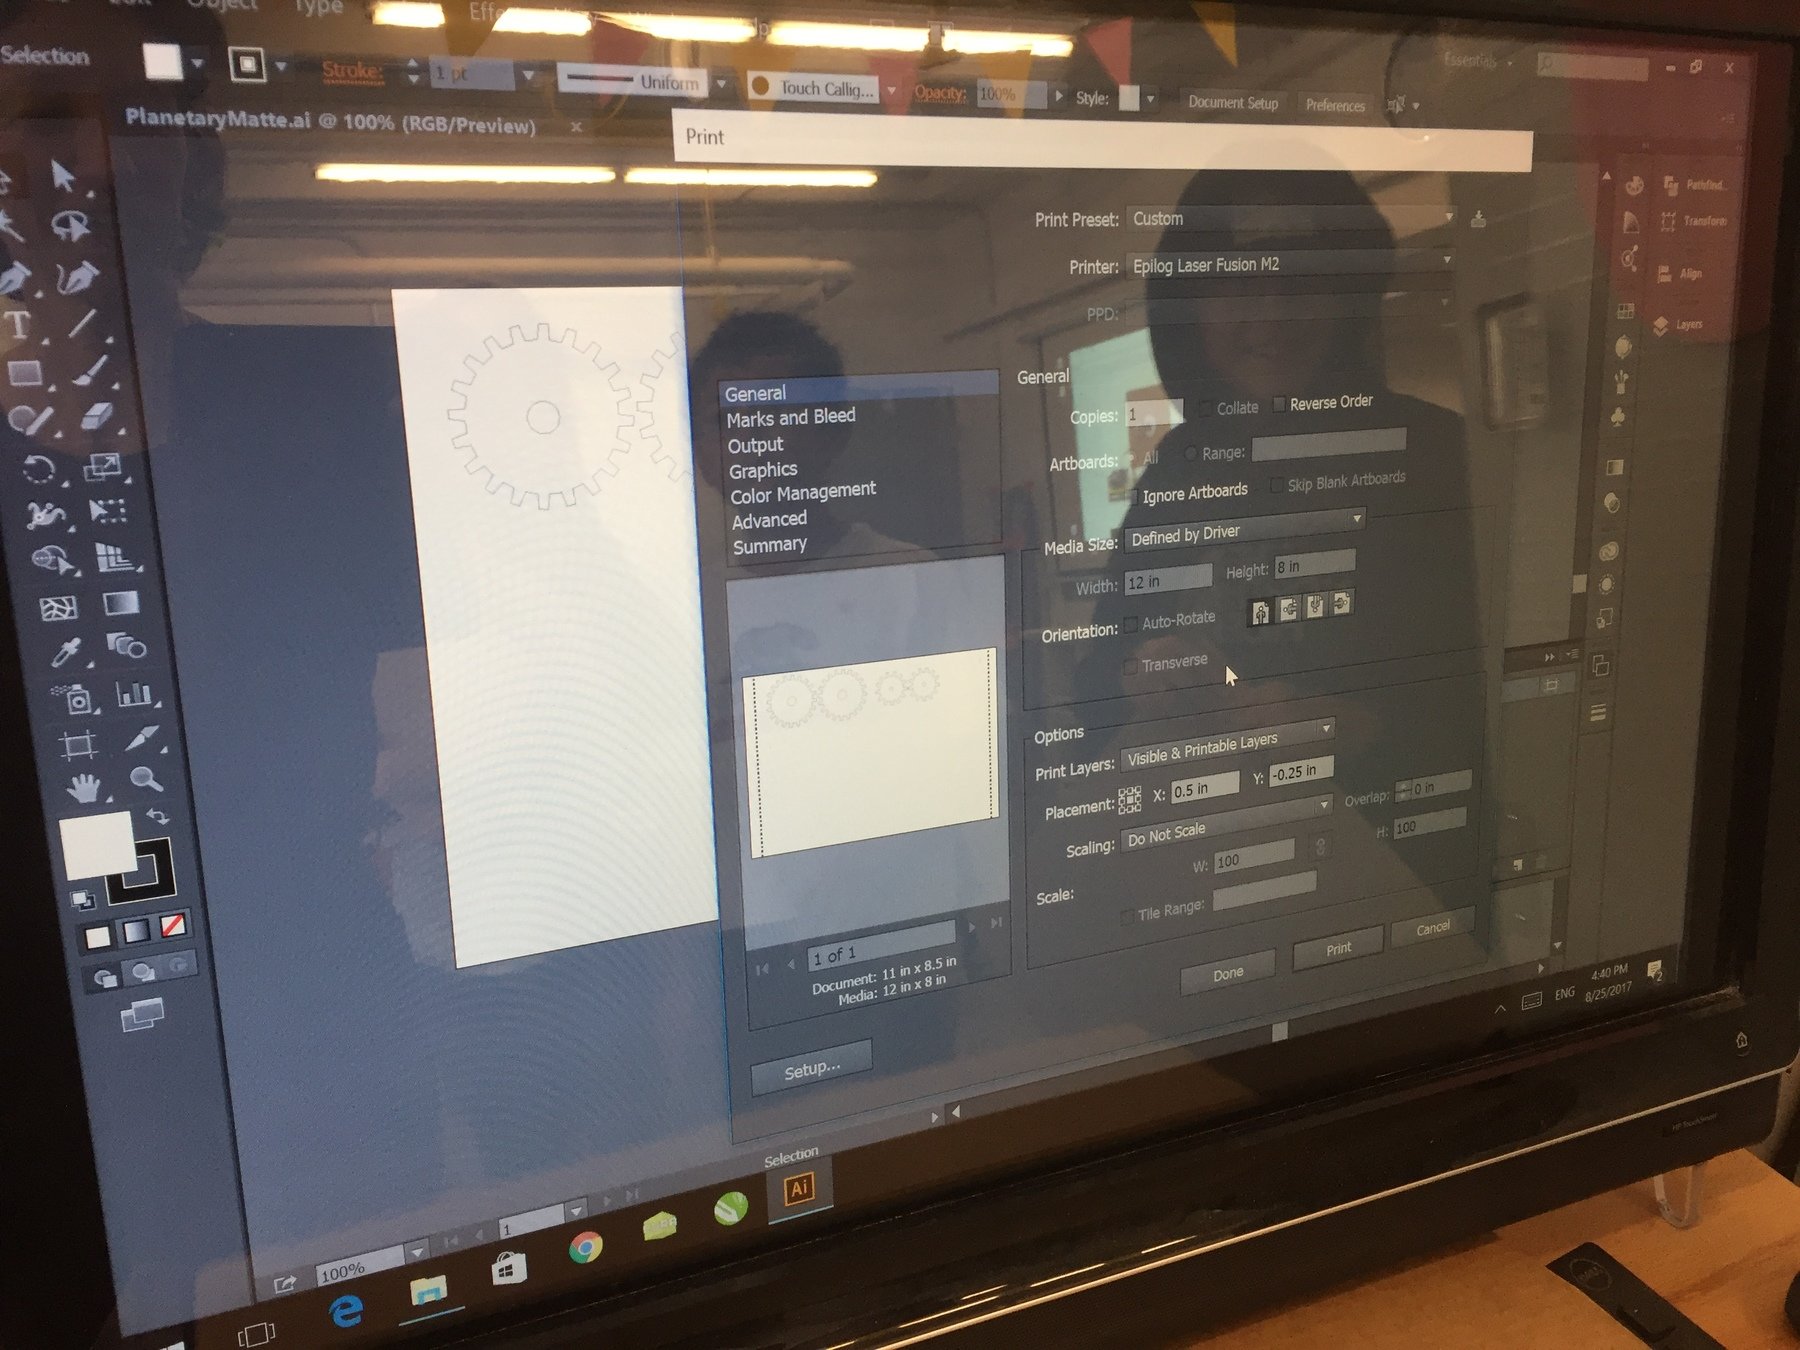
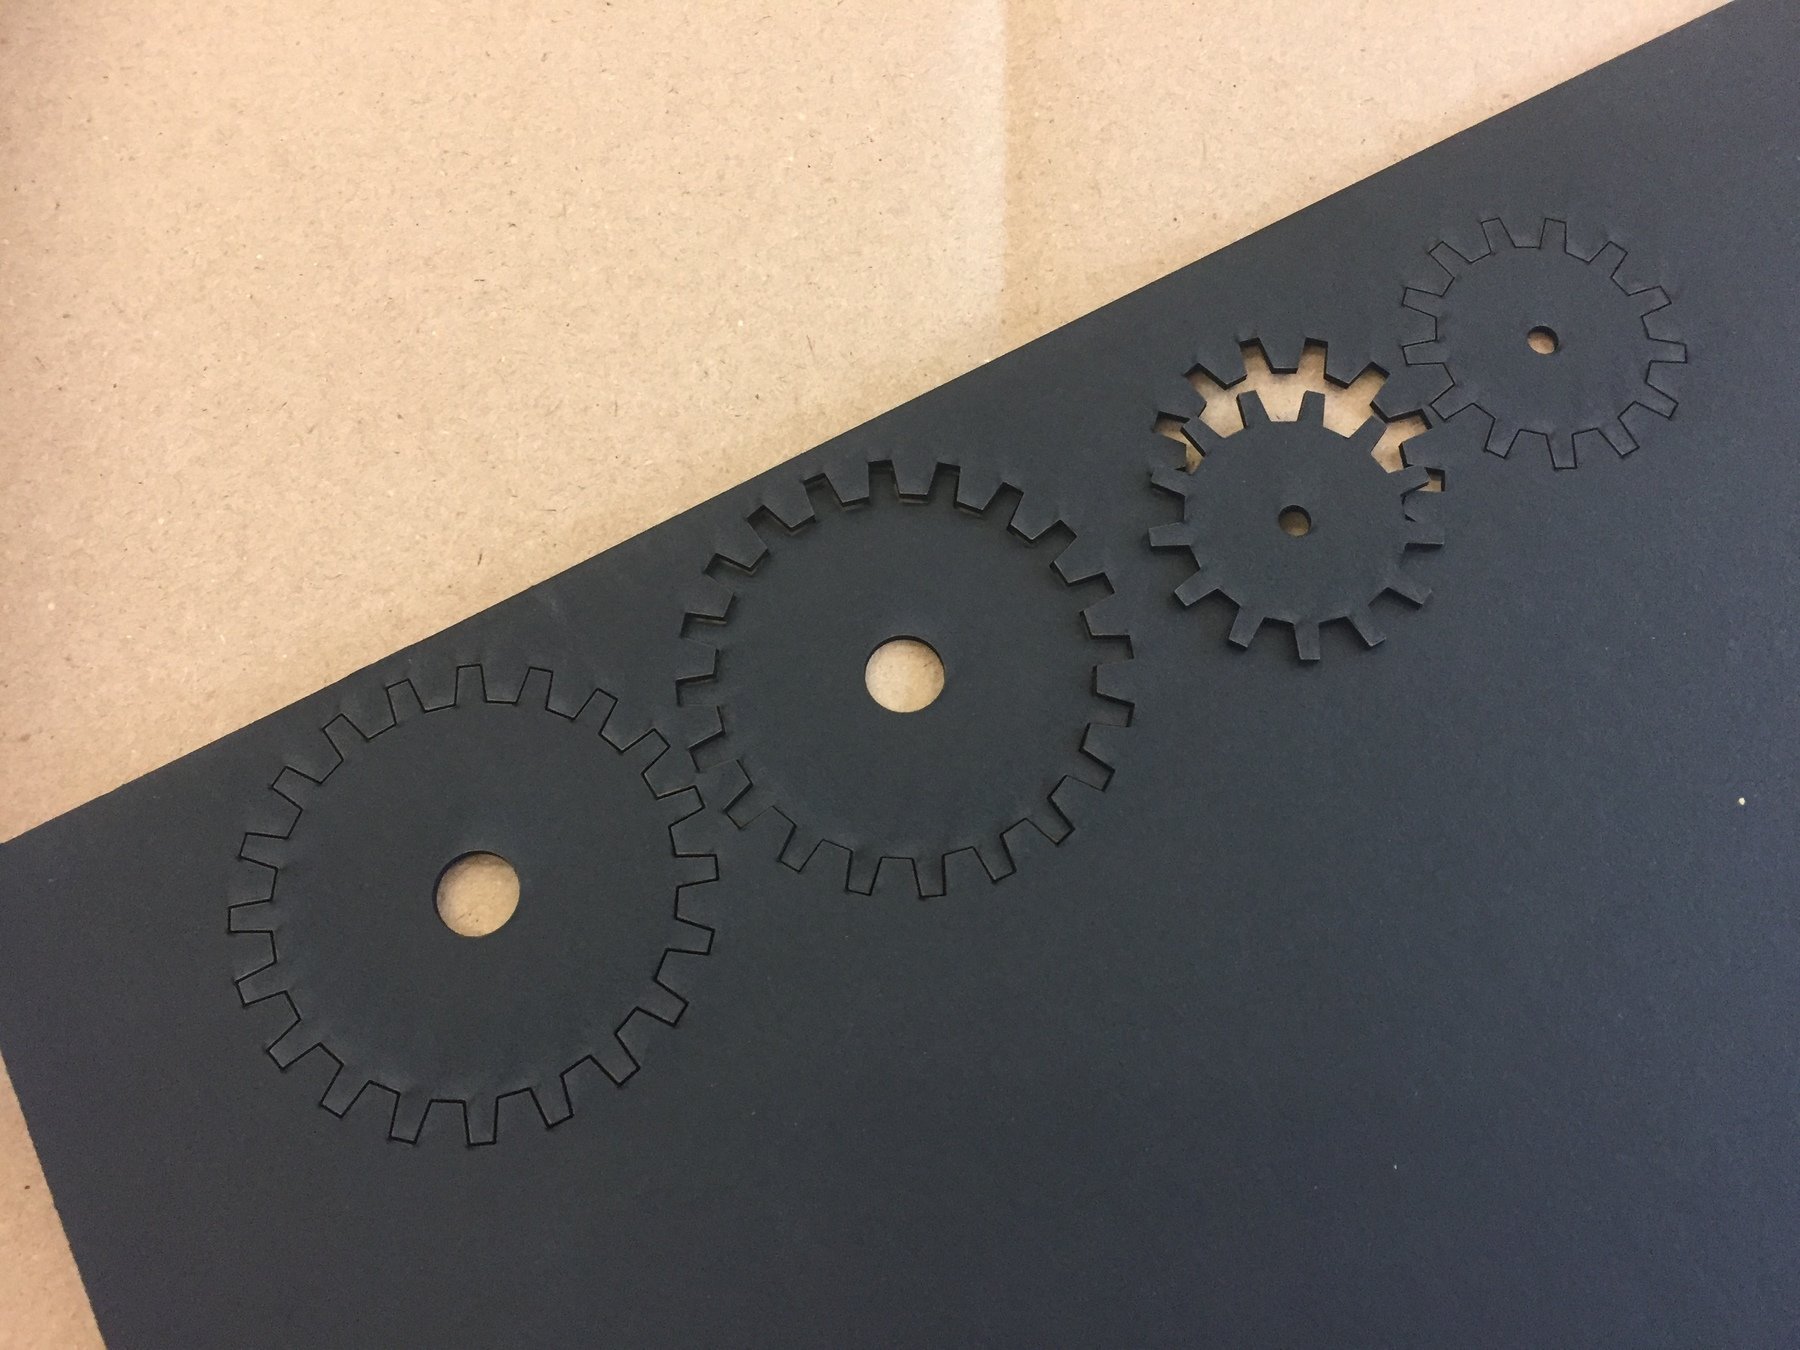
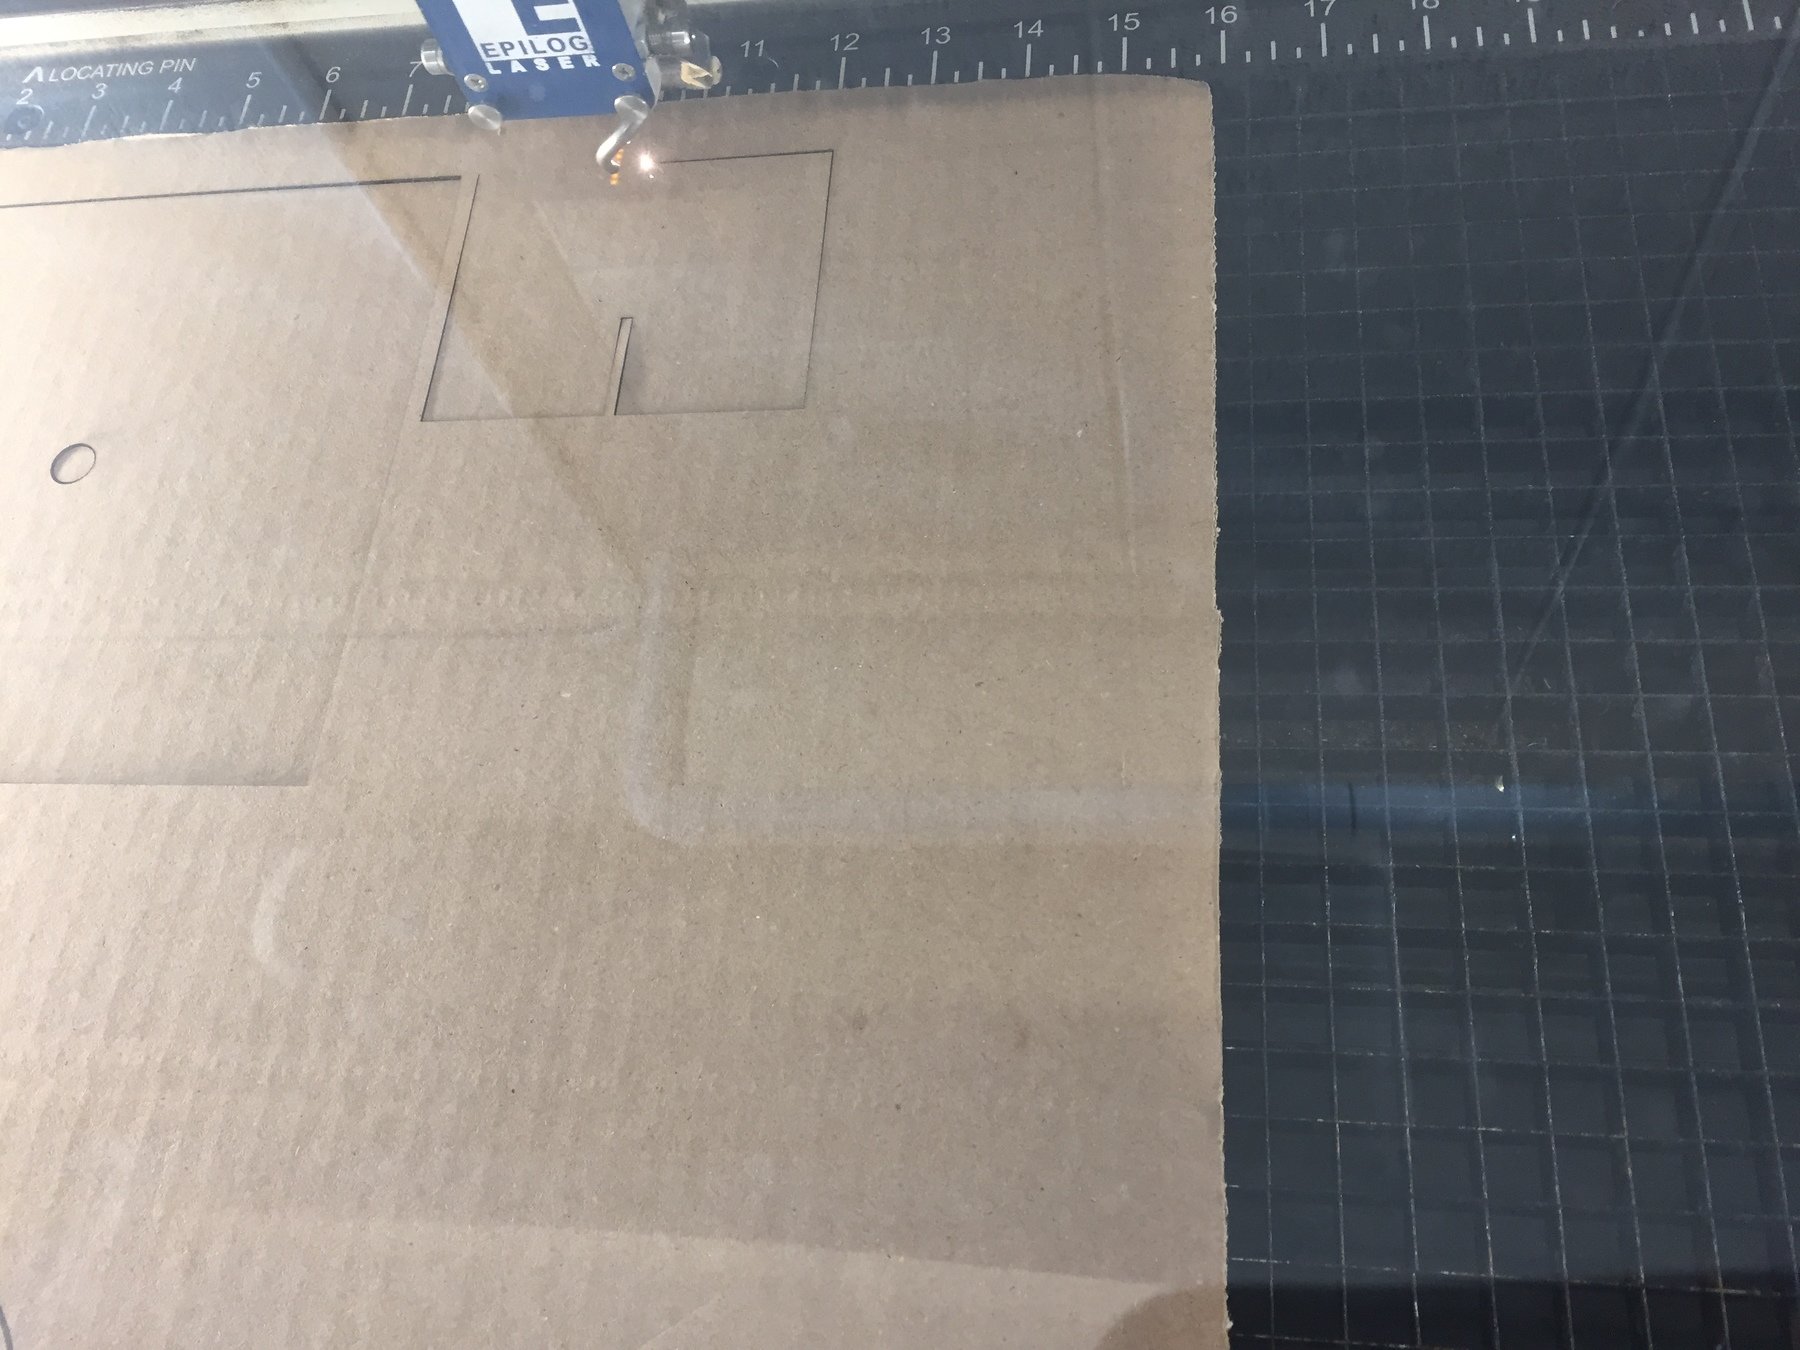
Laser print the machine parts
- papermech.net/rotate-planetary-gears
- Cardboard for all parts excepting gears
- 3.5 mm thickness
- Matboard for gears
- 1.5 mm thickness
Assemble the machine
- papermech.net/rotate-planetary-gears
- tools for assebly:
- glue gun
- skewers
- screwdriver for servo screws
OMG we did it!!!
Emily Platzer
Robots 01 & 02 at BLDG61
By Emily Platzer
Robots 01 & 02 at BLDG61
- 345


