


Daniel Haehn PRO
Hi, I am a biomedical imaging and visualization researcher who investigates how computational methods can accelerate biological and medical research.
Lecture 20
Scene Graph
Quaternions
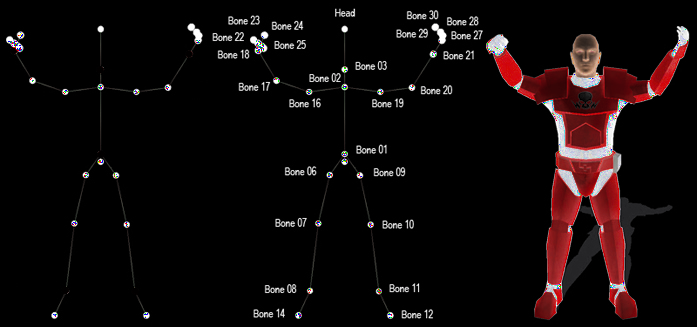
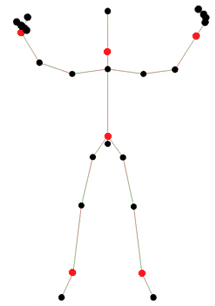
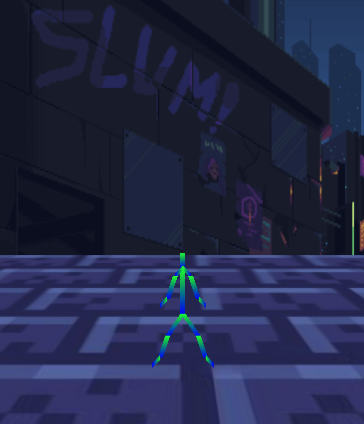
Skeletons
Object Oriented
Slerp
Animations
Textures
Anaglyph
6
Robot
Head
Neck
Torso
Lower Arm
Upper Arm
Hand
Upper Arm
Lower Arm
Hand
Upper Leg
Upper Leg
Lower Leg
Lower Leg
Foot
Foot
L
L
L
R
R
R
L
L
L
R
R
R
Head
Y
X
Object Frame
Neck
Torso
Upper Arm
Lower Arm
Hand
neck.position.y = -10;
torso.position.y = -30;
-10
-40
left_upper_arm.position.y = -5;
left_upper_arm.position.x = 5;
left_lower_arm.position.y = -15;
left_lower_arm.position.x = 5;
left_hand.position.y = -5;
left_hand.position.x = 5;
Position is relative to parent!
Head
Upper Arm
q
q (0, 0, 0, 1)
Identity
X
q2 (Math.sin(T/2),
0,
0,
Math.cos(T/2))
Rotate 180° in X
T = Math.PI
q
q2
Arm down
Arm up
Time
Frames
Keyframe 2
Keyframe 1
slerp Interpolation
Lecture 21
Skinning
Skeleton -> Mesh
Rigging
Mesh -> Skeleton
Kinematics
Forward Kinematics
Inverse Kinematics
Move down the scene graph
Move up in the scene graph
q
Upper Arm
Hand
q
Upper Arm
Hand
q
Upper Arm
Hand
Multiple Solutions!
Lecture 22
Lecture 23
Time
<!DOCTYPE html>
<html>
<head>
<meta charset="utf-8" />
<title>CS460 Computer Graphics at the University of Massachusetts Boston</title>
<script type="text/javascript" src="../../js/xtk_edge.js"></script>
<link rel="stylesheet" type="text/css" href="../../styles/fonts.css"/>
<style>
html, body {
background-color:#000;
margin: 0;
padding: 0;
height: 100%;
overflow: hidden !important;
font-family: din_condensed;
font-size: 18pt;
}
</style>
<script type='text/javascript'>
window.onload = function() {
// create a new test_renderer
r = new X.renderer3D();
r.init();
// UMASS BOSTON
//
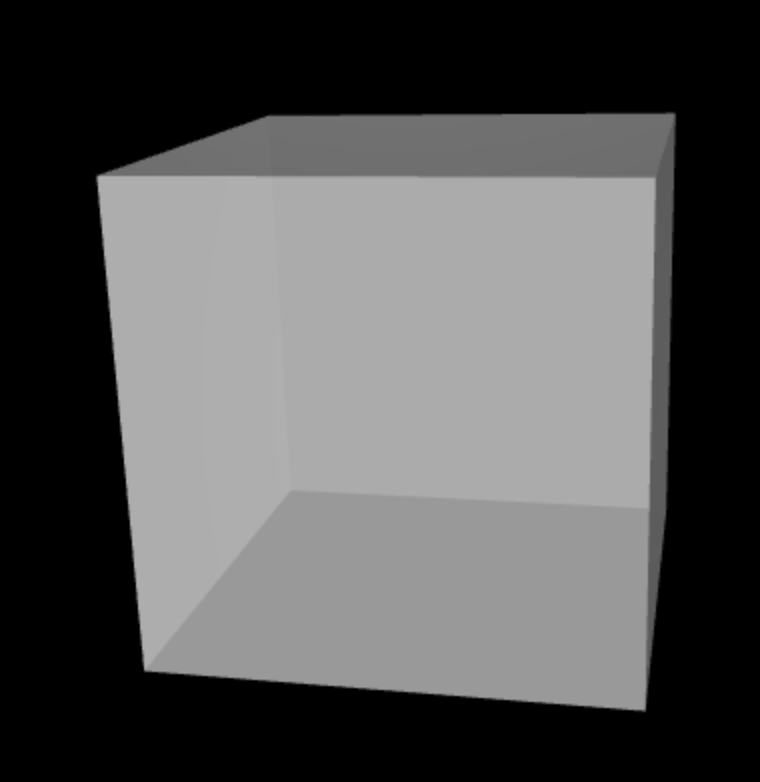
// create a cube
umassboston = new X.cube();
// skin it..
umassboston.texture.file = 'umassboston.png';
// hide it for now!
umassboston.visible = false;
r.add(umassboston);
// BOSTON GFX
//
// create a cube
bostongfx = new X.cube();
// skin it..
bostongfx.texture.file = 'bostongfx.png';
// hide it for now!
bostongfx.visible = false;
r.add(bostongfx);
// setup the camera
r.camera.position = [00, 00, 60];
// .. and render it
r.render();
};
clicked = false;
window.onclick = function() {
if (clicked) return; // sometimes you click again by accident,
// and restart the animation.. let's not!
// we need user feedback, to allow the music to play..
// let's do it on click!
clicked = true;
animation();
}
function animation() {
// start the music
var music = document.getElementById('music');
music.autoplay = true;
music.load();
setTimeout(function() {
umassboston.visible = true;
}, 400);
setTimeout(function() {
umassboston.visible = false;
r.camera.position = [0, 0, -25];
bostongfx.visible = true;
}, 3200);
setTimeout(rotate_bostongfx, 6200);
};
function rotate_bostongfx() {
var rotateCounter = 0;
var spinner1 = setInterval(function(){
rotateCounter += 1;
// console.log(rotateCounter*2);
if (rotateCounter*2 >= 90) {
clearInterval(spinner1); // this is not time-based now...
bostongfx.visible = false;
// now the real CS460 logo..
create_cs460_logo();
return;
}
bostongfx.transform.rotateY(rotateCounter*2);
},100);
};
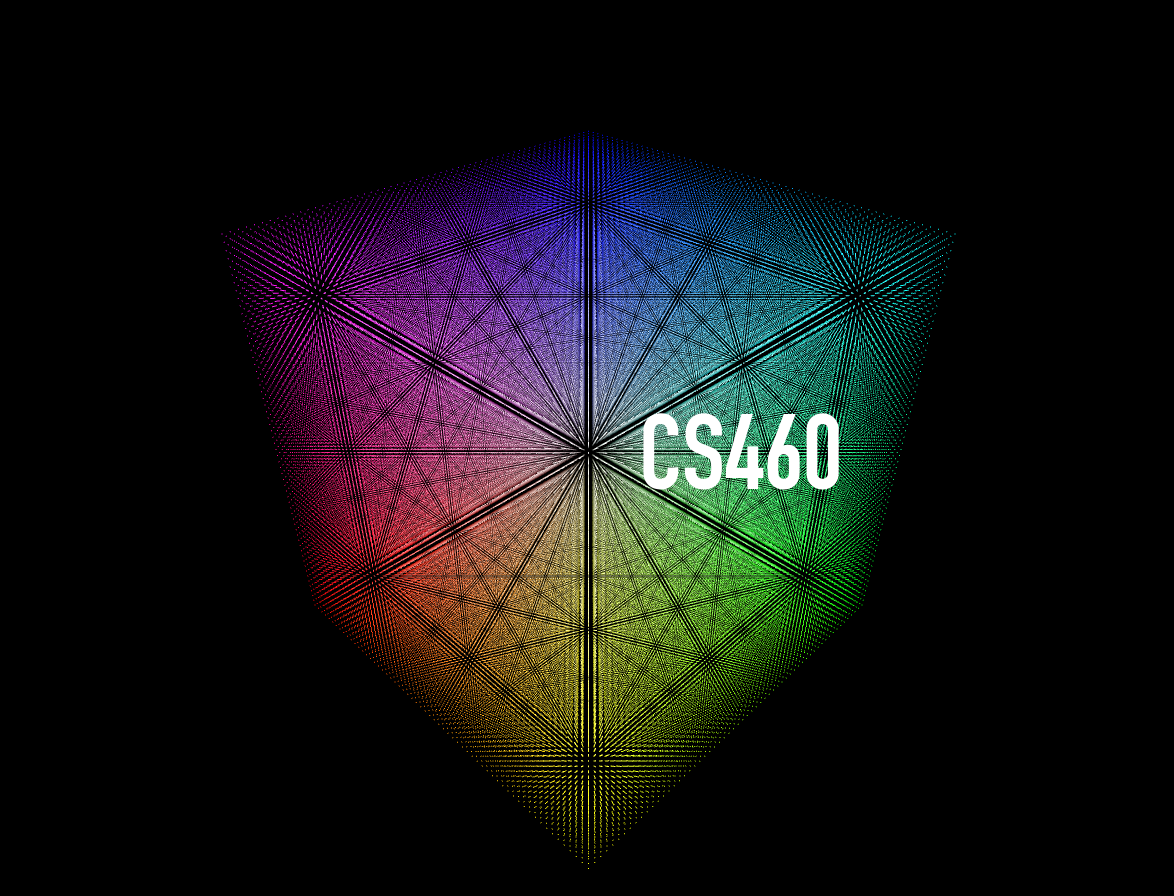
function create_cs460_logo() {
document.getElementById('caption').style.display = 'block';
// create a new X.object
cs460logo = new X.object();
// add the points, normals and colors
//
// this means 648000 / 3 == 216000 vertices
// on my work machine I could set 24000000 / 3 == 8 mio vertices
cs460logo.points = new X.triplets(648000);
cs460logo.normals = new X.triplets(648000);
cs460logo.colors = new X.triplets(648000);
// and set the type to POINTS
cs460logo.type = 'POINTS';
// create the points, normals and colors
for ( var x = 0; x < 60; x++) {
for ( var y = 0; y < 60; y++) {
for ( var z = 0; z < 60; z++) {
cs460logo.points.add(x, y, z);
cs460logo.normals.add(1, 1, 1);
cs460logo.colors.add(x/60, y/60, z/60);
}
}
}
// add the object
r.add(cs460logo);
// setup the camera
r.camera.position = [500, 500, 500];
setTimeout(zoom_into_cs460logo, 2000);
};
function zoom_into_cs460logo() {
var zoomer = setInterval(function() {
// we can stop once we are far away enough
if (r.camera.view[14] > 1000) {
clearInterval(zoomer);
// console.log('zooming done');
setTimeout(function() {
document.getElementById('caption').style.display = 'none';
start_content();
}, 2000);
return;
}
// zoom in
r.camera.zoomIn();
}, 10);
};
function start_content() {
// reduce music volume
var music = document.getElementById('music');
music.volume = .1;
// activate speech
var voice = document.getElementById('voice');
voice.autoplay = true;
voice.volume = 1;
voice.load();
frames = ['content1', 'content2', 'content3', 'content4', 'content5', null];
times = [0, // Today...
1000, //
4200, // And
6000, //
10000, // this is lecture 19
14000];
//
// this is (like the whole animation concept), a little hacky!!
//
for (var f in frames) {
setTimeout(function(f) {
if (f > 0) {
document.getElementById(frames[f-1]).style.display = 'none';
}
if (frames[f] != null) {
document.getElementById(frames[f]).style.display = 'block';
} else {
music.volume = .1;
setTimeout(function(f) {
fadeout = setInterval(function(f) {
if (music.volume <= 0.) {
clearInterval(fadeout);
return;
}
music.volume -= .05;
}, 500);
},3000);
}
}.bind(this,f), times[f]);
}
};
</script>
</head>
<body>
<div style="visibility:hidden">
<audio id='music'>
<source src="bensound-evolution.mp3">
</audio>
<audio id='voice'>
<source src="lecture23.mp3">
</audio>
</div>
<div id='caption' style='display:none;position: absolute;color:white;top:45%;left:50%;margin-left:50px;font-size:440%'>CS460</div>
<div id='content1' style='display:none;position: absolute;color:white;top:25%;left:30%;margin-left:50px;font-size:440%'>Today...</div>
<div id='content2' style='display:none;position: absolute;color:white;top:30%;left:20%;margin-left:50px;font-size:440%'>We will learn more about animations..</div>
<div id='content3' style='display:none;position: absolute;color:white;top:20%;left:10%;margin-left:50px;font-size:440%'>And...</div>
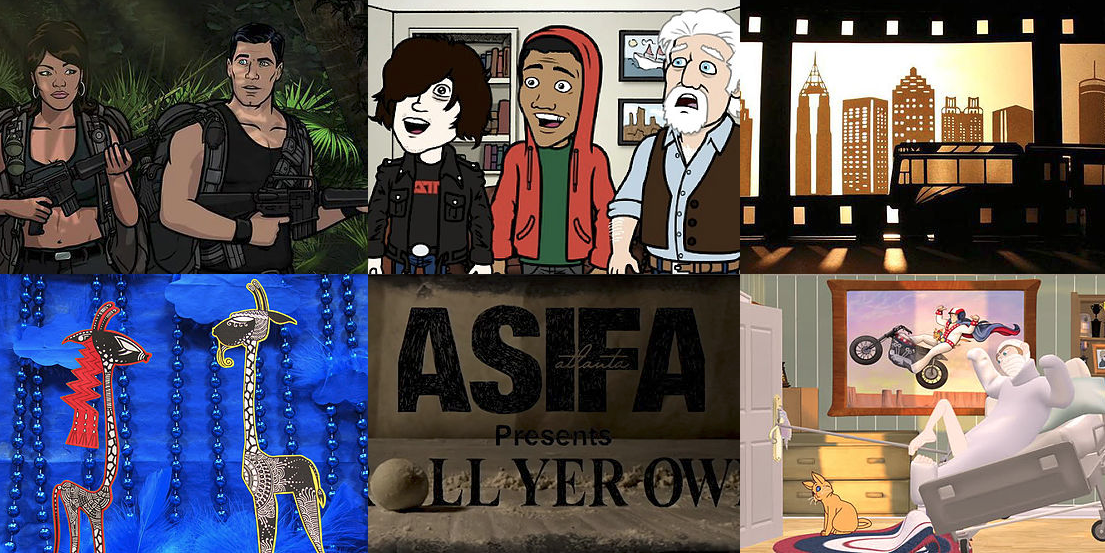
<div id='content4' style='display:none;position: absolute;color:white;top:35%;left:20%;margin-left:50px;font-size:440%'>We will talk to an emmy winning prime-time animator!</div>
<div id='content5' style='display:none;position: absolute;color:white;top:45%;left:40%;margin-left:50px;font-size:440%'>This is lecture 23.</div>
</body>
</html>
1. Setup
2. UMB
400 ms
3. GFX
3200 ms
3. rotate
6200 ms
4. CS460
180°
5. zoom
2000 ms
6. content
camera.z > 1000
7. end
XXX ms
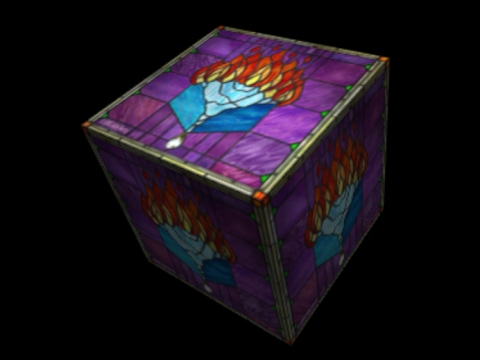
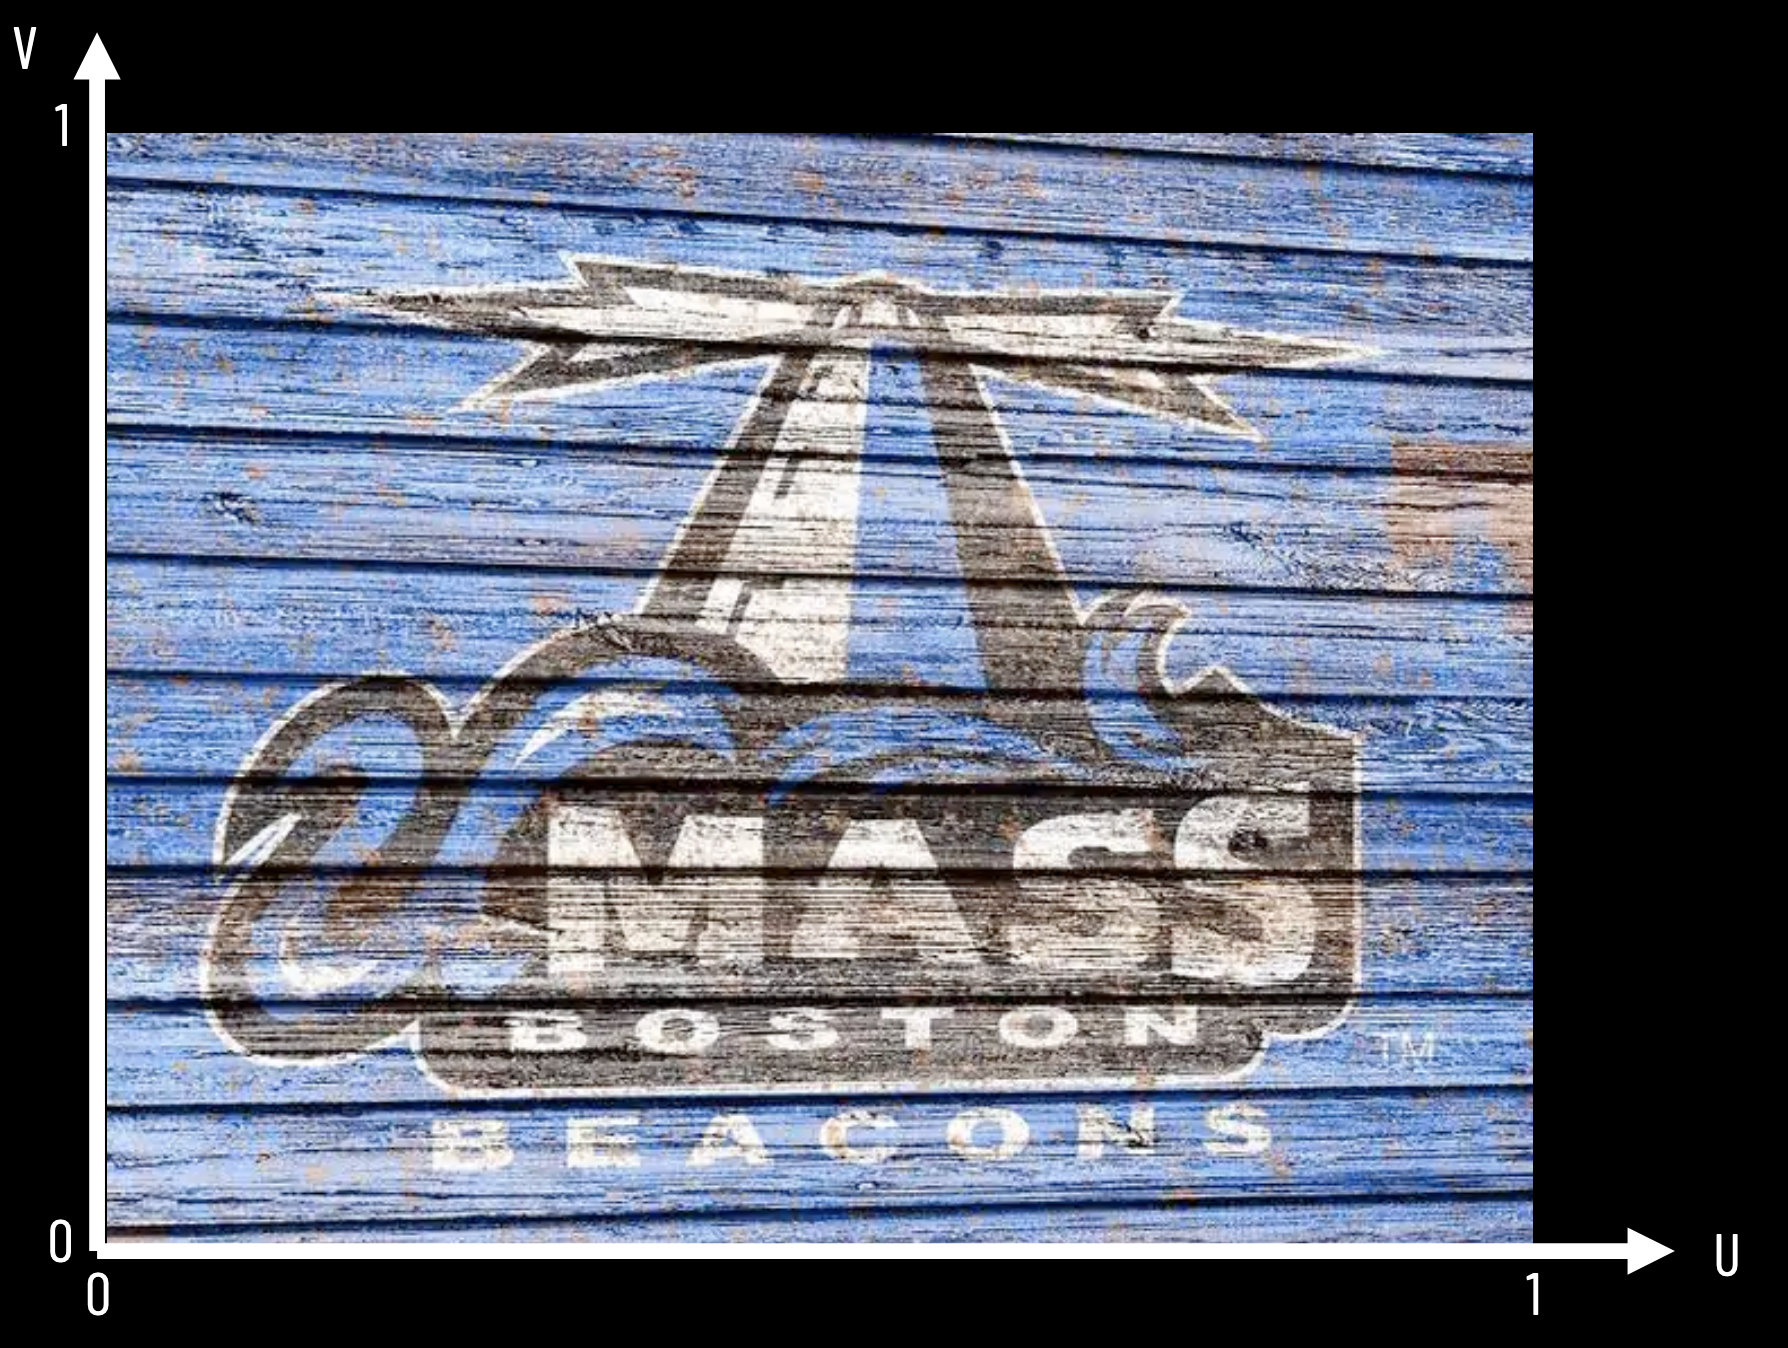
Texture Mapping
X
Y
0
0
width
height
U
V
0
0
1
1
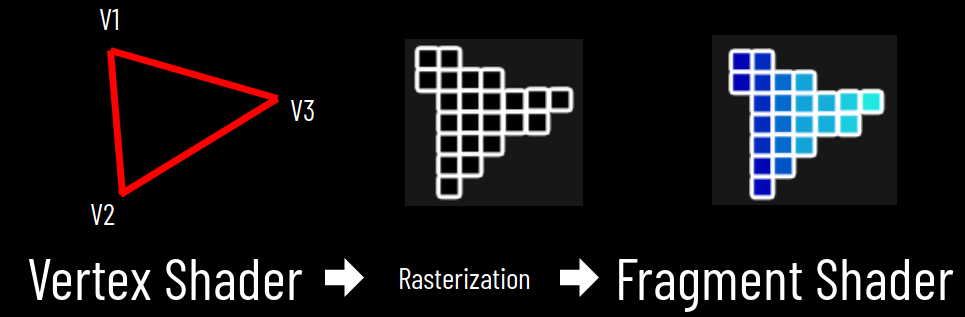
Fragment Shader
Fragment Shader
Vertex Shader
vec2( )
vec2( )
vec2( )
vec3 a_Position;
vec2 a_TexCoord;
vec2 v_TexCoord;
0, 0
1, 1
0, 1
u, v
varying
vec2 v_TexCoord;
varying
sampler2D u_Sampler;
Sampling
Nearest Neighbor
Linear
Interpolation
Lecture 24
Lecture 25
Assignment 6
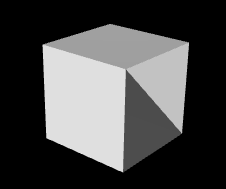
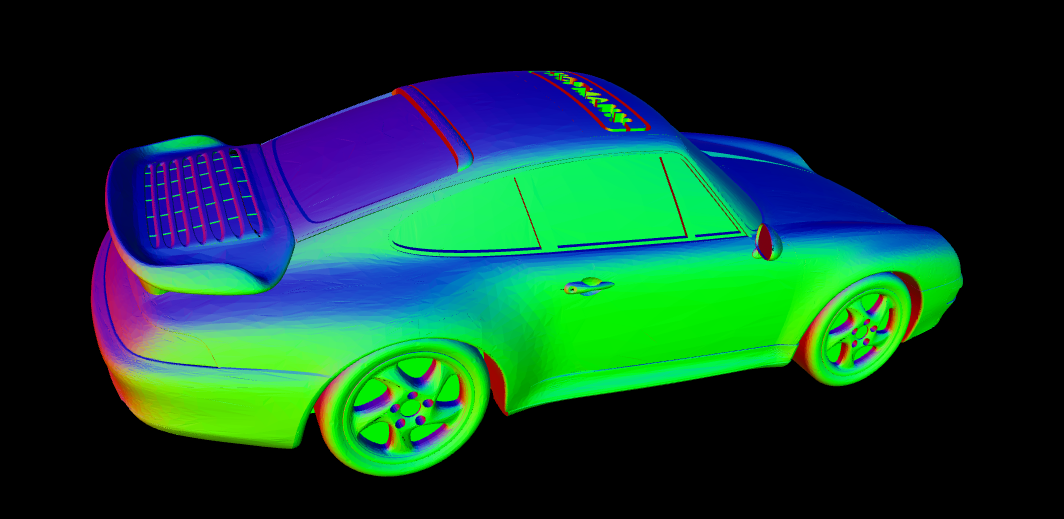
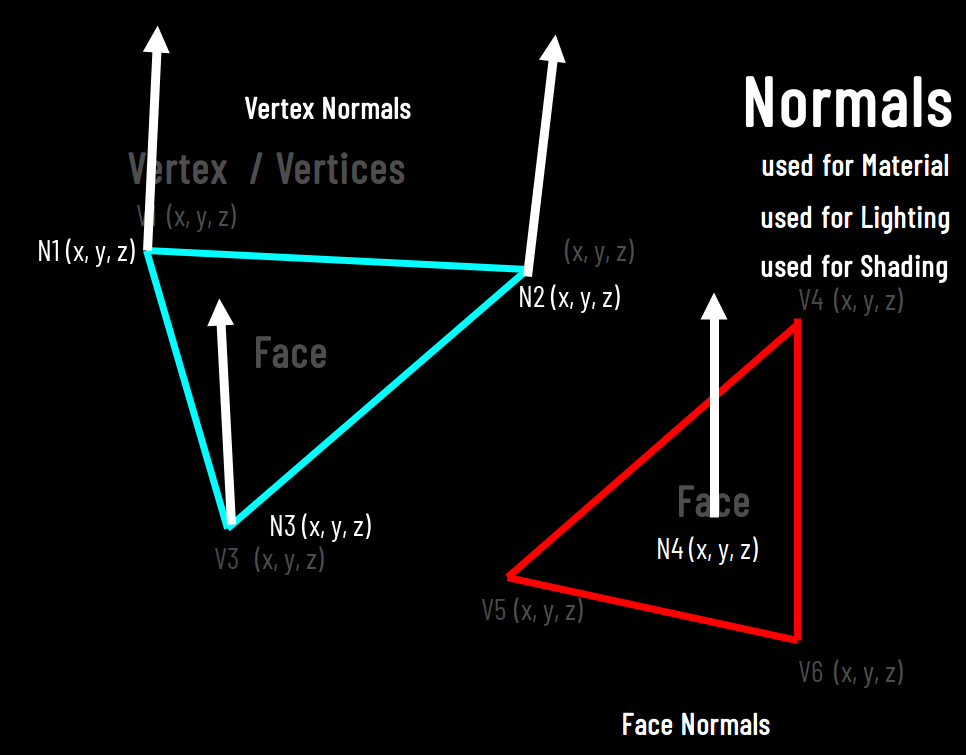
Normals
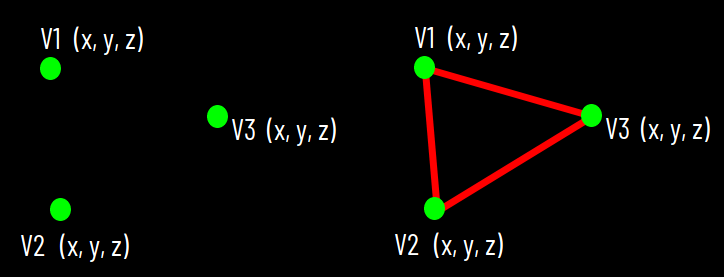
V1
V2
V3
V4
V6
V5
(x, y, z)
(x, y, z)
(x, y, z)
(x, y, z)
(x, y, z)
(x, y, z)
Vertex
/ Vertices
Face
Face
N1 (x, y, z)
N2 (x, y, z)
Face
Normals
V1
V2
V3
V4
V6
V5
(x, y, z)
(x, y, z)
(x, y, z)
(x, y, z)
(x, y, z)
(x, y, z)
Vertex
/ Vertices
Face
Face
N1 (x, y, z)
N2 (x, y, z)
Vertex
N3 (x, y, z)
N6 (x, y, z)
N5 (x, y, z)
N4 (x, y, z)
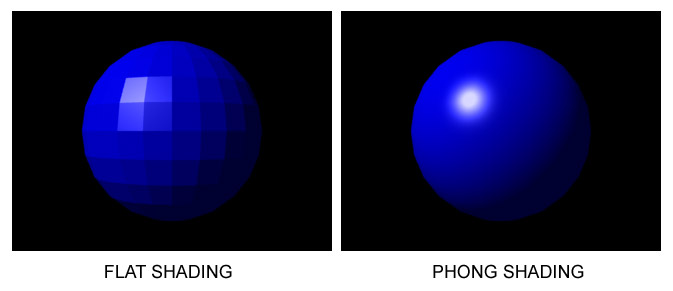
No Shading
Normals
used for Material
used for Lighting
No Normals
Face Normals
Vertex Normals
V1
V2
V3
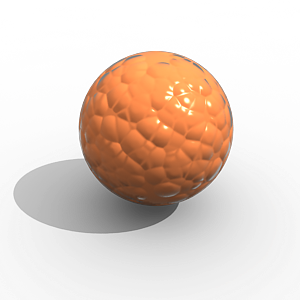
Bump Map
Normals
Pixel
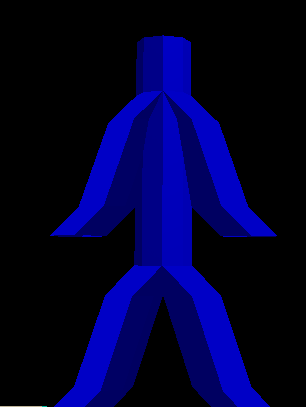
  var mesh = new THREE.SkinnedMesh( geometry, material );
  var skeleton = new THREE.Skeleton( bones );
  mesh.add( bones[ 0 ] );
  mesh.bind( skeleton );
5 Skinned Meshes
5 Cylinder Geometries
Lecture 26
GLTF
.gltf
.glb
STL
OBJ
PLY
Collada
.dae
.stl
.ply
.obj
And more:
Stereo Lithography (STL)
solid SOMENAME
   facet normal 1 0 0
      outer loop
         vertex 0 0 1
         vertex 1 0 0
         vertex 0 1 0
      endloop
   endfacet
   facet normal 1 0 0
      outer loop
         vertex 0 0 1
         vertex 1 1 0
         vertex 1 1 1
      endloop
   endfacet
   ...
endsolid
Face 1
Face 2
Stanford Polygon File (PLY)
ply
format ascii 1.0
comment i love cs460
element vertex 4
property float x
property float y
property float z
element face 3
property list uchar int vertex_index
end_header
0 0 0
0 0 1
0 1 1
0 1 0
3 0 1 2
3 1 2 3
3 1 2 4
Vertices
Faces
Header
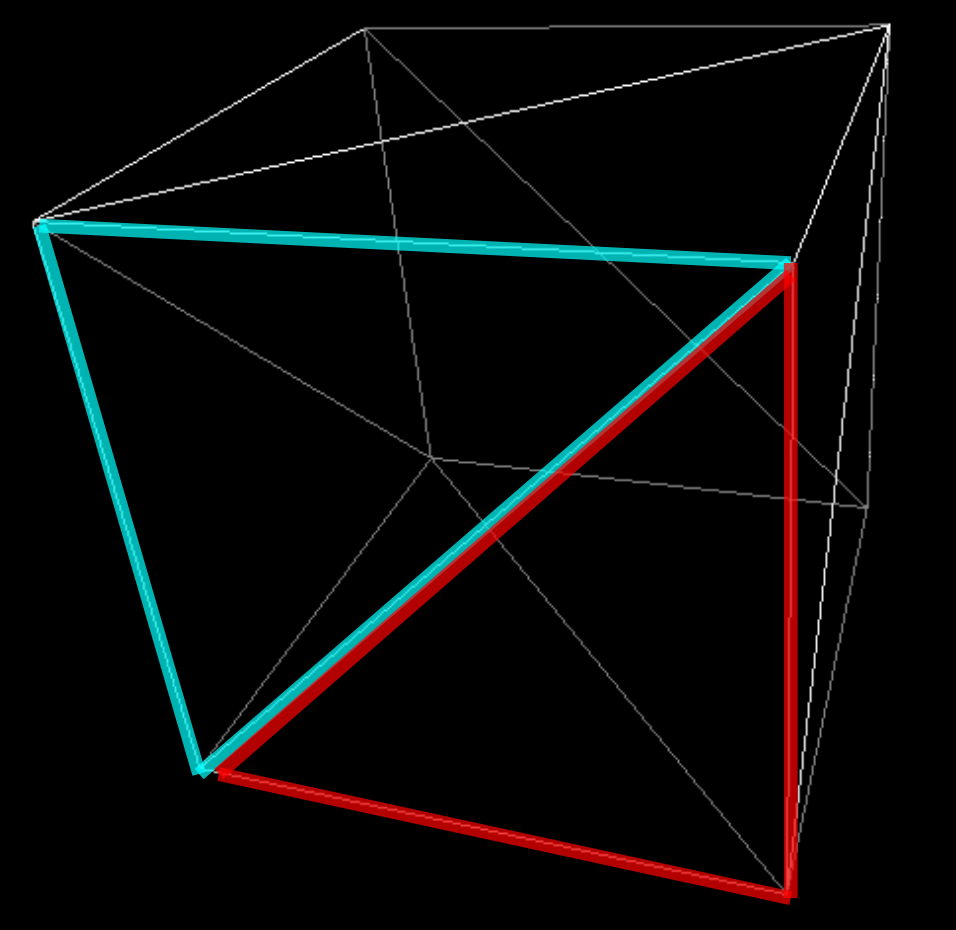
Wavefront Object (OBJ)
Vertices
Faces
v -0.5 -0.5 0.5
v 0.5 -0.5 0.5
v -0.5 0.5 0.5
v 0.5 0.5 0.5
v -0.5 0.5 -0.5
v 0.5 0.5 -0.5
v -0.5 -0.5 -0.5
v 0.5 -0.5 -0.5
f 1 2 4
f 1 4 3
f 3 4 6
f 3 6 5
f 5 6 8
f 5 8 7
f 7 8 2
f 7 2 1
f 2 8 6
f 2 6 4
f 7 1 3
f 7 3 8
f 7 3 5
Lecture 27
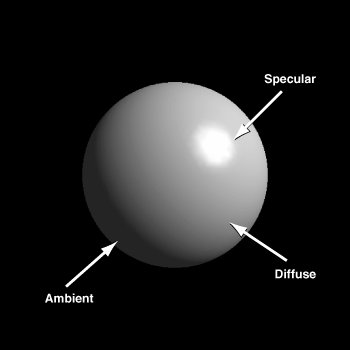
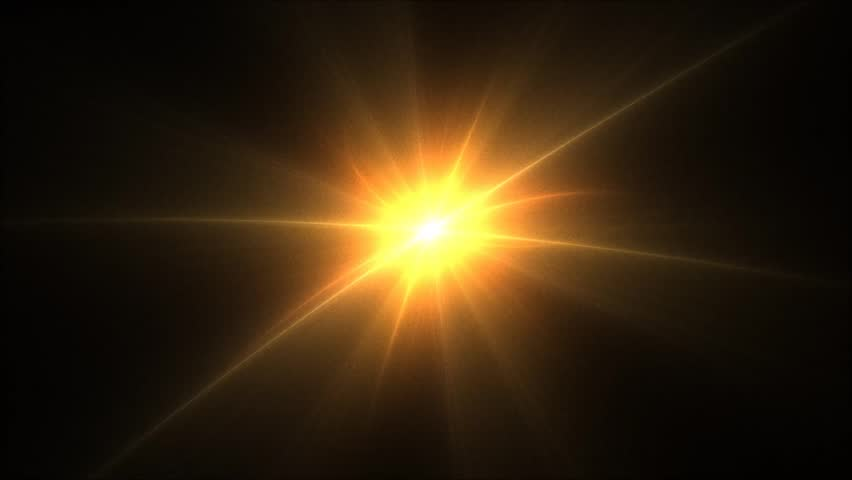
Light Simulations
N (x, y, z)
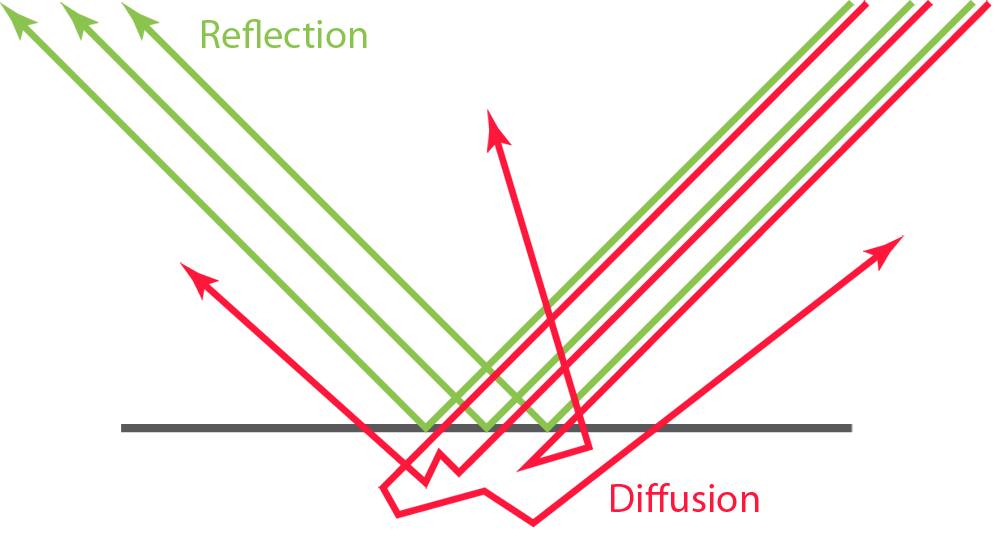
Material
Scattering
controls the physical appearance
magic mode uses (x, y, z) as color
Lecture 28
Light Simulations
N (x, y, z)
Material
Scattering
controls the physical appearance
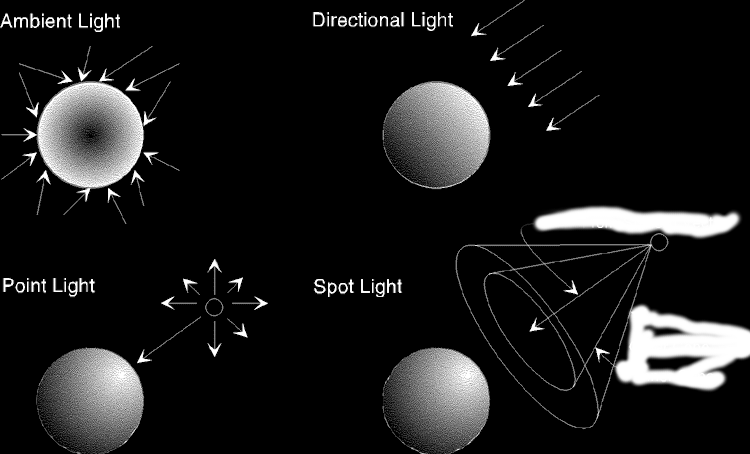
+ Light
Material
Light
+
Color
Direction
Color
Orientation
Two things control the color of an object
Physically Based Rendering
var color = 0xFFFFFF;
var intensity = 1;
var light = new THREE.PointLight(color, intensity);
light.position.set(0, 10, 0);
scene.add(light);

//...
gui.add(light, 'distance', 0, 40)
Lecture 29
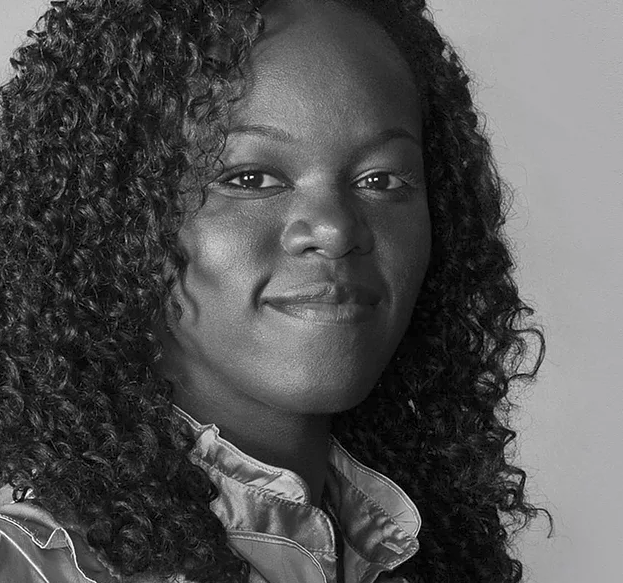
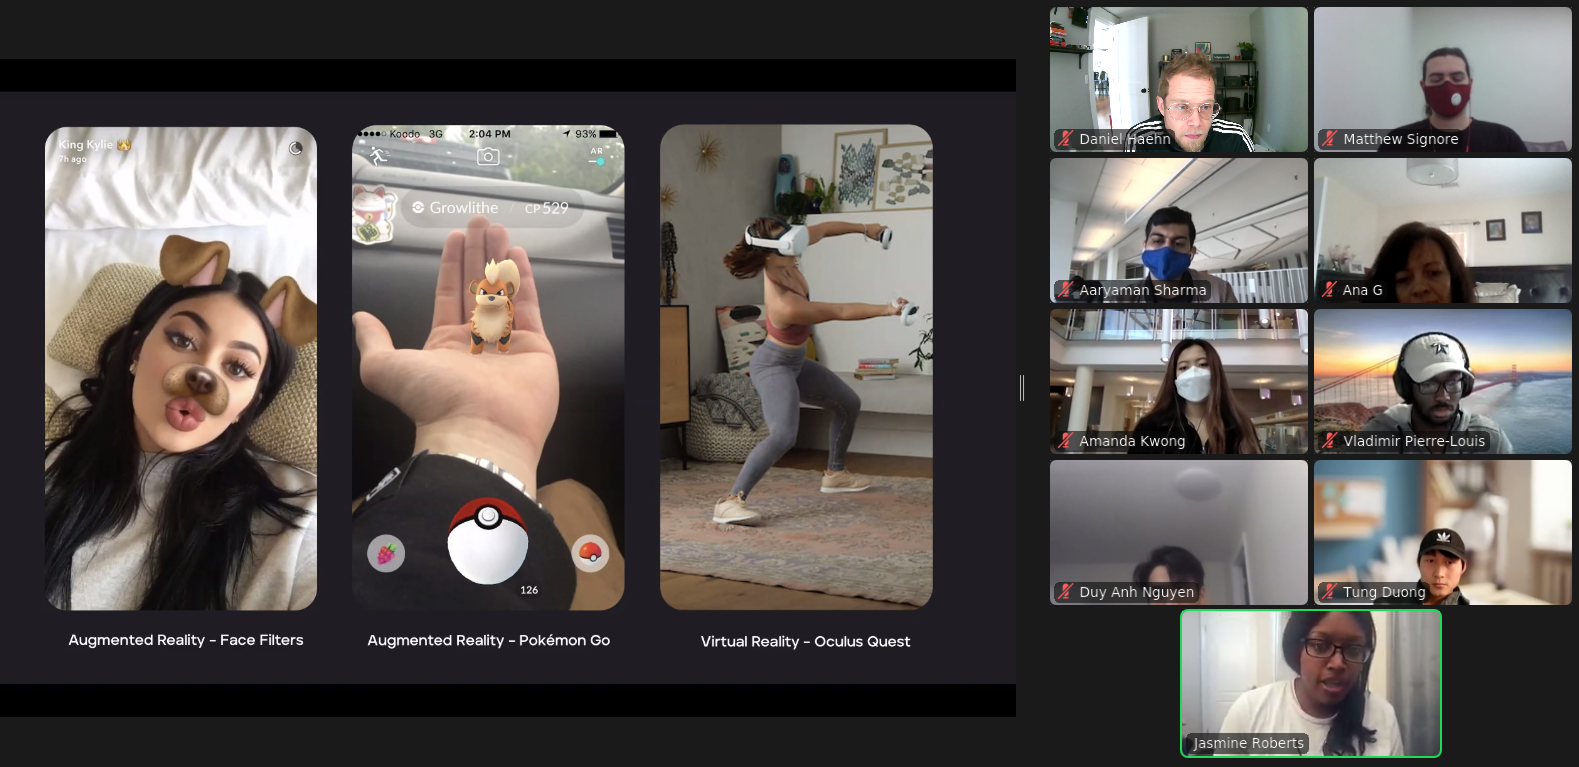
Jasmine Roberts
Lecture 30
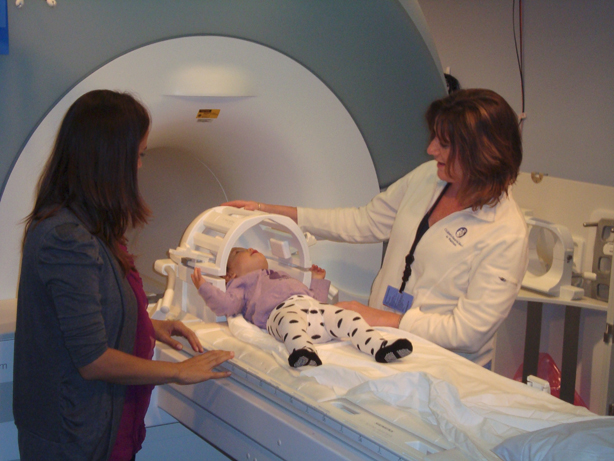
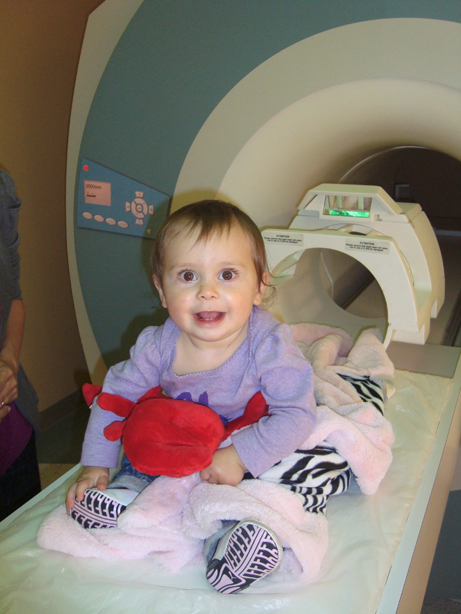
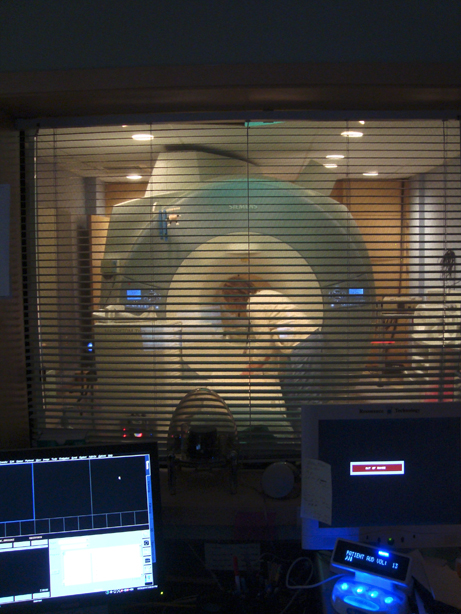
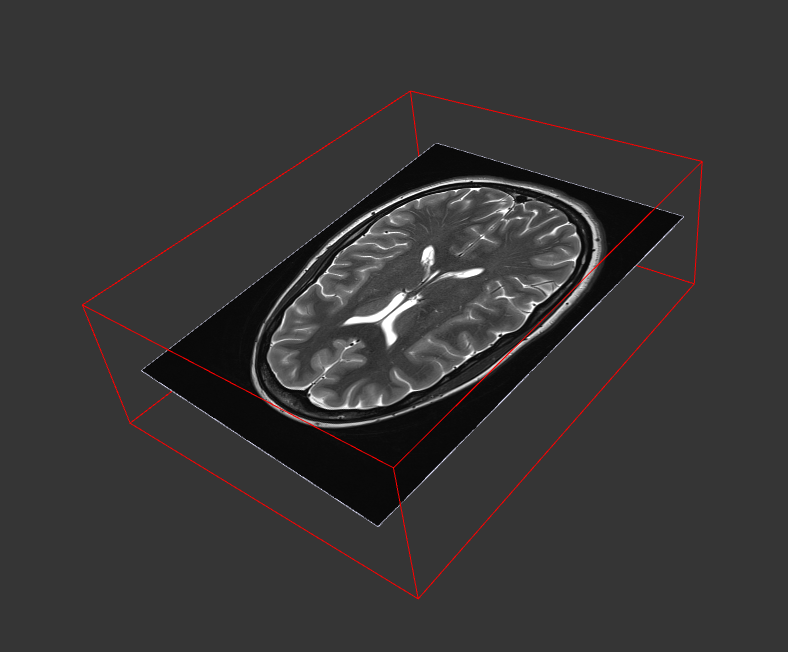
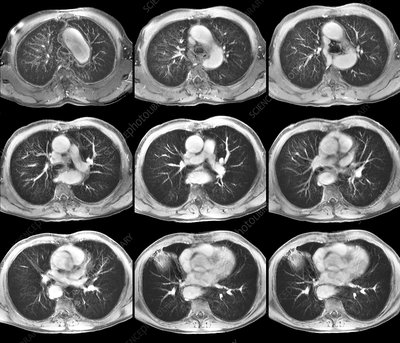
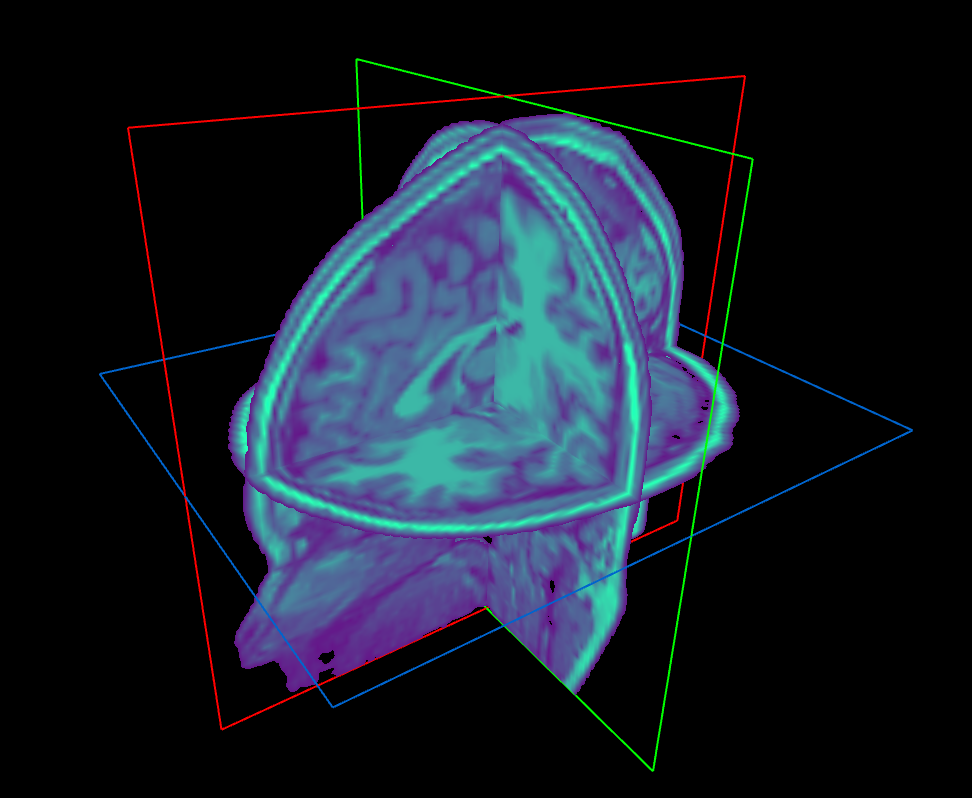
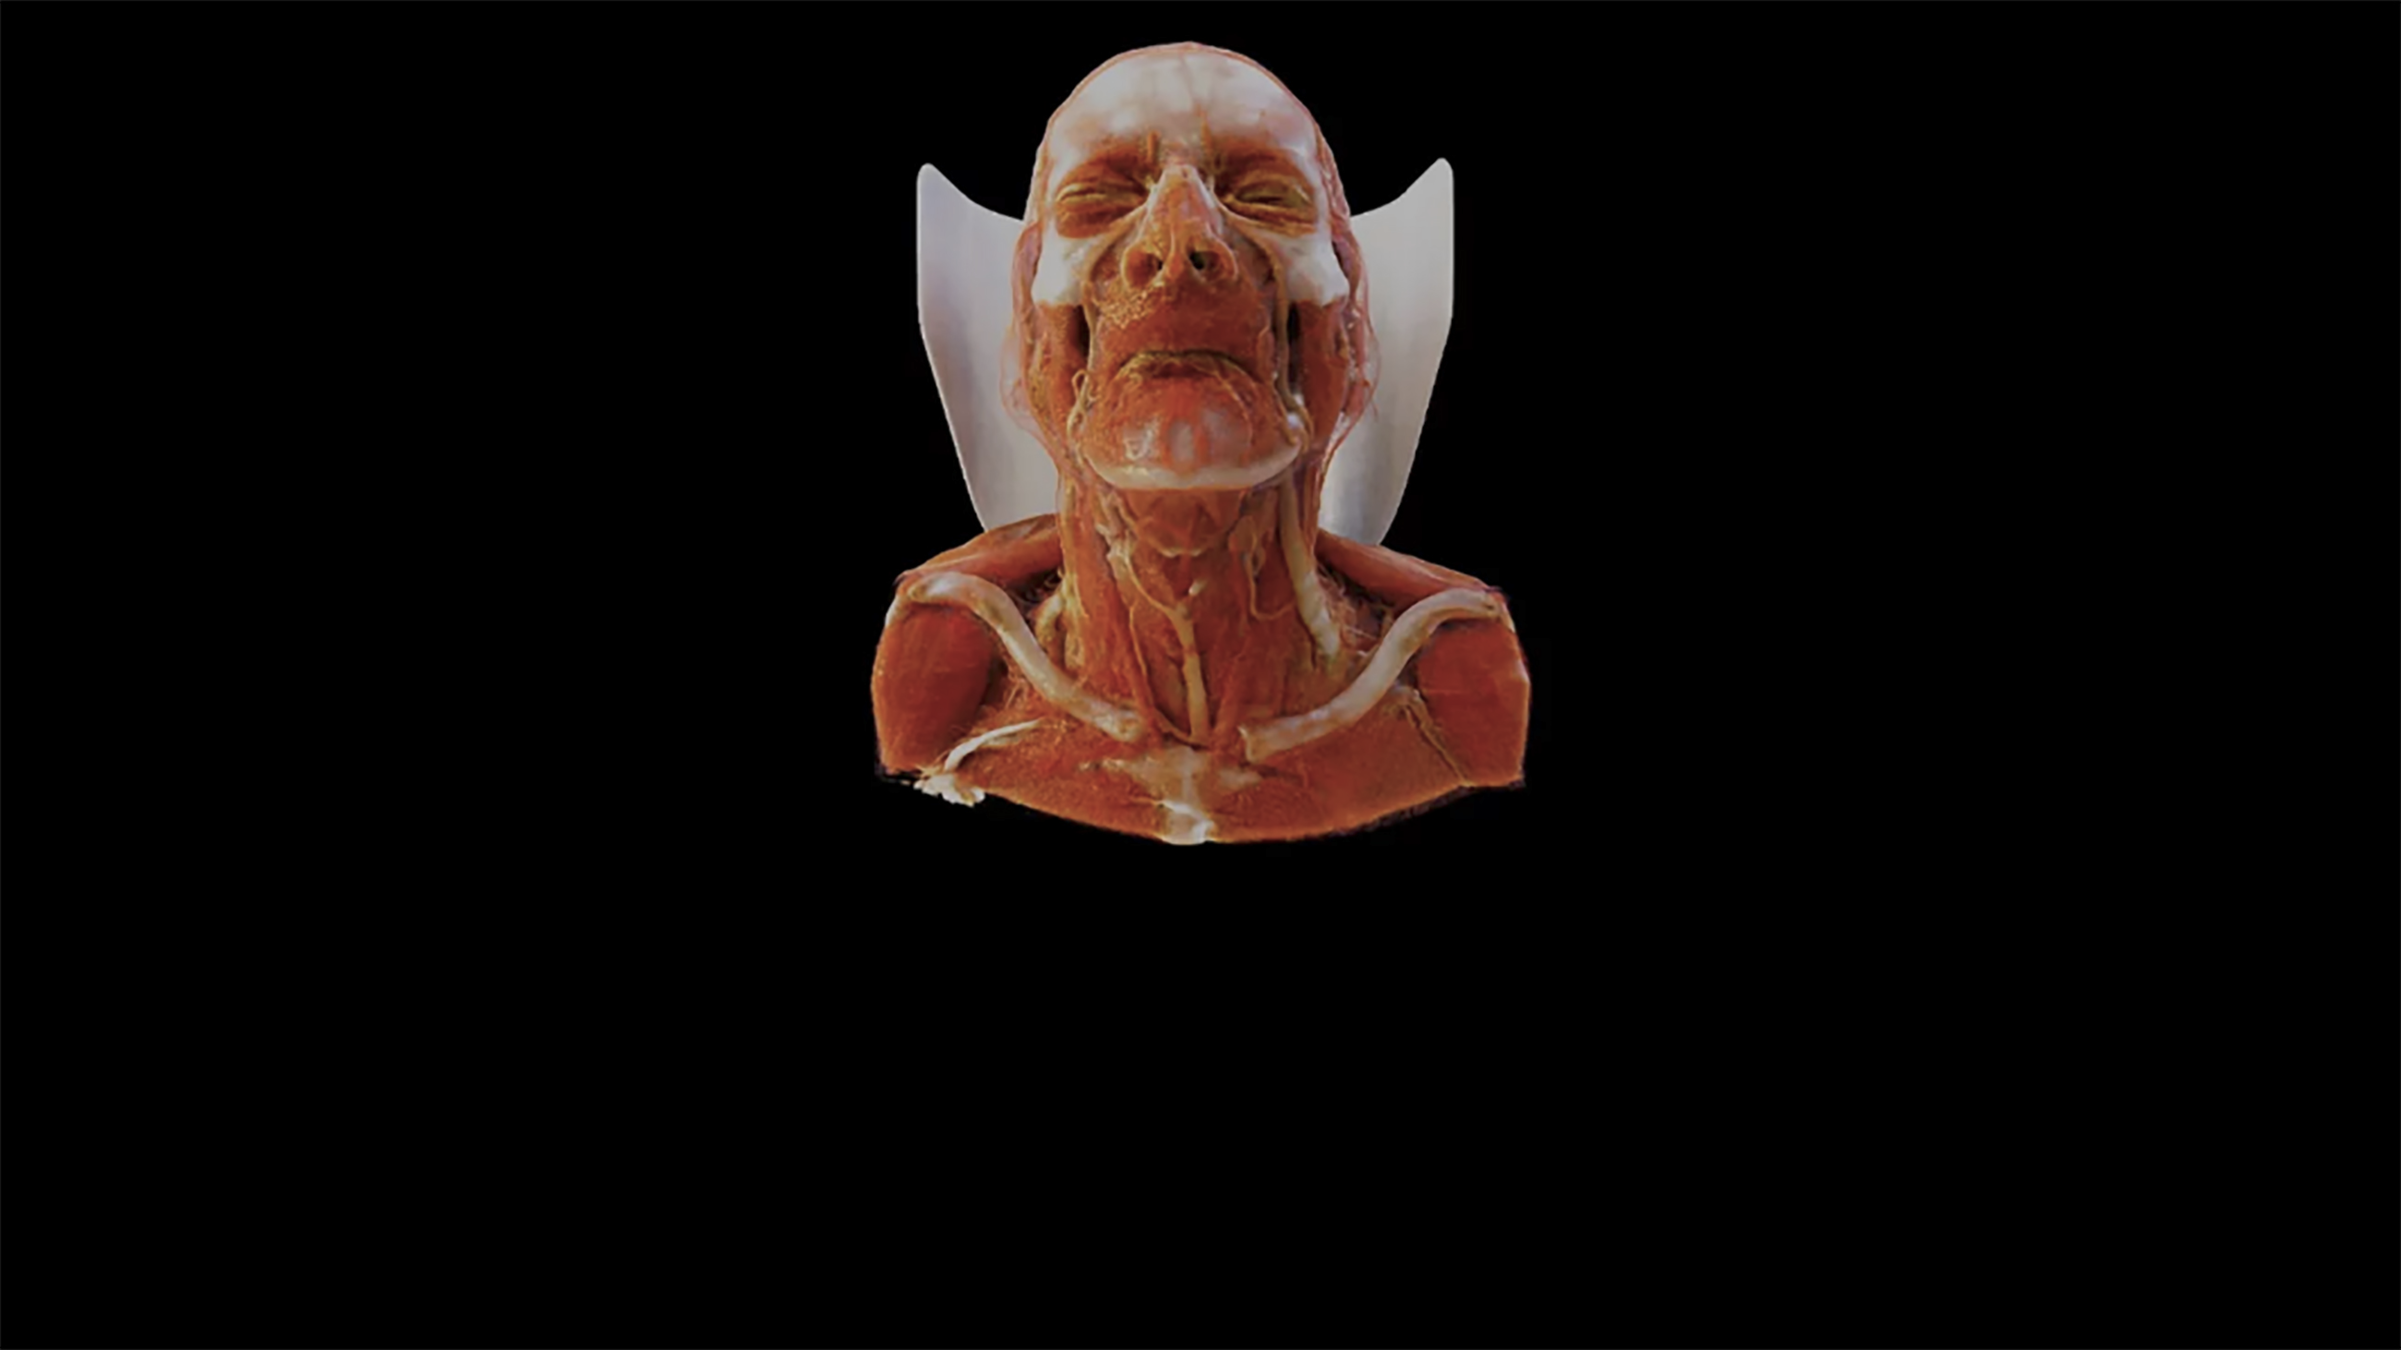
Image Volumes
2D
3D
Slice-based Volume Rendering
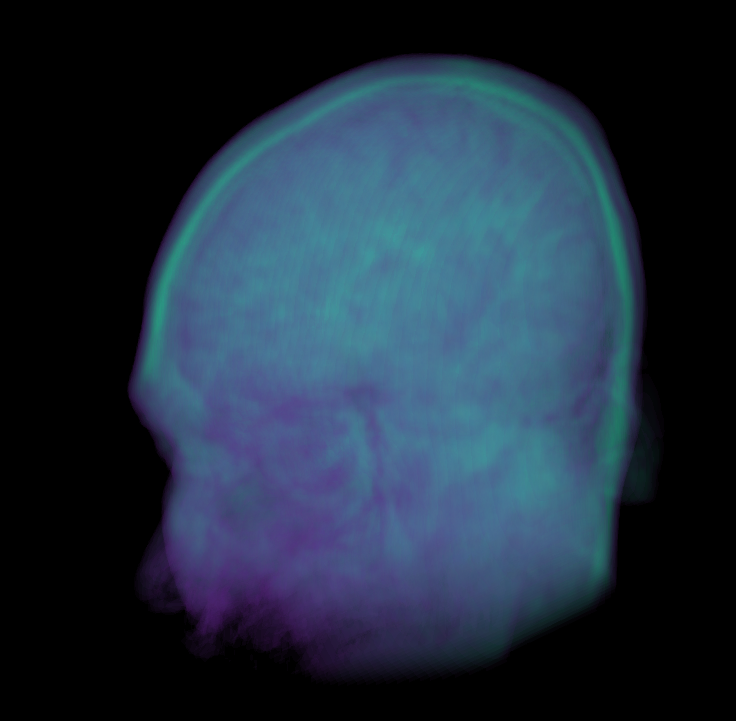
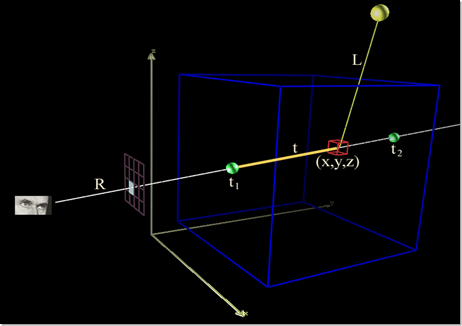
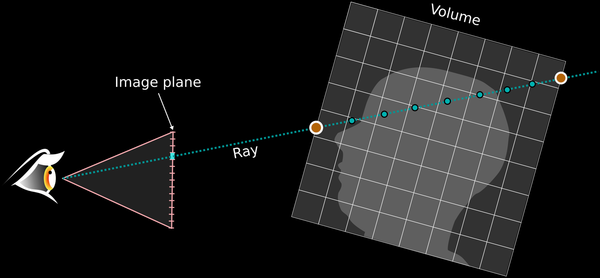
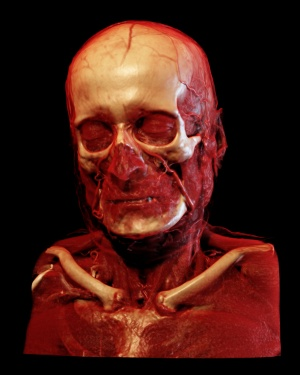
Volume Rendering with Ray Casting
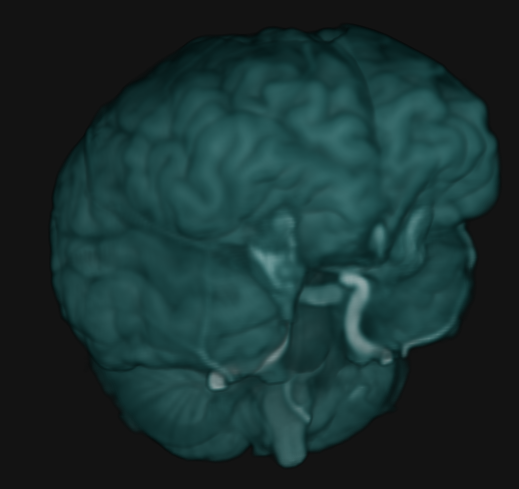
Cinematic Volume Rendering
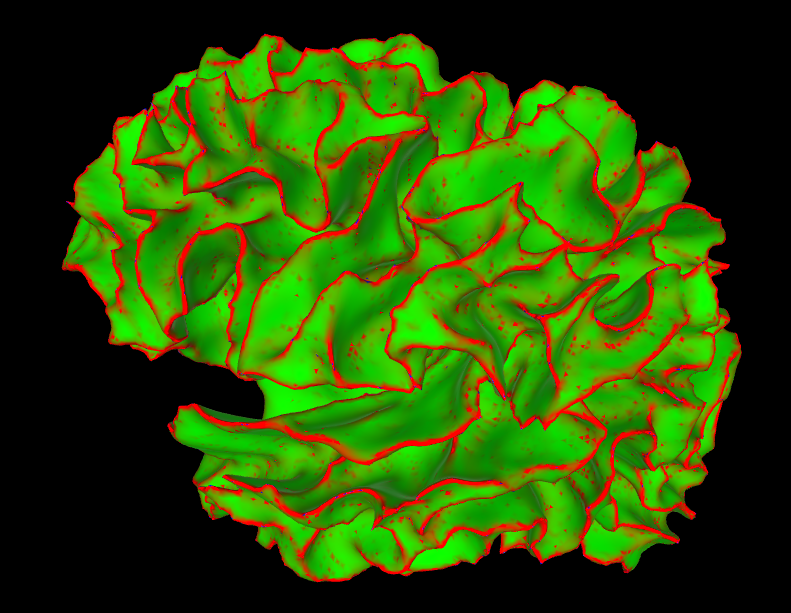
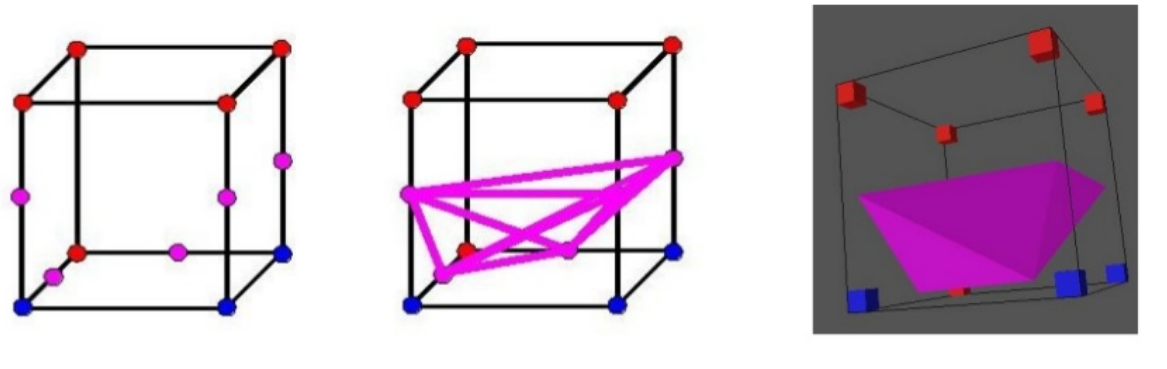
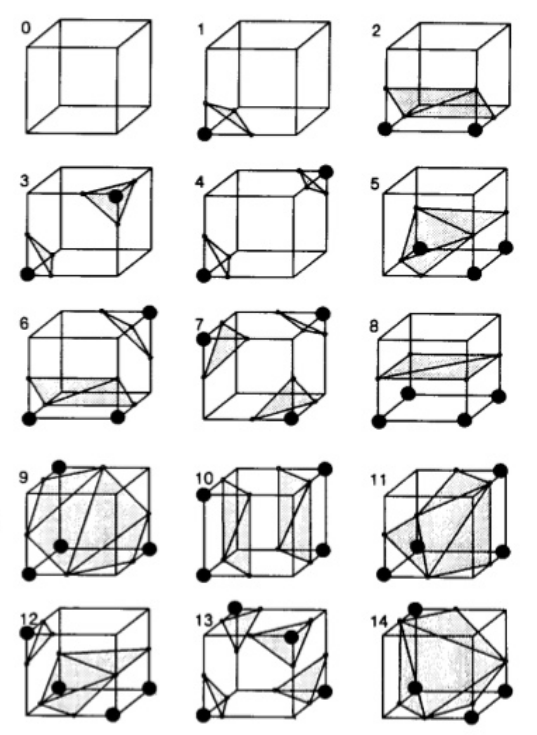
Marching Cubes creates 3D Meshes
Bill Lorensen 1987
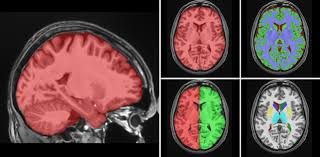
Label Maps
Marching Cubes in 3D
Create triangles to approximate the shape
Inside
Outside
Lecture 31
Lecture 32
Lecture 33
Lecture 34
Lecture 35
Lecture 36
Lecture 37
By Daniel Haehn
Slides for CS460 Computer Graphics at UMass Boston. See https://cs460.orghttps://cs460.org


