Department Item - Developer
Use the arrow keys or spacebar to go to the next slide.
Make this presentation full screen for best effect.
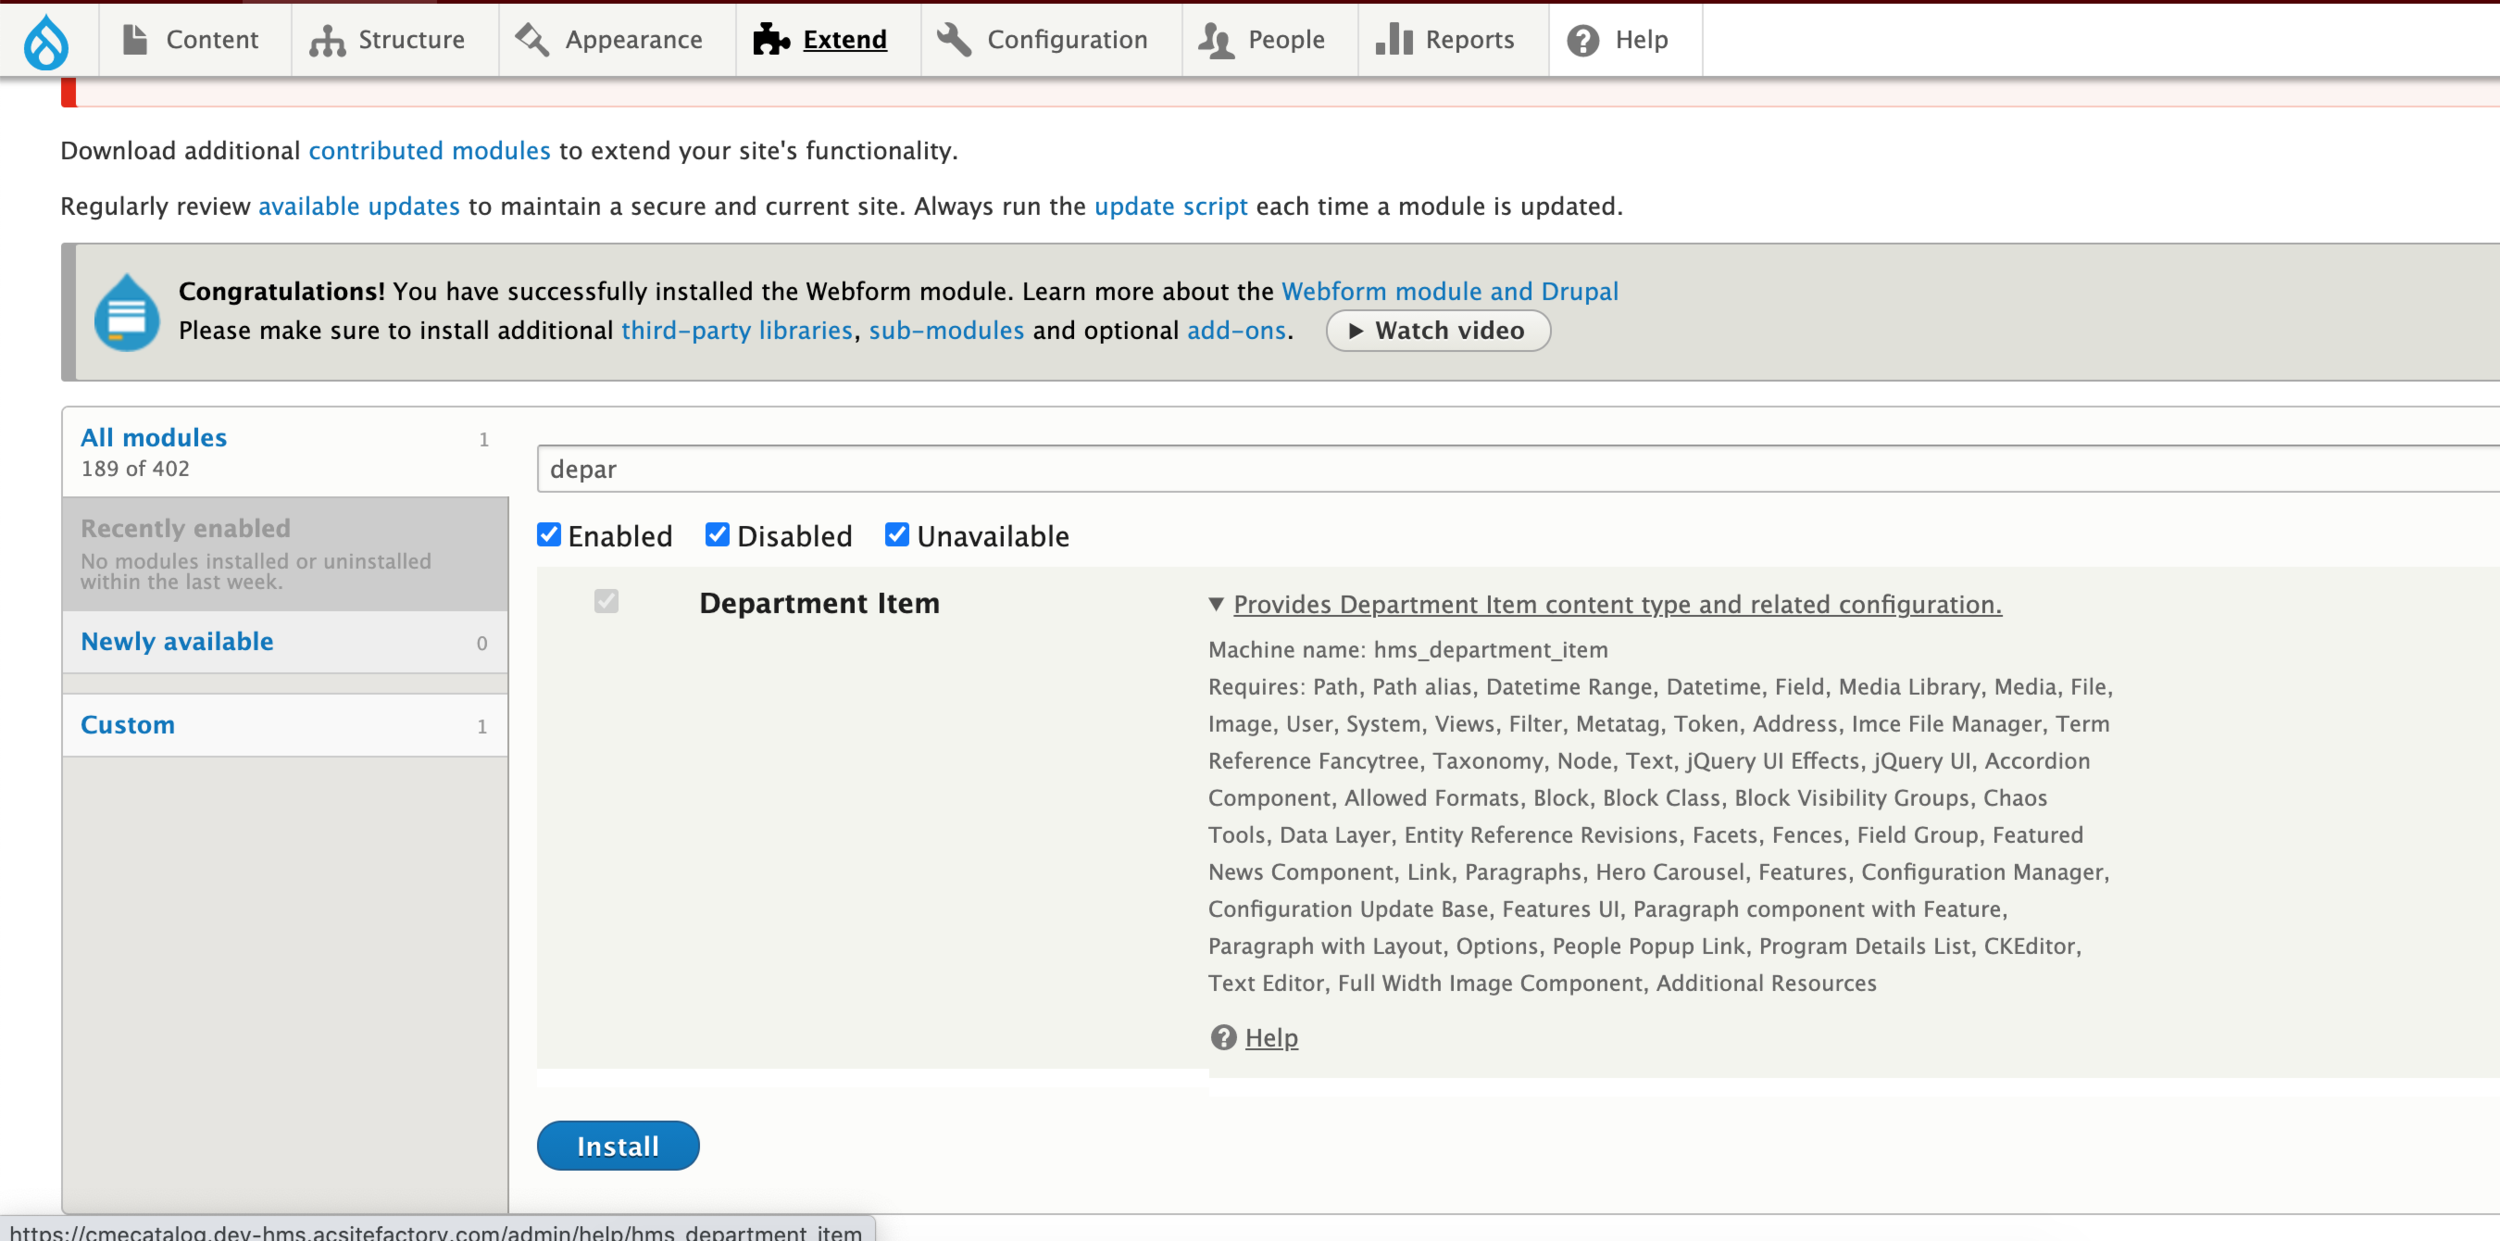
The very first step would be to turn on/enable the department item module. This can be done through the Drupal admin UI or if that doesn't go smoothly, Drush can be used. In the admin menu, click on "Extend". On this page, search for the department item module, check the item, and then click install. It has several dependencies so this may take a few minutes. Once that completes, run updates on the Drupal site. If you get an error message, that is when we would recommend using drush to install:
composer require hmswarp/hms_department_item:[version]
Where you begin
Once you confirm everything with the basic configuration automatically through the logs and on the extend page, we can now go through with setting up the department item for the user. First, go to - /admin/config/content/department-item-overrides
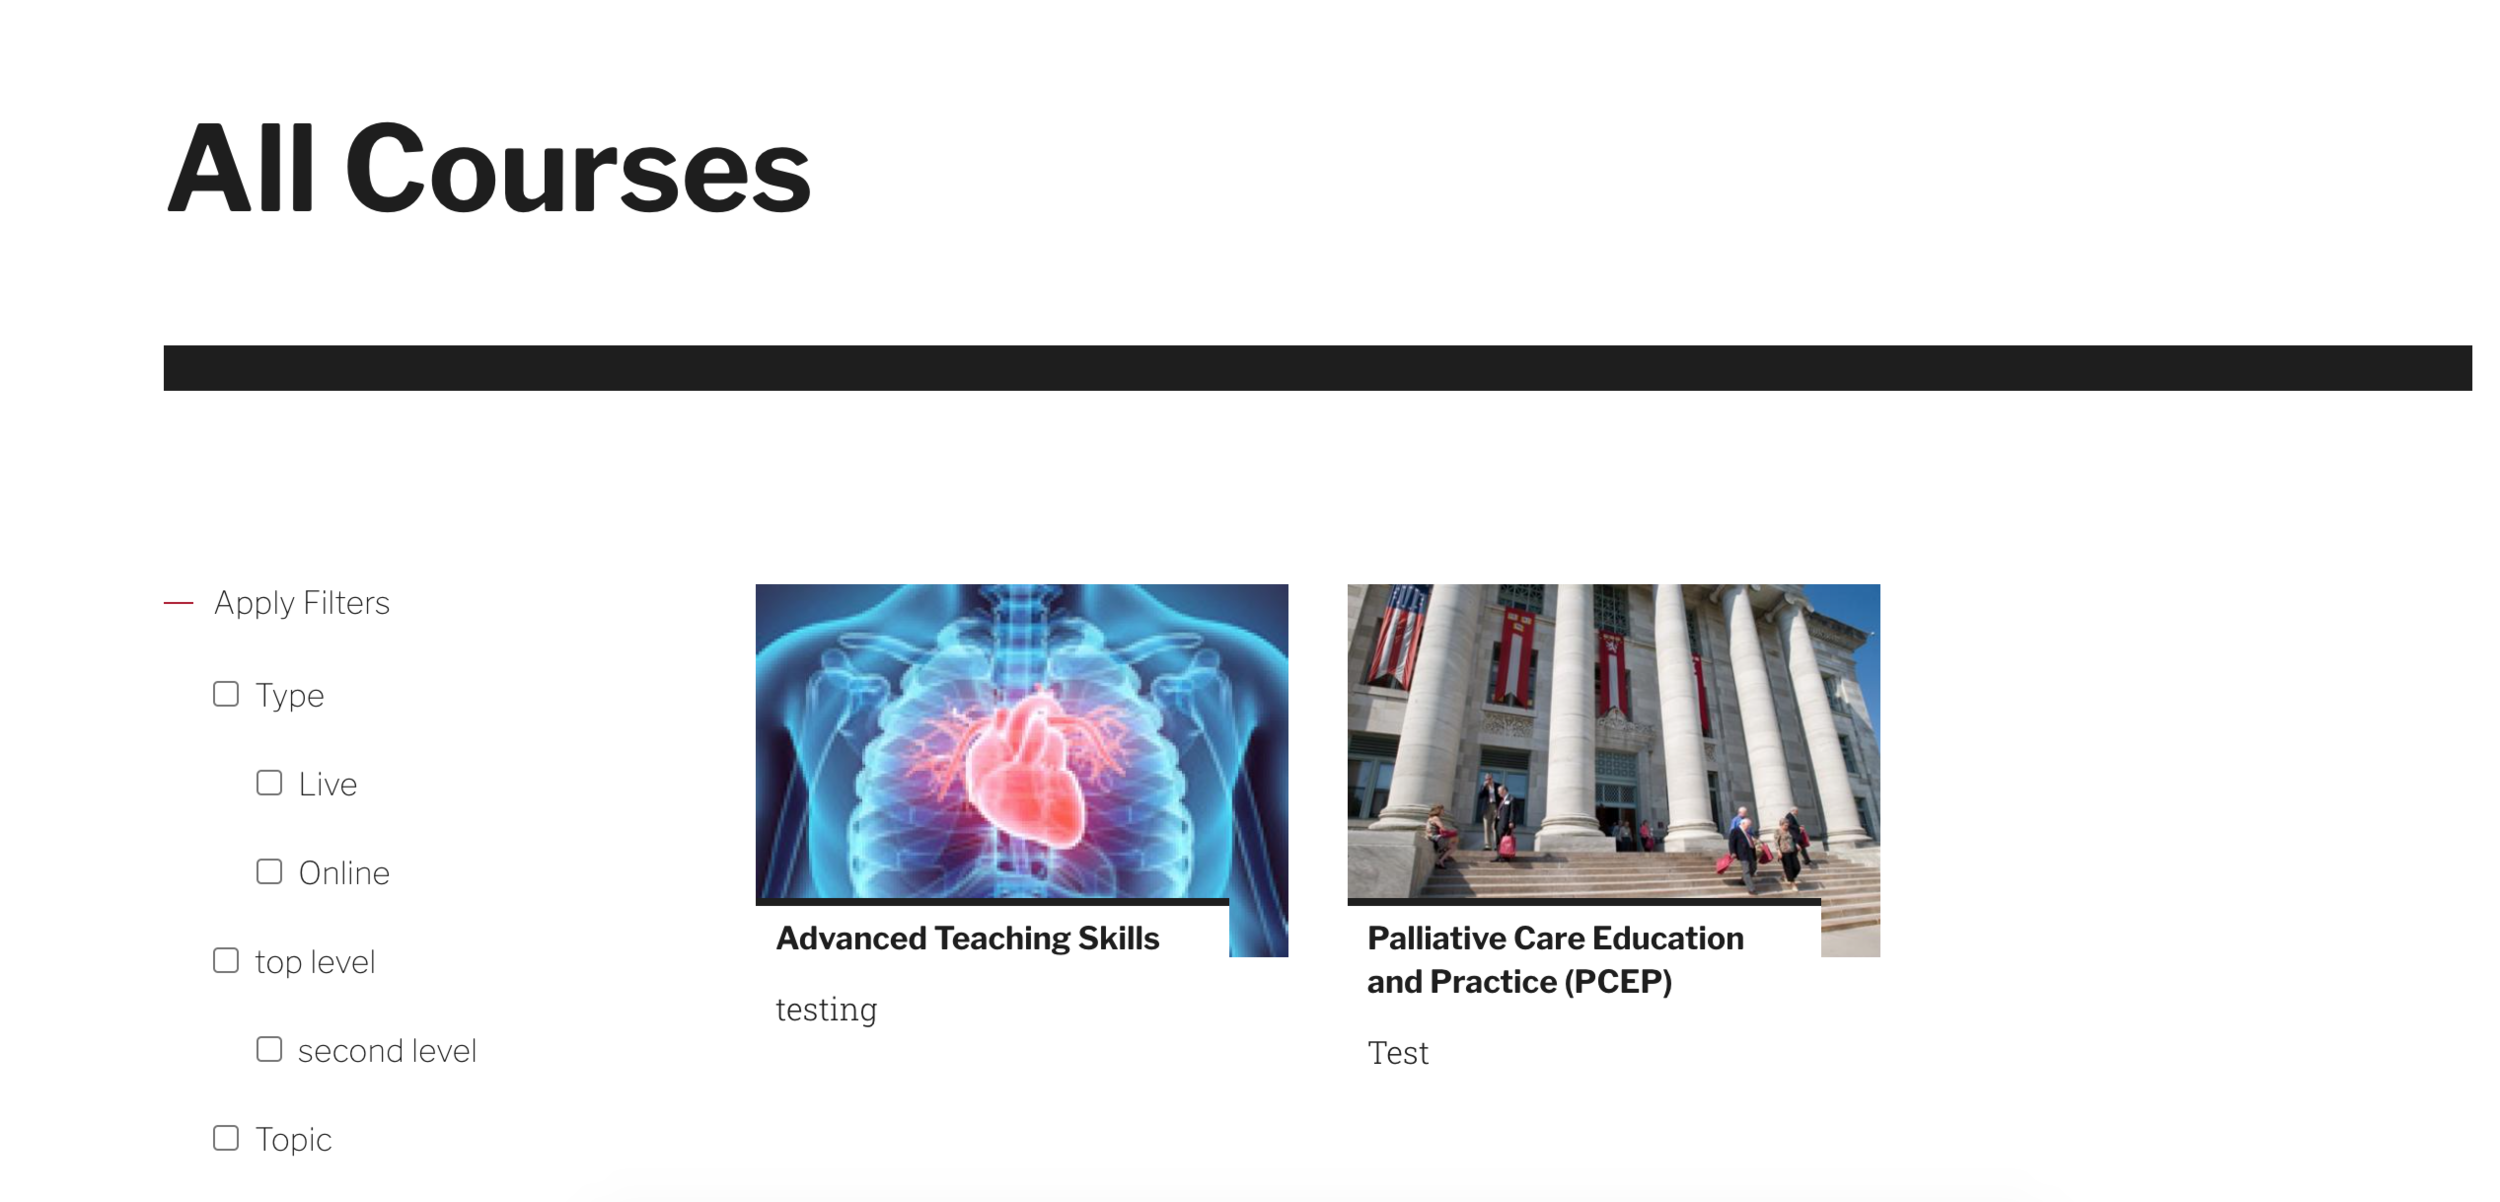
For this example, we are going to set up the department item overrides to be Courses
Department Item Configuration
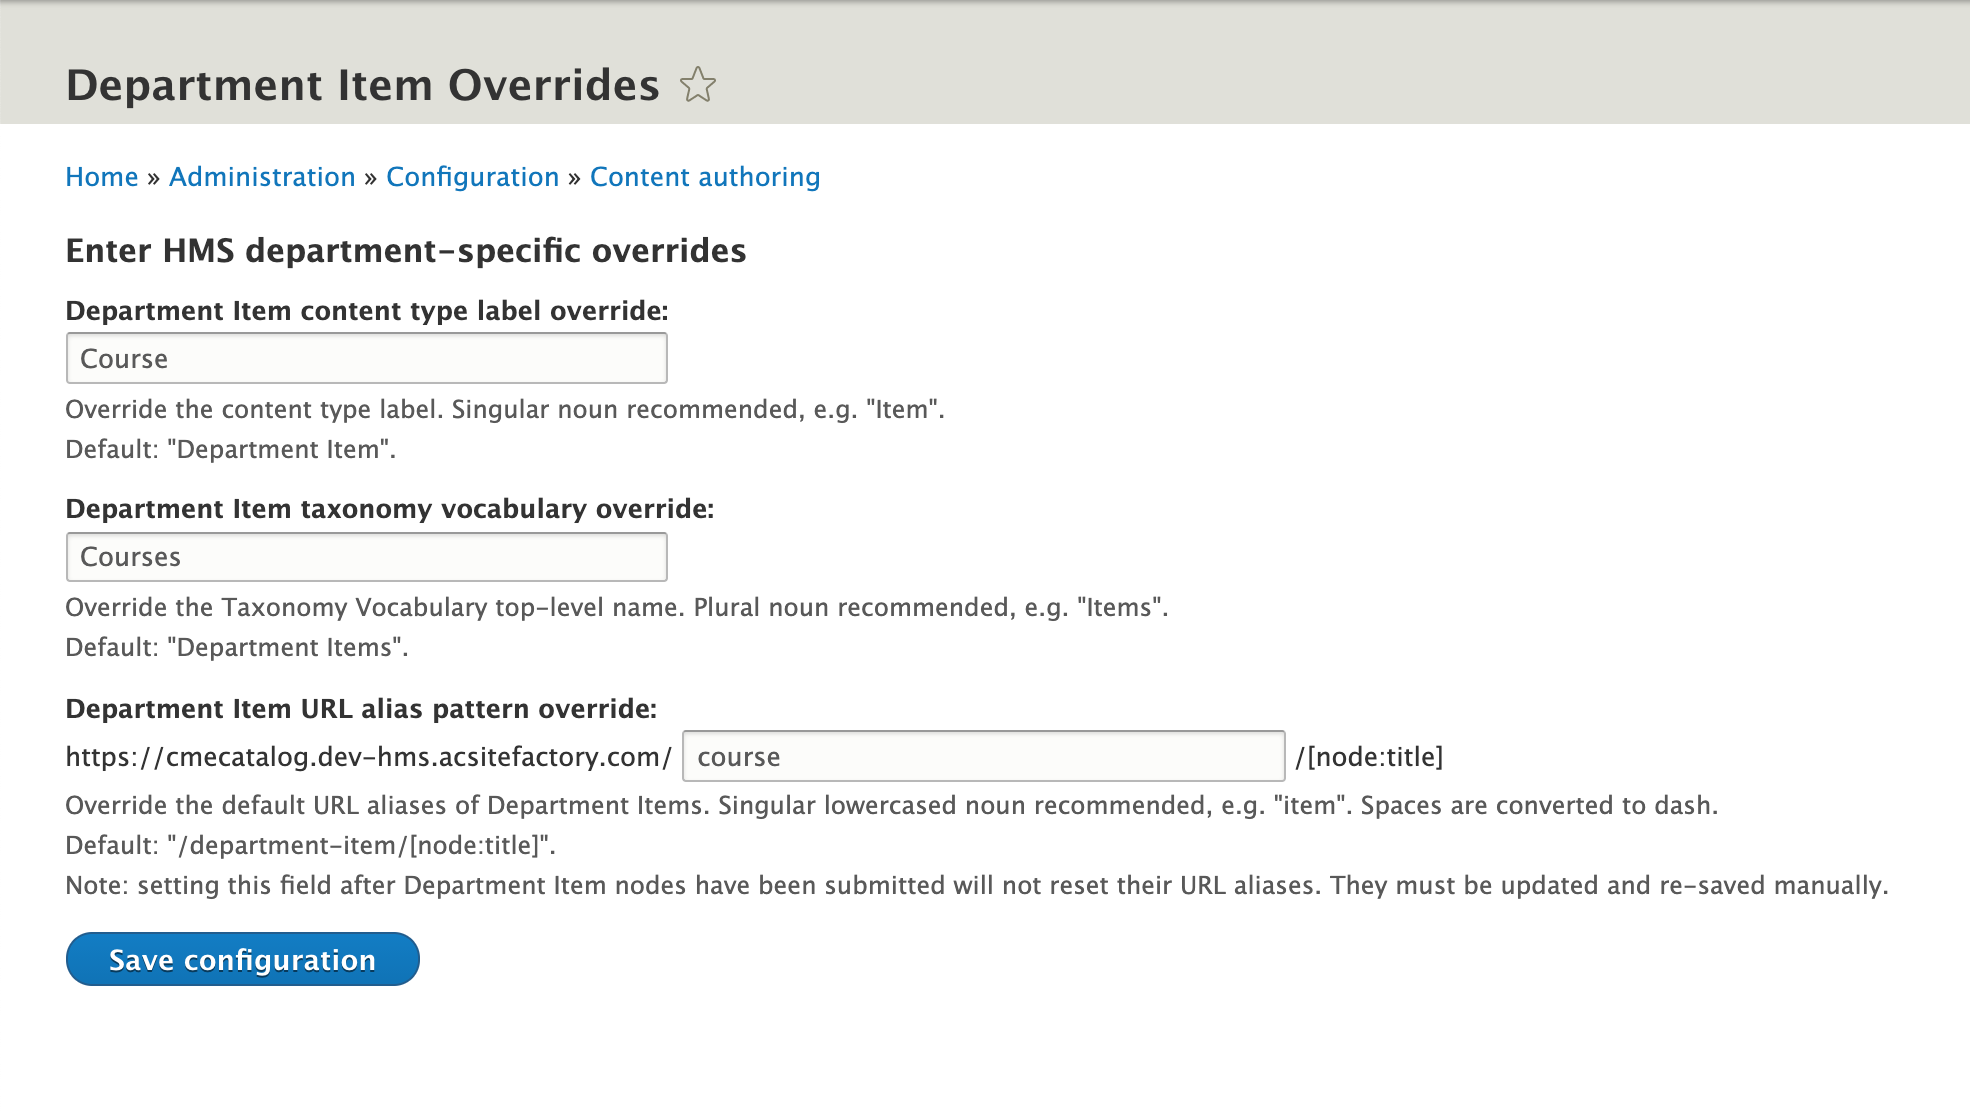
- Department item content type label override - This is the label that would be found under the content types in the Drupal admin menu where users would add content. It is recommended to have this be a singular noun, so this would be Course in our example.
- Department item taxonomy vocabulary override - With this module, it actually creates an associated top level taxonomy vocabulary. By default, it will be Department Items, so this would be replaced by Courses. It is recommended to have this override field contain a plural noun.
- Department item URL alias pattern override - Very similar to the above field, the module creates an alias pattern for department item which we can change. Doing this before users enter content is important so they will not have to worry about node URLs when creating pieces of content. This is also recommended to be singular.
Department Item Configuration
1
2
3
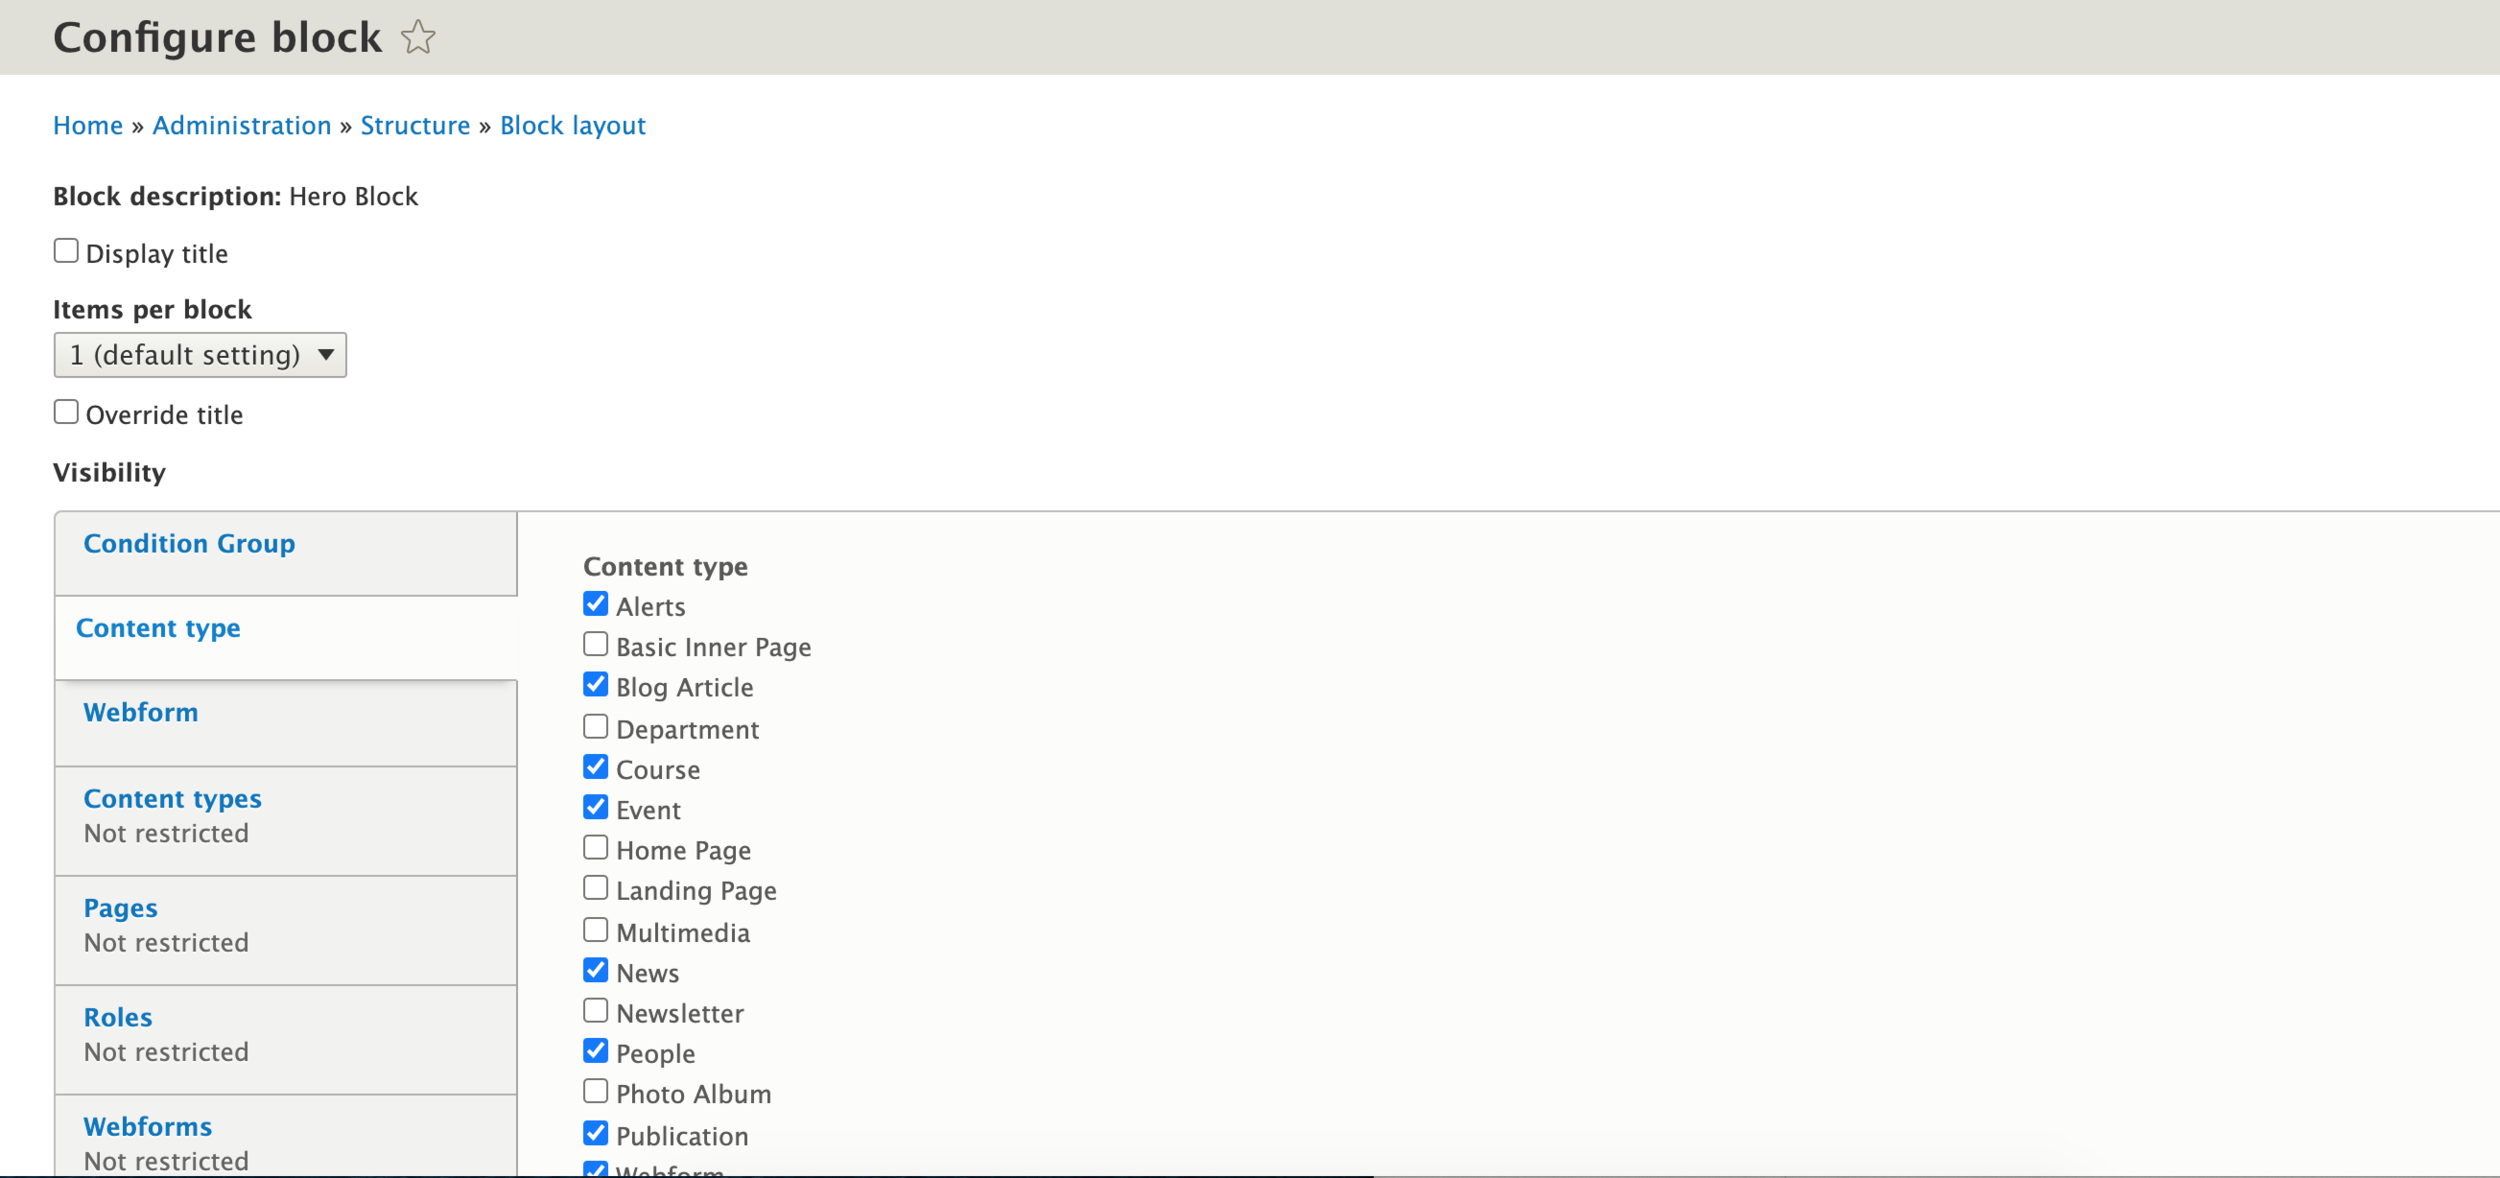
Once the page on the previous slide was saved, clear the site's full cache in order to see the updated settings and configuration. Next, we will need to go into the block layout to update a few display settings for a few blocks. First, configure the Hero Block. Under the content type tab, make sure your department item (in this example, it would be Courses) is checked and then hit save.
Department Item Block Configuration
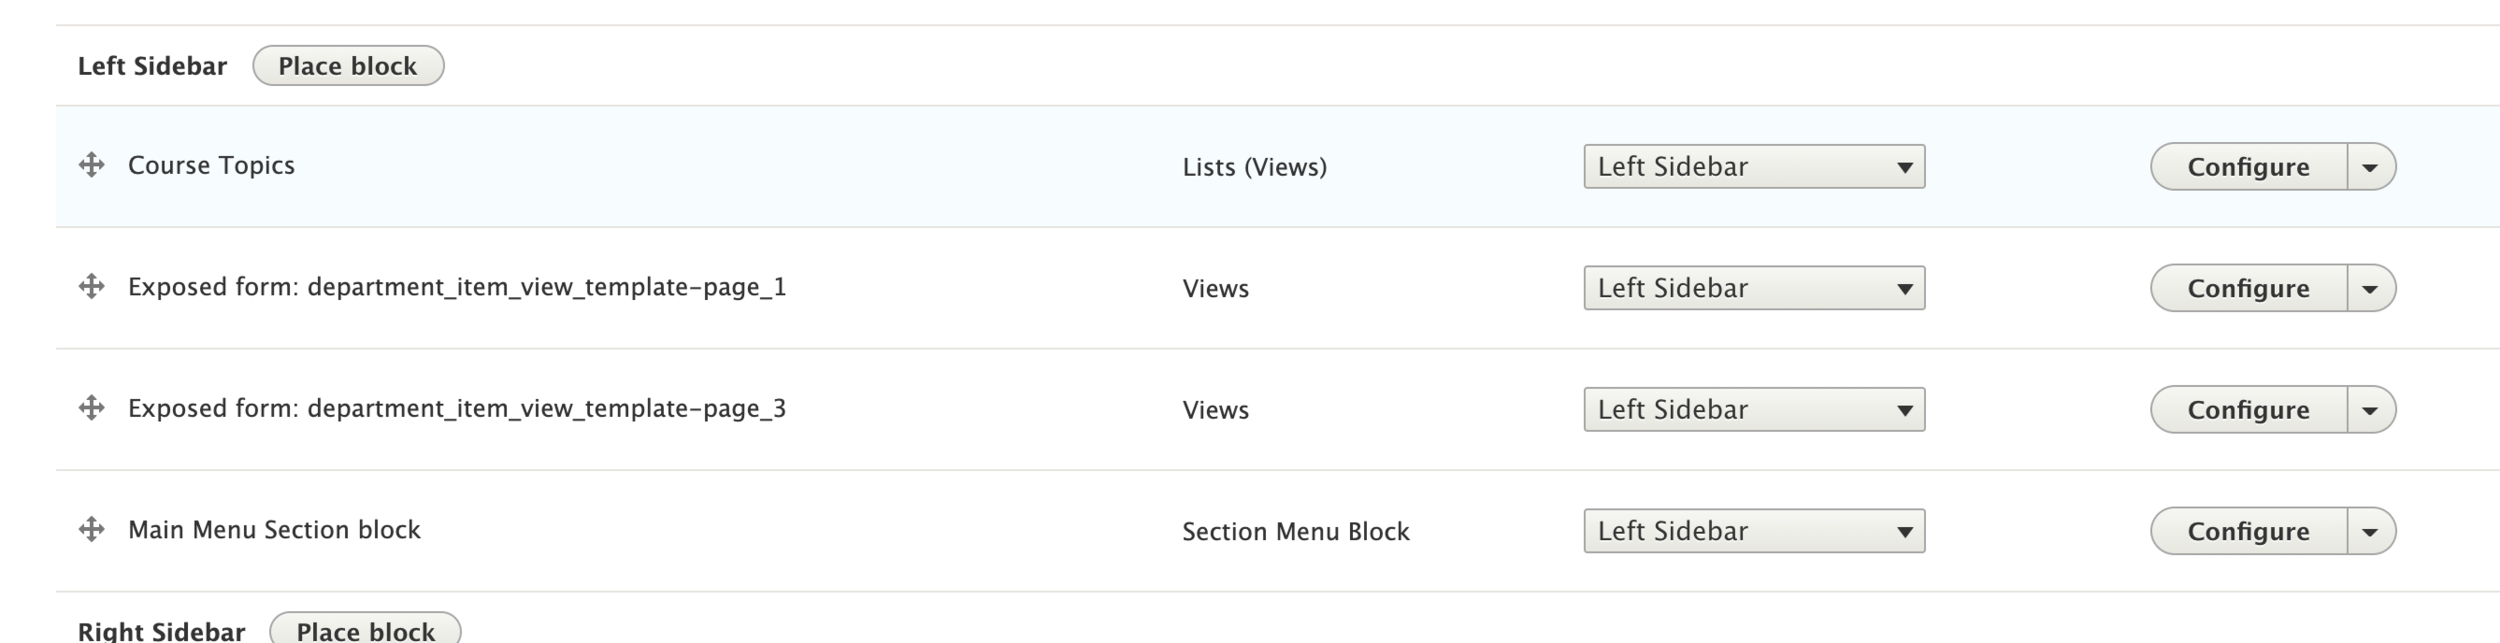
The next block we want to check on the configuration is the page title block. This should not need any updating, however double check that the page title is not duplicating on department item nodes. If it is, exclude page title from the node and view displays. The last block to check is under the left sidebar. Here is where you would add the associated view and filter blocks created within the view. This could be different per microsite, and for this example there are three blocks to add. Make sure you configure each block you need to show on the pages you need. For the filter blocks, they will need the following CSS class to be added to the field on the configure page:
.js-form-item-no-icon
Department Item Block Configuration
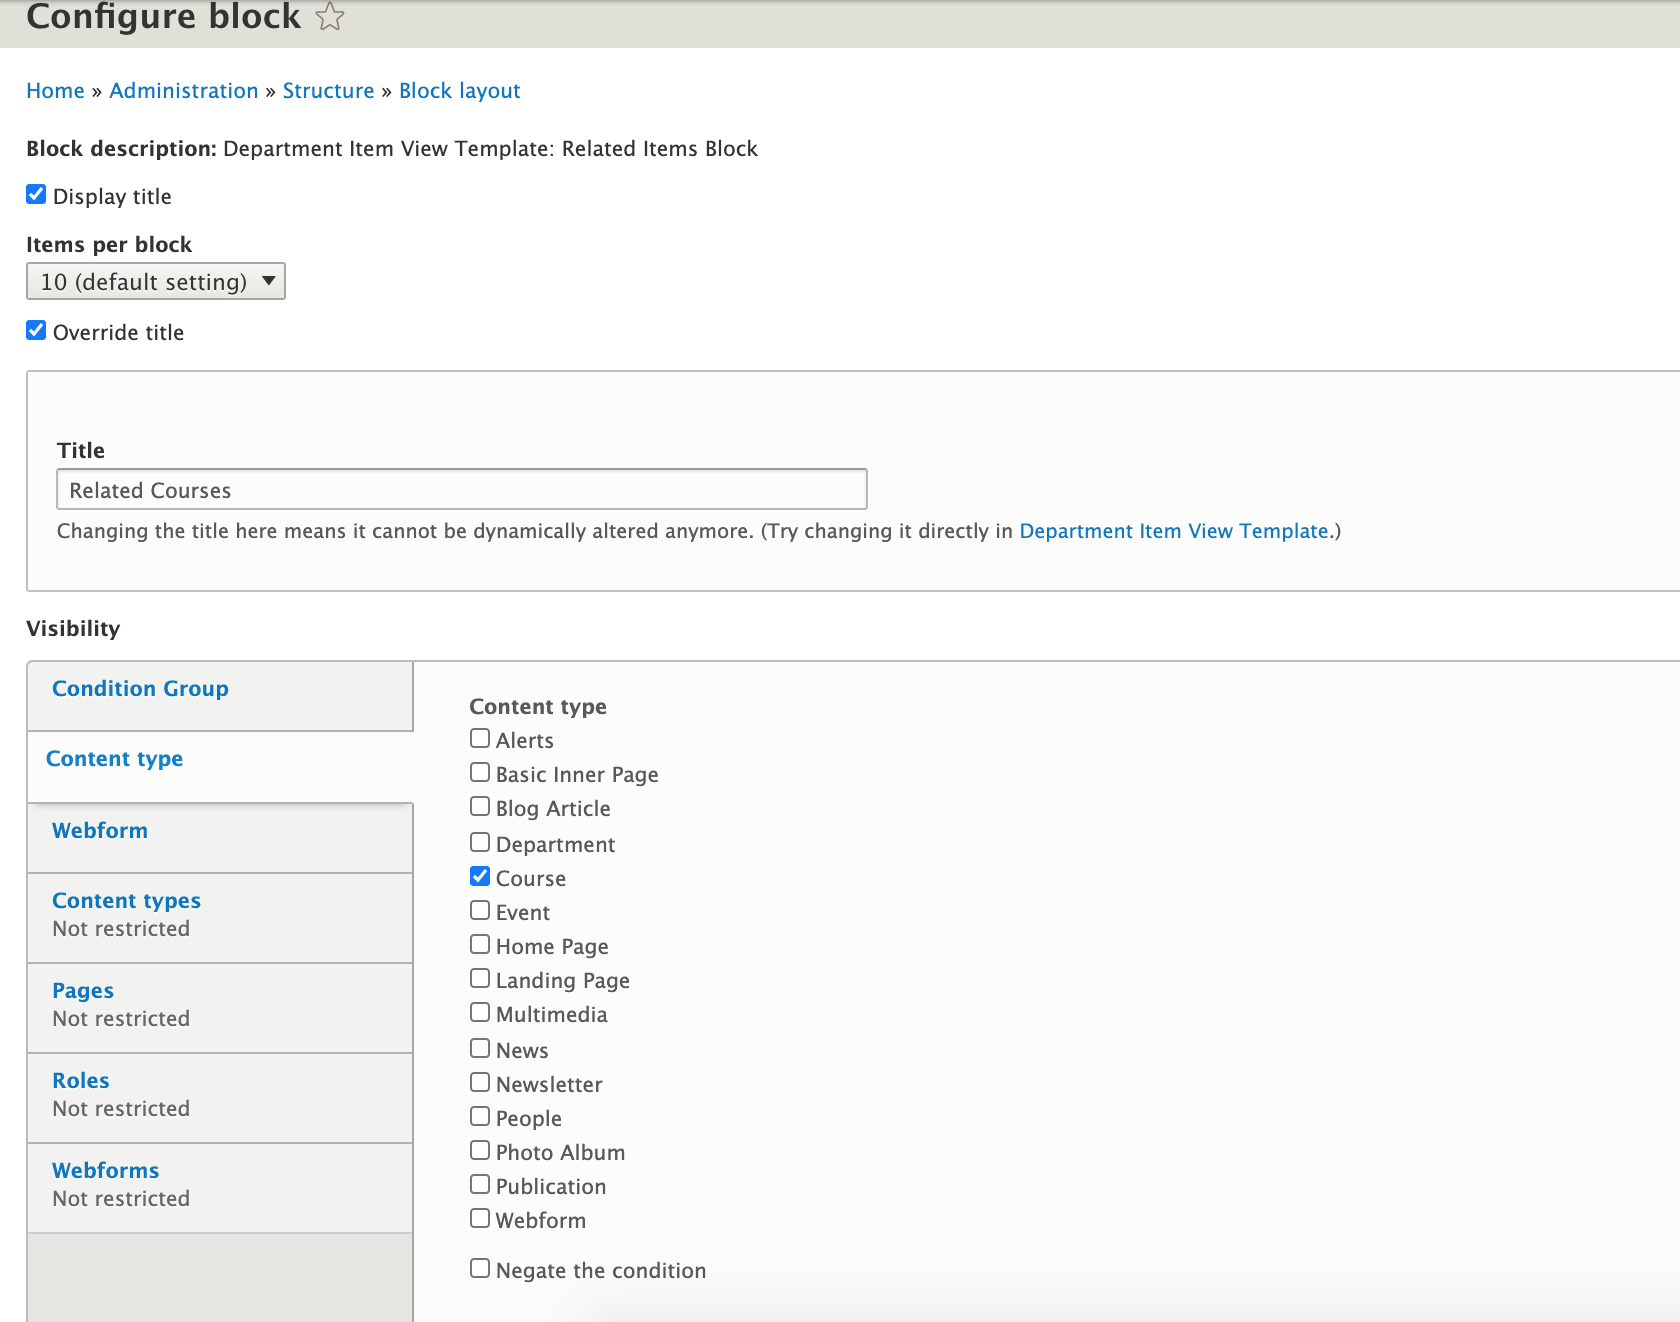
There is one additional block to add, and that would be the related items block. This block () is to be placed in the content section if it is not already done. By default, everything is set to department item, however the block title can be overwritten. To do that, check the two boxes for Display Title, and Override Title. A new field will appear where you can update the title. Before hitting save, change the visibility in the content type tab to have your department item checked. In this example, it would be Course.
Department Item Block Configuration
Congratulations!
You have completed the
Department Item Walkthrough
use the back button to go back to where you were
Department Item (Developer)
By harvardms
Department Item (Developer)
In this lesson you will learn the steps and information needed to use the department item content type and understand the setup and configuration that is on your Drupal website - Developer documentation is for internal use only. Do not provide this to clients or post on webtraining site


