Digital Design
Final projects
Day Overview
- Design principles
- Team HTML/CSS Challenge
-
- Awesome prize for winning team
- Final project
- Description
- Guidelines
- Begin brainstorming

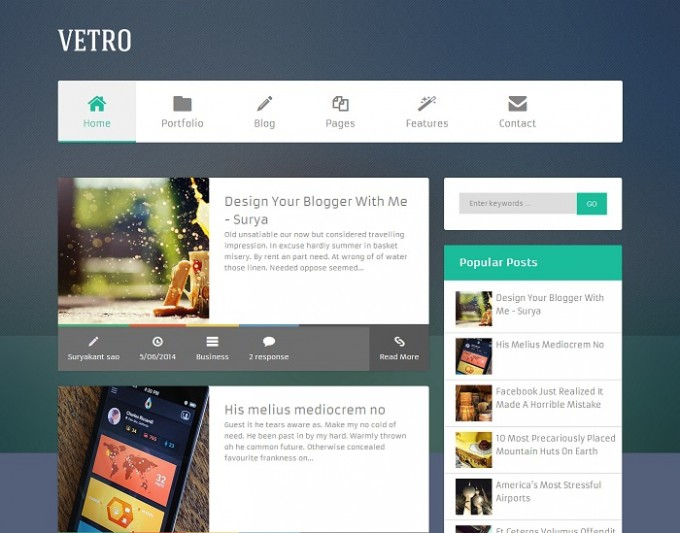
Bad design
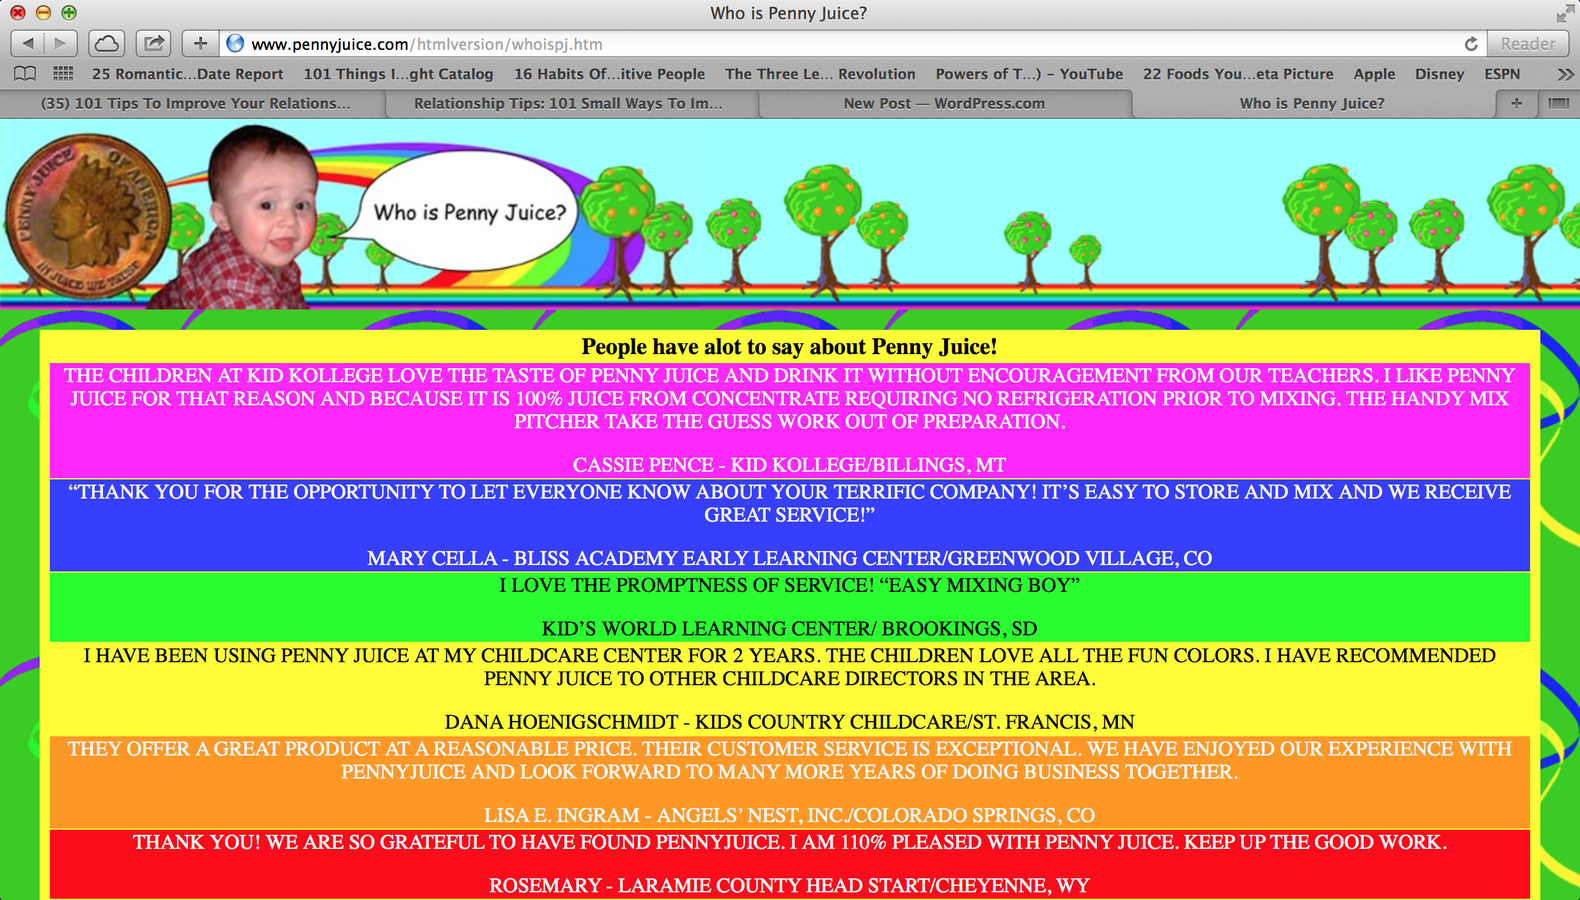
Good Design
HTML/CSS Review
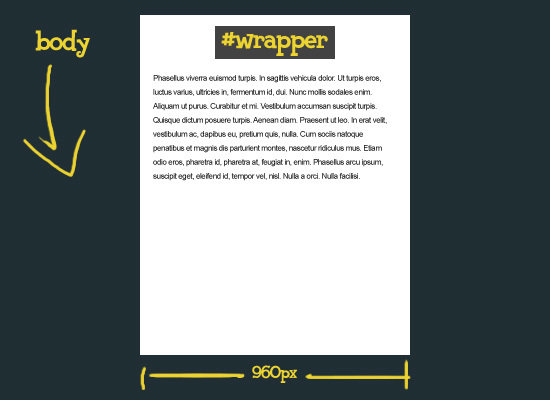
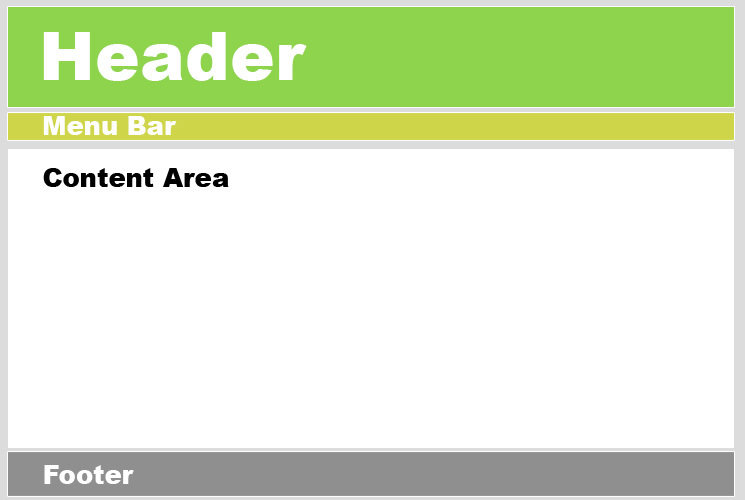
- Wrappers/containers
- Right after your body tag, you should have a content wrapper/container
- Wrappers "wrap" all your content in your website into a giant block
- For every block/section of your website you should have a wrapper/container around it
- Divs vs Ids
- ex. "<div class = "row" id = "welcome">
- Classes are meant to be used several times; several objects can be of the same class
- id's are unique to that section
More on wrappers
More on wrappers
<!DOCTYPE html>
<html>
<head>
<link rel = "stylesheet" href="css/styles.css">
<link rel="icon" href="assets/devleagueemblem_360.png">
<title>Stock Website</title>
</head>
<body>
<div id = "container">
<header>
</header>
<div id = "welcome" class = "row">
Stuff here
</div>
<div id = "offers" class = "row">
Stuff here
</div>
<div id = "location" class = "row">
Stuff here
</div>
<footer id = "footer">
</footer>
</div>
</body>
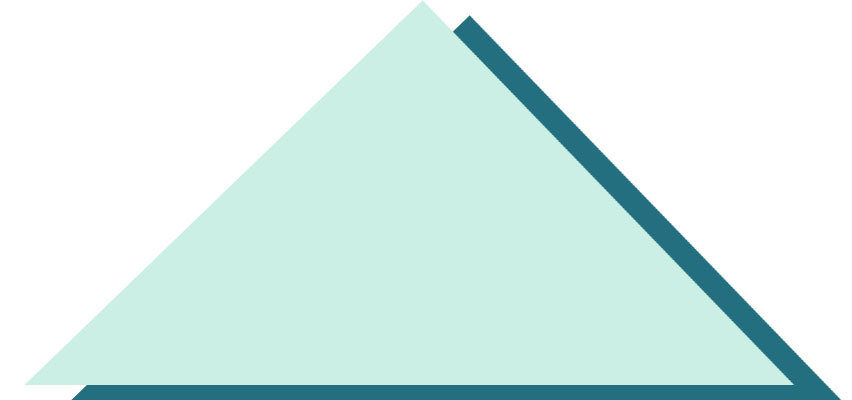
</html>Margins and Padding
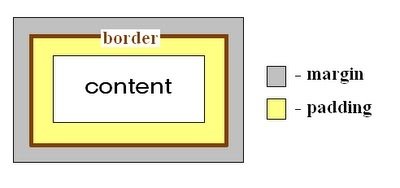
- Padding is the space between the content and the border
- Whereas, margin is the space outside the border.
Margins
p {
    margin-top: 100px;
    margin-bottom: 100px;
    margin-right: 150px;
    margin-left: 80px;
}

/*or you could put all 4 on the same line; the order is the same*/

p {
    margin: 100px 150px 100px 80px;
}
The distance from the edge of the slide to the green border is the margin, whereas the distance from the text to the green border is the padding.
Padding
- Same syntax as margin
p {
    padding-top: 50px;
    padding-right: 30px;
    padding-bottom: 50px;
    padding-left: 80px;
}

p {
    padding: 50px 30px 50px 80px;
}
Images & Display types
- MUST have src and alt tag
-
<img src="smiley.gif" alt="Smiley face" height="42" width="42">
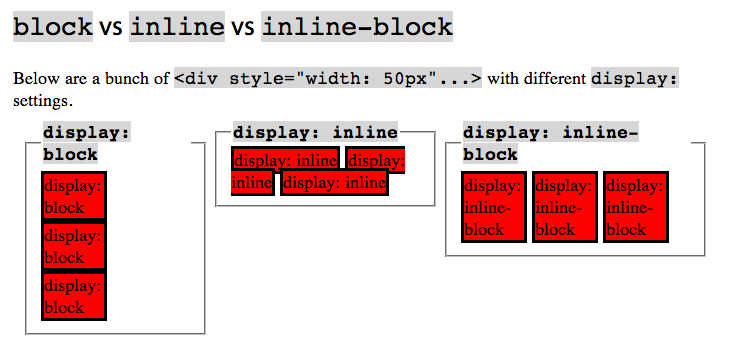
- There are three different ways elements can be displayed on the page in CSS
- Block
- Inline-block
- Inline
Display types
- Block
- Displays the contents as a giant blocks, cannot other elements to the left or right
- Blocks are displayed on top of one another
- Inline
- Displays the contents right next to each other (left and right of each other) on a line
- Inline elements take up minimal height and width and are just placed next to one another
- Inline-block
- Like block, but the blocks can be next to each other
Display types
Display types
CSS Syntax:
.classname {
    display: inline-block;
}
This is why we use classes. We can select all the divs/sections, and have them displayed as cool, convenient blocks. Combine a display: inline-block with a margin, and you get a very clean layout.
Display types
Team HTML/CSS Exercise
- 4 randomly picked teams of 4
- First team to finish the code AND have one random member of the team explain the code to us wins
- You must have:
- At least two wrappers/containers: one for the entire page, the other for block of content
- A nice color scheme
- Margins and padding
- Change the text and size of the h1 tag
- There will be an awesome prize; trust me, you want to win this one
Team HTML/CSS Exercise
Use filler text in each section to show the margins/padding.
Quick review of rules...
- Everyone gets respect
- No playing with the chairs of any kind
- No horseplay
- No phones/other devices except for approved activites
- No eating after 9pm except for during the break
- Focus on your task; no Googling irrelevant things
- Breaking the rules will result in a visit to Punahou administration and your parents will be notified
Final project
- For your Final Projects, you will create websites for some sort of business
- You come up with the business
- Be creative!
- Obviously, remember that your parents will be here so it must be school-appropriate
- Write down in detail what your product/service will
- Make a list of the pages on your website you will have
- Write all of this down
- PUT ALL OF THIS IN A TEXT DOCUMENT/FILE FOR REFERENCE
- AFTER EVERYONE IS DONE, you will present to the class, and get feedback from instructors and peers
- Make a new folder for your final project. Create your css and assets folders, and index.html inside the final project folder
- Find some good images for your website.
- Save them to your assets
- SAVE ORIGINAL URL LINKS TO YOUR IMAGES AS WELL IN A TEXT DOCUMENT
- Rename the photos that you have downloaded
- Perhaps using some of the images you've found, come up with a color palette for your website:
- colourlovers.com
- Sign up
- Tools > PHOTOCOPA or COPASO
- For PHOTOCOPA, you will need the urls
- On PAPER, sketch out the site layout of the home page. Show the locations of the elements, and have the instructors approve it before starting your project
Getting started
- In your DigitalDesign folder, create a new folder for your final project
- Get started!
Digital Design Section 2: Projects
By ifang


