


Joan León PRO
⚡️ Web Performance Artisan at @perfreviews_ | @GoogleDevExpert in #WebTech | @cloudinary Ambassador
DEFINITION
IMPLEMENT
DEPLOY
WEB
PERF.
CHECK
TEST
Ideation,
definition, design,
copies, images...
It may include unit testing on local environment.
Automated testing before merge (integration testing, E2E...).
It can be deployed on production or other previous environments.
Once the code is live somewhere, web performance may be tested.
DEV?
BUSINESS?
SEO?
USERS?
SEARCH
CONSOLE?
DEFINITION
IMPLEMENT
DEPLOY
PERF.
CHECK
TEST
If this feature degrades the performance...
Spending more time === Spending more money
(and generates a bad UX & DX)
BACKLOG
Pros
Cons
Pros
Cons
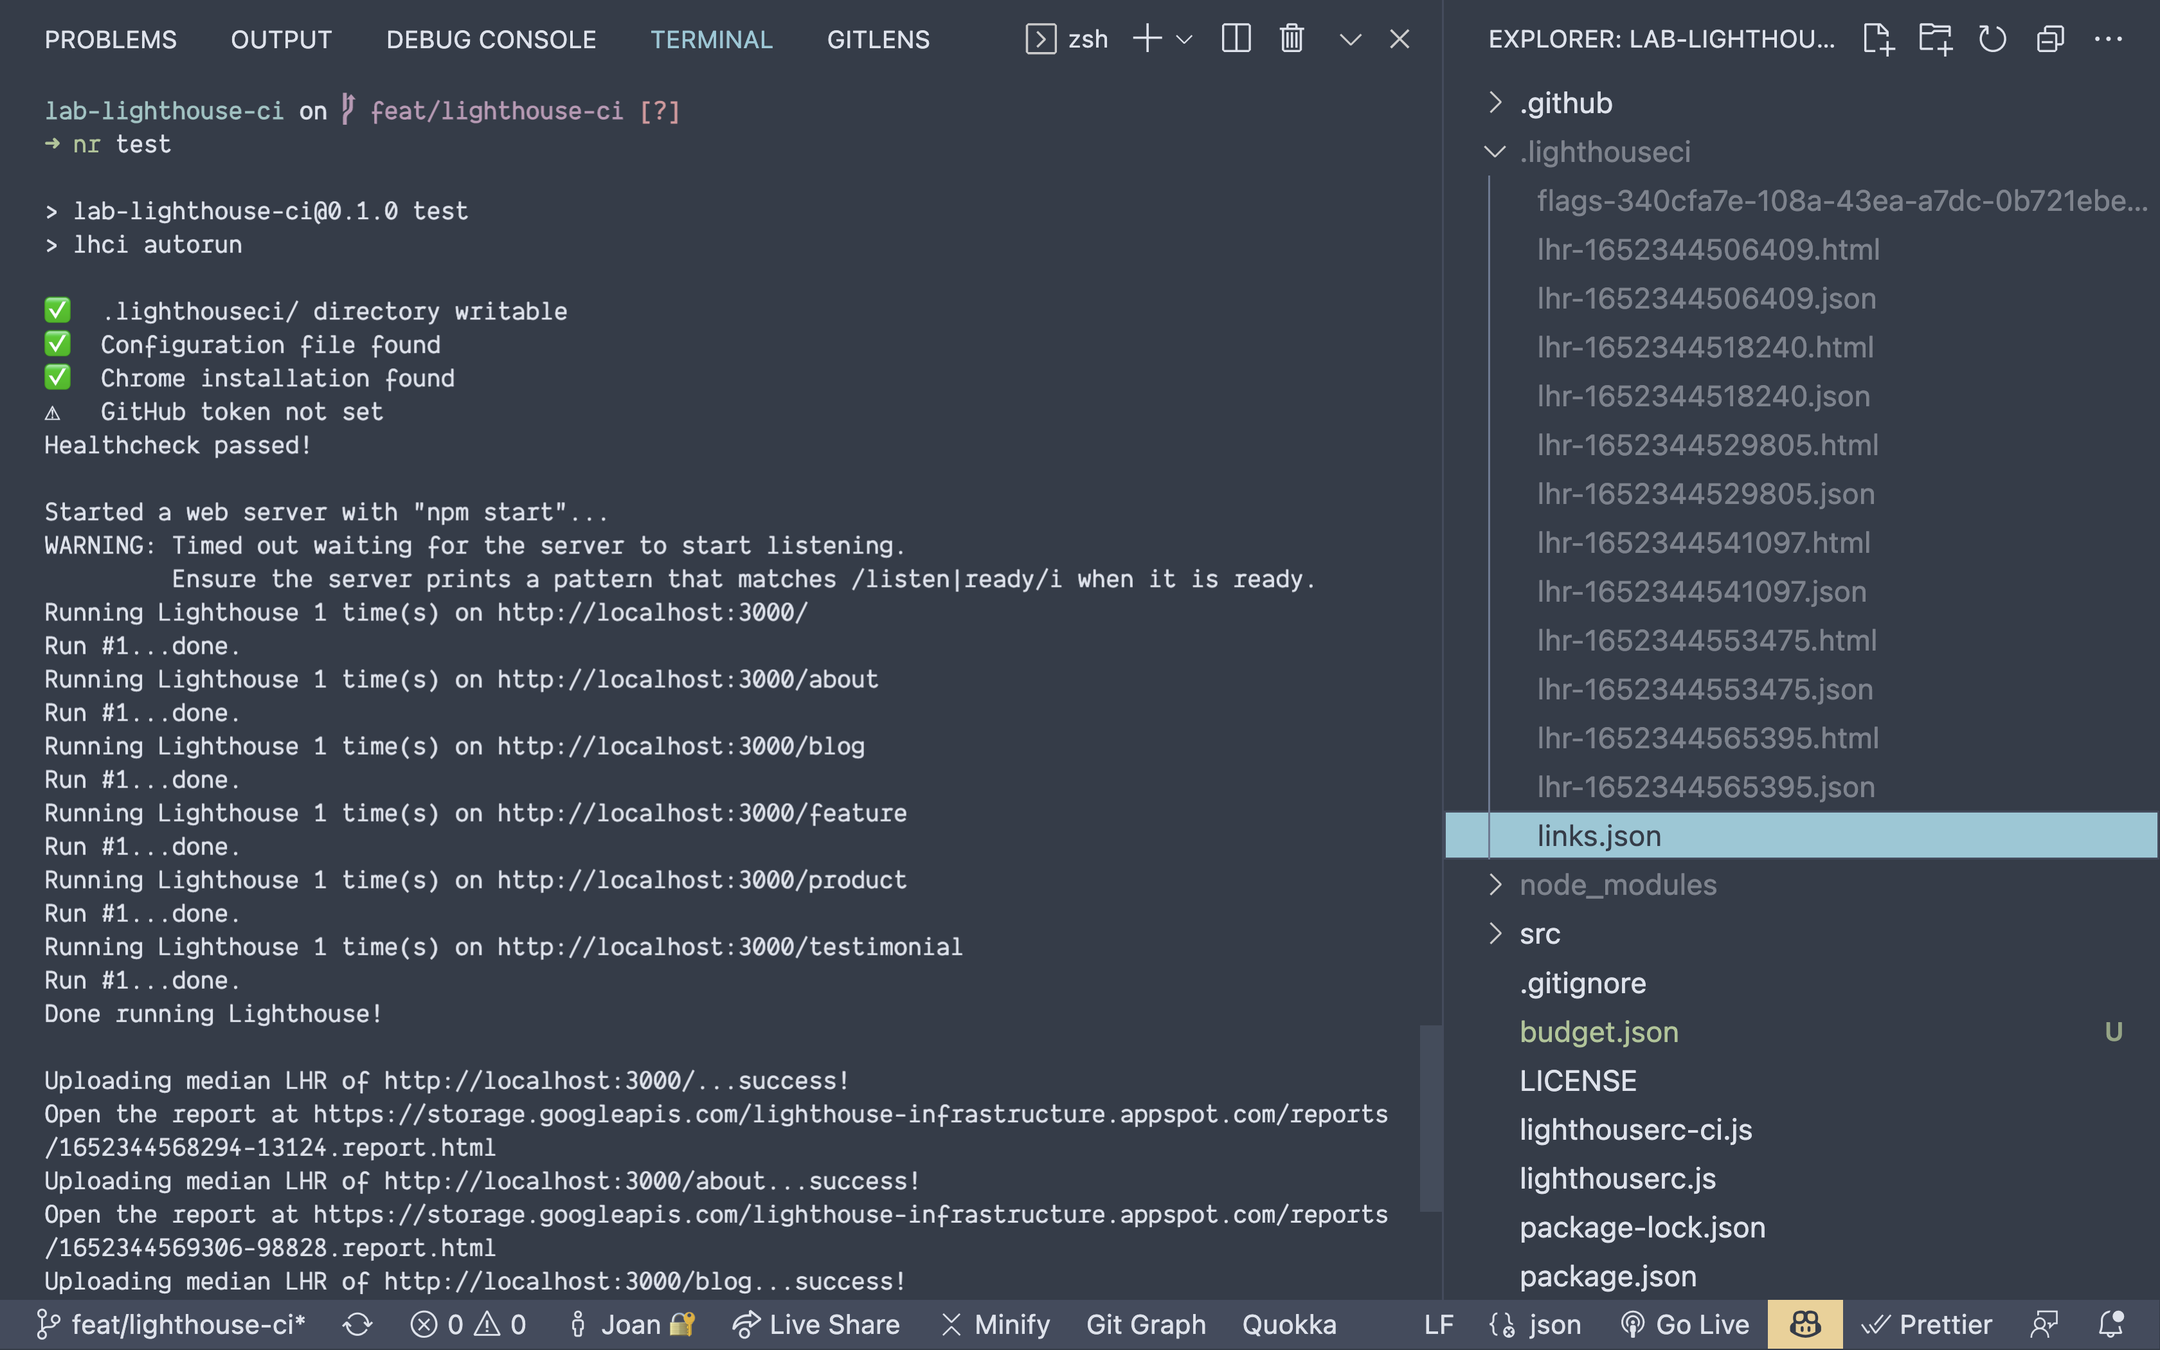
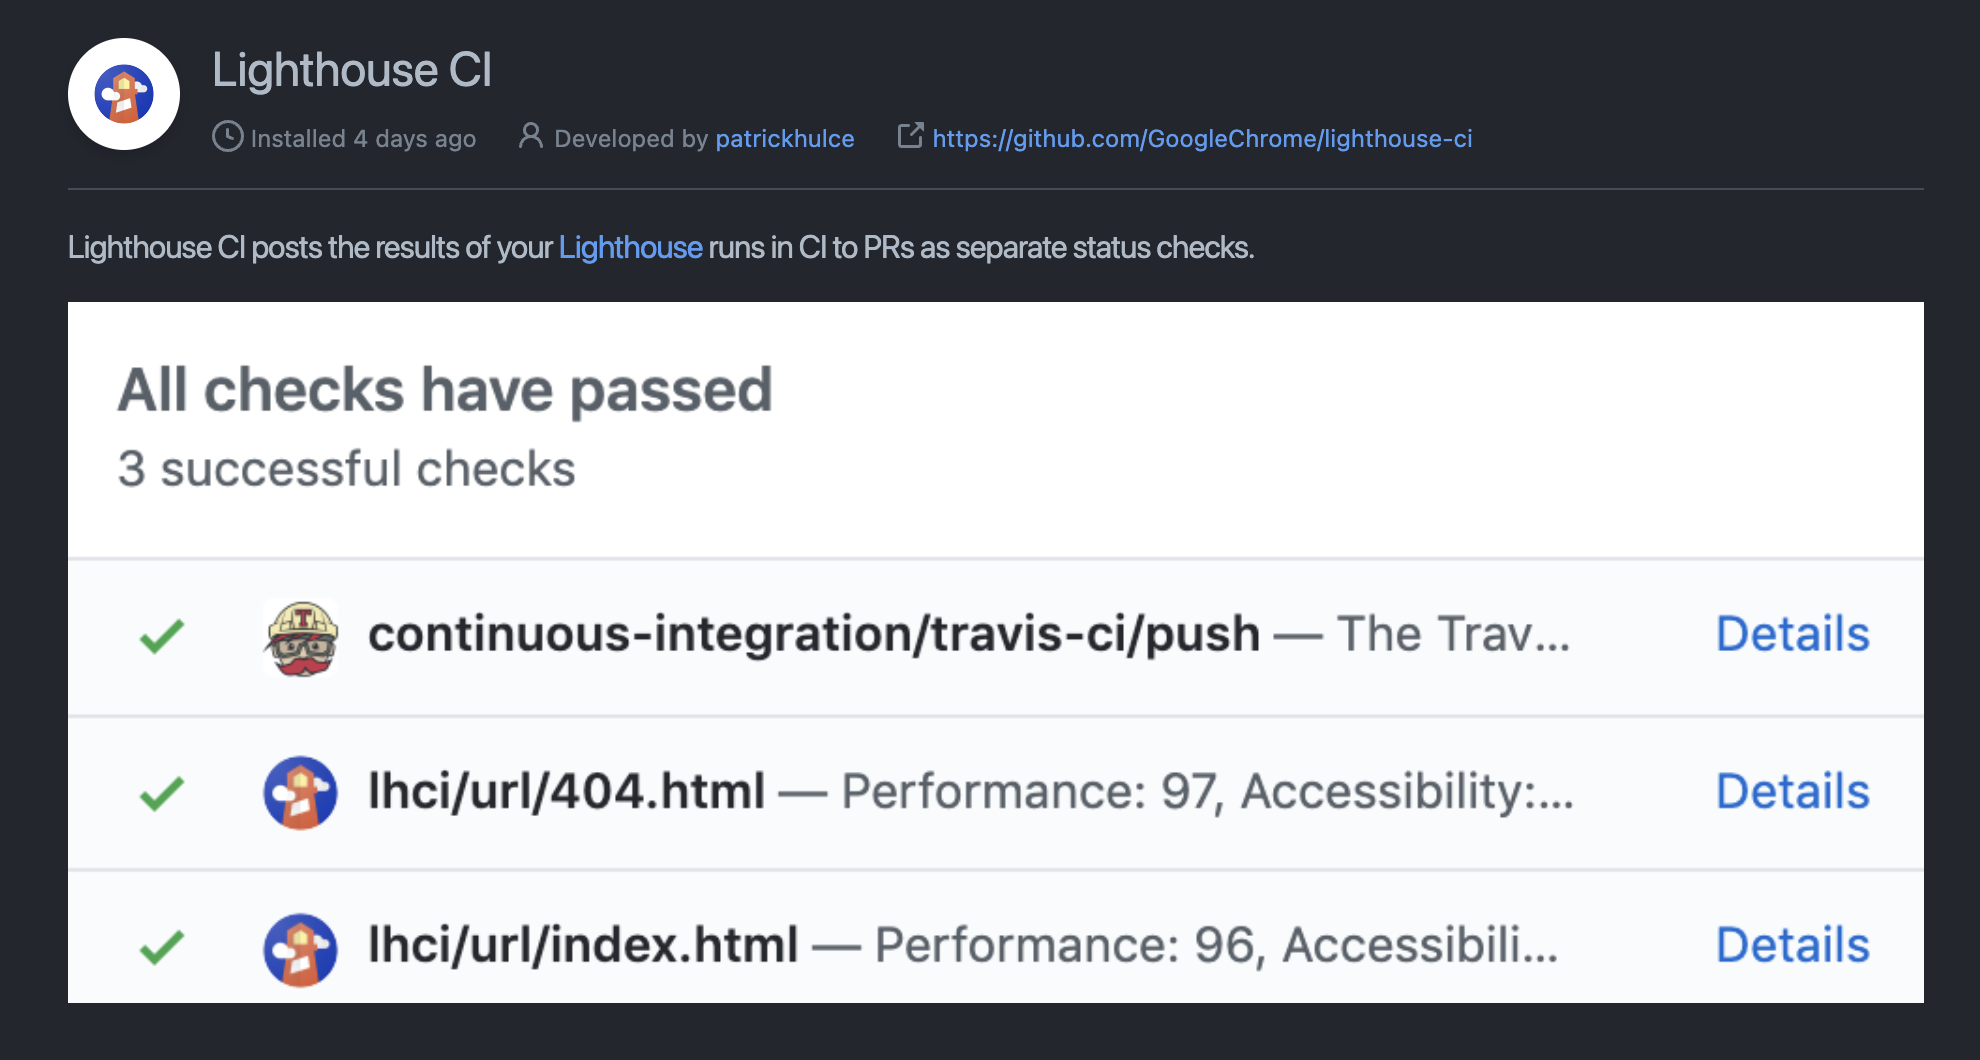
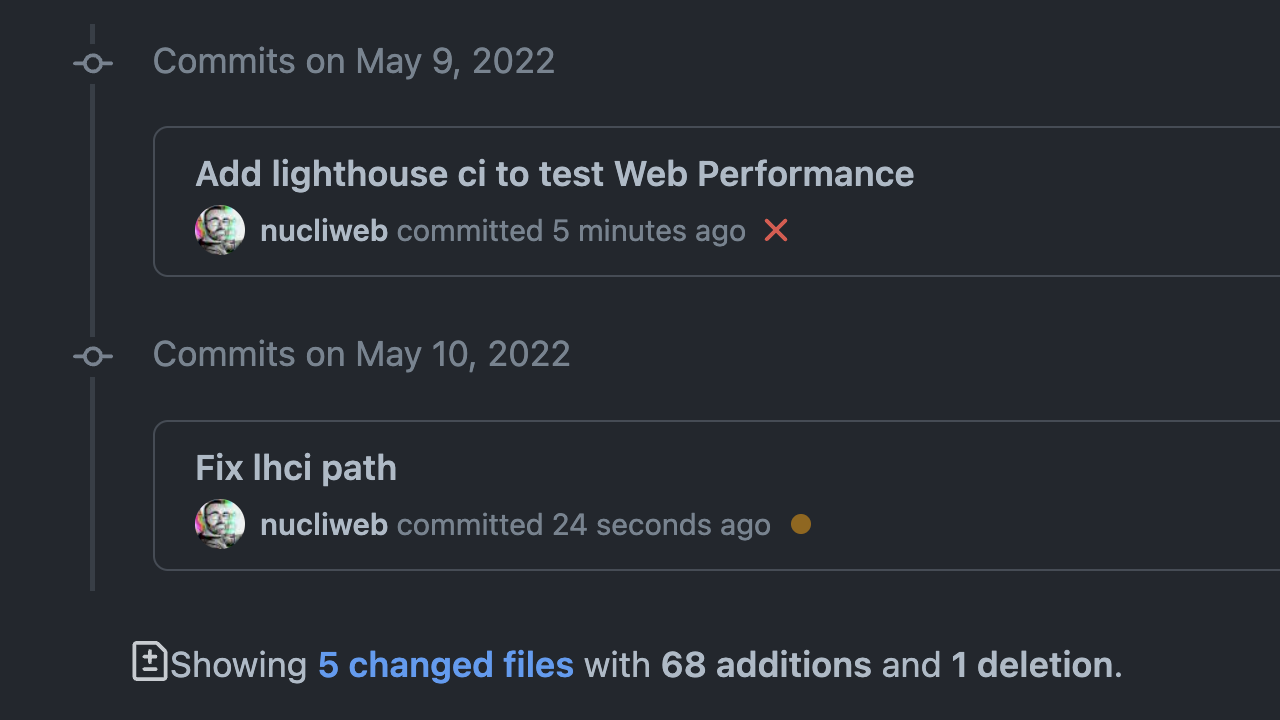
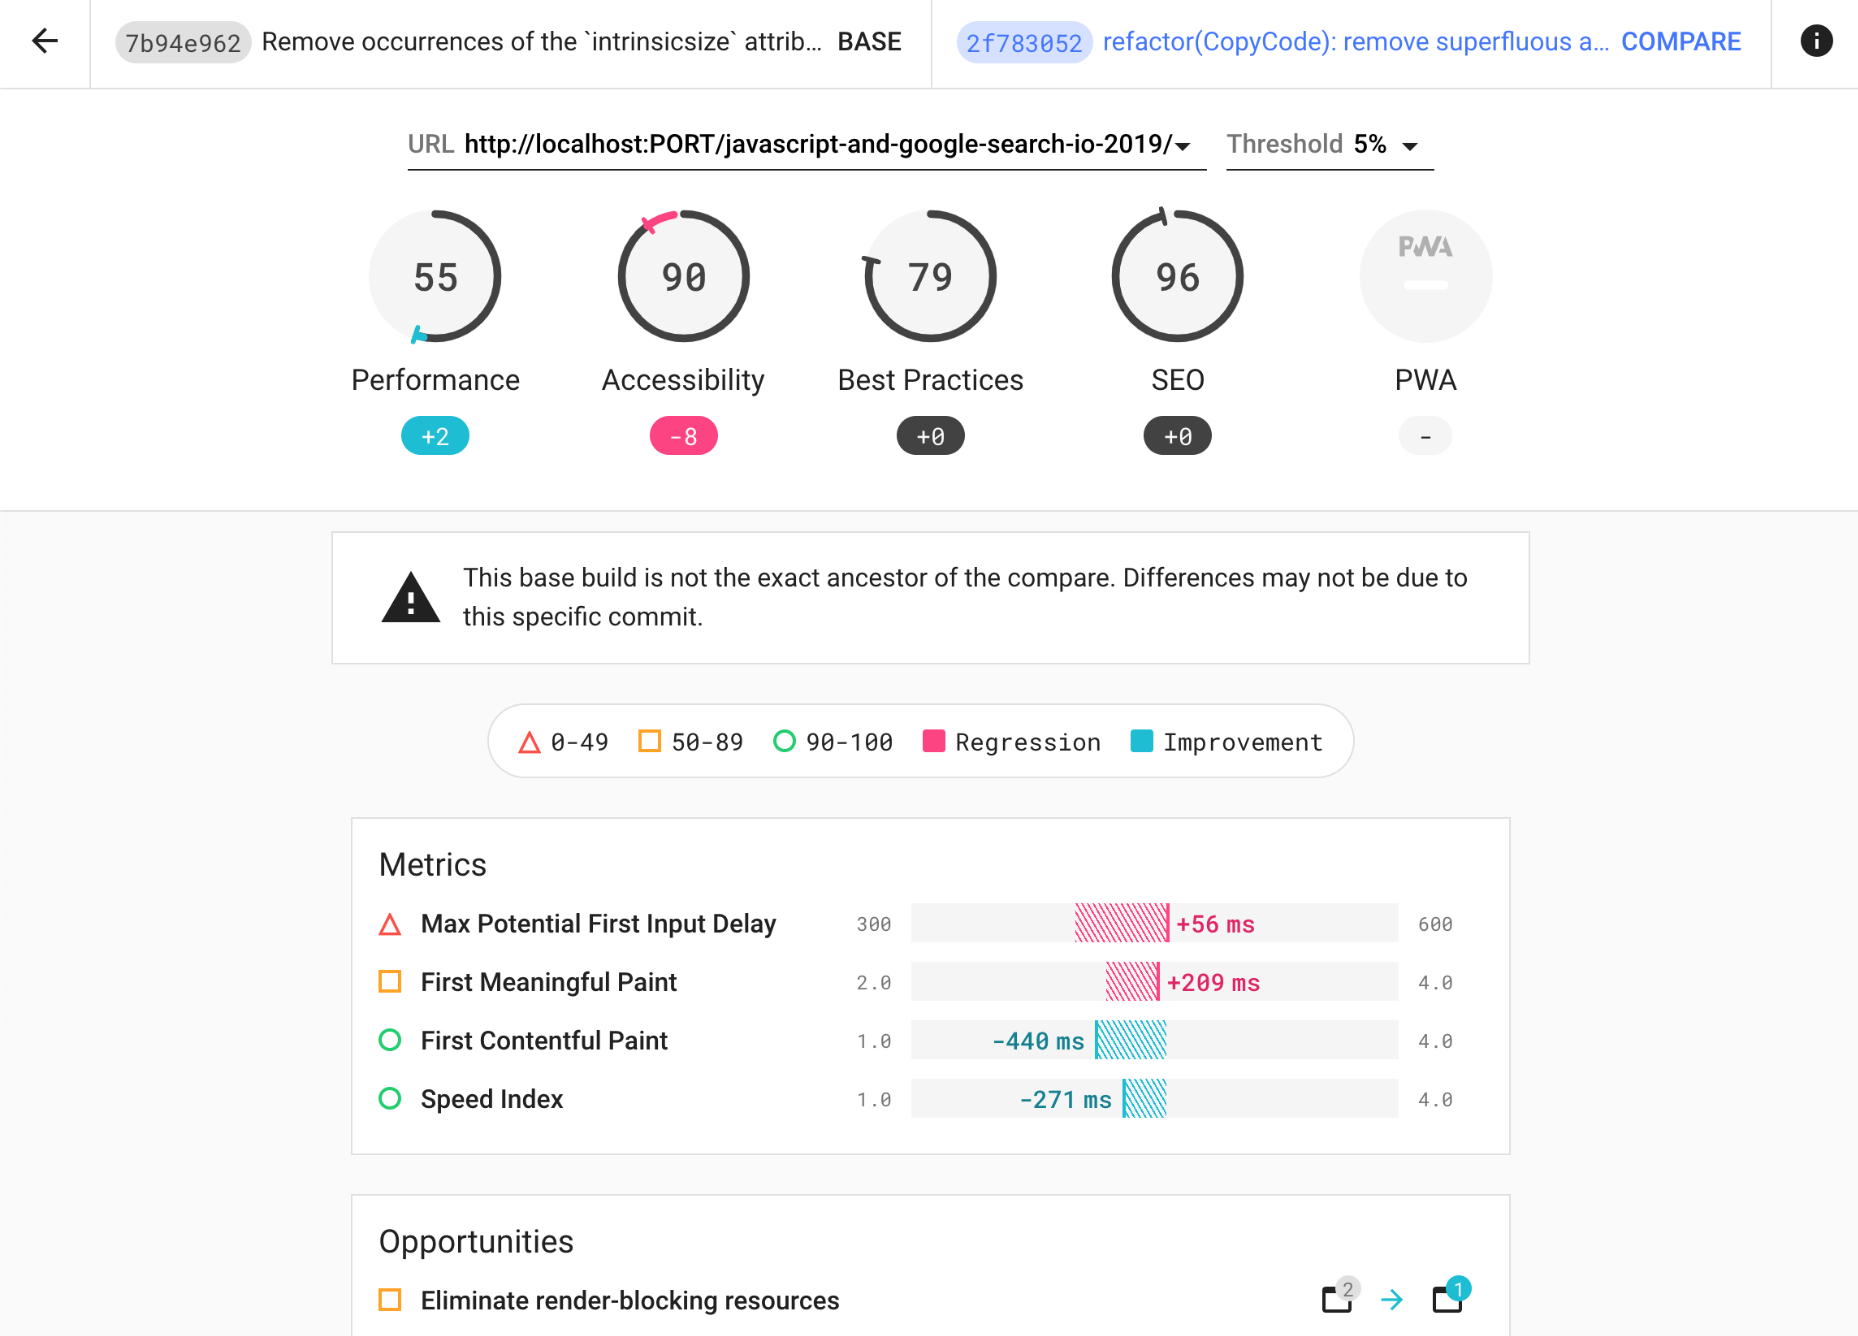
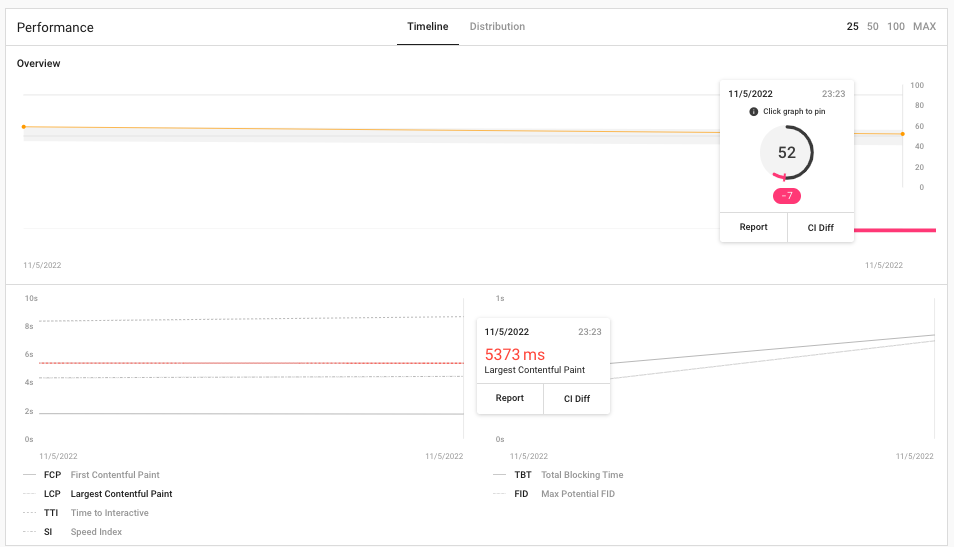
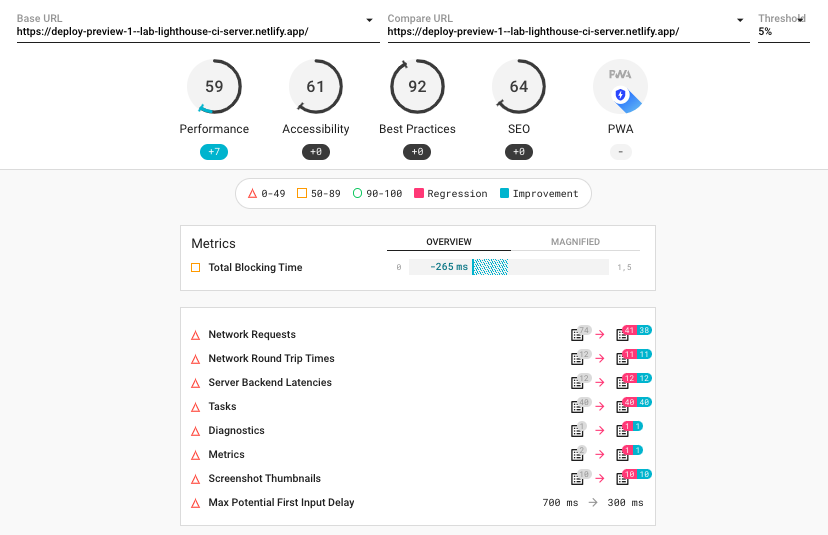
Automate running Lighthouse for every commit, viewing the changes, and preventing regressions
$ npm install -d -E @lhci/cli...
"scripts": {
"start": "serve src",
"test": "lhci autorun"
},
...package.json
module.exports = {
  ci: {
    collect: {
      startServerCommand: "npm start",
      numberOfRuns: 1,
      url: [
        "http://localhost:3000/",
        "http://localhost:3000/about",
        ...
      ],
    },
    upload: {
      target: "temporary-public-storage",
    },
  },
};
package.json
$ npm run testnpm run test
startServerCommand: "npm start",
url: [
"http://localhost:3000/",
...
],
upload: {
target: "temporary-public-storage",
},
{
  "http://localhost:3000/": "https://storage.googleapis.com/lighthouse-infrastructure.appspot.com/reports/1652344568294-13124.report.html",
  "http://localhost:3000/about": "https://storage.googleapis.com/lighthouse-infrastructure.appspot.com/reports/1652344569306-98828.report.html",
  "http://localhost:3000/blog": "https://storage.googleapis.com/lighthouse-infrastructure.appspot.com/reports/1652344570212-96488.report.html",
  "http://localhost:3000/feature": "https://storage.googleapis.com/lighthouse-infrastructure.appspot.com/reports/1652344571280-16057.report.html",
  "http://localhost:3000/product": "https://storage.googleapis.com/lighthouse-infrastructure.appspot.com/reports/1652344572338-41994.report.html",
  "http://localhost:3000/testimonial": "https://storage.googleapis.com/lighthouse-infrastructure.appspot.com/reports/1652344573304-26039.report.html"
}
.lighthouseci/links.json
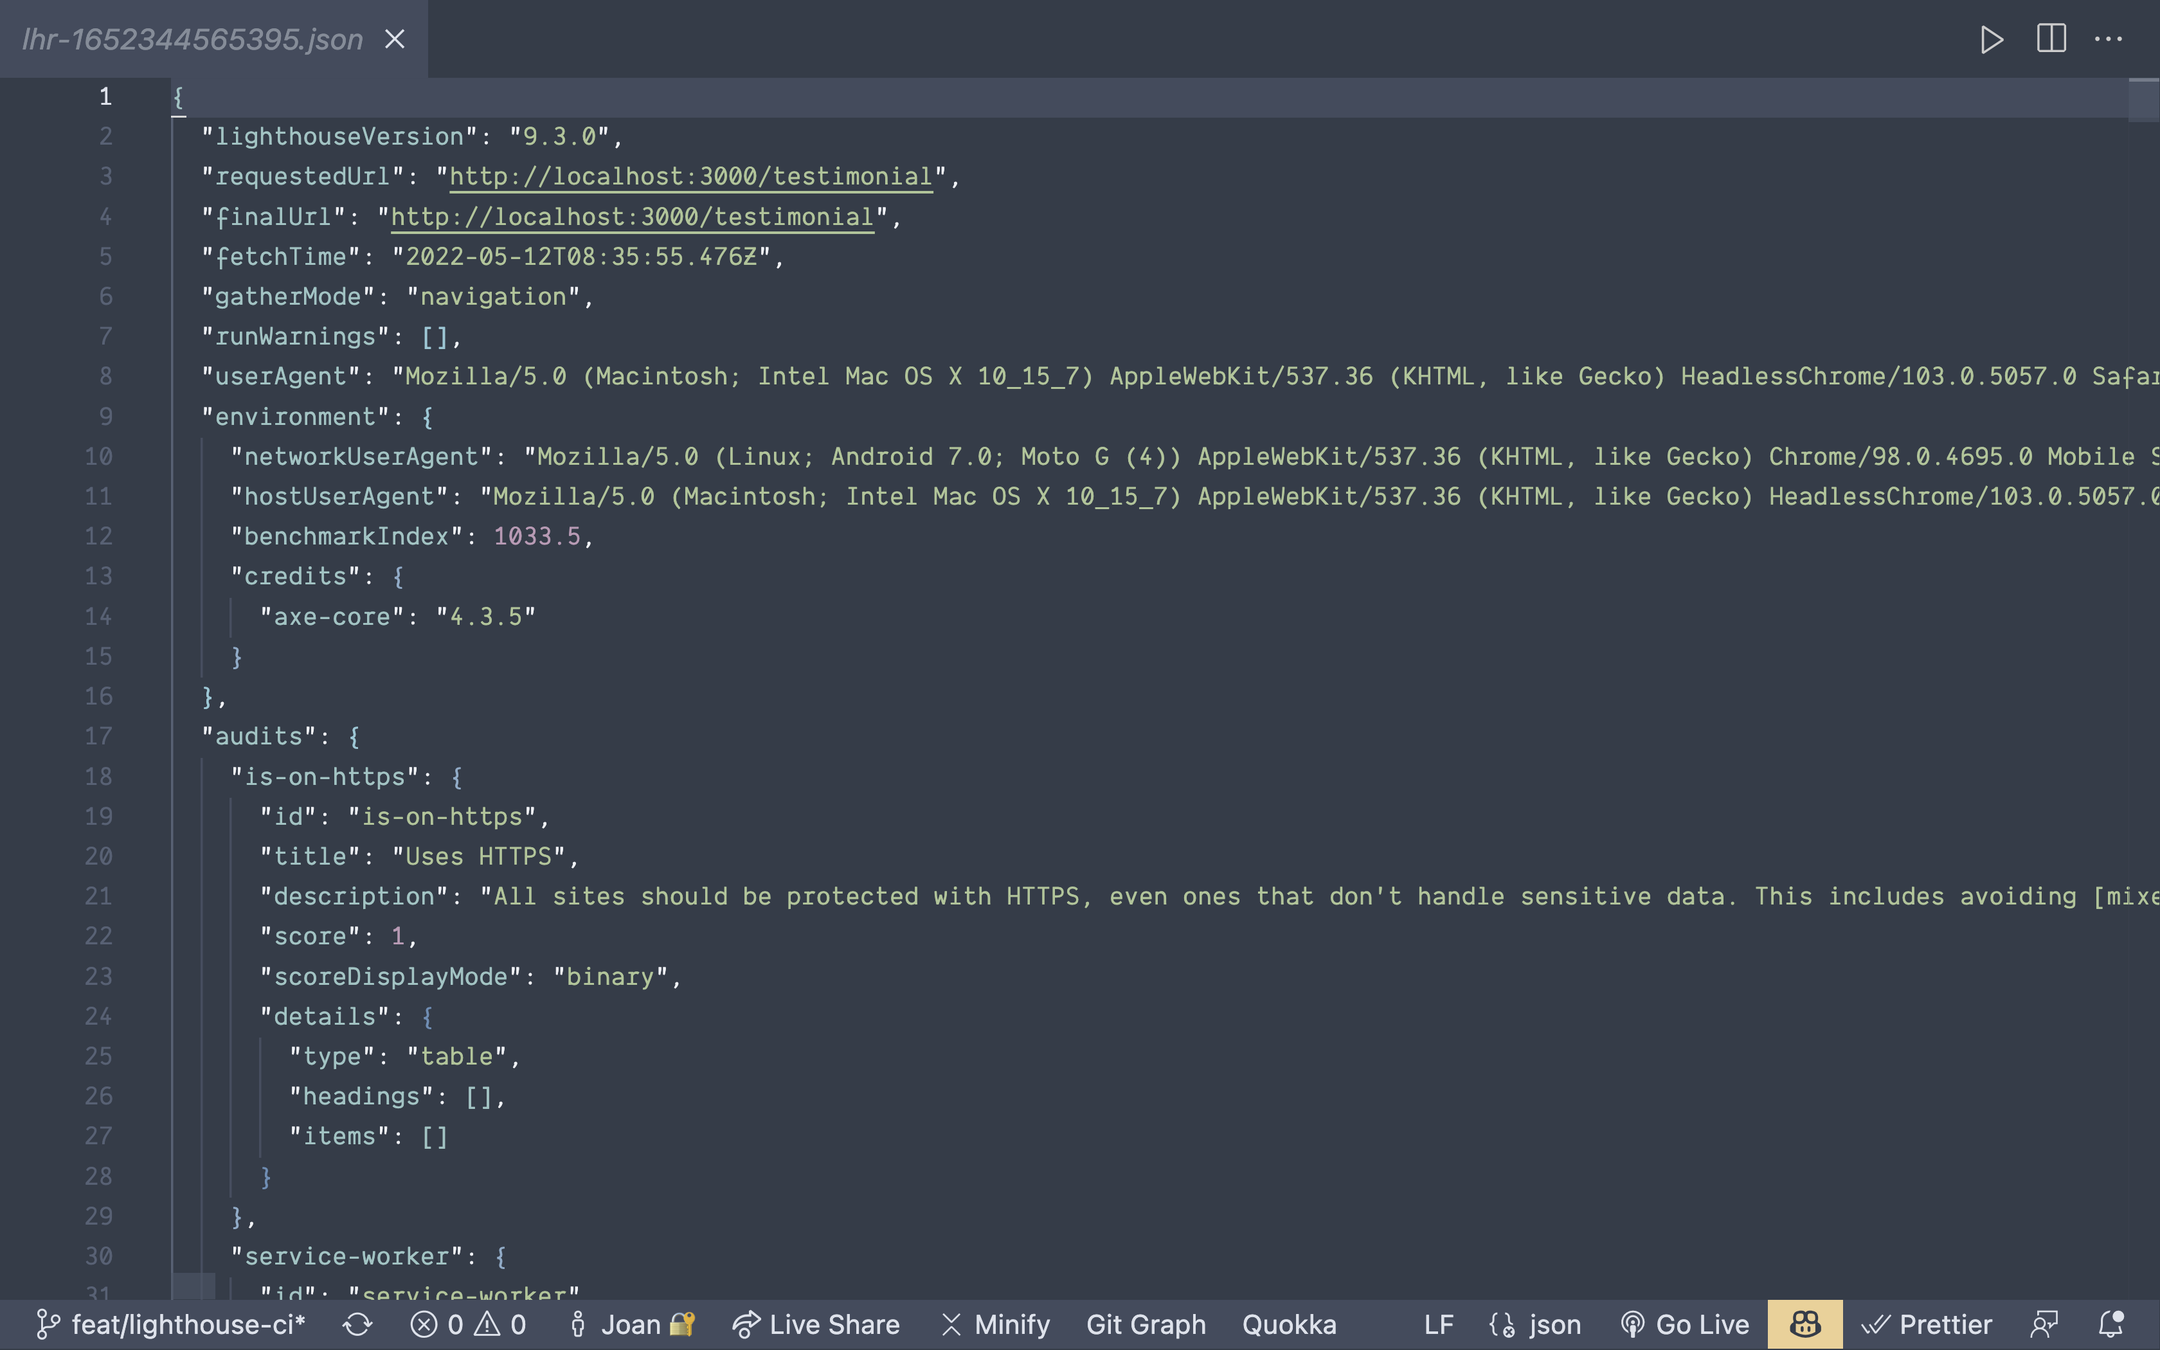
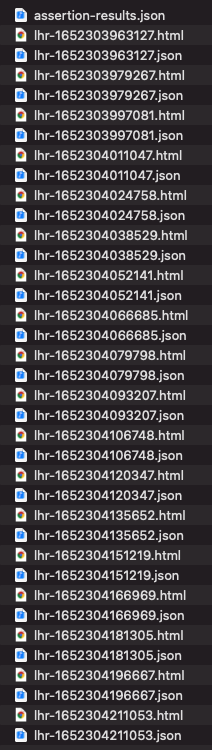
.lighthouseci/lhr-1652344565395.json
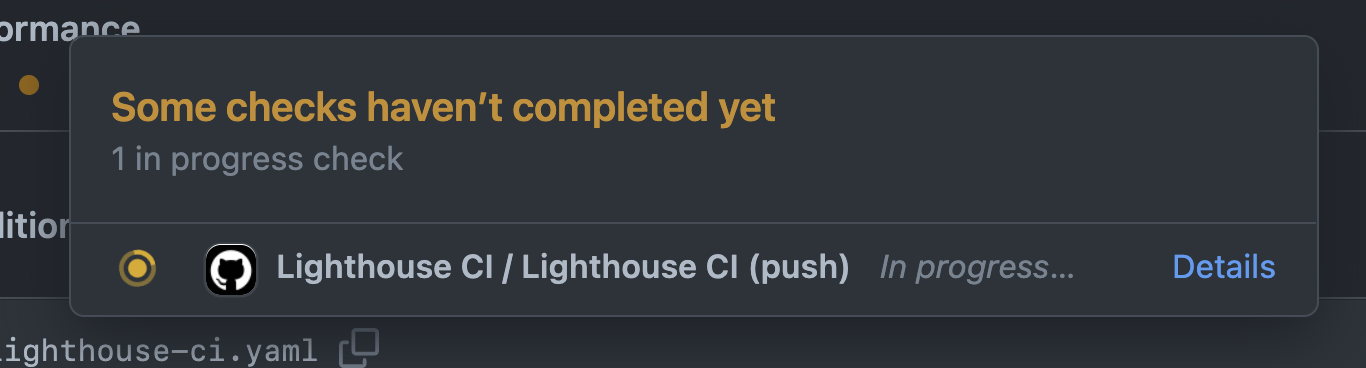
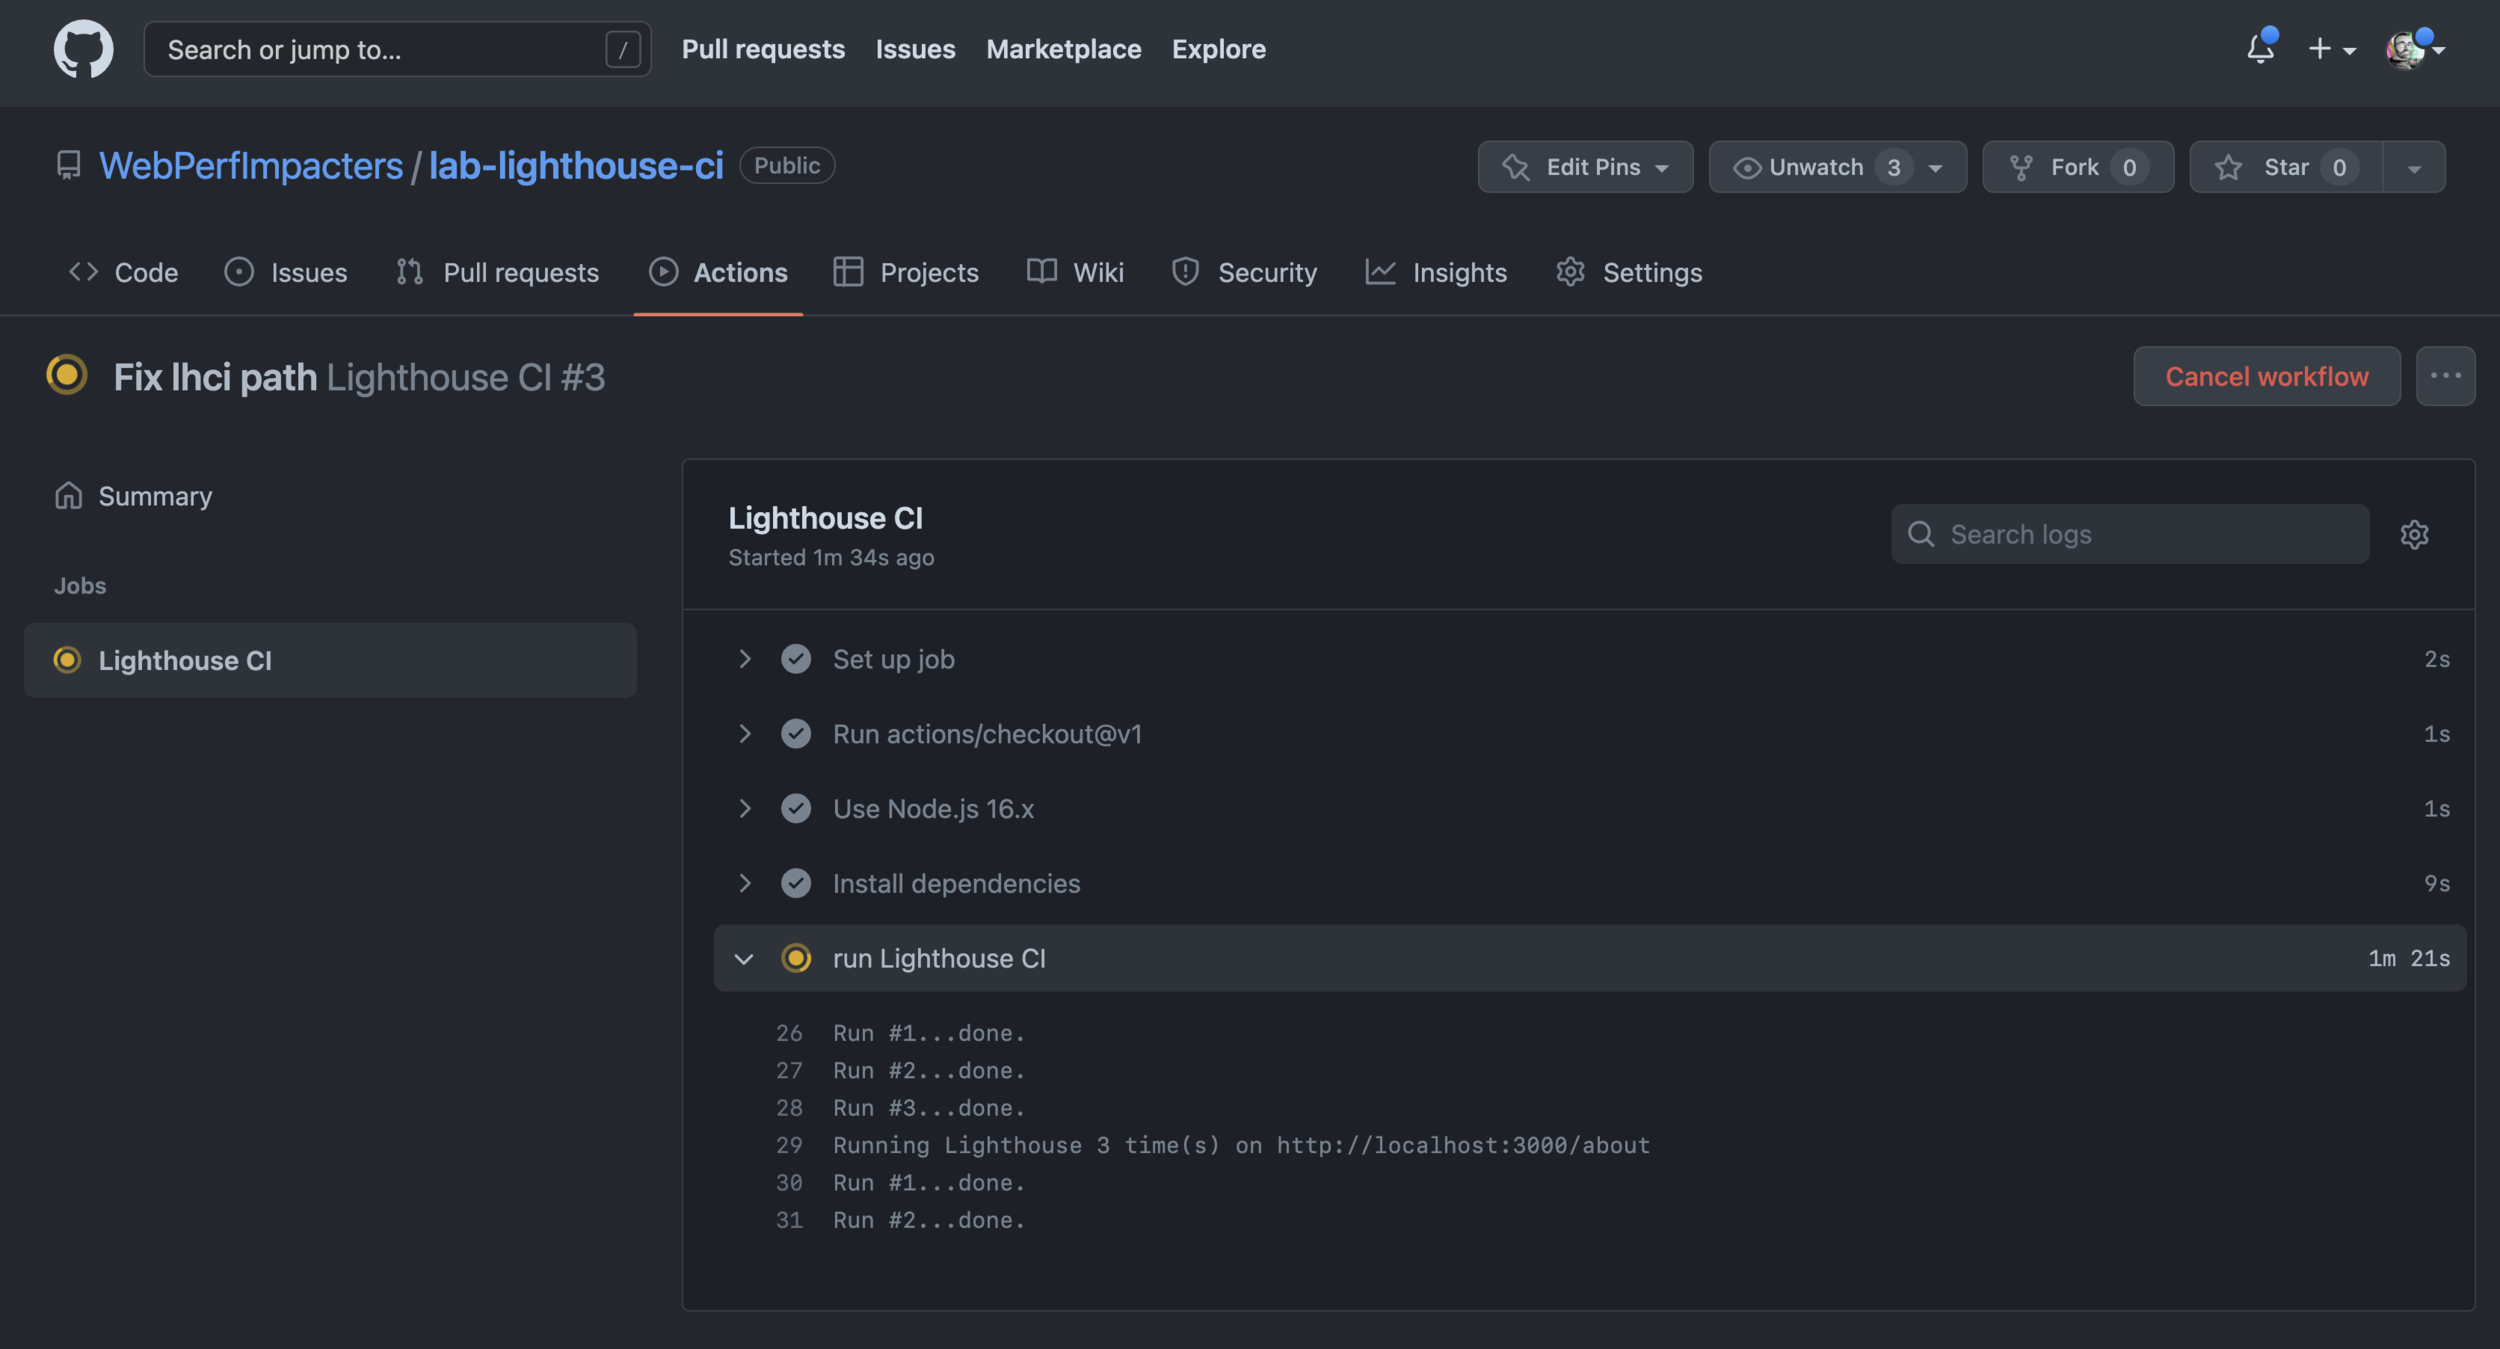
name: Lighthouse CI
on: [push]
jobs:
  lhci:
    name: Lighthouse CI
    runs-on: ubuntu-latest
    steps:
      - uses: actions/checkout@v1
      - name: Use Node.js 16.x
        uses: actions/setup-node@v1
        with:
          node-version: 16.x
      - name: Install dependencies
        run: npm install
      - name: run Lighthouse CI
        run: |
          ./node_modules/.bin/lhci autorun --config=./lighthouserc-ci.js
        env:
          LHCI_TOKEN: ${{ secrets.LHCI_GITHUB_APP_TOKEN }}
.github/workflows/lighthouse-ci.yaml
Node v12 LTS
Database Storage
(sqlite, mysql, or postgresql)
1. Create a Heroku account
2. Install Heroku CLI
$ brew tap heroku/brew && brew install heroku$ npm install -g heroku3. Set up your lhci-heroku repo
# Create a directory and repo for your heroku project
mkdir lhci-heroku && cd lhci-heroku && git init

# Setup the LHCI files
curl https://raw.githubusercontent.com/GoogleChrome/lighthouse-ci/main/docs/recipes/heroku-server/package.json > package.json
curl https://raw.githubusercontent.com/GoogleChrome/lighthouse-ci/main/docs/recipes/heroku-server/server.js > server.js

# Create the project's first commit
git add package.json server.js && git commit -m 'Initial commit'3. Set up your Heroku project
# Create a new project on heroku
heroku create

# Add a free database to your project
heroku addons:create heroku-postgresql:hobby-dev

# Deploy your code to heroku
git push heroku main

# Ensure heroku is running your app and open the URL
heroku ps:scale web=1
heroku open4. Install LHCI CLI
# Install the Lighthouse CI CLI.
npm install -g @lhci/cli4. Install LHCI CLI
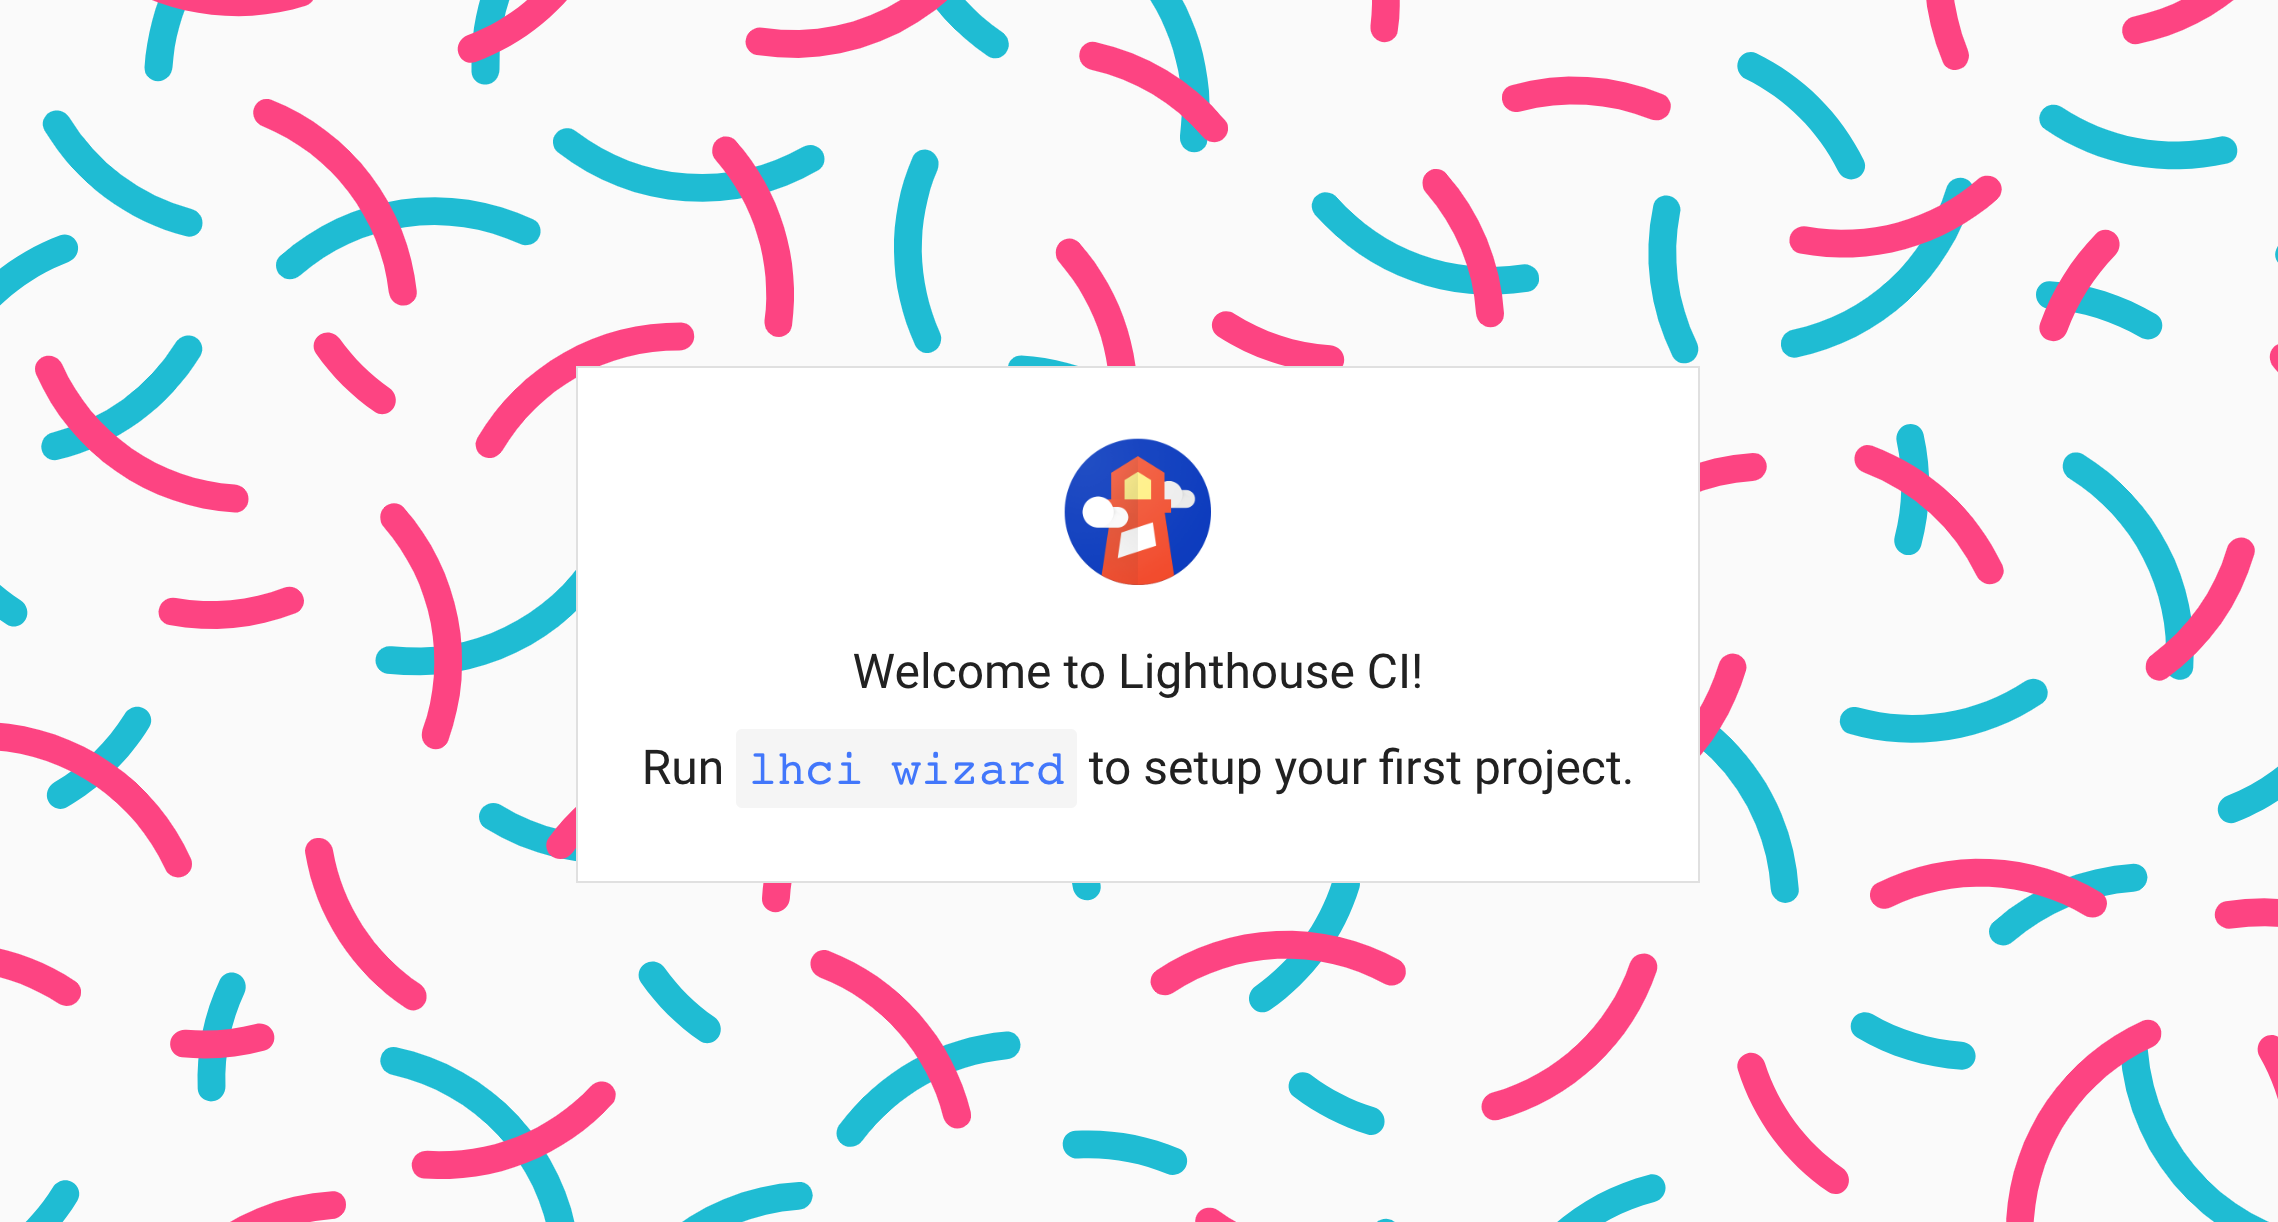
$ lhci wizard
? Which wizard do you want to run? new-project
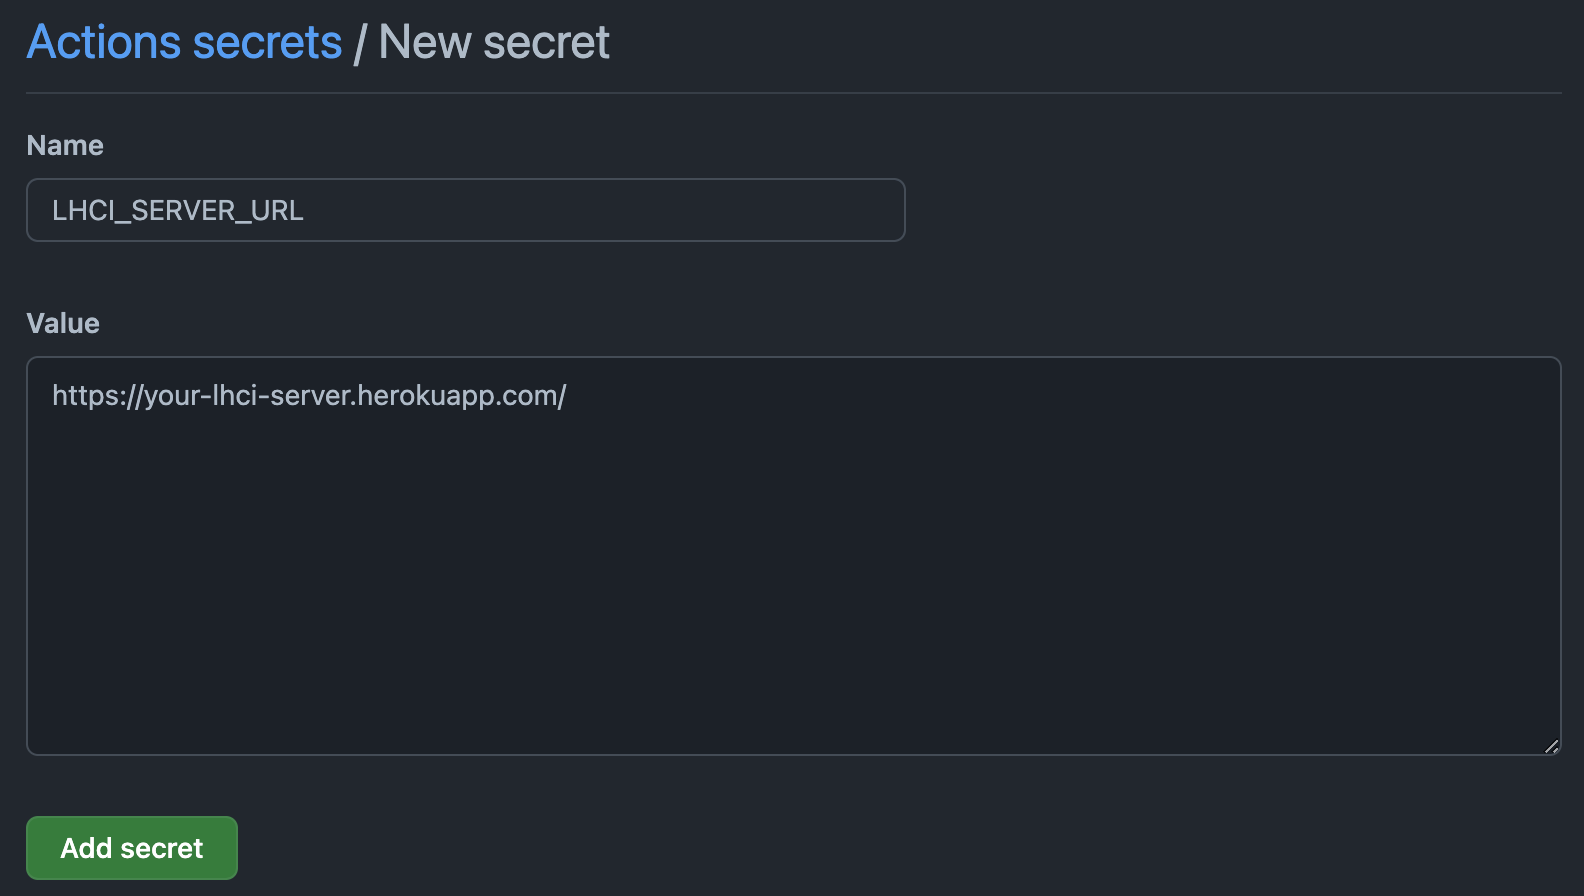
? What is the URL of your LHCI server? https://your-lhci-server.herokuapp.com/
? What would you like to name the project? My Project
? Where is the project's code hosted? https://github.com/myaccount/miproject
? What branch is considered the repo's trunk or main branch? main
Created project My Project (XXXXXXXX-XXXX-XXXX-XXXX-XXXXXXXXXXXX)!
Use build token XXXXXXXX-XXXX-XXXX-XXXX-XXXXXXXXXXXX to add data.
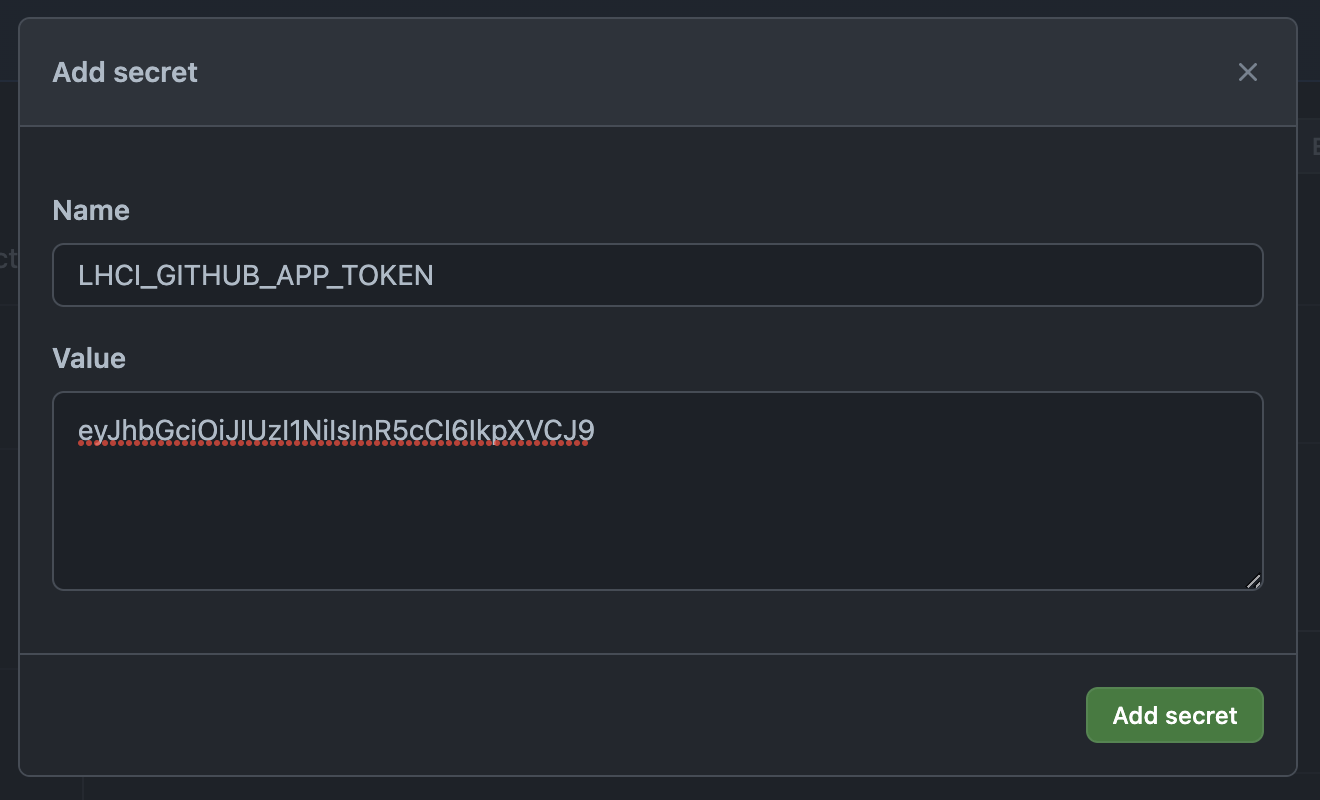
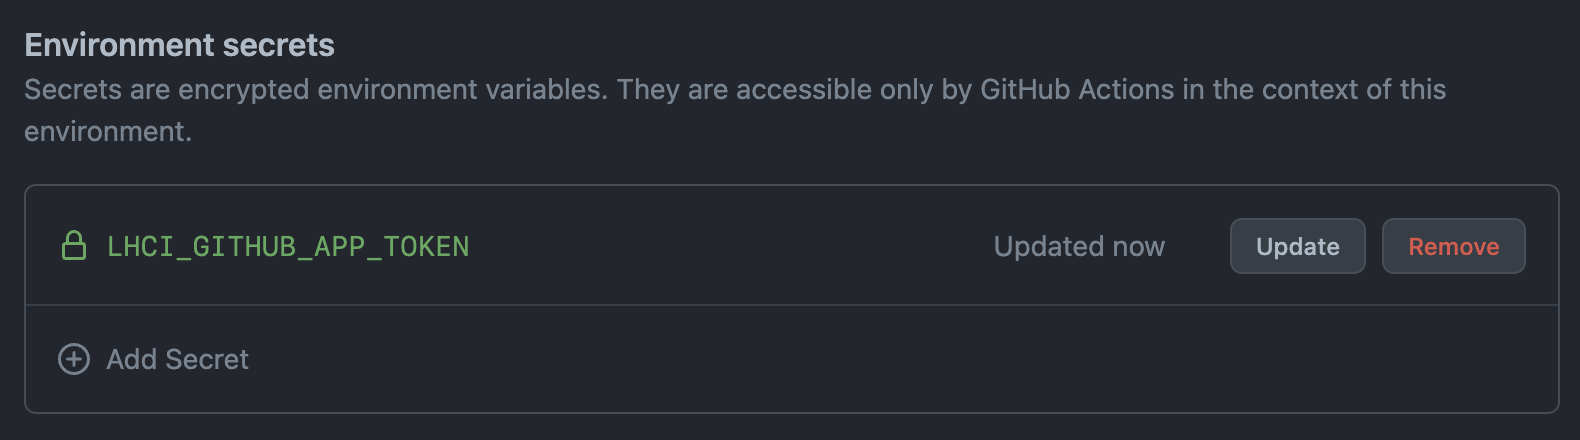
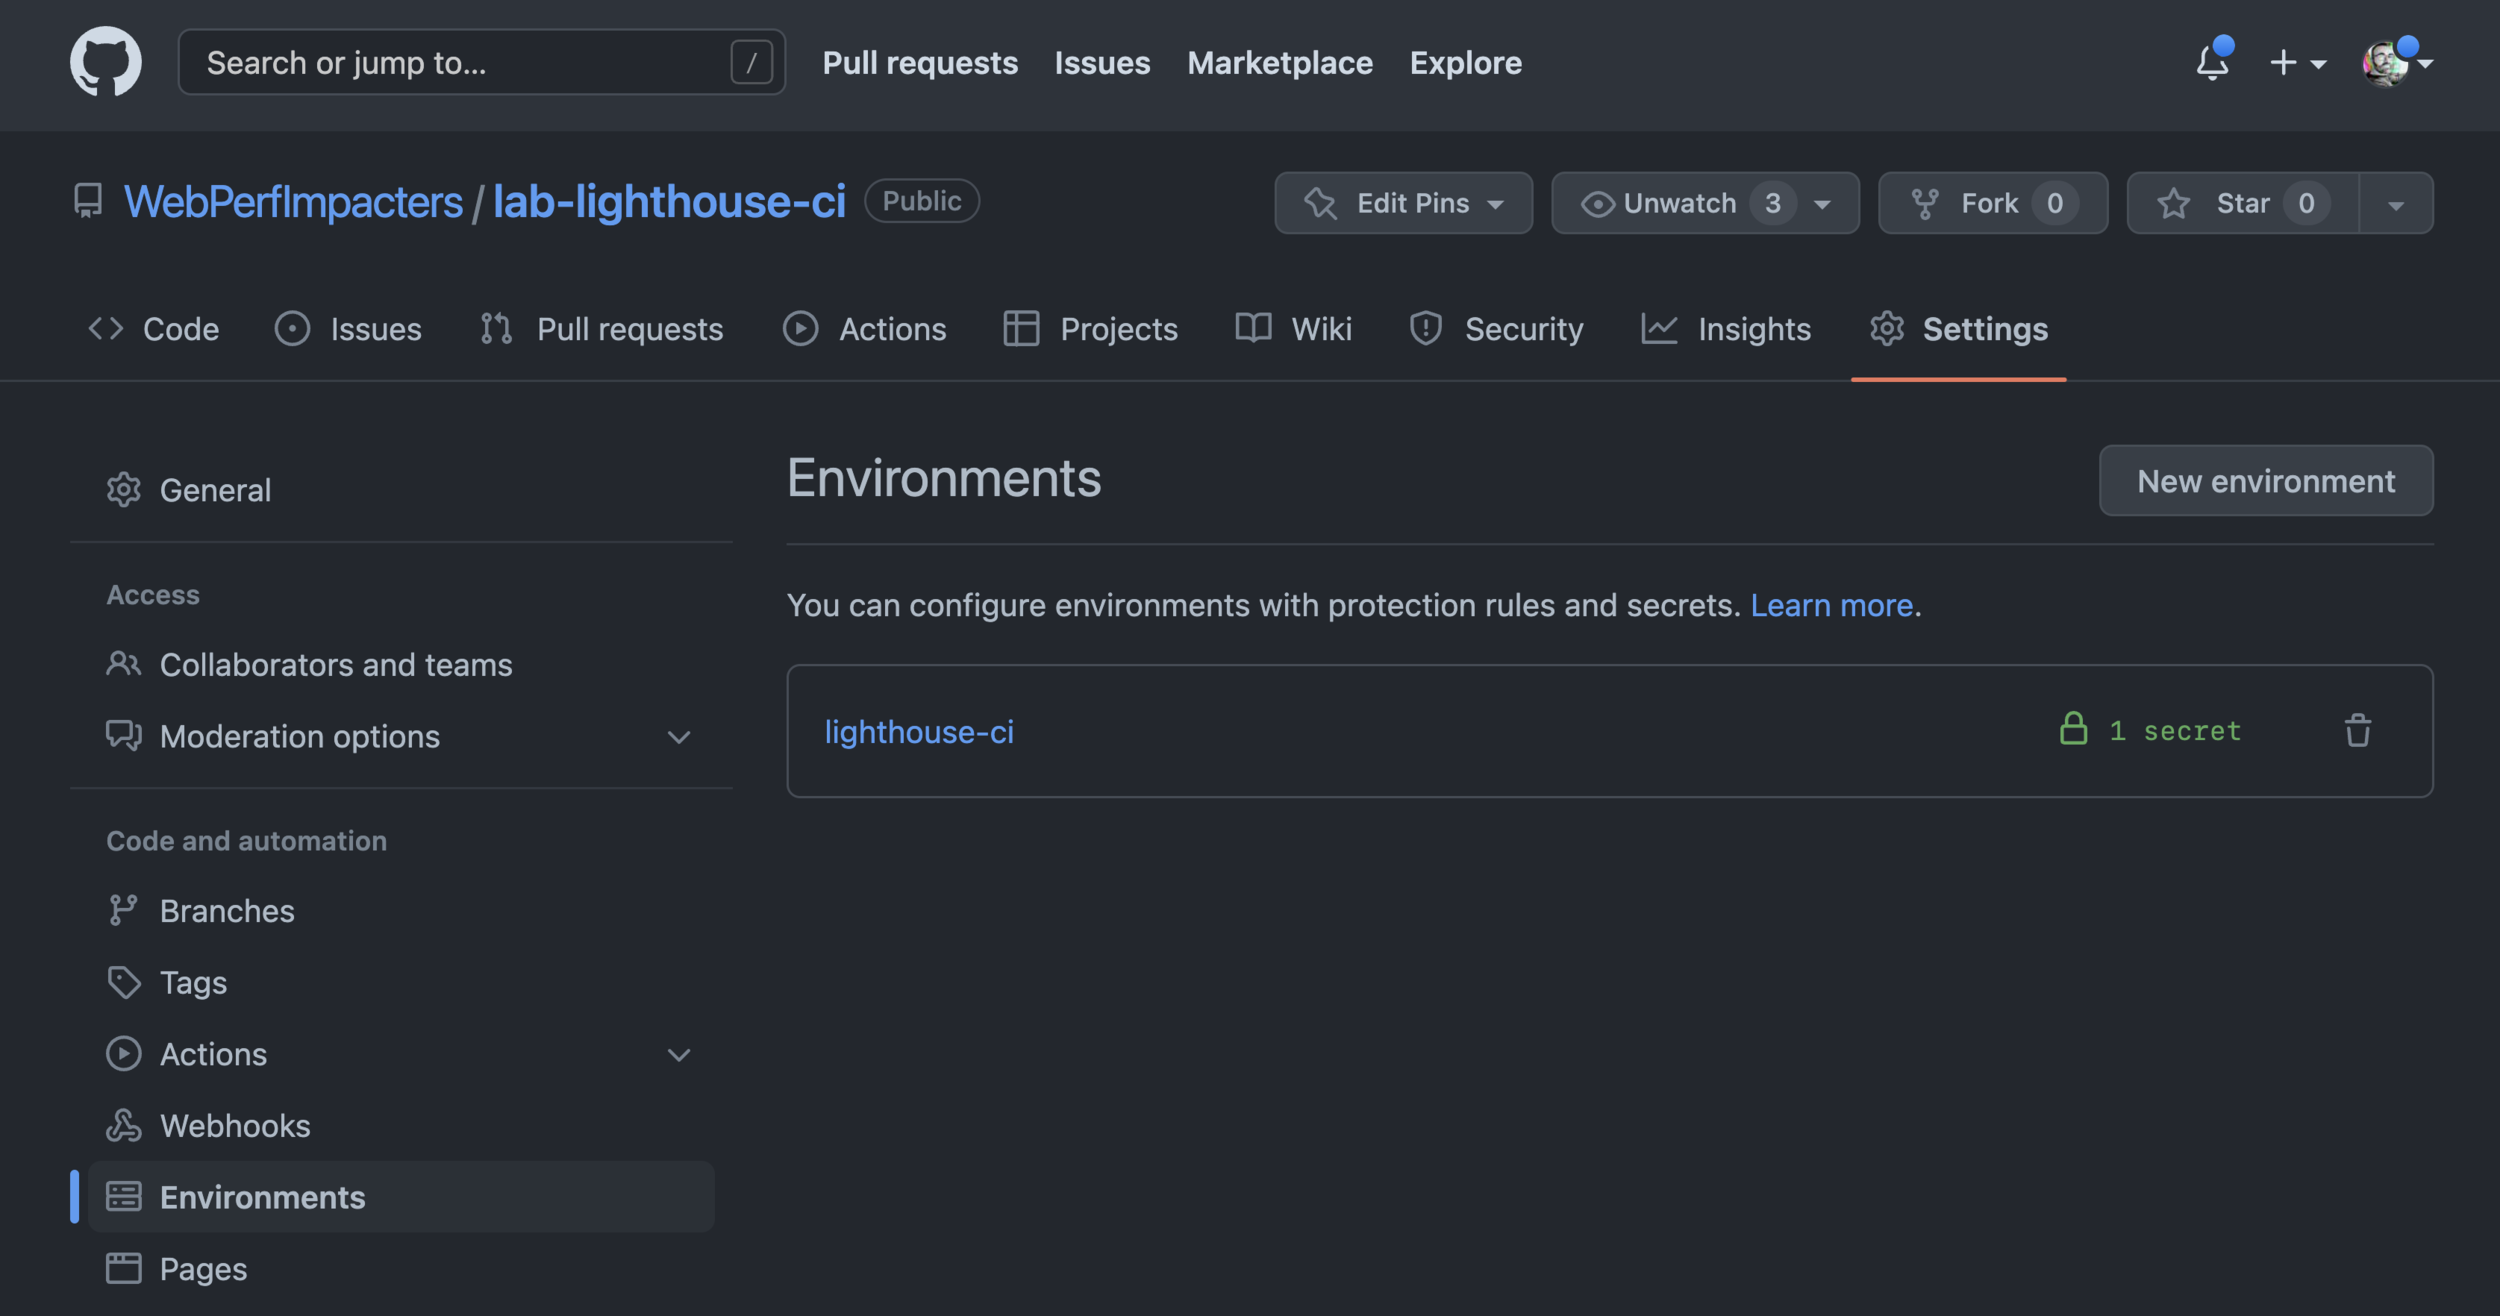
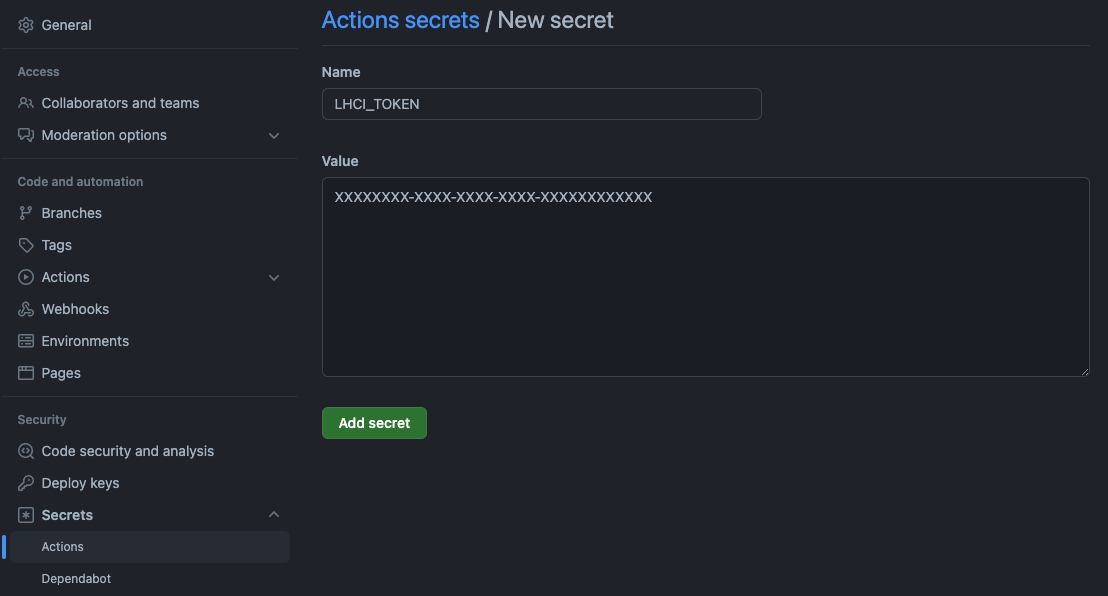
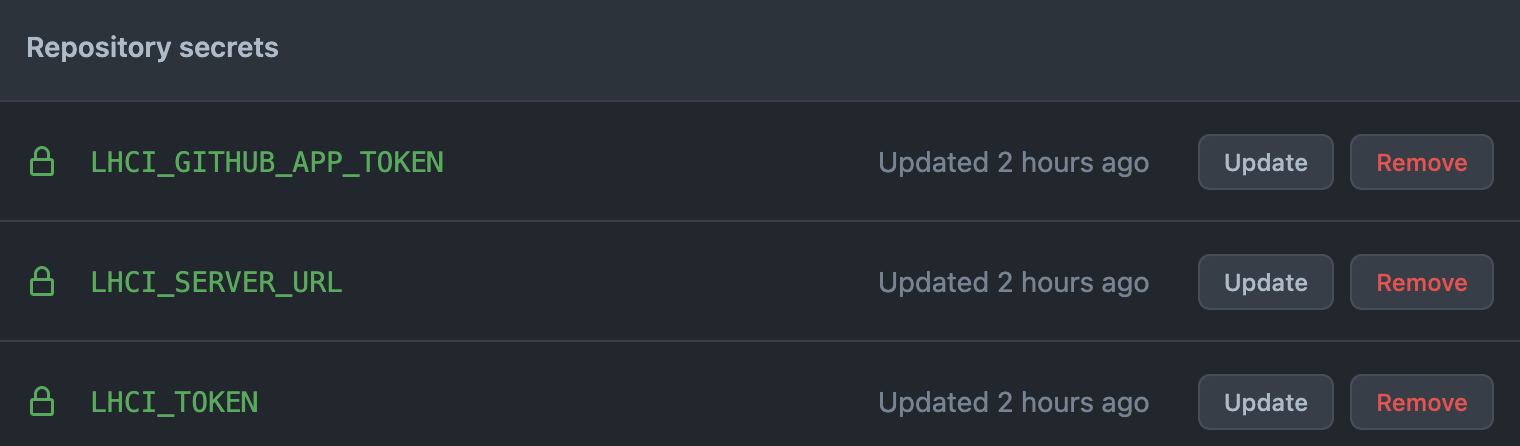
Use admin token XXXXXXXXXXXXXXXXXXXXXXXXXXXXXXXX to manage the project. KEEP THIS SECRET!5. Create two new secrets on your GitHub repo
5. Create two new secrets on your GitHub repo
5. Create a new secret on your GitHub repo
Remember you also need the LHCI_GITHUB_APP_TOKEN
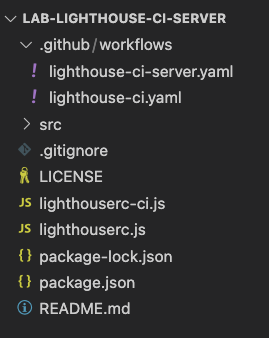
6. Create a new workflow on your project
lighthouse-ci-server.yaml
6. Create a new workflow
lighthouse-ci-server.yaml
name: Lighthouse CI Server
on: pull_request
jobs:
  lhci:
    name: Lighthouse CI Server
    runs-on: ubuntu-latest
    steps:
      - uses: actions/checkout@v3
      - name: Use Node.js 16.x
        uses: actions/setup-node@v1
        with:
          node-version: 16.x
      - name: Install dependencies
        run: npm install
      - name: run Lighthouse CI
        run: |
          ./node_modules/.bin/lhci autorun --config=./lighthouserc-ci.js
        env:
          LHCI_GITHUB_APP_TOKEN: ${{ secrets.LHCI_GITHUB_APP_TOKEN }}
          LHCI_TOKEN: ${{ secrets.LHCI_TOKEN }}
          LHCI_SERVER_URL: ${{ secrets.LHCI_SERVER_URL }}
What are the differences vs what we have already seen before?
7. Create a new config file
lighthouserc-ci-server.js
module.exports = {
  ci: {
    collect: {
      startServerCommand: "npm start",
      numberOfRuns: 3,
      url: [
        // urls
      ],
    },
    assert: {
      assertions: {
        // assertions
      },
    },
    upload: {
      target: 'lhci',
      serverBaseUrl: process.env.LHCI_SERVER_URL,
      token: process.env.LHCI_TOKEN
    },
  },
};
What are the differences vs what we have already seen before?
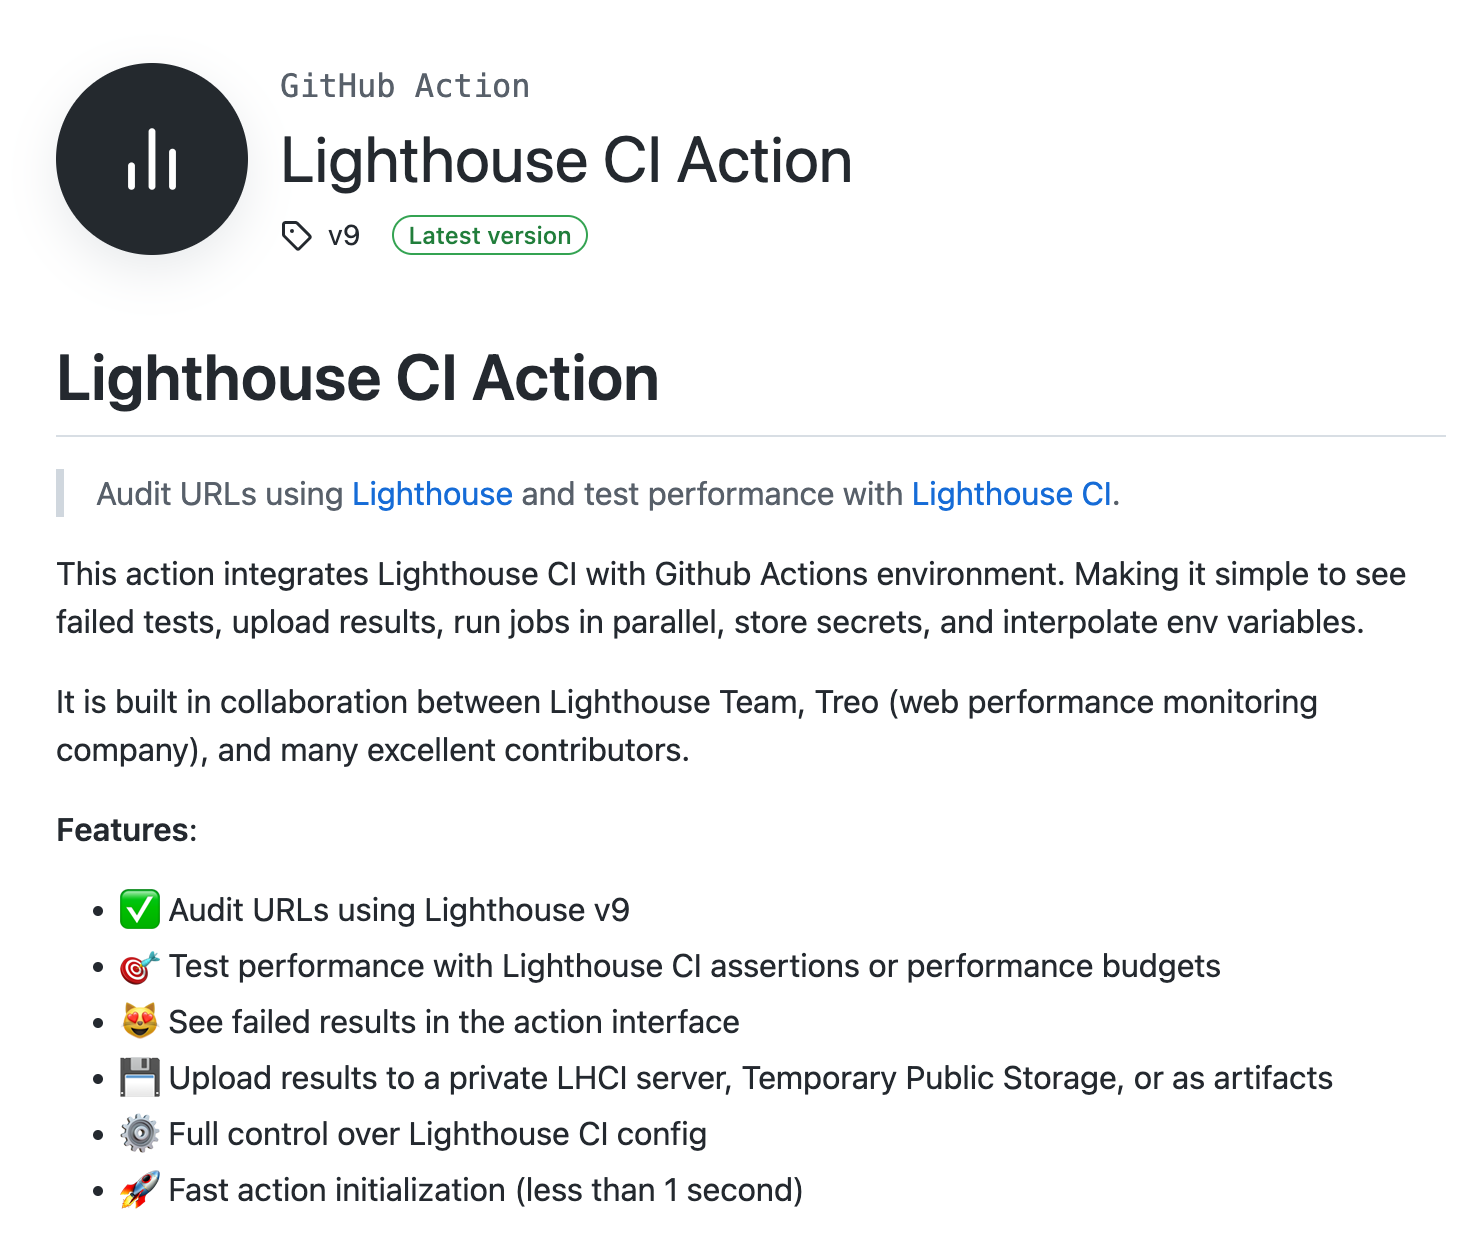
https://github.com/marketplace/actions/lighthouse-ci-action
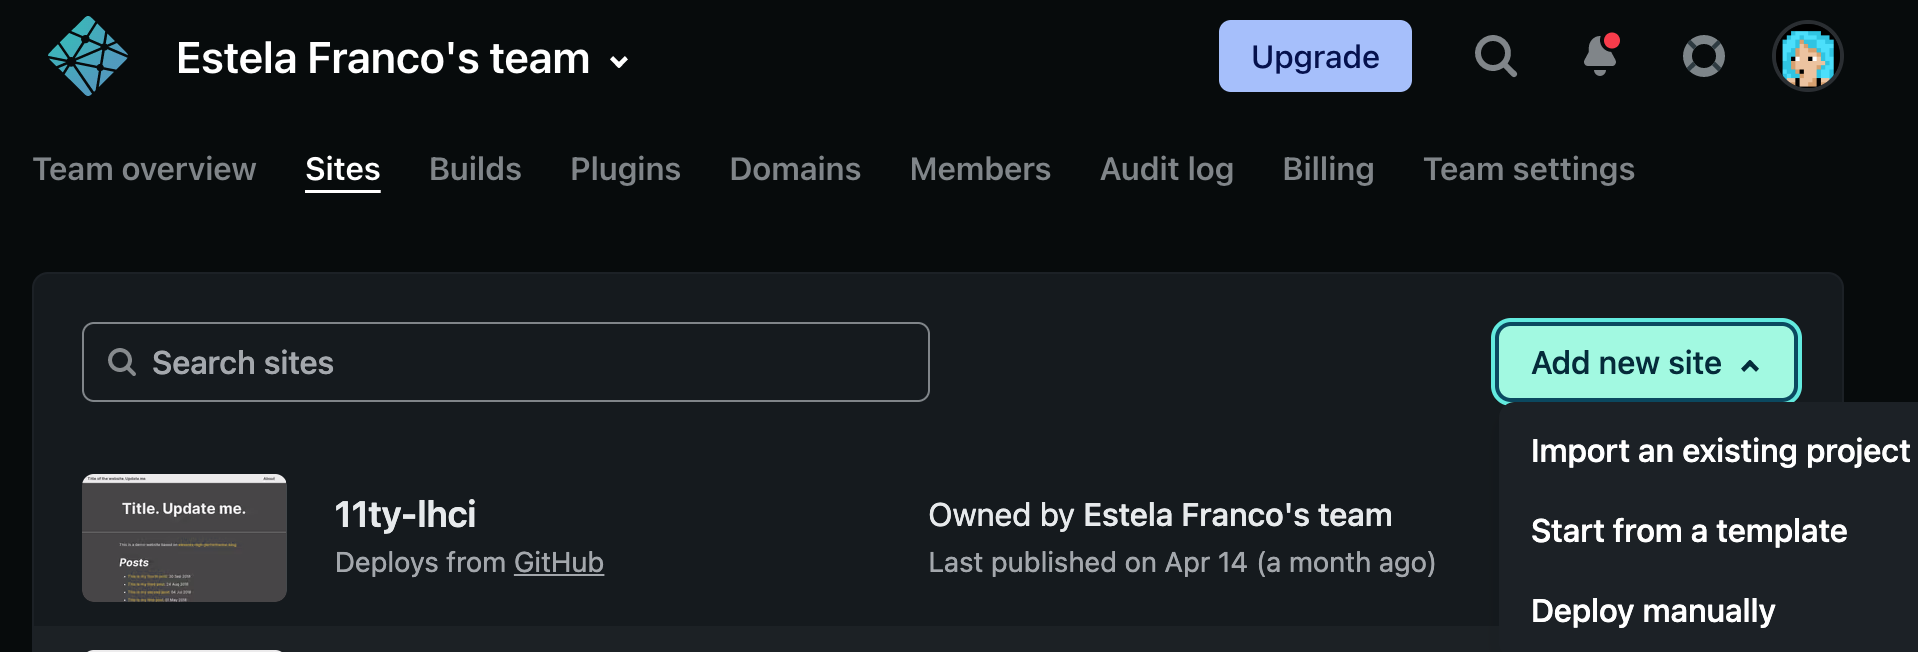
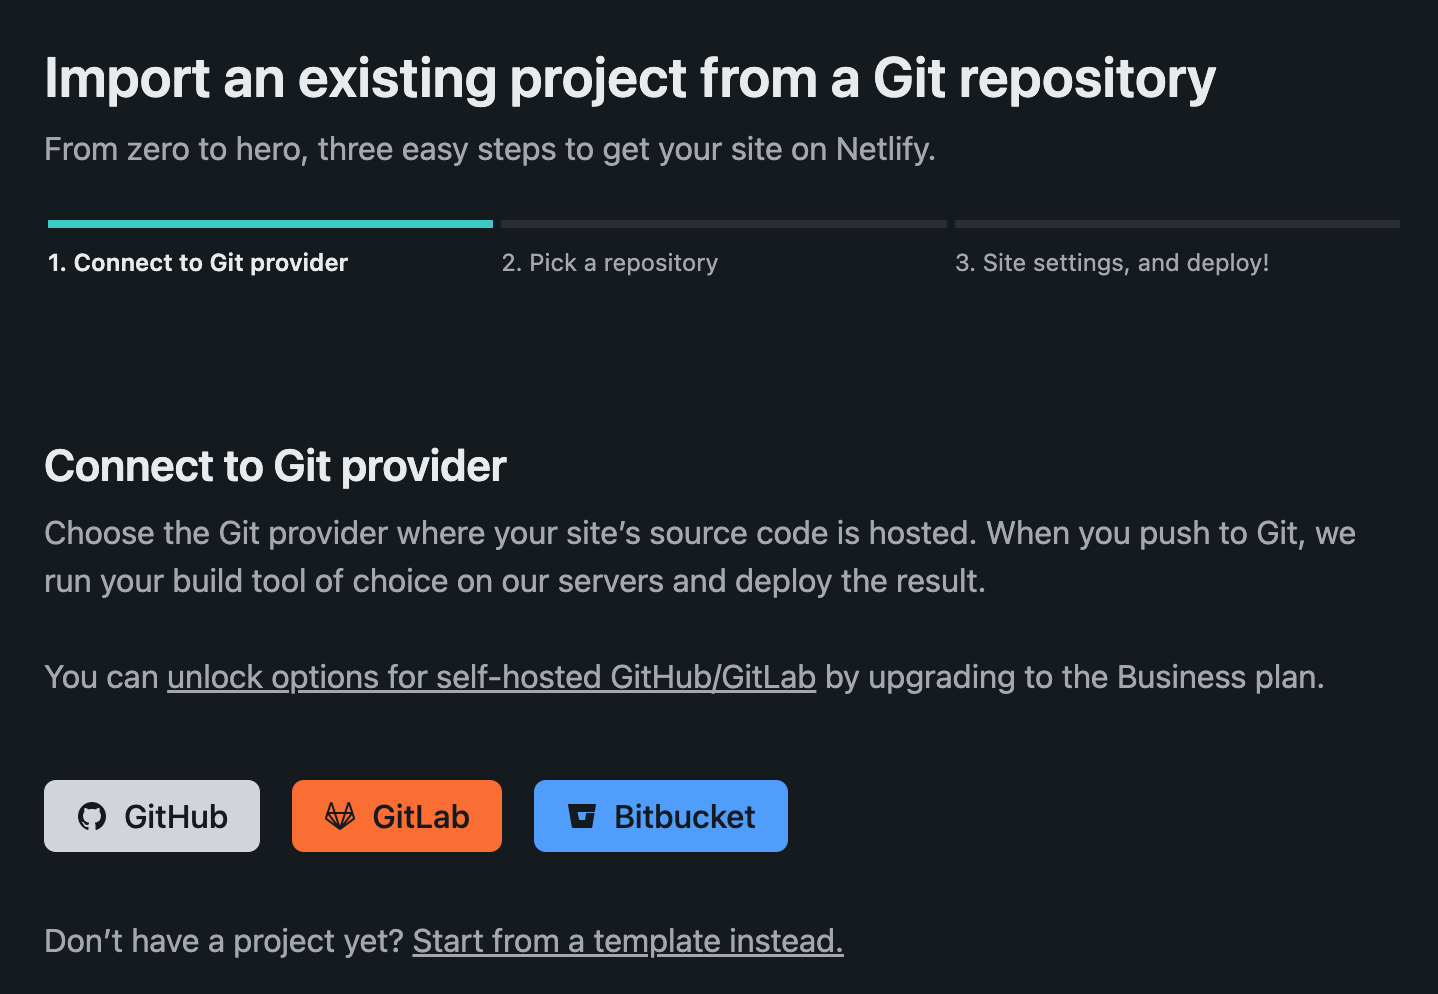
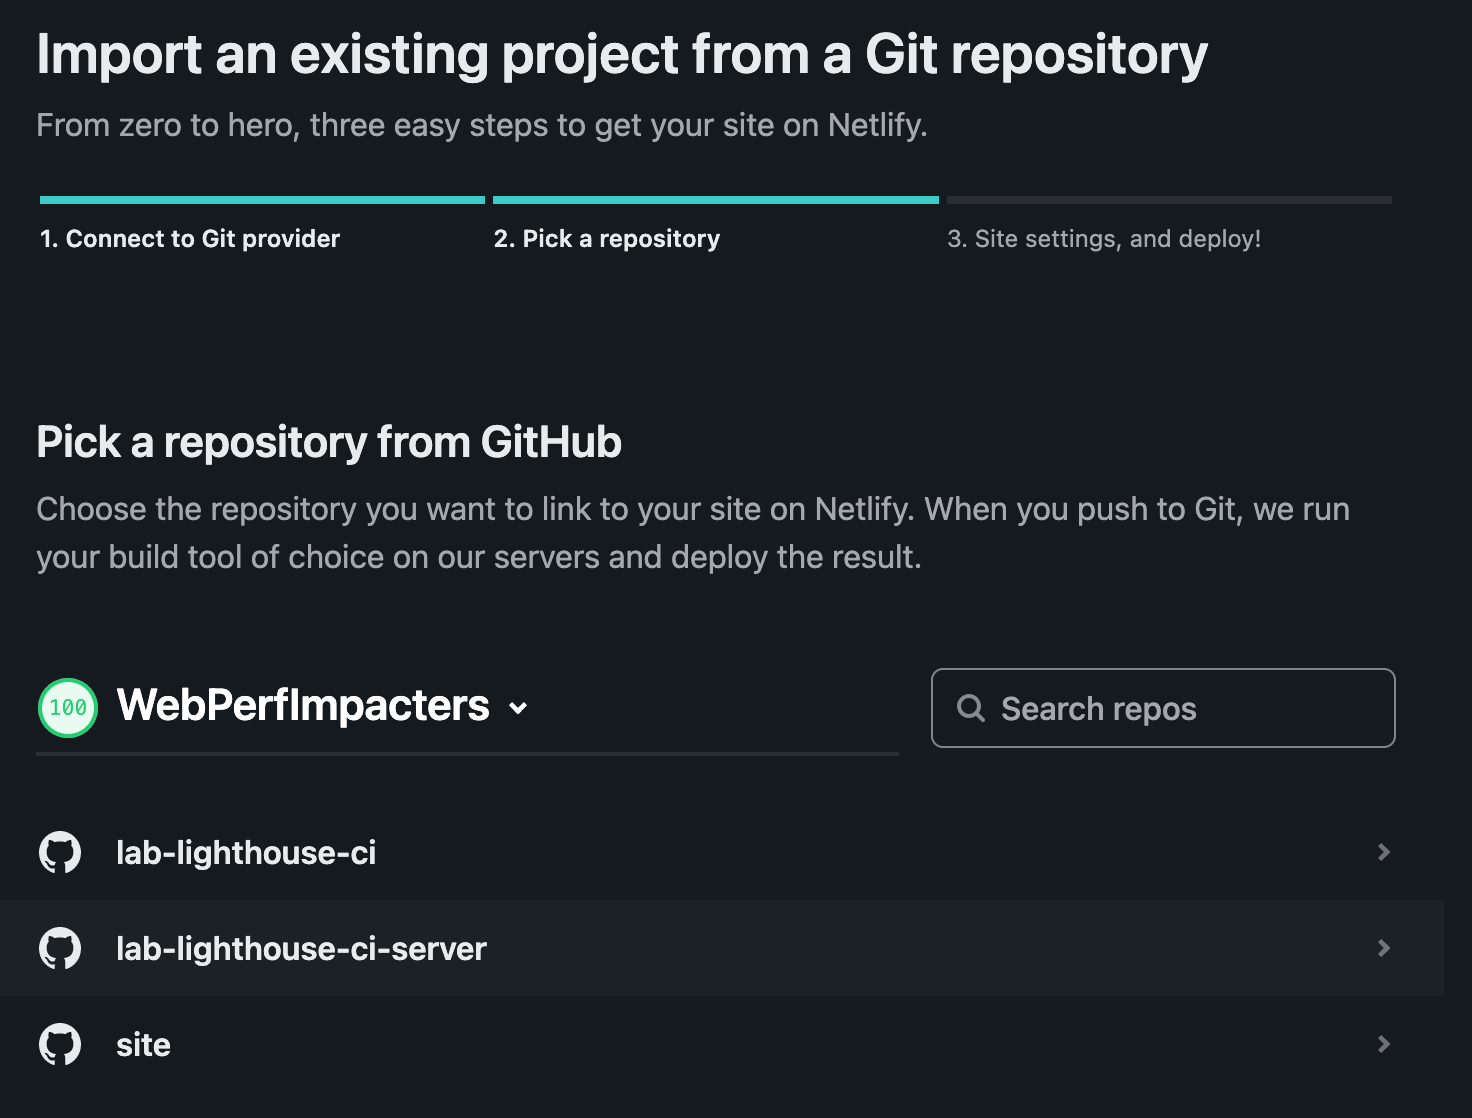
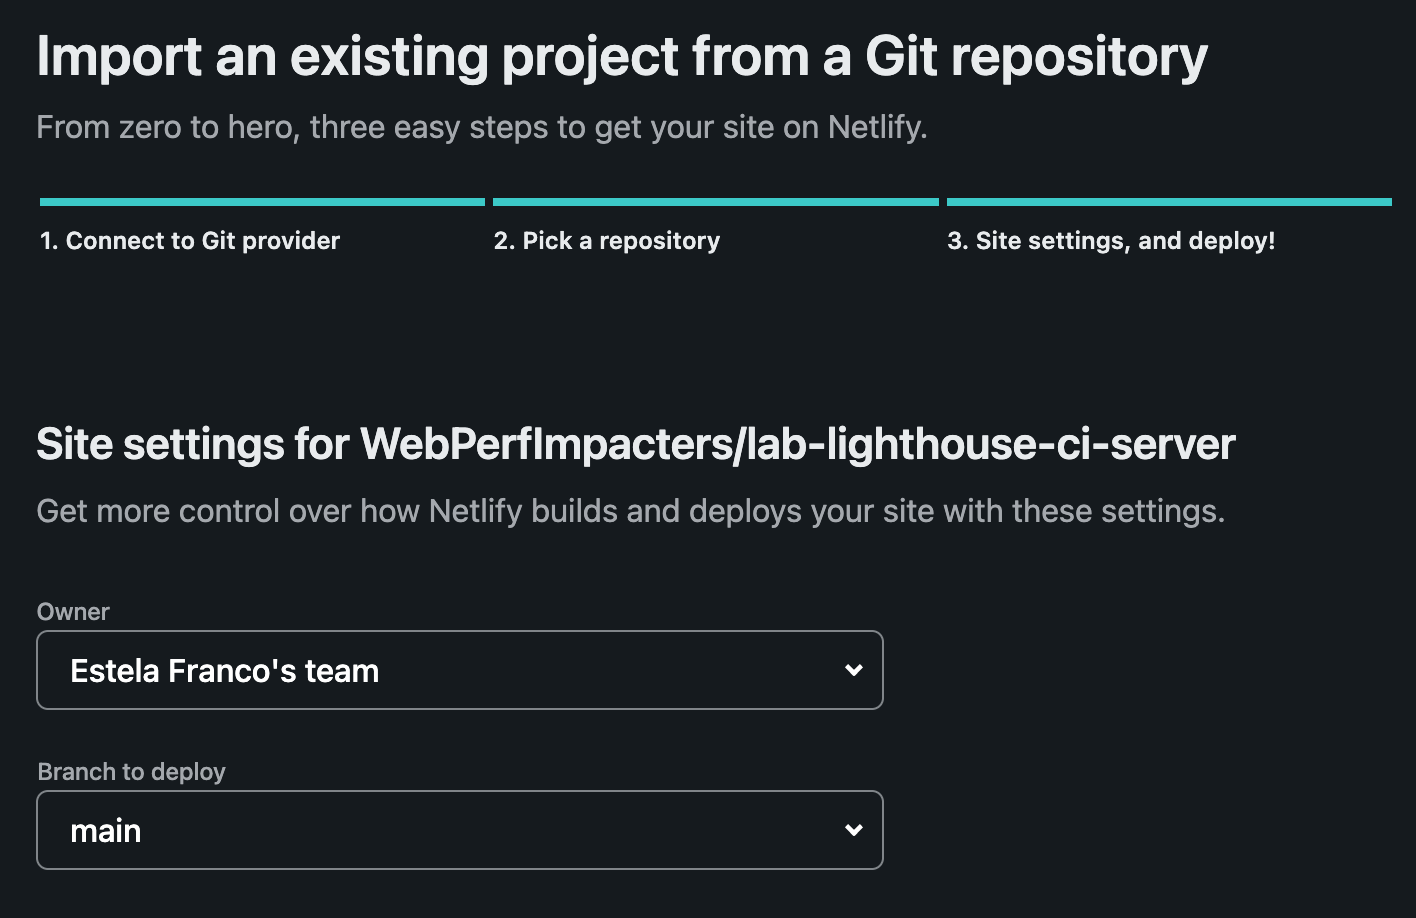
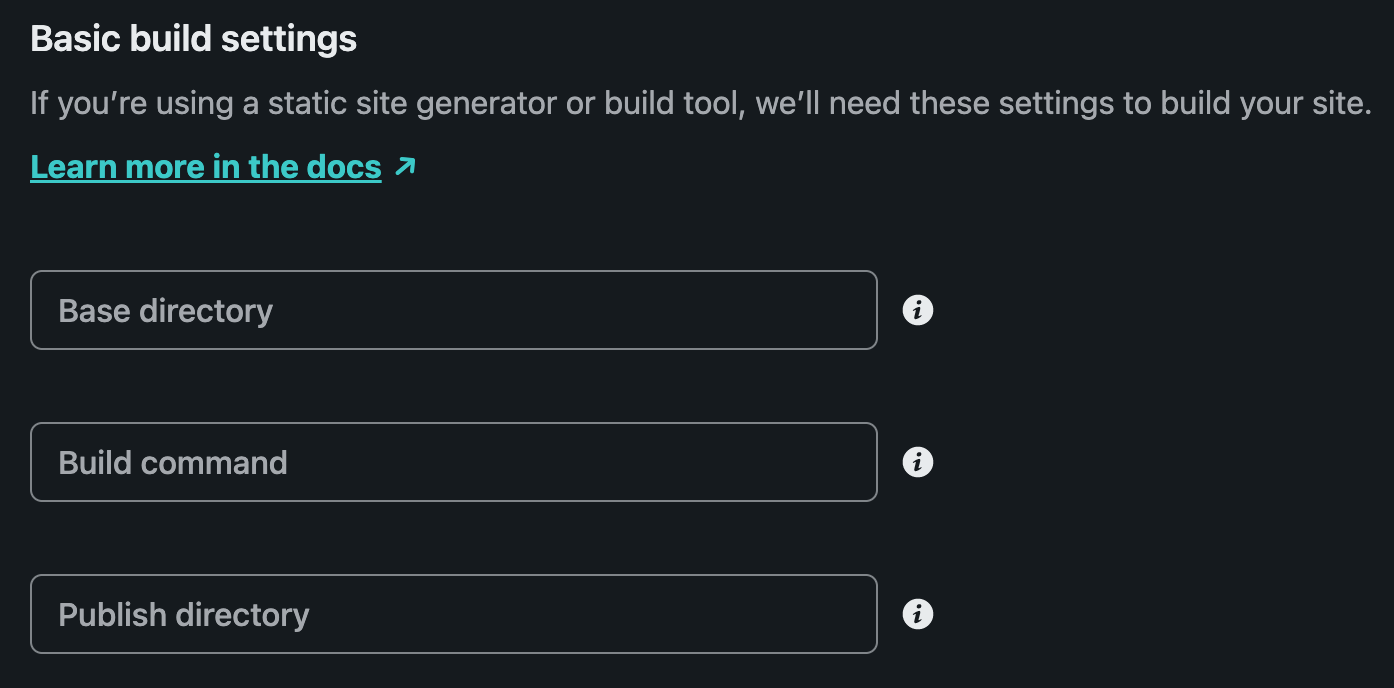
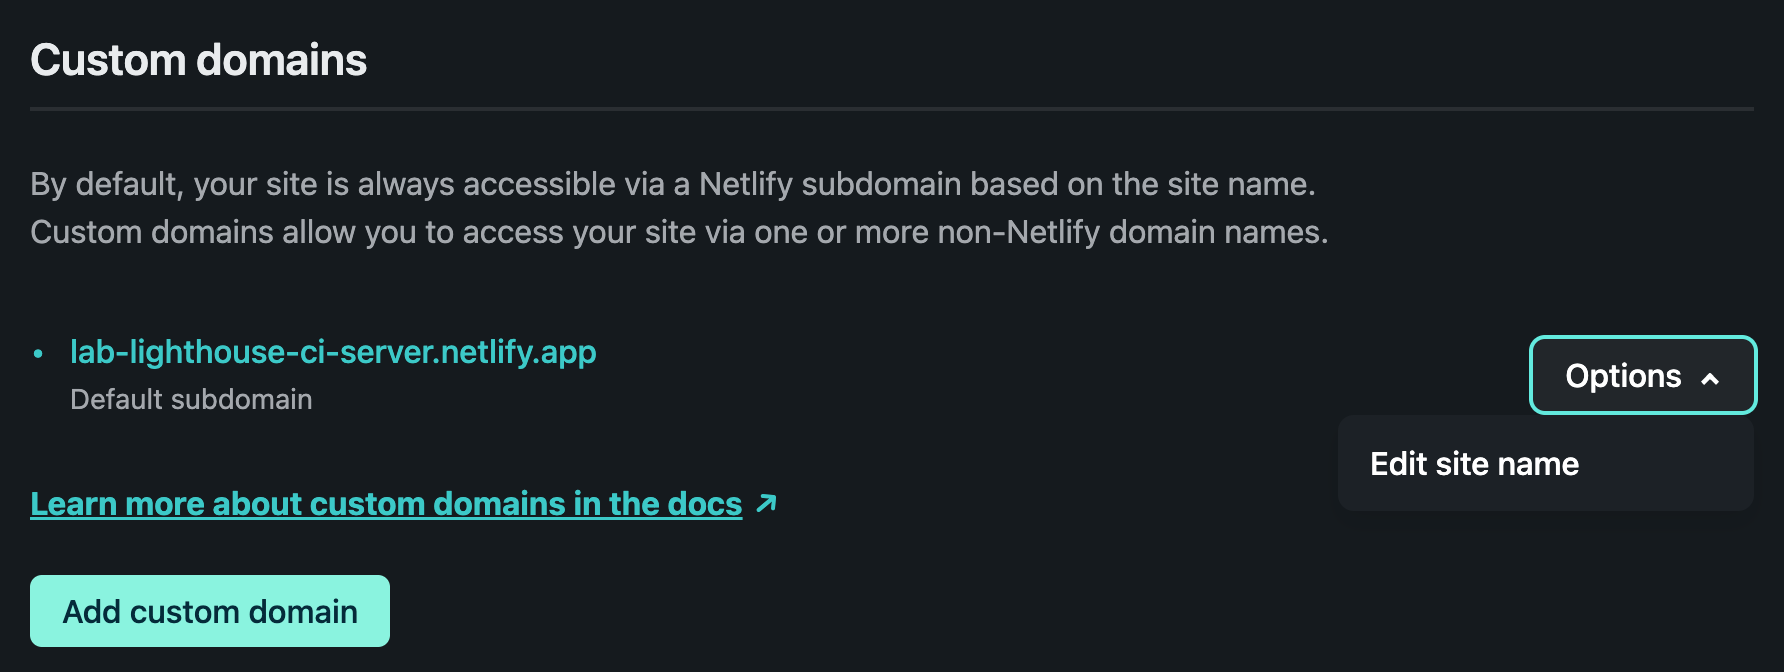
Sites > Add new site > Import an existing project
Site Settings > Domain Management > Domains
8. Update
lighthouse-ci-server.yaml
name: Lighthouse CI Server
on: pull_request
jobs:
lhci:
name: Lighthouse CI Server
runs-on: ubuntu-latest
steps:
- uses: actions/checkout@v3
- name: Waiting for 200 from the Netlify Preview
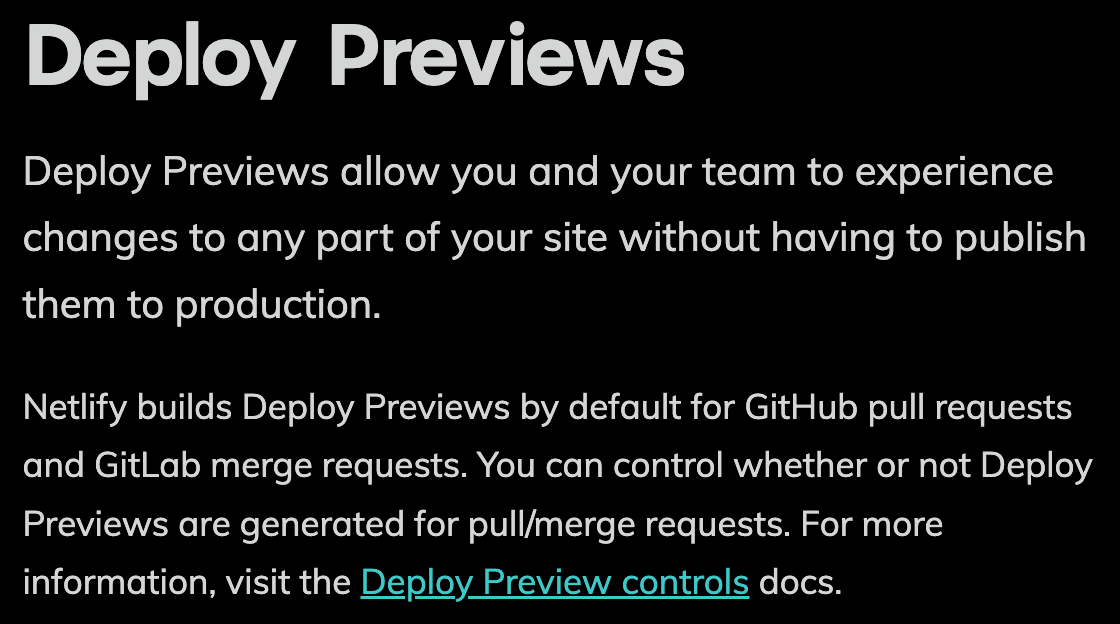
uses: jakepartusch/wait-for-netlify-action@v1.3
id: waitFor200
with:
site_name: 'lab-lighthouse-ci-server'
max_timeout: 60
- name: run Lighthouse CI
uses: treosh/lighthouse-ci-action@v9
with:
runs: 3
urls: |
${{ steps.waitFor200.outputs.url }}
${{ steps.waitFor200.outputs.url }}about/
${{ steps.waitFor200.outputs.url }}blog/
${{ steps.waitFor200.outputs.url }}feature/
${{ steps.waitFor200.outputs.url }}product/
${{ steps.waitFor200.outputs.url }}testimonial/
configPath: './lighthouserc-ci-server.js'
serverBaseUrl: ${{ secrets.LHCI_SERVER_URL }}
serverToken: ${{ secrets.LHCI_TOKEN }}
uploadArtifacts: true
env:
LHCI_GITHUB_APP_TOKEN: ${{ secrets.LHCI_GITHUB_APP_TOKEN }}Remove the "Use Node.js 16.x" step
Wait for Netlify Preview URLs
Use Treo's GitHub Action
9. Update
lighthouserc-ci-server.js
module.exports = {
  ci: {
    assert: {
      assertions: {
        "categories:performance": ["warn", { minScore: 0.8 }],
        "categories:accessibility": ["warn", { minScore: 0.8 }],
        "categories:best-practices": ["warn", { minScore: 0.8 }],
        "categories:seo": ["warn", { minScore: 0.8 }],
        "categories.pwa": "off",
      },
    }
  },
};
10. Create a new workflow
lighthouse-ci-server-prod.yaml
name: Lighthouse CI Server Production
on:
  push:
    branches:
      - main
jobs:
  lhci:
    name: Lighthouse CI Server Production
    runs-on: ubuntu-latest
    steps:
      - uses: actions/checkout@v3
      - name: Wait / Sleep
        run: sleep 30s
        shell: bash
      - name: run Lighthouse CI
        uses: treosh/lighthouse-ci-action@v9
        with:
          runs: 3
          urls: |
            https://lab-lighthouse-ci-server.netlify.app/
            https://lab-lighthouse-ci-server.netlify.app/about/
            https://lab-lighthouse-ci-server.netlify.app/blog/
            https://lab-lighthouse-ci-server.netlify.app/feature/
            https://lab-lighthouse-ci-server.netlify.app/product/
            https://lab-lighthouse-ci-server.netlify.app/testimonial/
          configPath: "./lighthouserc-ci-server.js"
          serverBaseUrl: ${{ secrets.LHCI_SERVER_URL }}
          serverToken: ${{ secrets.LHCI_TOKEN }}
          uploadArtifacts: true
        env:
          LHCI_GITHUB_APP_TOKEN: ${{ secrets.LHCI_GITHUB_APP_TOKEN }}
Remove the "Netlify Preview URLs" steps
Add a "Wait/Sleep" step
Set Netlify's prod URLs
By Joan León
Que la Web Performance es un tema que impacta a la experiencia de usuarias/os, al posicionamiento SEO y, por tanto, a las visitas, y a las métricas de negocio, es una realidad. Conocer las métricas de Web Performance más relevantes y poder testearlas en cada pase que hacemos a producción nos ahorrarán muchos problemas. En esta charla te contaremos cómo configurar e implementar un sistema automatizado para testear la Web Performance con Lighthouse CI, y conseguir así no degradar la UX de nuestro producto.


