Kenneth Baldauf
Organizer & frequent presenter @ OC Android.
Senior Software Engineer @ Originate
Future<void> main() async {
  // Ensure that plugin services are initialized so that
  // `availableCameras()` can be called before `runApp().
  WidgetsFlutterBinding.ensureInitialized();

  // Obtain a list of the available cameras on the device.
  List<CameraDescription> cameras = await availableCameras();

  // Get a specific camera from the list of available cameras.
  final firstCamera = cameras.first;

  runApp(
    MaterialApp(
      theme: ThemeData.dark(),
      home: CameraApp(
        // Pass the appropriate camera to the CameraApp widget.
        camera: firstCamera,
      ),
    ),
  );
}class CameraApp extends StatefulWidget {
final CameraDescription camera;
const CameraApp({
Key key,
@required this.camera,
}) : super(key: key);
@override
_CameraAppState createState() => _CameraAppState();
}class _CameraAppState extends State<CameraApp> {
CameraController controller;
@override
void initState() {
super.initState();
controller = CameraController(widget.camera,
ResolutionPreset.medium);
controller.initialize().then((_) {
// do nothing if state has already been disposed
if (!mounted) {
return;
}
setState(() {});
});
}
@override
void dispose() {
controller?.dispose();
super.dispose();
}
} @override
Widget build(BuildContext context) {
if (!controller.value.isInitialized) {
return Container();
}
return Scaffold(
backgroundColor: Theme.of(context).backgroundColor,
extendBody: true,
bottomNavigationBar: _buildBottomNavigationBar(),
body: _buildCameraPreview(),
);
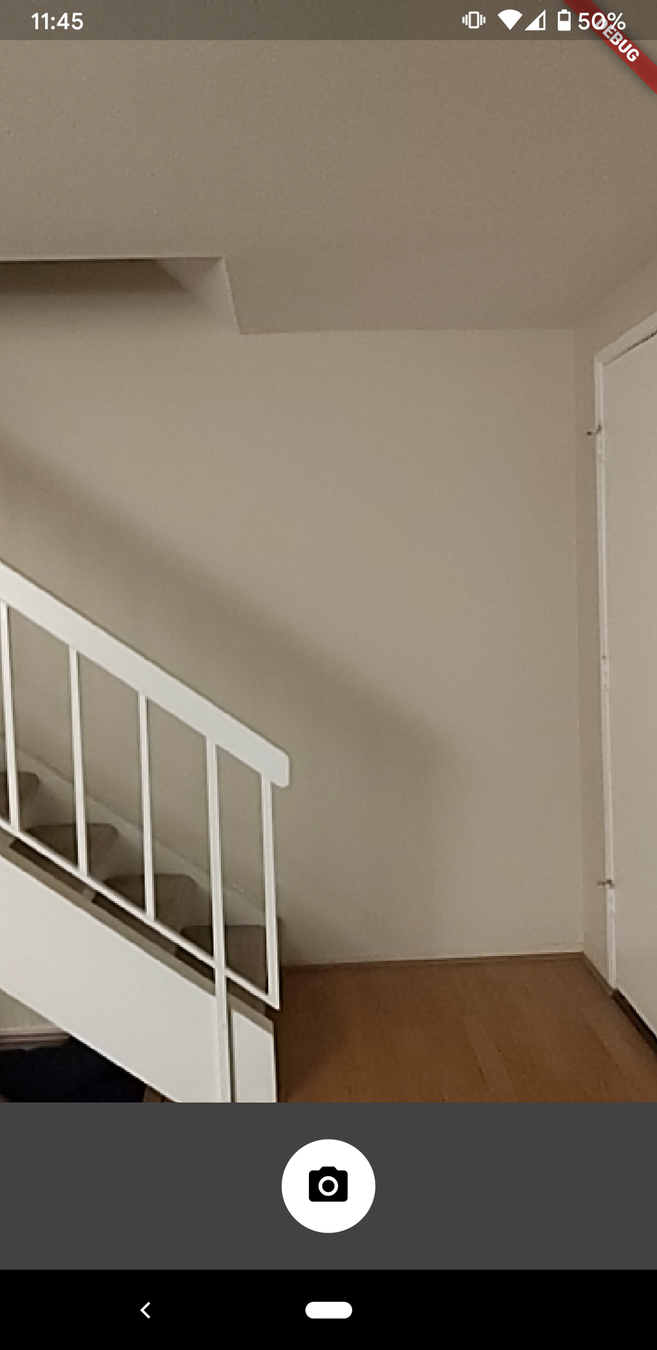
} Widget _buildCameraPreview() {
// get screen aspect ratio
final size = MediaQuery.of(context).size;
return Container(
child: Transform.scale(
scale: controller.value.aspectRatio / size.aspectRatio,
child: Center(
child: AspectRatio(
aspectRatio: controller.value.aspectRatio,
child: CameraPreview(controller),
),
),
),
);
} Widget _buildBottomNavigationBar() {
return Container(
color: Theme.of(context).bottomAppBarColor,
height: 100.0,
width: double.infinity,
child: Row(
mainAxisAlignment: MainAxisAlignment.spaceAround,
children: <Widget>[
CircleAvatar(
backgroundColor: Colors.white,
radius: 28.0,
child: IconButton(
icon: Icon(
Icons.camera_alt,
size: 28.0,
color: Colors.black,
),
onPressed: () async {
_captureImage();
}
),
),
],
),
);
} void _captureImage() async {
if (controller.value.isInitialized) {
// getExternalStorageDirectory() comes from the path_provider plugin
// which exposes commonly used filesystem locations
final Directory extDir = await getExternalStorageDirectory();
final String dirPath = '${extDir.path}/media';
await Directory(dirPath).create(recursive: true);
final String filePath = '$dirPath/${_timestamp()}.jpeg';
print("filePath: $filePath");
await controller.takePicture(filePath);
setState(() {});
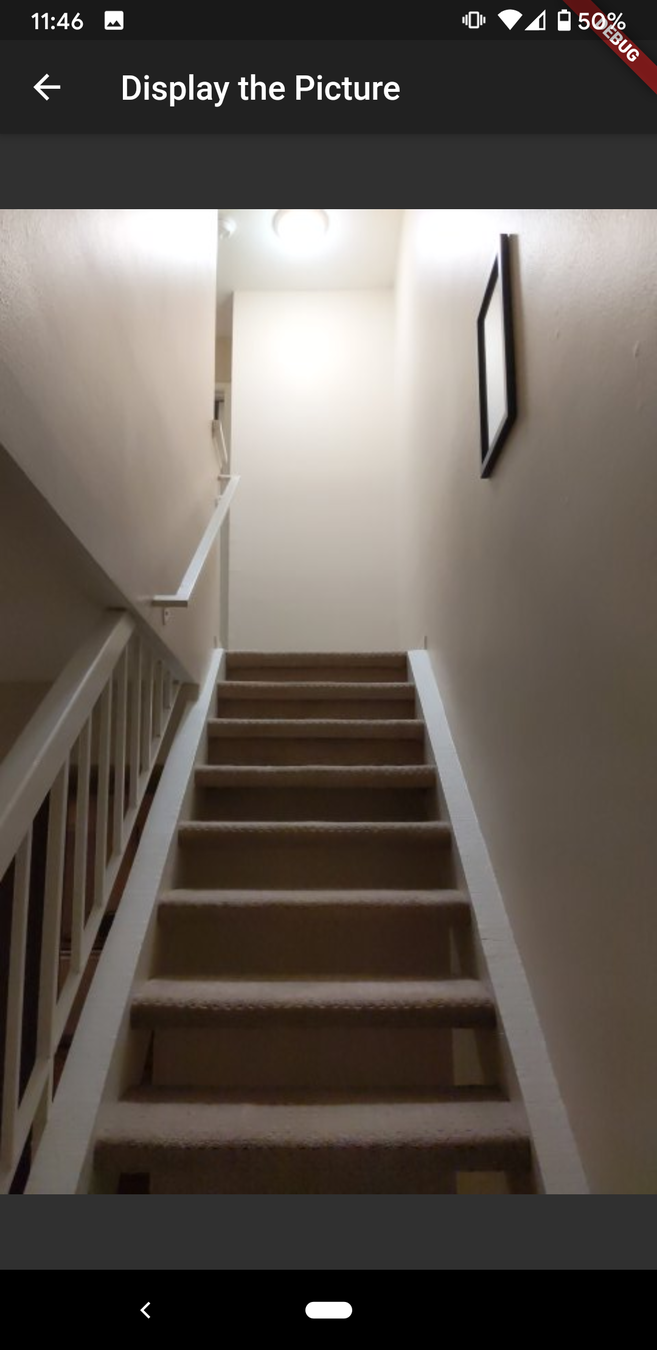
Navigator.push(
context,
MaterialPageRoute(
builder: (context) => DisplayPictureScreen(imagePath: filePath),
),
);
}
}
String _timestamp() => DateTime.now().millisecondsSinceEpoch.toString();
class DisplayPictureScreen extends StatelessWidget {
  final String imagePath;

  const DisplayPictureScreen({Key key, this.imagePath}) : super(key: key);

  @override
  Widget build(BuildContext context) {
    return Scaffold(
      appBar: AppBar(title: Text('Display the Picture')),
      // The image is stored as a file on the device. Use the `Image.file`
      // constructor with the given path to display the image.
      body: Center(
          child: Image.file(File(imagePath))
      ),
    );
  }
}By Kenneth Baldauf
Flutter is Google's cross platform mobile application framework; let's take a look at how to interface with your camera via a Flutter app.


