Vacuum Forming
By: Thomas Gibson-Gamache, Sunghyun Lee, Lisa Ngo-Nguyen, Rob Shudra, Davyn Wagner, Kevin Wong

Overview
Materials:
-
Thermoplastics - HIPS, ABS, PC, HDPE, TPO, PVC, Acrylic
Basic Process:
- A sheet of plastic is heated until pliable.
- It is then lowered onto a 3D mold
- Air is vacummed out of the space between the mold and the sheet of plastic
- The sheet of plastic will take the shape, and the 2 pieces can be removed
1
Machinery


2
Male Mold
-
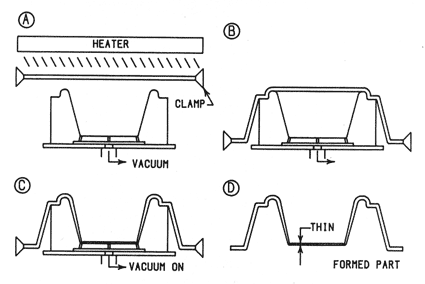
Heated plastic is draped over a male mold
-
Requires large draft angles and no undercuts
-
Draw ratio should be <1:1
3
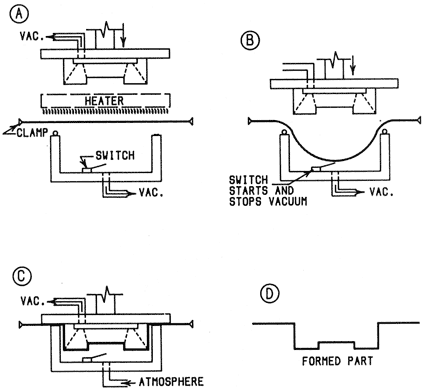
Male Snap-Back Vacuum forming
- Mold is suspended on a pneumatic cylinder above a vacuum box
-
-
Vacuum is applied and stretches plastic
-
mold is brought down
-
4
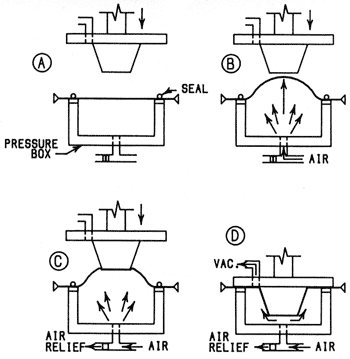
Billow Snap-Back Vacuum forming
-
Better wall thickness distribution
-
Box is pressurized and pre-stretched
5
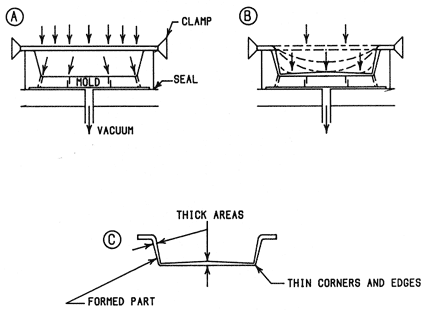
Straight Vacuum Forming - Female
- Vacuum is applied throughout mold - atmospheric pressure pushes sheet into mold
6
Plug Assist Vacuum forming - Female
-
Plug is used to force the sheet into the mold before vacuum is applied
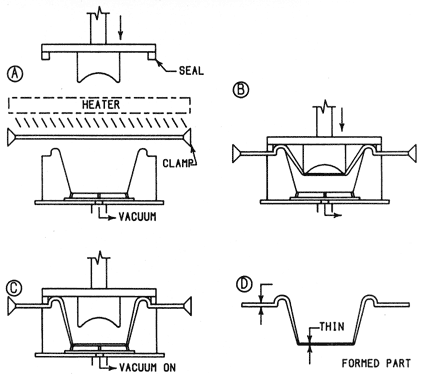
7
Plug Assist Pressure Forming - Female
-
Similar to plug assist vacuum forming, pressure is applied from plug side
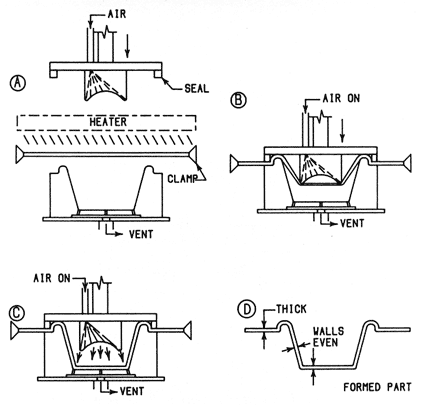
8
Billow Plug Assist Vacuum Forming - Female
-
Heated plastic is pre-stretched
-
when plug is at lowest position, vacuum is applied
-
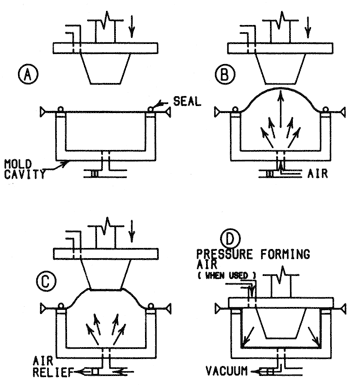
9
Benefits
-
Least expensive tooling costs
-
Tooling completion and implementation is faster than injection/pressure forming
-
Tooling modifications can happen quickly/inexpensively
-
Wide range of part production
-
Allows for huge range of part sizes, shapes, colour
10
Disadvantages
- Absorbed moisture can expand - forming bubbles within plastic’s inner layers
-
Webbing
-
Objects can stick to mold if draft angle is inefficient
-
A lot of material waste
-
Cannot easily form sharp edges
-
Does not maintain consistent wall thickness
-
Parts cannot easily have undercuts
11
Examples


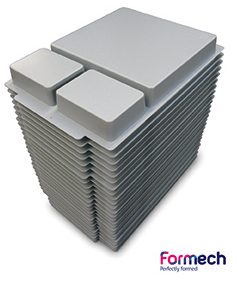
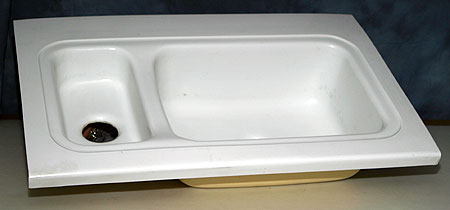


12
Examples Cont.


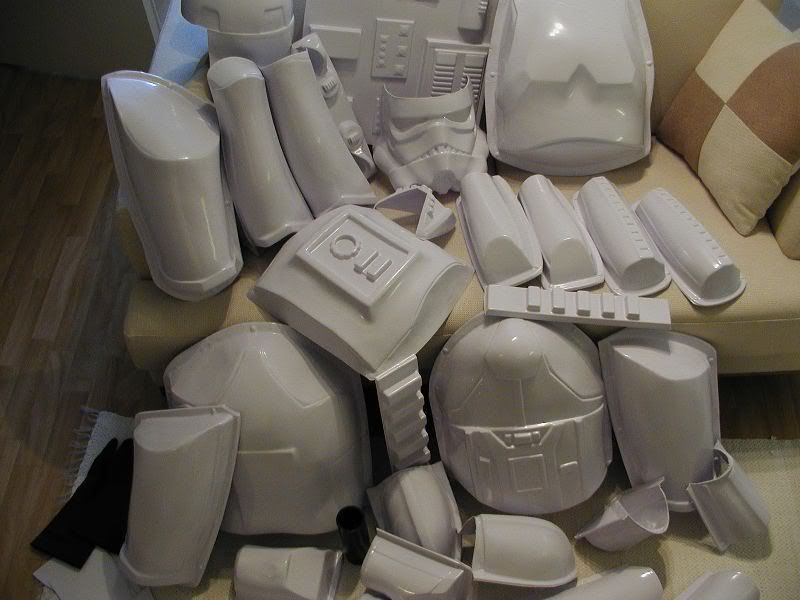
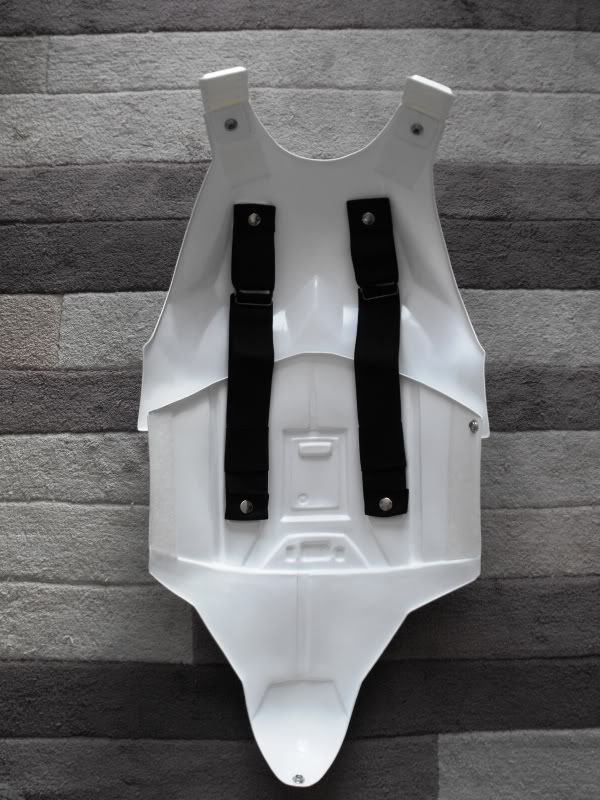
13
Vacuum Formed Stool
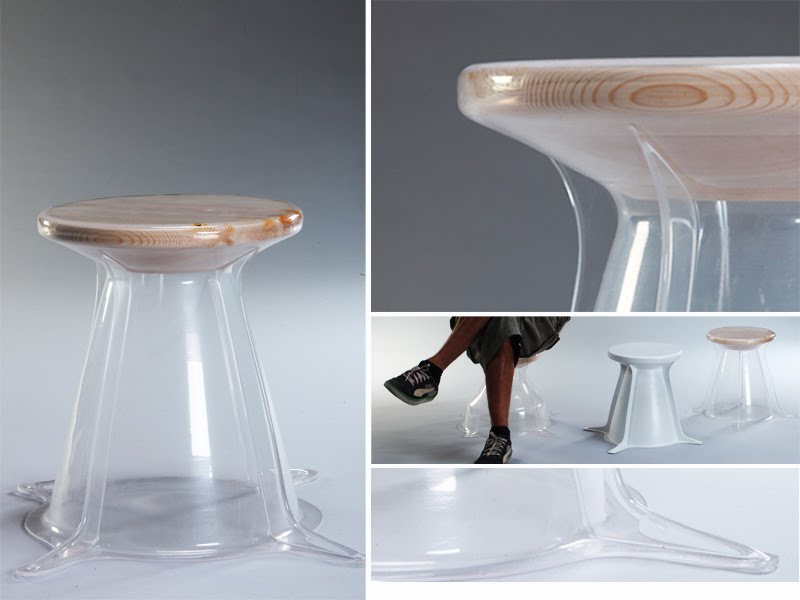
14
Vacuum Forming
By Kevin
Vacuum Forming
- 237
