
DC Bot
DC Bot
week 5
指令字典
DC Bot - week1
-
講師介紹
-
運作原理
-
創建機器人
-
Hello world!
INDEX
ABOUT 講師
佾大&ㄌㄌ
-
本名:李佾馨
-
綽號:佾大
-
楓資 30th 社長/美宣
-
學習dc bot 兩個禮拜
+學長姐們的暑寒訓 ( ? -
DC:yeeda
-
IG:zsisc30_yeeda
-
想找我聊天或著問東西都可以喔!

-
本名:李庭誼
-
綽號:ㄌㄌ
-
楓資 30th 教學長
-
學習dc bot 兩個禮拜
-
python補救中
-
DC:ㄌㄌ
有問題來問我我會盡量解 -
IG:zsisc30_lele

群組
運作原理
Discord bot
[用token]
Discord伺服器
connect
Discord bot
[用token]
Discord伺服器
事件
Discord bot
[用token]
Discord伺服器
事件
Code
執行
創建機器人

然後登入自己的discord帳號
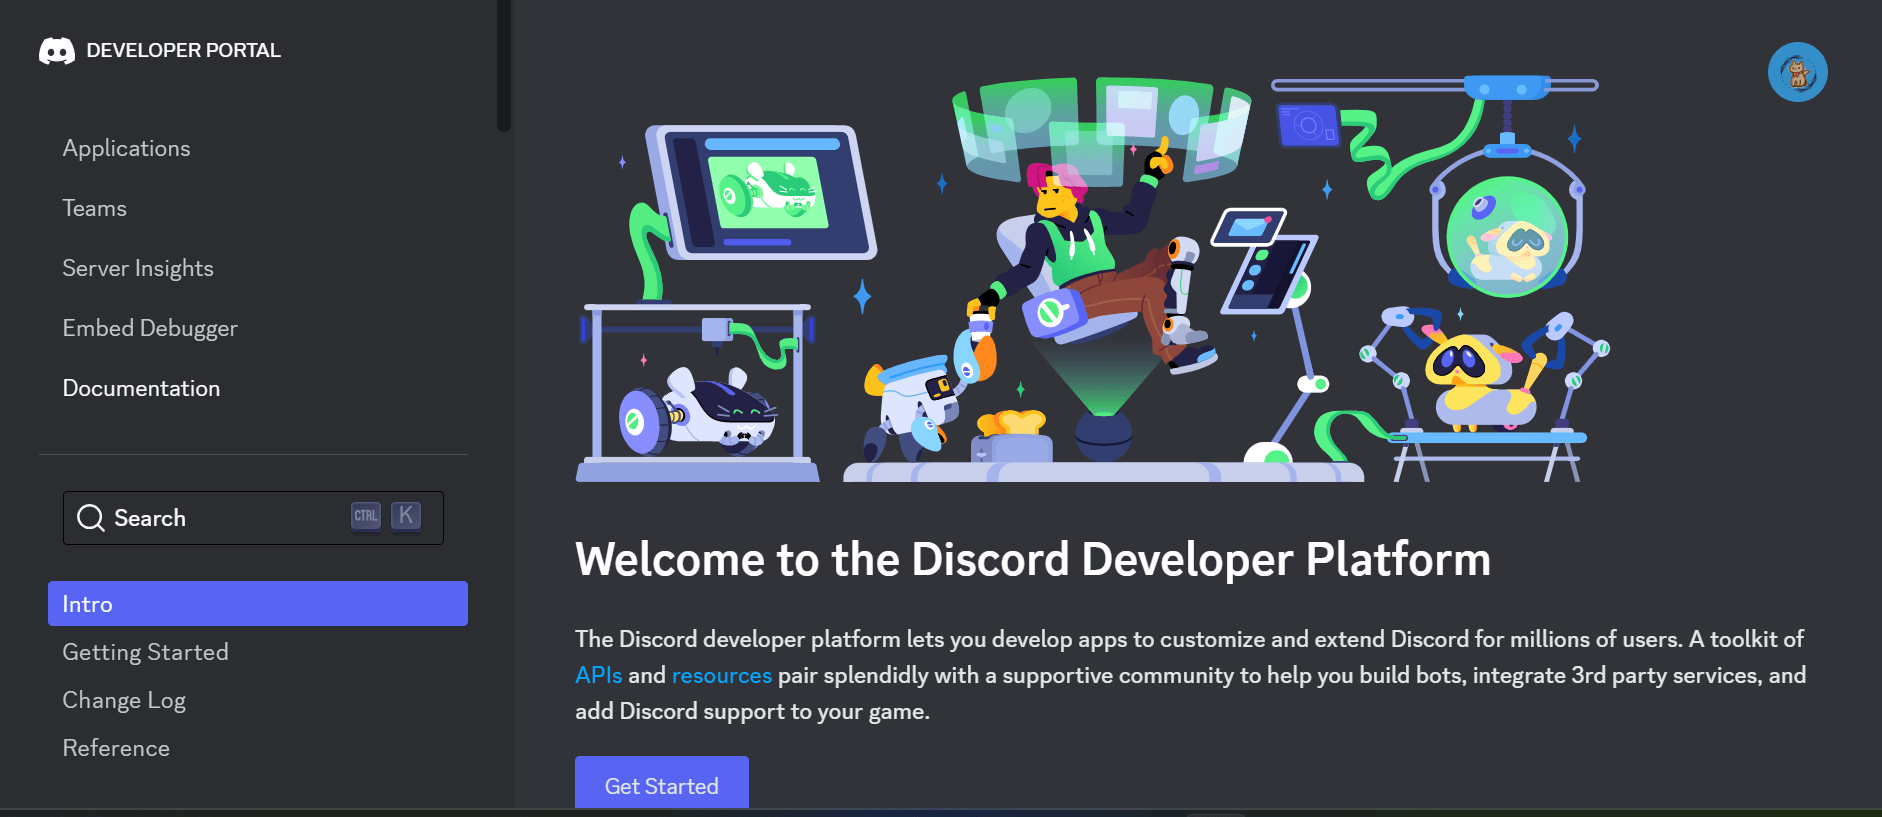
按右上方New Application
然後取名選頭像就創建成功ㄌ
接下來要開權限&拉他進群
-
左方Bot
-
下方Privileged Gateway Intents全開
-
左方OAuth2
-
往下滑OAuth2 URL Generator找到bot打勾
-
往下滑選第一個administrator(全開比較方便)
-
複製最下方網址
-
在新分頁打開網址把他拉進伺服器
記得按螢幕下方save changes!
最後bot那頁往上滑會看到一個有token的地方
可以先複製起來
Hello World!

import discord
from discord.ext import commands

intents=discord.Intents.default()
intents.message_content=True
bot=commands.Bot(command_prefix='!',intents=intents)

@bot.event
async def on_ready():
    print(">> bot is online <<")

@bot.command(name='hello')
async def hello(mes):
    await mes.channel.send('hello world')

bot.run("這裡貼剛剛複製的token")
DC Bot - week2
-
偵測方法差異
-
圖片/影片
-
訊息擷取
-
mention使用者
-
embed
-
實作
-
指令清單
INDEX
偵測方法差異
偵測方法差異
@commands.Cog.listener()
async def on_message(self, msg):
@commands.command(aliases = ["t-3"])
async def test_3(self, ctx):偵測方法差異
@commands.Cog.listener()
async def on_message(self, msg):
@commands.command(aliases = ["t-3"])
async def test_3(self, ctx):持續讀取訊息/全域性(不可呼叫)
被呼叫才有動作/局部性(可呼叫)
圖片/影片
圖片/影片
@bot.command()
async def pic(ctx):
    pic = "照片位址"
    await ctx.send(pic)
@bot.command()
async def vid(ctx):
vid = "影片連結"
await ctx.send(vid)訊息擷取
訊息擷取
@bot.command()
async def say(ctx):
    def user_input() -> str:
        message = ctx.message.content
        user_message = "" + message[6 : len(message)]
        # 取出完整的 input 內容(6是前綴指令+空格的長度)
        return user_message
    await ctx.send(user_input())
mention使用者
mention使用者
@bot.command()
async def mention(ctx):
    user = ctx.message.author.mention
    await ctx.send(user)
embed
embed
embed
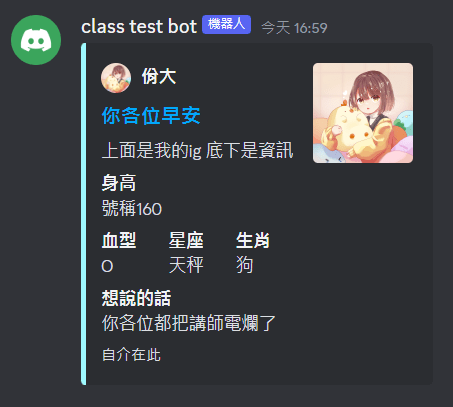
embed
@bot.command()
async def yeeda(ctx):
    embed=discord.Embed(title="你各位早安", url="https://www.instagram.com/zsisc30_yeeda/", description="上面是我的ig 底下是資訊", color=0x9ef9ff)
    embed.set_thumbnail(url = f"https://cdn.discordapp.com/attachments/1008385929846734988/1216199229316534292/105_20240301235135.png?ex=65ff84cc&is=65ed0fcc&hm=e18f707fbb6e6b76f7425bcf834e673591f3aca5b76ac1bd3618a51f4cba4a8f&")
    embed.set_author(name="佾大", url="https://www.youtube.com/channel/UCnMuXeRDQlJ_SSZOAnA6xtg", icon_url="https://cdn.discordapp.com/attachments/1008385929846734988/1216199229316534292/105_20240301235135.png?ex=65ff84cc&is=65ed0fcc&hm=e18f707fbb6e6b76f7425bcf834e673591f3aca5b76ac1bd3618a51f4cba4a8f&")
    embed.add_field(name="身高", value="號稱160", inline=False)
    embed.add_field(name="血型", value="O", inline=True)
    embed.add_field(name="星座", value="天秤", inline=True)
    embed.add_field(name="生肖", value="狗", inline=True)
    embed.add_field(name="想說的話", value="你各位都把講師電爛了", inline=True)
    embed.set_footer(text="自介在此")
    await ctx.send(embed=embed)
實作
實作
import asyncio

@bot.command()
async def emo_damage(ctx):
    user = ctx.message.author.mention
    tmpmsg = await ctx.send(user + text[random.randint(0, len(text)-1)])
    #停頓3秒
    await asyncio.sleep(3)
    #刪除訊息
    await tmpmsg.delete()

@bot.command()
async def emo_damage_add(ctx):
    def user_input() -> str:
        message = ctx.message.content
        user_message = "" + message[17 : len(message)]
        # 取出完整的 input 內容(6是前綴指令+空格的長度)
        return user_message
    text.append(user_input())
    await ctx.send("已加入" + user_input())
指令清單
指令清單
@bot.command(brief='跟我說嗨', description='就是跟我說嗨')
async def hello(ctx):
  await ctx.send("hello!")
更改bot狀態
更改bot狀態
@bot.event
# 當機器人完成啟動
async def on_ready():
  print(f"目前登入身份 --> {bot.user}")
  await bot.change_presence(status=discord.Status.idle, activity=discord.Game(name="! help 來開始!"))
DC Bot - week3
-
cog概念
-
cog實作
-
關於身分組
-
讀取表符
-
給予身分組
-
api
INDEX
Cog概念
Cog概念
bot.py
Cogs
bot主程式
程式碼
on_message
on_member_join
bot.command()
指定指令傳送訊息
其他你想要的功能
ablabla.py
react.py
event.py
Cog實作
Cog實作
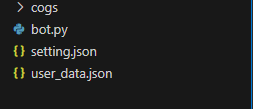
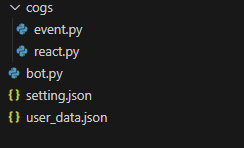
在最外層創建一個cogs資料夾
創建event.py、react.py
Cog實作
初始化cogs
1.把你bot.py import的東西通通import過去
2.創建一個跟檔名一樣的class
3.接下來的所有程式碼都要寫在這個class下面(注意縮排)
4.在cog的最下方加上這個(不要在class裡面)
async def setup(bot):
    await bot.add_cog(main(bot))
class main(commands.Cog):
def __init__(self, bot):
self.bot = botCog實作
開始搬程式碼
@bot.command(name='hello')
async def hello(mes):
	await mes.channel.send("早安世界")
△圖一,原本在bot.py的程式碼
@commands.command(name='hello')
async def hello(self,mes):
	await mes.channel.send("早安世界")
△圖二,在cogs裡面的程式碼
1.@bot.command改成@commands.command
2.在def hello()的argument裡面加入self
Cog實作
開始搬程式碼(event)
@bot.event
async def on_message(mes):
	if mes.content == "檢討":
		await mes.channel.send("ㄌㄌ檢討")
△圖一,原本在bot.py的程式碼
@commands.Cog.listener()
async def on_message(self,mes):
	if mes.content == "檢討":
		await mes.channel.send("ㄌㄌ檢討")
△圖二,在cogs裡面的程式碼
1.@bot.event改成@commands.Cog.listener()
2.在def on_message()的argument裡面加入self
Cog實作
主程式呼叫
async def load_extensions():
    for filename in os.listdir("./cogs"):
        if filename.endswith(".py"):
            await bot.load_extension(f"cogs.{filename[:-3]}")

async def main():
    async with bot:
        await load_extensions()
        await bot.start(token)

if __name__ == "__main__":
    asyncio.run(main())
創建身分組
創建身分組
@bot.command()
async def role(ctx,*mes):#tuple
    for i in range(len(mes)):
        if mes[i]!=' ':
            await ctx.guild.create_role(name=mes[i])
    arguments='\n'.join(mes)
    await ctx.send(arguments)
Cog寫法
@commands.command()
async def role(self,ctx,*mes):
    for i in range(len(mes)):
        if mes[i]!=' ':
            await ctx.guild.create_role(name=mes[i])
    arguments='\n'.join(mes)
    await ctx.send(arguments)
讀取表符
讀取表符
@bot.event
async def on_raw_reaction_add(data,user):
Cog
@commands.Cog.listener()
async def on_raw_reaction_add(self, data):
結合身分組
@commands.Cog.listener()
async def on_raw_reaction_add(self, data):
    channel = self.bot.get_channel(data.channel_id)
    print(f'Reaction {data.emoji} was added in channel {channel}')
    await channel.guild.create_role(name=str(data.emoji))
    await channel.send(f"你創建了一個名為 {str(data.emoji)} 的身分組")
給予身分組
給予身分組
@commands.Cog.listener()
async def on_raw_reaction_add(self, data):
    channel=self.bot.get_channel(data.channel_id)
    print(f'Reaction {data.emoji} was added in channel {channel}')
    role=await channel.guild.create_role(name=str(data.emoji))
    await channel.send(f"你創建了一個名為 {str(data.emoji)} 的身分組")
await data.member.add_roles(role)DC Bot - week4
-
embed補充
-
持續上線
-
成發講解
INDEX
embed補充
embed補充
持續上線
持續上線
使用以下網站:
持續上線
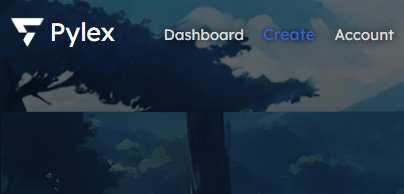
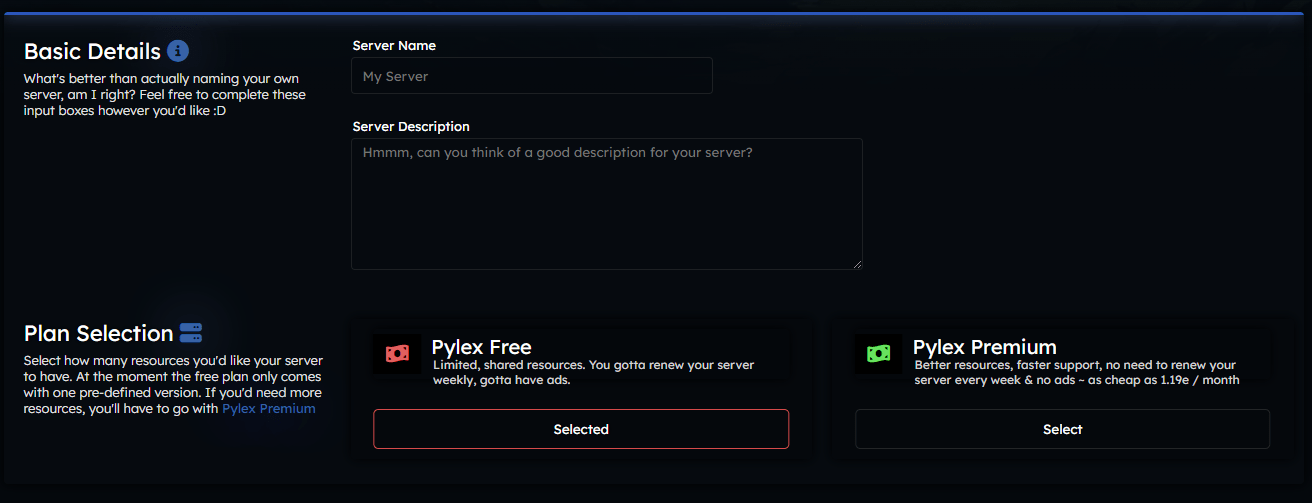
打好想創建的伺服器名稱
持續上線

回到dashboard頁面,進入編輯
持續上線
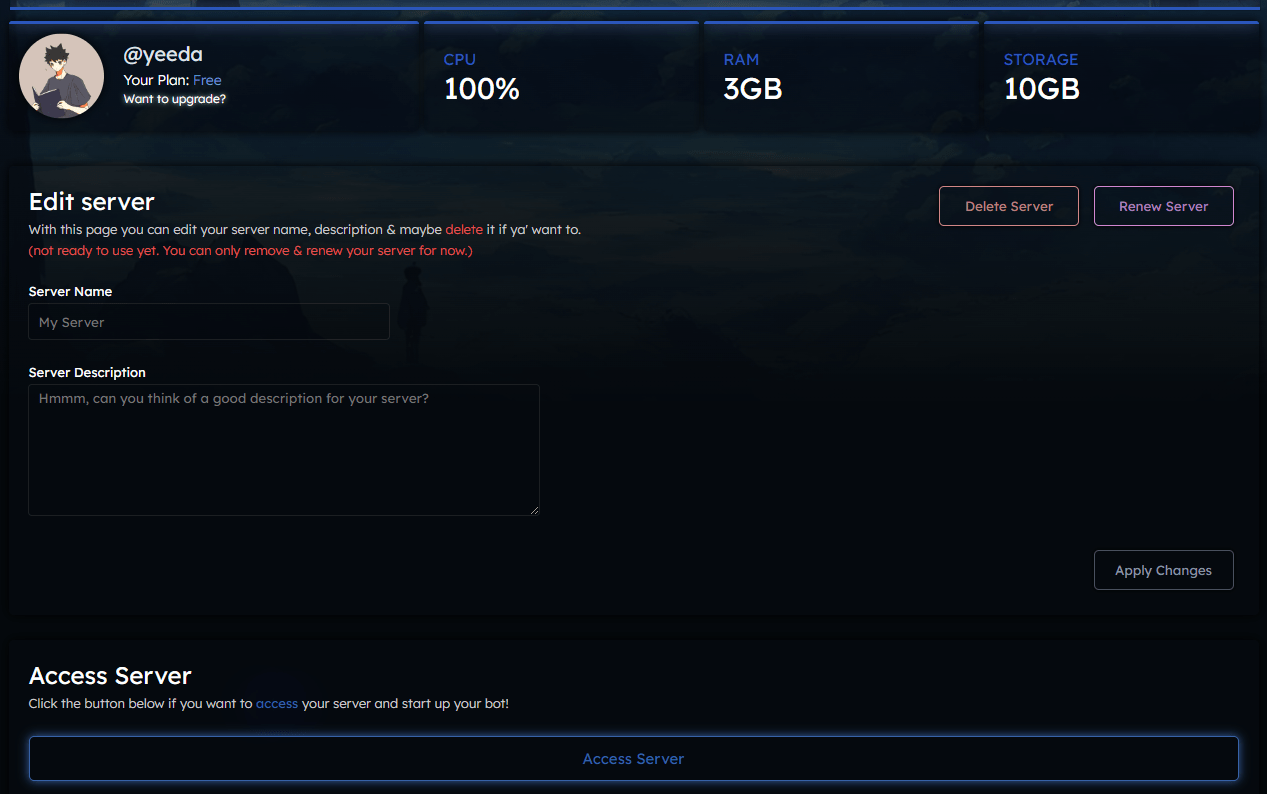
這裡可以重刷伺服器
(記得7-14天要重刷一次!)
持續上線
前一頁的access server點進去
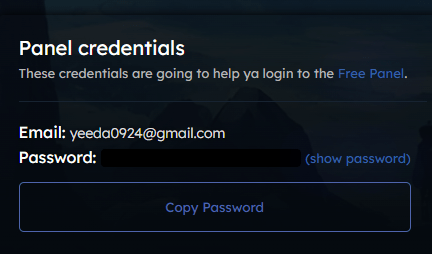
到前面給的第二個連結登入(密碼用底下他給的)
持續上線
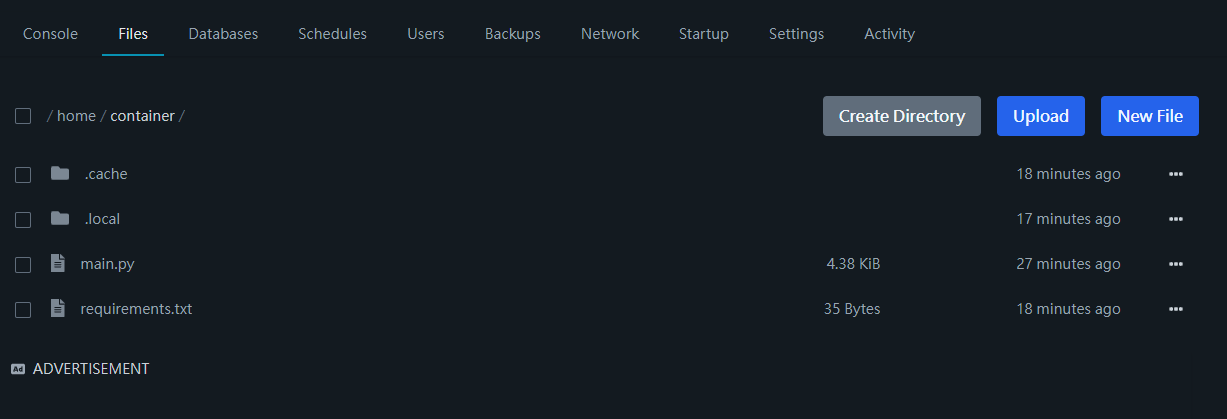
在這裡把檔案放上去,主檔案命名為main.py
注意:cogs等需要資料夾的用 create directory創
且要放requirements(如下)
asyncio==3.4.3
discord.py==2.3.2
成發講解
DC BOT
By ㄌㄌ


