Getting Started With
Agenda
- Introduction
- Environment Setup
- Project, Simulator
- Code Structure
- Debugging Techniques
- UI Components
- Native API's
- Demo
- Reference, Helpers
Introduction
React Native enables you to build world-class application experiences on native platforms using a consistent developer experience based on Javascript, React, HTML & CSS
Basically If you know JS & Flexbox Layout you are good to create Mobile Applications
- Write once, Deploy Everywhere
- Cut Down Development Effort
Environment Setup
System Requirements
- Mac OS (Recommended)
- Windows (Limited)
IDE
- XCode
- Android Studio
Environment Setup
CLI
- Node
- React Native CLI
- Watchman (Utility Package)
npm install -g node
npm install -g react-native
npm install -g watchman
Project, Simulator
Creating Project
react-native init weekdays
cd weekdays

# Run Node
npm start
Running the app
# Run iOS Version
react-native run-ios

# Run Android Version
react-native run-android
Project, Simulator
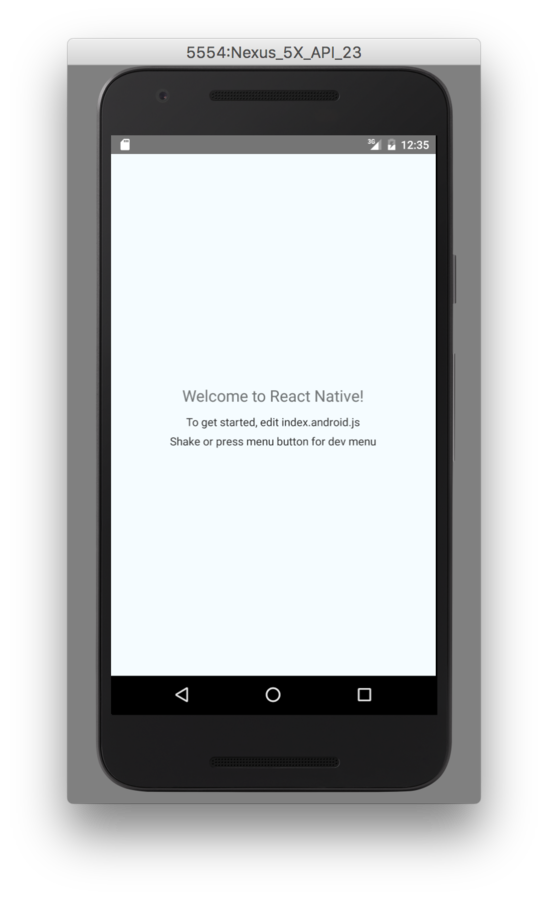
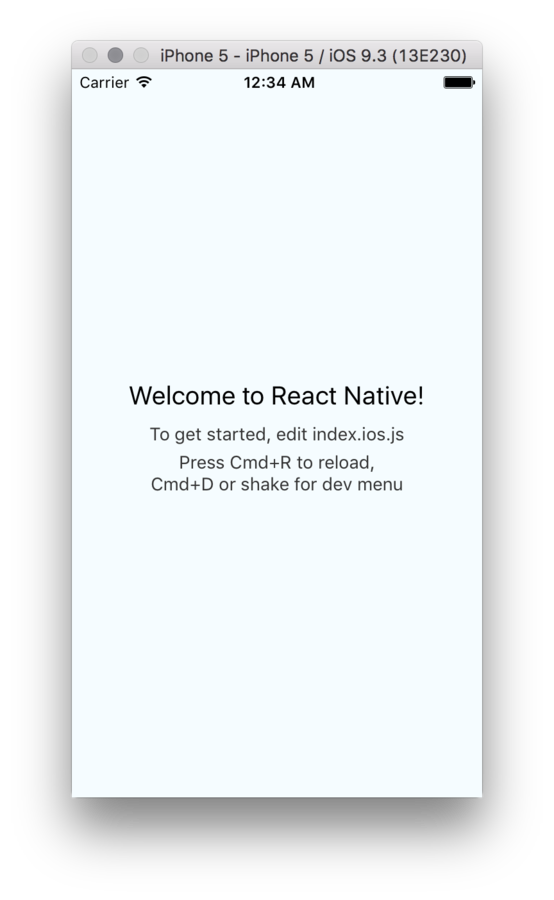
iOS
Android
Code Structure
// Import
import React, { Component } from 'react';
import {
  AppRegistry,
  StyleSheet,
  Text,
  View
} from 'react-native';


// Class for Generating Views
class weekdays extends Component {
  render() {
    return (
      <View style={styles.container}>
        <Text style={styles.welcome}>
          Welcome to React Native!
        </Text>
        <Text style={styles.instructions}>
          To get started, edit index.android.js
        </Text>
        <Text style={styles.instructions}>
          Shake or press menu button for dev menu
        </Text>
      </View>
    );
  }
}


// Style for your Views
const styles = StyleSheet.create({
  container: {
    flex: 1,
    justifyContent: 'center',
    alignItems: 'center',
    backgroundColor: '#F5FCFF',
  },
  welcome: {
    fontSize: 20,
    textAlign: 'center',
    margin: 10,
  },
  instructions: {
    textAlign: 'center',
    color: '#333333',
    marginBottom: 5,
  },
});

// Register you component
AppRegistry.registerComponent('weekdays', () => weekdays);
Debugging Techniques
iOS
Android
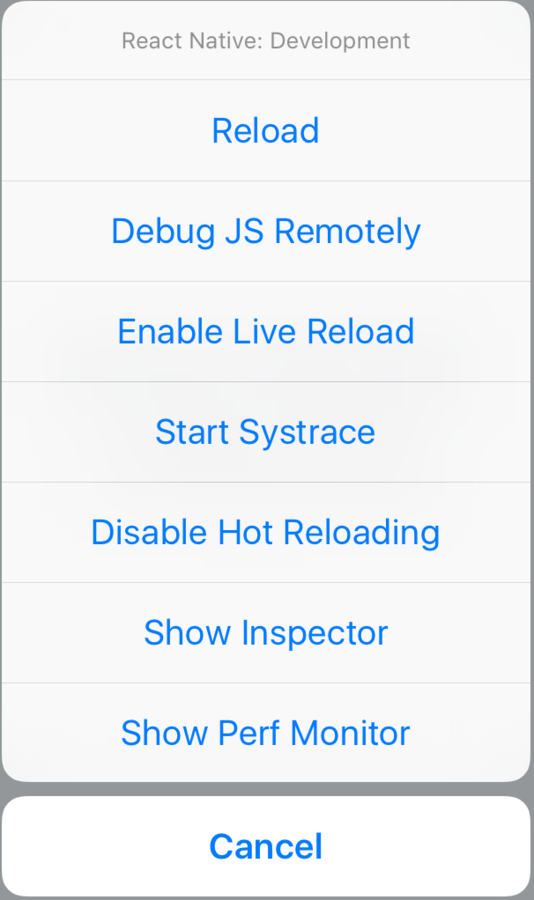
Refresh View — cmd + r
Dev Menu — cmd + d [or] Shake device
Refresh View — click r twice
Dev Menu — cmd + m [or] Shake device
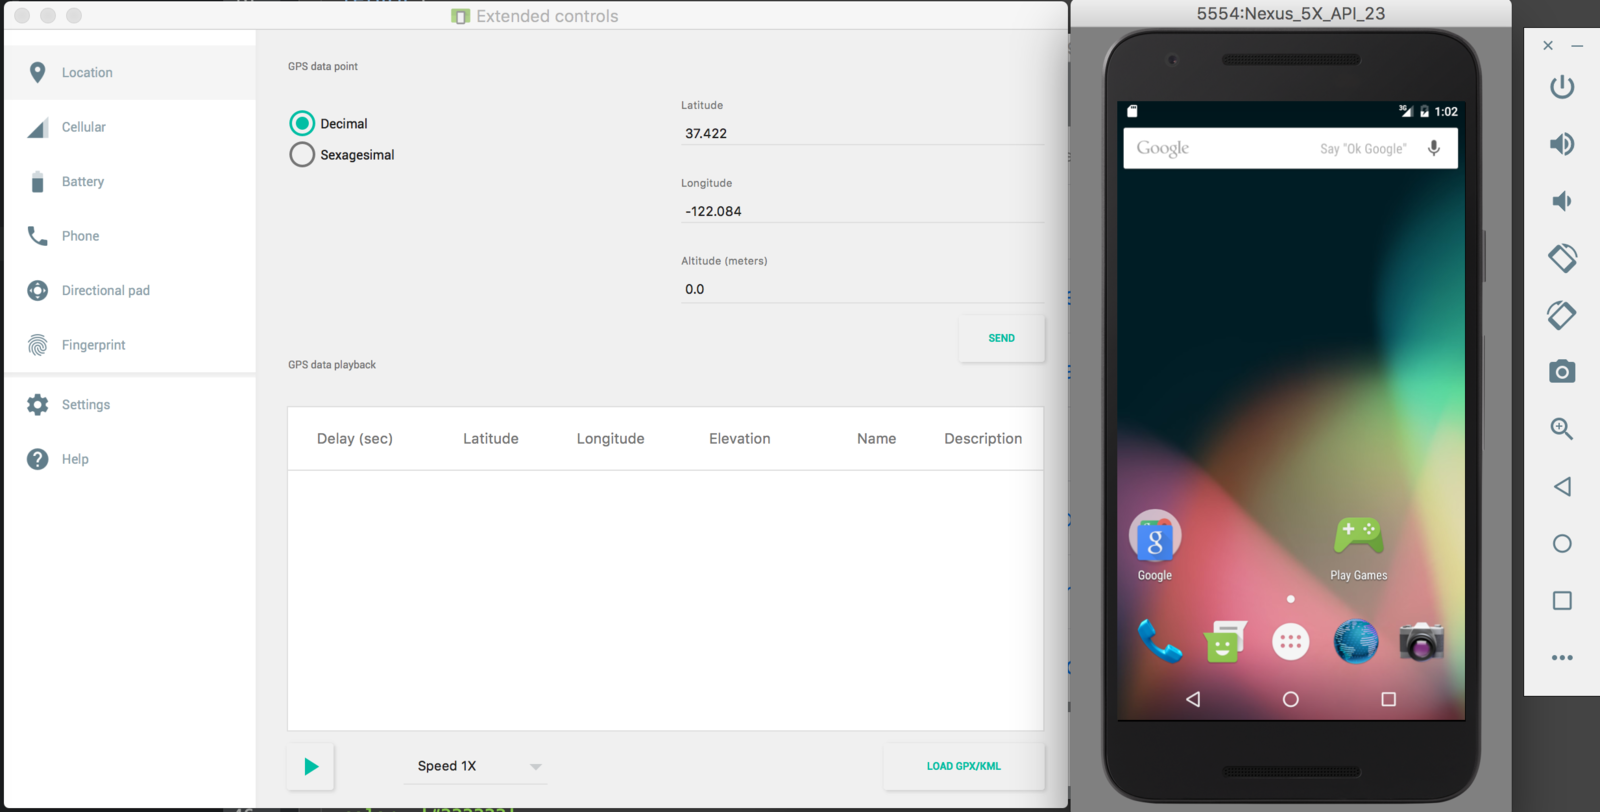
Debugging Techniques
Android
iOS
UI Components
- Image
- List View
- Date Picker
Reusable Components which you use from app to app
Including Components
// Step 1 - Install
npm install react-ux-password-field

// Step 2 - Import
var InputPassword = require('react-ux-password-field');

// Step 3 - Include it in View
render: function() {
  return (
    <InputPassword />
  )
}
- Navigator
- Text Input
- Web View
Native API's
- Alert
- Camera Roll
- Push Notifications
Reusable Components which you use from app to app
Using API's
// Step 1 - Import
var {
  StyleSheet,
  View,
  Text,
  TouchableHighlight,
  AlertIOS,
} = ReactNative;

// Step 2 - Include in View
<TouchableHighlight
  style={styles.wrapper}
  onPress={() => AlertIOS.prompt('Type a value', null, this.customButtons, 'login-password', 'admin@site.com')}>

  <View style={styles.button}>
    <Text>
      prompt with title, custom buttons, login/password & default value
    </Text>
  </View>
</TouchableHighlight>- Vibration
- Net Info
- Clipboard
Demo
- Sample Project
- Live Reload
- Simulator Debugging
- Device Demo
Reference, Helpers
Documentation - https://facebook.github.io/react-native/docs
Curated List - https://github.com/jondot/awesome-react-native
UI Components - https://js.coach
Decko - https://github.com/decosoftware/deco-ide
Debugger - https://github.com/jhen0409/react-native-debugger
Sample Apps - https://github.com/facebook/react-native/tree/master/Examples
Practical Example - https://github.com/fangwei716/30-days-of-react-native
QA
Thanks
Twitter/Github - @logeshpaul
Getting Started With React Native
By Logesh Paul
Getting Started With React Native
- 2,934

