Let there be light!
Martin Schuhfuss
Hi!
Martin Schuhfuss | m.schuhfuss@gmail.com | @usefulthink
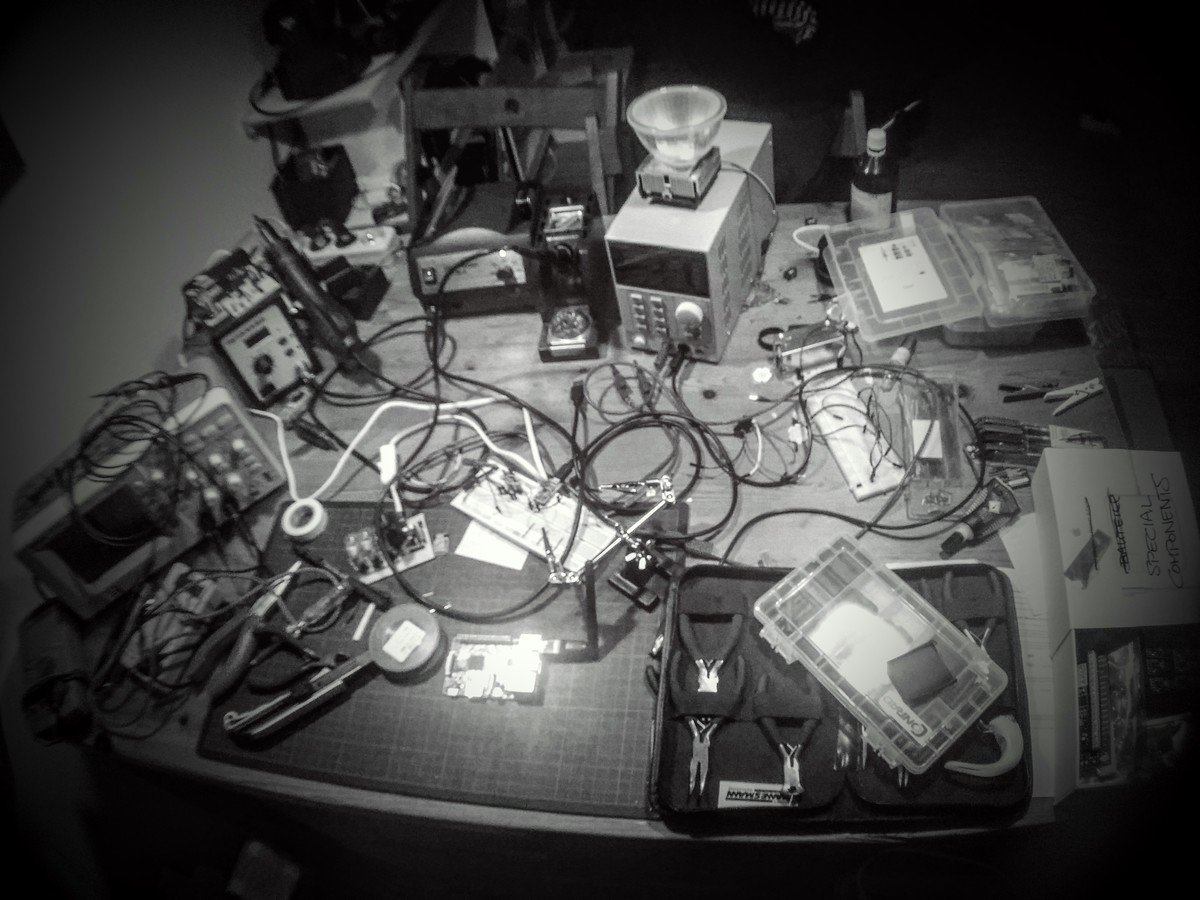
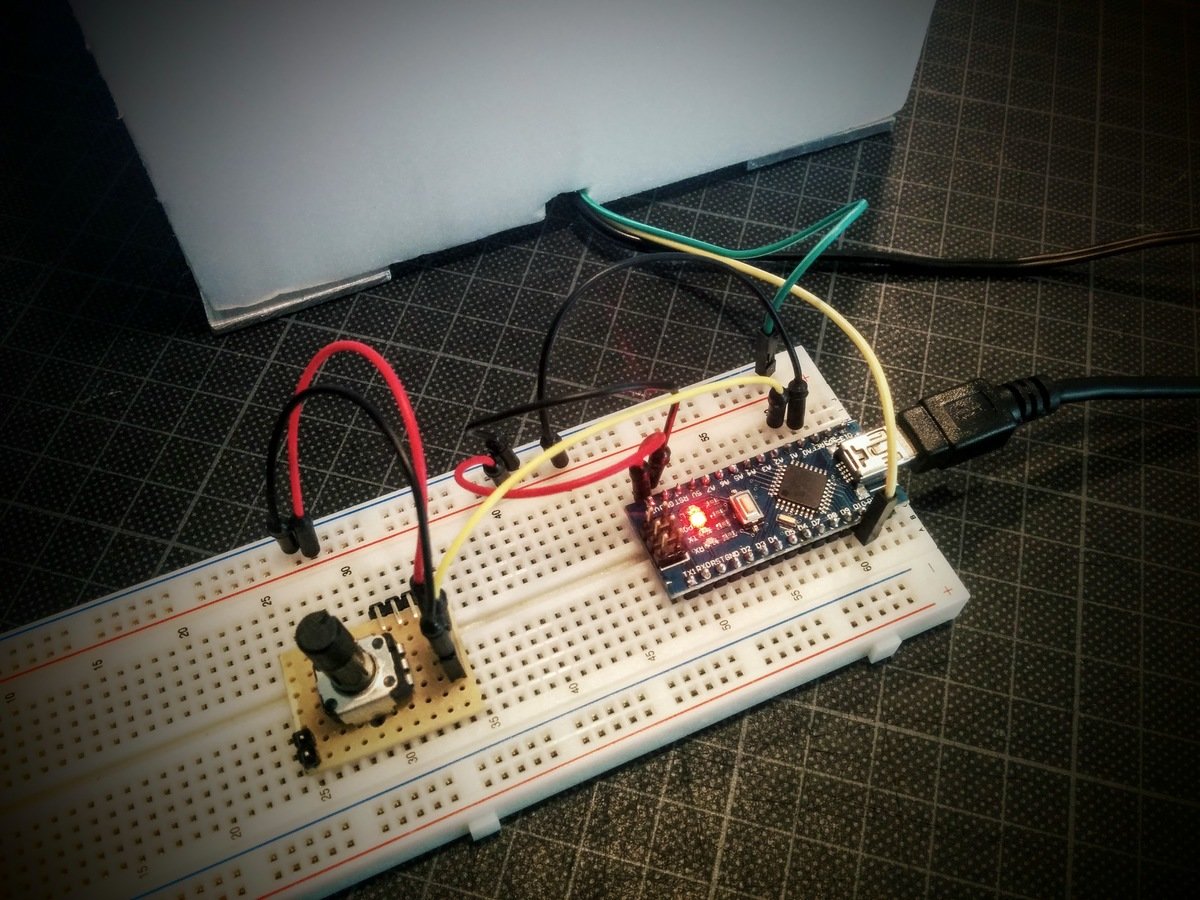
homemade electronics

(things that look way more like bombs than a clock does)
jsconf.eu last year..

my "electronics-lab" now
What is this all about?
use web-technology to control electronics-projects
having fun.
with lighting, electronics and javascript
do a project that doesn't need to be anything.
(inspired by Brad Bouse: "Usefulness of Uselessness", jsconf.eu 2014)
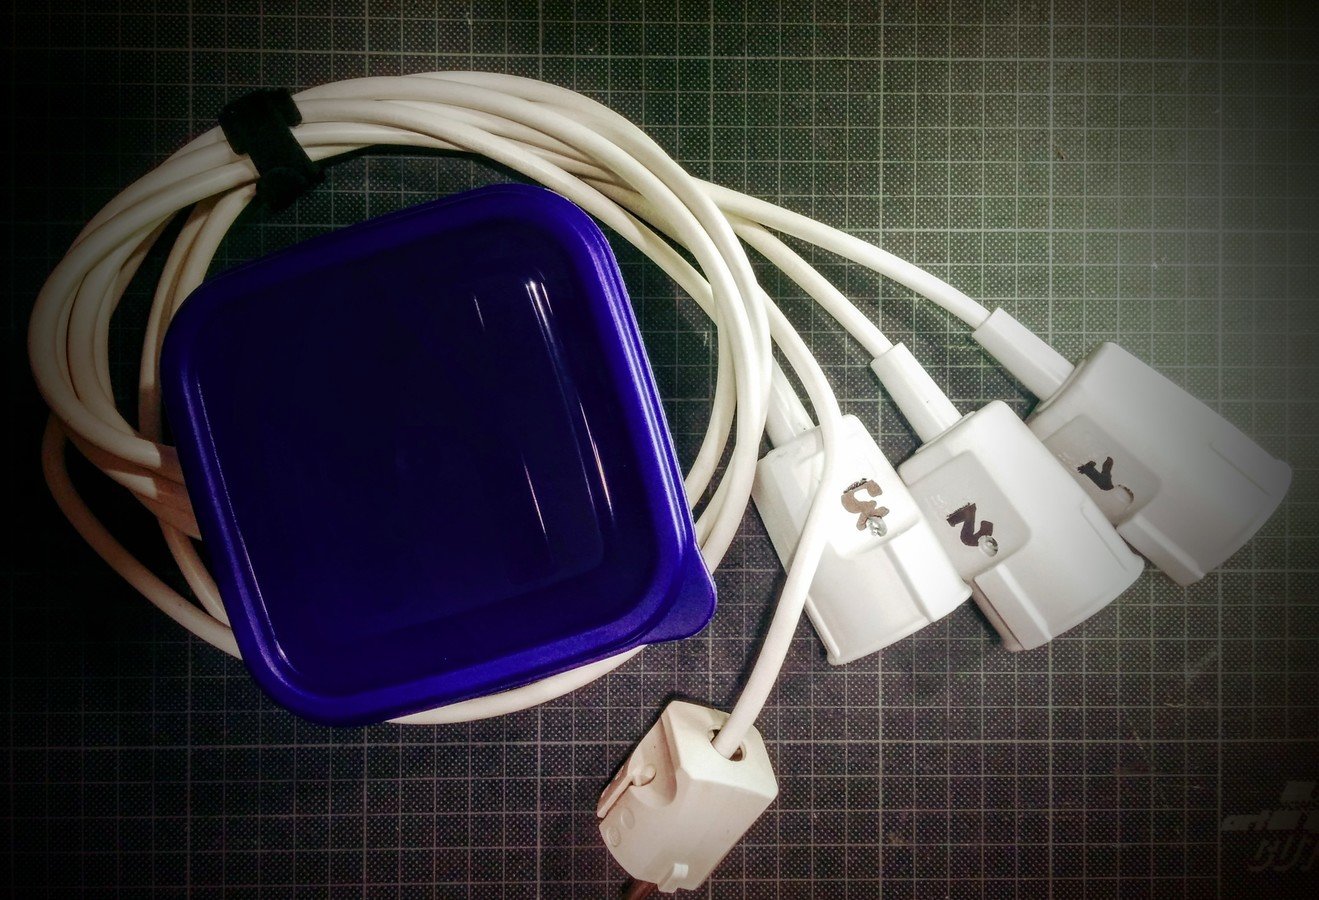
Switching things
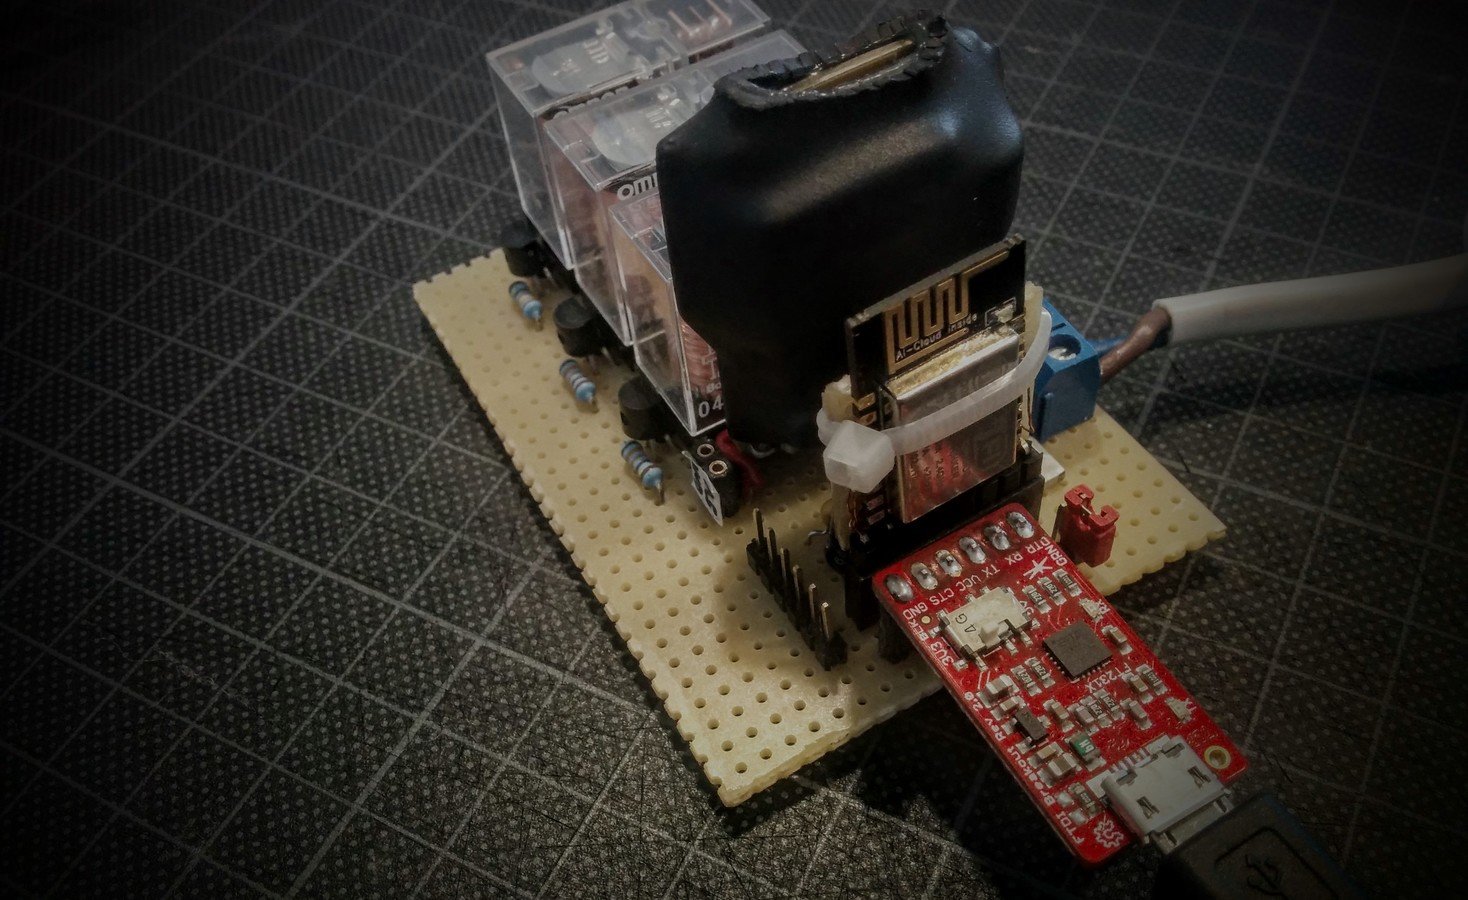
Relays
USB-Charger
(ripped apart & shrinkwrapped)
"Debug"-Interface
(USB <–> Serial Adapter)
Screw-Terminals 230V AC
ESP8266-Module
(Wifi & Control)
Programmer
(and supporting electronics)
Internals
SERIOUS WARNING

DO NOT MESS WITH MAINS-VOLTAGE UNLESS YOU KNOW EXACTLY WHAT YOU ARE DOING!
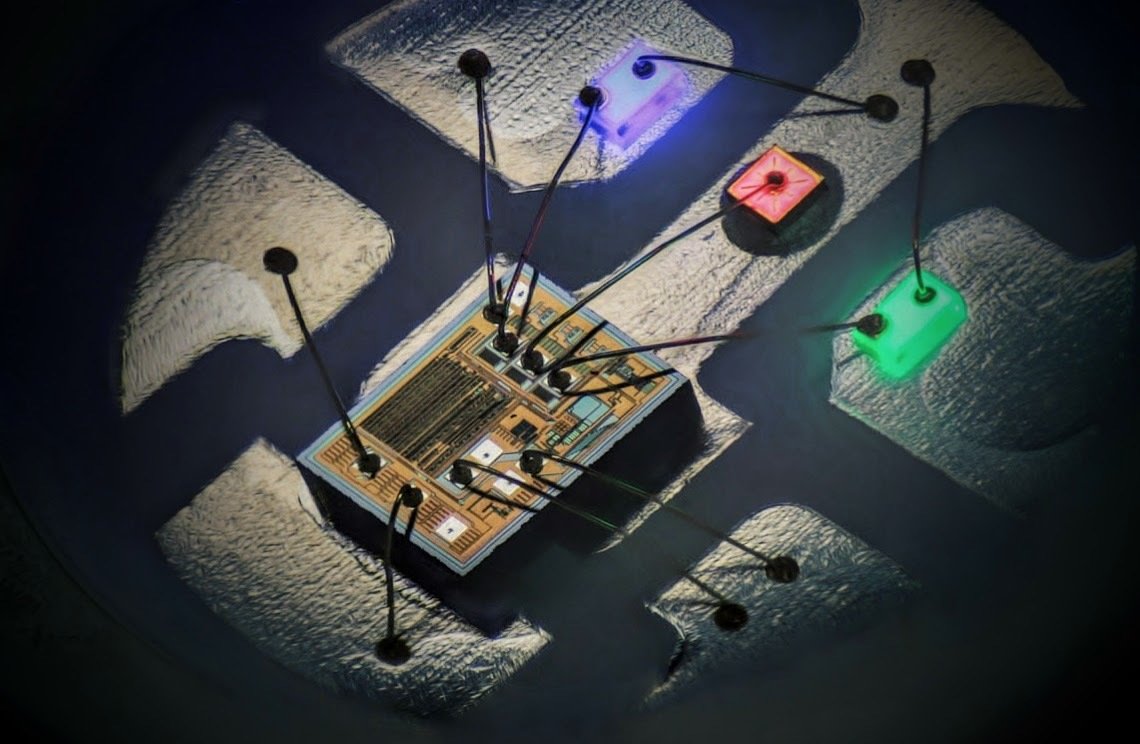
ESP8266
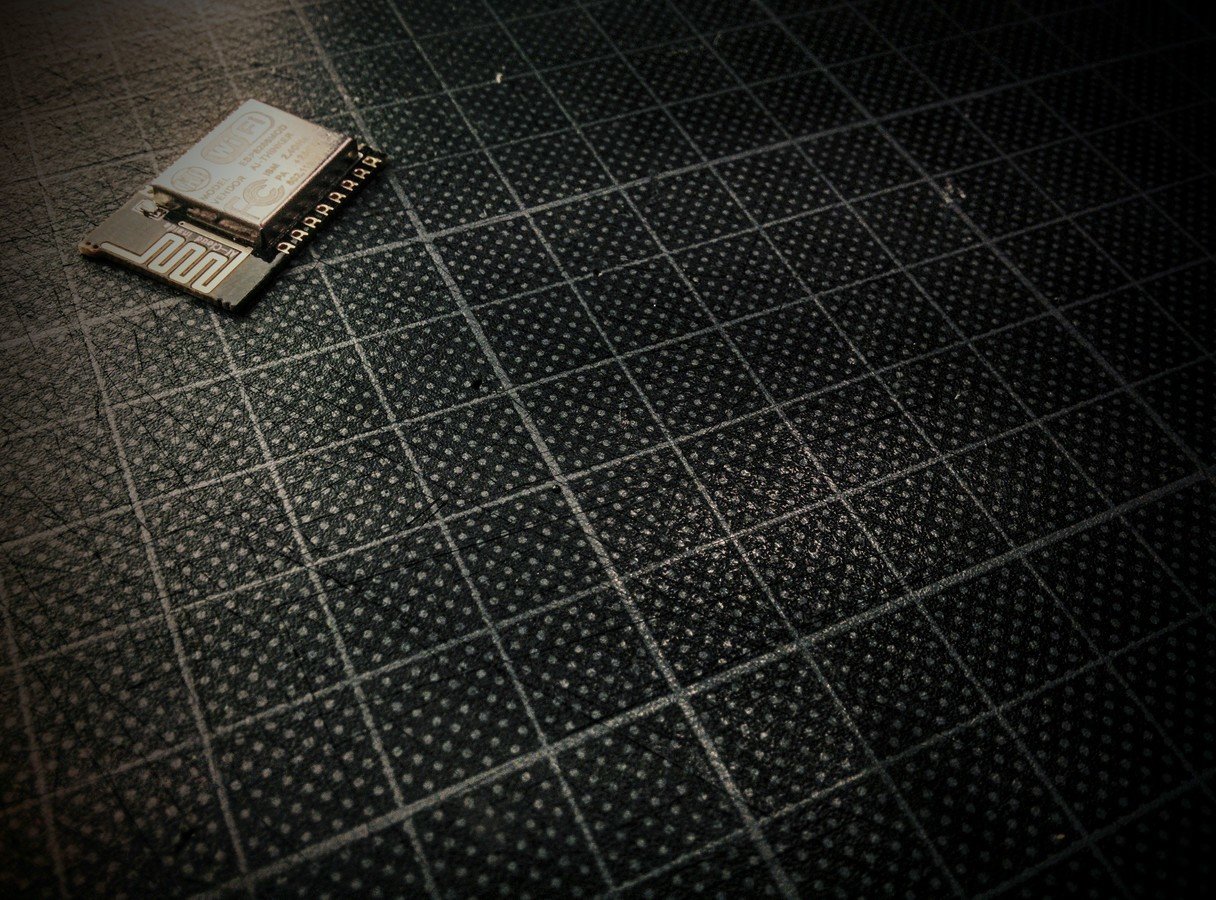
- extremely cheap (~12€ for 5pcs)
- put them into anything and leave it there
- 80MHz CPU / 160kB RAM / 4MB Flash
- already runs a Lua interpreter
- iot.js and duktape could make JS possible
PLEASE MAKE THIS HAPPEN! <3

nodemcu
-- configure the wifi-module as network-client
wifi.setmode(wifi.STATION);
-- set SSID and passphrase and connect
wifi.sta.config("networkSSID",
    "correct horse battery staple!");
wifi.sta.connect();

-- after a few seconds, we have an IP from DHCP
print(wifi.sta.getip());connect to a network
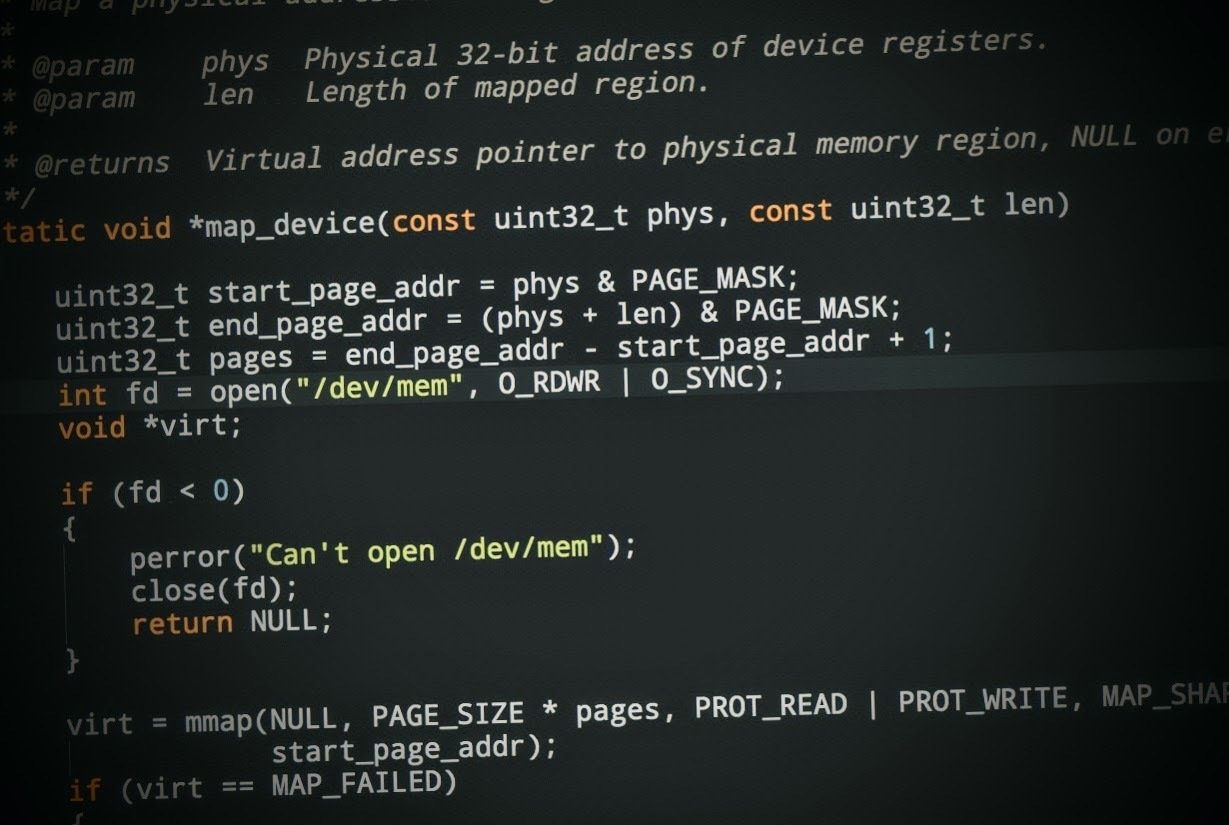
-- handle HTTP post-requests for /sockets
urest.post('^/sockets', function(req, params, body)
    local data = cjson.decode(body);

    if data.state == 1 then
        gpio.write(GPIO_PIN[data.socket], gpio.HIGH);
    else
        gpio.write(GPIO_PIN[data.socket], gpio.LOW);
    end

    return { success = 1 };
end)
handle HTTP-requests
ESP8266 firmware running a Lua interpreter
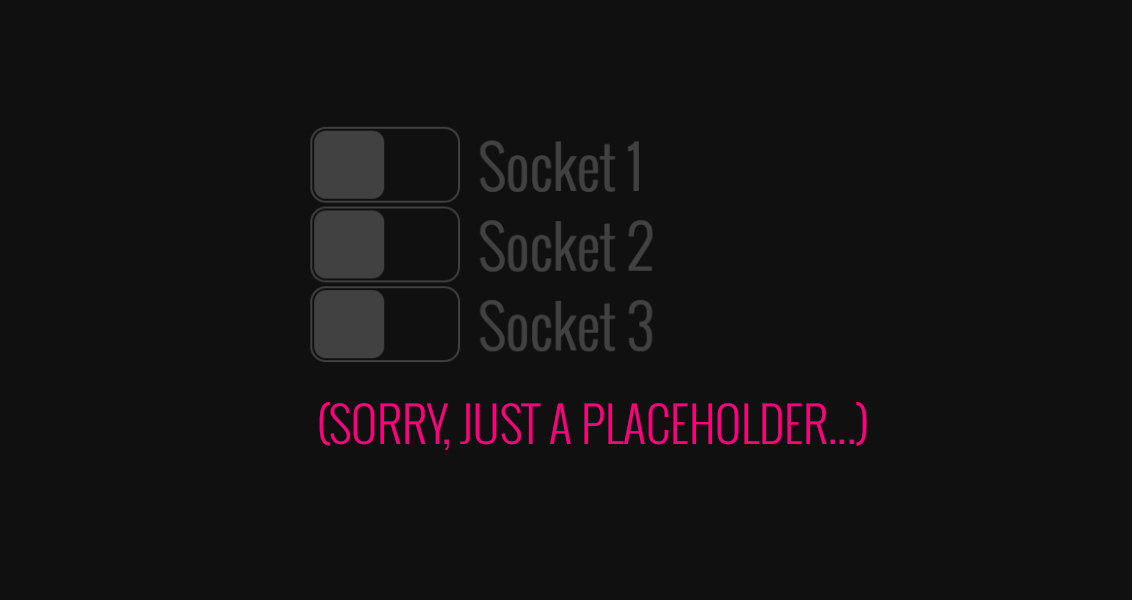
DEMO
let requestBody = {
  socket: 1,
  state: 1
};

request({
  method: 'POST',
  url: 'http://powerstrip.jsconf/sockets',
  json: true,
  body: requestBody
});
switch all the things using HTTP
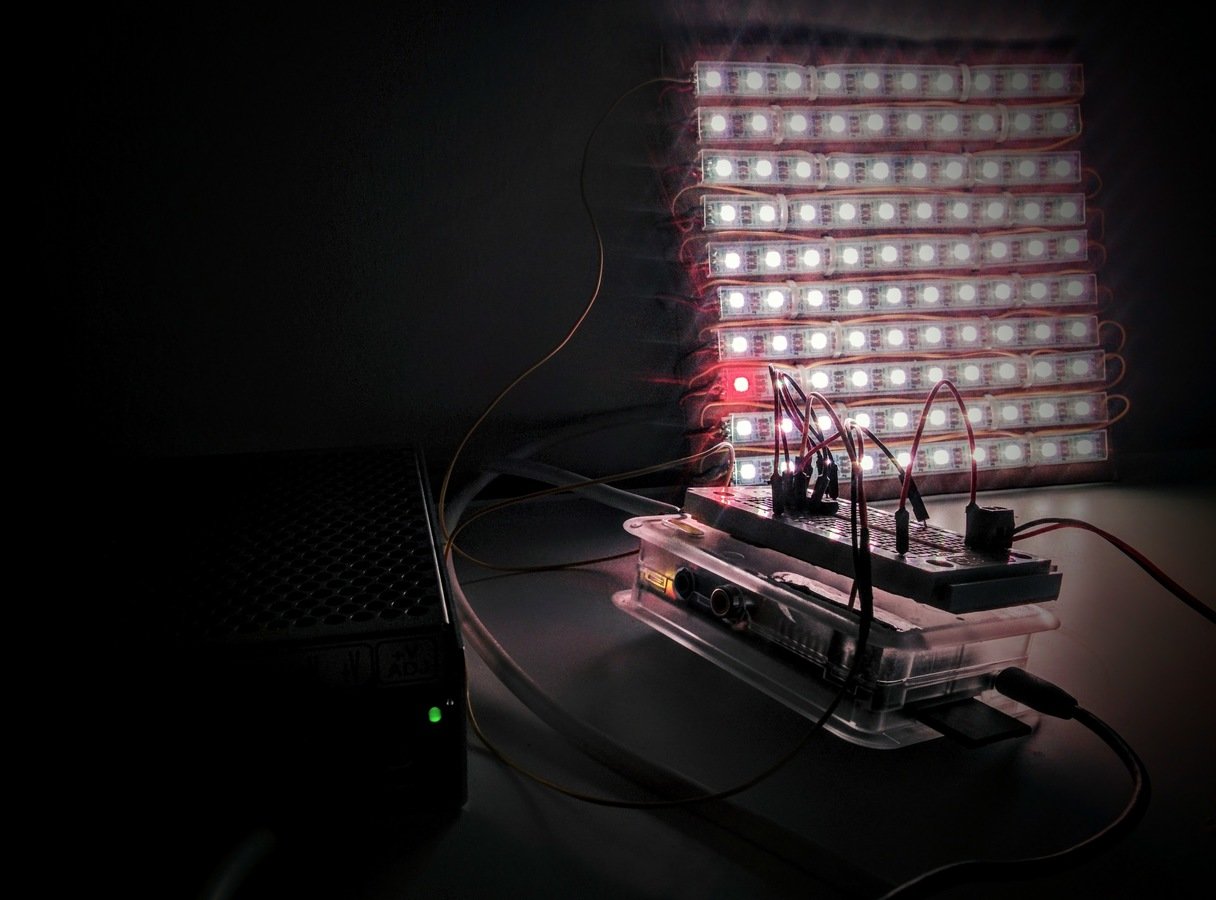
LEDs
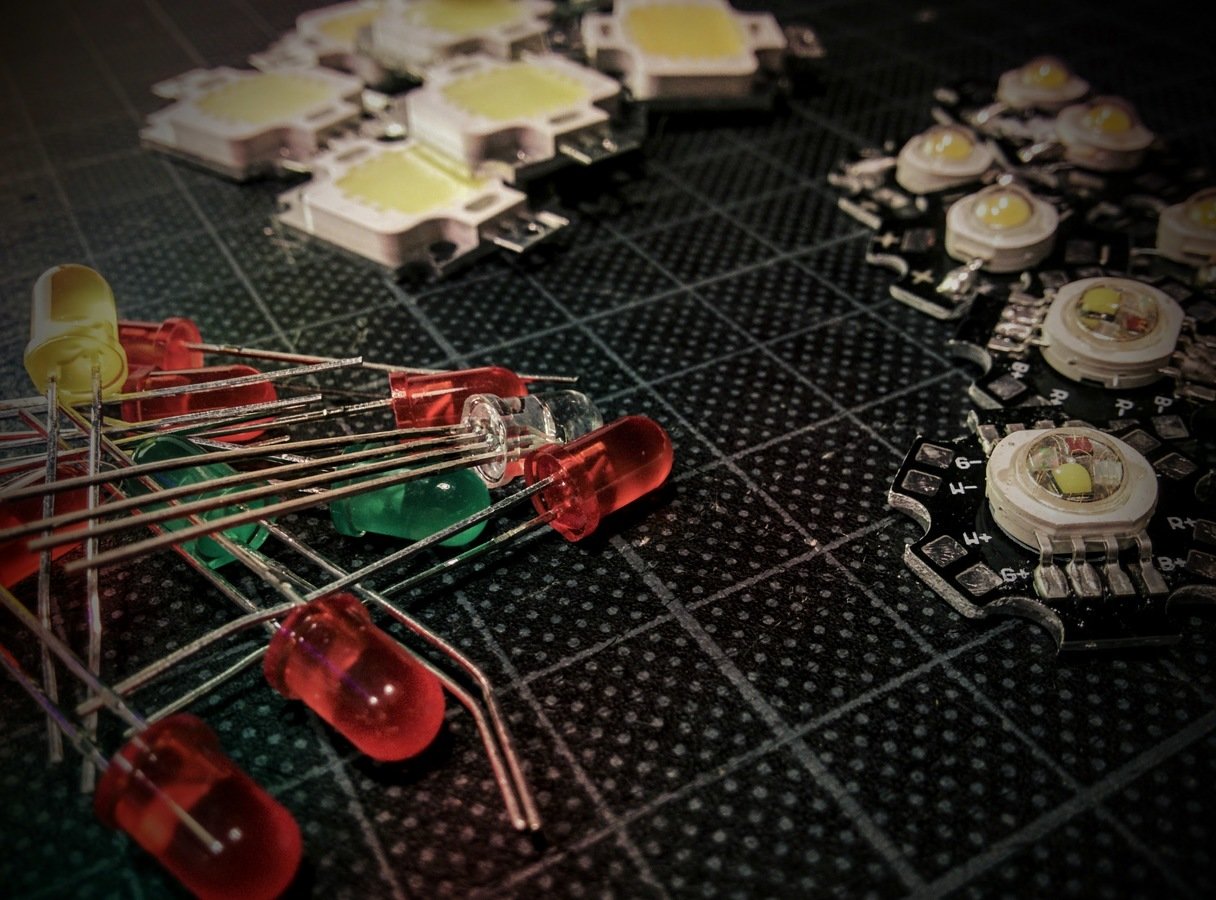
monopixel

Dimming LEDs
Dimming LEDs
just turn it off and on again...
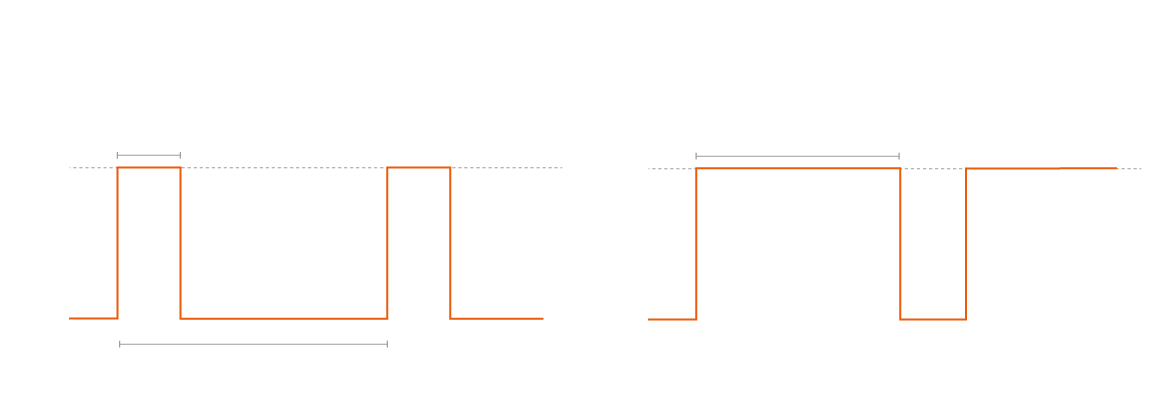
PWM (pulse-width modulation)
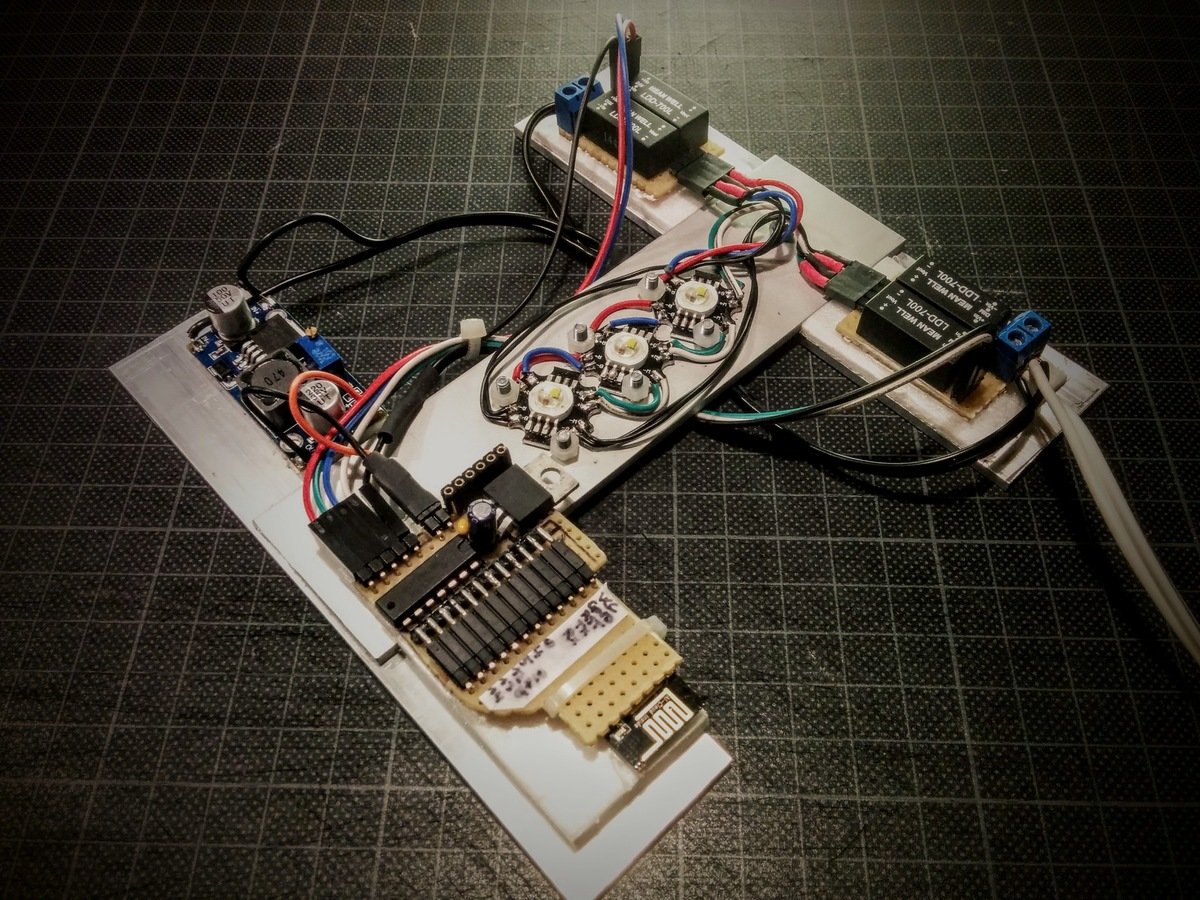
ESP8266-Module
(Wifi & Control)
12W RGBW-LEDs
5V Power-Supply
LED Power-Supplies
(1 per channel)
Internals
OpenPixelControl
a simple TCP message format to control RGB-LEDs
(0x00 == setPixelColors)
(RGB, 3 byte per pixel)
Direct Control
websocket to server, server sends opc-messages
more LEDs
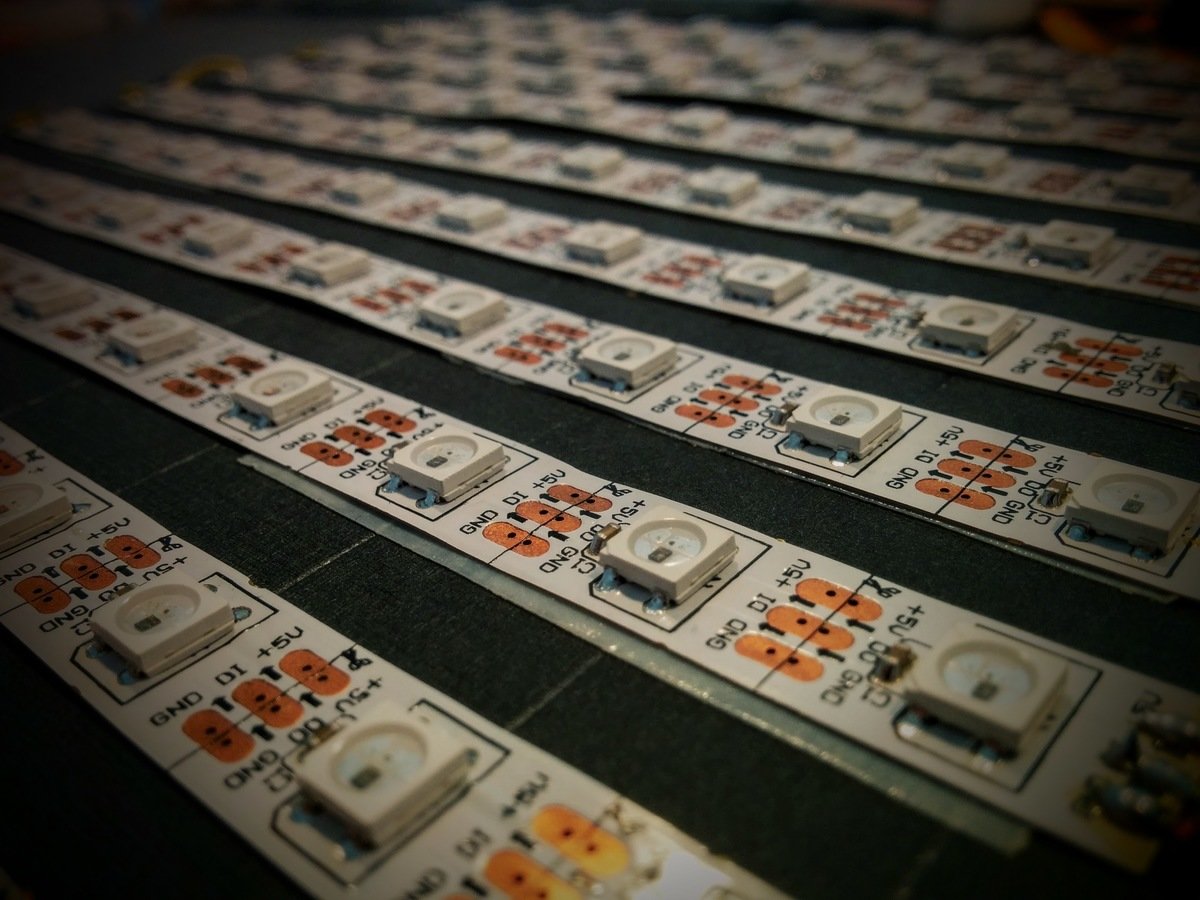
ws2812
aka Neopixel
- tiny RGB-LEDs
- independently addressable
- controlled with a special data-signal that transports the color-data
(image by atnel.pl, source http://sklep.atnel.pl/pl/p/WS2812B-TASMA-RGB-W-0,5m/98)
rpi_ws281x
- C-library written by Jeremy Garff
- does a lot of complicated things with the CPU so we don't have to
rpi-ws281x-native
- node addon written in C++
- glue-code to make C-API usable from node.js
- learned a lot about V8 that way
export default ws281x = {
    init(numLeds, options) { … },
    /** @param {Uint32Array} ledData */
    render(ledData) { … },
    reset: function() { … }
};so we have an array of numbers
...but how to draw lines, circles, text, images?
<canvas>
- 10x10 pixel canvas-element
- just convert CanvasPixelArray to Uint32Array
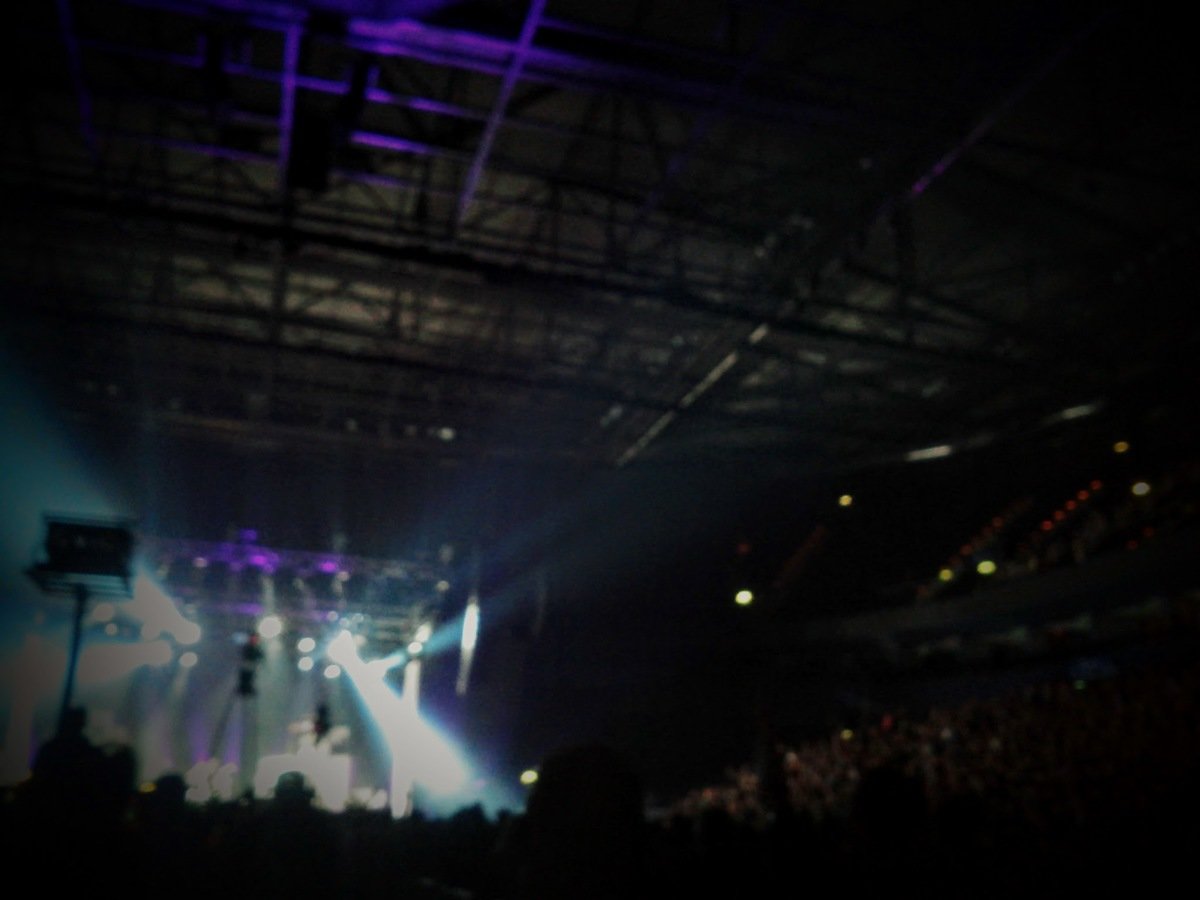
Professional lighting
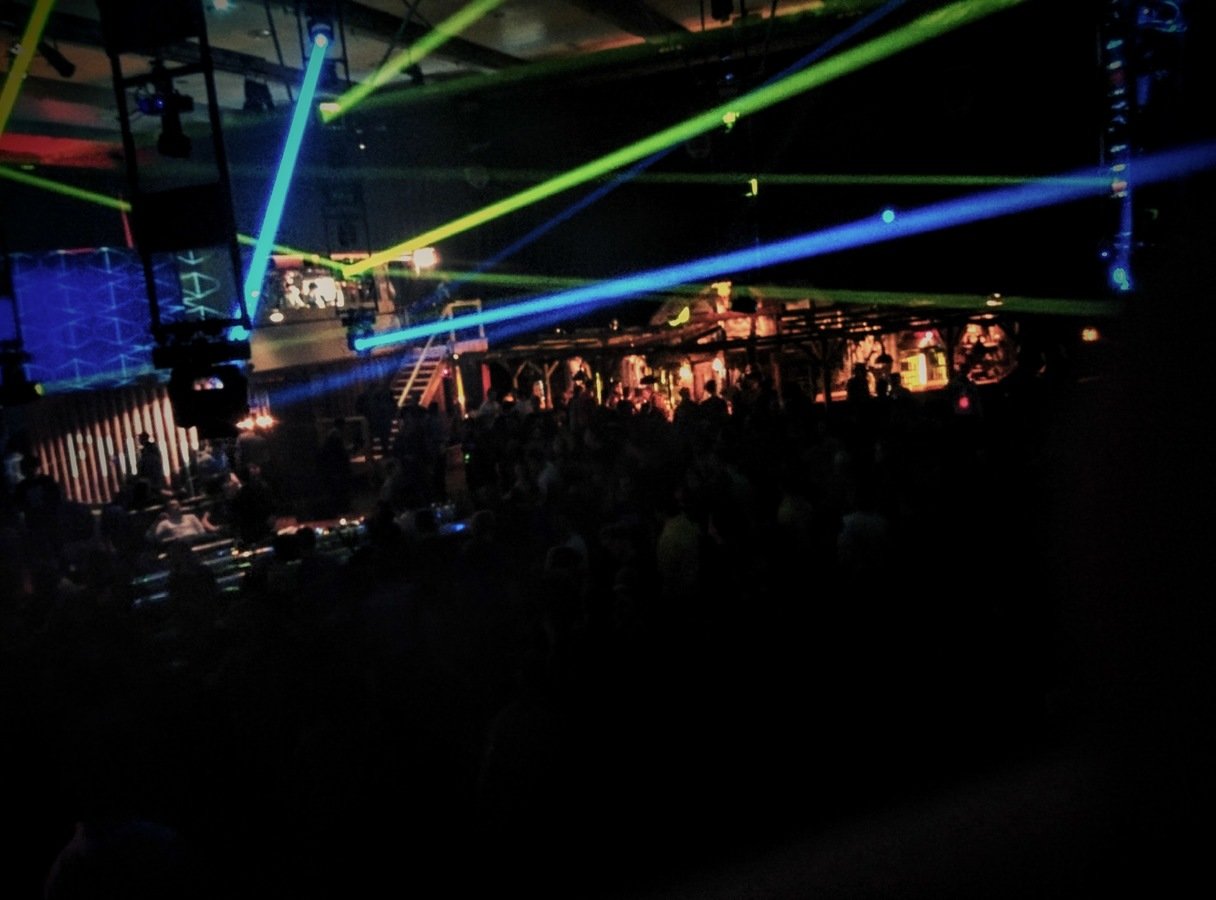
moving head spotlights

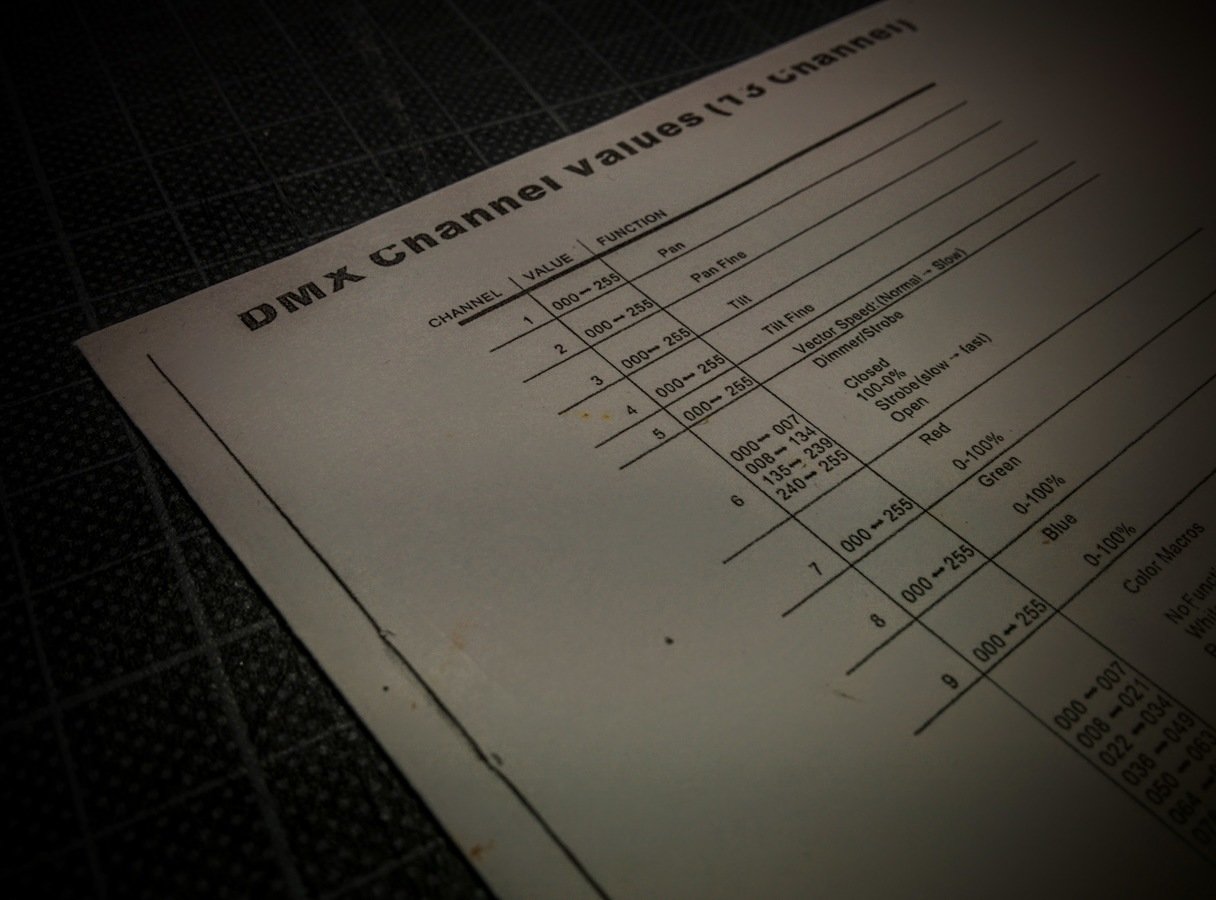
DMX512
- protocol to control stage-equipment
- one sender, multiple receivers
- 512 Channels with 1 Byte each
- full state is sent with up to 45 FPS
- fixed addresses + multiple channels
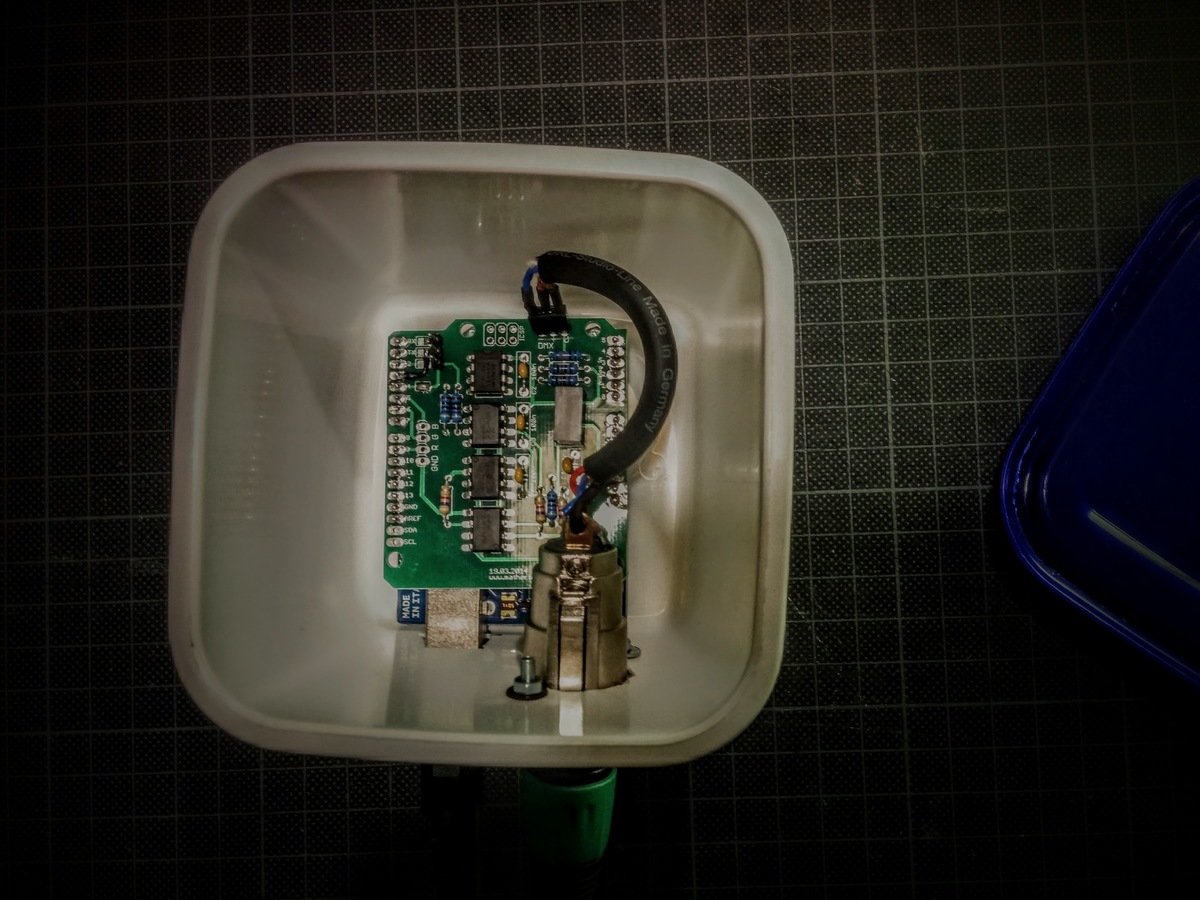
DMX-Interface
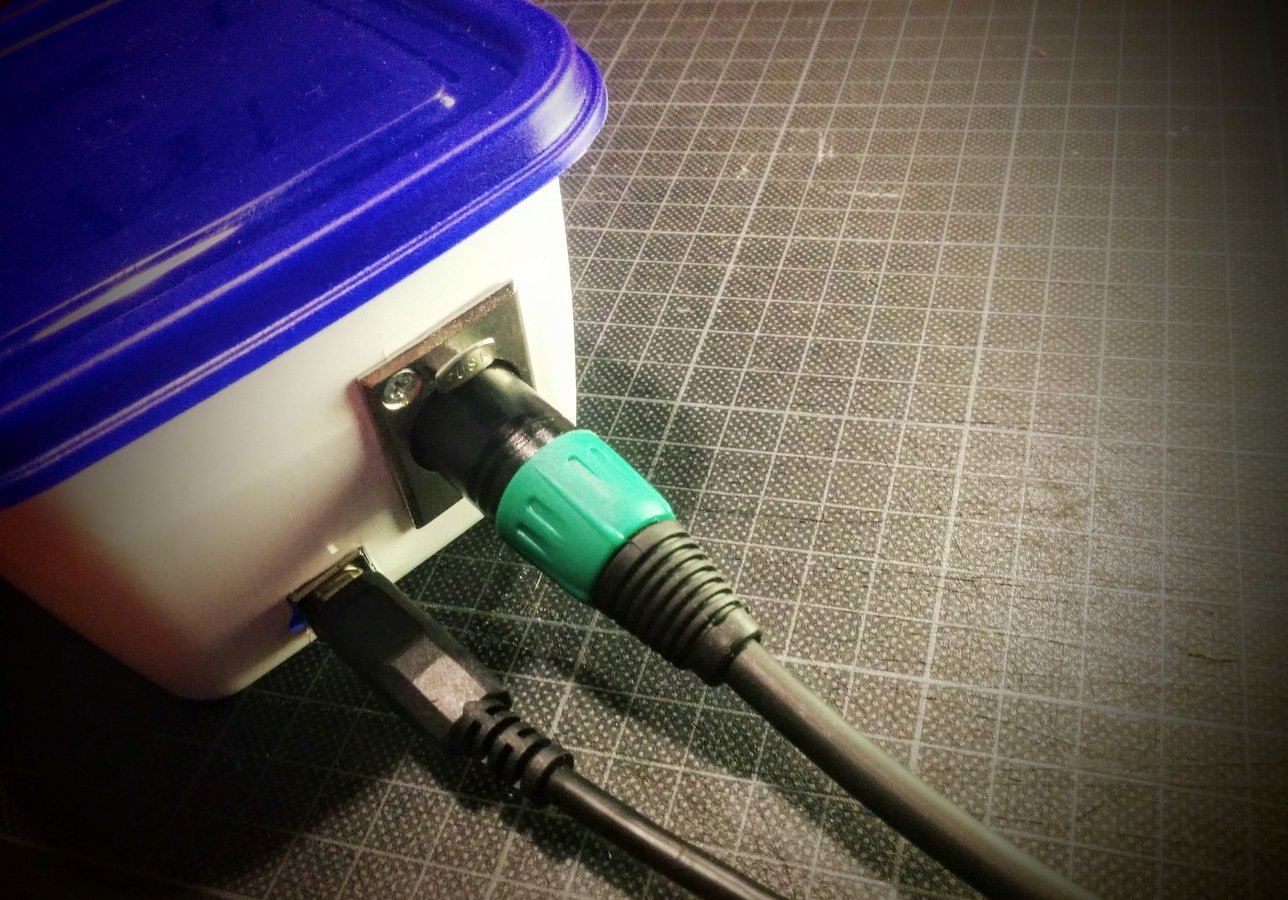
- Arduino UNO as USB-Interface
- some more electronics to generate DMX-Signal
DMX-Driver
import {SerialPort} from 'serialport';
import DmxSerialDriver from '../lib/transport/DmxSerialDriver';

// create the driver for the serial protocol of the dmx-interface
const driver = new DmxSerialDriver(new SerialPort('/dev/cu.usbmodem1411', {
  baudRate: 115200
}));

// create the buffer to hold the values for all dmx-channels
const dmxBuffer = new Buffer(512);

// ... set dmx-values

driver.send(dmxBuffer);
Convert DMX-buffer into the protocol used by the USB-Interface
let base = 420; // device base-address (channel 421)

dmxBuffer[base + 0] = 128; // pan center
dmxBuffer[base + 2] = 128; // tilt center

dmxBuffer[base + 5] = 8; // dimmer: full brightness
dmxBuffer[base + 6] = 255; // color: full red
dmxBuffer[base + 7] = 0; // color: no green
dmxBuffer[base + 8] = 255; // color: full blue
setting values
- vendor and device-specific channel-mapping
- some features use multiple channels
- some channels control multiple features
let's build an abstraction so we can stop thinking about byte-values, channels and array-indices.
once again an array of numbers
DmxDevice API
let device = new DmxDevice(421, paramDefinitions);

// values for motion in degrees
device.pan = 90;
device.tilt = 45;

device.dimmer = 1; // values [0..1] for most properties
device.color = 'magenta'; // css-color-value for RGB and CMY- hides vendor-sepcific channel-mappings
- provides format-conversions (degrees, colors, ...)
- getters/setters directly accessing DMX-buffer
Object.defineProperty() <3
let's scale that up a little.
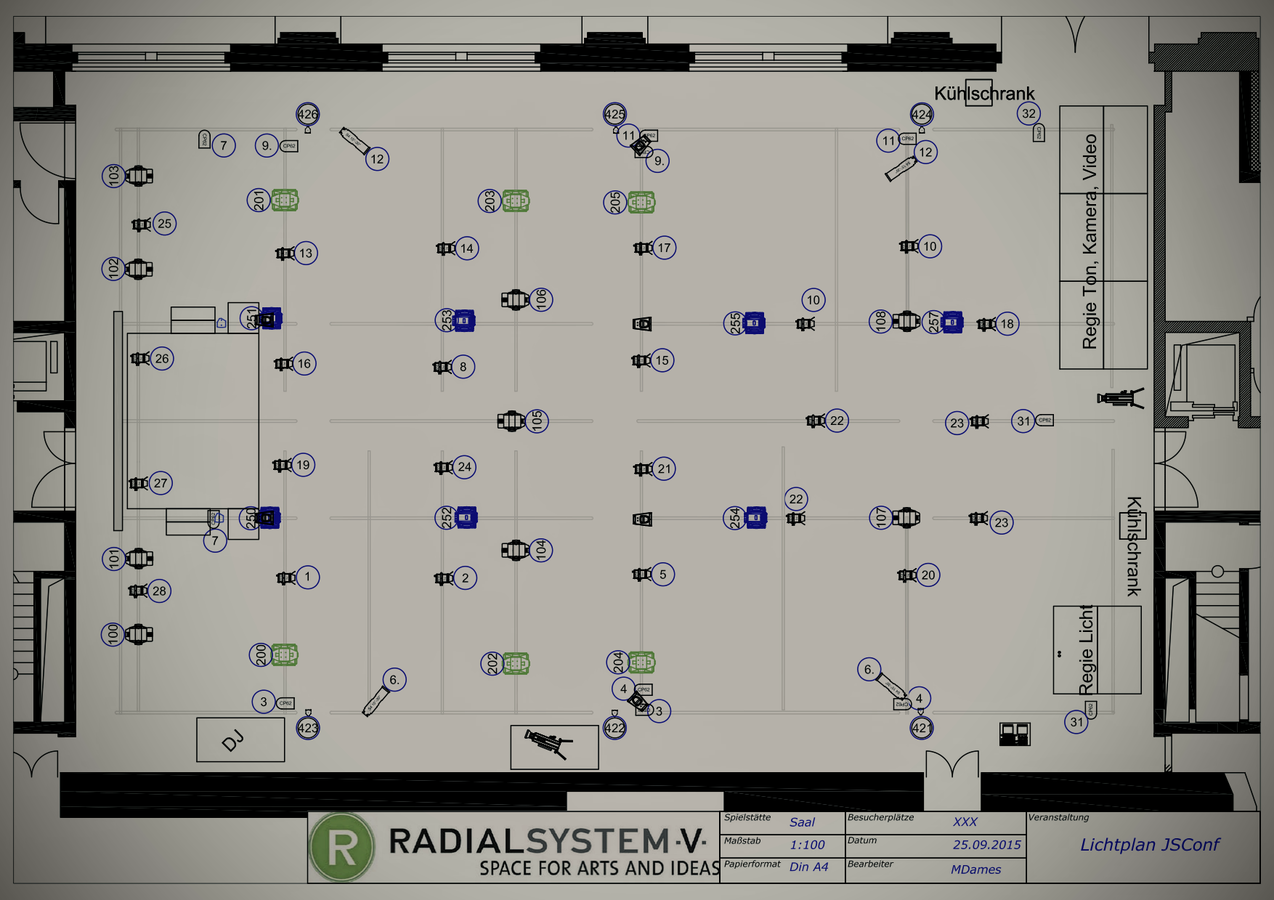
I got the lighting schedule for the conferences...
but there's even more
- there are quite a lot of different settings
- I need to stay sane editing them
- So we need things like default-values, inheritance of settings and a simple syntax
css to the rescue
pretend dmx-params were css-properties
// define default-values for all devices...
* {
    pan: 0; tilt: 0;
    dimmer: 0; shutter: open;
    color: white;
}

// ...or just a specific subset of devices.
.spot {
    focus: .43;
    zoom: 0;
}

// define a light-setting to point a spot
// on the mirrorball
.spot-on-mirrorball .spot.front.left {
    pan: -48deg;
    tilt: -78.5deg;
    color: white;
    dimmer: 1;
    iris: 1;
}
let dmxOutput = new DmxOutput(…);
let cueLoader = new CssCueLoader(dmxOutput);
dmxOutput.start(20);
cueLoader.loadCss(fs.readFileSync('styles.css'));
cueLoader.setCue('.spot-on-mirrorball');just load the css-file and set a light-scene to run.
- uses rework to parse css
- "computed style" results from applying all properties in reverse specificity-order
finally...
- codemirror-editor for scss-code
- send scss to server
- compile to css with node-sass
- throw at lighting-css engine, see what happens
what's next?
- that CSS-idea seems to actually work
- implement transitions, animations
- wire it up with other protocols, so i can write css for the light in my home.
Thank you so much.
You'll find me at the party :)
Martin Schuhfuss | m.schuhfuss@gmail.com | @usefulthink
Let there be light! – jsconf.eu 2015
By Martin Schuhfuss