Intro to Shiny

Outline
Git Collaboration Review
Reading R Scripts into R
Building Applications
Intro to Shiny
{git collaboration review}
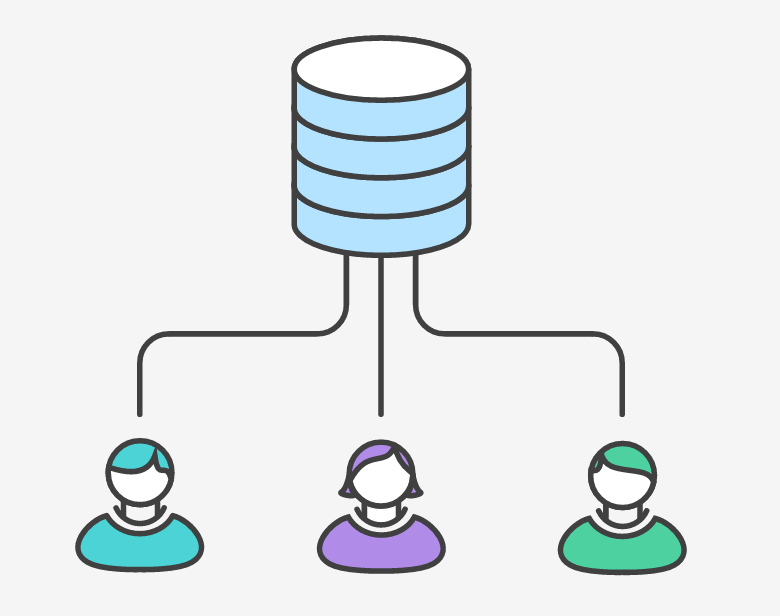
Centralized Workflow
Only one remote repsository
Don't fork! (only clone)
Remote (GitHub) is truth
One (of many) workflow structures

Remote
Person 1
Person 2
clone
clone
commit
commit
push
commit
push
Remote
Person 1
Person 2
clone
clone
commit
commit
push
commit
push
pull --rebase
Rebasing: step by step
Pull in remote changes
Manually resolve conflict in the file
Run git add to add changes to the rebase
Continue with the rebase (no need to commit)
# Put your changes on top of the remote changes
git pull --rebase
<<<<<<< HEAD # delete this non-sense!
# Keep relevant comments and code
x <- 7
# Add any/all edited files
git add .
# Continue through rebase, then push changes to GitHub
git rebase --continue
git push origin masterI suggest..
# When you sit down to do work, pull down changes.  --rebase shouldn't matter here
git pull --rebase origin master

# Do some work.  Some great work!

# Add and commit your work.  Make sure messages are clear, and close issues.
git add .
git commit -m "Specific message that can close issues"

# Push your changes up to GitHub (the origin)
git push origin master

### If you get an error (b/c someone else has pushed), pull in changes w/ a rebase:
git pull --rebase origin master

# Open up files and edit them, removing >>>>, =====

# Add changes to the rebase
git add .

# Continue the rebase, no need to commit!
git rebase --continue

# After the rebase, push your changes to GitHub
git push origin master
Resolving merge conflicts
Merging branches
# Make and checkout new branch
git checkout -b super-hungry

# Make some changes to your file, then add and commit
git add .
git commit -m "Added super-hungry fav. food"

# Switch back to master branch
git checkout master

# Make some changes, then add and commit
git add .
git commit -m "Made changes to master"

# Merge in changes from super-hungry branch
git merge super-hungry

# Resolve the conflict MANUALLY in the file, then add and commit
git add .
git commit -m "Merged in super-hungry branch"
{reading files into R}
Reading in Scripts
Keep code organized
Facilitate easier collaboration
Makes code more modular
Will need to do this to build applications
The `source` function
Read R Code from a File or a Connection:
"source causes R to accept its input from the named file or URL or connection. Input is read and parsed from that file until the end of the file is reached, then the parsed expressions are evaluated sequentially in the chosen environment."
# Read in and evaluate code in another R script
source('file-name.R')
The `source` function

# Function to build a map
build_map <- function(data) {
    # Make a map and return it
    my_map <- plot_ly(data, ....)
    return(my_map)
}
# Read in map function from build_map.R
source('scripts/build_map.R')
# Read in data from some source
my_data <- read.csv('data/data.csv')
# Make map
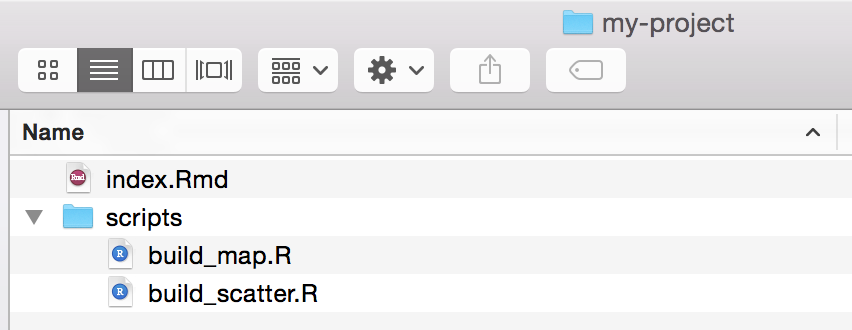
build_map(my_data)build_map.R
index.Rmd
{building applications}
Building Applications
Systems with multiple connected components
Often span different programming languages/environments
React to user input
Super fun to build
What we've been doing

create an HTML file
publish on the web

But what if....

create an HTML file
publish on the web

The website changed analysis in R
That's the plan....

Shiny (local)


Browser passes information back to R
A local server that passes information between your RStudio session and a browser
Shiny server builds a web page based on R output
shinyapps.io


Browser passes information back to R
A free cloud-based server that passes information between an RStudio session and a browser
Shiny server builds a web page based on R output
all of this happens on a server somewhere else
Shiny Structure
ui.R: a script that controls the user-interface layout
server.R: the instructions for R required to build the app
Need both files saved in the same directory to run app
ui.R
library(shiny)

# Define UI for an application that has a title
shinyUI(

    # Specify a fluidPage layout (most common)
    fluidPage(

        # Create a title in your fluidPage
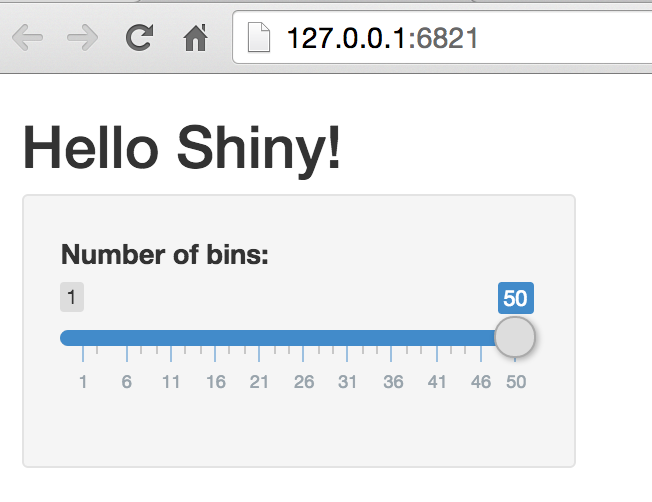
        titlePanel("Hello Shiny!")
     )
)
server.R
library(shiny)

# Code to be executed by the shiny server
shinyServer(function(input, output) {
    # input: information passed from the UI into the R session

    # output: objects passed from R session back to the server

    # Leaving this blank for now

})
Run shiny-example application

Building a histogram
# In your R session
x <- rnorm(100)
hist(x)
Building a histogram: server.R
# server.R
library(shiny)

shinyServer(function(input, output) {

  # Create a histogram property of the output
  output$histogram <- renderPlot({

    # Use shiny's renderPlot function to render a plot
    x <- rnorm(100)
    return(hist(x))
  })
})
Building a histogram: ui.R
library(shiny)

# Define UI for application that draws a histogram
shinyUI(
  # Create a fluid page layout
  fluidPage(

    # Application title
    titlePanel("Hello Shiny!"),

    # Create a mainPanel of the app
    mainPanel(

      # Plot the output with the name "histogram"
      plotOutput('histogram')
    )
  )
)
{checkout simple-hist branch}
Building a reactive histogram: ui.R
library(shiny)

# Define UI for application that draws a histogram
shinyUI(
  fluidPage(
    # Application title
    titlePanel("Hello Shiny!"),

    # Create a mainPanel of the app
    mainPanel(
      # Add a numbericInput to choose the number of observations
      numericInput("num", label = "# observations", value = 100),

      # Plot the output with the name "histogram"
      plotOutput('histogram')
    )
  )
)
Building a reactive histogram: server.R
library(shiny)

shinyServer(function(input, output) {
  # Create a histogram property of the output
  output$histogram <- renderPlot({
    # Use shiny's renderPlot function to render a plot

    # Get the number of observations from the UI
    x <- rnorm(input$num)
    return(hist(x))
  })
})
{checkout interactive-hist branch}
{exercise-2}
Assignments
Assignment-7: Collaborative coding (due Wed. 2/24). Turned in by 1 person, worth 50 points
Final Project: Proposal(due Wed. 2/24). Turned in by 1 person, worth 50 points
shiny-intro
By Michael Freeman
shiny-intro
- 1,771


