


Marc Hauschildt
Web Technologies and Computer Software Development Instructor at Kirkwood Community College in Cedar Rapids, IA.
Lesson 1 - Setup Pet Clinic App. Deployment using Docker.
Lesson 2 - Create, Read, Update, Delete (CRUD) functionality.
Lesson 3 - Homepage with content from the database. Custom not found and error pages.
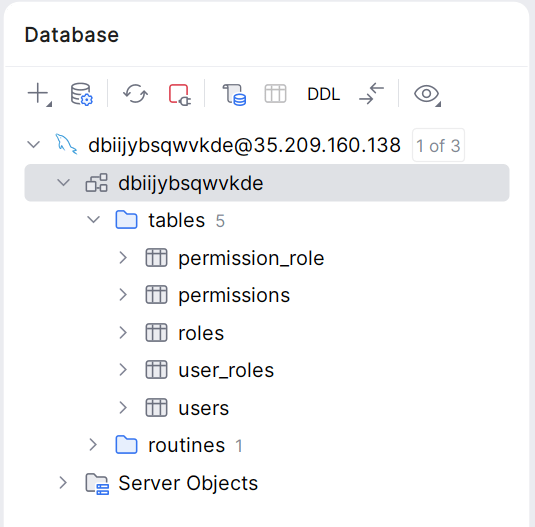
Lesson 4 - Users, roles, and permissions setup from Java 2. User Registration.
Lesson 5 - Login and logout. Cookies. User permission access.
Lesson 6 - Edit and delete user profile. Password reset.
Lesson 7 - Pagination. Filtering and limiting records by category.
Lesson 8 - Web Sockets.
Lesson 9 - Internationalization. Date and currency formatting.
Lesson 10 - Email and SMS messaging. Failed login attempts.
Lesson 11 - Shopping Cart. Payment processing.
# database init, supports mysql too
database=mysql
spring.datasource.url=${MYSQL_URL}
spring.datasource.username=${MYSQL_USER}
spring.datasource.password=${MYSQL_PASS}
# SQL is written to be idempotent so this is safe
spring.sql.init.mode=always
# This tells Spring to run the scripts found in the db folder
spring.sql.init.schema-locations=classpath:db/mysql/schema.sql
spring.sql.init.data-locations=classpath:db/mysql/data.sql
# JPA / Hibernate settings
spring.jpa.hibernate.ddl-auto=none
src/main/resources/application-mysql.properties
# database init, supports mysql too
database=mysql
full.jdbc.connectionstring=jdbc:mysql://YOUR_WEB_DB_HOST:3306/YOUR_DB_NAME?user=YOUR_DB_USERNAME&password=YOUR_DB_PASSWORD&sslmode=disabled
spring.datasource.url=jdbc:mysql://YOUR_WEB_DB_HOST8:3306/YOUR_DB_NAME?useSSL=true
spring.datasource.username=YOUR_DB_USERNAME
spring.datasource.password=YOUR_DB_PASSWORD
# SQL is written to be idempotent so this is safe
spring.sql.init.mode=always# This tells Spring to run the scripts found in the db folder
spring.sql.init.schema-locations=classpath:db/mysql/schema.sql
spring.sql.init.data-locations=classpath:db/mysql/data.sql
# JPA / Hibernate settings
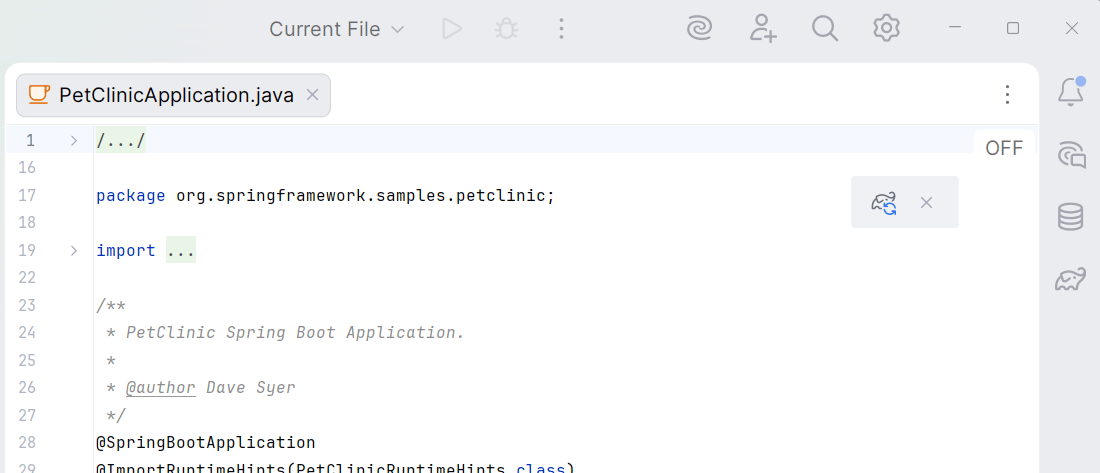
spring.jpa.hibernate.ddl-auto=nonespring.sql.init.mode=always, Spring Boot will attempt to run schema.sql and data.sql (located in src/main/resources/db/mysql) when the app starts.Dockerfile in the root of your project. Add the following.-x jar ensures only the executable "boot" jar is created, so the COPY command doesn't get confused by multiple files.# Stage 1: Build the application
# We use the full JDK image to compile the code
FROM mcr.microsoft.com/openjdk/jdk:17-ubuntu AS build
WORKDIR /app
COPY . .
# Gradle build command (skipping tests and plain jar creation)
RUN ./gradlew clean bootJar -x test -x jar
# Stage 2: Run the application
# Microsoft provides a lightweight runtime for deployment
FROM mcr.microsoft.com/openjdk/jdk:17-ubuntu
WORKDIR /app
COPY --from=build /app/build/libs/*.jar app.jar
EXPOSE 8080
ENTRYPOINT ["java", "-Dspring.profiles.active=mysql", "-jar", "app.jar"]docker login
docker build -t dockerhub-username/image-name:version-name .docker build -t mlhaus/petclinic:v1 .
-t tags the build. In Docker, a "tag" is like a sticky note on a specific version of your built files.docker run -p 8099:8080 image-nameOur passwords are currently written inside application-mysql.properties. If you push that image to Docker Hub, anyone can download your image and see your passwords.
We must remove the secrets from your code, rebuild the image, and then provide the secrets only when the container runs.
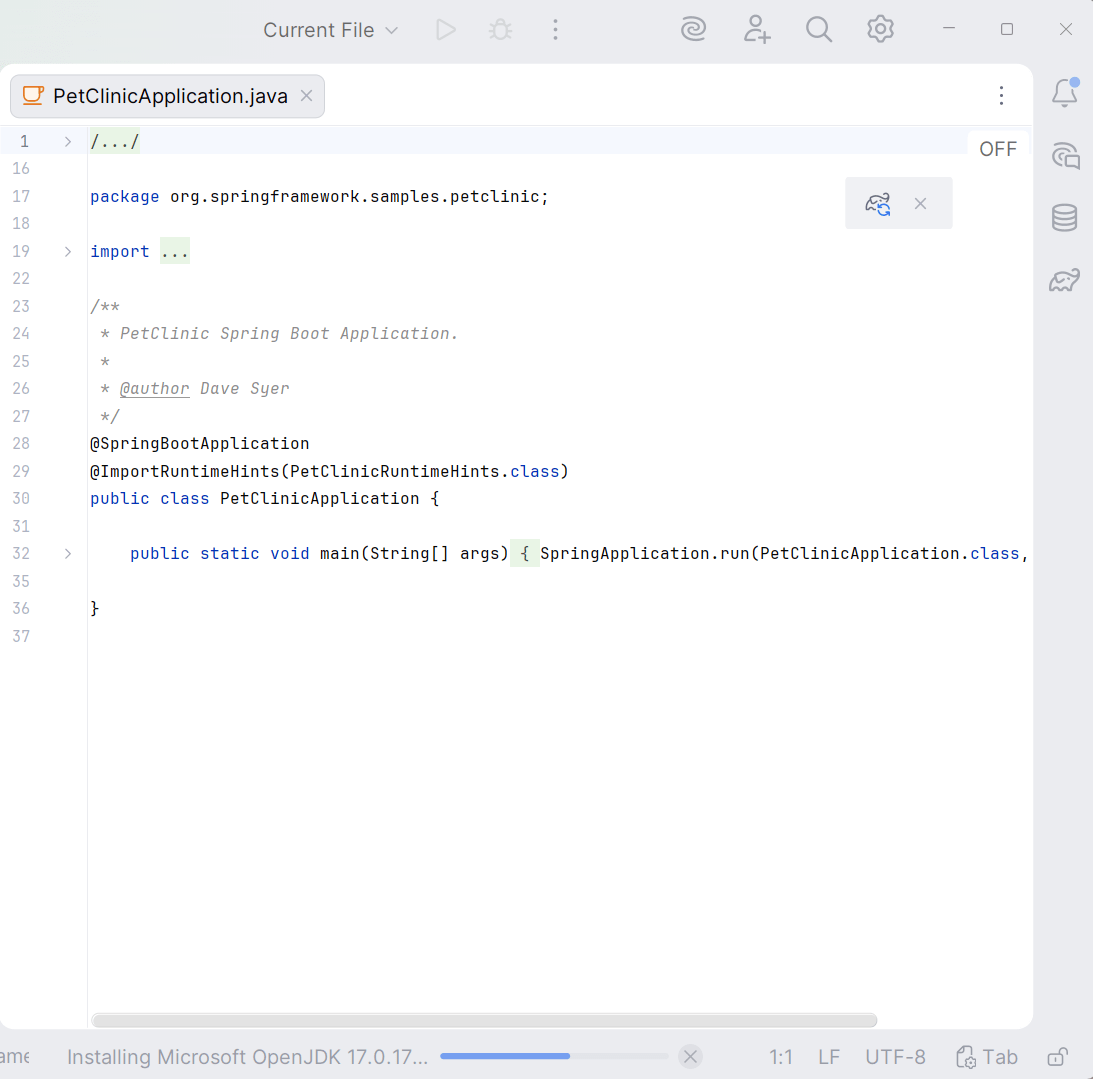
Open src/main/resources/application-mysql.properties.
Replace your hardcoded real passwords with Spring Boot placeholders.
Use MYSQL_PASS or MYSQL_PASSWORD consistently
spring.datasource.url=${MYSQL_URL}
spring.datasource.username=${MYSQL_USER}
spring.datasource.password=${MYSQL_PASS}When running the program the app will look for environment variables with those names. If it doesn't find one, it will fail.
Open the Edit Configurations window. Click "Modify options" and choose "Environment Variables".
Click the "Edit Environment Variables" button. Enter these variables and your values.

	MYSQL_URL

	MYSQL_USER

	MYSQL_PASS
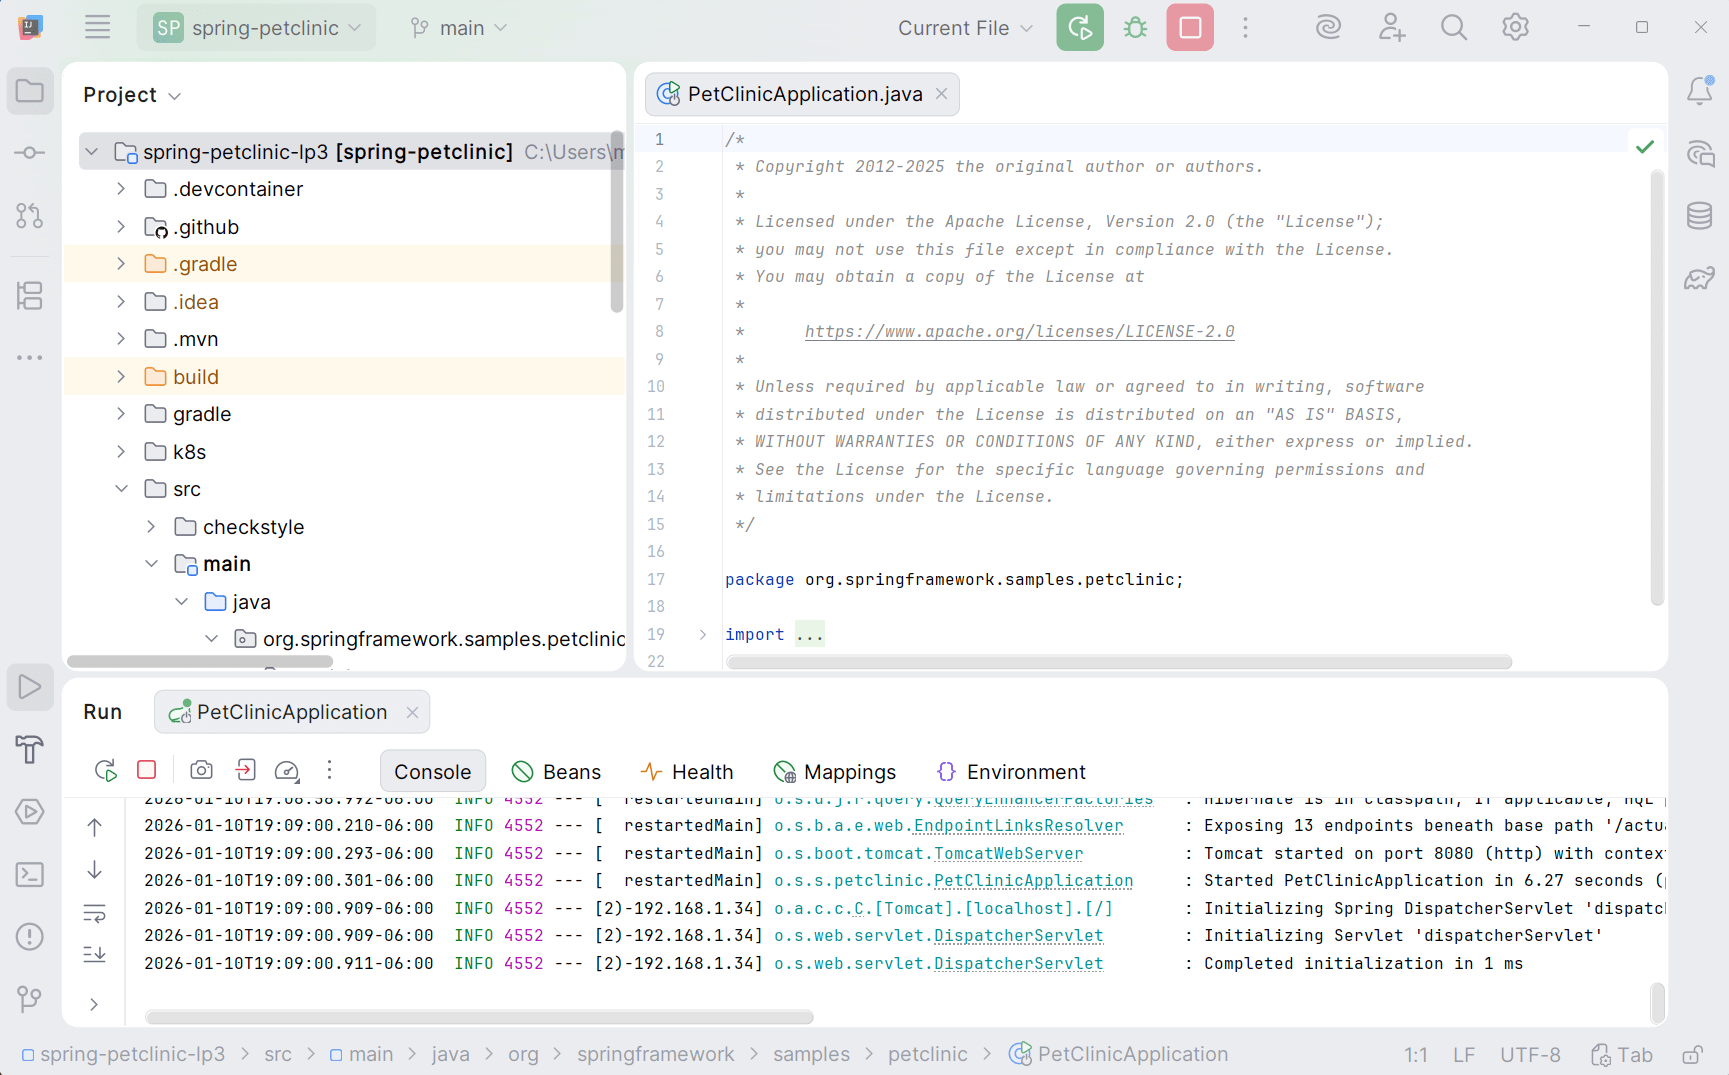
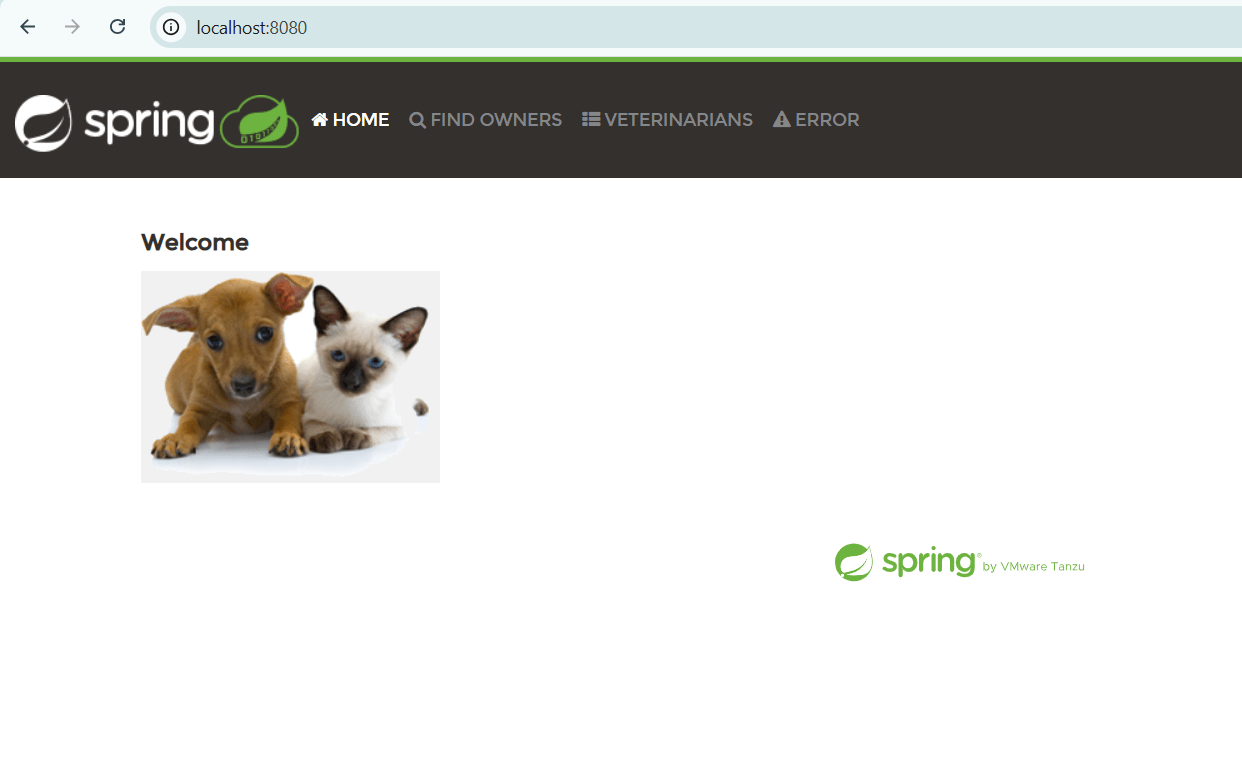
Run the program and visit http://localhost:8080
docker build -t dockerhub-username/image-name:version-name .
-e flag to inject the values for the placeholdersdocker run -p 8099:8080 `
-e MYSQL_URL="jdbc:mysql://your-db-host:3306/your-db-name?useSSL=true" `
-e MYSQL_USER="your-db-username" `
-e MYSQL_PASS="your-db-password" `dockerhub-username/image-name:version-name
docker push dockerhub-username/image-name:version-name
docker images
v1 over and over is fine. But for real deployments, it is better to increment the number so you can "roll back" if something breaks.
Build 1: docker build -t mlhaus/petclinic:v1 .
Build 2: docker build -t mlhaus/petclinic:v2 .
Build 3: docker build -t mlhaus/petclinic:v3 .
This way, if v3 has a bug, you can instantly tell your cloud provider to run v2 instead.
Avoid using the static :latest tag; use a unique tag (possibly a Git commit hash or timestamp) for proper tracking and deployment.
No Log Analytics workspace provided.
Generating a Log Analytics workspace with name "workspace-springpatriotthanksrgCNbO"
(RequestDisallowedByAzure) Resource 'workspace-springpatriotthanksrgCNbO' was disallowed by Azure: This policy maintains a set of best available regions where your subscription can deploy resources. The objective of this policy is to ensure that your subscription has full access to Azure services with optimal performance. Should you need additional or different regions, contact support.
Code: RequestDisallowedByAzure
Message: Resource 'workspace-springpatriotthanksrgCNbO' was disallowed by Azure: This policy maintains a set of best available regions where your subscription can deploy resources. The objective of this policy is to ensure that your subscription has full access to Azure services with optimal performance. Should you need additional or different regions, contact support.
Target: workspace-springpatriotthanksrgCNbO
This is what I used to ask Claude to help me find out the issue. The response included this:
This error is happening because your Azure subscription (likely a student/educational subscription) has a policy restriction that limits which regions you can deploy to. The eastus region isn't allowed for your subscription.
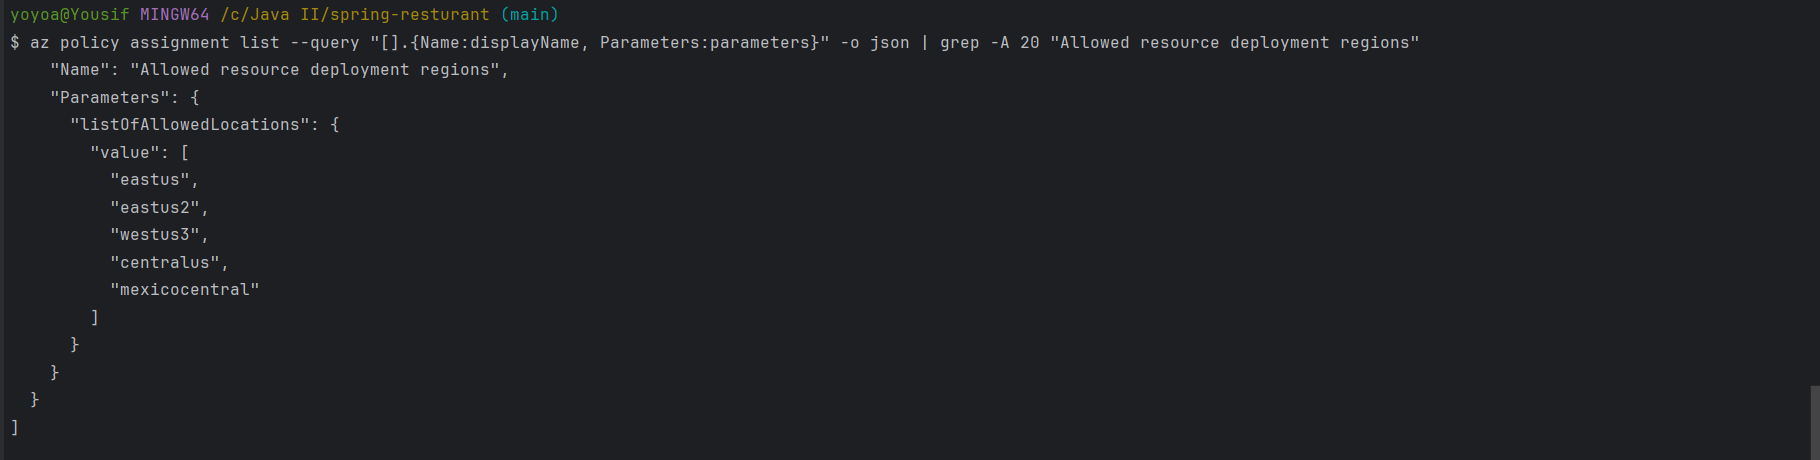
az policy assignment list --query "[].{Name:displayName, Parameters:parameters}" -o json | grep -A 20 "Allowed resource deployment regions"
No Log Analytics workspace provided.
Generating a Log Analytics workspace with name "workspace-favoritebooksrgoT5m"
(ResourceNotFound) The Resource 'Microsoft.OperationalInsights/workspaces/workspace-favoritebooksrgoT5m' under resource group 'favoritebooks-rg' was not found. For more details please go to https://aka.ms/ARMResourceNotFoundFix
Code: ResourceNotFound
Message: The Resource 'Microsoft.OperationalInsights/workspaces/workspace-favoritebooksrgoT5m' under resource group 'favoritebooks-rg' was not found. For more details please go to https://aka.ms/ARMResourceNotFoundFix
i am using westus because i tried eastus, eastus2, and centralus as well and they all had the same result, I made sure to delete and recreate the groups each time with the different location and nothing changed so not sure what to do
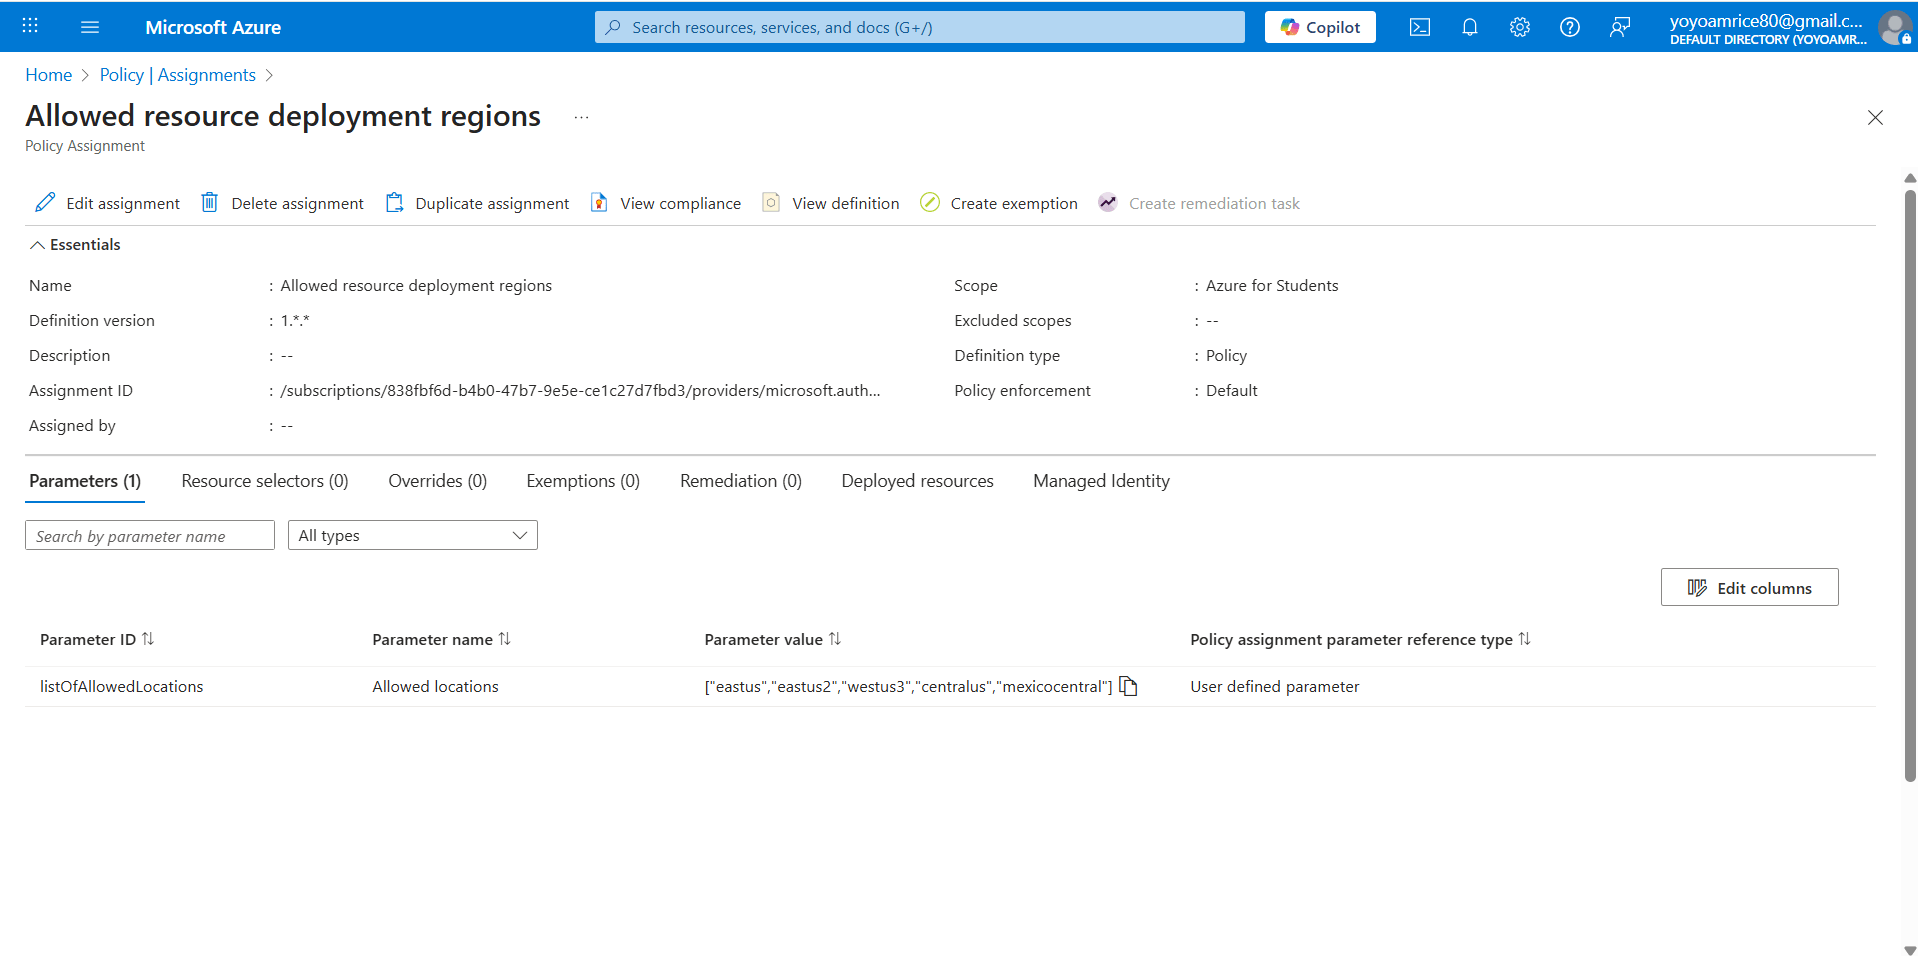
Azure for Students restricts deployment to a subset of regions for
cost control.
If available, click the Assignment named "Allowed resource deployment regions".
Examine the "Allowed locations" Parameter value for list of regions
The regions shown are the ones you are allowed to deploy resources to. Please create resources in one of these regions.
Regions in the screenshot may be different than yours.
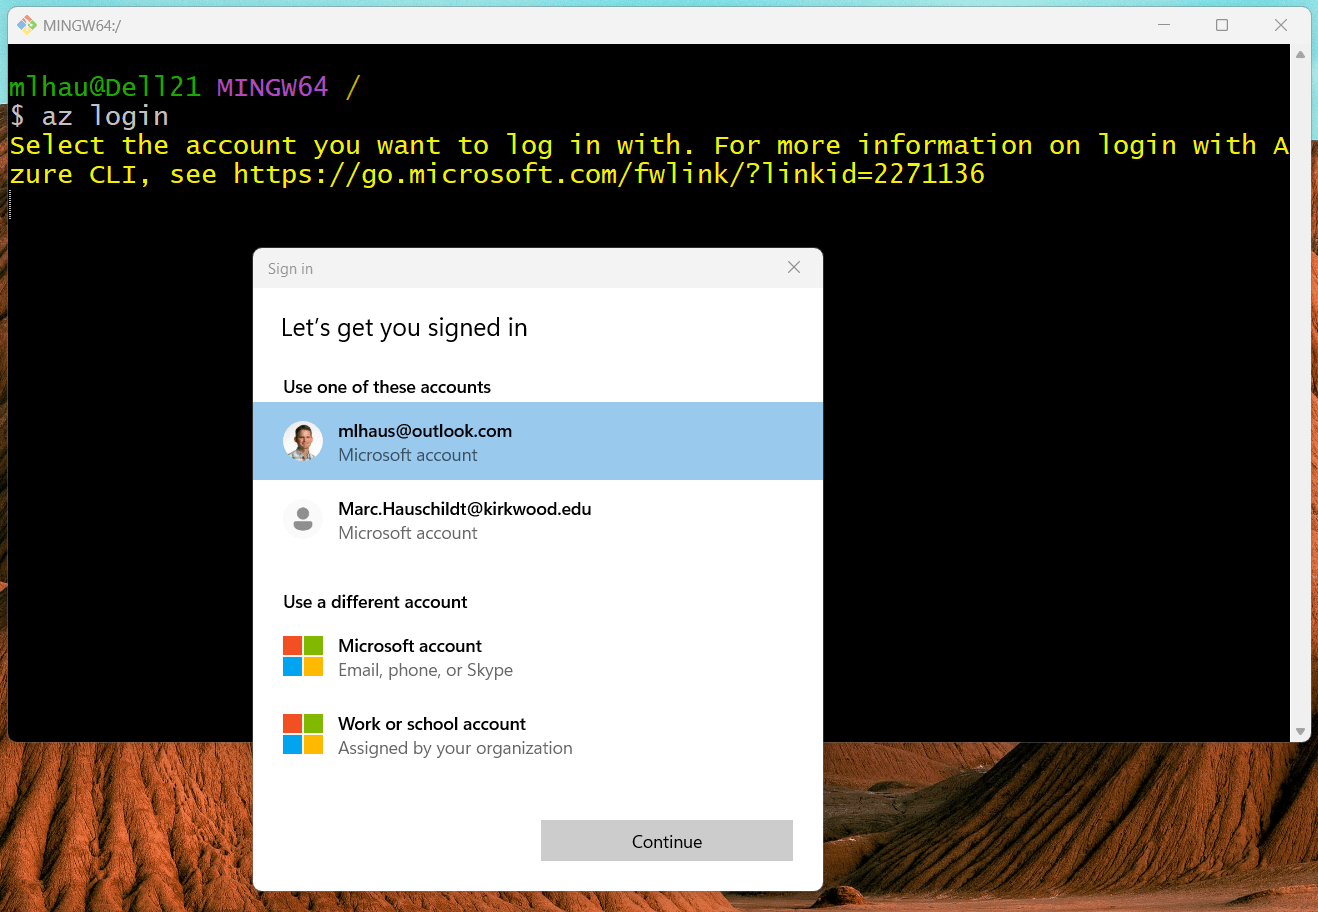
az policy assignment listaz policy assignment list --query "[].{Name:displayName, Parameters:parameters}" -o json | grep -A 20 "Allowed resource deployment regions"az login
project-name as you continue.az group create \
--name project-name-rg \
--location eastus2\ for Git Bash or a backtick ` for PowerShell.useast2 with northcentralus or an allowed location.az containerapp env create \
--name project-name-env \
--resource-group project-name-rg \
--location eastus2\ for Git Bash or a backtick ` for PowerShell.dockerhub-username and your actual DB details below. Read the next page before running.az containerapp create \
--name project-name-app \
--resource-group project-name-rg \
--environment project-name-env \
--image dockerhub-username/image-name:v1 \
--target-port 8080 \
--ingress 'external' \
--min-replicas 1 \
--env-vars MYSQL_URL="jdbc:mysql://your-db-host:3306/your-db-name?useSSL=true" MYSQL_USER="your-db-user" MYSQL_PASS="your-db-password"
--env-vars: We need to pass the environment variables so your app can connect to your MySQL database.--ingress 'external': Makes your app accessible via a public URL.
--target-port 8080: Tells Azure your container listens on port 8080 (standard for Spring Boot).
--min-replicas 1: Keeps at least one instance running (so it doesn't "sleep" or take 20 seconds to wake up). If you want to be purely free and don't mind the "cold start" delay, change this to 0.
After running the command, yellow text will display in the terminal with a URL like this:
https://project-name-app.redpond-578f1b00.eastus.azurecontainerapps.io/
You can deploy other petclinic apps from the Spring Community.
Run this command to see the status of the container:
az containerapp replica list \

	  --name project-name-app \

	  --resource-group project-name-rg
If RunningState is "Running", you are good to go!
If you changed min-replicas to 0 and don't like the cold start delay, set it to 1 with this command.
az containerapp update \

	  --name project-name-app \

	  --resource-group project-name-rg \

	  --min-replicas 1
Run this command to view the live log stream directly from your terminal.
az containerapp logs show \

	  --name project-name-app \

	  --resource-group project-name-rg \

	  --follow
containerapp extension if it’s not already there. Type Y and press Enter.Ctrl + C to stop the stream and return to your command prompt.Here is the cheat sheet for popular cloud services:
| Cloud Provider | Service to Use | Deployment Strategy |
|---|---|---|
| Microsoft Azure | Azure Spring Apps | Native Spring support. It can build the source directly or run your Docker image. |
| Google Cloud | Cloud Run | Serverless. Push image to Google Artifact Registry, then gcloud run deploy. |
| AWS | AWS App Runner | Easiest for single containers. Point it to your Docker Hub image, and it handles load balancing/SSL. |
| Heroku | Dynos | Use the Heroku CLI: heroku container:push web then heroku container:release web. |
| Digital Ocean | App Platform | Connect your GitHub repo; it detects the Dockerfile and deploys automatically. |
| Red Hat OpenShift | OpenShift Deployment | Use oc new-app pointing to your Docker image or Source-to-Image (S2I). |
By Marc Hauschildt


