Xerte Essential Training

Aim and Objectives
- What is Xerte
- Understand what Xerte can do
- Examples
- Development procedure
- Consider good practice in your context
- Get started using Xerte
- Where to find further help regarding Xerte
- Create your first Xerte learning object
The purpose of this training is to give you a comprehensive introduction to Xerte and a quick getting started guide on setting up your first project.
Xerte is an online tool that allows you to create interactive learning objects and webpages.
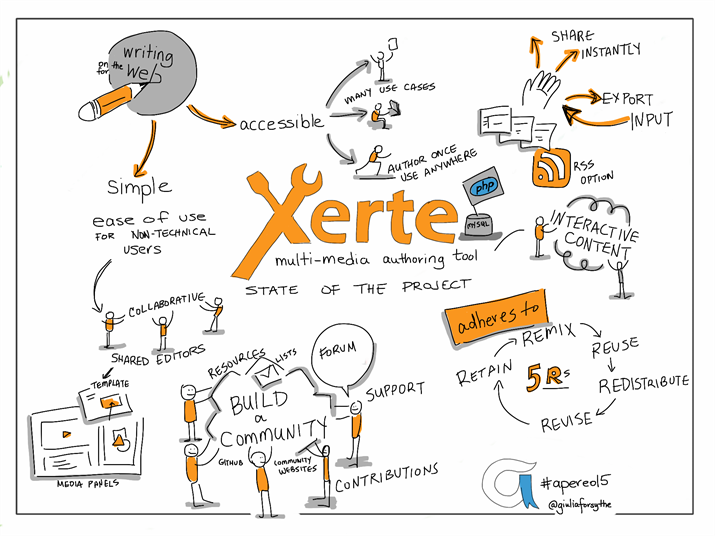
What is Xerte
2004 — 2018
The Story So Far
- Nottingham University
- Flash base visual editor
- Simple Form Templates
- Open source
- Communities began to grow
- HTML5 - based editor
-
Flipped & blended learning
-
Distance learning
-
Active learning activities
-
Reinforcing knowledge
-
Stimulating discussions
-
Microlearning
What could it be used for?
- Pre-sessional teaching
- Providing feedback
- Revision resources
- Resource banks
- Student projects
-
Free and open source
-
Available to all staff and students
-
Supported by the University
-
Easy to create learning resources
-
Collaborate authoring
-
HTML5
-
Accessibility
-
Instant updating
Why XERTE?
- Separation of content from runtime / delivery technologies
- Suitable for non-technical users as well as power users
-
SCORM and xAPI
-
69 page types (increasing)
-
Cardiff University Theme
You can use Xerte to...
- Create responsive webpages
- Introduce text in dynamic ways
- Upload and embed images
- Upload and embed audio and video
- Add hotspots to images
- Sync audio and video with text
- Create multi-media galleries
- Include interactive and non-linear navigation
- Create self-assessments with feedback
How Does It Work
Examples
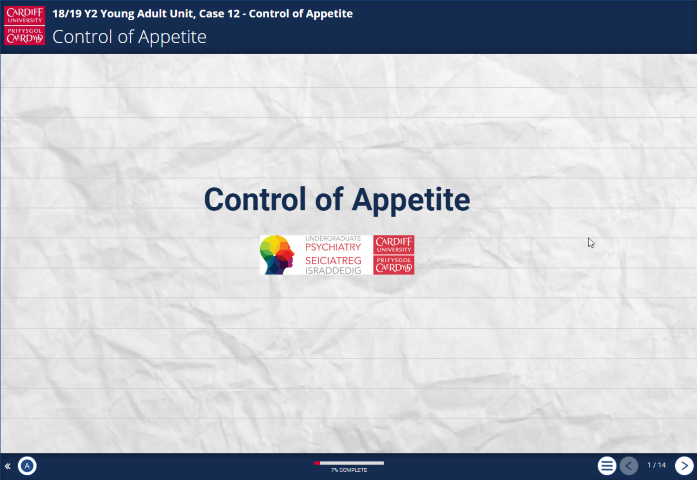
Teaching / Structured Flow
A structured teaching resource that combines presenting text and multimedia content with interactions to check knowledge.

Examples
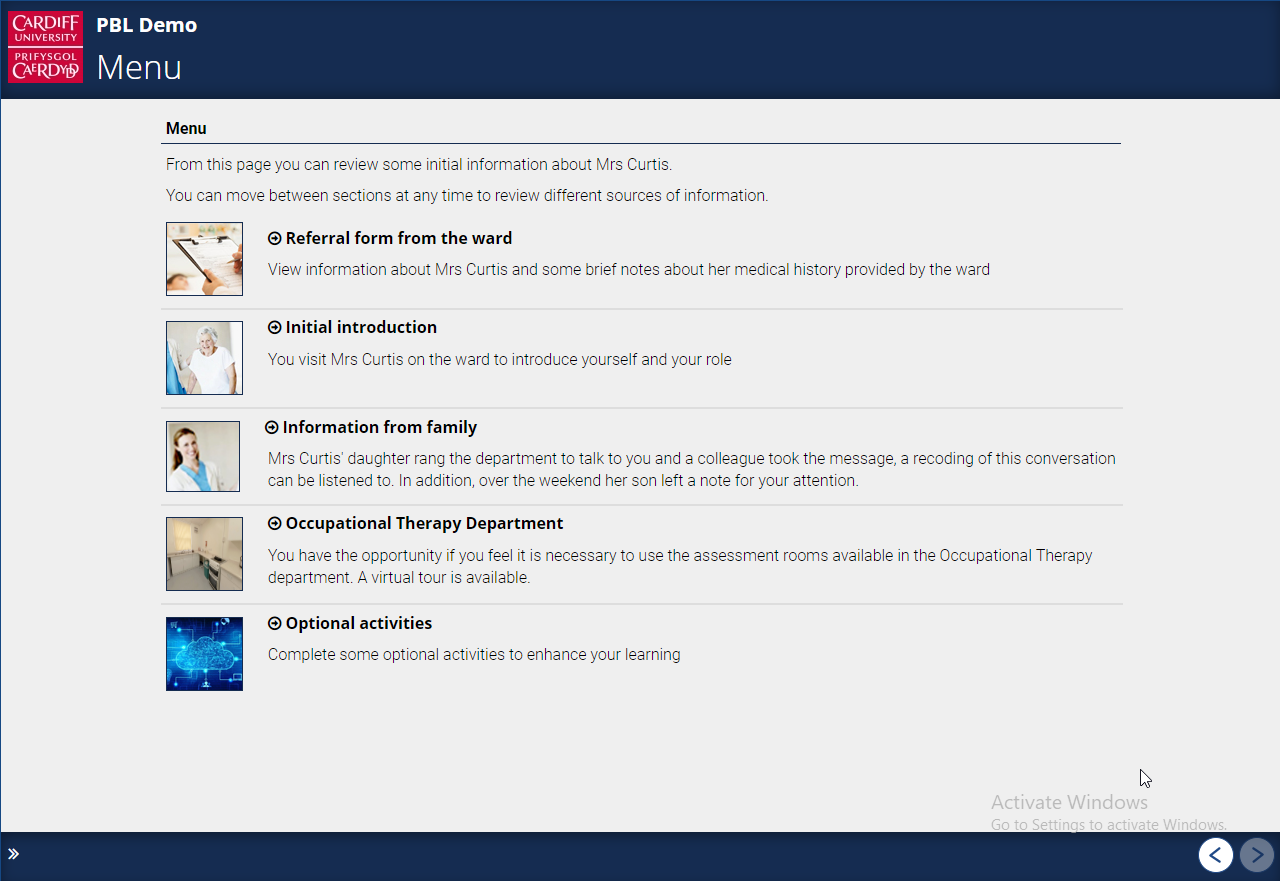
Content / Revision Flow
A revision resource that contains content and interactions that can be used in small sections at any time.
Examples
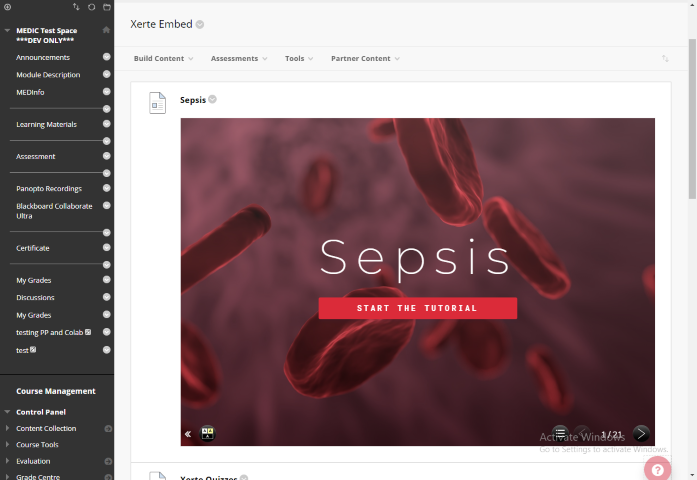
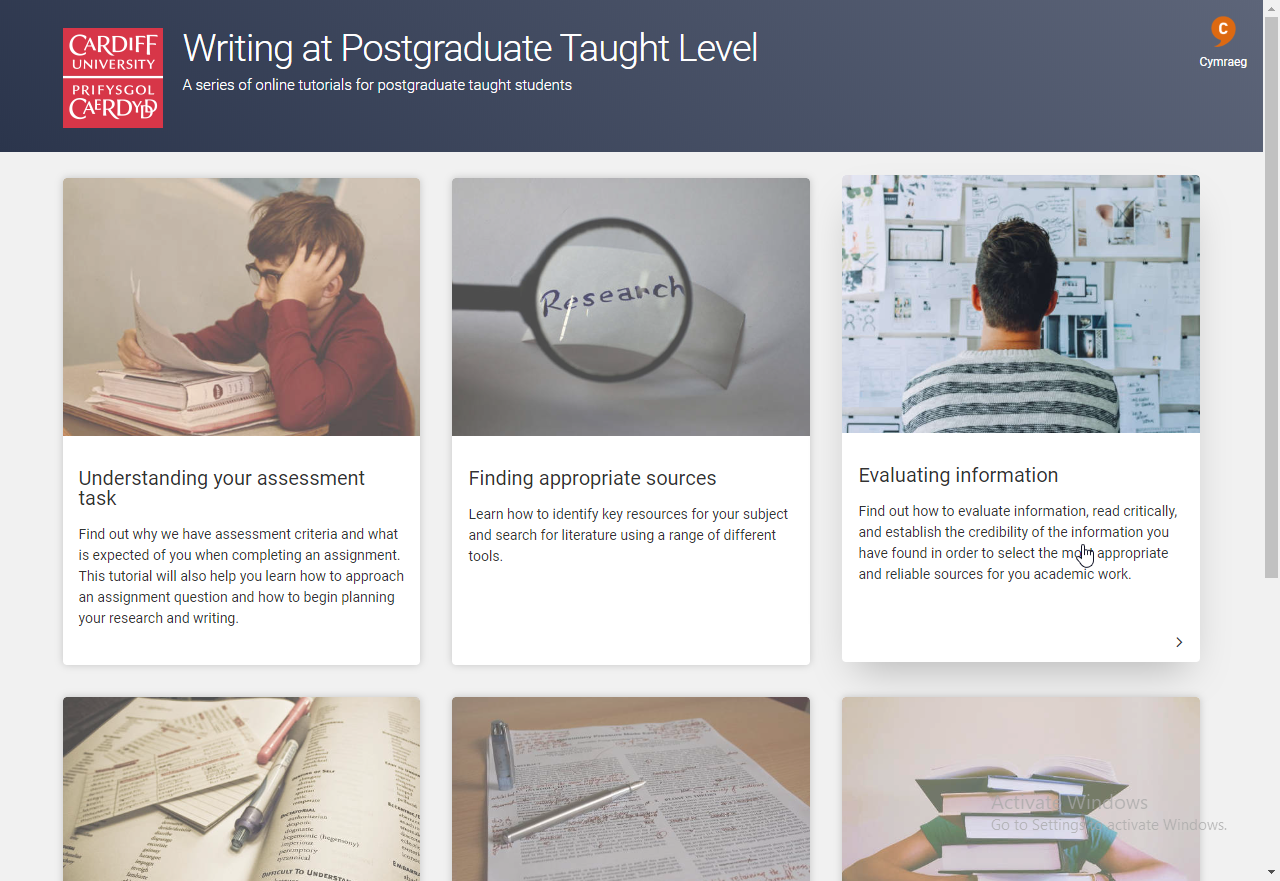
Embedded Resource
An embedded resource in another system to add interactivity to static content.
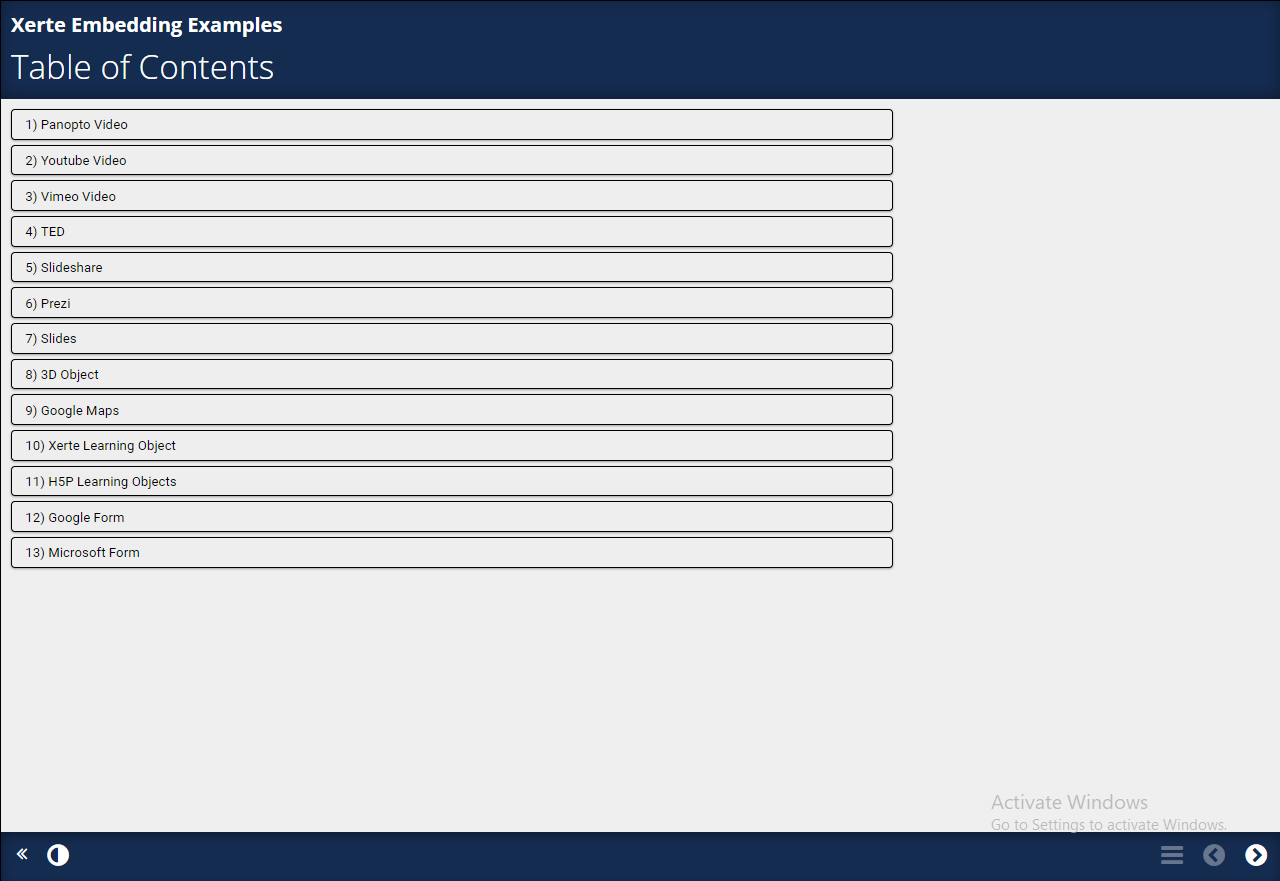
Additional Examples
- Embed almost anything
- Advanced Menu
- Branching scenarios
- Extending XERTE
And many more...
Development


Plan
Design
Build
Share
Review

Planning your resource
Aim
Audience
Use
Context
Flow


Aim
What do you want to achieve?
I want…
“to make sure students understood my lecture on…”
“my students to learn about … online so that we can spend class time discussing it rather than teaching it”
“to give my students more chance to practice doing …”
“my students to create a resource on … that their peers can use to revise from”
Audience
Who is going to use the resource?
Who are the primary learners?
Use
How will your resource be used?
Individuals
Groups
To learn
To support
Context
How does this fit with everything else?
Required Knowledge
Post Knowledge
Xerte
...
...
Lecture 3
Workshop 3
Xerte
...
...
Learning timeline
Module timeline
Flow
How will your resource flow?
- Teaching / structured flow
- Revision / contents flow
- Embedded resource
Content
Display
Interaction


Building your resource
STEP BY STEP HELP IN USING XERTE
- Accessing Xerte
- Creating your first project
- Project options and page options
- Page type guides
- Project properties and managing projects
- Sharing and Publish your project
- Extra features
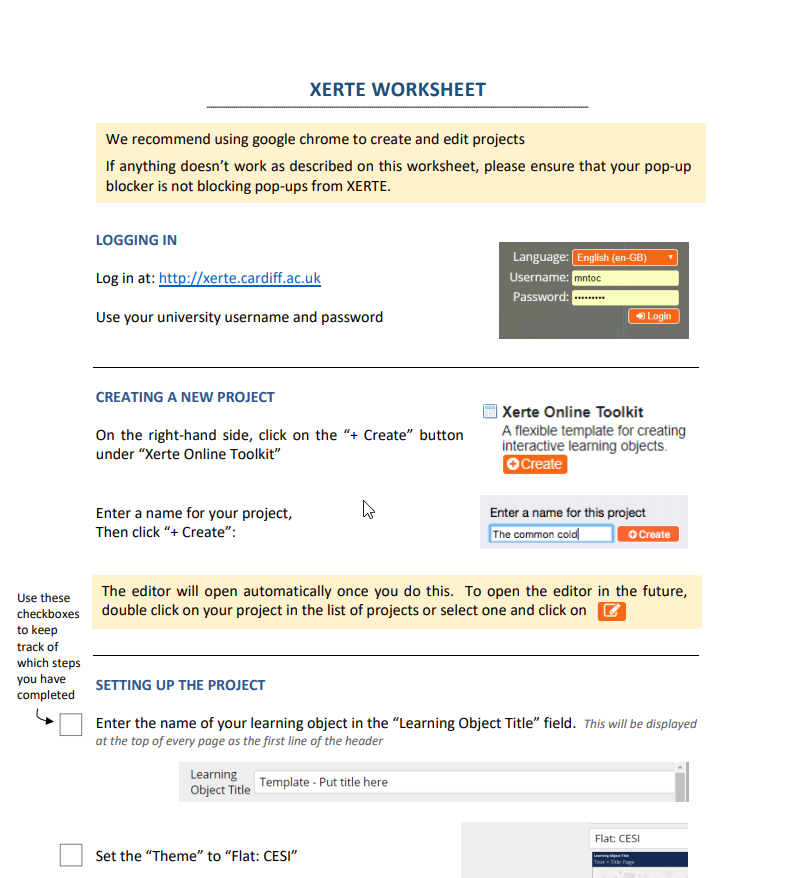
Accessing Xerte
URL: https://xerte.cardiff.ac.uk/
User your University username and passwor

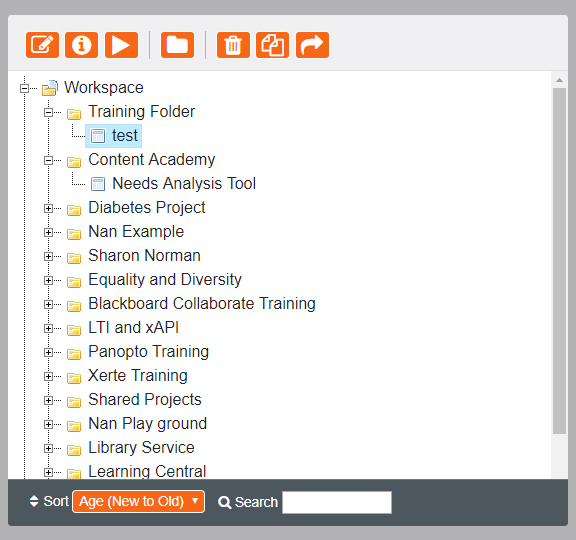
Workspace
After logging in you will be taken to the Xerte workspace. This is where you can create new projects and organise existing projects.
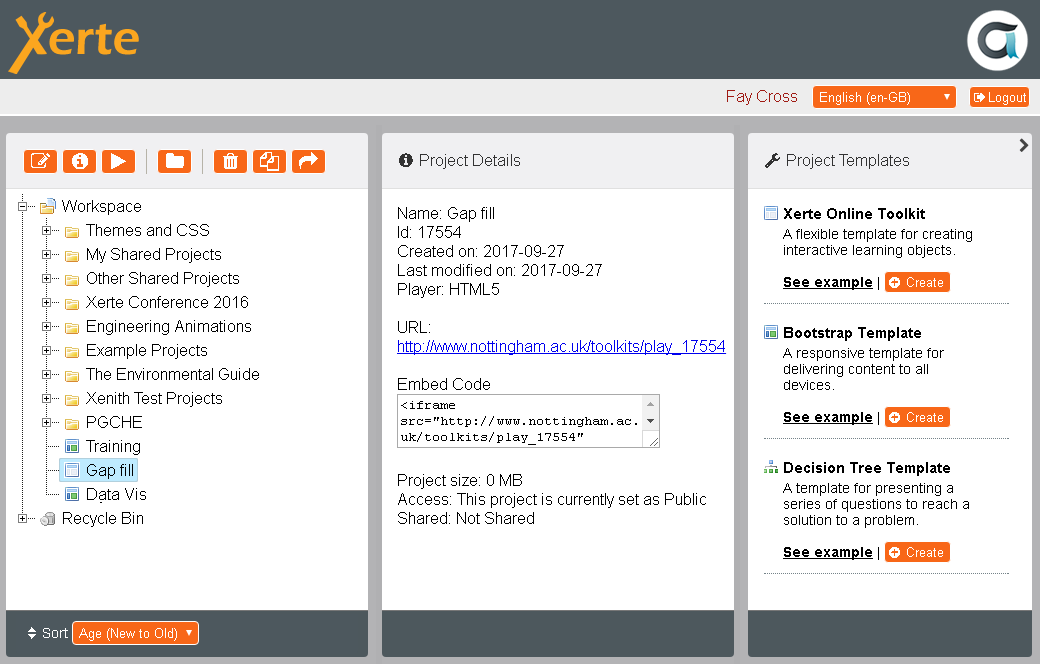
Workspace
The workspace is divided into three main sections:
- Project Panel
- Project Details
- Project Template
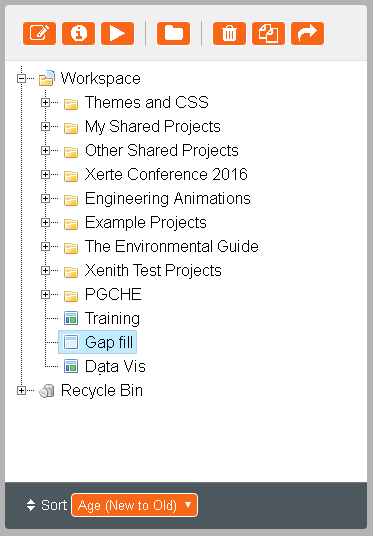
Project Panel
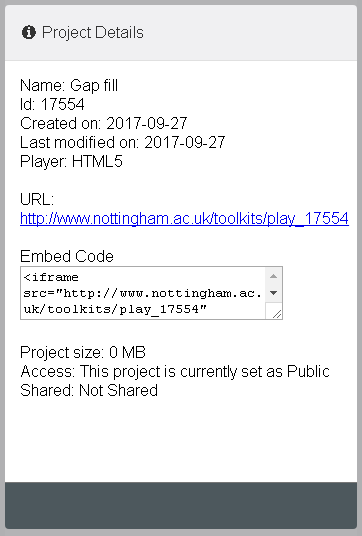
Project Details
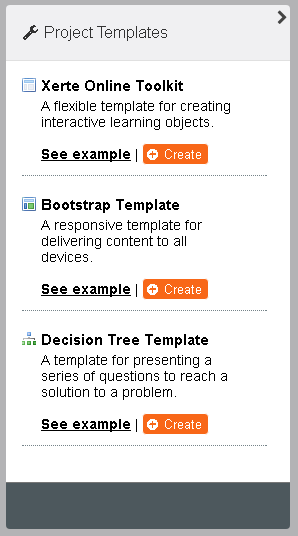
Project Template
Creating A New Project
1.On the right-hand side, click on the “+ Create” button under “Xerte Online Toolkit”
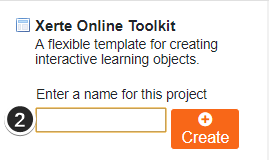
2. Enter a name for your project,
Then click “+ Create”:
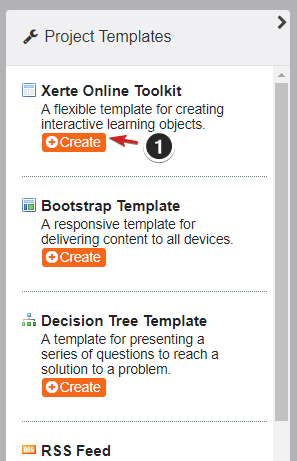
Note: The editor will open automatically once you do this. To open the editor in the future, double click on your project in the list of projects or select one and click on
Editor
Open the editor by either creating a new project or selecting an existing project from the project panel and clicking the Edit button.
Editor
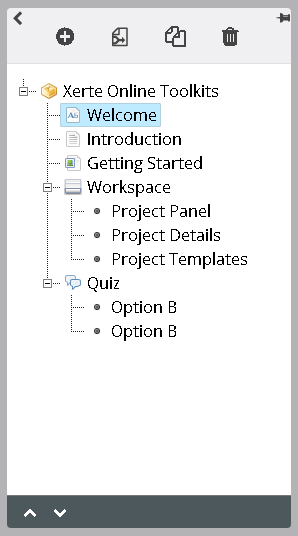
The pages and nested pages in your project are listed here.
The buttons at the top allow you to add and remove pages from your project:
- Insert - opens a menu from which pages of various types can be added to the project (see 'Adding pages' section below);
- Import pages - inserts a copy of pages from other projects into the current project (only available in projects using the Xerte Online Toolkit template);
- Duplicate - makes a copy of the selected page;
- Delete - permanently removes the selected page or nested page.
Project Tree
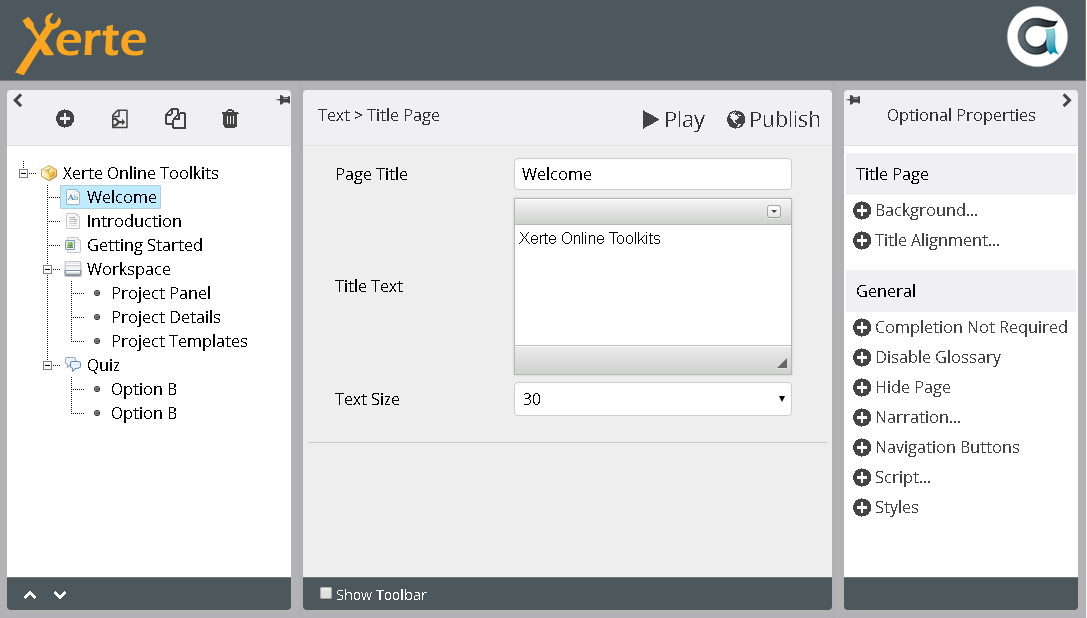
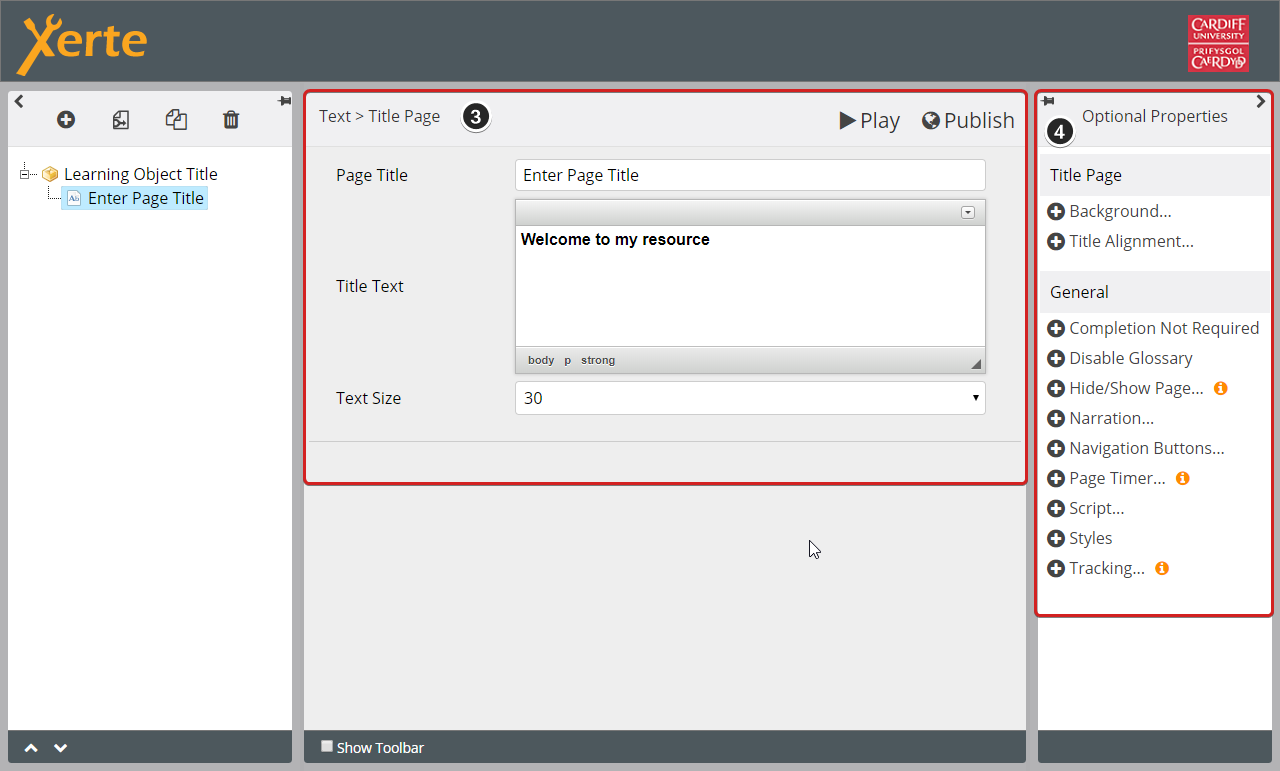
Editor
The page wizard (form) is where you are prompted to enter the information that is needed to create the selected page.
The fields shown here are different for every page type. Some pages might require you to upload media (an image, audio or video file) or select an option from a drop down list.
Click the arrow at the top of text fields to reveal a 'WYSIWYG' (what you see is what you get) toolbar where you can customise the text in a variety of ways.
Use the buttons in the top right to save and view changes:
- Play - Save and preview (opens in a new window)
- Publish - Save only
Page Wizard
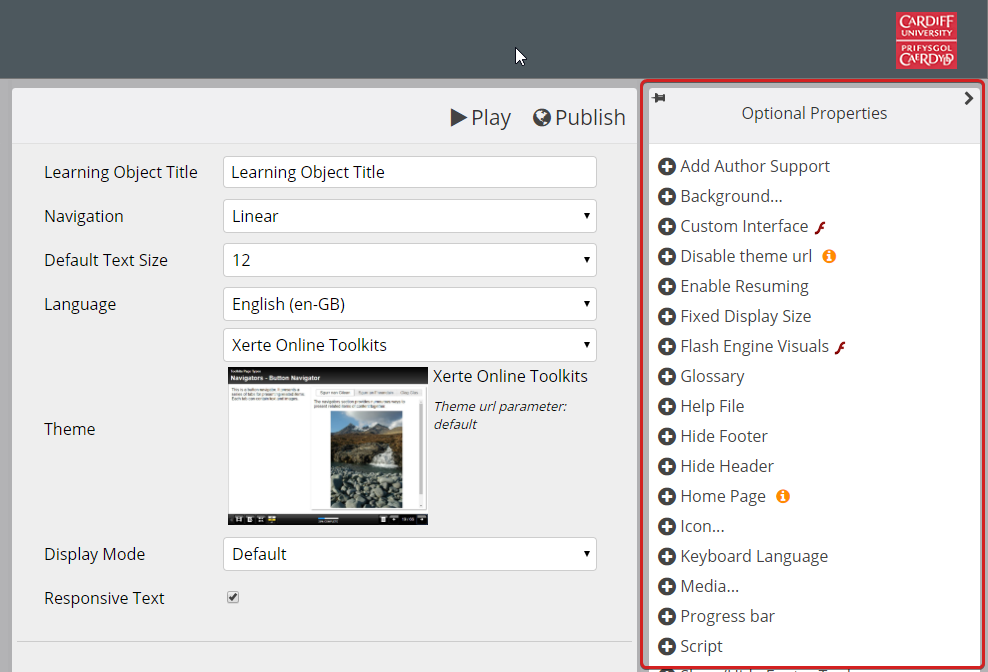
Editor
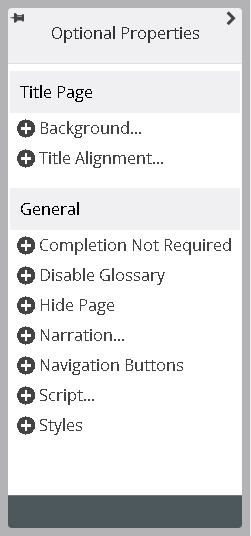
Optional Properties Panel
- Many pages contain additional functionality that can be accessed via the optional properties panel.
- Some optional properties are unique to particular page types, while others (in the general section) can be added to pages of any type.
- Click the add button to add a property to the page wizard
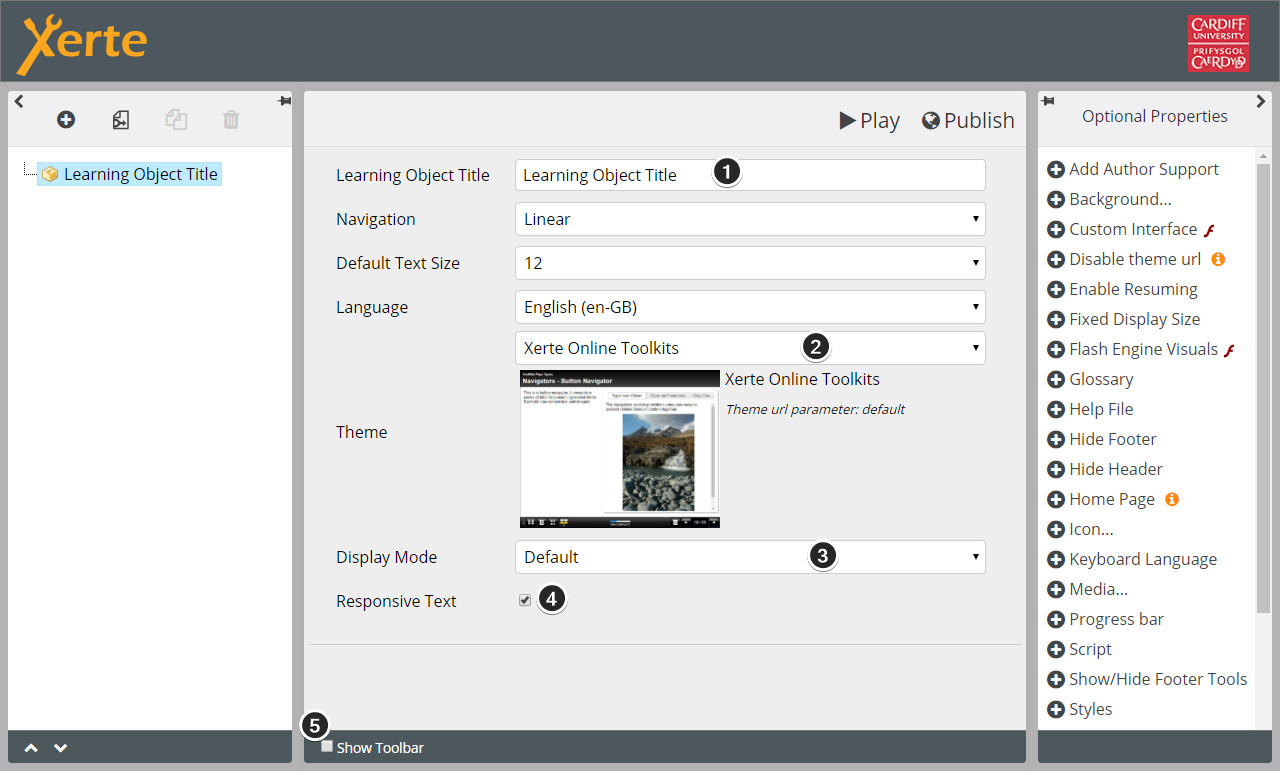
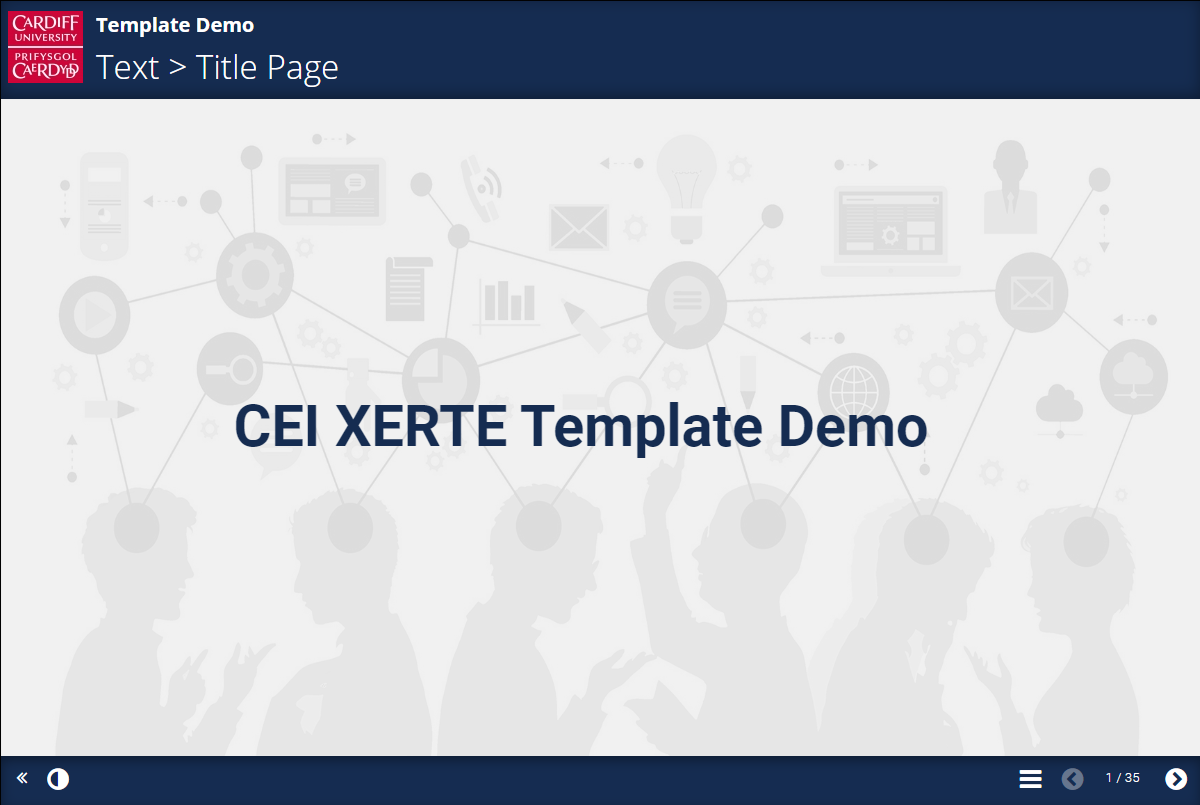
Create First Project
-
Enter the name of your learning object in the “Learning Object Title” field. This will be displayed at the top of every page as the first line of the header
-
Set the “Theme”
-
Set the “Display Mode” to “Fill Window”
-
Un-check the “Responsive Text” checkbox
-
Tick “Show Toolbar” at the bottom of the screen.
Xerte Project Options
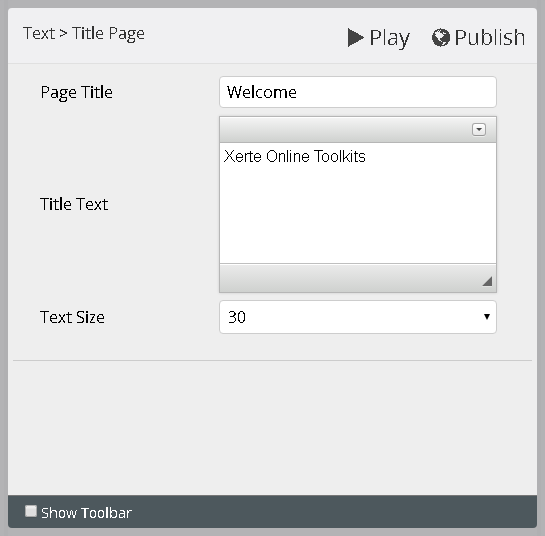
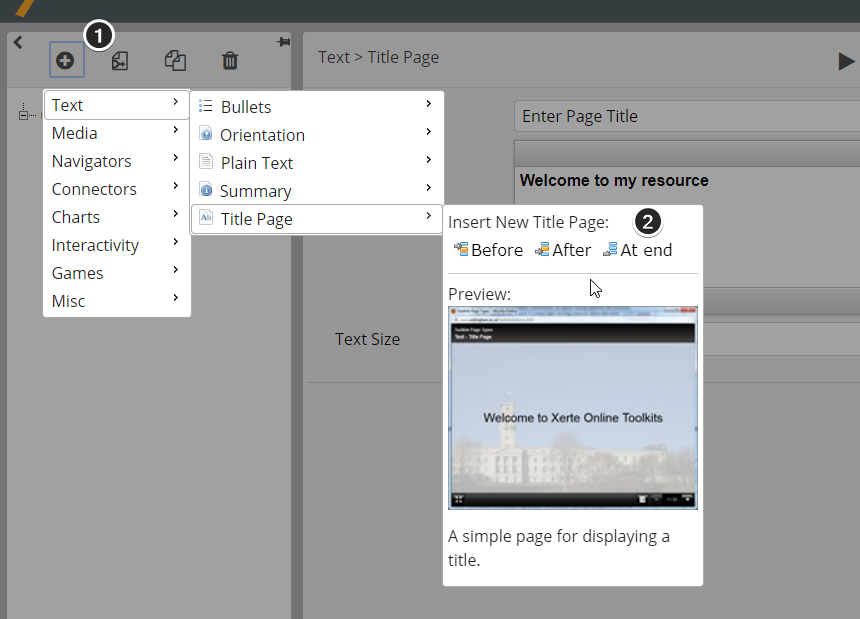
Adding A Page
-
Click on the plus button on the top left of the screen.
-
Select “Text” > “Title Page” > “At End”
-
Fill in the blank text fields in the middle
-
Check the optional properties
-
Click "Play" to preview the project
Page Categories
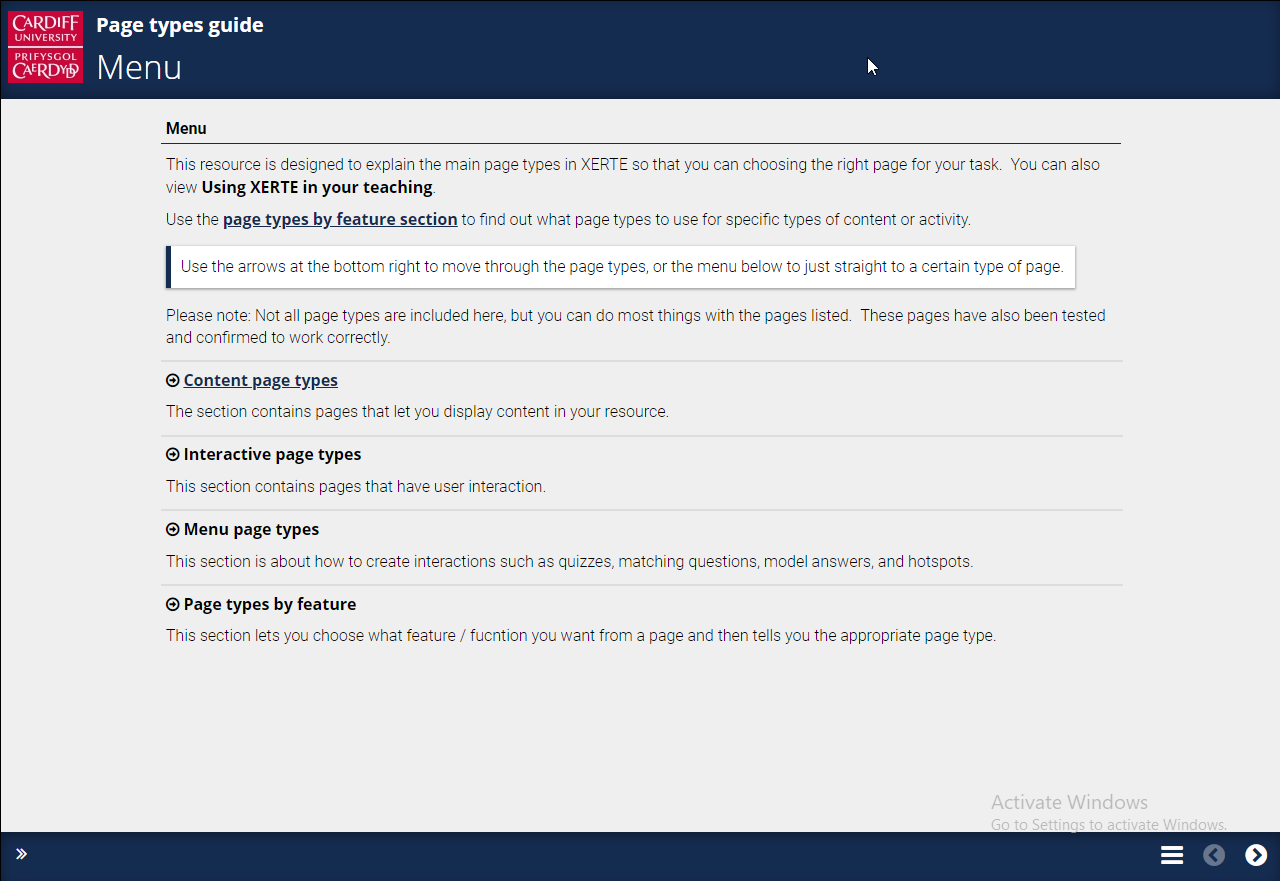
- Content pages
- Navigator Pages
- Menu/Connectors Pages
- Interactive Pages
- Misc pages
Page Types Demos
Managing Your Project
Releasing projects
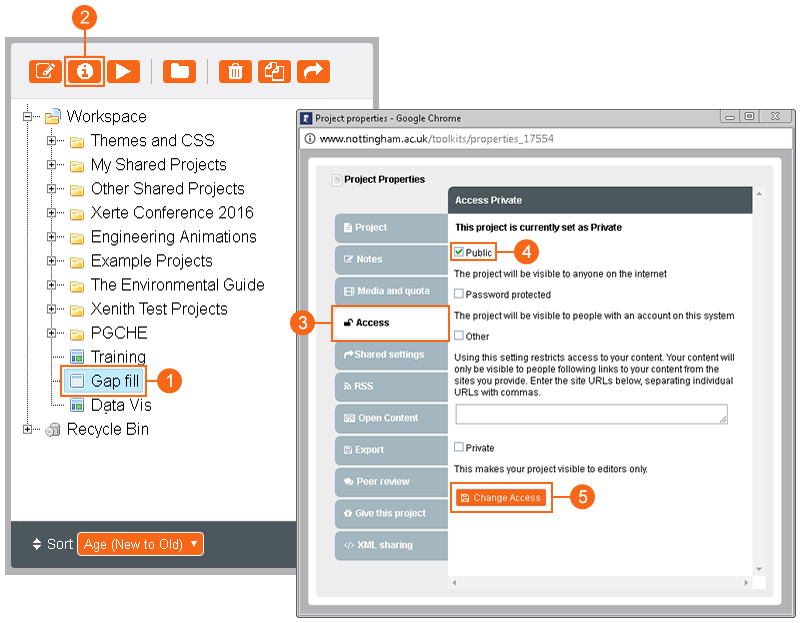
- In the workspace, select the project you would like to release;
- Click the Properties button to open the project properties window;
- Select the Access tab;
- Check the Public box;
- Click the Change Access button.
Restricting Access
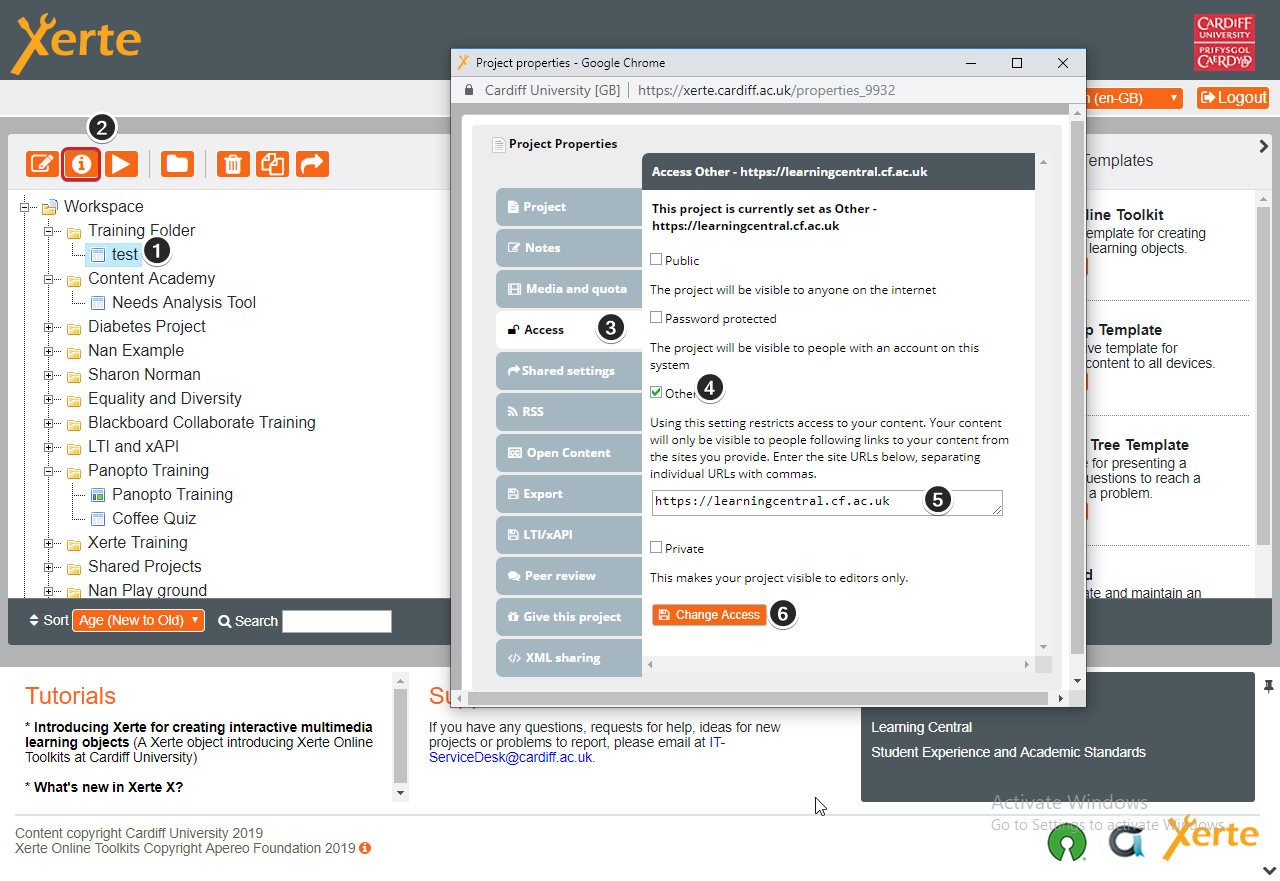
- Private - only available to the creator and anyone they have given editing access to;
- Public - available to anyone on the internet via a URL;
- Password protected - available to anyone with a CU account;
- Other - only available via links from specified sites. For example, you can make a project only work when accessed via a link from a specific Learning Central module.
Collaboration
- Shared authoring
- Ownership
- Updating
Work Together
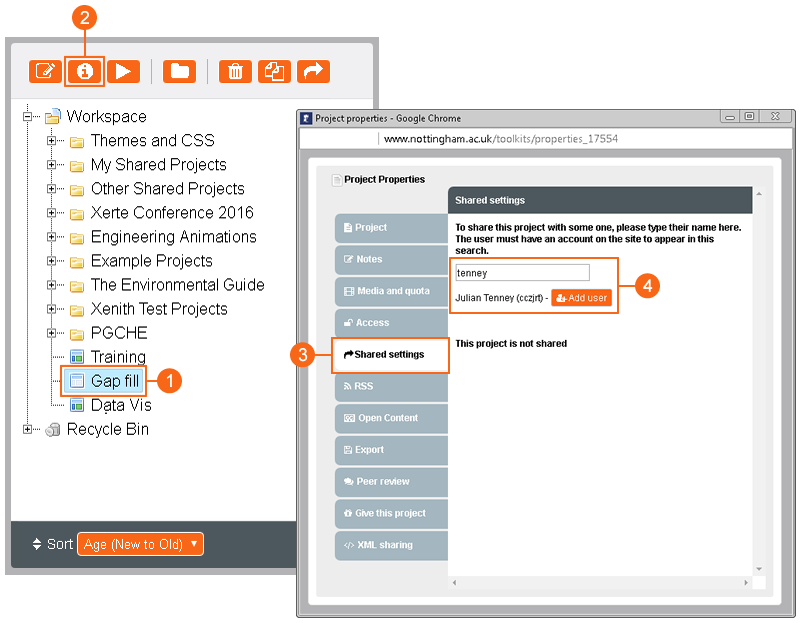
It is possible to work collaboratively on Xerte projects with other members of the university (both students and staff):
- In the workspace, select the project you would like to release;
- Click the Properties button to open the project properties window;
- Select the Shared settings tab;
- Enter the names of the people that you want to share the project with and click the Add user button.
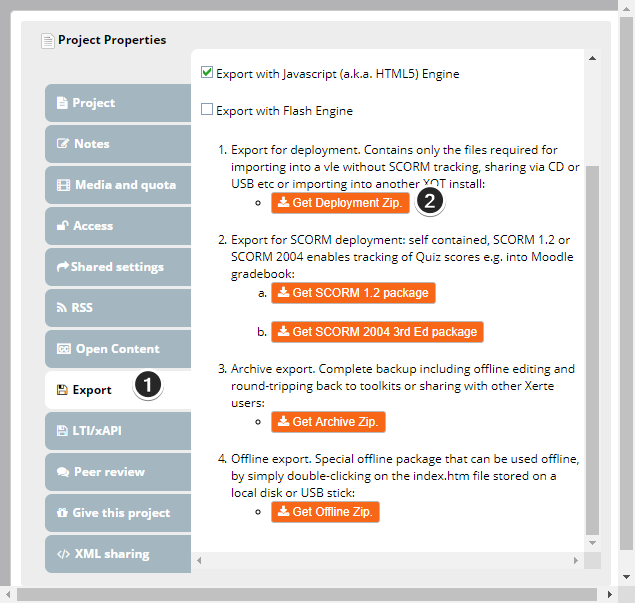
Exporting Your Project
Giving a Project
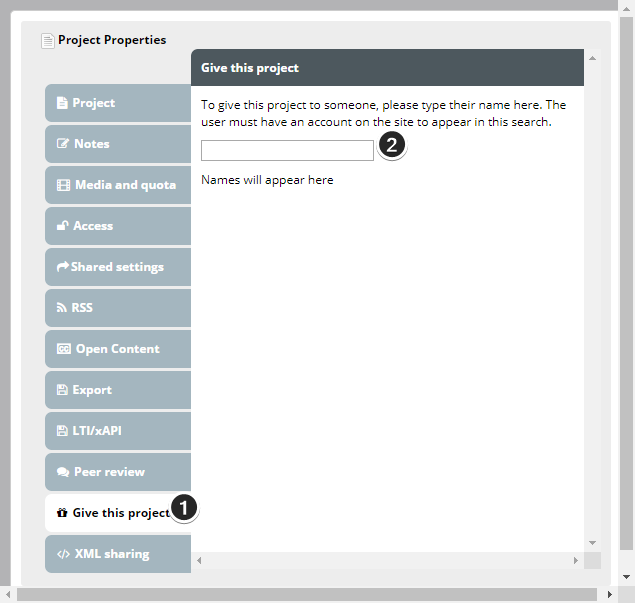
When sharing a project, all of the editors work on a single version of the project. It is possible to give a copy of a project to another user instead of giving them access to your version of it.
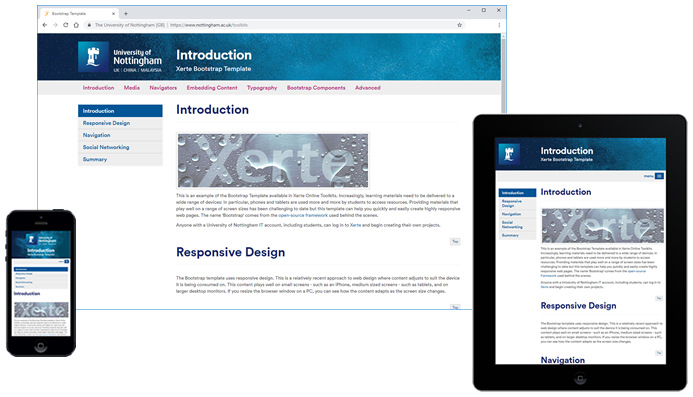
- Create dynamic, responsive webpages
- Responsive design
- Static content
- Embedding XOT
- Add HTML, JavaScript and CSS
Xerte Bootstrap Template
Demos
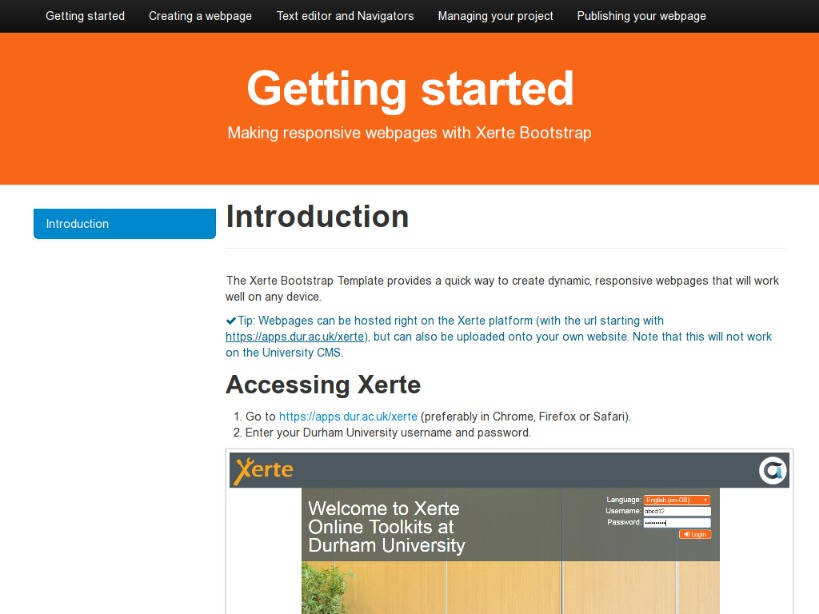

Getting Started with Xerte
Worksheet
- Learn the basics of XERTE
- Create and configure various page types
- The concepts can be applied to other page types
- Use your own content
- It can take between 30-60 minutes
- Content focused
- Meaningful interactions
- Formative assessment opportunities
- Storyboard your design
- Peer review
Content is king

"Everything should be simple, anything can be possible"
Ron Mitchell
Xerte Essential Training - Master
By Nan Zhang
Xerte Essential Training - Master
An introduction training for beginners


