
Omar Patel
Software developer/instructor
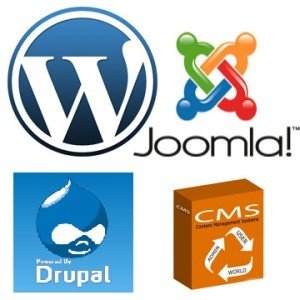
The course will continue with content management systems (CMS) from Dynamic Web 1, except students will be learning how to use and modify existing, popular CMS rather than building one from scratch (Dynamic Web 1). We will also explore the strengths and weaknesses of CMS as well as the differences and similarities between the most popular CMS, including WordPress, Joomla!, and Drupal.
<-- Wordpress, Joomla! and Drupal icons
We are going to learn how to use the 3 main content management systems using online tutorials from Lynda.com.
Here is a link to a breakdown of the different tutorials we'll be using: https://goo.gl/vx73vi
IMPORTANT: If you don't have a county of Los Angeles Public Library card, please pick one up as soon as you can. You will need it in order to access Lynda.com for free. There is a County of LA public library right next to us, Duarte Library. Duarte library is walking distance, so there shouldn't be any excuse for not getting a library card. Once you have the card, sign up for Lynda.com via the library portal: lynda.com/portal/sip?org=colapublib.org
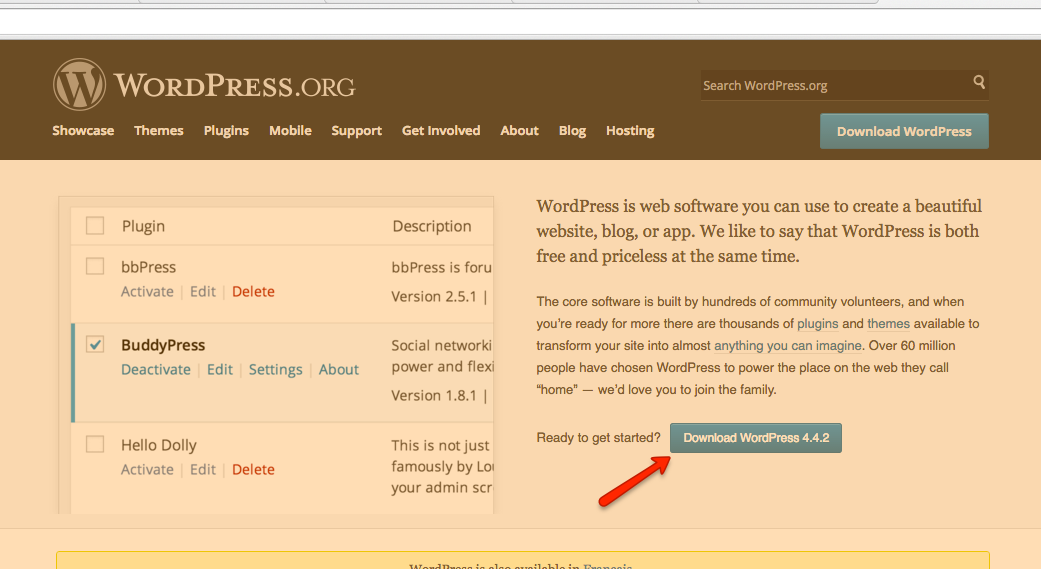
Now, the terms may be confusing, so let me clear this up. We are going to be downloading the Wordpress application to our local computer from Wordpress.org. We will then build up our application locally and push our site when we are ready to test it on a live server.
Note: For the next few steps, we will be following along the Lynda.com tutorial: "Installing and Running Wordpress: MAMP".
Once you've downloaded Wordpress, place the Wordpress folder inside your "Sites" directory.
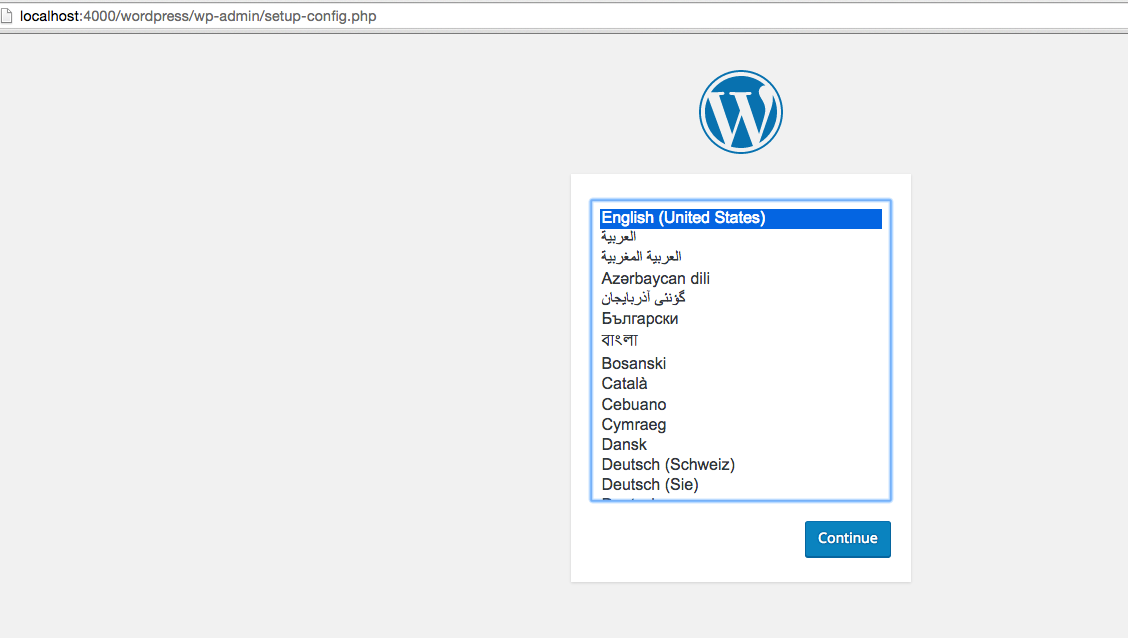
Next, open up your localhost:YOURPORTNUMBER in your browser and navigate to your Wordpress directory. You should see a setup screen if everything went correctly.
Our next steps are going to be configuring Wordpress to work with MAMP.
Select "English" as the language and click "Continue"
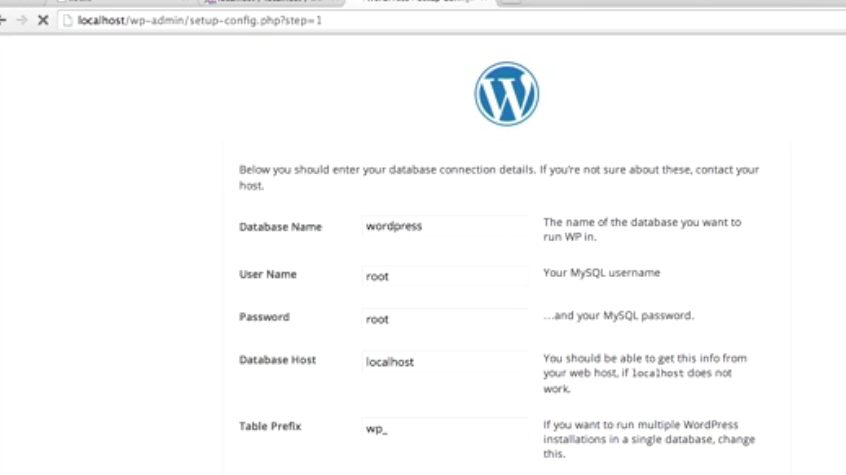
We are now going to create a new database in phpmyAdmin
Go to your localhost:YOURPORTNUMBER/phpmyadmin
Just like we did in Dynamic Web 1, go to the databases tab, type in the name of our new database, and then click on "create"
When creating a new database, the default name and password is "root". So, let's go back to our wordpress setup page on our localhost and type in the information for the database we just created.
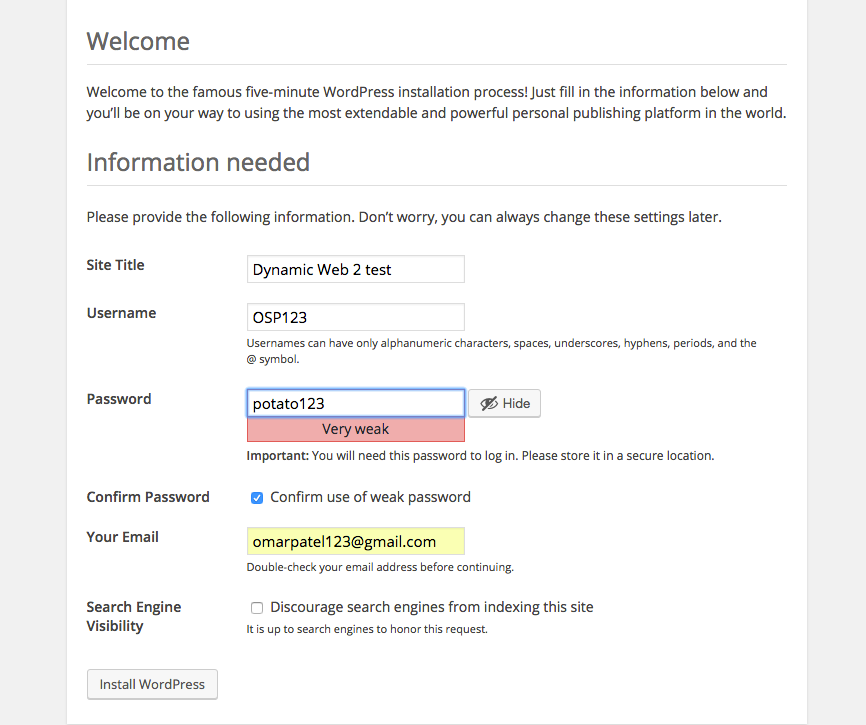
If you did this correctly, you should now see a screen with a button that says "Run the install". Click the button.
Put in the information that screen asks of you. That is, the site title, a username, a password, and an email.
Click "Install Wordpress" when you're done filling in the information.
You can now log in to your wordpress site on your local machine and start developing.
There are a couple of reasons we downloaded Wordpress rather than using the externally hosted Wordpress application on Wordpress.com:
Testing: We are able to test changes much faster locally than on Wordpress.com.
Adding and changing content. We can add and change content much faster and much easier locally than by using Wordpress.com to make changes.
We can also set up multiple Wordpress applications on our local machine by simply downloading the wordpress application, renaming the directory to whatever you want, and then placing it within the "Sites" directory.
You will still have to go through the same installation process as you did earlier.
Now that we have our application running on our local machine, we are going to immediately host it on a live site. I'd like you all to set this up now so that we don't run into database issues down the road.
For hosting, I've chosen to use x10hosting.com, because it's free and I'm familiar with setting up the Wordpress site (after some frustrations). You may choose to use another hosting site that supports wordpress (most hosting sites should do, as long as they support mysql databases).
Here are the instructions for setting up your production Wordpress site on x10 Hosting
1. Go to https://x10hosting.com/
2. Sign up for a free account. Be sure to write down your username and password.
3. Confirm the email that was sent to your email.
4. Create a user by entering your first name where it asks you to (not that important, it's just for x10hosting to not call you "User".
5. Click on the "open cpanel" button
6. Click on the "databases" tab and click on "Add MySQL database". Give the database a name and then write it down somewhere where you won't lose it.
7. Click on the gear icon next to your database and select "manage users"
8. Click on "Add user to database" button
9. Create a username and password. BE SURE TO WRITE IT DOWN SOMEWHERE WHERE YOU WON'T FORGET IT.
10. Check the box that says "grant all privileges" and then click on "Update privileges"
11. Click on the tab that says "My Websites" and then click on the "Add Website" button
12. Give your website a Site Title and then click on "Add Website". Click on "Continue to My Web Sites"
13. Click on"FTP users" and click on "Add FTP User".
14. Create an account name and password. BE SURE TO WRITE IT DOWN SOMEWHERE WHERE YOU WON'T FORGET IT.
15. Click on the link that reads "Connection Guide". This will give you the server host name and username. You should know the password for the ftp user already. Use this information in either FileZilla or CyberDuck or whatever FTP client you are using to send and receive information from your web application. If you don't have an FTP client, I suggest downloading FileZilla: https://filezilla-project.org/.
16. Next, copy and paste all of the information from your wordpress folder into the site you're connected to via FTP. Here's a screenshot of what that should look like: http://screencast.com/t/CyKVfTZYyu
17. Finally, we are going to change the information inside the wp-config.php so that we can connect to our production site and then re-upload that file via FileZilla. We are going to just change the database name, username, and password: http://screencast.com/t/PEpVG8zJ
For your update, try and get your website and database working both locally and on a hosted website. That is,
1. Have your Wordpress site up on your local machine and connected to a database
2. Have your Wordpress site up on your hosted site and connected to a database
By Omar Patel