AP Docker
An Introduction to Working with Docker

The Basics
Container
A container is simply a process on your machine that has been isolated from all other processes on the host machine.
Another way to think about a container is as a standardized unit of software.
Image
The image contains the container's filesystem and therefore everything needed to run an application - all dependencies, configuration, scripts, binaries, etc. The image also contains other configuration for the container, such as environment variables, a default command to run, and other metadata.
The Application
git clone git@github.com:recipher/ap-docker.gitThe sample application has three services - a static web application built with React, a microservice built with Node.js and a database using either sqlite or Postgresql.
We will learn how to Dockerize the application, how to connect the services together, how to ensure data is persisted and how to build a multi-service stack using Docker Compose.
Running the Application
cd ap-docker/app
yarn install
yarn start
Assuming you have node and yarn (or npm) installed, you can run the web application in isolation (the services are faked in development mode).
To access the application, open your browser at http://localhost:3000.
Building an Image
docker build -t ap-docker-app .
Build the container image using the docker build command.
Building the image requires a blueprint contained in a Dockerfile. The -t flag specifies a name for the image. Don't forget the . (dot) - this specifies the build context.
We can specify the Dockerfile using the -f flag.
Running a Container
docker run -d -p 3000:3000 ap-docker-appThe -p flag is used to map the host port to the container port. Without it, the application is not accessible from the host.
The -d flag is used to daemonize the container, so it will run in the background.
Start a container using the docker run command.
Container Administration
docker psTo list running containers, use the docker ps command. Take note of the container id.
CONTAINER ID  IMAGE                  COMMAND                 CREATED         STATUS        PORTS                 NAMES
bc39301430fe  ap-docker-app:v1       "nginx -g 'daemon of…"  10 minutes ago  Up 3 seconds  0.0.0.0:3000->80/tcp  ap-docker_app
3007cca3d3b8  ap-docker-services:v1  "docker-entrypoint.s…"  10 minutes ago  Up 5 seconds  4200/tcp              ap-docker_service
Tidying Up
docker stop bc39301430feTo stop a running container use the docker stop command with the previously noted container id. To remove a container, use docker rm. The -f flag will stop a running container.
docker rm bc39301430feDocker Desktop
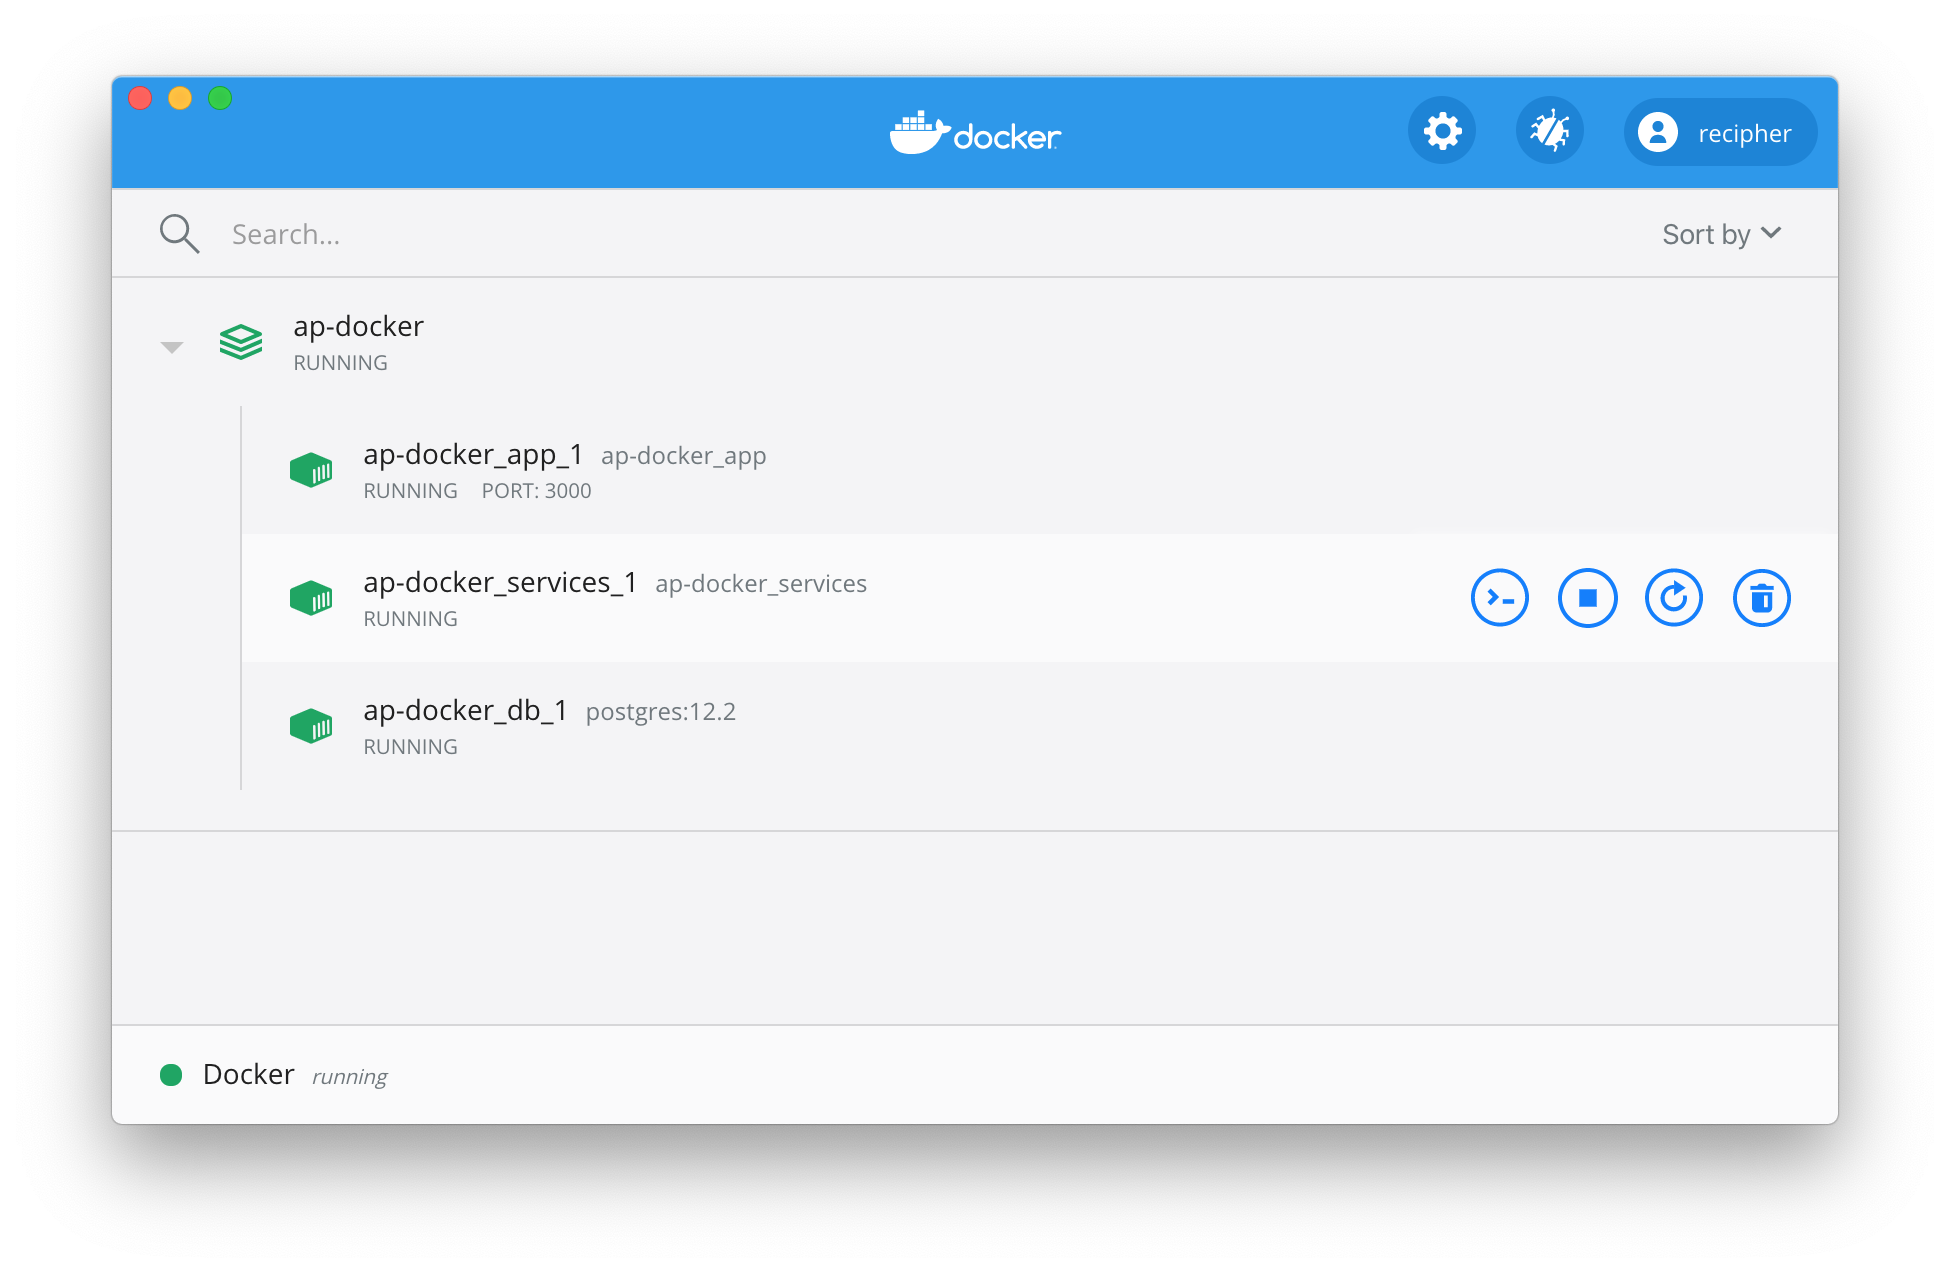
The CLI provides all the tools that you'll need for your daily experience with Docker, but the Docker Desktop dashboard provides a convenient UI, particularly for checking logs and stats.
The Dockerfile
FROM node:12-alpine

WORKDIR /app
COPY . .
RUN yarn install
RUN yarn build

CMD [ "yarn", "serve" ]
The Dockerfile is the image blueprint. It's simply a text-based set of instructions used to define how to create a container image.
Multistage Builds
FROM node:12 AS build

WORKDIR /app
COPY package* yarn.lock ./
RUN yarn install --production
COPY public ./public
COPY src ./src
RUN yarn build


FROM nginx:alpine

LABEL app="ap-docker"
RUN rm -rf /usr/share/nginx/html/*
COPY nginx/default.conf /etc/nginx/conf.d
COPY --from=build /app/build /usr/share/nginx/html

CMD ["nginx", "-g", "daemon off;"]
Development Workflow
docker run -dp 4200:4200 -w /app -v $PWD:/app \
node:12-alpine \
sh -c "yarn install && yarn start:dev"
Continually re-building and re-running images and containers is not very efficient. To support a development workflow, we can use a bind mount.
This allows us to run our application with the host filesystem mounted into the container filesystem. Any file changes should be reflected in the container if we are using a tool such as nodemon.
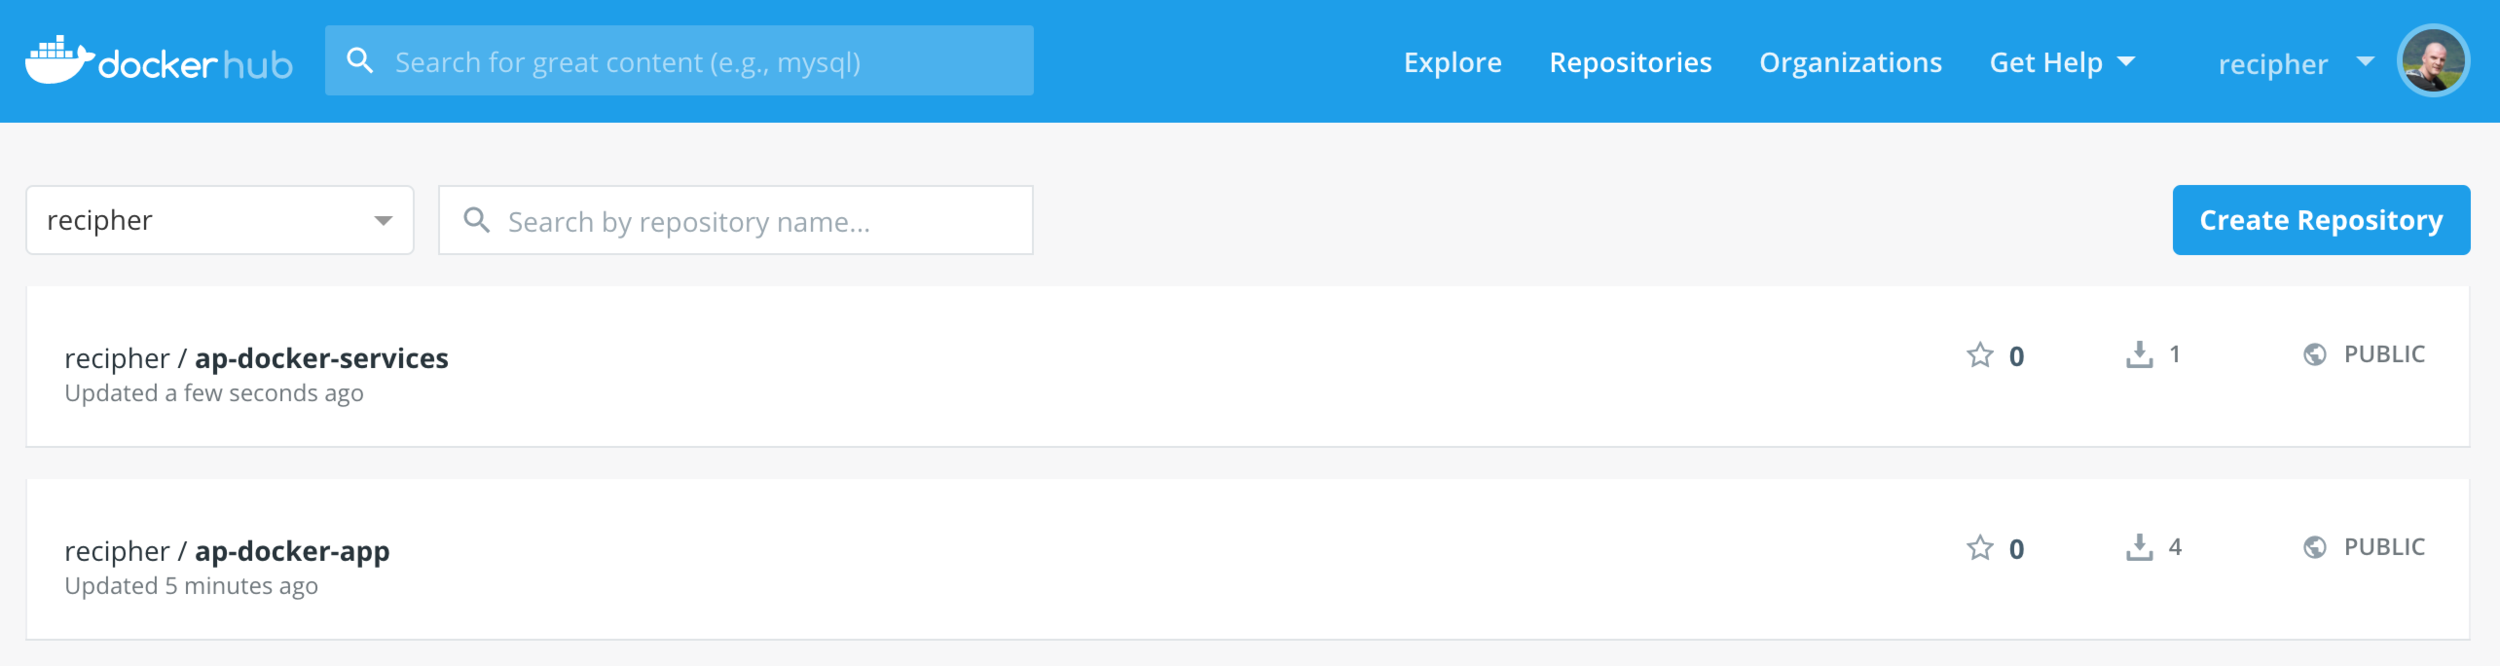
Sharing Images
In order to share our images, we need to persist to a registry. The default registry is Docker Hub. Create a login for Docker Hub at https://hub.docker.com and login with the command docker login.
Tagging and Pushing
docker push recipher/ap-docker-app:v1To persist an image, use docker push. However, the image must be tagged before it can be pushed, using docker tag.
docker tag ap-docker-app recipher/ap-docker-app:v1
docker push recipher/ap-docker-app:v1
Connecting Containers
docker network create ap-dockerContainers, by default, run in isolation and don't know anything about other processes or containers on the same host. To allow one container to talk to another we need to setup a network using the docker network command.
If a container is on the same network as another, they can communicate, if they aren't, they can't.
Run the Database
 docker run -d --name ap-docker-db \
 --network=ap-docker \
 --network-alias=db \
 -l app="ap-docker" \
 -e POSTGRES_USER=admin \
 -e POSTGRES_PASSWORD=secret \
 postgres:12.2
To run the postgresql database, use the postgres:12.2 image from Docker Hub.
The --network flag connects the db container to the previously created network, and the --network-alias flag specifies a DNS lookup for services running in the container.
Run the Services
 docker run -d \
 --network ap-docker \
 --network-alias services \
 ap-docker-services
Now we can run our services, again utilising the --network and --network-alias flags.
Run the Application
docker run -d \
--network ap-docker \
-p 3000:3000 \
-e API_HOST=http://services:4200 \
ap-docker-app
And finally the web application can be started. Again, the network is specified, so now, all three of our containers are using the same network.
The application is the only service that needs port forwarding, which is setup with the -p flag. Notice the use of the services DNS name in the environment variable API_HOST.
Using Docker Compose
Docker Compose is a tool that was developed to help define and share multi-container applications. With Compose, we can create a YAML file to define the services and with a single command, can spin everything up or tear it all down.
The big advantage of using Compose is you can define your application stack in a file, keep it at the root of your project repo (it's now version controlled), and easily enable someone else to contribute to your project. Someone would only need to clone your repo and start the compose app. In fact, you'll see the many projects already do this.
Compose File
version: "3.7"

services:
  db:
    image: postgres:12.2
    restart: always
    environment:
      POSTGRES_DB: postgres
      POSTGRES_USER: admin
      POSTGRES_PASSWORD: secret
      PGDATA: /var/lib/postgresql/data
    volumes:
      - db:/var/lib/postgresql/data

volumes:
  db:
The default compose file is named docker-compose.yml.
More Compose
version: "3.7"

services:
  services:
    build:
      context: ./services
    environment:
      NODE_ENV: production
    depends_on:
      - db

  app:
    build:
      context: ./app
    environment:
      API_HOST: http://services:4200
    ports:
      - 3000:3000
    depends_on:
      - services
Starting the Stack
docker-compose up -ddocker-compose down -dStart the stack with docker-compose up. Use -d to daemonize the containers. If your images are downloaded and/or built, this should be fast. Use --build to rebuild the images if necessary.
Stop the stack with docker-compose down.
AP Docker
By Johnny Hall
AP Docker
Introduction to Working with Docker


