Launch SingleStack
robustack.com
Singlestacks are the building blocks of groupstack in robustack.
A singlestack consists of a instance and its bound volumes, filesystems, applications.
Launching a singlestack will bring up a instance and its resource associates ( volumes, filesystems, applications ) together.
The steps are similar to those of groupstack's.
Configure New Instance
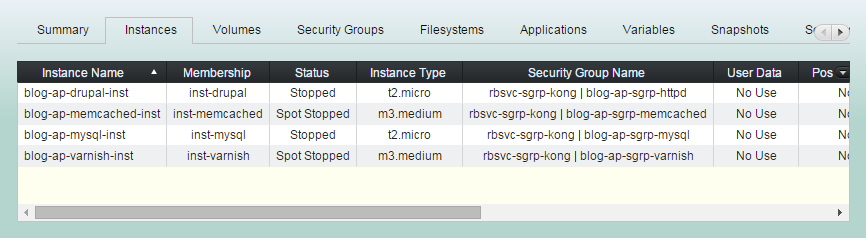
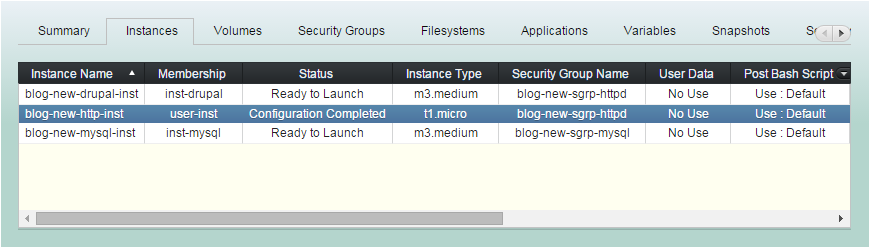
(1) Click "Instances" tab in groupstack sub view. And leave all instances unselected.
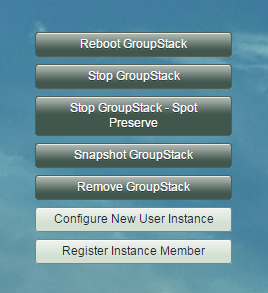
(2) Click "Configure New User Instance".
You can choose a machine image you created.
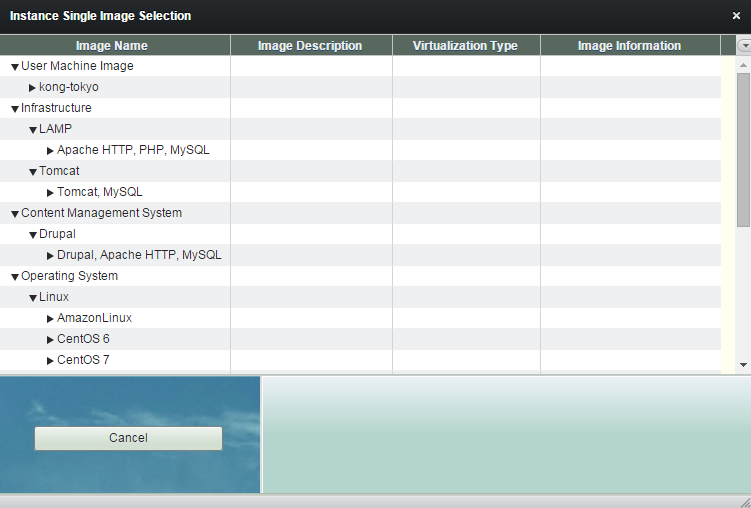
You can also choose one of single image robustack provides.
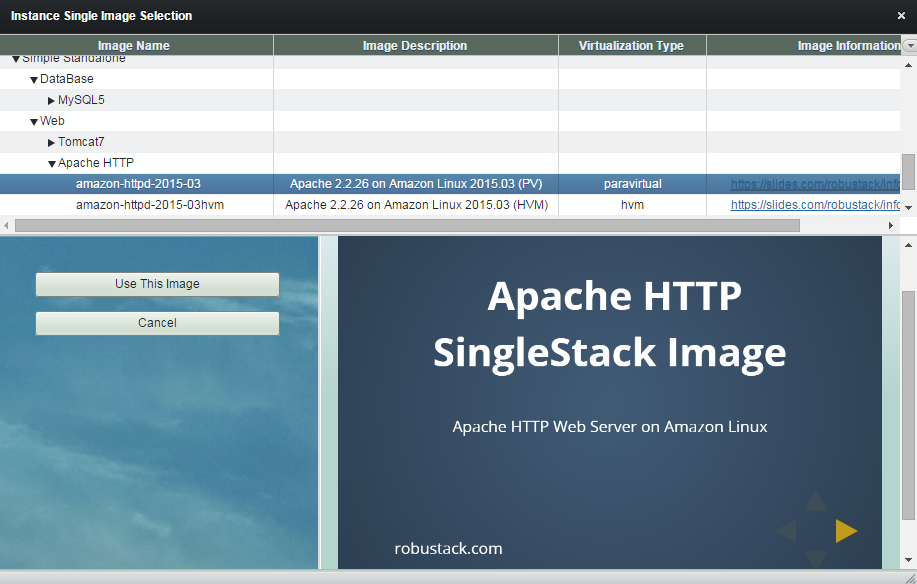
(3) Select a image and refer to the image information. And click "Use This Image".
Usually robustack single image consists of a base Amazon AMI and its bound resources ( volumes, filesystems, applications ) and a post bash script ( software installation ).
All bound resources and script will be configured together if you selecte a single image.
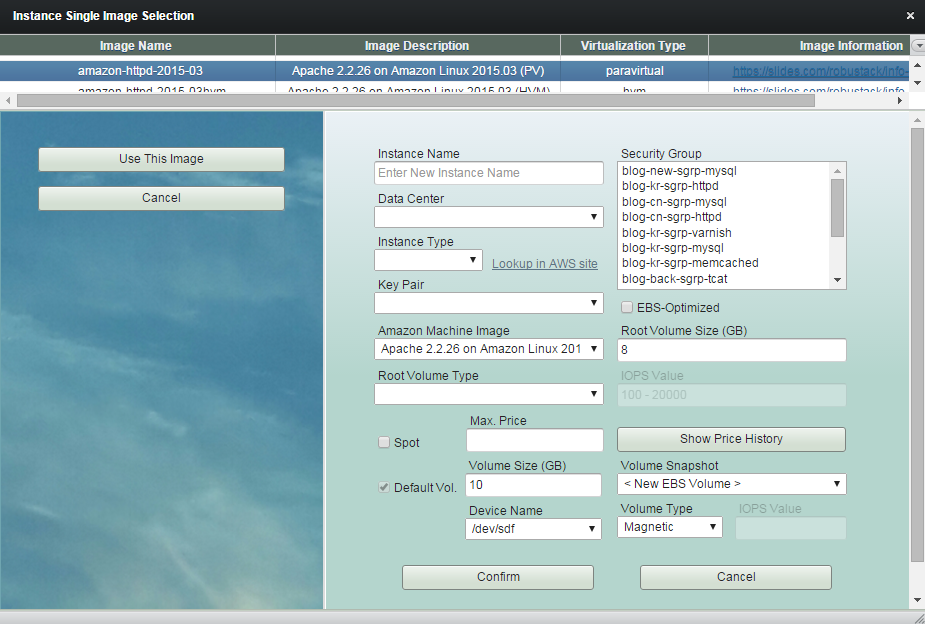
You have chosen this single image.
The single image has a default volume.
Enter 'Instance Name'.
Resource name in robustack is one of important factors. The name should be unique in a resource pool.
Though you can modify the name while it is being configured, you cannot modify the name once it is launched.
Select 'Data Center'.
'Data Center' in robustack is similar representation of 'Availabilty Zone' in Amazon EC2. It is required as robustack deals serveral AWS accounts with one screen but 'Availability Zone' mappings by AWS accounts in EC2 are not the same.
Choose 'Instance Type'.
Choose existing 'Key Pair'.
Select 'Security Group'.
You should choose relevant security group for proper functioning of your instance's. Single image doesn't include security group information.
Select 'Root Volume Type'.
Check if you want 'Spot' instance.
(4) Click "Confirm" to finish configuring an instance.

Bound resources configured together.
Bound resources configured together.
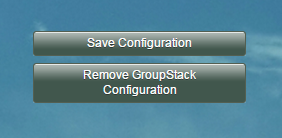
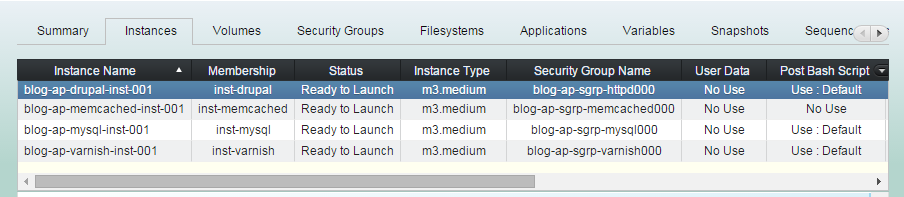
(5) Click "Save Configuration", then the status of the instance will be turned to "Ready to Launch".
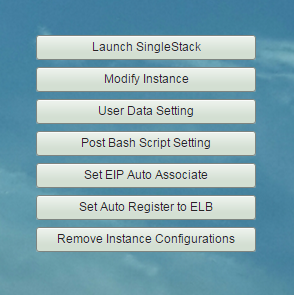
Modify Instance
Startup Features
You are able to assign additional launch features here. Usually 'Post Bash Script' will be filled in with the default content. And for others, apply them as needed.
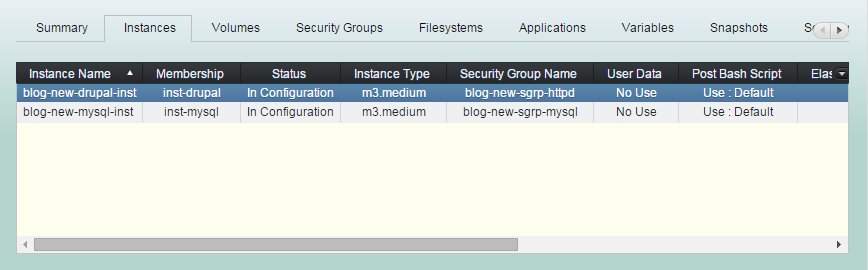
(1) Click "Instances" tab and select a instance to tweak its startup features.
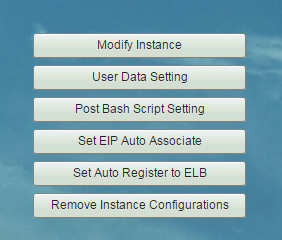
(2) Click one of buttons which are for modifying startup features.
User Data Setting
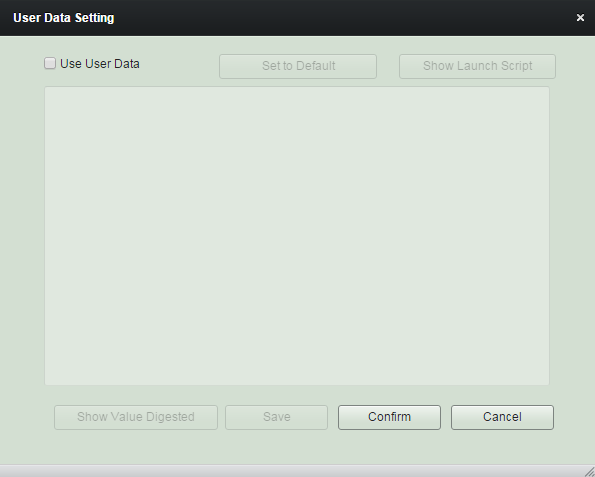
'User Data Setting' window will be shown like this if there is no default user data in the groupstack image.
The data inputed here will be utilized as the same way as EC2 uses it.
You can use robustack variables inside the content.
The variables will be converted to the value at the point of the user-data is being applied to the instance, namely, when it is being launched.

rs:{myVar.currentSum}::rs:{myVar.latestSum}
User Data Setting
The data you saved here will be reset once the instance launch completed.
rs:{myVar.currentSum}::rs:{myVar.latestSum}
User Data Setting
(3) Insert "User Data" content as needed. And click "Confirm".
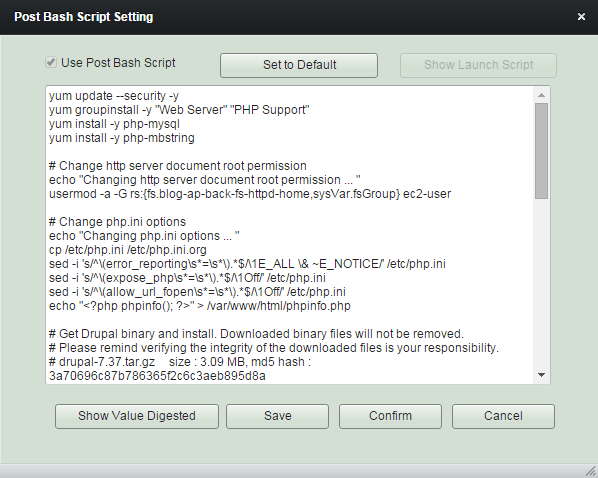
Post Bash Script Setting
Post Bash Script Setting
Post Bash Script is usually utilized as a function of software installation or
setting up configuration parameters.
You can tweak the default contents to suit your requirements combining 'robustack variables' with it.
Post Bash Script Setting
Post Bash Script will be executed after all filesystems bound are mounted inside the steps of startup workflows,
Launch GroupStack, Start GroupStack,
Reboot GroupStack, Launch SingleStack,
Start SingleStack, Reboot SingleStack
Post Bash Script Setting
(3) Modify "Bash Script" content as needed. And click "Confirm".
Set Elastic IP Auto Associate
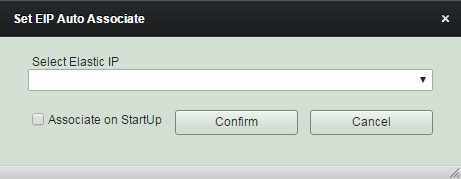
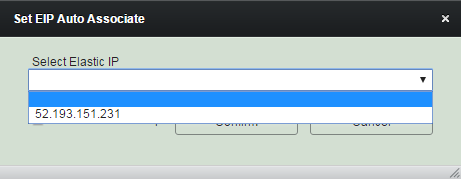
Select among Elastic IPs created before. It will result in unset if you select 'Blank'.
Set Elastic IP Auto Associate
(3) Modify "Bash Script" content as needed. And click "Confirm".
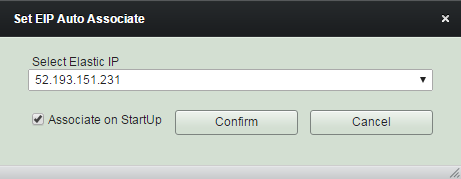
You can either check 'Associate on Startup' if you want the elastic IP to be associated to the instance at every its startups. Or you can associate the Elastic IP thru Sequence/Schedule/Trigger job actions.
Set Elastic IP Auto Associate
The Elastic IP will be associated when the status of the instance turn to 'running' during its startup processes if you set 'Associate on Startup'.
Be sure that the process will continue even if the EIP already associated to other instance, regardless of it is that of VPC's or EC2 Classic's.
Set Elastic IP Auto Associate
(3) Click "Confirm".
Elastic IP will NOT be associated here. Instead, it will be associated at the next startup of the instance.
Set Elastic IP Auto Associate
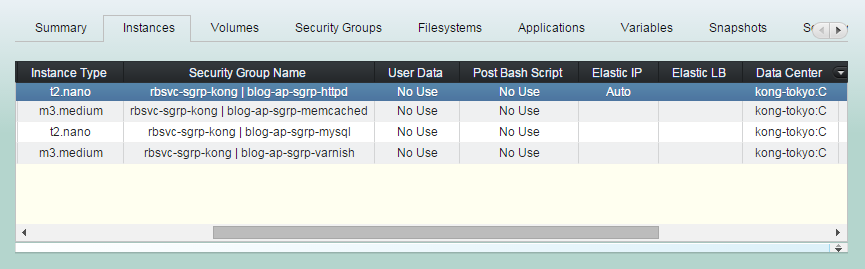
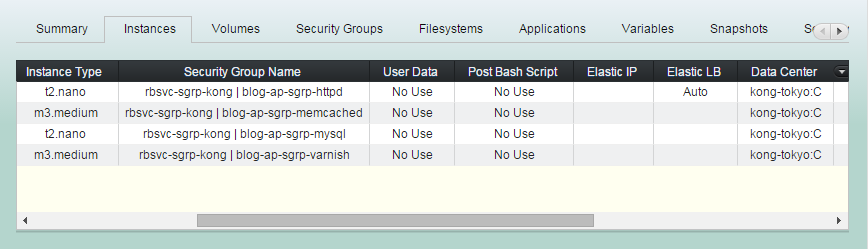
(4) Then check 'Elastic IP' column of "Instances" tab, moving ruler to the right.
Set Auto Register to
Elastic Load Balancer
Select an exsting Elastic LB.
It will result in unset if you select 'Blank'.
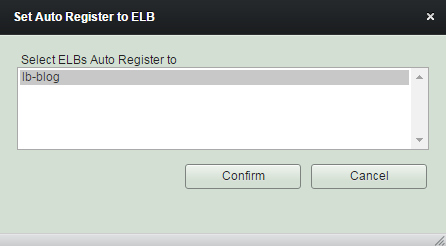
Set Auto Register to
Elastic Load Balancer
The instance will be registered to Elastic LB at the end of its startup processes - after the applications bound started.
Set Auto Register to
Elastic Load Balancer
(3) Click "Confirm".
The instance will NOT be registered to Elastic LB here. Instead, it will be at the next startup.
Set Auto Register to
Elastic Load Balancer
(4) Then check 'Elastic LB' column of "Instances" tab, moving ruler to the right.
Launch SingleStack
(1) Click "Instances" tab in groupstack sub view. And select one or more instances you'd like to launch them as singlestacks.
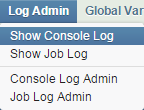
(2) Open console log view.
"Log Admin" -> "Show Console Log"
(3) Click "Launch SingleStack" button.
(4) Launch SingleStack workflow
1. Requests spot instances if they are spot.
And launch instances if they are on-demand.
2. Waits until all instances are running.
(4) Launch SingleStack workflow
3. Creates and attaches volumes to instances.
4. Associates Elastic IPs to'EIP auto-associate' instances. And waits until those public DNS names resolved.
(4) Launch SingleStack workflow
5. Installs Java and robustack agents.
6. Updates /etc/hosts entries for
all running instances.
<Private IP address> <instance name>
...
(4) Launch SingleStack workflow
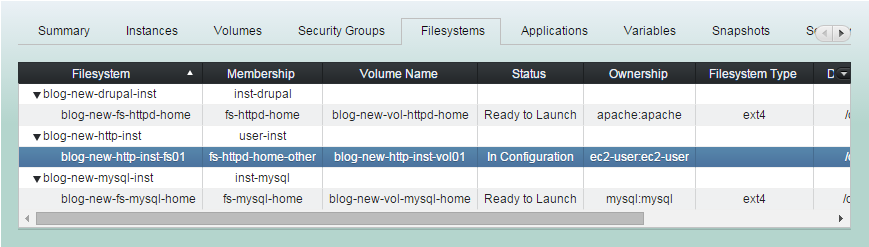
7. Makes and mounts all singlestack bound filesystems.
8. Runs user-definable 'Post Bash Scripts - usually they are installation scripts'
on each instances.
(4) Launch SingleStack workflow
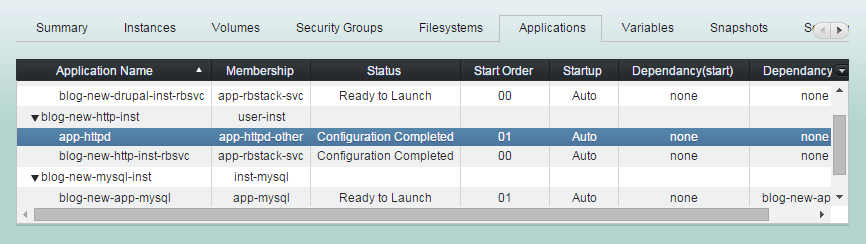
9. Starts applications according to those groupstack-wide 'Start Orders' and 'Start App Dependencies'.
(4) Launch SingleStack workflow
10. Registers 'ELB auto-register' instances to Elastic Load Balancers.
(5) Launch SingleStack completed.
Now the status of instances will be "Running" or "Spot Running" and those of bound volumes will be "In Use",
and filesystems will be "Mounted",
and applications will be "Running"
Managing Instance - Launch SingleStack
By robustack.com
Managing Instance - Launch SingleStack
Managing Instance - Launch SingleStack. Robustack is an Amazon EC2 Orchestration Platform. This slides shows how to launch a singlestack ( unit for an AWS EC2 instance and its bound volumes, security groups and filesystems, applications) and explains what will be going on under the hood.