Robotics
Lesson 1 - Intro to Robotics

Instruction Overview
Understand
-
What is robotics? How will it be useful in the future? -
How does one do robotics? -
How do you setup and use Snap4Arduino? -
How do you make a basic circuit?
Apply
-
Discuss any previous knowledge and/or application of robotics -
Build a basic circuit using the supplied kits -
Use Snap4Arduino to code the basic circuit
Create
-
A basic circuit that has a blinking LED
Allow me to introduce...myself
I'll be teaching you Robotics!
Classroom Rules
- Food and drinks are not allowed in class.
- Only one person talks at a time.
- Computers have two modes: open and shut.
Robotics Rules
-
You are only allowed to take the materials you need from the kit.
-
Do not use the battery.
-
Do not plug in your Arudino Board until your circuit has been checked and approved by the instructor.
-
Do not use LED's without a resistor.
-
AGAIN, No food or drink allowed.
What are Robots?


CARS

SPACECRAFT DOCKS

VACUUMS
A ROBOT IS JUST A MACHINE DESIGNED TO ACCOMPLISH A TASK
What is Robotics?
ROBOTICS ARE THE SCIENCE AND TECHNOLOGY BEHIND THE DESIGN, MANUFACTURING, AND APPLICATION OF ROBOTS

HAS ANYONE TAKEN ROBOTICS BEFORE, OR HAVE ANY EXPERIENCE IN ROBOTICS?
WHAT ARE SOME FIELDS ENGINEERS WORK IN TO BUILD ROBOTS?
Let's install some SOFTWARE!
First...type in this URL
bit.ly/scholarstemr1
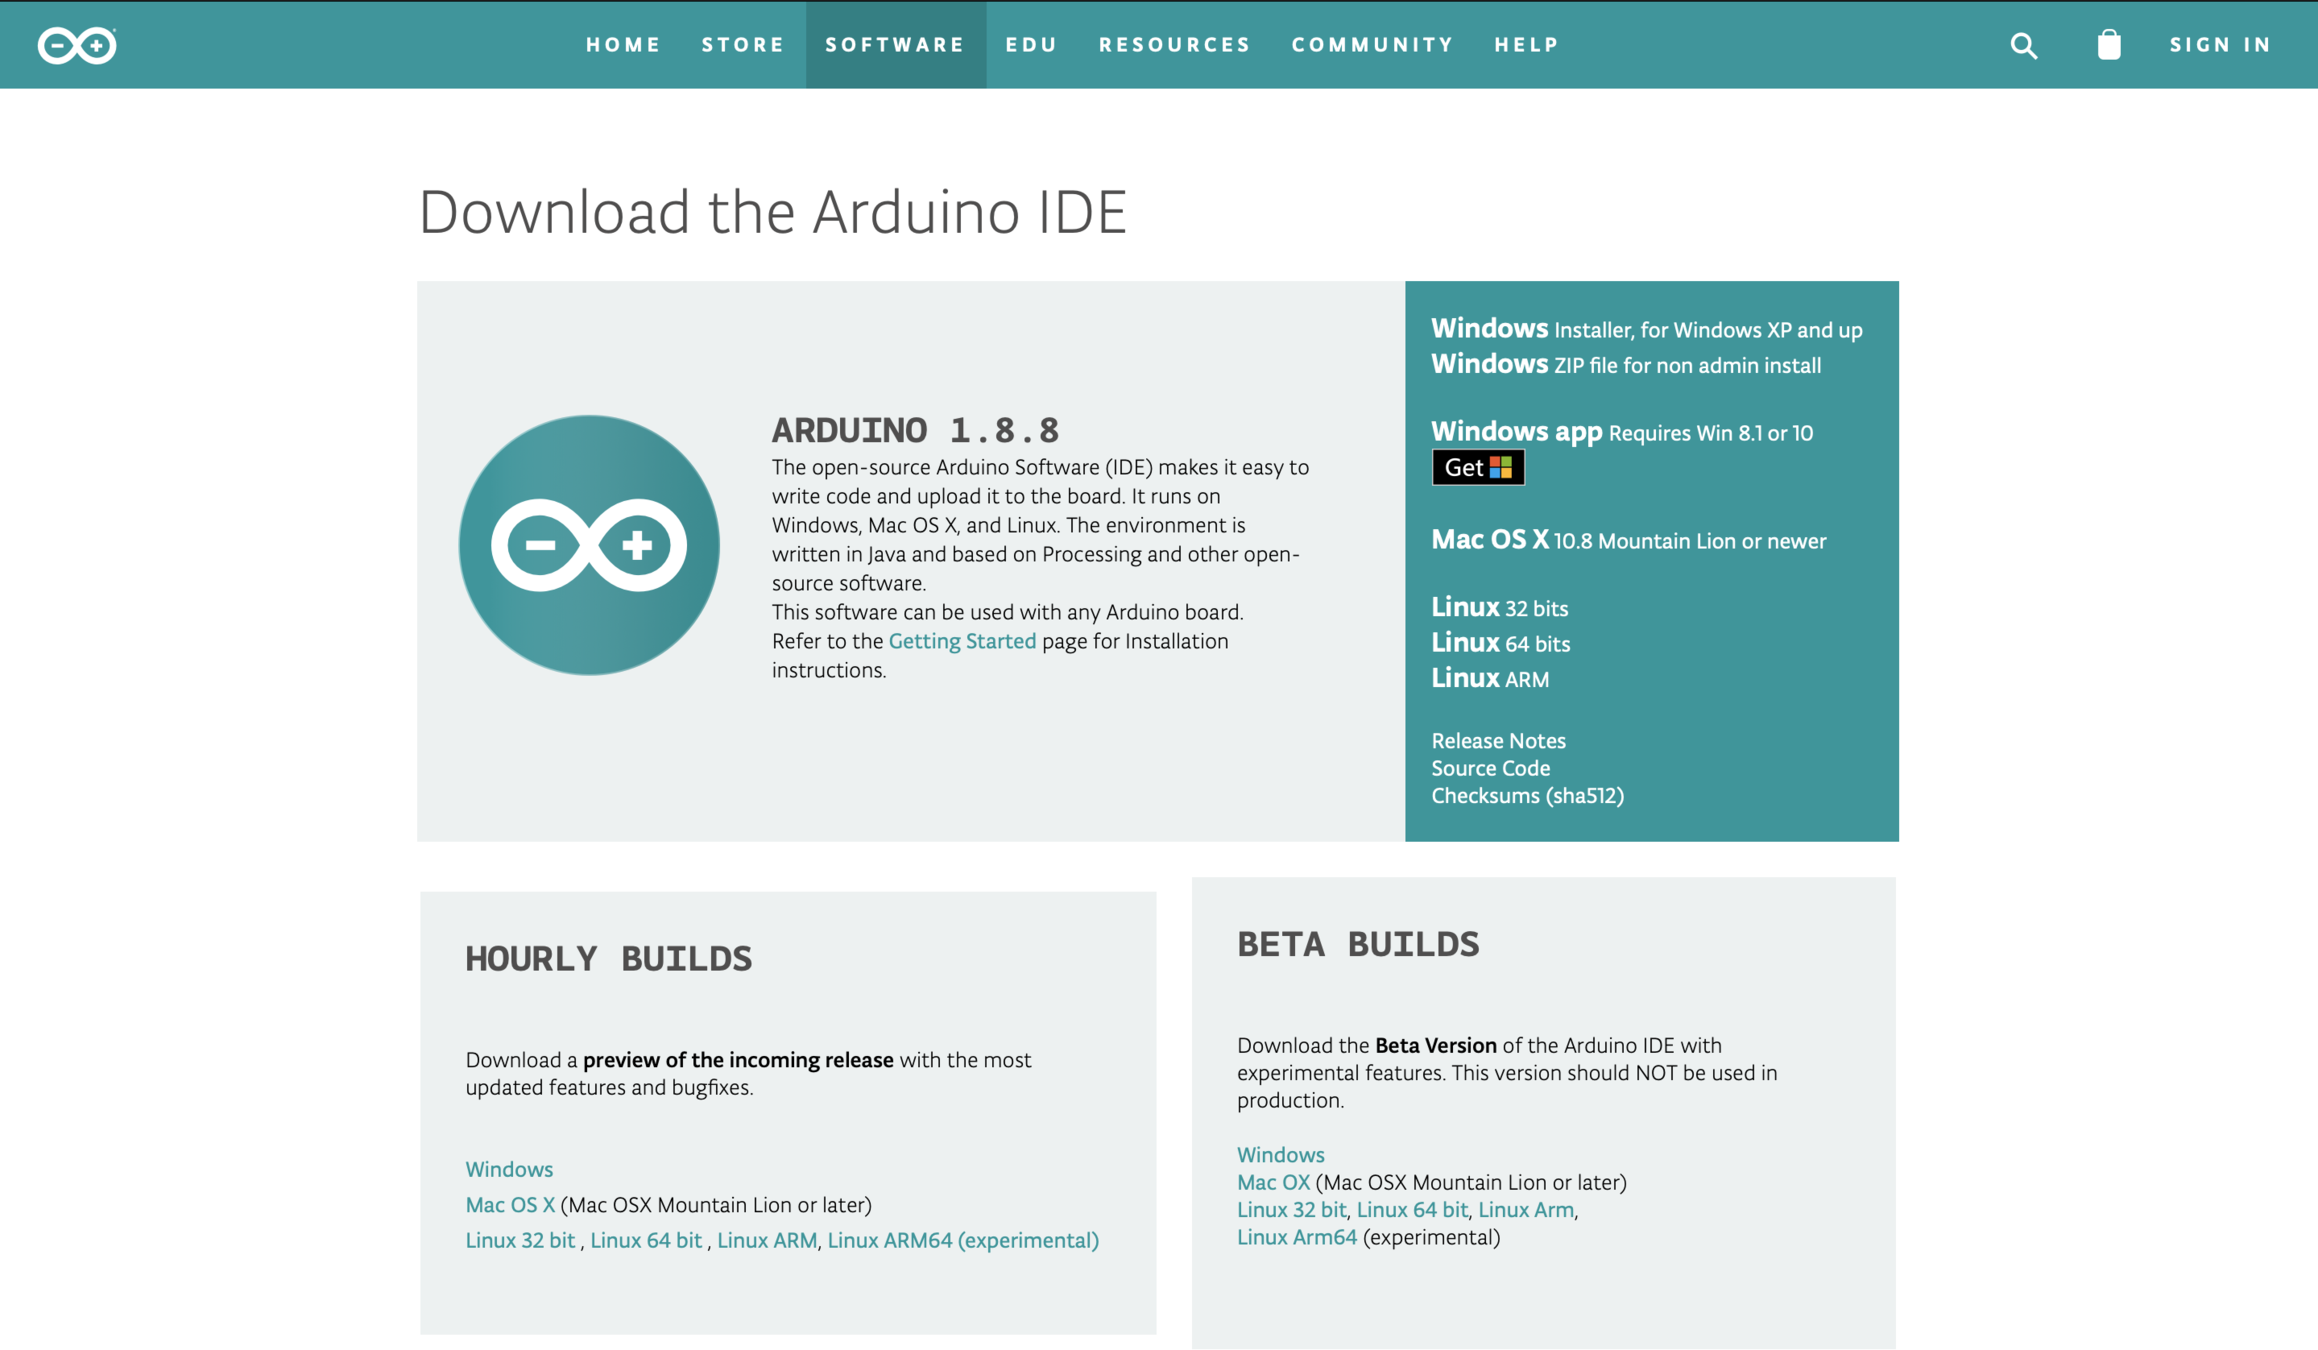
SELECT THE CORRECT OPERATING SYSTEM OF YOUR COMPUTER
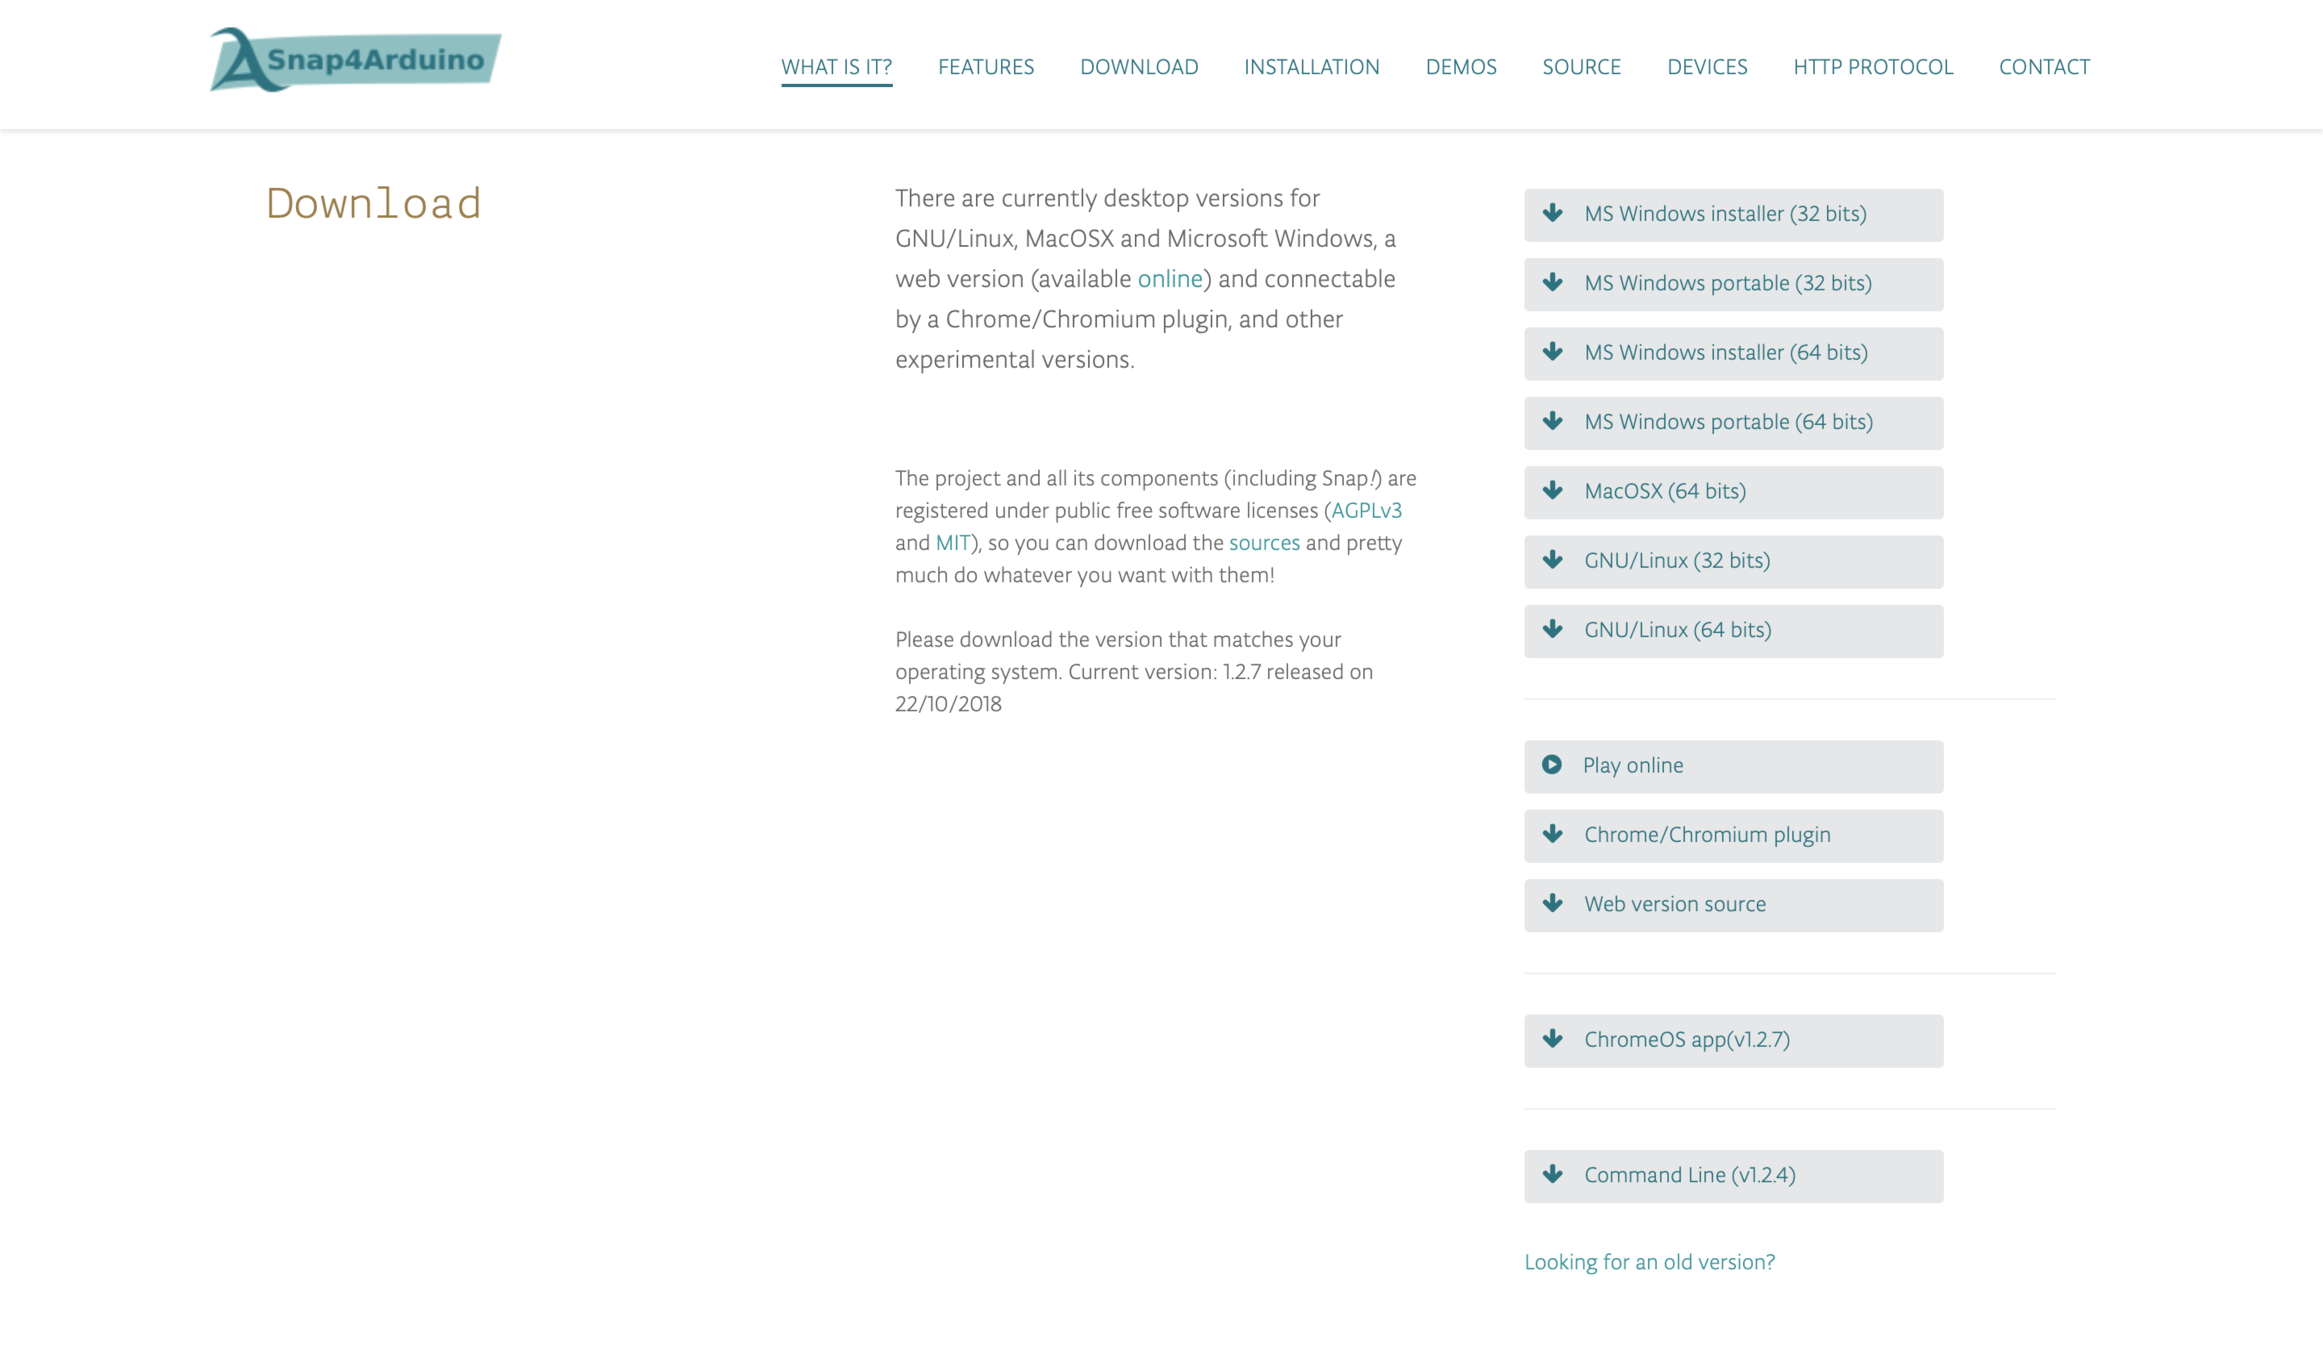
Now...type in this URL
bit.ly/scholarstemr2
YAY! NOW LET'S BUILD OUR FIRST CIRCUIT.
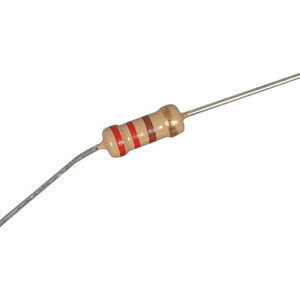
1 x 220 Ohm Resistor
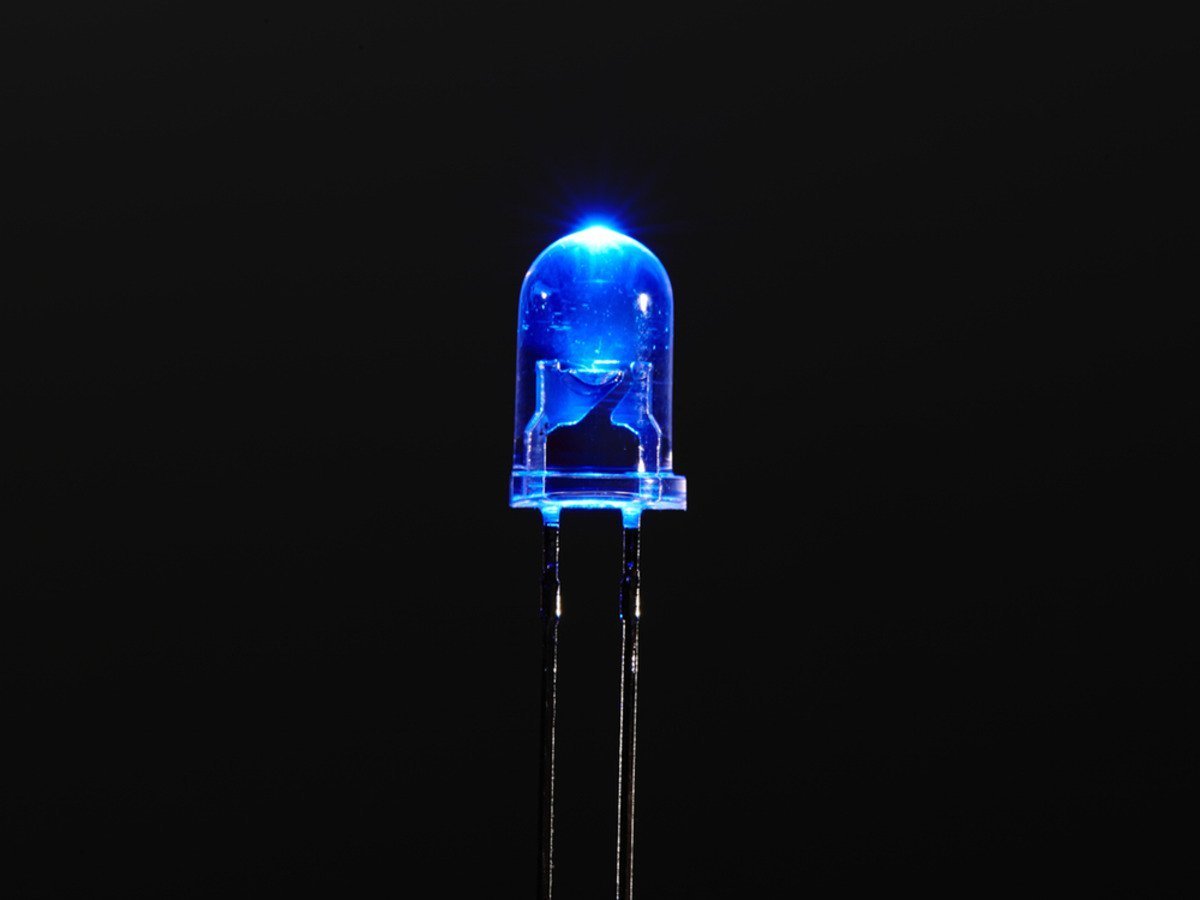
1 x LED
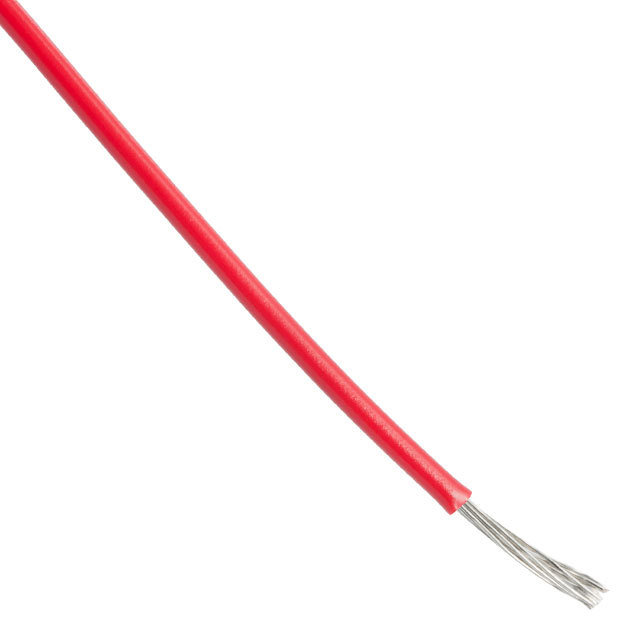
2 x Wires
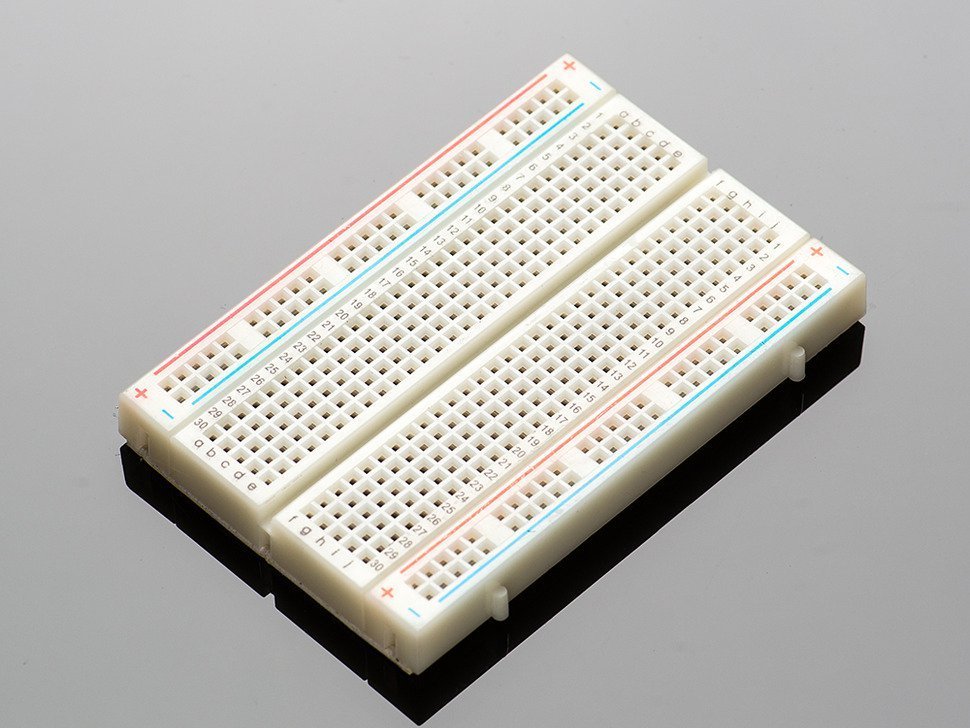
1 x Breadboard
THESE ARE THE PARTS YOU NEED
LET'S TAKE A LOOK AT THE CIRCUIT DIAGRAM.
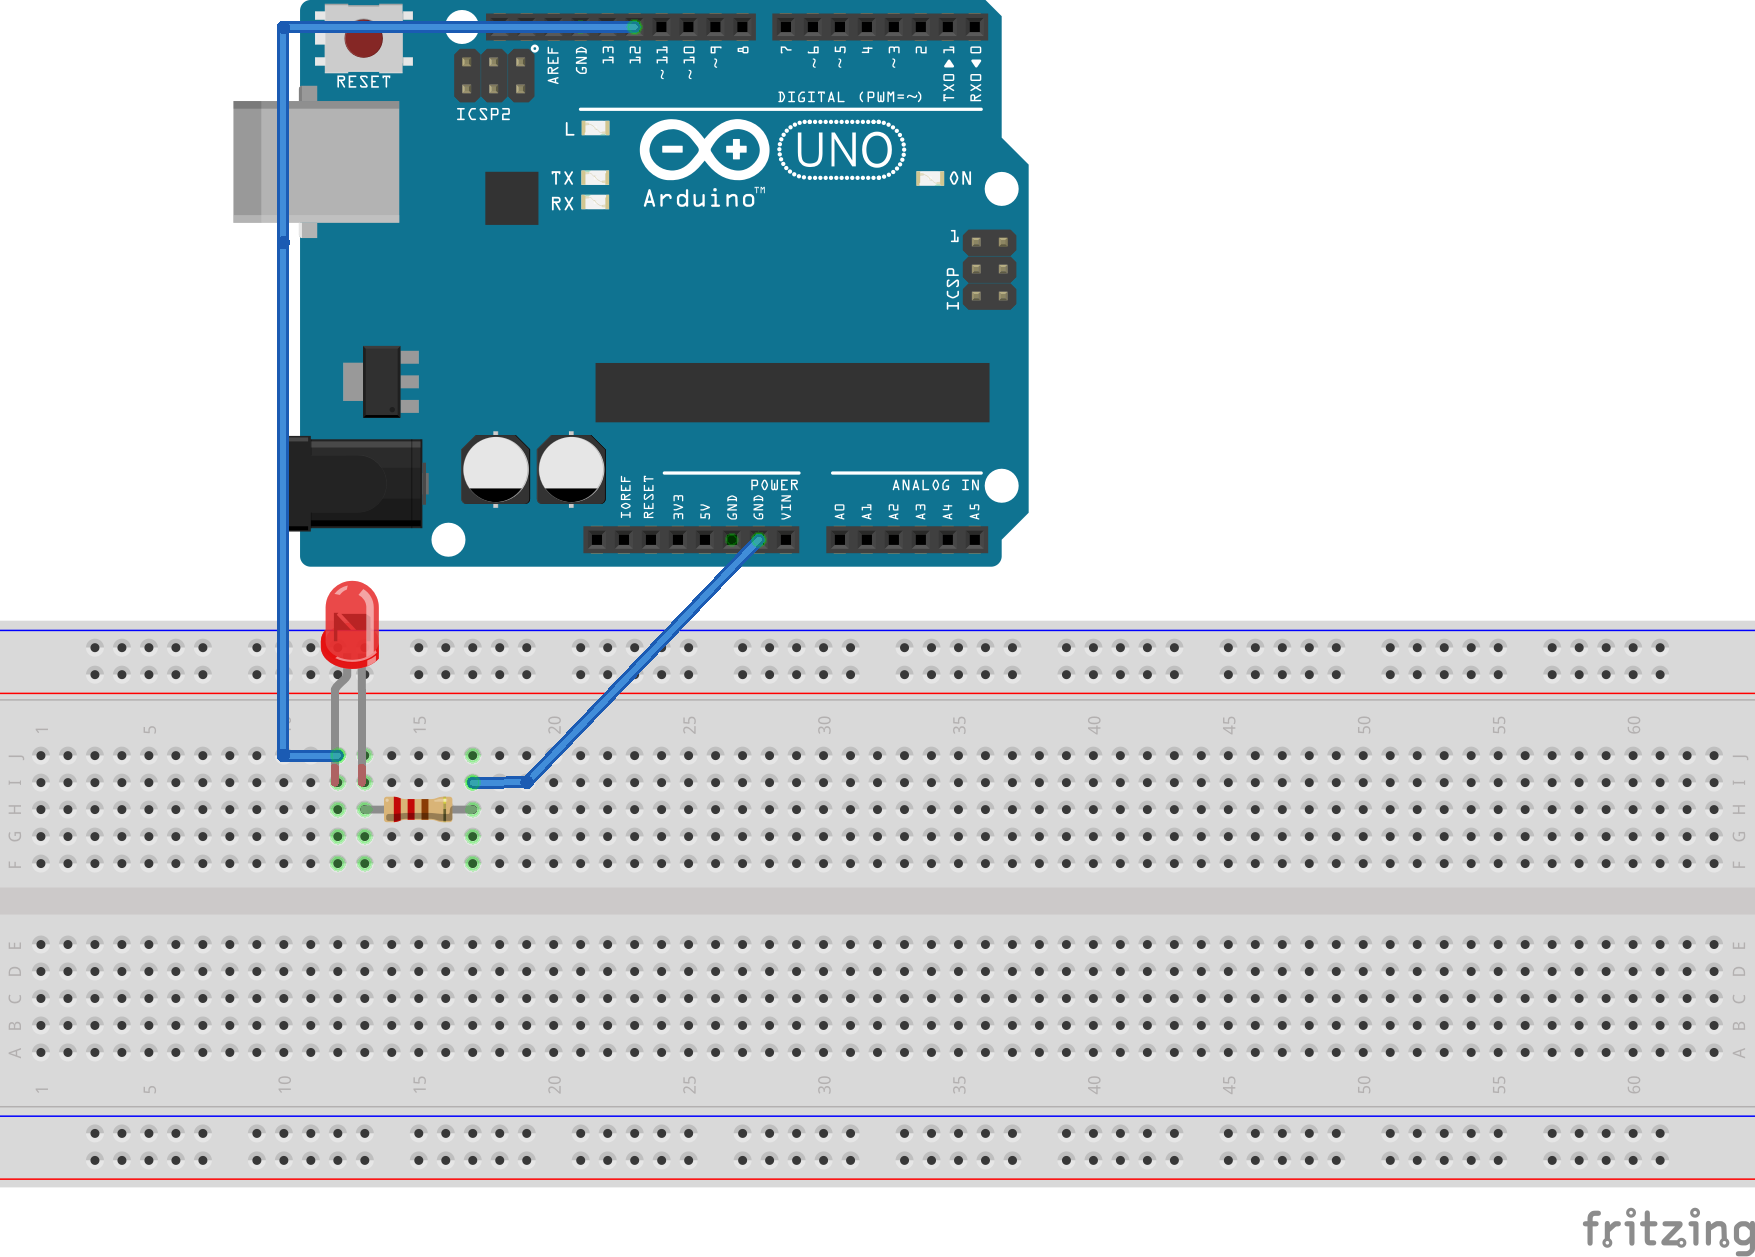
EVERYTIME WE USE THE ARDUINO, WE WILL HAVE TO FOLLOW THESE INSTRUCTIONS
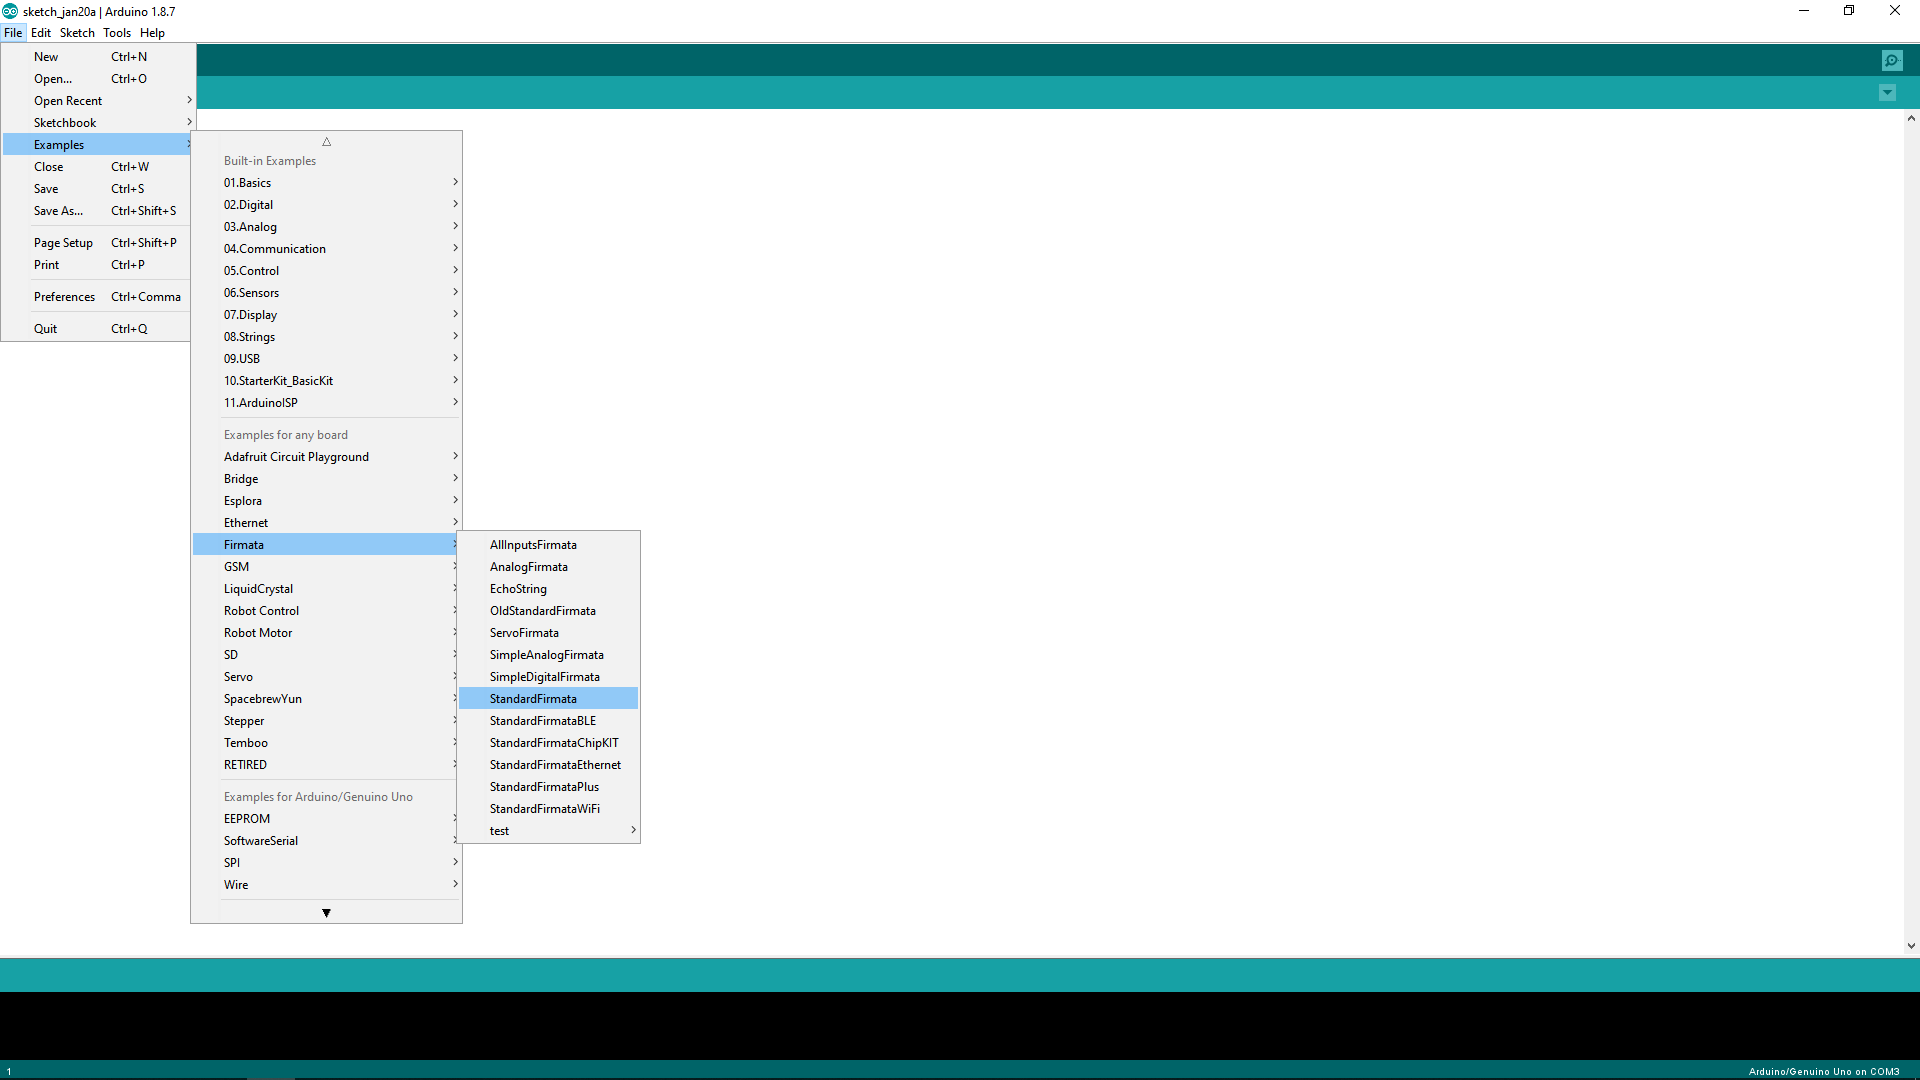
Open up the StandardFirmata Sketch
File --> Examples --> Fimata --> Standard Fimata
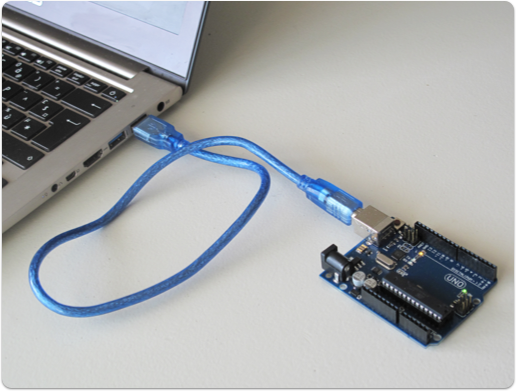
NOW CAREFULLY PLUG THE ARDUINO INTO THE COMPUTER.
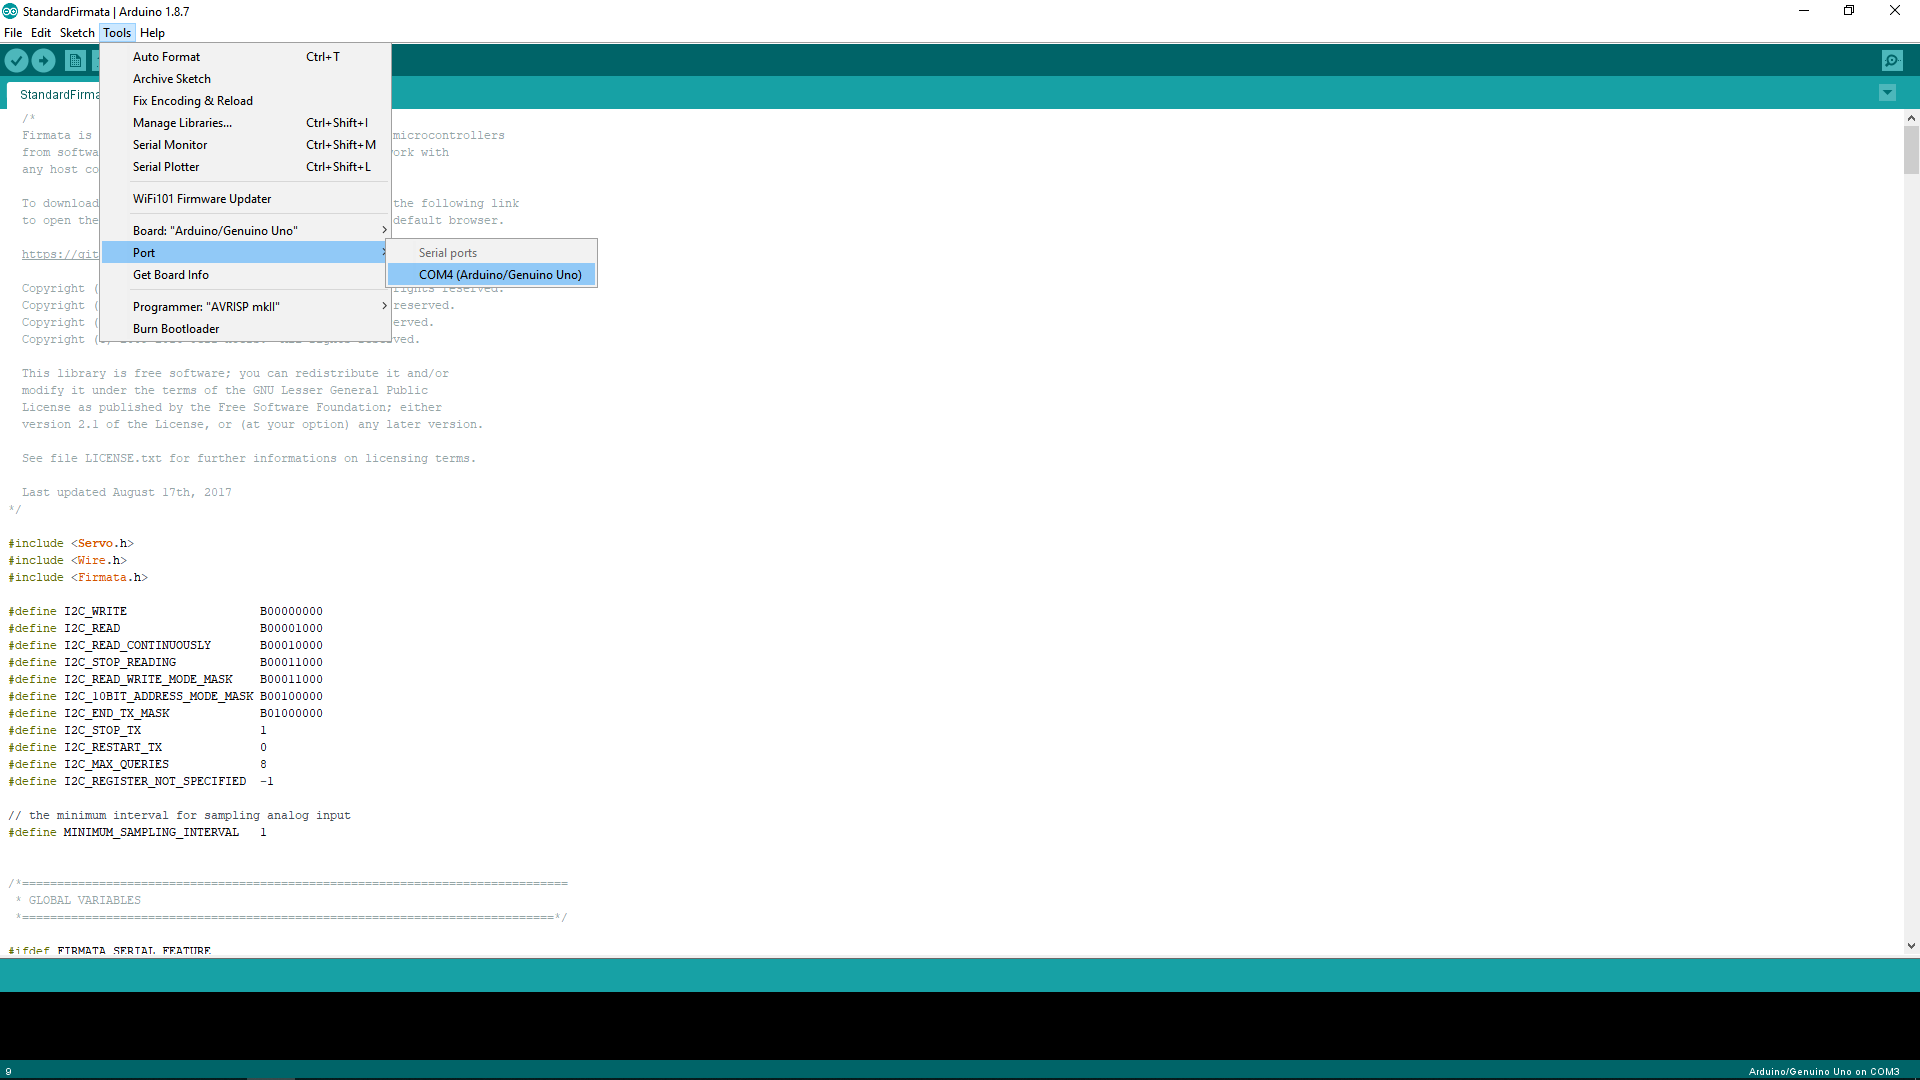
Select the Correct Port in
Tools -> Port -> Com4 ( Number might vary)
Port --> COM4
(Arduino/Geniuno Uno)
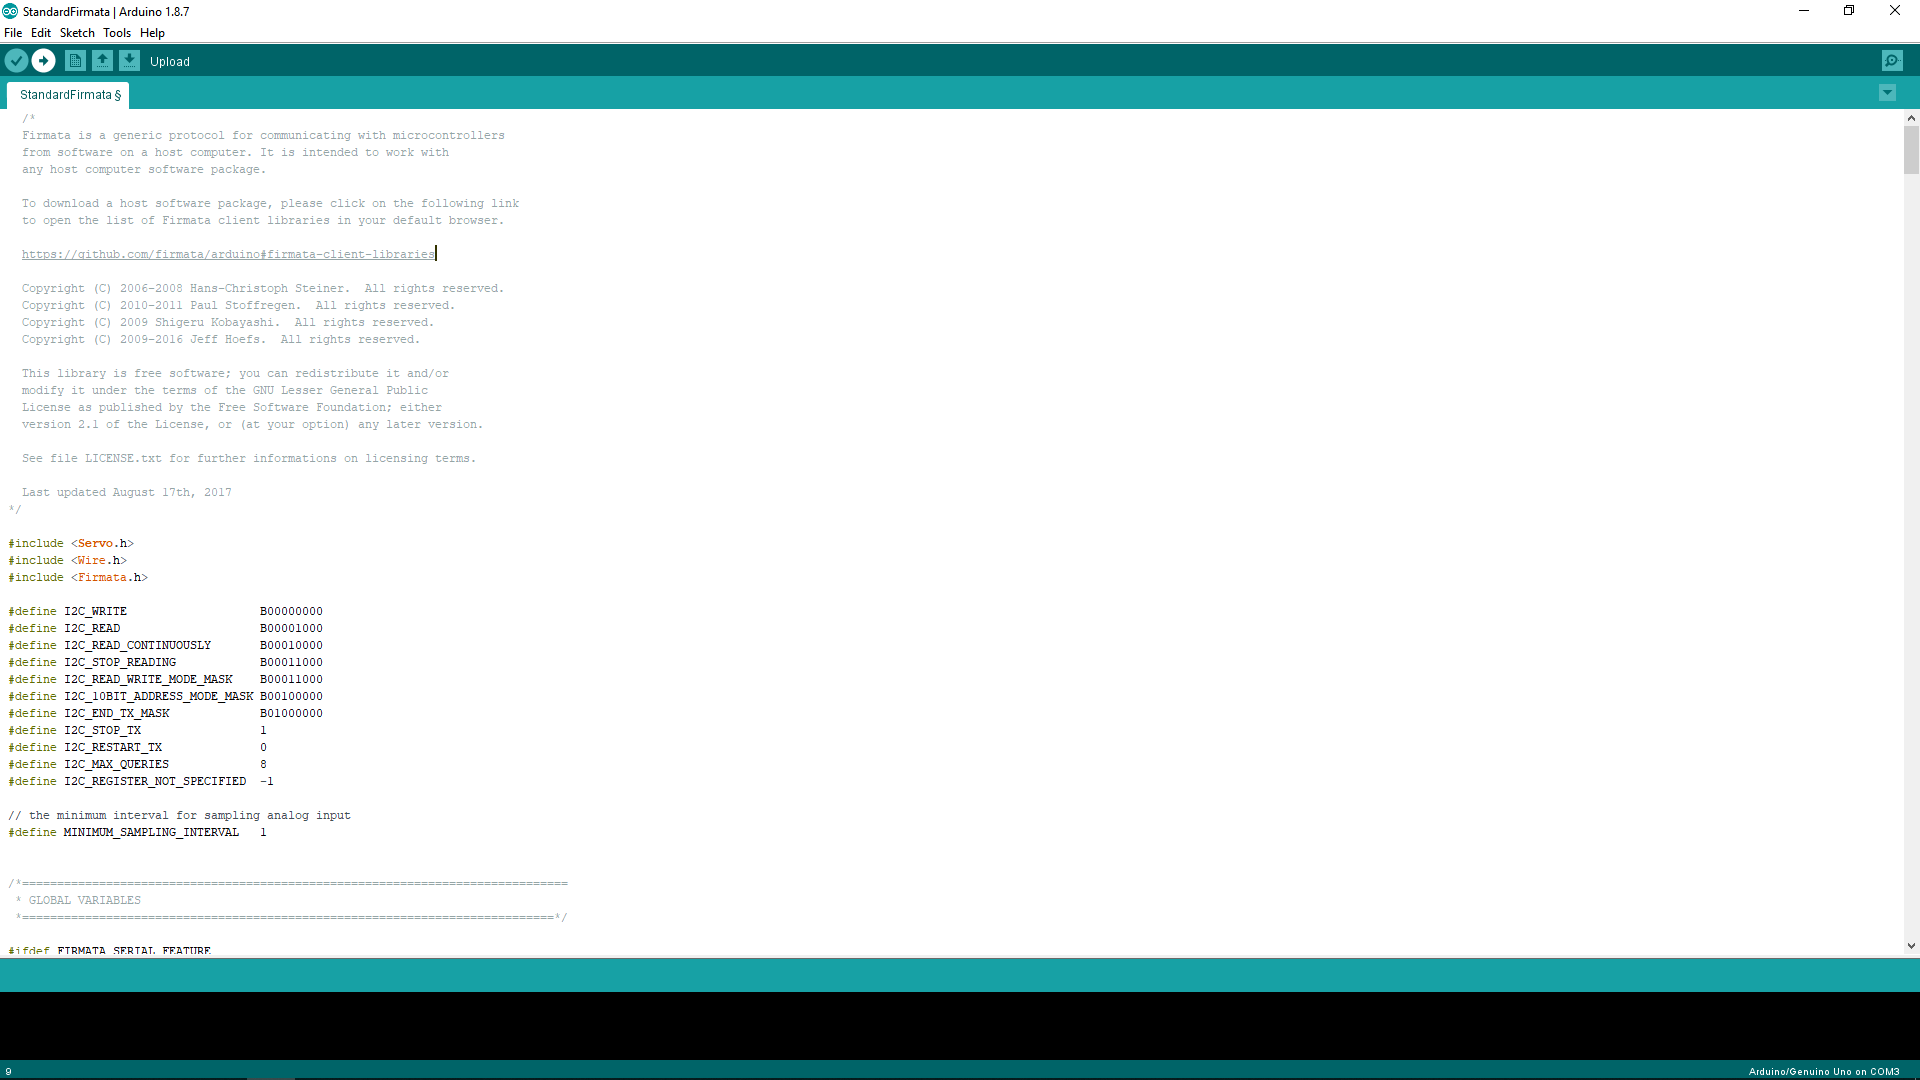
Select the UPLOAD button under Edit
NEXT
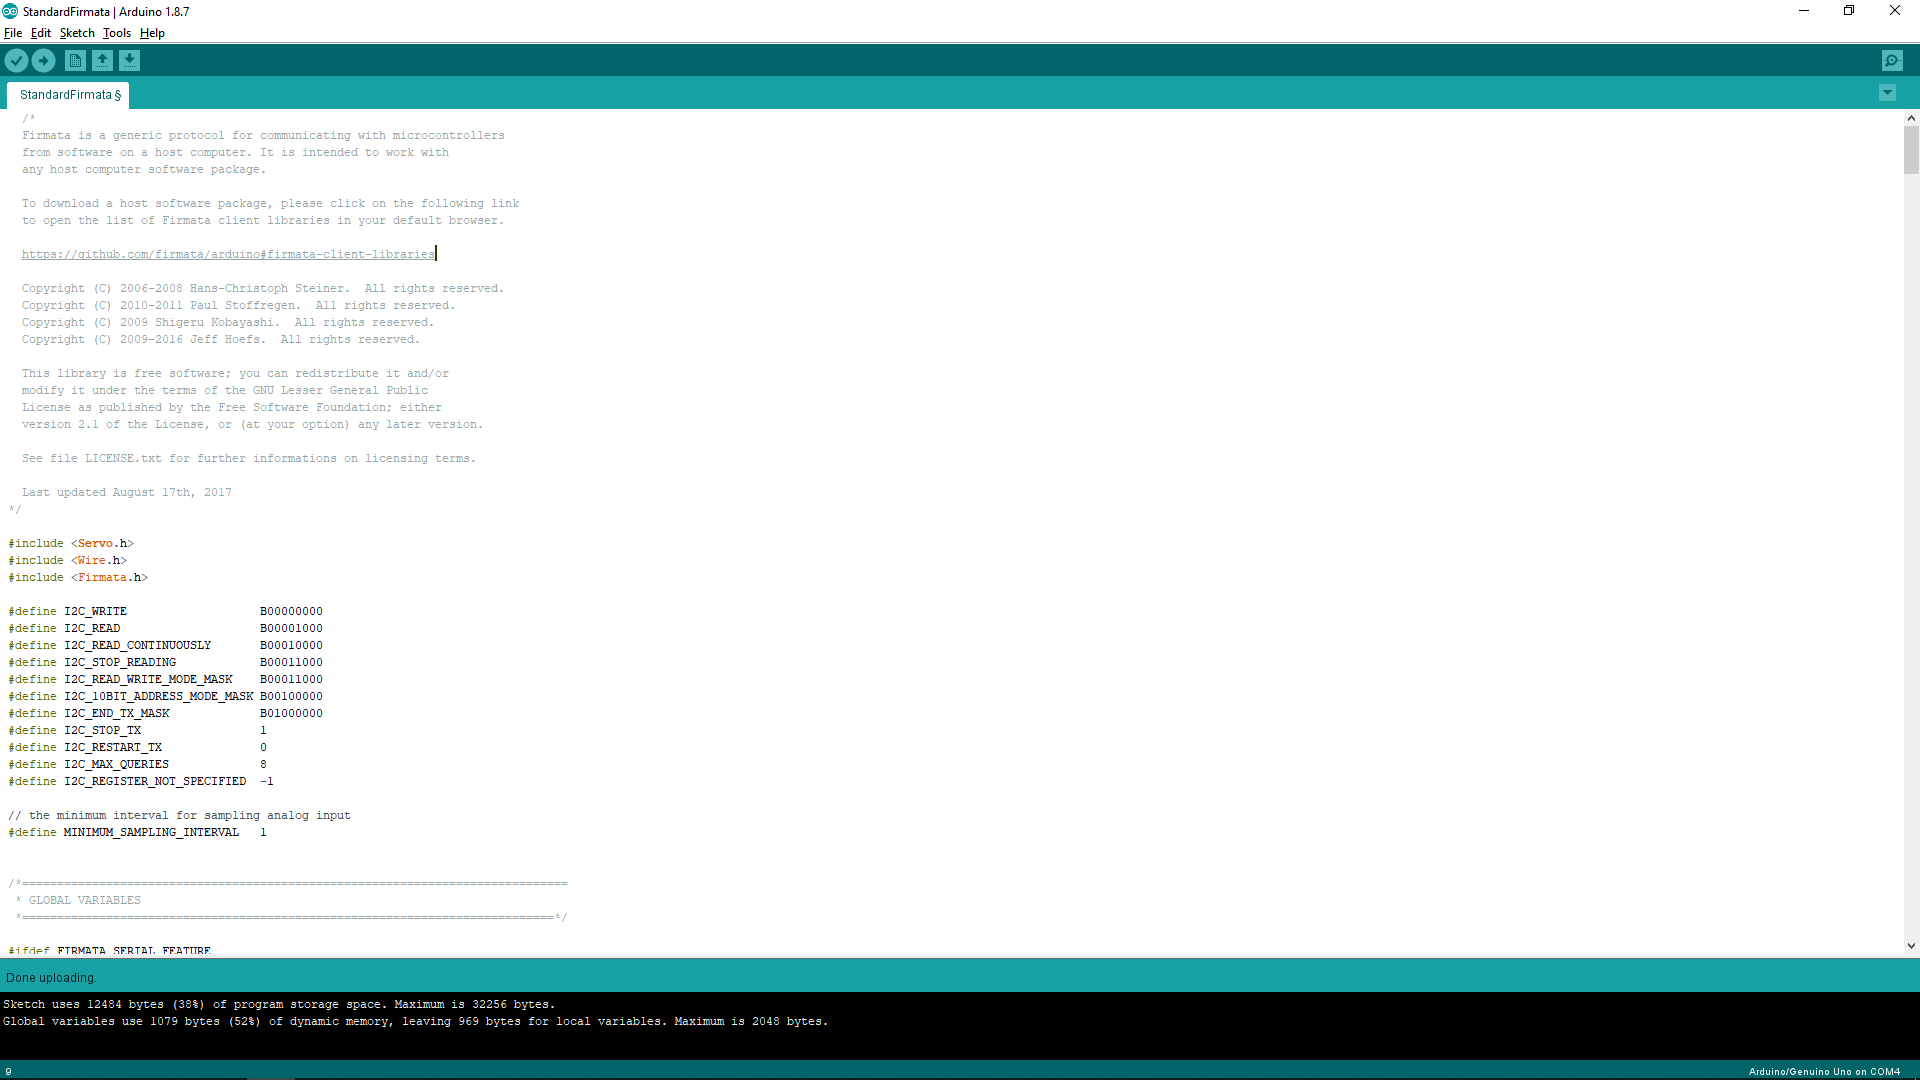
Ensure no errors down here
UPLOADING
NOW WE ARE GOING TO CLOSE THE IDE.
Now that it's closed...open up Snap4Arduino
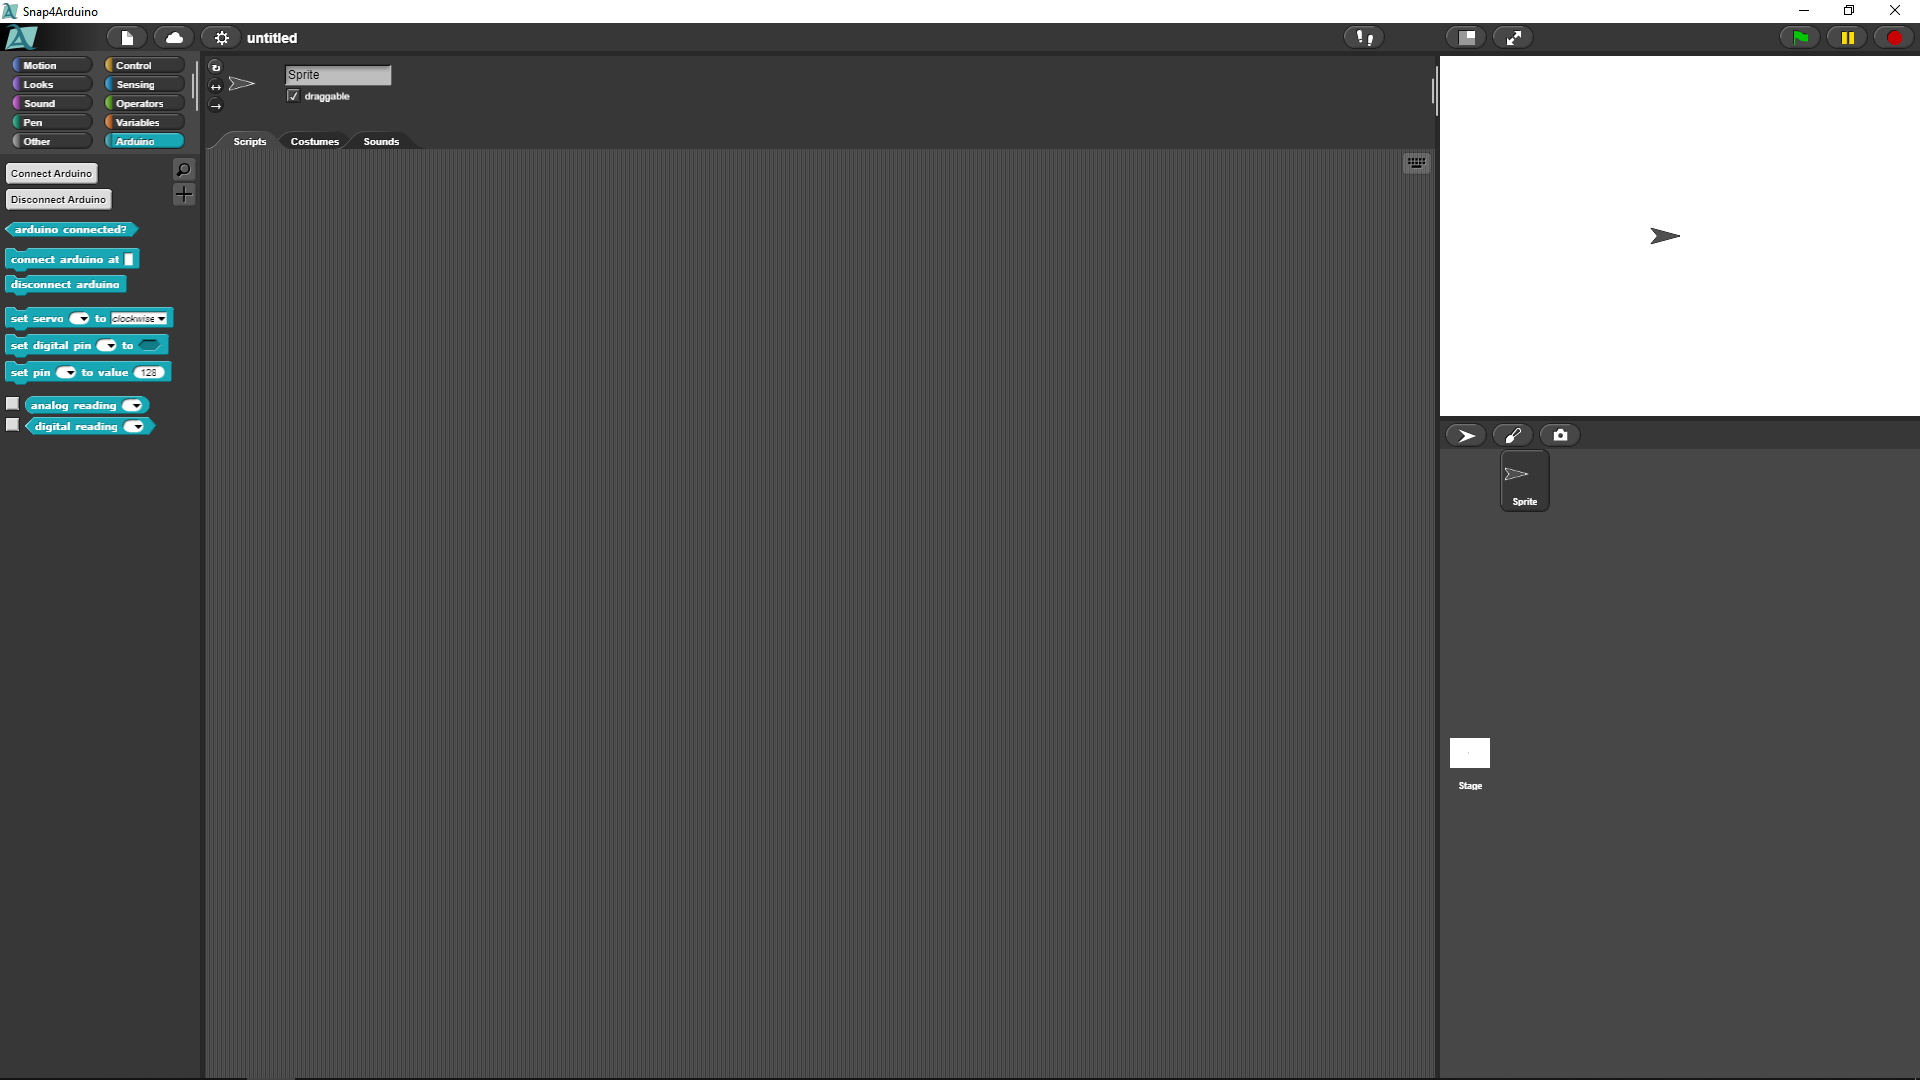
Navigate to the Arduino tab
Select Connect Arduino, and select the same COM port as you did in the IDE
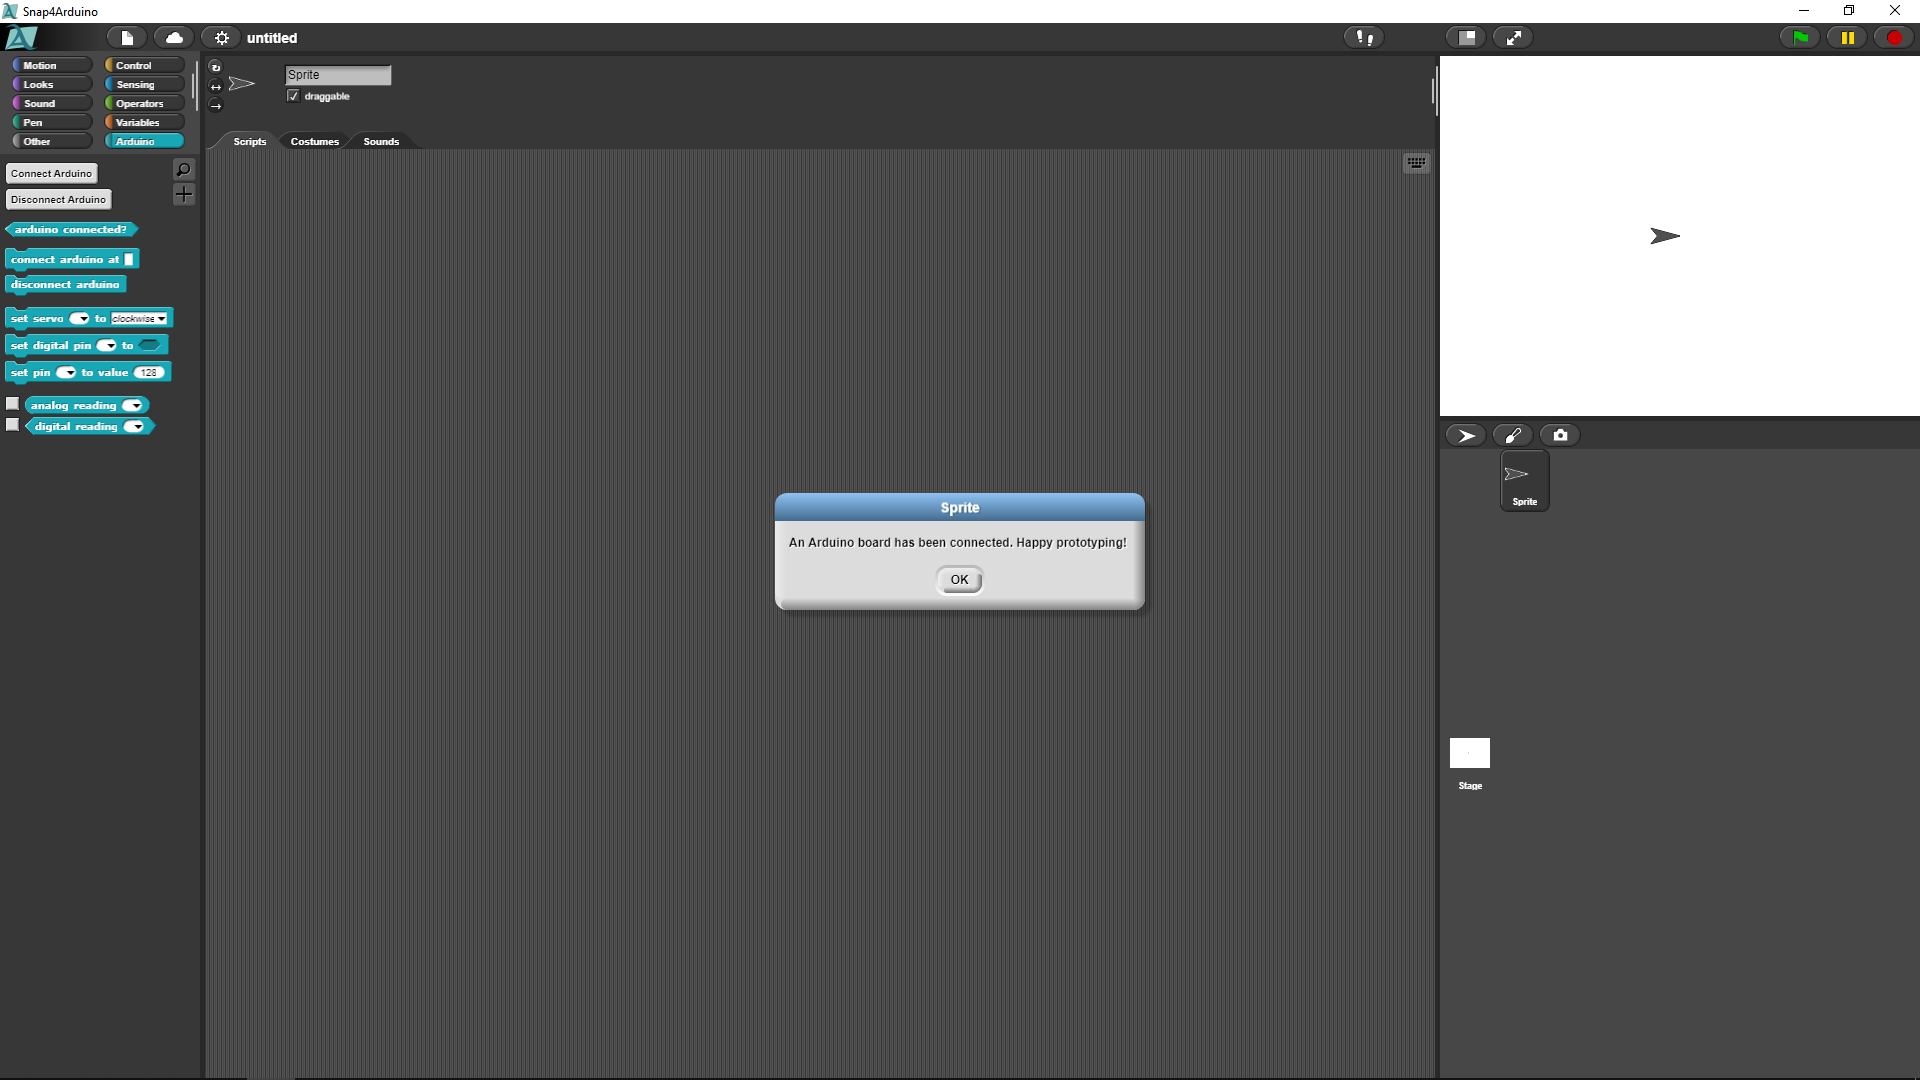
DID YOU GET THE MESSAGE?
NOW, LET'S TURN ON OUR LEDs!
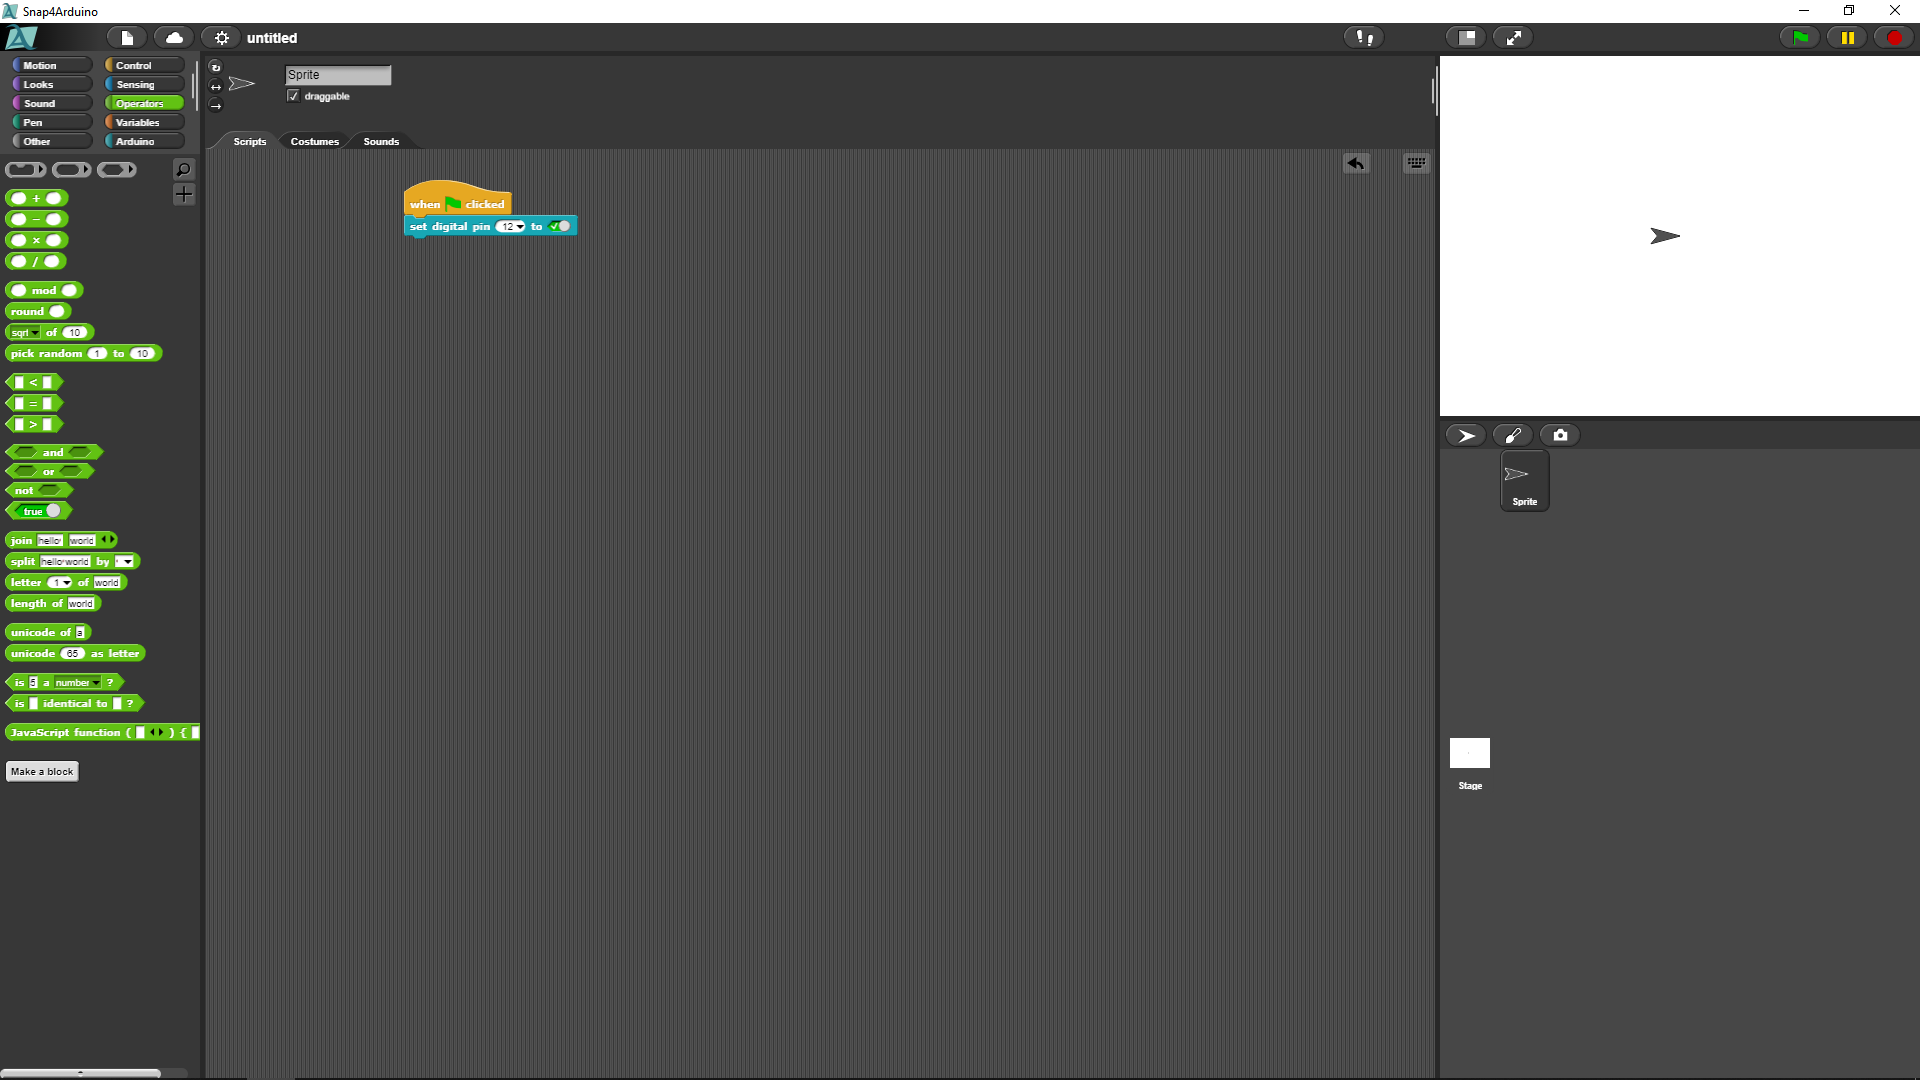
HOW CAN WE MAKE IT BLINK?
When flag is clicked
Forever
   Turn digital pin that LED is connected to ON
   Wait 0.2 sec
   Turn digital pin that Led is connected to Low
ENTER THIS CODE WITH THE BLOCKS
That's all for today, let's CLEAN UP.
Robotics Lesson 1 : Introduction to Robotics
By scholarstem


