Virtual Reality with Google Cardboard
Lesson 5: Personal Museum pt. 2

Instruction Overview

Understand
- How to import assets from the web to build a VR museum experience
Apply
- Upload a web asset to hang up on the walls built in lesson 4
- Collaborate and test with classmates to iterate design
Create
- Import and upload items that represent student's experience and interests to complete the VR Personal Museum
Create Goal
☐Complete your VR Personal Museum by uploading items that represent your life + interests
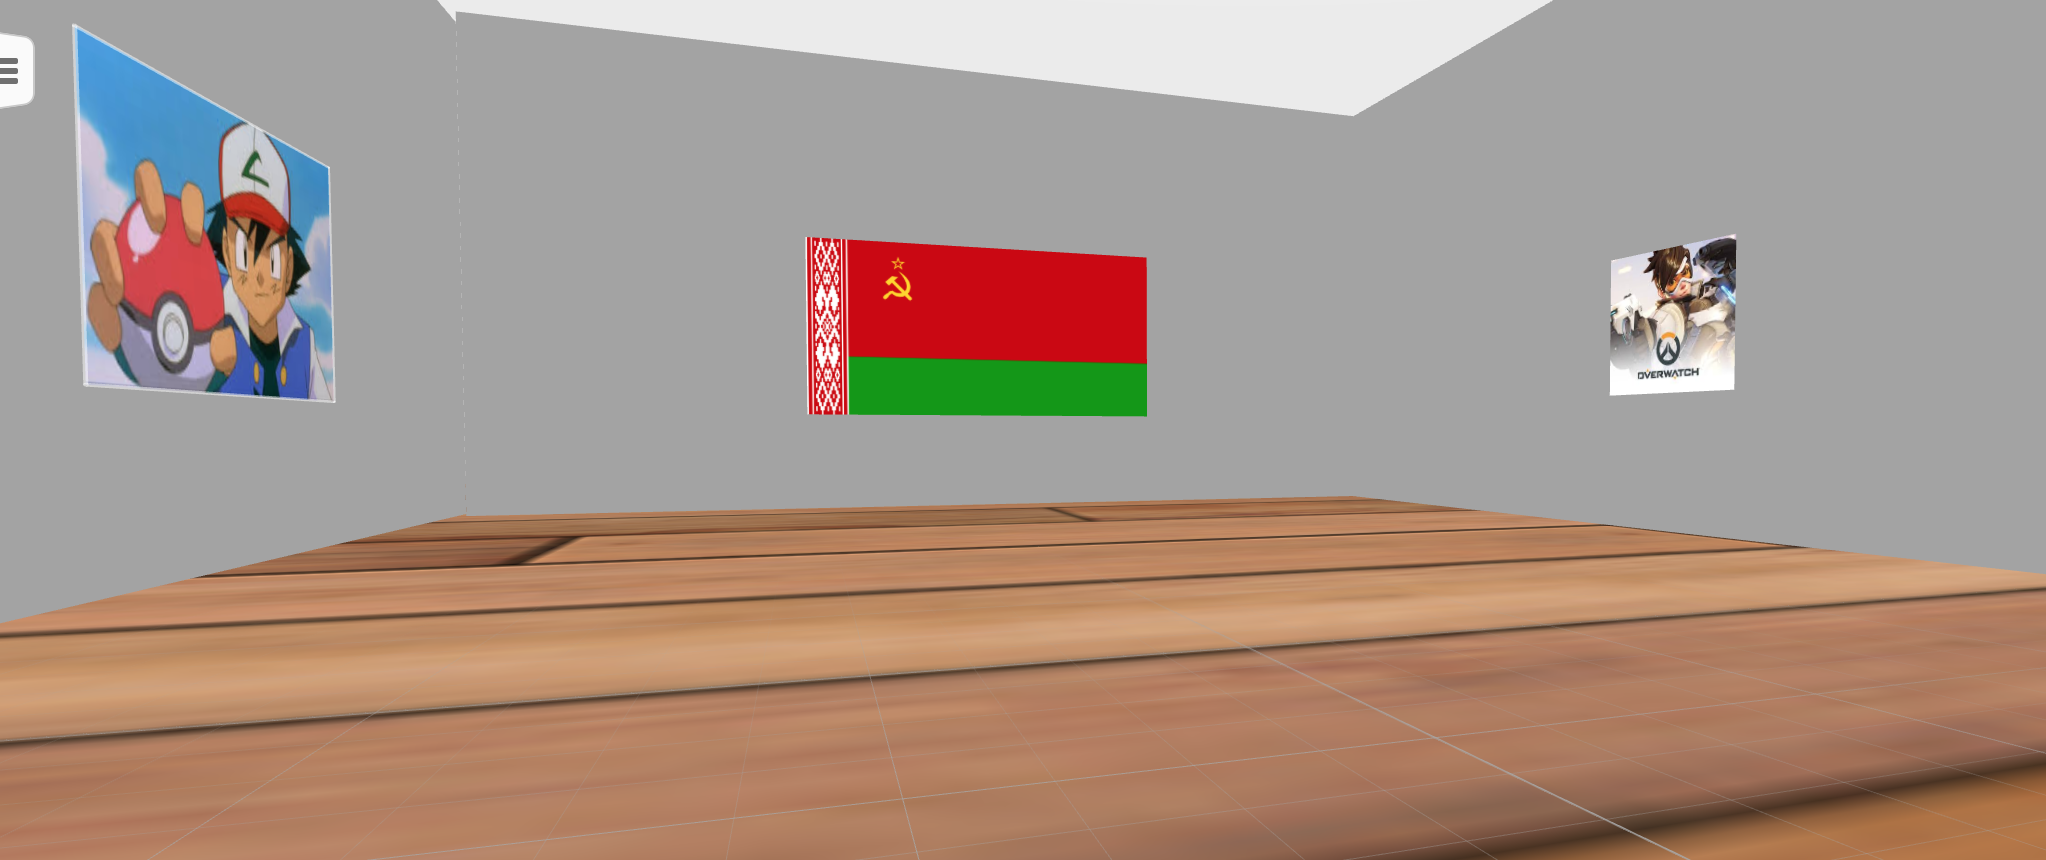
What's the next step?

We have our walls, now what?
A personal museum tells your story...in VR!
You will hang up items that give the visitor some info about your life
It can include:
- Where your family is from
- Your favorite TV/Movies
- Games or apps that you love
- Anything else!
Remember
Task
☐Write down 5-10 items that you want to include in your museum experience
5 min
Ideas
- Where your family is from (flag, famous people, etc.)
- Your favorite TV/Movies
- Games or apps that you love
- Anything else!
Anyone want to share their list?
Tell us about your museum!

Task
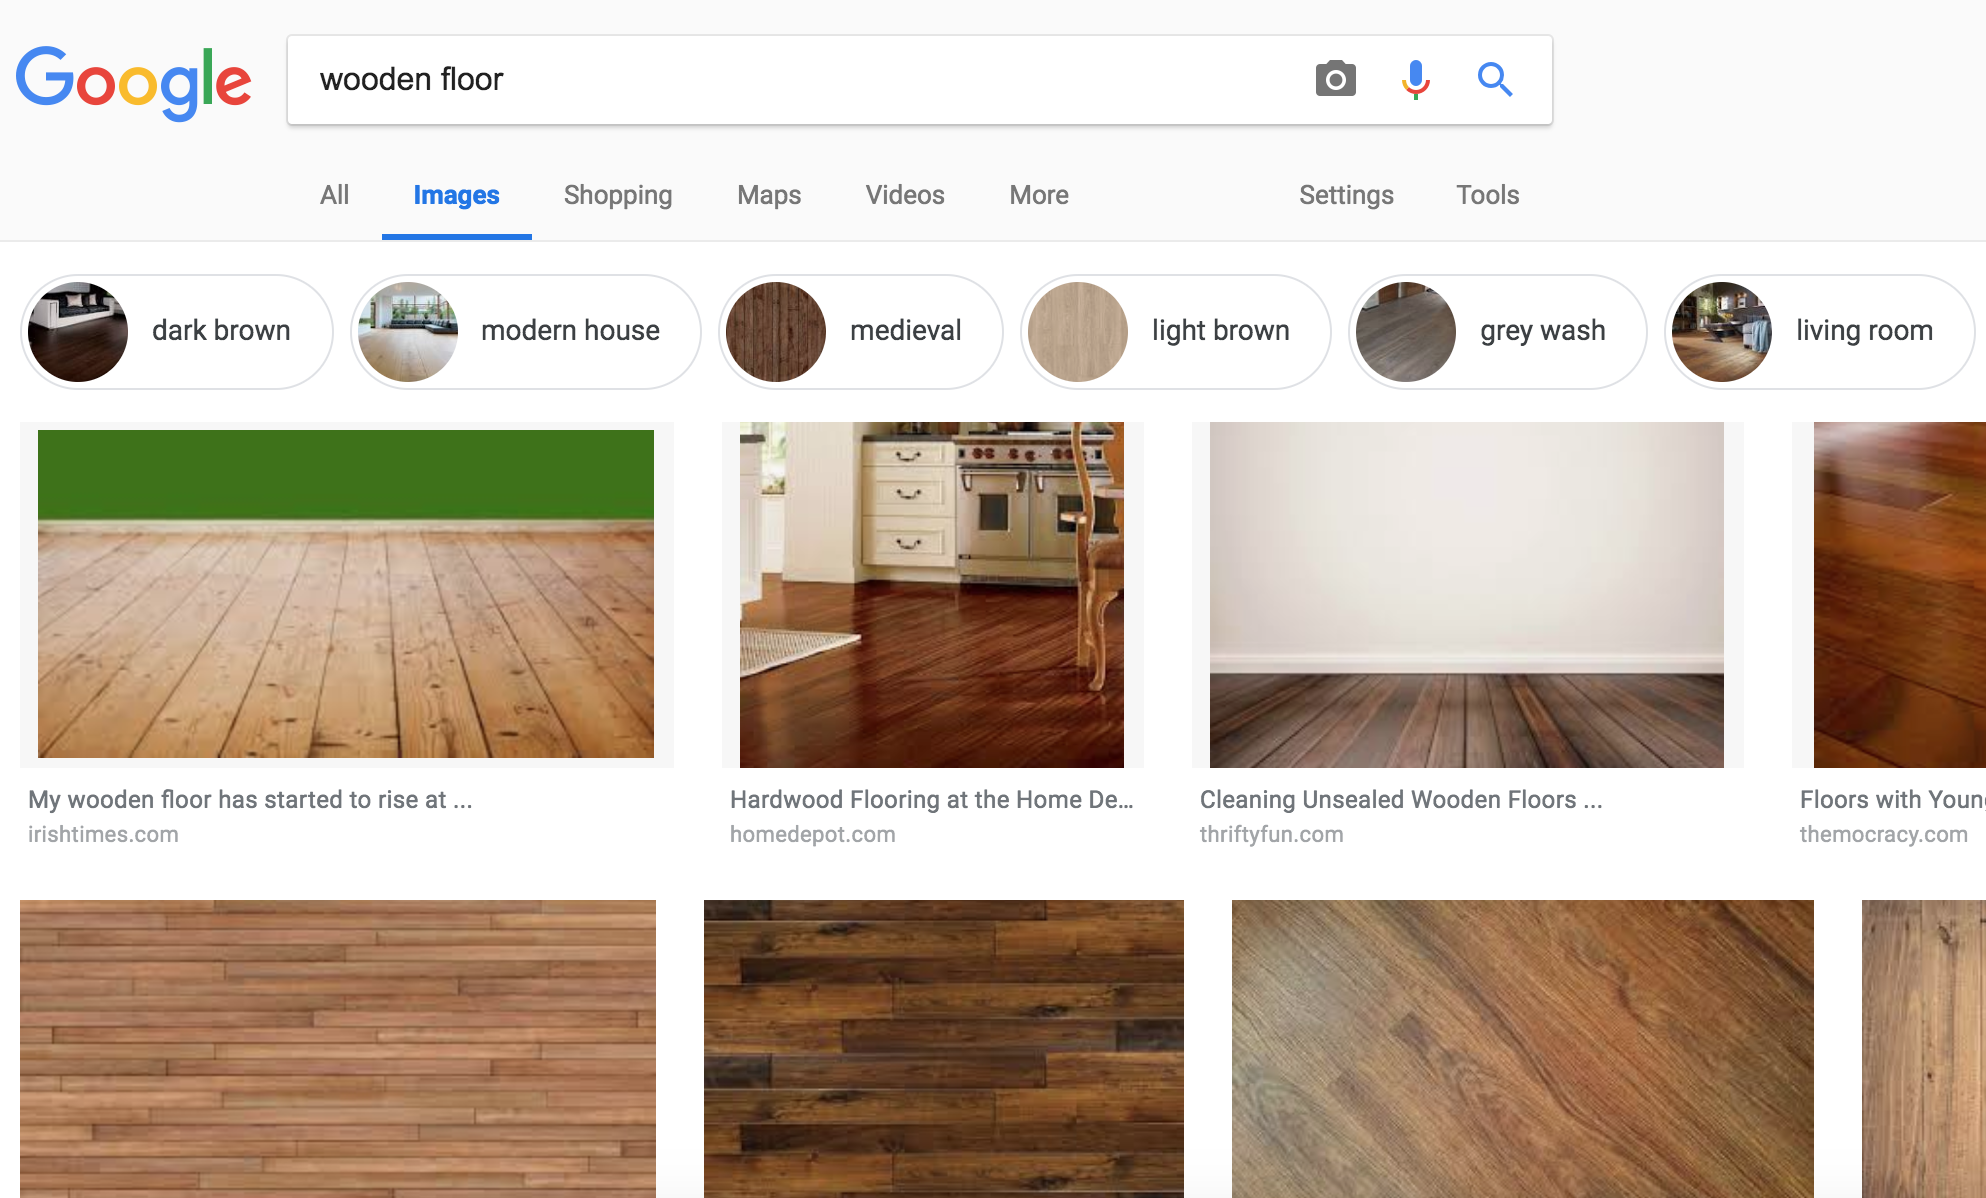
☐Download the images on your list from Google Images
5 min
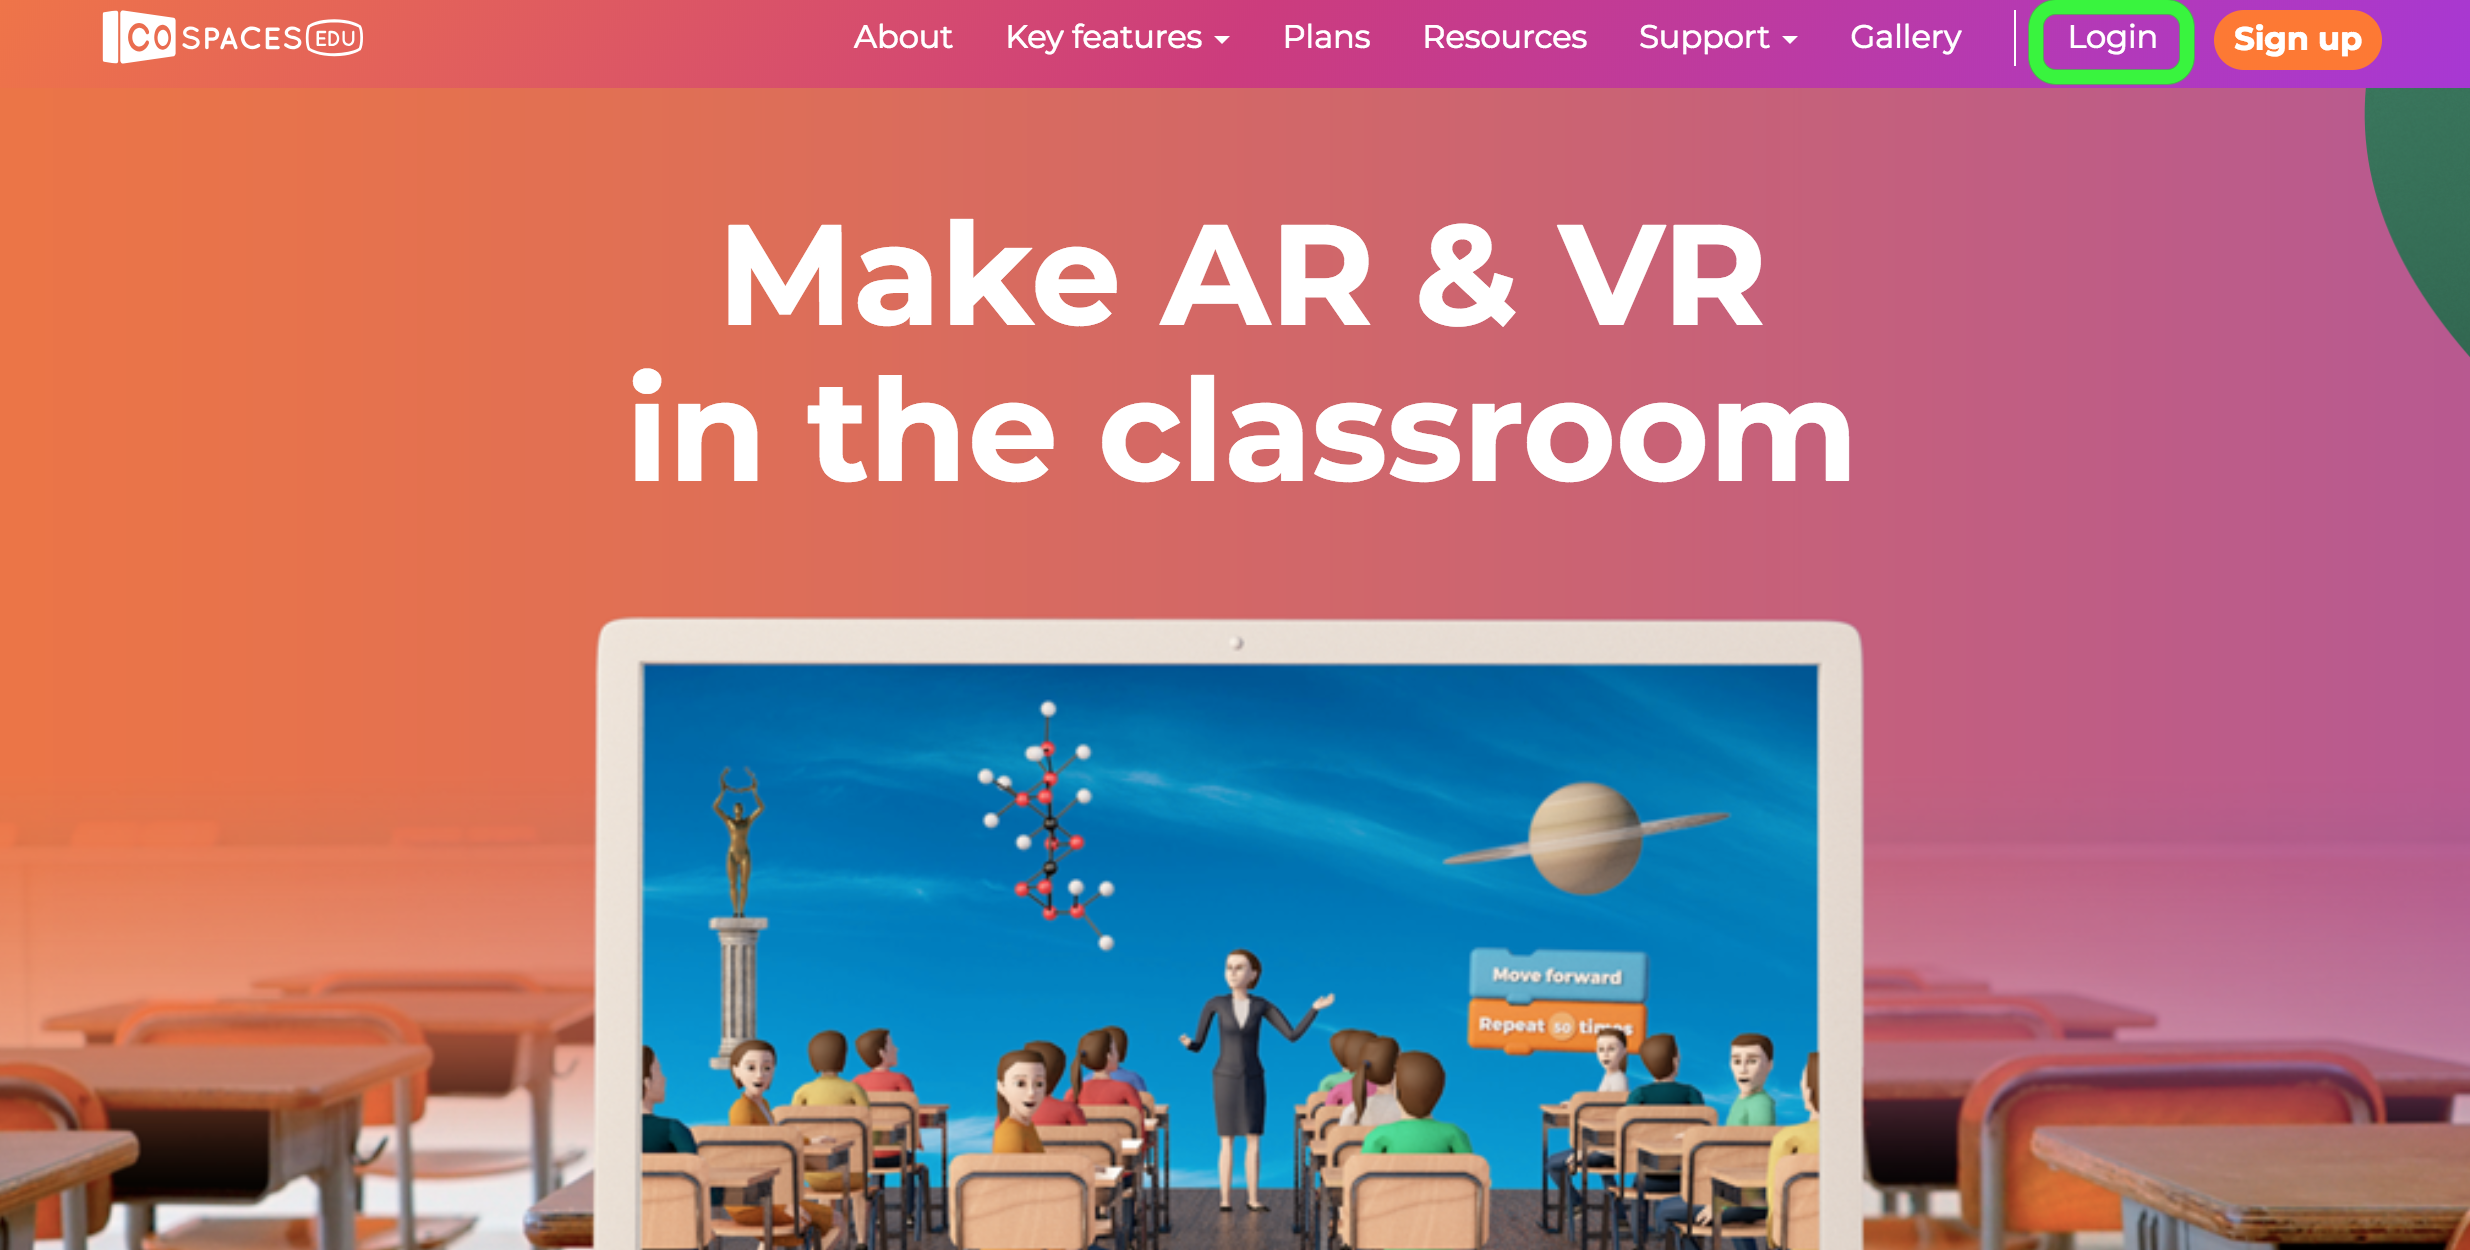
Let's log into CoSpaces
Visit www.cospaces.io

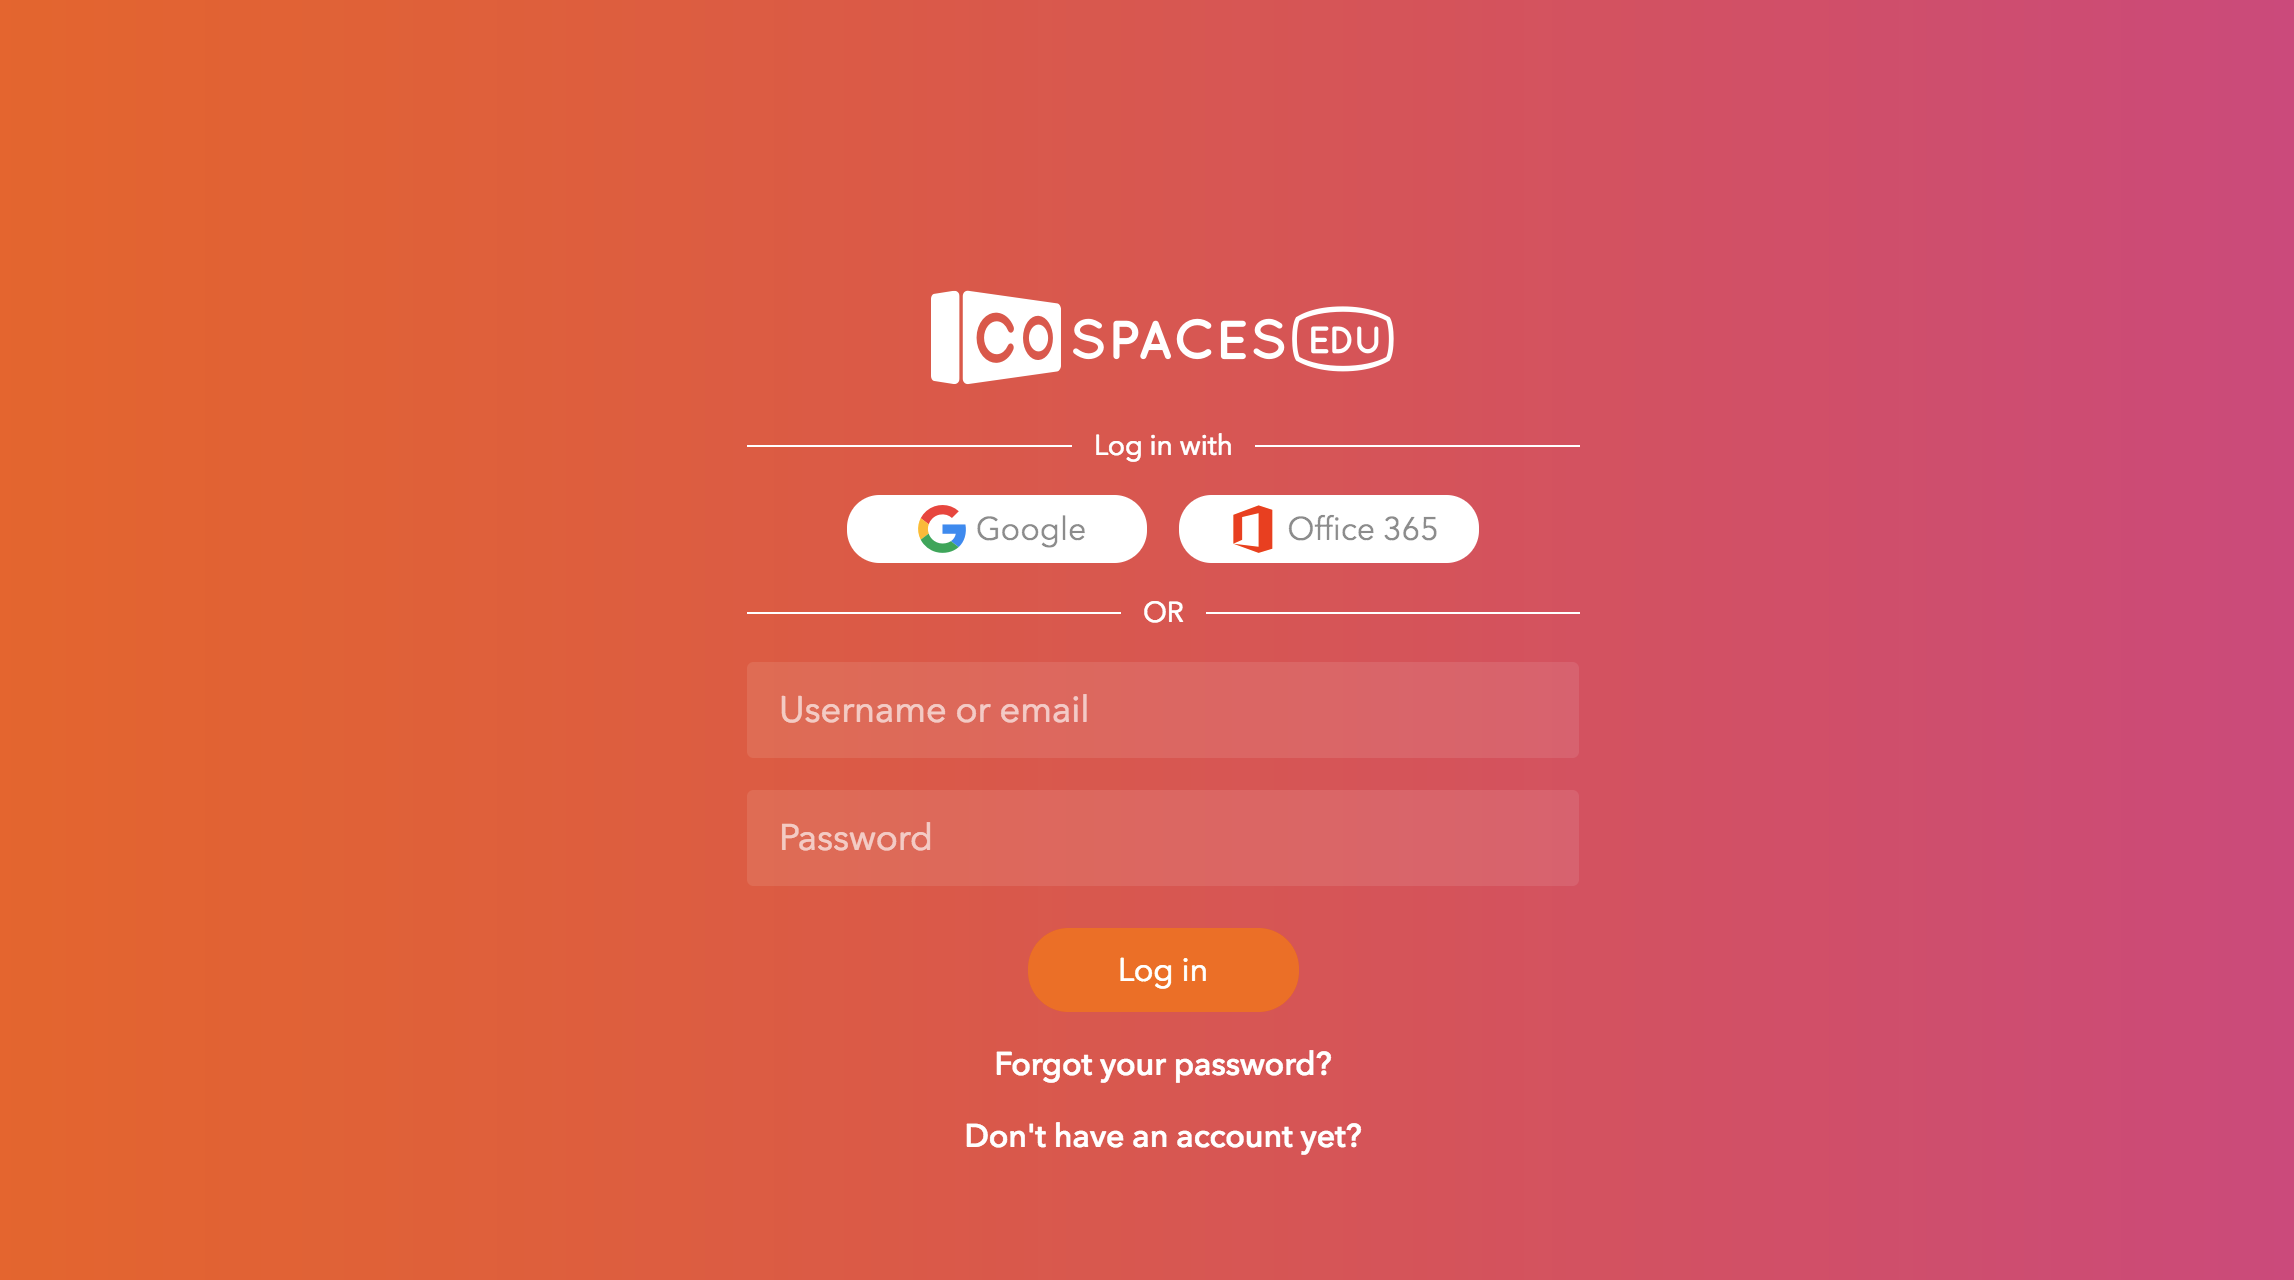
Log in with your username and password
Your instructor will hand this out

Click Free Play and open your museum space from last class

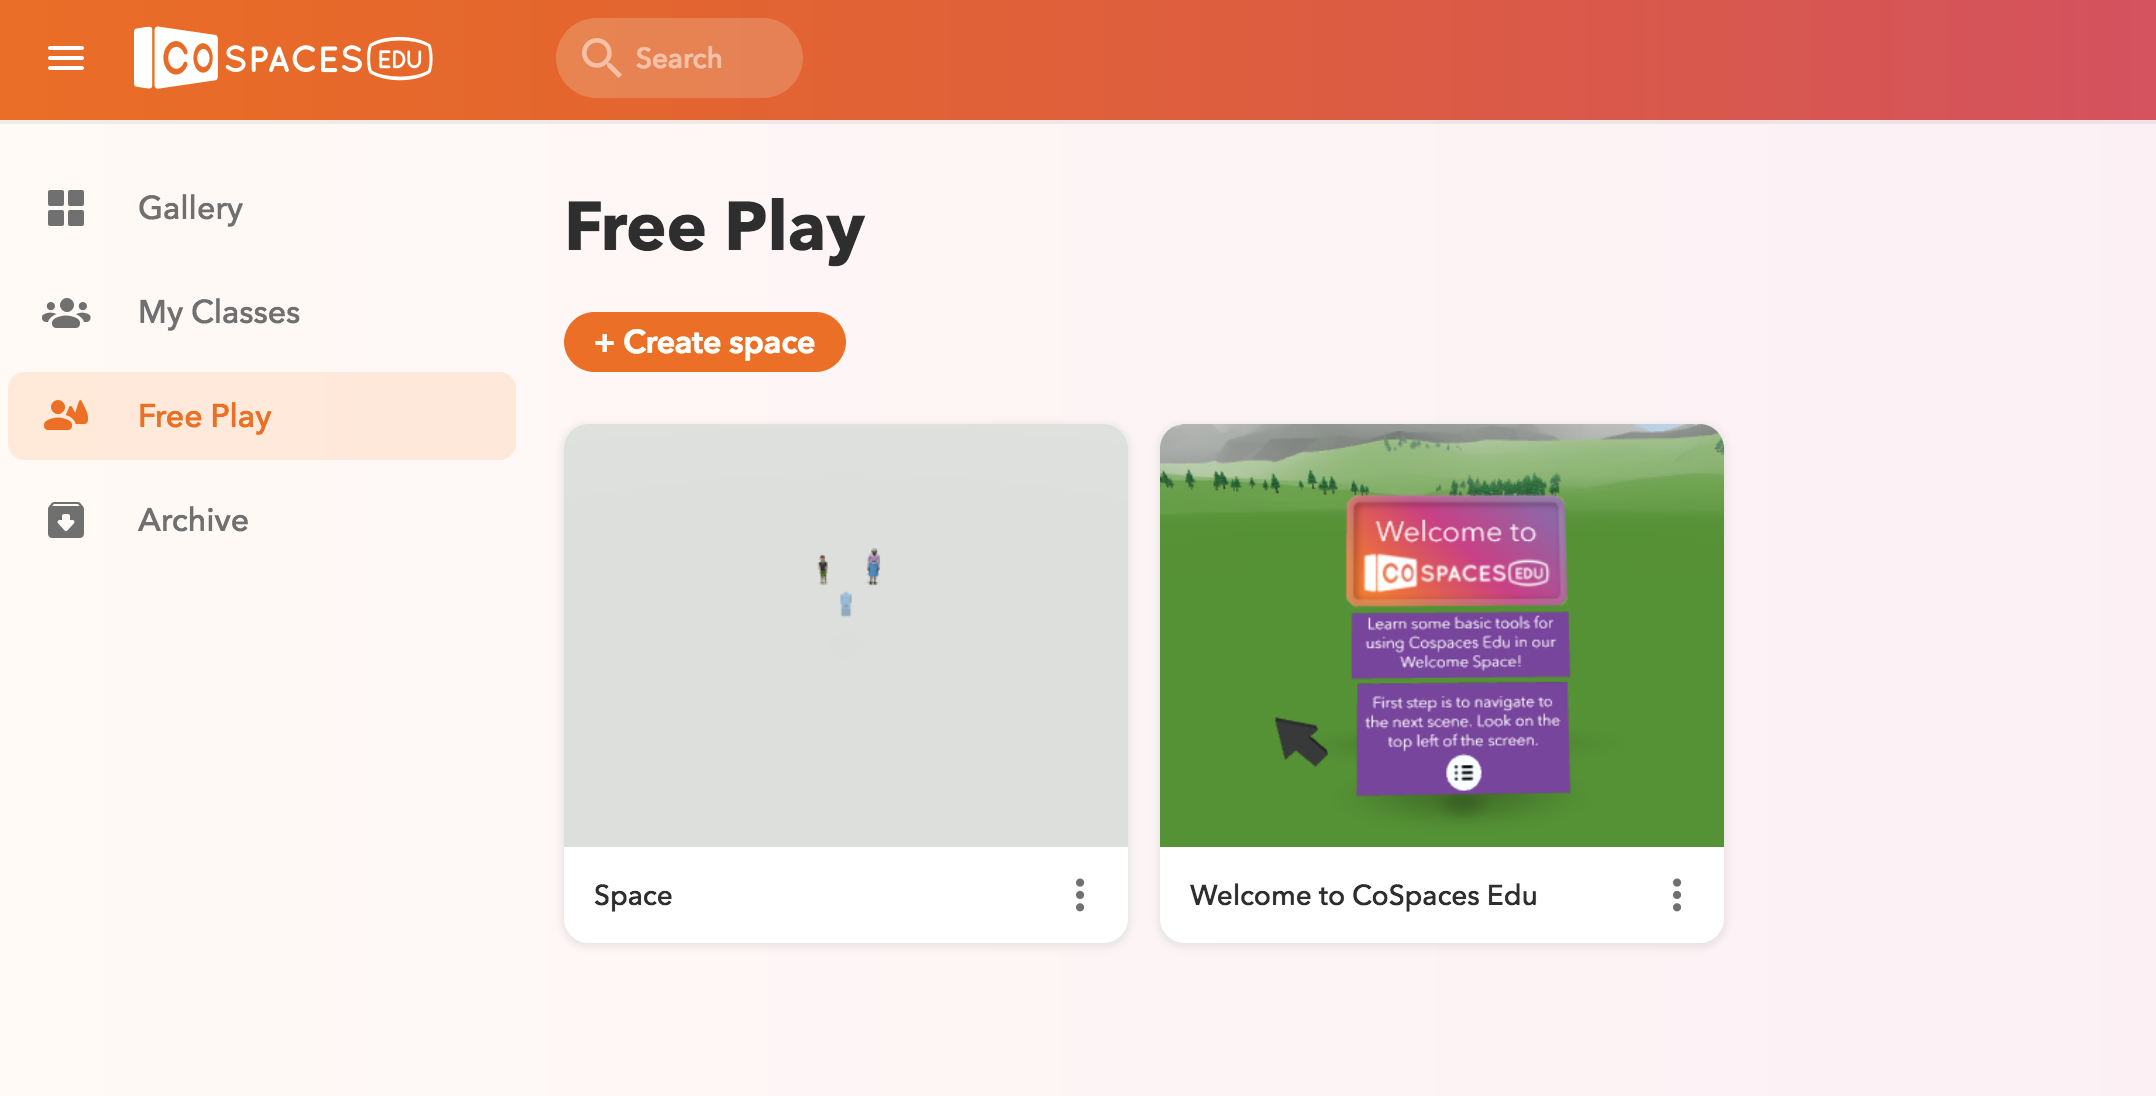
Time to upload your images to the library

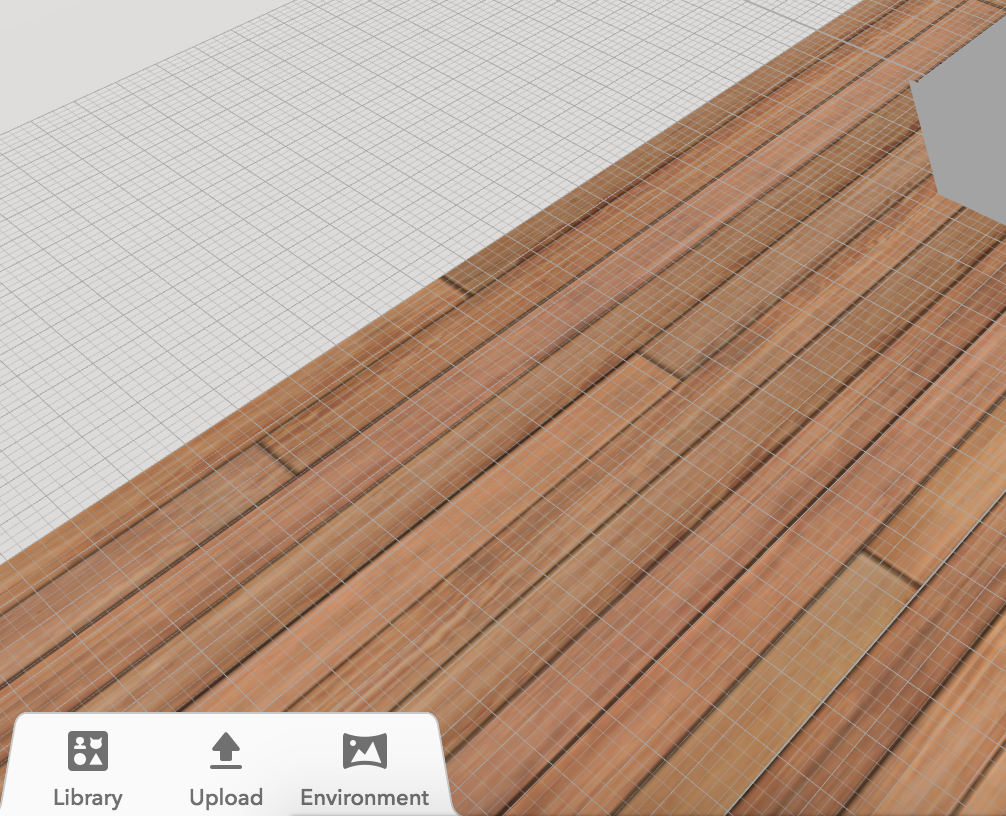
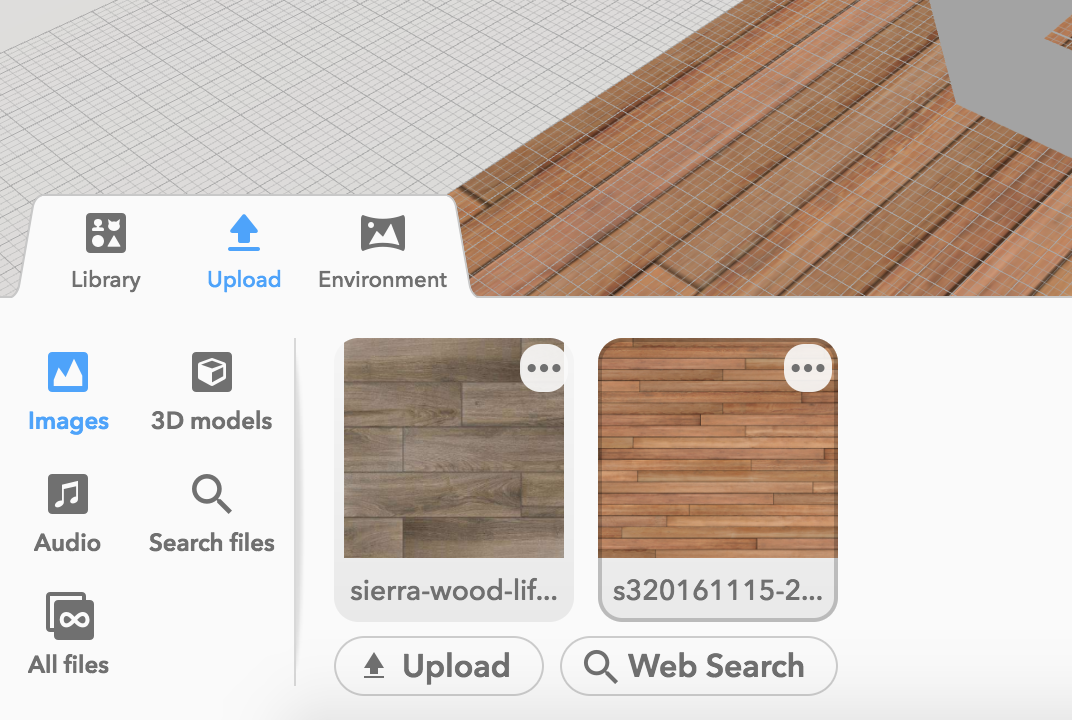
Upload all of your images this way!
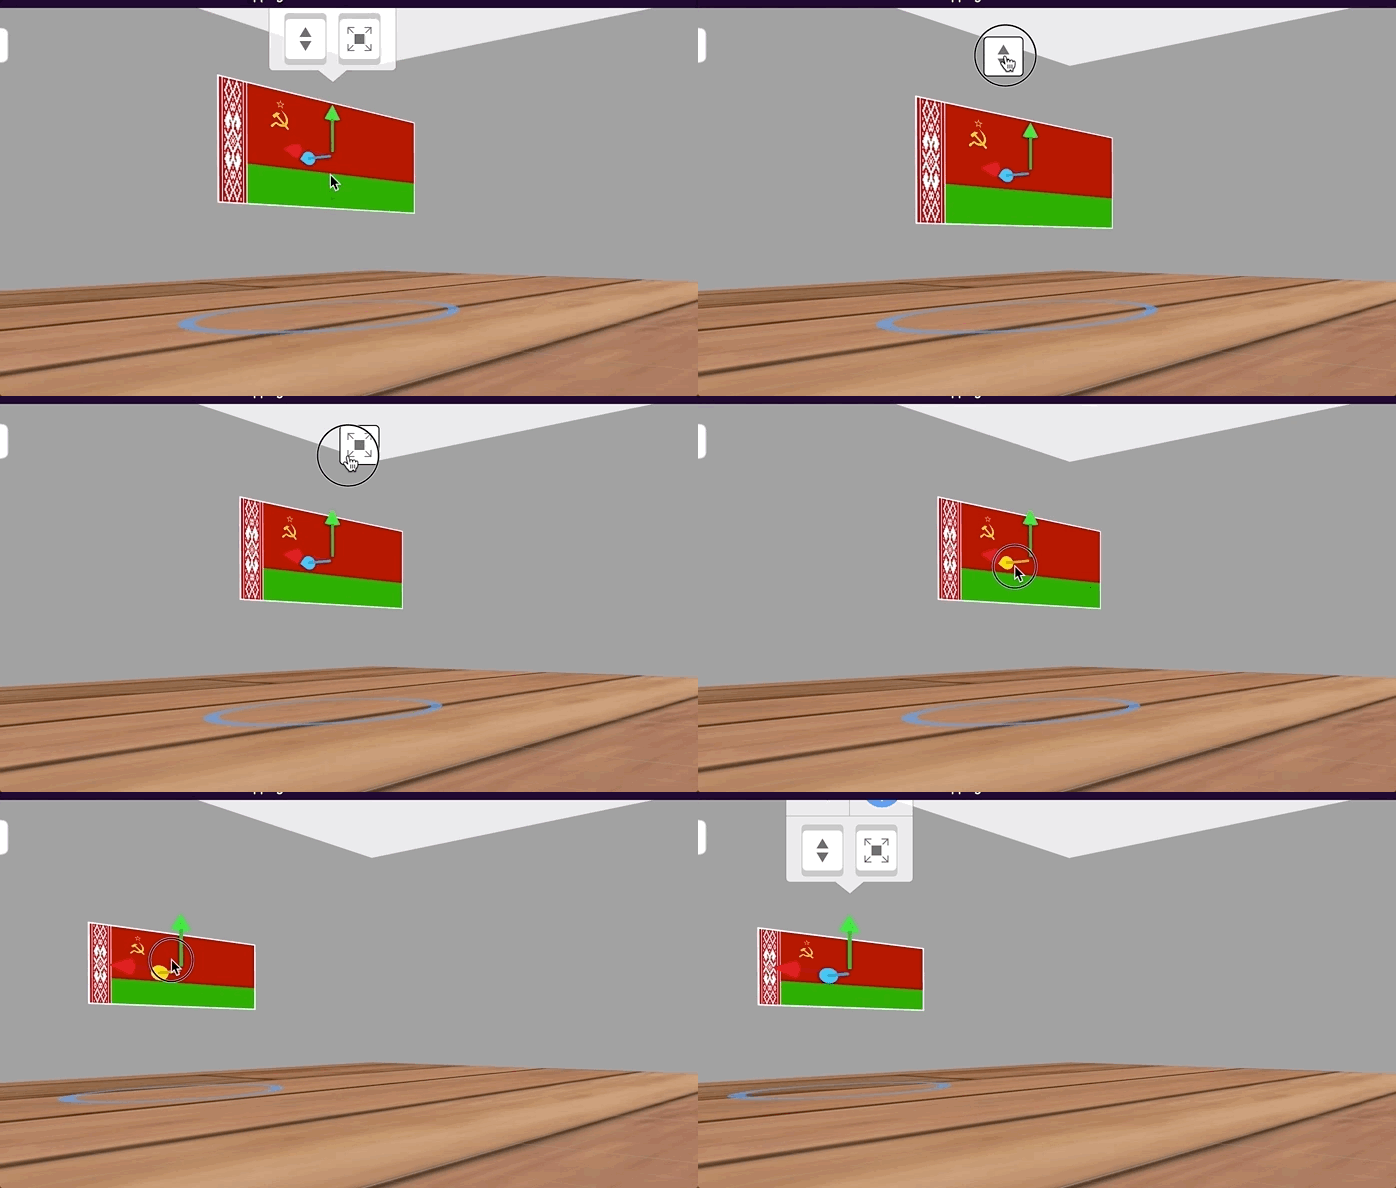
Drag the images from the library into the space
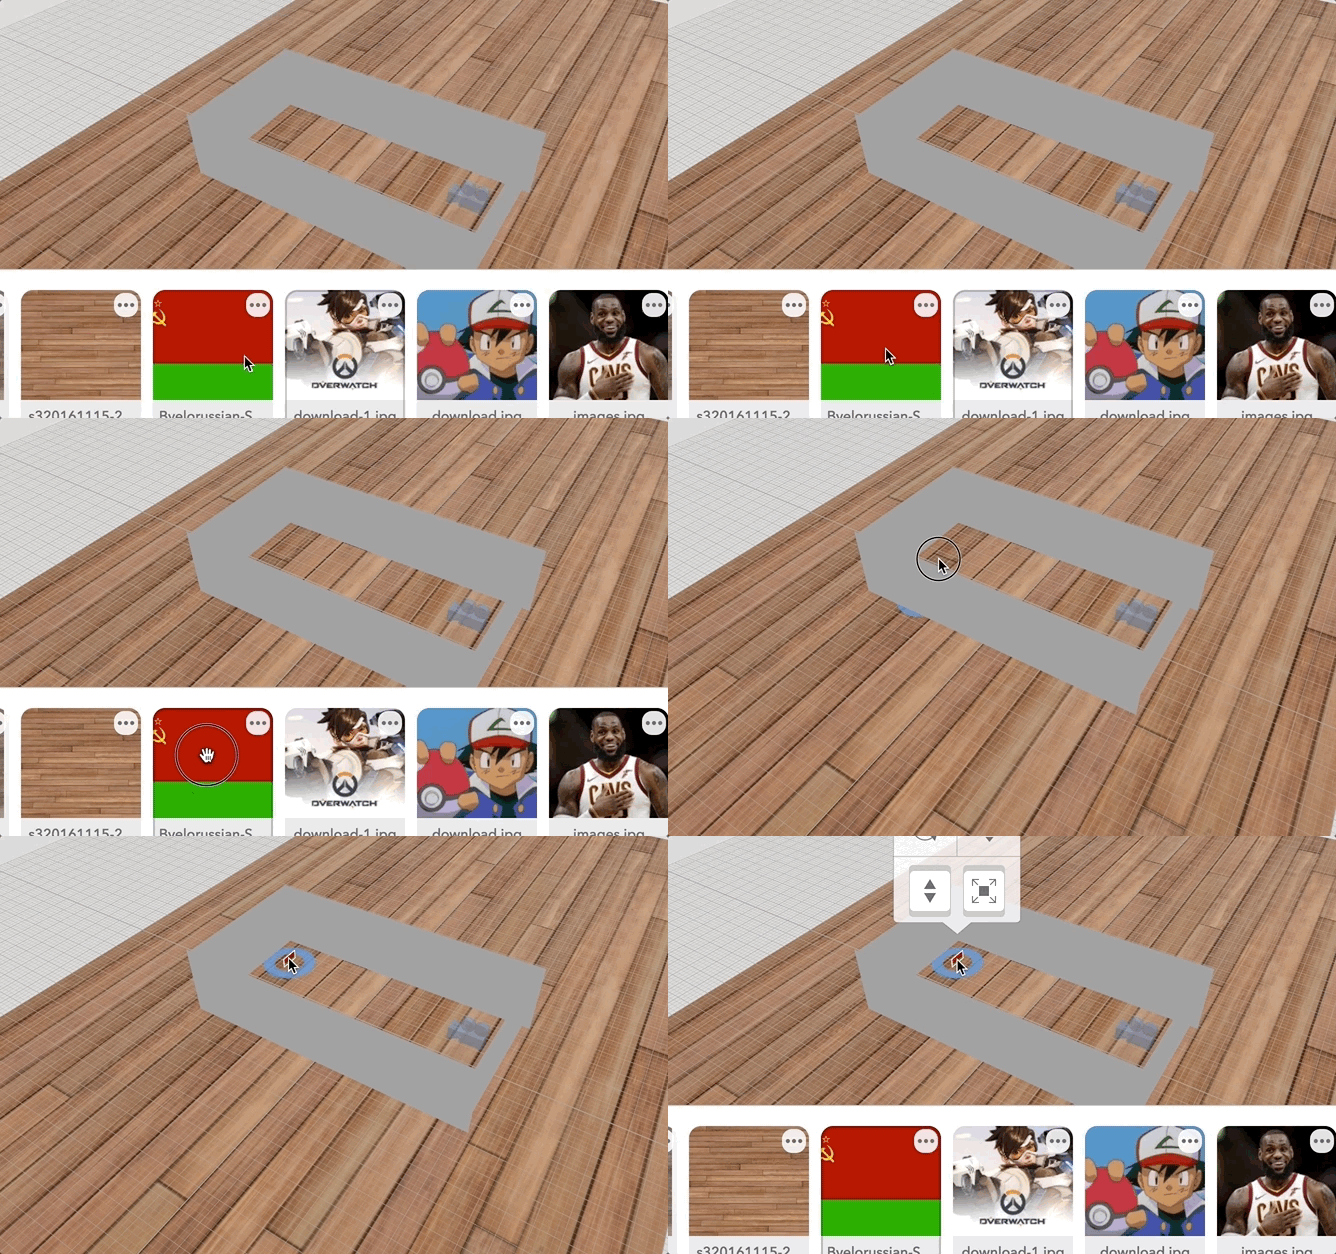
Task
☐Attach your museum items to the walls
10 min
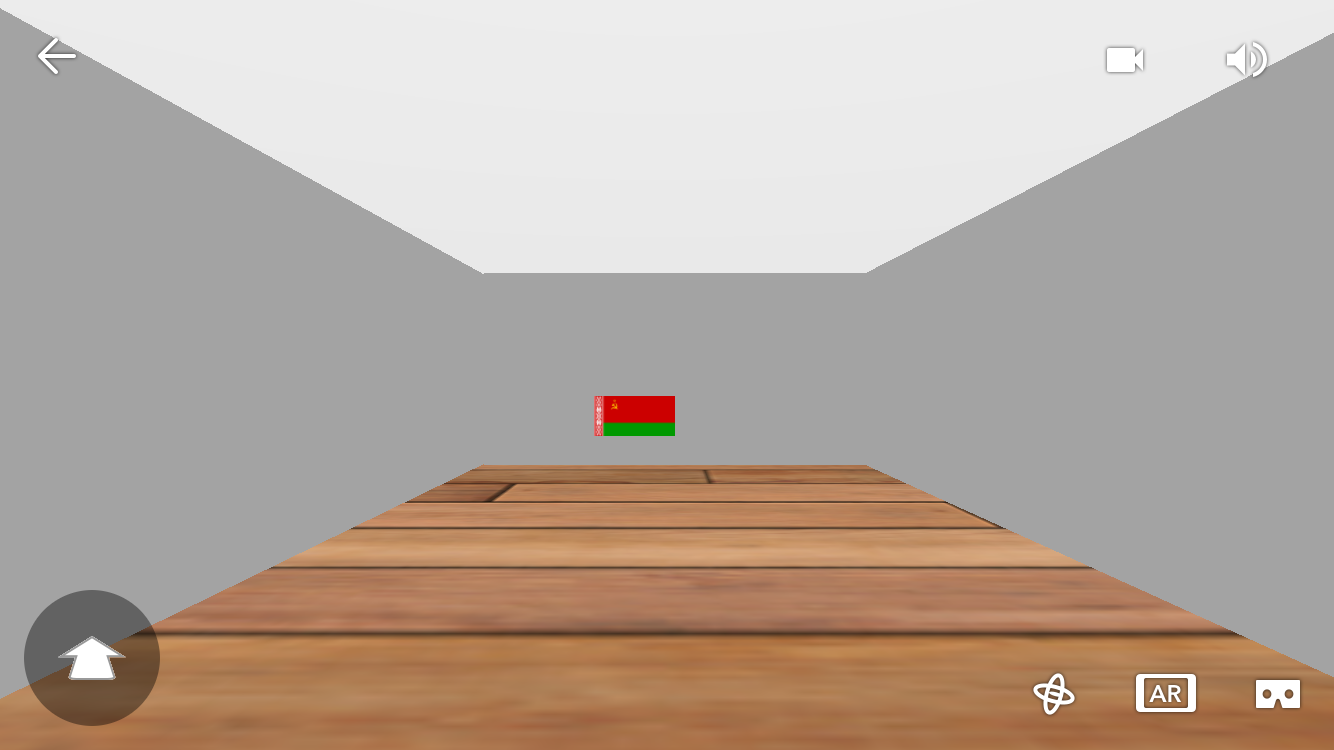
Let's test it out in the app!

Let's get a second opinion
Share your museum with 2-3 classmates and listen to their feedback

Create Goal
☐Complete your VR Personal Museum by uploading items that represent your life + interests

If you want to get ahead...

Attach text element on the wall next to each of your items
Next Lesson:
Interact with your project using Cardboard button
It's the first step to making awesome interactive games

VR Lesson 5 - Personal Museum pt. 2
By scholarstem
VR Lesson 5 - Personal Museum pt. 2
- 502


