p5.js
IZCC 2025 wintercamp
-葉子齊-
who am i
- 葉子齊(葉子)
- 楓資31屆 - 副社長兼美宣兼教學
- 二小隊輔
- IG : zsisc31_leaf
- DC : strange_swing._
介紹
p5.js
p5 是由 Processing 延伸而成的 JavaScript 函式庫,
可以理解為Processing 的 JavaScript 版本。
它將許多繪圖、數學、物理模擬等函式封裝好,
讓我們可以直接使用。
會使用JS語法(你們週二顯至的課學過)
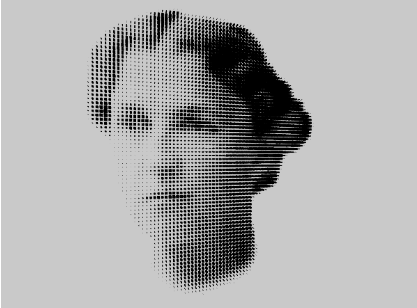
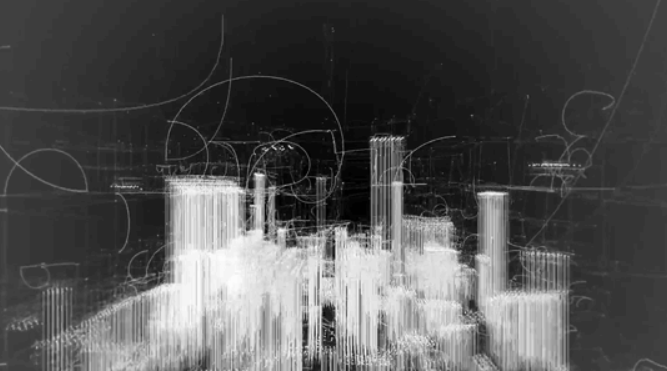
應用
- 3D投影
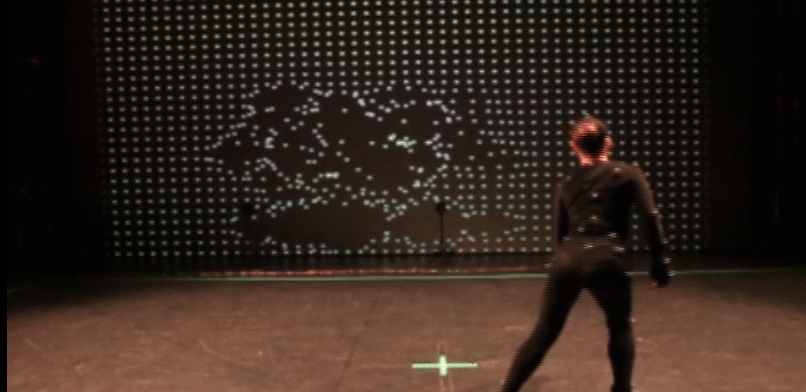
應用
- 舞台表演
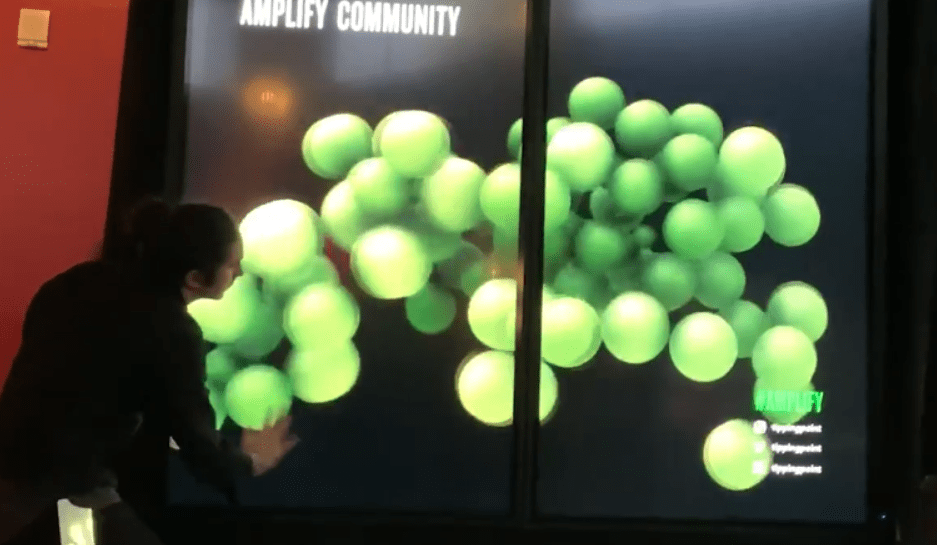
應用
- 展示設計
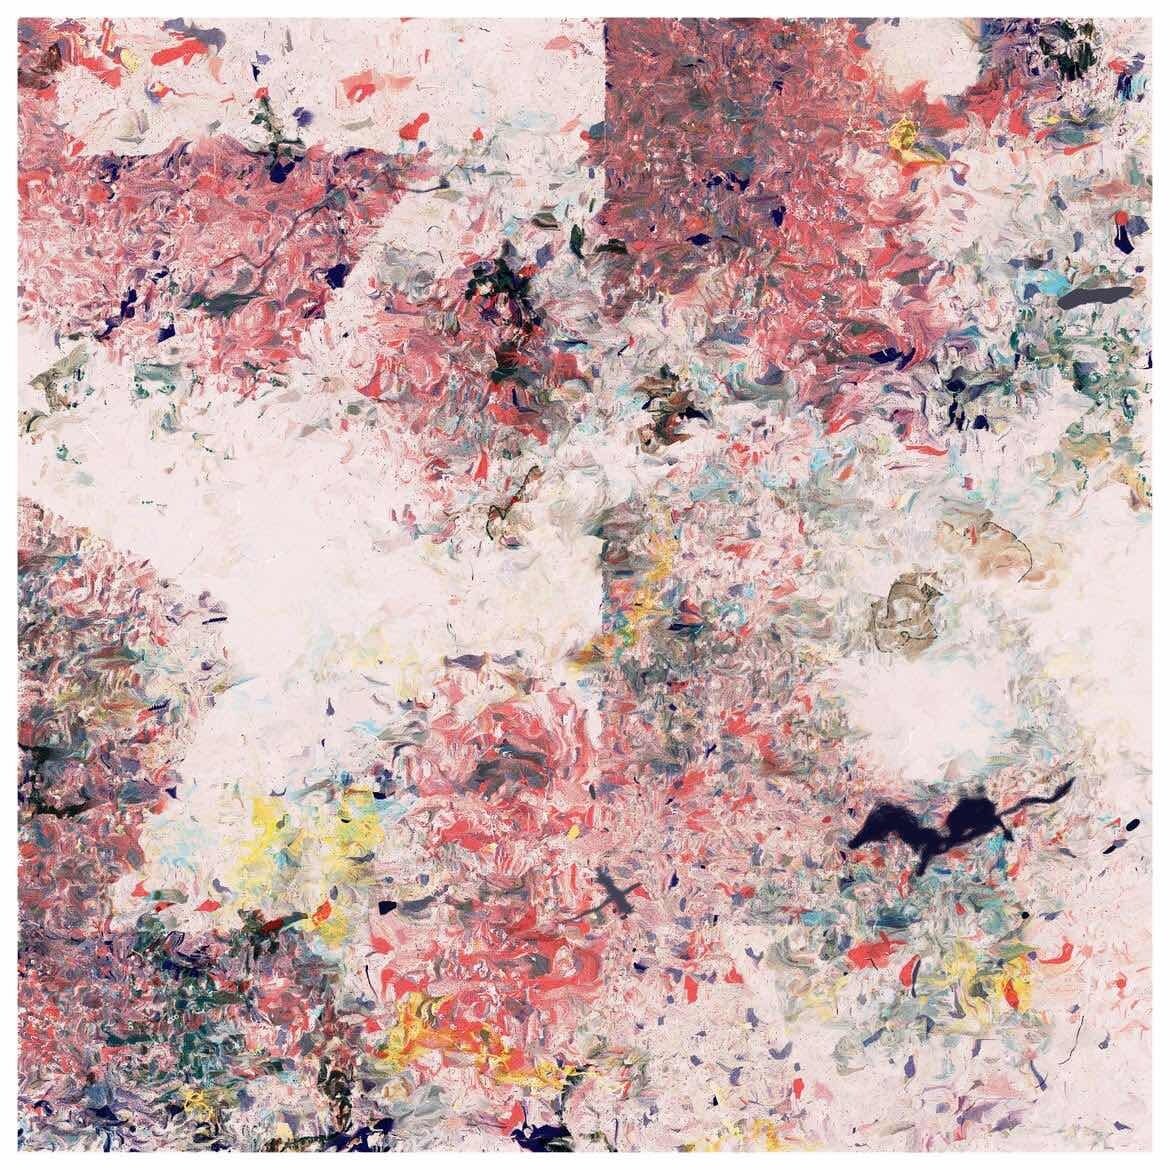
遊戲設計
- 遊戲設計
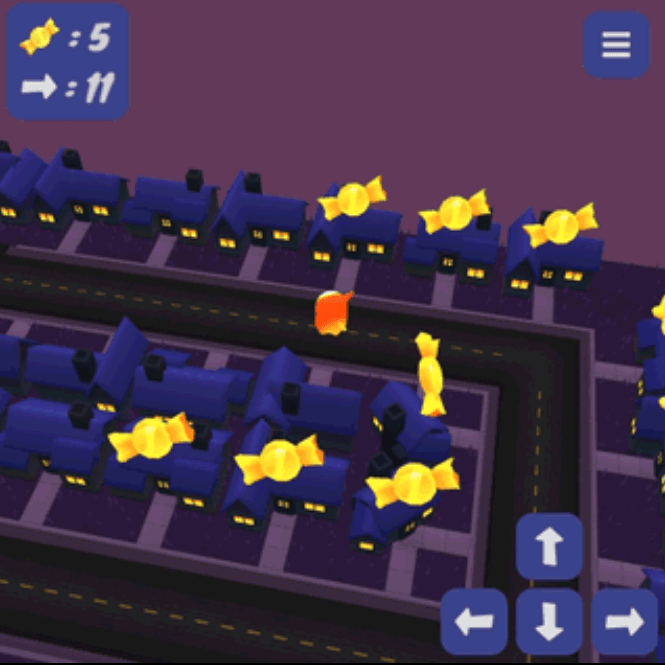
遊戲設計
- 實體/虛擬互動設計

遊戲設計
- 音樂
Text
p5.js
(以上作品皆擷取自網路)
p5.js
(以上作品皆擷取自網路)
開發平台
開發平台
主流的開發平台,上面有很多作品,也可以使用processing
p5.js Editor
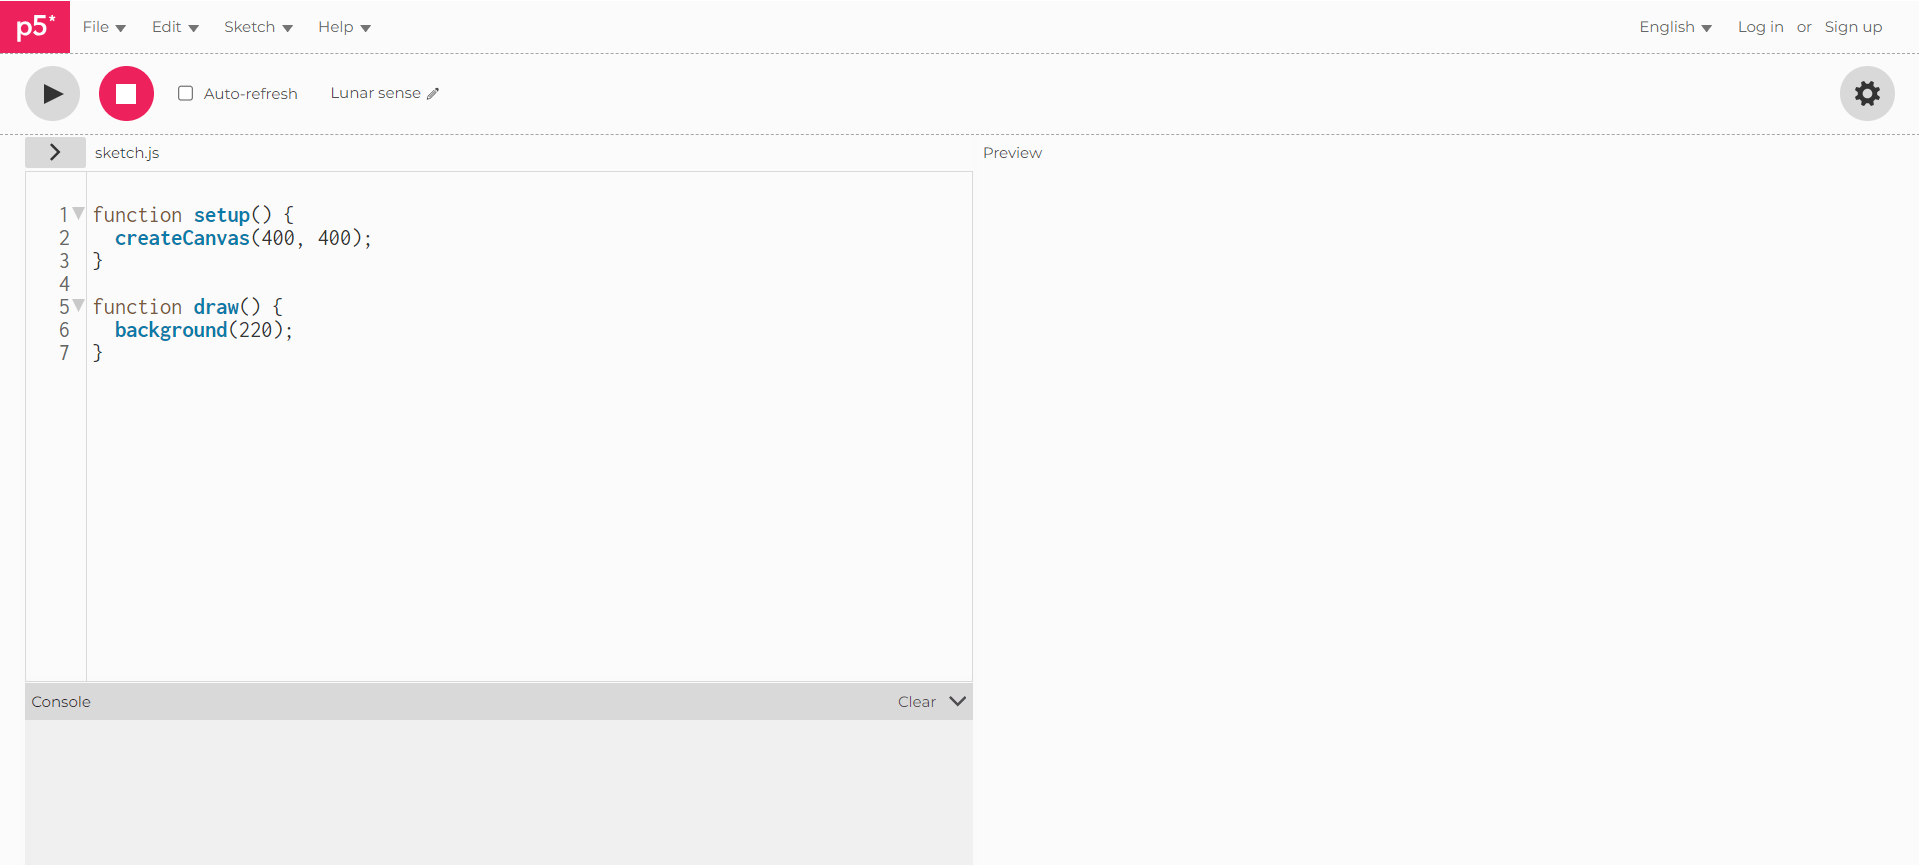
<程式碼區>
<執行結果>
<執行>
<暫停>
每次更新程式就會自動執行
OpenProcessing
註冊
OpenProcessing
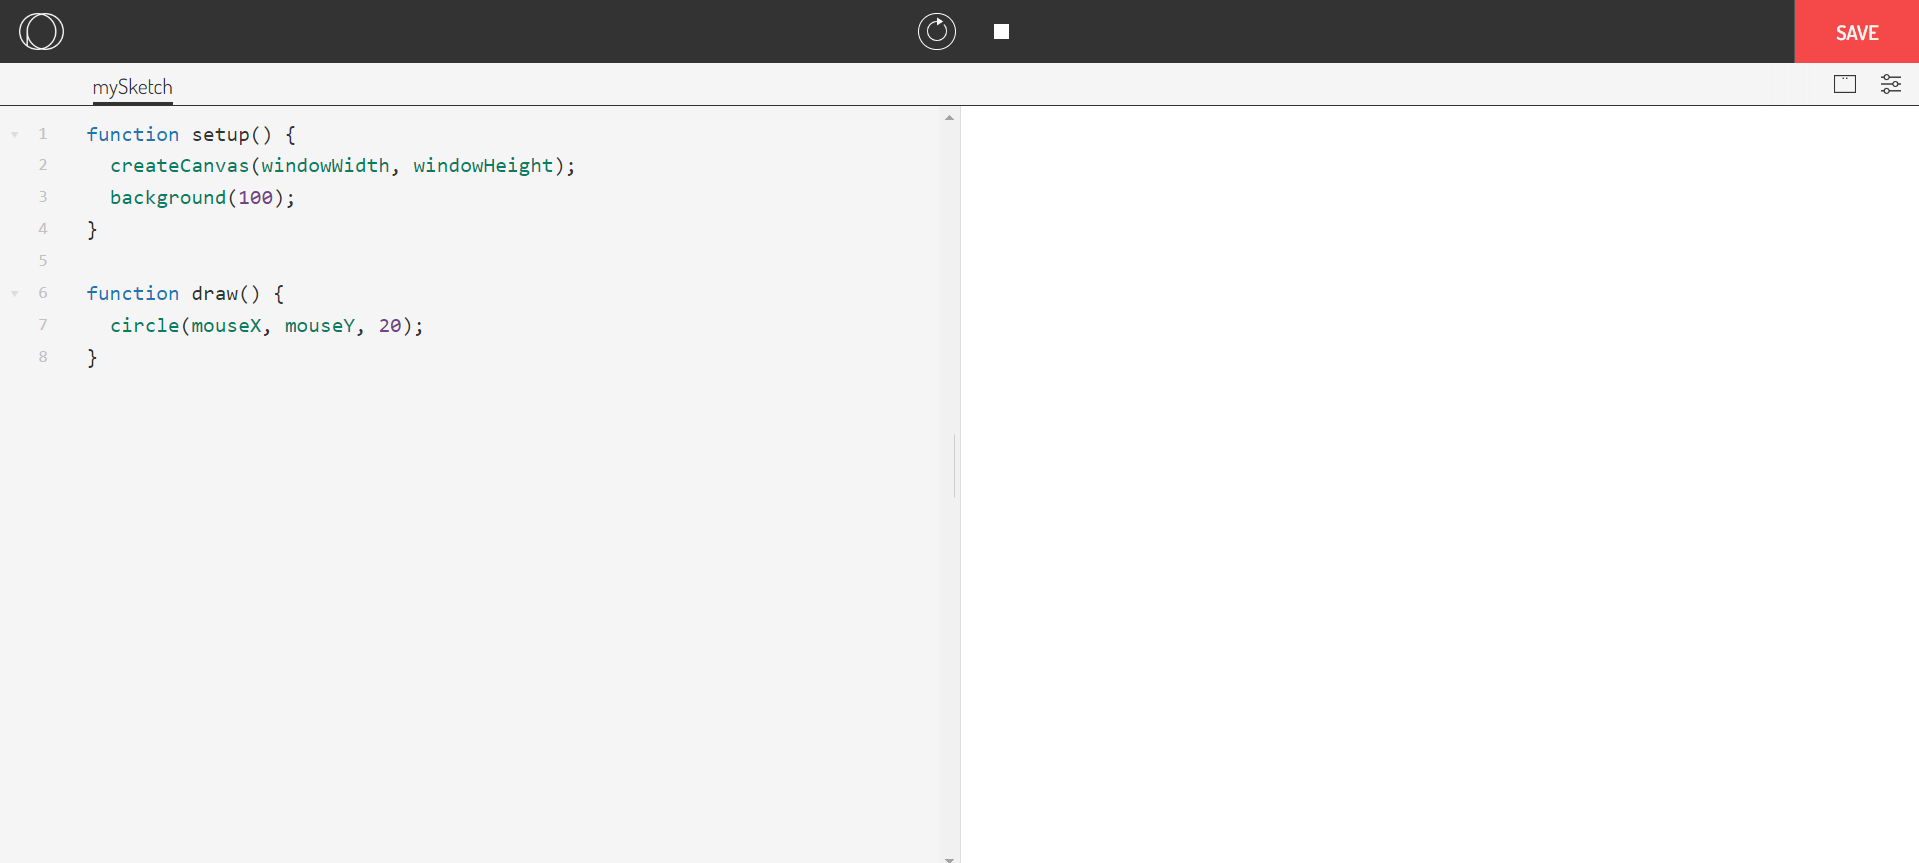
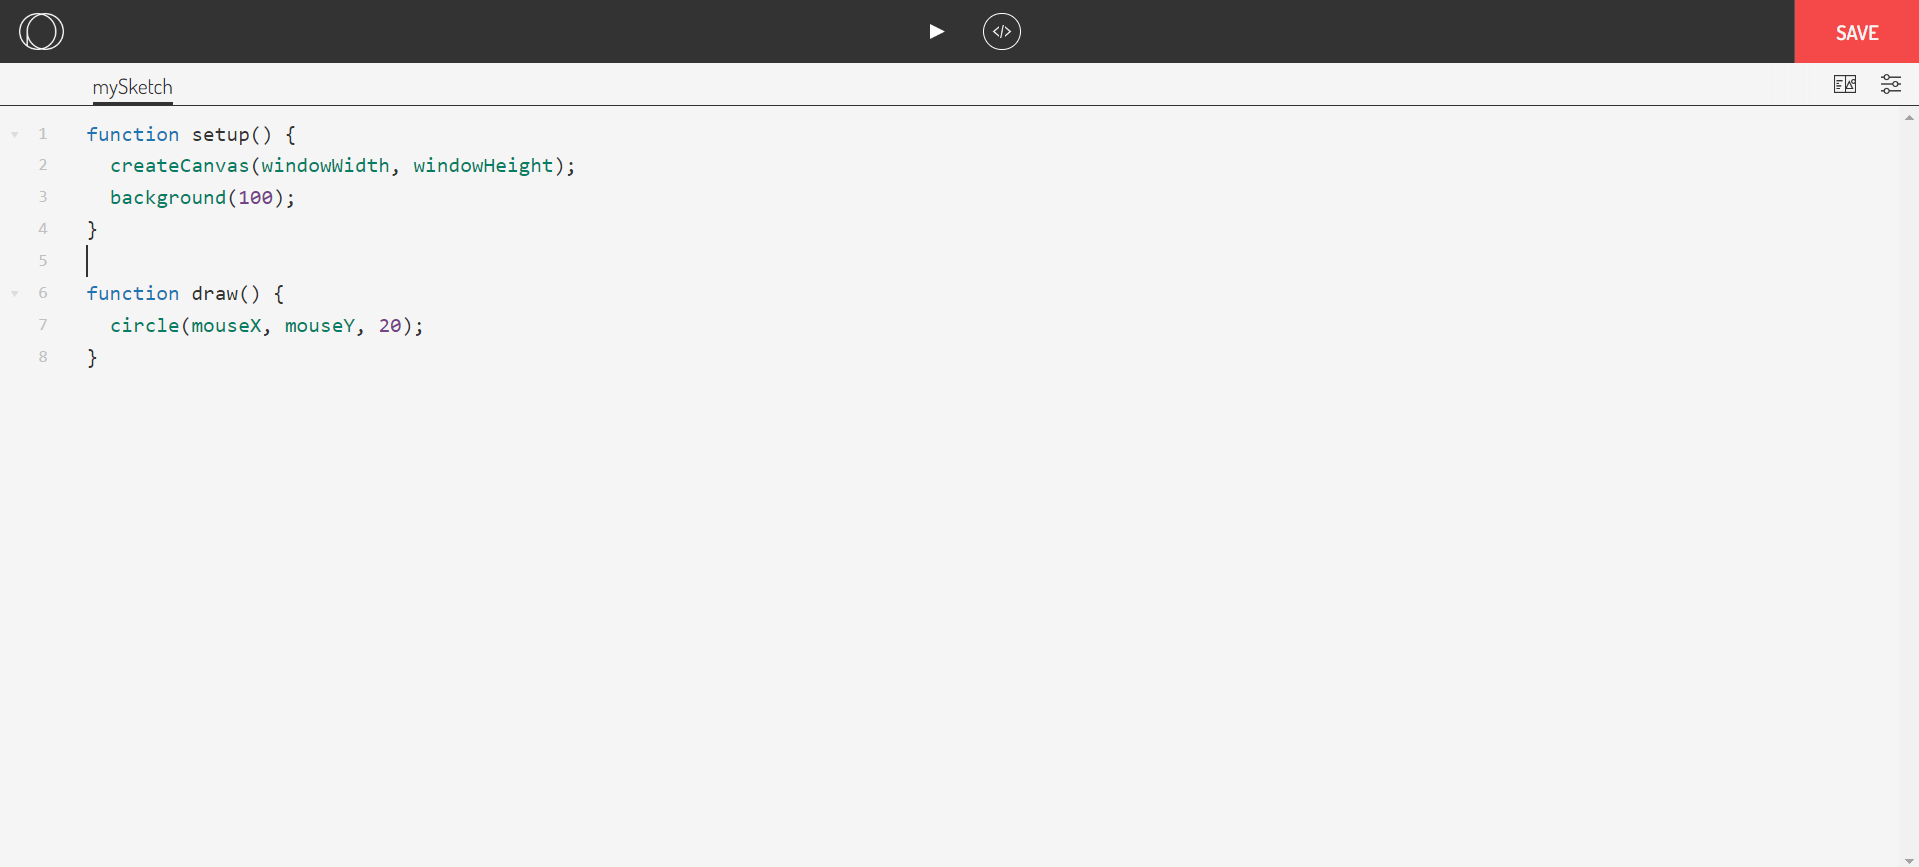
<執行><暫停>
<程式碼區>
<執行結果>
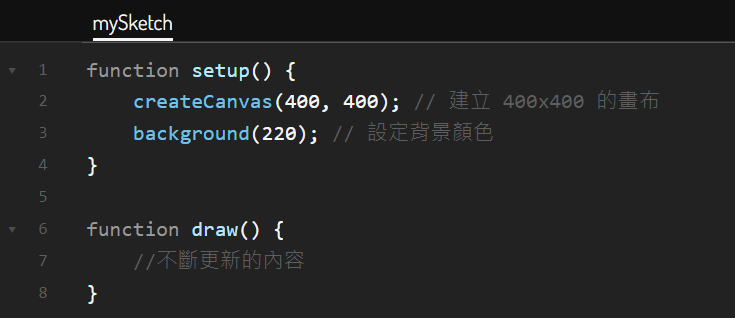
基本結構
基本結構
-
setup(): 在程式開始時只執行一次,設定畫布和初始化變數
-
draw(): 不斷重複執行,用來更新畫面和動畫
目前在p5.js中,分號可加可不加
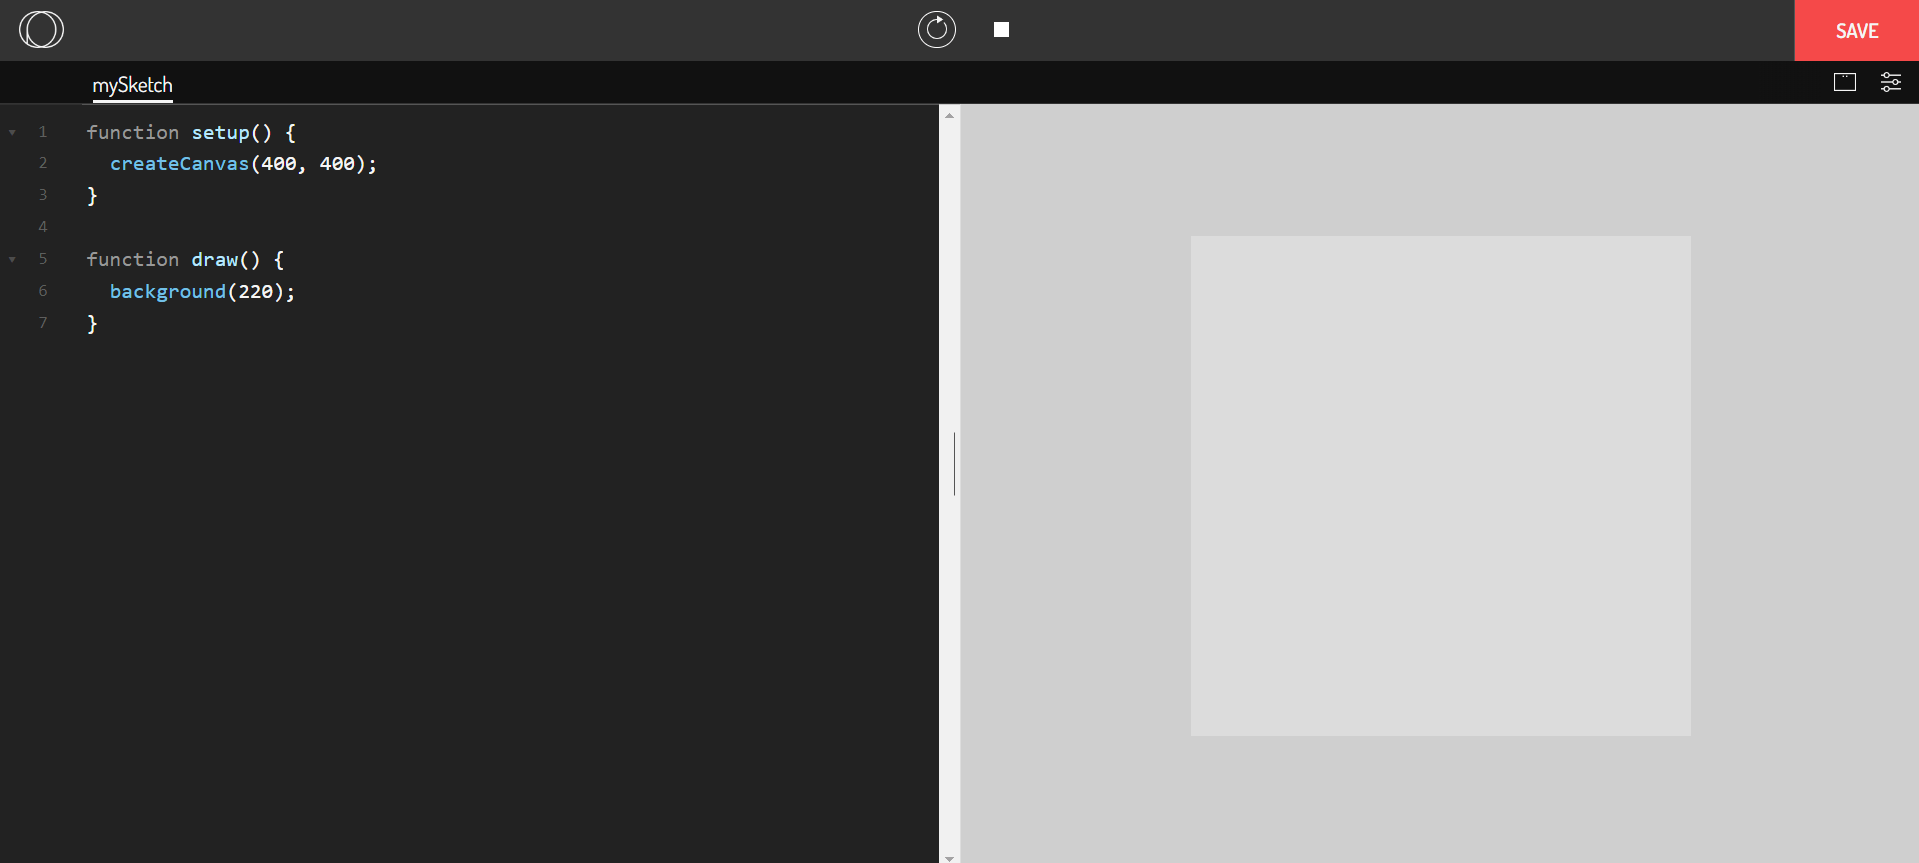
基本畫布設定
-
createCanvas(width,height):創建畫布,可以設定長寬
-
background():設定背景顏色
基本畫布設定
-
createCanvas(width,height):創建畫布,可以設定長寬(單位是像素)
- createCanvas(400,400);
- createCanvas(700,400);
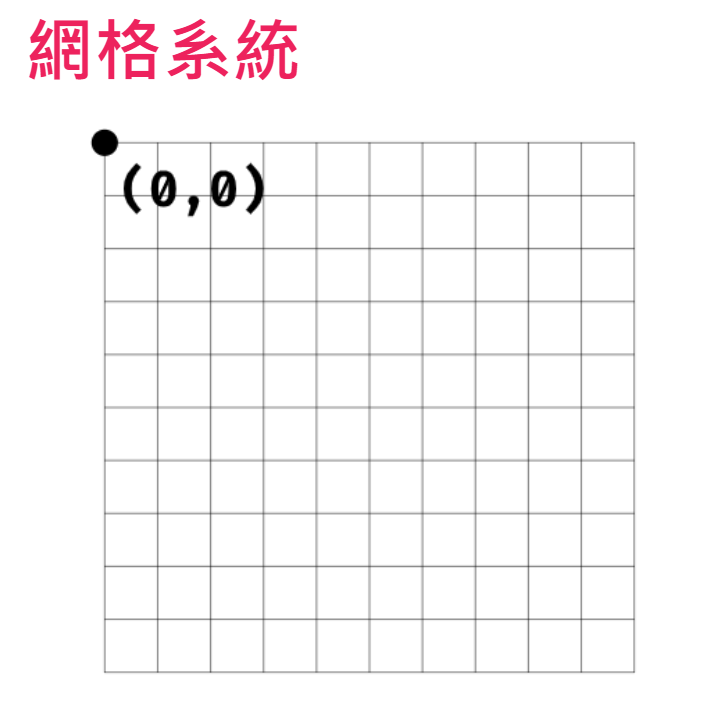
圖形
2D Primitives
| 點 | point(x,y); |
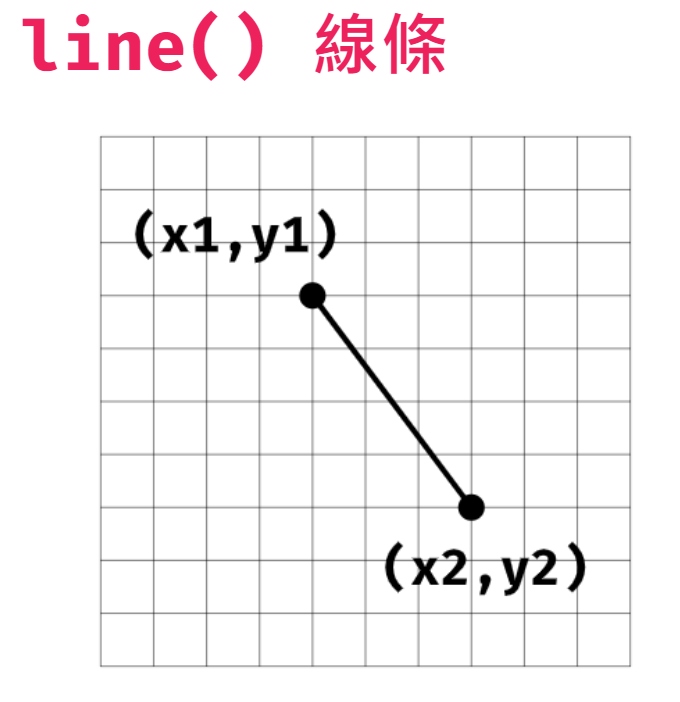
| 線 | line(x1, y1, x2, y2); |
| 圓 | ellipse(x, y, w, [h]); |
| ellipse(x, y, w, h, [detail]); | |
| circle(x, y, d); | |
| 弧 | arc(x, y, w, h, start, stop, [mode], [detail]); |
| 矩形 | rect(x, y, w, [h], [tl], [tr], [br], [bl]); |
| 四邊形 | quad(x1, y1, x2, y2, x3, y3, x4, y4); |
| 三角形 | triangle(x1, y1, x2, y2, x3, y3); |
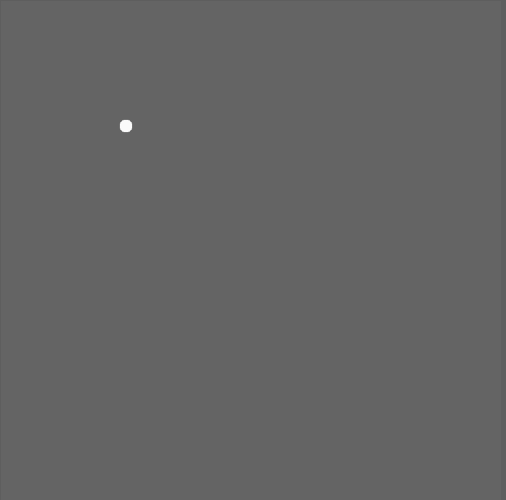
繪製圖形
-
point(x,y);
function setup() {
    createCanvas(400, 400);
    background(100);
}

function draw() {
	stroke(250);
	strokeWeight(10);
    point(100,100);
}
繪製圖形
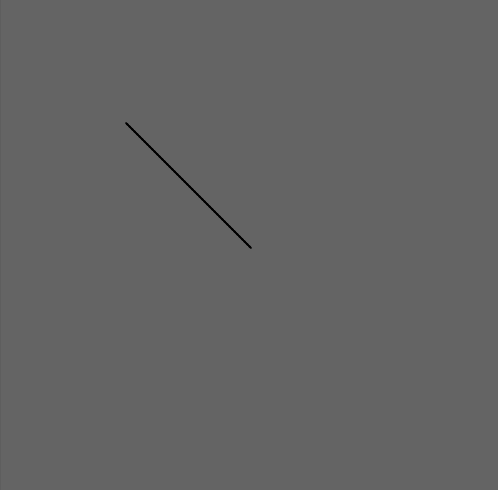
-
line(x1, y1, x2, y2);
function setup() {
    createCanvas(400, 400);
    background(100);
}

function draw() {
    line(100,100,200,200);
}
繪製圖形
-
ellipse(x, y, w, [h]);
function draw() {
    ellipse(100,100,50,50);
}
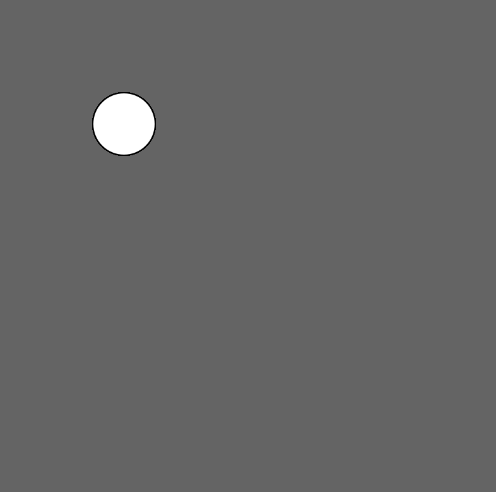
function draw() {
    ellipse(100,100,50);
}
未設定高度
則寬度和高度均使用寬度值
指定負高度或寬度
則取絕對值
繪製圖形
- ellipse(x, y, w, h, [detail]);
function setup() {
	createCanvas(100, 100, WEBGL);
 	background(100);
}
function draw() {
	ellipse(0, 0, 80, 40, 6);
}決定在WEBGL模式下使用多少個頂點來繪製
(預設值為 25)

function setup() {
	createCanvas(100, 100, WEBGL);
 	background(100);
}
function draw() {
	ellipse(0, 0, 80, 40, 3);
}
繪製圖形
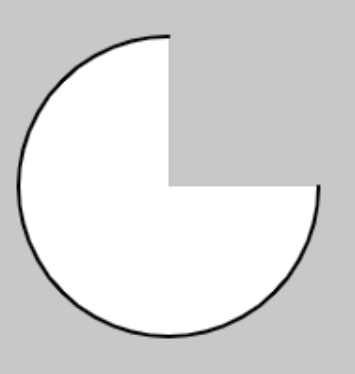
- arc(x, y, w, h, start, stop, [mode], [detail]);

繪製圖形
- arc(x, y, w, h, start, stop, [mode], [detail]);
fill(180);
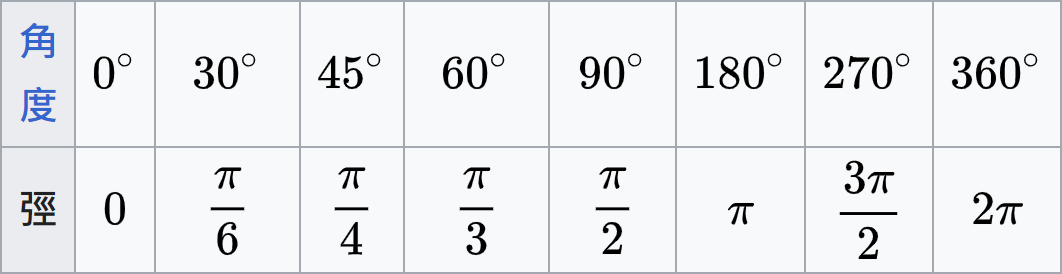
arc(50, 50, 80, 80, 0, PI + HALF_PI);0

PI + HALF_PI
fill(180);
arc(50, 50, 80, 80, 0, 1.5*PI);
繪製圖形
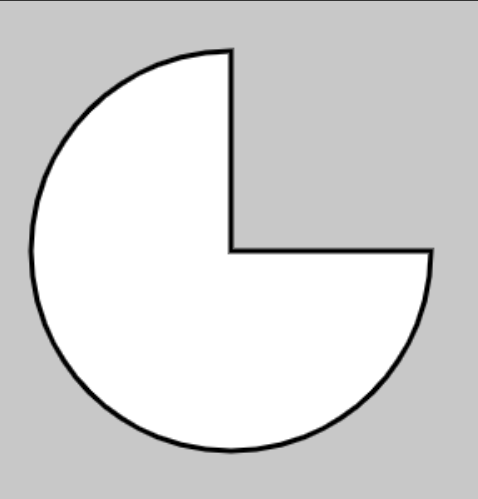
- arc(x, y, w, h, start, stop, [mode], [detail]);
-
mode決定圓弧(arc)的填滿樣式
arc(50, 50, 80, 80, 0, PI + HALF_PI,OPEN);arc(50, 50, 80, 80, 0, PI + HALF_PI,CHORD);arc(50, 50, 80, 80, 0, PI + HALF_PI,PIE);-
OPEN半圓 (預設)
-
CHORD閉合半圓
-
PIE閉合餅形

繪製圖形
- arc(x, y, w, h, start, stop, [mode], [detail]);
- detail決定在WEBGL模式下使用多少個頂點來繪製(預設值為 25)
arc(0, 0, 80, 80, 0, PI + QUARTER_PI, PIE, 5);
繪製圖形
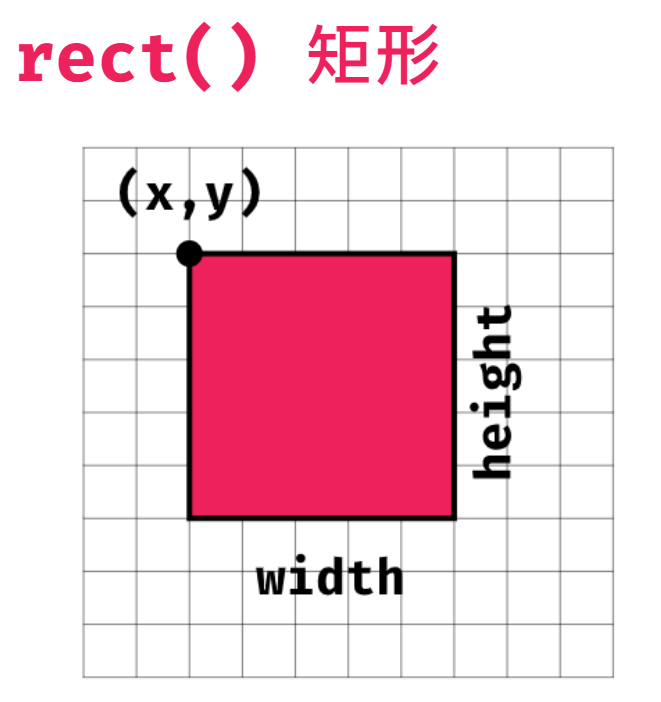
-
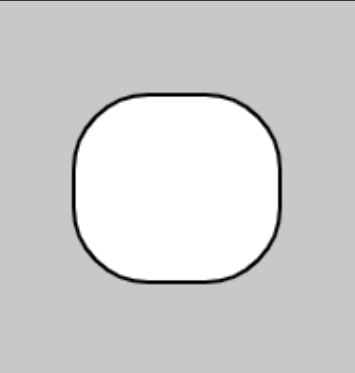
rect(x, y, w, [h], [tl], [tr], [br], [bl]);
圓角半徑
rect(25, 25, 55, 50, 20, 50, 5, 30);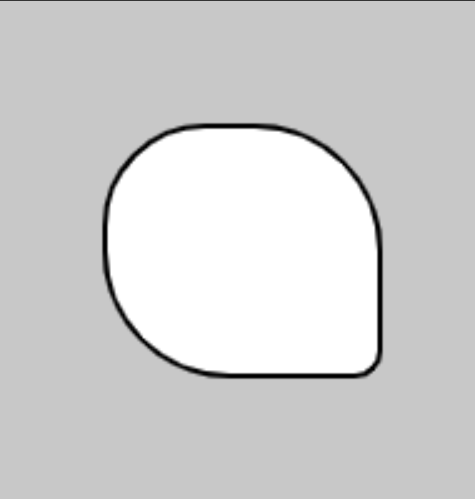
tl
tr
br
bl
從左上到左下
20
50
5
30
繪製圖形
-
rect(x, y, w, [h], [tl], [tr], [br], [bl]);
圓角半徑
rect(25, 25, 55, 50, 10, 30);rect(25, 25, 55, 50, 20);如果沒有把四個參數寫完
剩下的圓角半徑會以最後一個參數為準
20
20
20
20
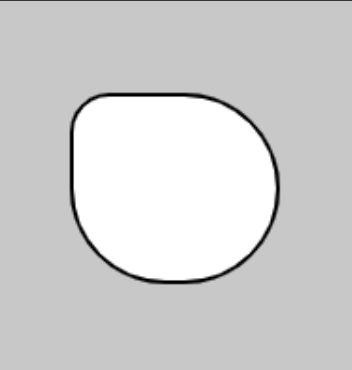
10
30
30
30
繪製圖形
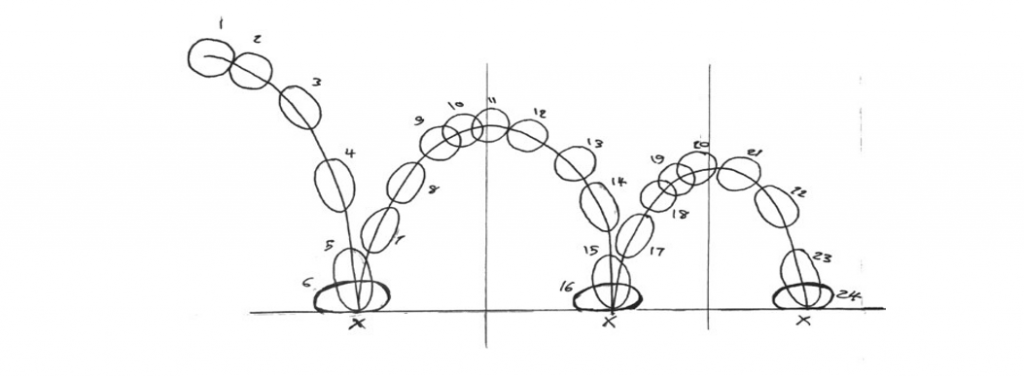
- 不規則圖形
- beginShape();
- vertex(x,y);
- curveVertex();
- endShape(CLOSE);
function setup() {
  	createCanvas(700, 700);
	background(0);
}
function draw() {
	beginShape();
    vertex(370,180);
    vertex(310,290);
    vertex(150,300);
    vertex(300,385);
    vertex(190,500);
    vertex(375,450);
    vertex(490,530);
    vertex(440,380);
    vertex(580,320);
    vertex(420,290);
    vertex(370,180);
    endShape(CLOSE);
  }
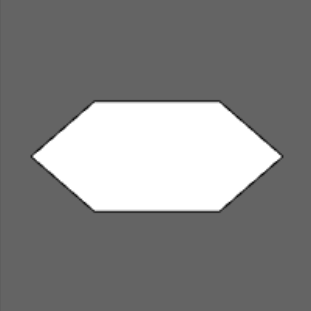
繪製圖形
- 不規則圖形
- beginShape();
- vertex(x,y);
- curveVertex();
- endShape(CLOSE);
function setup() {
  	createCanvas(700, 700);
	background(0);
}
function draw() {
	beginShape();
    curveVertex(370,180);
    curveVertex(310,290);
    curveVertex(150,300);
    curveVertex(300,385);
    curveVertex(190,500);
    curveVertex(375,450);
    curveVertex(490,530);
    curveVertex(440,380);
    curveVertex(580,320);
    curveVertex(420,290);
    curveVertex(370,180);
    endShape(CLOSE);
}
顏色
Setting
| 背景 | background(); |
| 圖形填色 | fill(); |
| noFill(); | |
| 框線顏色 | stroke(); |
| noStroke(); | |
| 框線粗細 | strokeWeight(); |
指定顏色的方式
-
灰階(gray, [a]);
- gray : 灰階值,0(黑)-255(白)
- a : 透明度, 0(全透明)-255(不透明)(預設)

background(0,100);background(0);

(100);
(200);
(255);


指定顏色的方式
-
RGB(r,g,b, [a]);
- r , g , b : 紅色、綠色、藍色
- 範圍0-255
- 搜尋「色碼表」


background(255,0,0);background(0,0,255);background(0,255,0);background(240,128,128);指定顏色的方式
-
顏色的名稱('字串');
- 搜尋css color names
background('skyblue');background('white');

指定顏色的方式
- 色票號碼('#00ff00');
background('#595959');
background('#55D6BE');
background('#FFD131');
background('#FC6471');
形狀的調整
-
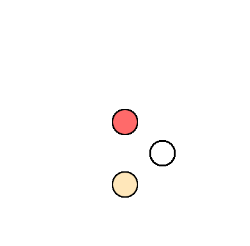
圖形填色
- fill();
- noFill;
function setup() {
	createCanvas(200,200);
	background(255);
}

function draw() {
 	fill(255,106,106); //紅色圓
	circle(100,100, 20);

	fill(255,231,186); //黃色圓
	circle(100,150, 20);

	noFill(); ////無色圓
	circle(130,125, 20);
}
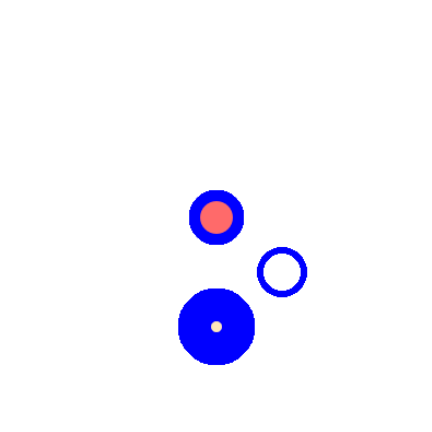
形狀的調整
-
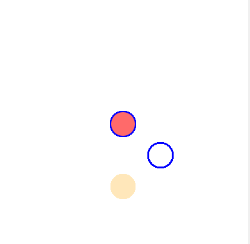
框線顏色
- stroke();
- noStroke();
function setup() {
	createCanvas(200,200);
	background(255);
}

function draw() {
 	fill(255,106,106); //紅色圓
	stroke(0,0,255);
	circle(100,100, 20);

	fill(255,231,186); //黃色圓
	noStroke();
	circle(100,150, 20);

	noFill(); //無色圓
	stroke(0,0,255);
	circle(130,125, 20);
}
形狀的調整
-
框線粗細
- strokeWeight();
function setup() {
	createCanvas(200,200);
	background(255);
}

function draw() {
 	fill(255,106,106); //紅色圓
	stroke(0,0,255);
	strokeWeight(5);
	circle(100,100, 20);

	fill(255,231,186); //黃色圓
	strokeWeight(15);
	circle(100,150, 20);

	noFill(); //無色圓
	stroke(0,0,255);
	strokeWeight(2.5);
	circle(130,125, 20);
}
point
- 預設寬度: 1 pixel
- 更改顏色:stroke()
- 更改寬度:strokeWeight()
- fill()對point沒有作用
實作
一些好用的東東
function setup() {
	createCanvas(windowWidth, windowHeight);
	background(100);
}

function draw() {
	circle(mouseX, mouseY, 20);
}
function setup() {
createCanvas(windowWidth, windowHeight);
background(100);
frameRate(5);
}
function draw() {
circle(mouseX, mouseY, 20);
}- mouseX
- mouseY
- windowWidth
- windowHeight
- frameRate 幀率
一般流暢動畫24FPS就好
一些好用的東東
function setup() {
	createCanvas(500,500);
	background(100);
}

function draw() {
	rect(width/2, height/2, 100);
}
- width
- height
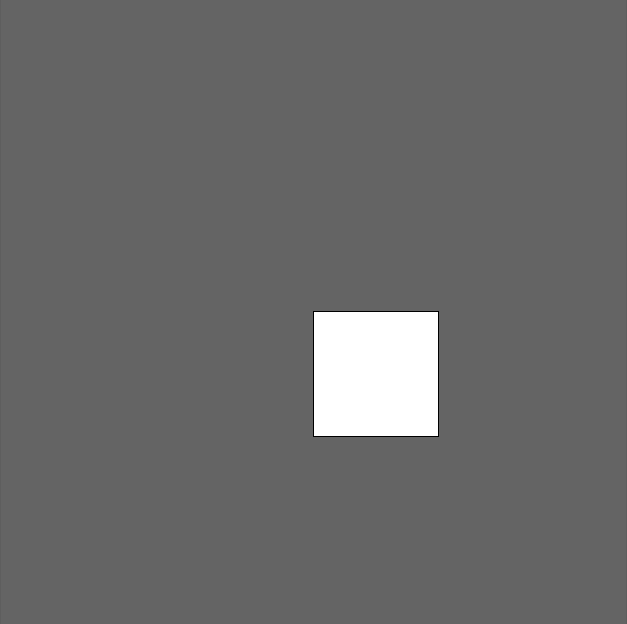
一些好用的東東
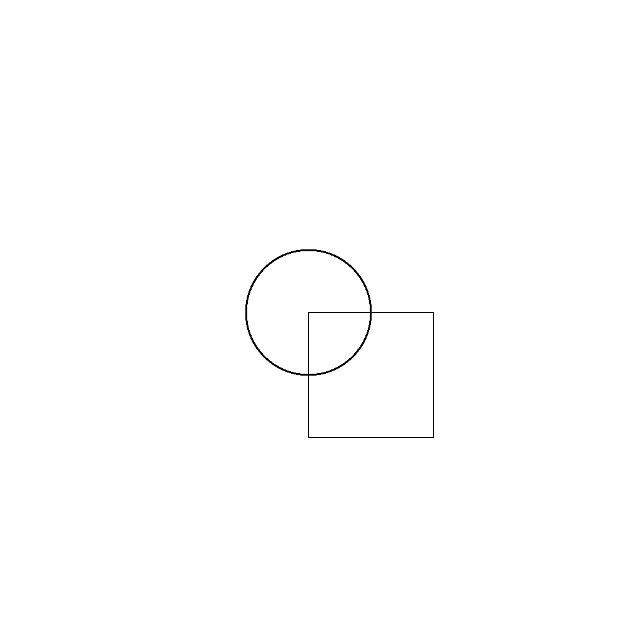
function setup() {
	createCanvas(500,500);
	background(255);
}

function draw() {
	noFill();
	rectMode(CENTER);
	rect(width/2, height/2, 100);
	ellipse(width/2, height/2, 100);
}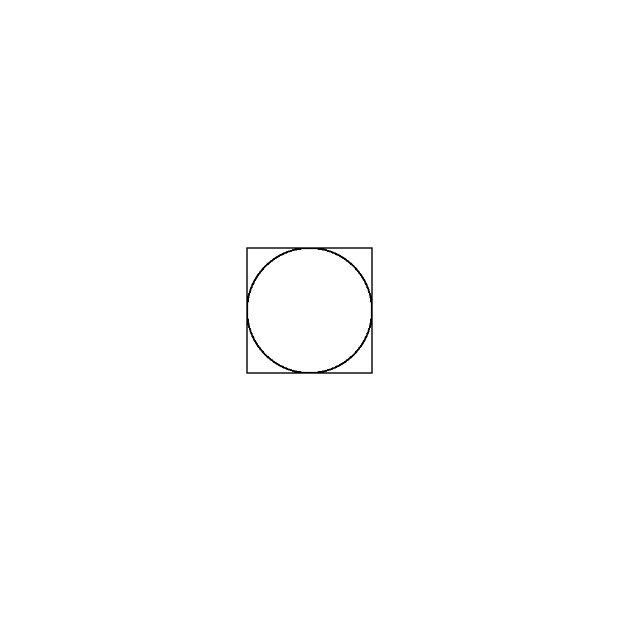
- rectMode(CENTER);
演示 - 筆刷
function setup() {
	createCanvas(windowWidth, windowHeight);
	background(100);
}

function draw() {
	noStroke();
	fill(191,239,255);
	circle(mouseX, mouseY,50);
}- 初始
演示 - 筆刷
function setup() {
	createCanvas(windowWidth, windowHeight);
	background(100);
}

function draw() {
	background(100,20);
	noStroke();
	fill(191,239,255);
	circle(mouseX, mouseY,50);
}- 製作殘影
- background(100,20);
演示 - 筆刷
function setup() {
	createCanvas(windowWidth, windowHeight);
	background(100);
}

function draw() {
	background(100,20);
	noStroke();
	fill(mouseX,mouseY,255);
	circle(mouseX, mouseY,50);
}- 填色變化
- fill(mouseX,mouseY,255);
演示 - 筆刷
function setup() {
	createCanvas(windowWidth, windowHeight);
	background(100);
}

function draw() {
	background(100,20);
	noStroke();
	fill(frameCount,206,255);
	circle(mouseX, mouseY,100);
}- frameCount 幀數
- 填色變化
- fill(frameCount,206,255);
小小的栗子可以去玩
function setup() {
	createCanvas(windowWidth, windowHeight);
	background(255);
}

function draw() {
	background(255,12);
	fill(mouseX,mouseY,frameCount/2,frameCount/5);
	triangle(440+mouseX/2,mouseY/2,300,300,mouseX,mouseY);
}
快捷鍵
- Ctrl + F 尋找相同字
- Ctrl + D 選取多個相同字
- Alt + 左右鍵 將游標一次跳一個單字
- Tab / Shift + Tab 階層(推過去/推回來))
- Shift + Ctrl + 上下鍵 上/下移一行
- Ctrl + / 註解/取消註解
- Ctrl + A 全選
- Ctrl + Enter Openprocessing 裡的執行
實作時間
- 可以多利用迴圈、判斷、運算子(%...)
事件
內建變數
| 目前滑鼠的 X 座標 | mouseX |
| 目前滑鼠的 Y 座標 | mouseY |
| 滑鼠左鍵是否被按下 (true/false) | mouseIsPressed |
| 被按下的滑鼠按鍵 (LEFT/CENTER/RIGHT) | mouseButton |
| 對應的鍵被按下被按下 | keyIsPressed |
內建變數
function draw() {
	background(0);
  	if (mouseIsPressed) {
      if (mouseButton == LEFT)
        circle(50, 50, 50);
      if (mouseButton == CENTER)
        triangle(23, 75, 50, 20, 78, 75);
      if (mouseButton == RIGHT)
        square(25, 25, 50);
  }
}
function draw() {
background(0);
if (mouseIsPressed)
circle(100,100,50);
}| 滑鼠左鍵是否被按下 (true/false) | mouseIsPressed |
|
被按下的滑鼠按鍵 (LEFT/CENTER/RIGHT) (左鍵/中鍵/右鍵) |
mouseButton |
keyIsPressed()
| 一般鍵盤(要小寫) | 'a' 'w' 's' 'd' |
|---|
let x = 50;
let y = 50;
function setup() {
  createCanvas(400, 400);
  background(255);
}

function draw() {
  if (keyIsPressed) {
    if (key === 'w') {
      y -= 1;
    } else if (key === 's') {
      y += 1;
    } else if (key === 'a') {
      x -= 1;
    } else if (key === 'd') {
      x += 1;
    }
  }
  fill(0);
  circle(x, y, 15);
}| key === 一般鍵盤 |
|---|
當使用 p5.js 偵測鍵盤時
需先點擊 canvas
keyIsPressed()
| 方向鍵 | |
|---|---|
| 上 | UP_ARROW |
| 下 | DOWN_ARROW |
| 左 | LEFT_ARROW |
| 右 | RIGHT_ARROW |
let x = 50;
let y = 50;
function setup() {
  createCanvas(400, 400);
  background(255);
}

function draw() {
  if (keyIsPressed) {
    if (keyCode === UP_ARROW) {
      y -= 1;
    } else if (keyCode === DOWN_ARROW) {
      y += 1;
    } else if (keyCode === LEFT_ARROW) {
      x -= 1;
    } else if (keyCode === RIGHT_ARROW) {
      x += 1;
    }
  }
  fill(0);
  circle(x, y, 15);
}| keyCode === 方向鍵 |
|---|
內建函式 (函式內容自訂)
| 滑鼠左鍵按下又放開時 | mouseClicked() |
| 滑鼠左鍵按下時 | mousePressed() |
| 滑鼠左鍵放開時 | mouserReleased() |
| 滑鼠左鍵雙擊時 | doubleClicked() |
| 滑鼠移動時 | mouseMoved() |
| 滑鼠左鍵按住拖曳時 | mouseDragged() |
Keyboard & Mouse
| 滑鼠左鍵按下又放開時 | mouseClicked() |
| 滑鼠左鍵按下時 | mousePressed() |
| 滑鼠左鍵放開時 | mouserReleased() |
| 滑鼠左鍵雙擊時 | doubleClicked() |
| 滑鼠移動時 | mouseMoved() |
| 滑鼠左鍵按住拖曳時 | mouseDragged() |
function setup() {
	createCanvas(windowWidth, windowHeight);
	background(100);
}

let fillColor = 0;

function mouseClicked(){
	if(fillColor == 0){
		fillColor = 255;
	}else{
		fillColor = 0;
	}
}

function mousePressed(){
	fillColor += 50;
	if(fillColor > 255)
		fillColor = 0;
}

function mouseReleased(){
	stroke('deeppink');
}

function doubleClicked(){
	stroke('royalblue');
}

function mouseMoved(){
	fillColor = mouseX;
}

function mouseDragged(){
	fillColor = mouseX/3;
}

function draw() {
	fill(fillColor);
	strokeWeight(10)
	circle(width/2,height/2,250);
}
亂數 & 噪聲
亂數
| 隨機的亂數 | random(); |
|---|---|
| 連續的亂數 | noise(); |
random
-
random()
- 如同字面上的意思,完全的隨機取值
回傳0-1之間的隨機浮點數(但不包含1)
0個參數
1個參數
回傳0-該數字之間的隨機浮點數
(但不包含該數字)(0-5、0-1000)
回傳從 -5 到 10.2 的值(但不包括 10.2)
2個參數
random();random(-5,10.2);random(5);
random(1000);random
-
random()
- 陣列用法
function setup() {
	createCanvas(windowWidth, windowHeight);
	background(100);
}
let arr = ['🫨','🤡','🤯'];
function draw() {
	textSize(50);
	if(mouseIsPressed)
		text(random(arr),100,100);
}
random
-
random()
- 陣列用法
function setup() {
createCanvas(windowWidth, windowHeight);
background(0);
}
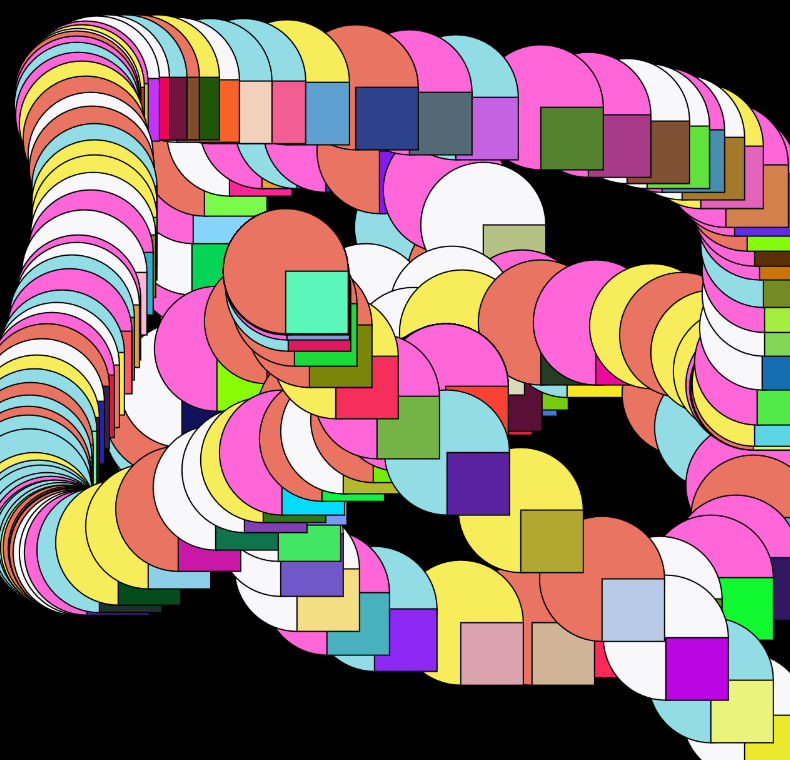
let arr = ['#E87461','#92DCE5','#F8F7F9','#F7EC59','#FF66D8'];
function draw() {
fill(random(arr));
ellipse(mouseX,mouseY,100,100);
fill(random(255),random(255),random(255));
rect(mouseX,mouseY,50,50);
}
random
-
random()
- 較難用法
function setup() {
	createCanvas(windowWidth, windowHeight);
	background(0);
}
let colors= "f7f9f9-bed8d4-78d5d7-63d2ff-2081c3".split("-").map(txt=>"#"+txt);
function draw() {
	fill(random(colors));
	ellipse(mouseX,mouseY,100,100);
}
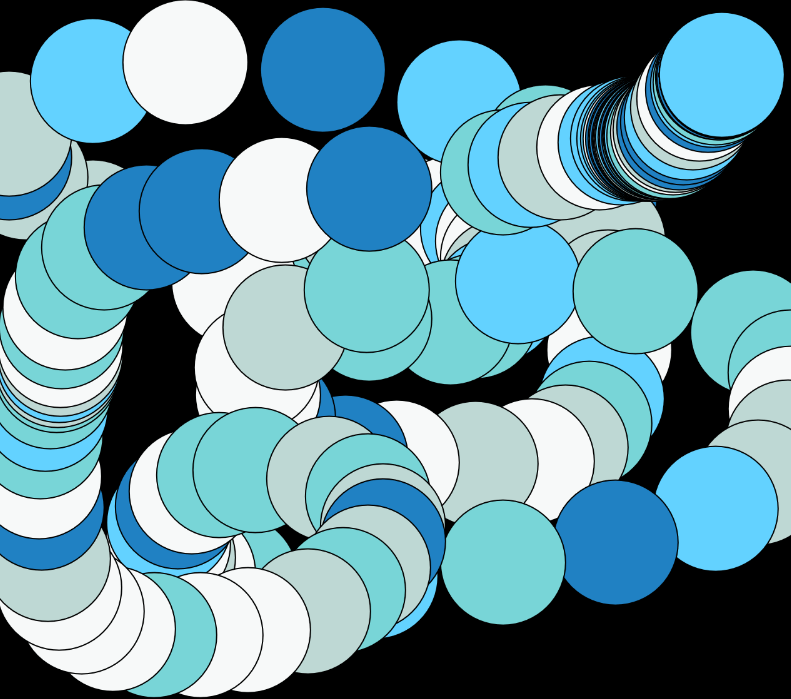
let colors= "".split("-").map(txt=>"#"+txt);noise
-
noise()
- 產生的亂數彼此間有關連性
- 更穩定的亂數
- 產生Perlin noise(柏林噪聲)
- Perlin noise(柏林噪聲)
- 地形圖、很多粒子時等
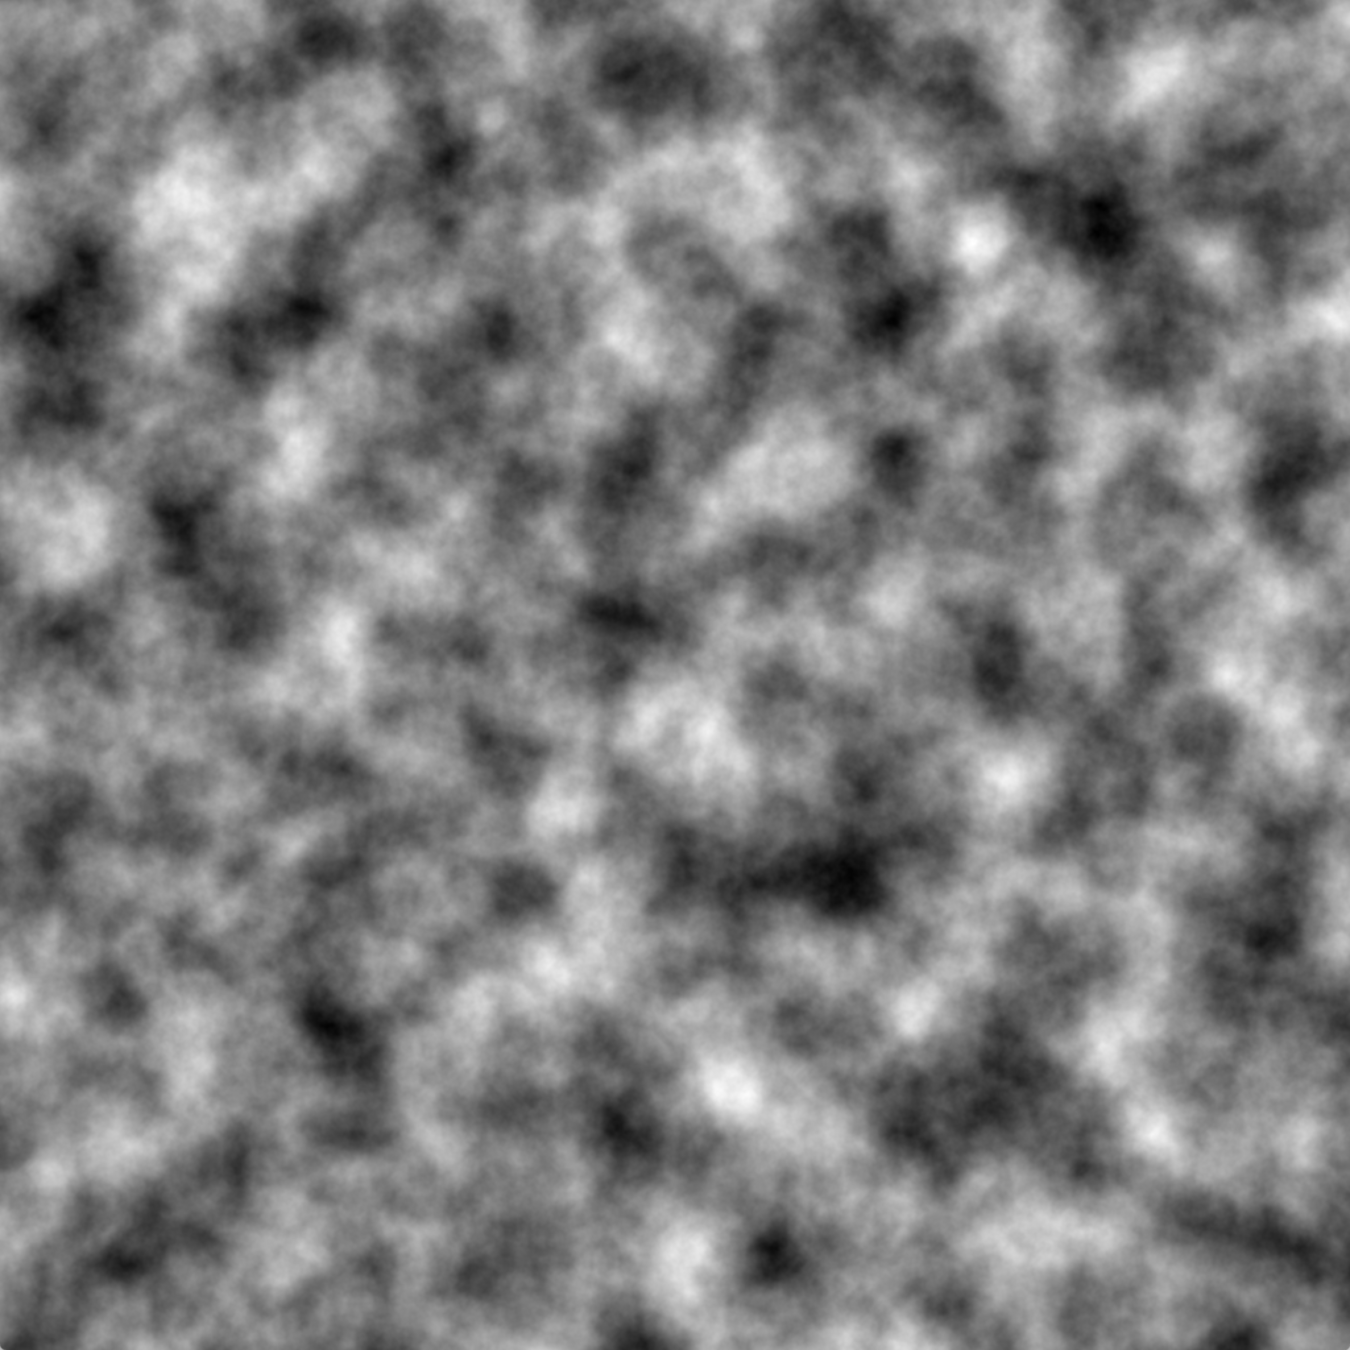
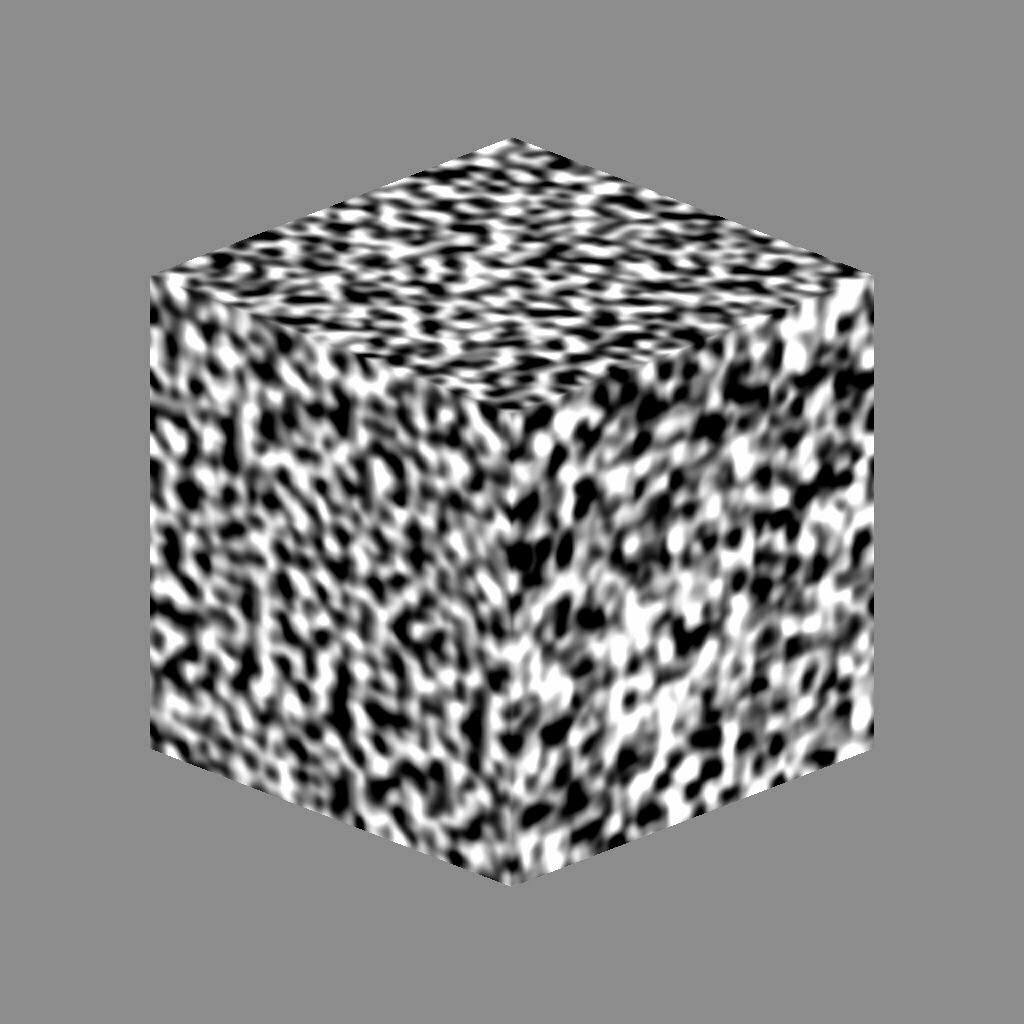
噪聲本人
noise
noise()就是在一維、二維、三維的噪聲上採點的噪聲上採點
採點
noise
基本上random在初學階段就夠玩了
如果你很好學
可以參考下方連結

數值操作
數值操作
| lerp(start, stop, amt); |
|---|
| 依自訂比例在 A 與 B 之間取一個中間值 |
| map(value, start1, stop1, start2, stop2); |
|---|
| 將某個區間的數字對應到另一個指定區間 |
map
-
map(value, start1, stop1, start2, stop2);
- 將某個區間的數字對應到另一個指定區間
let x = map(mouseX, 0, 400, 0, 200);0
400
mouseX
0
200
0
100
200
300
50
100
150
map
function setup() {
	createCanvas(400,400);
}

function draw() {
	background(255);
	strokeWeight(2);
	line(0,0,0,400);
	line(100,0,100,400);
	line(200,0,200,400);
	line(300,0,300,400);
	line(400,0,400,400);
	strokeWeight(20);

  	line(0, 40, mouseX, 40); //上面那條線
	let x = map(mouseX, 0, 400, 0, 200);
  	// let x = map(mouseX, 0, 400, 0, 100);
  	line(0, 120, x, 120);  //下面那條線
}-
map(value, start1, stop1, start2, stop2);
- 將某個區間的數字對應到另一個指定區間

map
function setup() {
  createCanvas(600, 600);
	background(200);
}

function draw() {
	let color = mouseX;
  // let color = map(mouseX, 0, width, 0, 255);
  fill(color);
  circle(width/2, height/2, 50);
	line(255,0,255,height);
}-
map(value, start1, stop1, start2, stop2);
- 將某個區間的數字對應到另一個指定區間

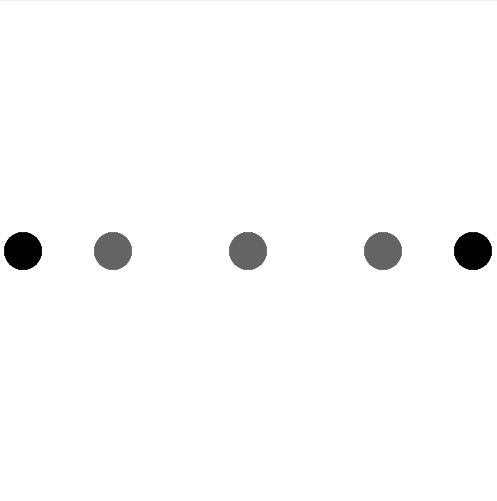
lerp
-
lerp(start, stop, amt);
- 依自訂比例在 A 與 B 之間取值
var a = 20;
var b = 380;
var c = lerp(a, b, 0.2);
var d = lerp(a, b, 0.5);
var e = lerp(a, b, 0.8);a(20)
b(380)
c(92)
d(200)
e(308)
0.2
0.5
0.8
lerp
function setup() {
createCanvas(400, 400);
background(255);
strokeWeight(30);
}
function draw(){
var a = 20;
var b = 380;
var c = lerp(a, b, 0.2);
var d = lerp(a, b, 0.5);
var e = lerp(a, b, 0.8);
stroke(0);
point(a, 200);
point(b, 200);
stroke(100);
point(c, 200);
point(d, 200);
point(e, 200);
print(c,d,e);
}-
lerp(start, stop, amt);
- 依自訂比例在 A 與 B 之間取值
lerp
let x = 200;
let y = 200;

function setup() {
  createCanvas(400, 400);
  background(200);

}

function draw() {
  background(220);
	// x = lerp(x, mouseX, 0.5);
  x = lerp(x, mouseX, 0.05);
  y = lerp(y, mouseY, 0.05);
  circle(x, y, 50);
}
-
lerp(start, stop, amt);
- 依自訂比例在 A 與 B 之間取值
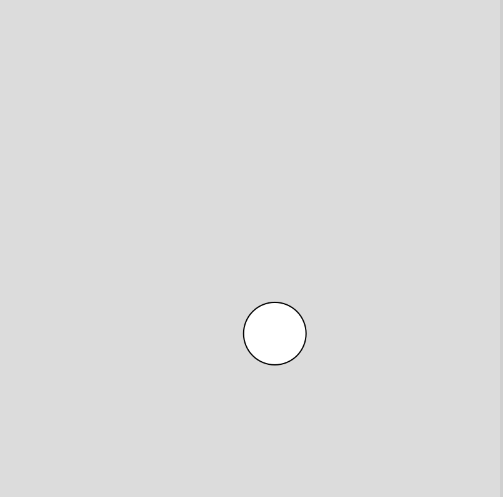
變數 / 模擬物理
變數
- 減少重複
function setup() {
	createCanvas(windowWidth, windowHeight);
	background(255);
}

function draw() {
	noFill();
	strokeWeight(5);
	ellipse(200,200,200);
	ellipse(200,200,250);
	ellipse(200,200,300);
	ellipse(200,200,350);
}
(200,200)
想把中心點改成(300,300)?
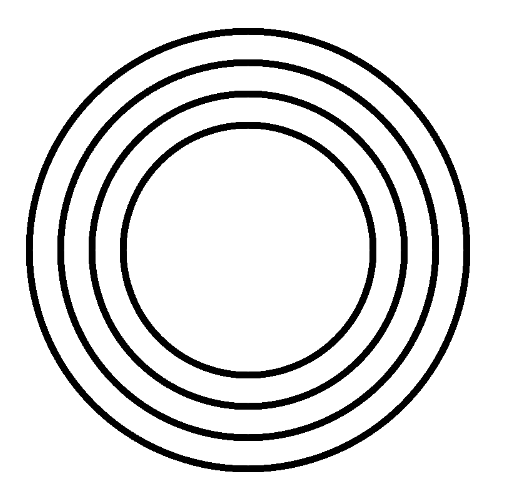
變數
- 減少重複
想把中心點改成(300,300)?
function setup() {
	createCanvas(windowWidth, windowHeight);
	background(255);
}

function draw() {
	noFill();
	strokeWeight(5);
	var x = 300,y = 350;
	ellipse(x,y,200);
	ellipse(x,y,250);
	ellipse(x,y,300);
	ellipse(x,y,350);
}
宣告變數
想改中心點只需要動變數的值
不需要一個一個手動改
模擬物理
- 用變數的方式模擬一顆符合物理的小球
模擬物理
- 模擬一顆符合物理的小球
- 先讓它動起來
先召喚一顆球
function draw() {
	ellipse(50,50,50,50);
}
var x = 50,y = 50;
function draw() {
ellipse(x,y,50,50);
}要讓球動起來
所以把球的X和Y改為變數
方便操控
模擬物理
讓球動起來
往右下角衝
draw(){}本身就會不斷重複執行
不需要再寫迴圈更改x,y
var x = 50,y = 50;
var vx = 3,vy = 5;
function draw() {
	ellipse(x,y,50,50);
	x += vx;
	y += vy;
}
令
x(水平方向)的速度(v)為3 -> vx = 3
y(垂直方向)的速度(v)為5 -> vy = 5
模擬物理
function setup() {
  	createCanvas(windowWidth,windowHeight);
	background(0);
}
var x = 50,y = 50;
var vx = 3,vy = 5;
function draw() {
	background(0);
	ellipse(x,y,50,50);
	x += vx;
	y += vy;
}
把軌跡蓋掉
再畫一次背景

現在的樣子
模擬物理
- 模擬一顆符合物理的小球
- 先讓它動起來
- 加上重力
重力 -> 垂直方向速度加快
=> vy +=0.2
function draw() {
	background(0);
	ellipse(x,y,50,50);
	x += vx;
	y += vy;
	vy += 0.2;
}
模擬物理
解決沒有地板的問題
vy以向下為正
if y位置 > height(畫布高度)
速度轉向 且 反彈高度變低
function setup() {
  createCanvas(windowWidth,windowHeight);
	background(0);
}
var x = 50,y = 50;
var vx = 1,vy = 10;
function draw() {
	background(0);
	ellipse(x,y,50,50);
	x += vx;
	y += vy;
	vy += 0.2;
	if(y > height){
		vy = -vy * 0.7;
	}
}
模擬物理
小球黏在地上
-> 反覆觸發if區塊
導致vy越來越小
y = height -> 不會反覆觸發
function setup() {
  createCanvas(windowWidth,windowHeight);
	background(0);
}
var x = 50,y = 50;
var vx = 1,vy = 5;
function draw() {
	background(0);
	ellipse(x,y,50,50);
	x += vx;
	y += vy;
	vy += 0.2;
	if(y > height){
		vy = -vy * 0.7;
		y = height;
	}
}
Finish
模擬物理
以上只是用變數做出物理的效果
更進階的方法
- 內建的向量物件Vector
- 利用建立在JS上的2D物理引擎
文字
文字
| 顯示文字 | text('文字',x,y); |
|---|---|
| 文字大小 | textSize(); |
| 取得文字字串的寬度 | textWidth(str); |
|
文字風格 一般,斜體,粗體,粗+斜體 |
textStyle(); NORMAL, ITALIC, BOLD, BOLDITALIC |
文字
function setup() {
	createCanvas(400,400);
	background(255);
}

function draw() {

	textSize(25);

	textStyle(NORMAL);
  	text('Normal', 50, 15);

    textStyle(ITALIC);
    text('Italic', 50, 40);

    textStyle(BOLD);
    text('Bold', 50, 65);

    textStyle(BOLDITALIC);
    text('Bold Italic', 50, 90);
 }
DOM元件
DOM
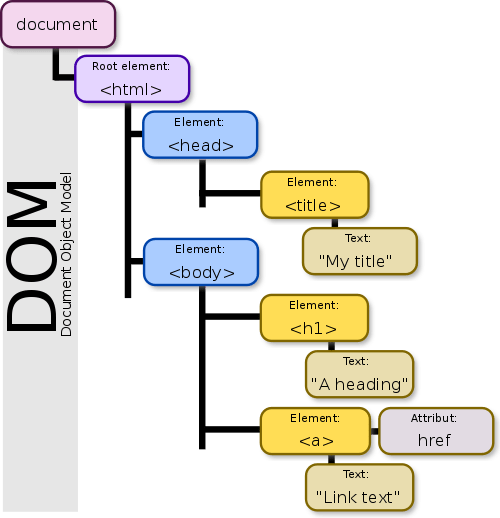
- 文件物件模型(Document Object Model)
- JS 可以利用 DOM 來操作和修改 HTML 的元素
引入p5.dom
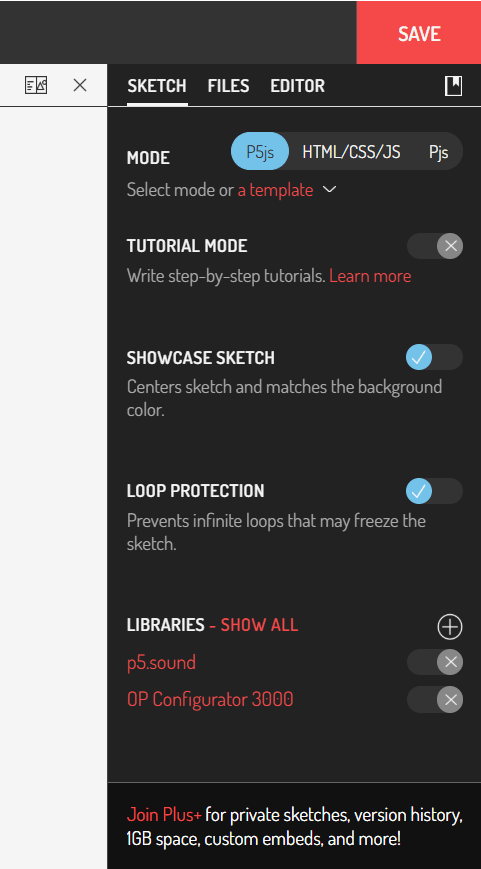
sketch - libraries - show all
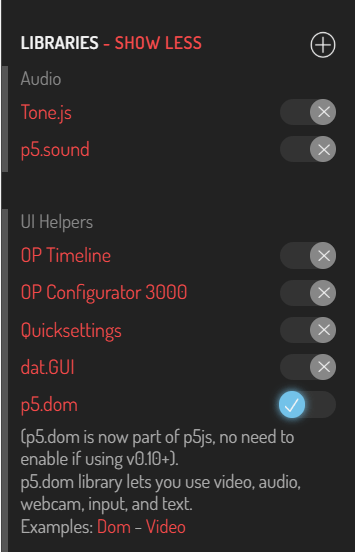
引入p5.dom
找到p5.dom 把它打開
創建網頁元素
| 文字輸入框 | createInput(['預設文字']); |
|---|---|
| 按鈕 | createButton(['文字']); |
| 滑桿 | createSlider(min,max,[預設值],[間距]); |
| 顏色選取器 | createColorPicker(['預設顏色']); |
| 定位 | position(x,y); |
|---|---|
| 取值 | .value(); |
文字輸入框
- createInput(['預設文字']);
存入輸入框被輸入的文字
創建輸入框
var inputElement; //創建變數
function setup() {
	createCanvas(200,200);
	background(100);
	inputElement = createInput();
}
function setup() {
createCanvas(windowWidth,windowHeight);
background(100);
createInput();
}文字輸入框
- createInput(['預設文字']);
取得輸入框被輸入的文字
function draw() {
	let txt = inputElement.value();
}
定位輸入框
var inputElement;
function setup() {
	createCanvas(windowWidth, windowHeight);
	background(100);
	inputElement = createInput();
	inputElement.position(50,50);
}
文字輸入框
- createInput(['預設文字']);
顯示輸入框被輸入的文字
function draw() {
	let txt = inputElement.value();
	fill(255);
	textSize(50);
	text(txt,width/2,height/2);
}
也可以先給一個預設值
var inputElement;
function setup() {
createCanvas(windowWidth, windowHeight);
background(100);
inputElement = createInput("ZSISC");
inputElement.position(50,50);
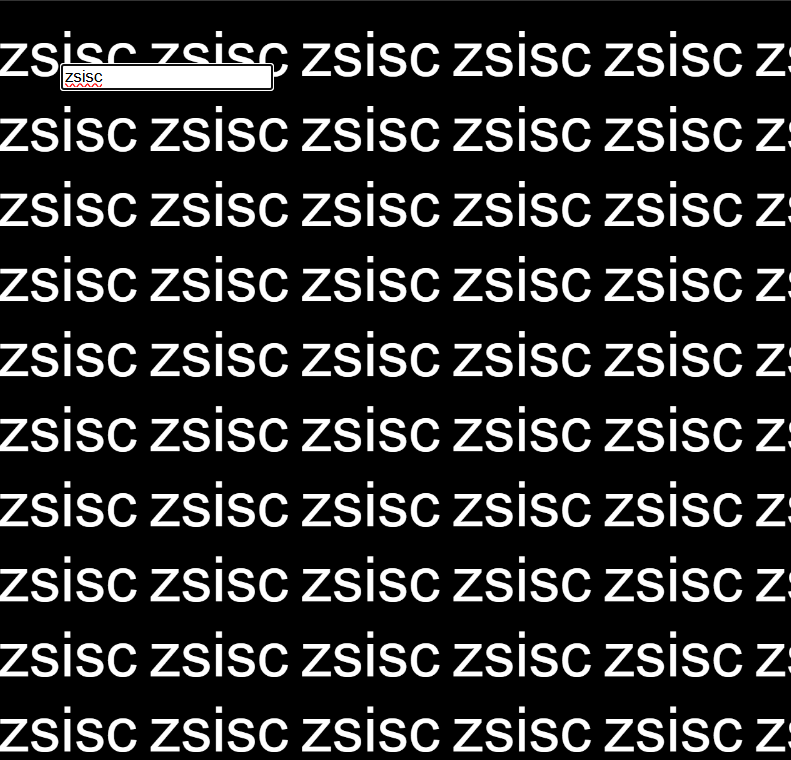
}文字輸入框
-
createInput(['預設文字']);
- 栗子
- 輸入框也可以輸入表情符號
var inputElement;
function setup() {
	createCanvas(windowWidth, windowHeight);
	background(0);
	inputElement = createInput();
	inputElement.position(50,50);
}

function draw() {
	background(0);
	let txt = inputElement.value();
	fill(255);
	//fill(txt);
	textSize(50);
	let textLength = textWidth(txt)+10;
	for(var t=0;t<height;t+=60){
		for(var i=0;i<width;i+=textLength){
			text(txt,i,t);
		}
	}
}
滑桿
-
createSlider(min,max,[預設值],[間距]);
- 使用方式
var sliderElement;
function setup() {
createCanvas(windowWidth, windowHeight);
background(0);
sliderElement = createSlider(20,50,30,0.1);
sliderElement.position(50,50);
}
function draw() {
let sliderValue = sliderElement.value();
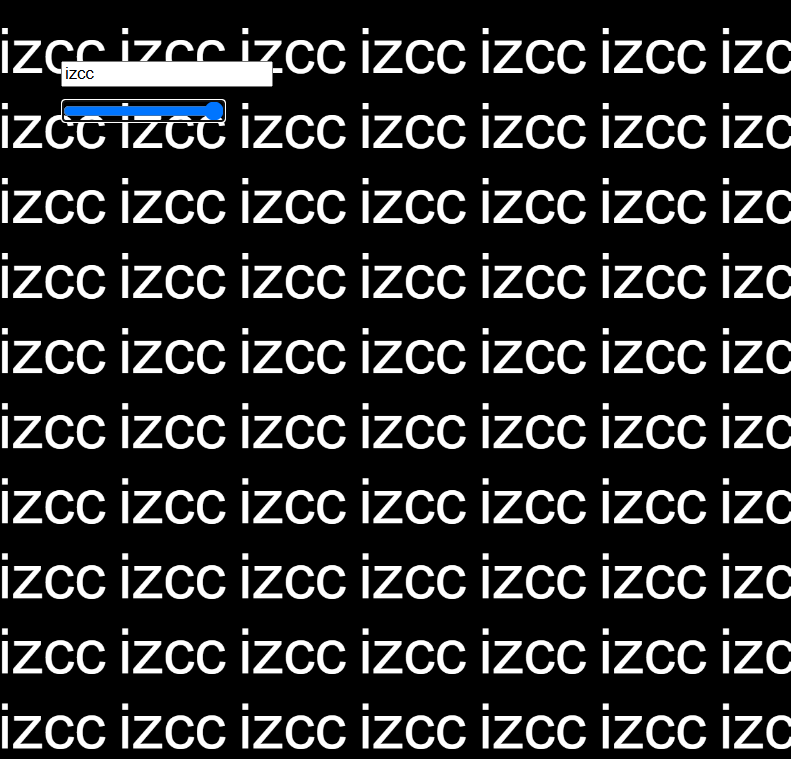
}滑桿
-
createSlider(min,max,[預設值],[間距]);
- 跟剛剛的例子結合
var inputElement;
// var sliderElement;
function setup() {
	createCanvas(windowWidth, windowHeight);
	background(0);
	inputElement = createInput();
	inputElement.position(50,50);

	// sliderElement = createSlider(20,50,30,0.1);
	// sliderElement.position(50,80);
}

function draw() {
	background(0);
	let txt = inputElement.value();
	// let sliderValue = sliderElement.value();
	fill(255);
	textSize(50);
	// textSize(sliderValue);
	let textLength = textWidth(txt)+10;
	for(var t=0;t<height;t+=60){
		for(var i=0;i<width;i+=textLength){
			text(txt,i,t);
		}
	}
}
按鈕
-
createButton(['文字']);
- 使用方式
var buttonElement;
function setup() {
	createCanvas(windowWidth, windowHeight);
	background(0);
	buttonElement = createButton('Go Crazy');
	buttonElement.position(50,100);
  	buttonElement.mousePressed(goCrazy);
}

function goCrazy(){
	//自訂
}
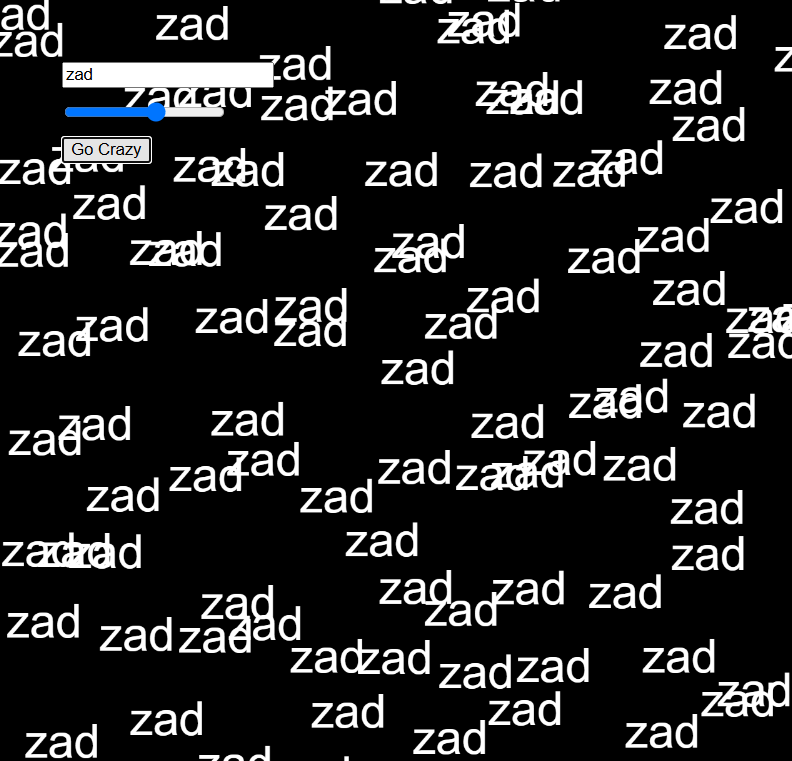
按鈕
-
createButton(['文字']);
- 跟剛剛的例子結合
var inputElement;
var sliderElement;
// var buttonElement;

function setup() {
	createCanvas(windowWidth, windowHeight);
	background(0);
	inputElement = createInput();
	inputElement.position(50, 50);

	sliderElement = createSlider(20, 50, 30, 0.1);
	sliderElement.position(50, 80);

	// buttonElement = createButton('Go Crazy');
	// buttonElement.position(50, 110);
	// buttonElement.mousePressed(goCrazy);
}

function goCrazy() {
	randomValue += 5;
	// if(randomValue>0){
	// 	randomValue = 0;
	// }else{
	// 	randomValue = 10
	// }
}

// var randomValue = 0;

function draw() {
	background(0);
	let txt = inputElement.value();
	let sliderValue = sliderElement.value();
	fill(255);
	textSize(50);
	textSize(sliderValue);
	let textLength = textWidth(txt) + 10;
	for (var t = 0; t < height; t += 60) {
		for (var i = 0; i < width; i += textLength) {
			// text(txt, i + random(-randomValue, randomValue),
			// 		 t+random(-randomValue,randomValue));
		}
	}
}
createColorPicker
-
createColorPicker(['預設顏色']);
- 使用方式
var colorPickerElement;
function setup() {
createCanvas(windowWidth, windowHeight);
background(0);
colorPickerElement = createColorPicker('#F4D35E');
colorPickerElement.position(50, 150);
}
function draw() {
background(0);
let selectedColor = colorPickerElement.value();
fill(selectedColor);
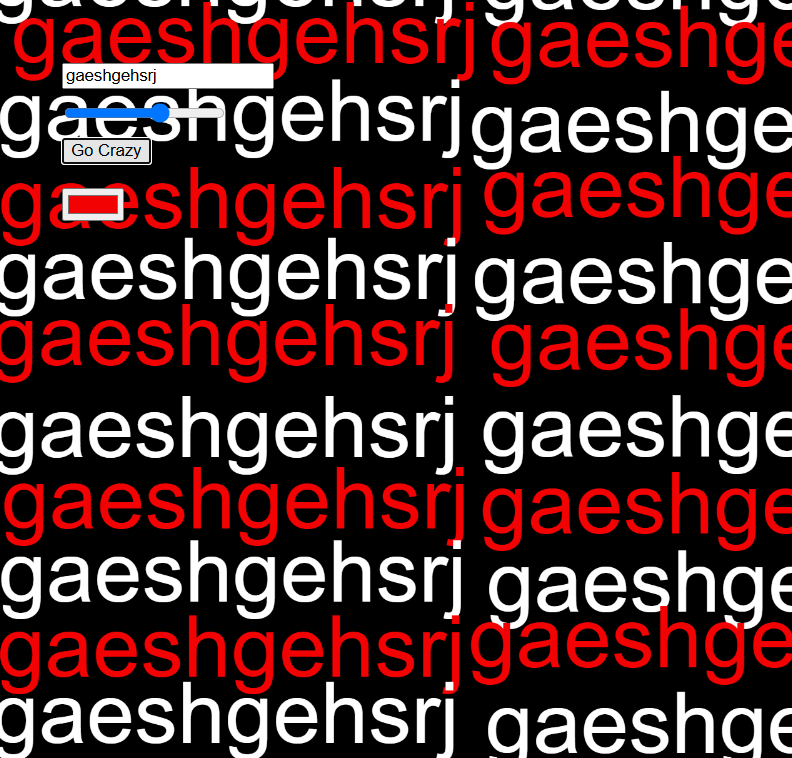
}顏色選取器
-
createColorPicker(['預設顏色']);
- 跟剛剛的例子結合
var inputElement;
var sliderElement;
var buttonElement;
// var colorPickerElement;
function setup() {
	createCanvas(windowWidth, windowHeight);
	background(0);

	inputElement = createInput();
	inputElement.position(50, 50);

	sliderElement = createSlider(20, 100, 30, 0.1);
	sliderElement.position(50, 80);

	buttonElement = createButton('Go Crazy');
	buttonElement.position(50, 110);
	buttonElement.mousePressed(goCrazy);

	// colorPickerElement = createColorPicker('#F4D35E');
	// colorPickerElement.position(50, 150)
}

function goCrazy() {
	// randomValue += 5;
	if(randomValue>0){
		randomValue = 0;
	}else{
		randomValue = 10
	}
}

var randomValue = 0;

function draw() {
	background(0);
	let txt = inputElement.value();
	let sliderValue = sliderElement.value();
	// let selectedColor = colorPickerElement.value();
	fill(255);
	textSize(50);
	textSize(sliderValue);
	let textLength = textWidth(txt) + 10;
	// let lineCount = 0;
	for (var t = 0; t < height; t += 60) {
		// lineCount++;
		// if(lineCount%2==0){
		// 	fill(selectedColor);
		// }else{
		// 	fill('white')
		// }
		for (var i = 0; i < width; i += textLength) {
			text(txt, i + random(-randomValue, randomValue),
					 t+random(-randomValue,randomValue));
		}
	}
}
輸出
輸出
-
將p5作品用網頁展示
-
把作品鑲嵌到一般的網頁中展示
-
github page
將p5作品用網頁展示
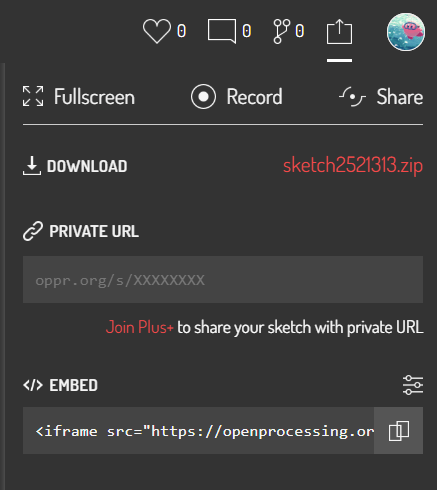
- 下載p5壓縮檔
- 要先登入
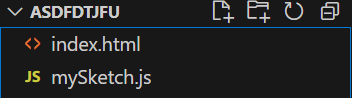
將p5作品用網頁展示
- 放入vscode
- 先解壓縮
- 創一個資料夾A,把解壓縮出來的資料夾都放進去
- 將資料夾A在vscode開啟
- live server -> index.html
鑲嵌到一般的網頁中展示
- 下載p5壓縮檔
- 要先登入
- 放入vscode
- 先解壓縮
- 創一個資料夾A,把解壓縮出來的資料夾都放進去
- 將資料夾A在vscode開啟
- 資料夾A中要有一般的網頁
資料夾A
開啟p5的網頁
p5.js
一般的網頁
鑲嵌到一般的網頁中展示
- 下載p5壓縮檔
- 要先登入
- 放入vscode
- 先解壓縮
- 創一個資料夾A,把解壓縮出來的資料夾都放進去
- 將資料夾A在vscode開啟
- 資料夾A中要有一般的網頁
資料夾A
開啟p5的網頁
p5.js
一般的網頁
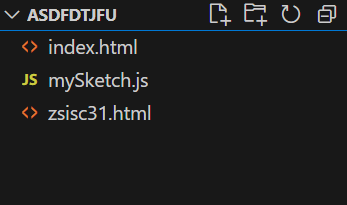
鑲嵌到一般的網頁中展示
- 在zsisc31.html中加入<iframe></iframe>
- live server -> zsisc31.html(一般網頁)
<body>
    <div>
        ZSISC<br>31st
    </div>
    <iframe src = "index.html"></iframe>
</body>
鑲嵌到一般的網頁中展示
- 可以用CSS調整
iframe {
	width: 100%;
	height: 100%;
	border: none;
	z-index: -1;
	position: absolute;
	top: 0;
}
End!!

回饋表單!
拜託填一下(⸝⸝⸝ᵒ̴̶̷ ⌑ ᵒ̴̶̷⸝⸝⸝)

p5.js 2025 IZCC wintercamp
By strange_swing


