CS5001 / CS5003:
Intensive Foundations of Computer Science
Lecture 8: Introduction to Classes and OOP
Lecture 8: Midterm Review
- Let's first talk about the midterm exam: great job overall!
- The questions were meant to be challenging but not tricky.
- If you still have questions about the midterm, please email me to chat.
- I want to look at a couple of problems that seemed to be most difficult.
Lecture 8: Midterm Review
- Question 1c
  def mystery_c(s1, s2):
    """
    TODO: Explain what the function does
    :param s1: a string
    :param s2: a string
    :return: None
    Note: For the doctest, assume file.txt contains the following three lines:
    the cat in the hat
    green eggs and ham
    fox in socks
    >>> mystery_c('file.txt', 'ae')
    >>> with open('file.txt') as f:
    ...     for line in f:
    ...         print(line[:-1])
    TODO: Doctest output (note, the doctest output is just going to be the
          contents of the file after you run the test)
    """
    with open(s1, "r") as f:
        lines = f.readlines()

    with open(s1, "w") as f:
        for line in lines:
f.write(''.join([c.upper() for c in line if c not in s2]))- Lots of people asked about the doctest: a doctest is just a REPL listing. Lines 11-13 plus your answer make up the doctest in this case.
- Some people missed the fact that all characters that made it through the filter were changed to uppercase.
Lecture 8: Midterm Review
- Question 2: Checksum -- great job!
def checksum(s):
    """
    Returns the sum of all the ASCII values of the characters in the string.
    :param s: A string
    :return: The sum of the ASCII values of the string
    >>> checksum("hello")
    532
    """
    sum = 0
    for c in s:
        sum += ord(c)
return sum- Most students figured this one out, including figuring out a string that would produce the same checksum as 'hello'.
Lecture 8: Midterm Review
- Question 3: Hamming distance -- some solutions were too verbose!
def hamming_distance(s1, s2):
    """
    Returns the Hamming distance for two strings, or None if the two strings
    have different lengths.
    :param s1: the first string
    :param s2: the second string
    :return: An integer representing the Hamming distance between s1 and s2,
             or None if the strings have different lengths
    >>> hamming_distance('GGACG', 'GGTCA')
    2
    """
    if len(s1) != len(s2):
        return None
    hd = 0
    for c1, c2 in zip(s1, s2):
        if c1 != c2:
            hd += 1
return hd- This was a great time to use the zip function.
- There were other perfectly fine ways to do this problem.
Lecture 8: Midterm Review
- Question 4: Count and Wrap: I saw some tortured solutions
def count_and_wrap(total, wrap_after):
    """
    Prints total number of lines, starting from 0 and wrapping after
    wrap_after.
    :param total: an integer
    :param wrap_at: an integer
    :return: None
    >>> count_and_wrap(9, 4)
    0
    1
    2
    3
    4
    0
    1
    2
    3
    """
    for i in range(total):
print(i % (wrap_after + 1))- This took a bit of thinking to get right, but the solution is straightforward.
- I saw some correct solutions that I had to code up and try before I was convinced they were correct.
Lecture 8: Midterm Review
- Question 5b: multiply recursively
def multiply(a, b):
    """
    Multiplies a and b using recursion and only + and - operators
    :param a: a positive integer
    :param b: a positive integer
    :return: a * b
    """
    if b == 0:
        return 0
return a + multiply(a, b - 1)- Remember:
- Base case
- Work towards a solution by making the problem a bit smaller
- Recurse
- Some students counted down a, and others counted down b. Either was fine.
- How could we ensure we are doing the least amount of work?
Lecture 8: Midterm Review
- Least amount of work (a more efficient solution):
def multiply_efficient(a, b):
    if a < b:
        return multiply(b, a)
    if b == 0:
        return 0
    return a + multiply_efficient(a, b - 1)
import timeit
print("Timing multiply(10, 900):")
print(timeit.timeit(lambda: multiply(10, 900), number=10000))
print()
print("Timing multiply(900, 10):")
print(timeit.timeit(lambda: multiply(900, 10), number=10000))
print()
print("Timing multiply_efficient(900, 10):")
print(timeit.timeit(lambda: multiply_efficient(900, 10), number = 10000))
print()
print("Timing multiply_efficient(10, 900):")
print(timeit.timeit(lambda: multiply_efficient(10, 900), number = 10000))
print()- We now count down the value that is smallest -- why does this save time?
- We can use Python to test a function (we will learn about lambdas soon):
- This tests the functions by running them 10,000 times in a row
Lecture 8: Midterm Review
    import timeit
    print("Timing multiply(10, 900):")
    print(timeit.timeit(lambda: multiply(10, 900), number=10000))
    print()

    print("Timing multiply(900, 10):")
    print(timeit.timeit(lambda: multiply(900, 10), number=10000))
    print()

    print("Timing multiply_efficient(900, 10):")
    print(timeit.timeit(lambda: multiply_efficient(900, 10), number = 10000))
    print()

    print("Timing multiply_efficient(10, 900):")
    print(timeit.timeit(lambda: multiply_efficient(10, 900), number = 10000))
print()Timing multiply(10, 900):
2.596630092
Timing multiply(900, 10):
0.017811094999999888
Timing multiply_efficient(900, 10):
0.020884906000000036
Timing multiply_efficient(10, 900):
0.019478217000000075- The original function was super-slow, because it had to count down from 900, which takes time.
- Also: we couldn't go to 1000, because we would have a stack overflow
- The efficient solution is fast no matter what
Lecture 8: Introduction to Classes and OOP
- This week, we are going to start talking about classes and object oriented programming.
- Object Oriented Programming uses classes to create objects that have the following properties:
- An object holds its own code and variables
- You can instantiate as many objects of a class as you'd like, and each one can run independently.
- You can have objects communicate with each other, but this is actually somewhat rare.
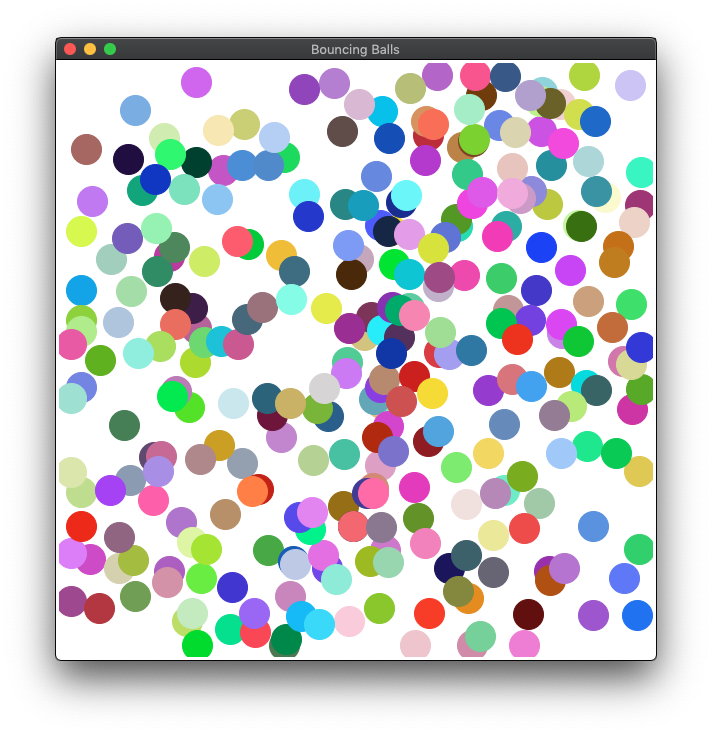
- You saw an example of a class in last week's lab
- The Ball class is an object
- You can create as many balls as you want
- Each can have its own attributes
- color
- direction
- size
- etc.
Lecture 8: Creating a class creates a type
- When we create a new class, we actually create a new type. We have only used types that are built in to python so far: strings, ints, floats, dicts, lists, tuples, etc.
- Now, we are going to create our own type, which we can use in a way that is similar to the built-in types.
- Let's start with the Ball example, but let's make it a bit simpler than we saw it in the lab. In fact, let's make it really simple (in that it doesn't do anything):
class Ball:
    """
    The Ball class defines a "ball" that can bounce around the screen
    """
>>> class Ball:
... """
... The Ball class defines a "ball" that can bounce around the screen
... """
...
>>> print(Ball)
<class '__main__.Ball'>
>>>- In the REPL:
Notice that the full name of the type is '__main__.Ball'
Lecture 8: Creating a class creates a type
- Once we have a class, we can create an instantiation of the class to create an object of the type of the class we created:
>>> class Ball:
...     """
...     The Ball class defines a "ball" that can bounce around the screen
...     """
...
>>> print(Ball)
<class '__main__.Ball'>
>>>
>>> my_ball = Ball()
>>> print(my_ball)
<__main__.Ball object at 0x109b799e8>
>>>- Now we have a Ball instance called my_ball that we can use. We can create as many more instances as we'd like:
>>> lots_of_balls = [Ball() for x in range(1000)]
>>> len(lots_of_balls)
1000
>>> print(lots_of_balls[100])
<__main__.Ball object at 0x109dc6e10>
>>>- We now have 1000 instances of the Ball type in a list.
Lecture 8: The __init__ method of a class
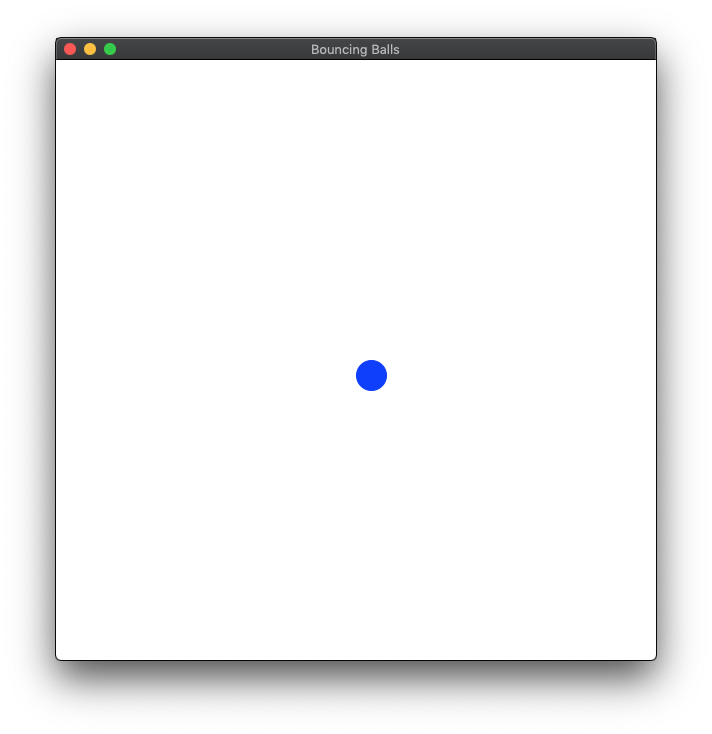
- Let's make our Ball a bit more interesting. Let's add a location for the Ball, and let's also make a method that draws the ball on a canvas, which is a drawing surface available to Python through the Tkinter GUI (Graphical User Interface)
- We can add functions to a class, too -- they are called methods, and are run with the dot notation we are used to. There is a special method called "__init__" that runs when we create a new class object:
class Ball:
    """
    The Ball class defines a "ball" that can
    bounce around the screen
    """
    def __init__(self, canvas, x, y):
        self.canvas = canvas
        self.x = x
        self.y = y
        self.draw()

    def draw(self):
        width = 30
        height = 30
        outline = 'black'
        fill = 'black'
        self.canvas.create_oval(self.x, self.y,
                                self.x + width,
                                self.y + height,
                                outline=outline,
fill=fill)- What is this "self" business?
- "self" refers to the instance, and each instance has its own attributes that can be shared among the methods.
- All methods in a class have a default "self" parameter.
- In __init__, we set the parameters to be attributes for use in all the methods.
Lecture 8: The __init__ method of a class
class Ball:
    """
    The Ball class defines a "ball" that can
    bounce around the screen
    """
    def __init__(self, canvas, x, y):
        self.canvas = canvas
        self.x = x
        self.y = y
        self.draw()

    def draw(self):
        width = 30
        height = 30
        outline = 'blue'
        fill = 'blue'
        self.canvas.create_oval(self.x, self.y,
                                self.x + width,
                                self.y + height,
                                outline=outline,
fill=fill)- The __init__ method is called immediately when we create an instance of the class. You can think of it as the setup, or initialization routine.
- Notice in "draw" that we create regular variables. Those can only be used in the method itself.
- If we want, we can promote those variables to become attributes so different instances can have different values.
Lecture 8: The __init__ method of a class
class Ball:
"""
The Ball class defines a "ball" that can
bounce around the screen
"""
def __init__(self, canvas, x, y):
self.canvas = canvas
self.x = x
self.y = y
self.draw()
def draw(self):
width = 30
height = 30
outline = 'blue'
fill = 'blue'
self.canvas.create_oval(self.x, self.y,
self.x + width,
self.y + height,
outline=outline,
fill=fill)
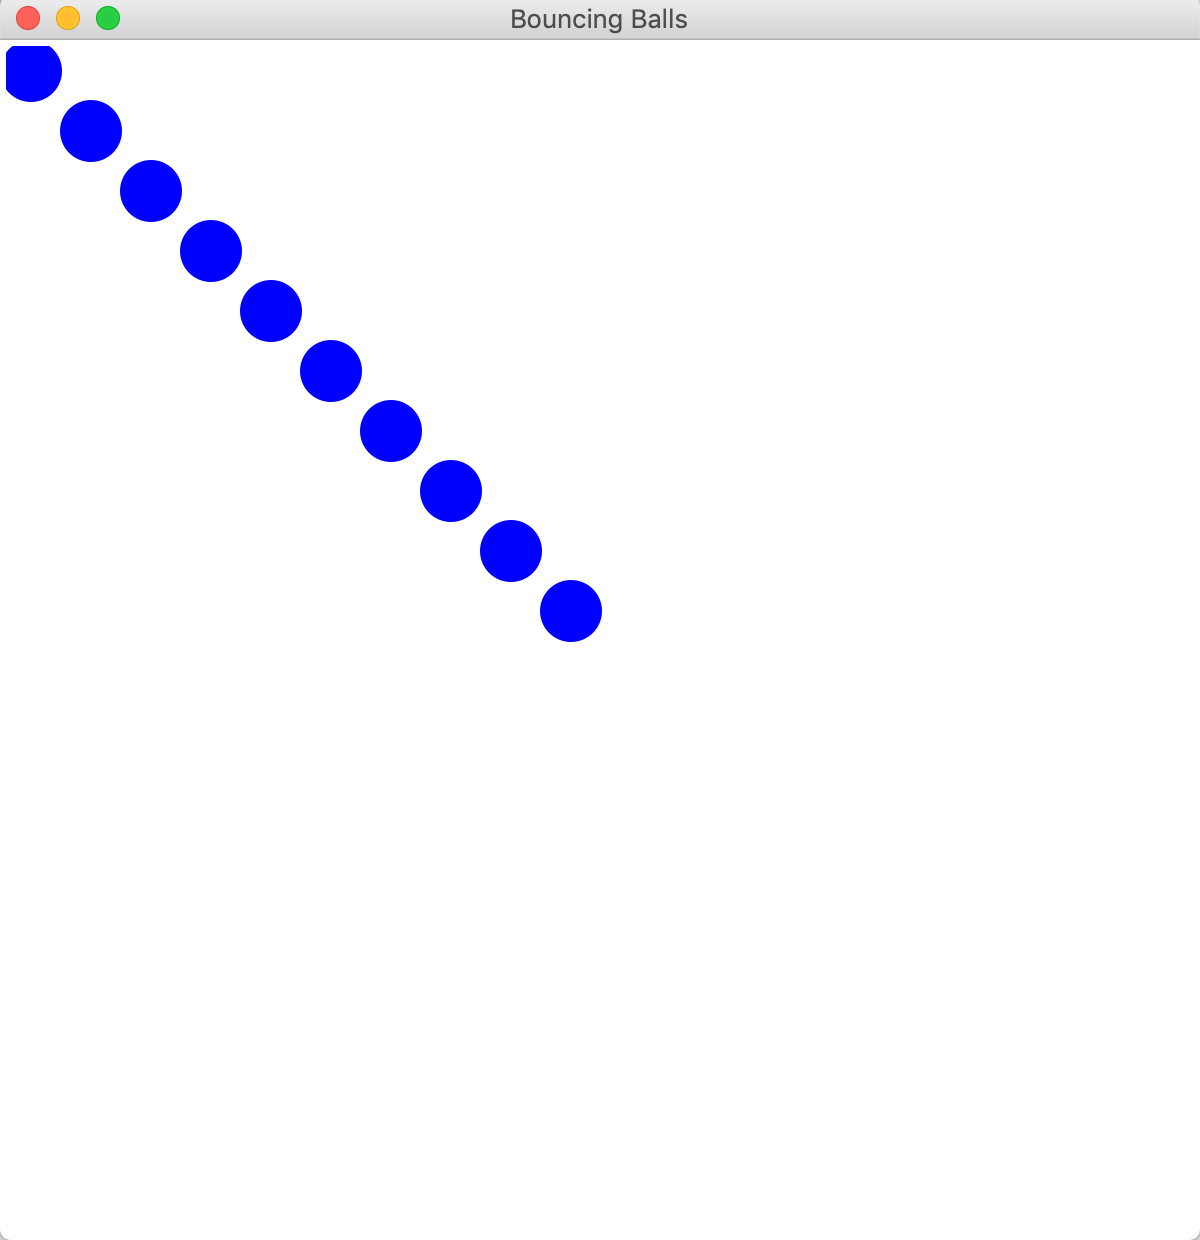
def animate(playground):
canvas = playground.get_canvas()
ball = Ball(canvas, 10, 10)
canvas.update() // redraw canvas- Because Tkinter needs some setup, I haven't included it here. But, assume you have an animate function that has a playground parameter that gives you a canvas (see Lab 8 if you want details).
- When we instantiate ball, the __init__ method is called, which sets up the attributes, and then draws the ball on the screen.
Lecture 8: The __init__ method of a class
class Ball:
    """
    The Ball class defines a "ball" that can
    bounce around the screen
    """
    def __init__(self, canvas, x, y):
        self.canvas = canvas
        self.x = x
        self.y = y
        self.draw()

    def draw(self):
        width = 30
        height = 30
        outline = 'blue'
        fill = 'blue'
        self.canvas.create_oval(self.x, self.y,
                                self.x + width,
                                self.y + height,
                                outline=outline,
                                fill=fill)

def animate(playground):
    canvas = playground.get_canvas()
    balls = []
    for i in range(10)
        balls.append(Ball(canvas, 30 * i, 30 * i))
canvas.update() // redraw canvas- We can, of course, create as many balls as we want.
Lecture 8: The __init__ method of a class
class Ball:
    """
    The Ball class defines a "ball" that can
    bounce around the screen
    """

    def __init__(self, canvas, x, y, width, height, fill):
        self.canvas = canvas
        self.x = x
        self.y = y
        self.width = width
        self.height = height
        self.fill = fill
        self.draw()

    def draw(self):
        self.canvas.create_oval(self.x, self.y,
                                self.x + self.width,
                                self.y + self.height,
                                outline=self.fill,
                                fill=self.fill)

def animate(playground):
    canvas = playground.get_canvas()

    ball1 = Ball(canvas, 100, 100, 50, 30, "magenta")
    ball2 = Ball(canvas, 40, 240, 10, 100, "aquamarine")
    ball3 = Ball(canvas, 200, 200, 150, 10, "goldenrod1")
    ball4 = Ball(canvas, 300, 300, 1000, 1000, "yellow")

    canvas.update()
- Now, we can modify each of the ball's position, size, and color independently.
- What could we do if we wanted to give each attribute a default value?
- Just like with regular functions, the __init__ method can accept defaults (see next slide)
Lecture 8: The __init__ method of a class
class Ball:
    """
    The Ball class defines a "ball" that can
    bounce around the screen
    """

    def __init__(self, canvas, x, y,
                 width=30, height=30, fill="blue"):
        self.canvas = canvas
        self.x = x
        self.y = y
        self.width = width
        self.height = height
        self.fill = fill
        self.draw()

    def draw(self):
        self.canvas.create_oval(self.x, self.y,
                                self.x + self.width,
                                self.y + self.height,
                                outline=self.fill,
                                fill=self.fill)

def animate(playground):
    canvas = playground.get_canvas()

    ball1 = Ball(canvas, 100, 100) # default size and color
    ball2 = Ball(canvas, 40, 240, fill="aquamarine")
    ball3 = Ball(canvas, 200, 200, 150, 10)
    ball4 = Ball(canvas, 300, 300, 1000, 1000, "yellow")

    canvas.update()
- Q: Why do we have to say fill="aquamarine" ?
- A: If we leave out default arguments, we have to name any other default arguments
Lecture 8: The __str__ and __eq__ methods of a class
- Besides __init__, there are a couple of other special methods that classes know about, and that you can write:
- __str__
- Returns a string that you can print out that tells you about the instance
- __eq__
- If you pass in two instances, __eq__ will return True if they are the same, and False if they are different
- __str__
- We can define these functions to do whatever we want, but we generally want them to make sense for creating a string representation of the object, and for determining if two objects are equal.
Lecture 8: The __str__ and __eq__ methods of a class
- Before we write the functions, let's see what happens when we try to print a ball, and to determine if two balls are equal:
    ball1 = Ball(canvas, 100, 100)  # default size and color
    ball2 = Ball(canvas, 40, 240, fill="aquamarine")
    ball3 = Ball(canvas, 200, 200, 150, 10)
    ball4 = Ball(canvas, 300, 300, 1000, 1000, "yellow")
    ball5 = Ball(canvas, 300, 300, 1000, 1000, "yellow") // same as ball4

    canvas.update()

    print(ball1)
    print(ball2)
    print(ball3)
    print(ball4)

    print(f"ball4 == ball5 ? {ball4 == ball5}")
    print(f"ball1 == ball5 ? {ball1 == ball5}")
ball4 == ball5 ? False
ball1 == ball5 ? False
<__main__.Ball object at 0x10484f1d0>
<__main__.Ball object at 0x10484f208>
<__main__.Ball object at 0x10484f240>
<__main__.Ball object at 0x10484f278>- This is probably not what we want. ball4 and ball5 should be equal, and when we print out a ball, it isn't very useful.
Lecture 8: The __str__ and __eq__ methods of a class
- Here is an example of the __str__ method for our Ball class:
    def __str__(self):
        """
        Creates a string that defines a Ball
        :return: a string
        """
        ret_str = ""
        ret_str += (f"x=={self.x}, y=={self.y}, "
                    f"width=={self.width}, height=={self.height}, "
                    f"fill=={self.fill}")
return ret_str- We create a string with the attributes we care to print, and then we return the string.
Lecture 8: The __str__ and __eq__ methods of a class
- Here is an example of the __eq__ method for our Ball class:
    def __eq__(self, other):
        return (
                self.canvas == other.canvas and
                self.x == other.x and
                self.y == other.y and
                self.width == other.width and
                self.height == other.height and
                self.fill == other.fill
)- We perform the comparison on the two different balls, and return True if they are the same, and False otherwise.
Lecture 8: The __str__ and __eq__ methods of a class
- There are other, related methods you can also create:
- __ne__ (not equal). In Python 3, we don't usually bother creating this, because the language just treats != as the opposite of ==.
- __lt__ (less than)
- __le__ (less than or equal to)
- __gt__ (greater than)
- __ge__ (greater than or equal to)
- There isn't necessarily a good way to determine if a ball is "less than" another ball, but for some objects it makes more sense.
Lecture 8 - Introduction to Classes and OOP
By Chris Gregg


