Action Mailer Basics

What's a mailer?
Action Mailer allows you to send emails from your application using mailer classes and views.
Mailers work very similarly to controllers. They live in app/mailers, and have associated views.
Let's set up a new project. The user story will be: When a new user signs up they immediately receive a welcome email.
$ rails new mailerGenerate a mailer
Let's generate a mailer using the command below:
$ rails generate mailer UserMailer
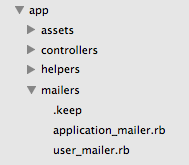
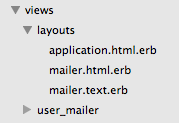
This gives us 2 rb files in app/mailers, 2 html.erb files in views/layouts and a user_mailer folder under views:

controller-like
Where a controller generates content like HTML to send back to the client, a Mailer creates a message to be delivered via email. Let's add a welcome_email action to our mailers/user_mailer.rb file:
class UserMailer < ApplicationMailer
  default from: 'notifications@example.com'

  def welcome_email(user)
    @user = user
    @url  = 'http://example.com/login'
    mail(to: @user.email, subject: 'Welcome to My Awesome Site')
  end
end
email HTML view
Now let's actually create the email in a view. We'll create a brand new file under app/views/user_mailer called "welcome_email.html.erb" (the name must exactly match the method we wrote in the mailer rb)
<h1>Welcome to example.com, <%= @user.name %></h1>
<p>
  You have successfully signed up to example.com,
  your username is: <%= @user.login %>.<br>
</p>
<p>
  To login to the site, just follow this link: <%= @url %>.
</p>
<p>Thanks for joining and have a great day!</p>
Why don't we need the html and body tags?
email Text view
Let's also create a text-only version for our friends who use email clients that don't except HTML emails. This file will be called "welcome.text.erb"
Welcome to example.com, <%= @user.name %>
===============================================

You have successfully signed up to example.com,
your username is: <%= @user.login %>.

To login to the site, just follow this link: <%= @url %>.

Thanks for joining and have a great day!
Generating users
Let's scaffold a User with name, email and login fields.
$ rails generate scaffold User name email login
$ rake db:migrate
Calling the mailer
Then add the following line to users_controller.rb so that the email will be sent out upon user creation.
 def create
    @user = User.new(user_params)

    respond_to do |format|
      if @user.save
        # Tell the UserMailer to send a welcome email after save
        UserMailer.welcome_email(@user).deliver_now
...
Config
In order to actually send an email through gmail we need to set up our SMTP settings in config/development.rb
  config.action_mailer.delivery_method = :smtp
  config.action_mailer.smtp_settings = {
    address:     'smtp.gmail.com',
    port:        587,
    domain:      'gmail.com',
    user_name:   'USERNAME@gmail.com',
    password:     'YOUR_ACTUAL_PASSWORD_HERE_SERIOUSLY',
    authentication:  'plain',
    enable_starttls_auto: true
  }
SMTP = Simple Mail Transfer Protocol
Preview the email
Take the steps below to preview the email
- Add a user to localhost:3000/users
-
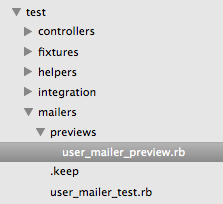
Write the following action in test/mailers/previews/user_mailer_preview.rb
- Browse the page at the URL specified in the comment
# Preview all emails at http://localhost:3000/rails/mailers/user_mailer

class UserMailerPreview < ActionMailer::Preview
  def user_mail_preview
    UserMailer.welcome_email(User.first)
  end
end
test iT
Go ahead and browse to localhost:3000/users and add a user (you!) with your personal email address. In a few seconds you should receive an email in your inbox:


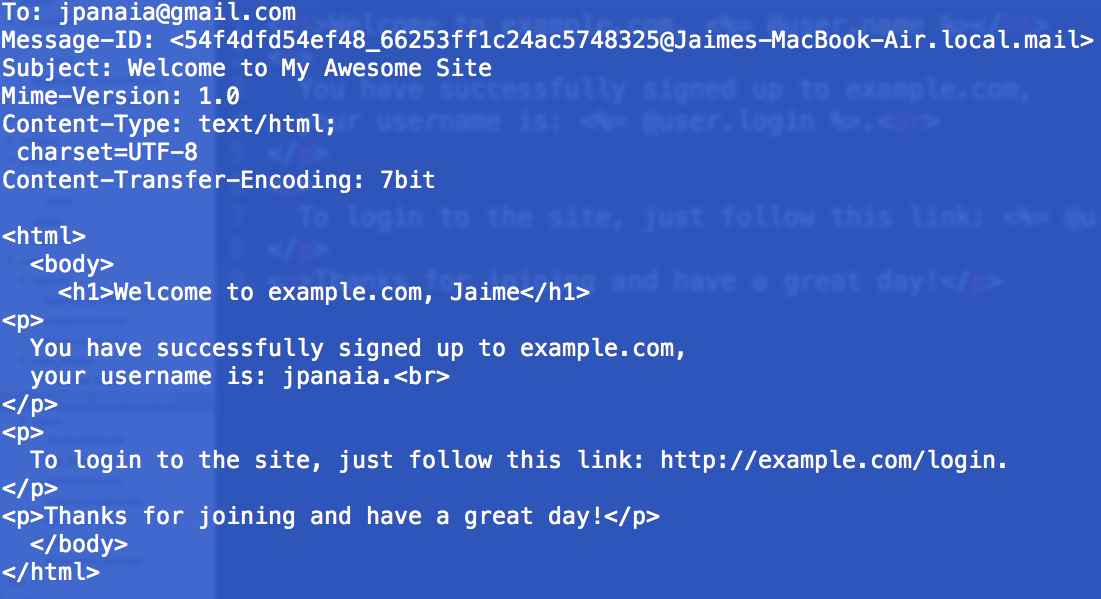
A preview of the html will also appear in the terminal:
Production setup
To get this working on production you'll have to copy the config settings in config/development.rb to config/production.rb.
Additionally you'll want to install the figaro gem in order to hide your gmail credentials in environment variables.
Mailers
By tts-jaime
Mailers
- 1,315


