Docker on Raspberry PI
Contents:
-
What is a Raspberry PI? -
Operating Systems Supported by Raspberry PI - What is HypriotOS?
-
Advantages of using Docker in HypriotOS - Setting up Docker on Raspberry PI with HypriotOS
- Running Docker's containers on Raspberry PI
- Portainer, a friendly container for beginners
- Sumary
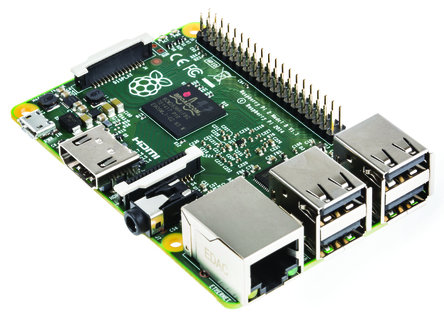
What is a Raspberry PI?
The Raspberry PI is an small, low-cost computer, ARM technology, developed to stimulate the learning of Computer Science and Programming. It is a capable little device that enables people of all ages to explore computing, and to learn how to program. It’s capable of doing everything you’d expect a desktop computer to do.
Raspberry PI 3 - Hardware
-
QuadCore 1.3GHz ARMv8 processor - 1GB of RAM
- 4 USB 2.0
- LAN, WIFI & Bluetooth on board
-
Dimensions 85 x 54 mm
Oficial OS Suported by Raspberry PI
An adapted version of Debian for Raspberry PI


 An easy installer for Raspbian and more

Ubuntu-Mate & Snappy Ubuntu-Core: An adapted versions of Ubuntu for Raspberry PI


Third Party Operating System Images:
Third Party Operating System Images:


Third Party Operating System Images:


What is HypriotOS?
- Minimal Debian-based operating system - most people know how to use Debian & Ubuntu based distros
- Optimized for Docker awesomeness - from optimized and tuned Linux kernel settings to the included fileystems everything is aligned to make Docker run very well
- Up-to-date Docker versions - often we are only mere seconds behind the officially published upstream versions
- Really easy to use - download, flash and boot - that’s all you need to get sta
Advantages of using HypriotOS
The main advantage of using HypriotOS is that it has a minimal installation of Raspbian with Docker pre-installed and updated, ready to produce or to start using Docker without needing to spend a while installing packages from online repository.
Raspberry PI + HypriotOS is the perfect combination for any novice that starts working with docker, also for small virtualizing services in our homes, our private network, our private local web server, an excellent obcion for a small Swarm cluster.

Setting up Docker on Raspberry PI with HypriotOS
Requeriments:
A Raspberry Pi 1, 2 or 3 for better performance
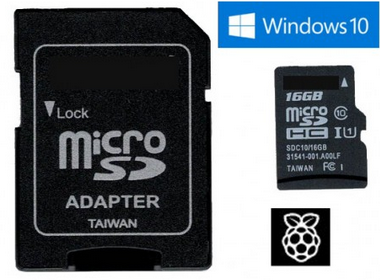
Micro SD Card at lets 8GB (Class 10 recommended)
HypriotOS-RPI image
Internet Connection
A Desktop or Laptop computer for flash the Micro SD Card
How to get Docker running on your Raspberry Pi using Windows
Once we have downloaded the HypriotOS image, we will unzip it content, then we will use Win32 Disk Imager to flash the Micro SD Card, once the process is completed we can insert the SD Card into the Raspberry PI, connect the LAN adapter to our network previously configured with DHCP server and use an IP Scanner like Zenmap to identify the IP of the Raspberry PI. After this we use Putty to access by ssh into HypriotOS with the default credentials.
username: pirate
password: hypriot
How to get Docker running on your Raspberry Pi using Mac OS X
Step 1 - Download the HypriotOS Docker SD card image
Step 2 - Open a terminal pressing CMD + Whitespace and type:
macbook-pro:~ username $ cd ~/Downloads
Step 3 - extract the zip content typing:
macbook-pro:~ username $ unzip hypriotos-rpi-v1.1.3.img.zipAfter the file is unzipped you will have a new file with an .img extension. In the next step we will flash this file onto your SD card.
Verifying which is the SD Card before flashing the wrong disk
Step 4 - put your SD card into the computer. Then in the terminal type:
macbook-pro:~ username $ diskutil list
/dev/disk0
    #:            TYPE NAME            SIZE            IDENTIFIER
    0:    GUID_partition_sheme        *256.1 GB          disk0
    1:            EFI EFI              209.7 MB          disk0s1
    2:    Apple_CoreStorage            255.2 GB          disk0s2
    3:    Apple_Boot Boot OS X         650.0 MB          disk0s3
/dev/disk1
    #:            TYPE NAME            SIZE            IDENTIFIER
    0:    FDisk_partition_scheme       *7.5 GB           disk1
    1:    Windows_FAT_32 NO NAME        61.4 MB          disk1s1
snip...
Step 5 - unmount the SD card. Make sure to replace /dev/disk1 with the identifier of your sd card
macbook-pro:~ username $ diskutil unmountdisk /dev/disk1
Unmount of all volumes on disk1 was successful
macbook-pro:~ username $
Using dd command for flash the SD Card
Before you execute the command below, make sure to:
- replace the parameter after if= with the path to the downloaded image
- replace the parameter after of= with the identifier of your SD card
Step 6 - flash the SD Card with the following command
macbook-pro:~ username $ sudo dd if=hypriotos-rpi-v1.1.3.img.zip of=/dev/rdisk1 bs=1m
Password:
1220+1 records in
1220+1 records out
1280000000 bytes transferred in 522.36475 secs (250622 bytes/secs)
macbook-pro:~ username $
How to get Docker running on your Raspberry Pi using Linux
Step 1 - Download the HypriotOS Docker SD card image and save into the Download folder
Step 2 - Open a terminal and Type:
Step 3 - extract the zip file typing:
[username@localhost ~]$ cd ~/Downloads[username@localhost Downloads ]$ unzip hypriotos-rpi-v1.1.3.img.zip -d ~/Downloads/Verifying which is the SD Card before flashing the wrong disk
Step 4 - put your SD card into the computer. Then in the terminal type:
[username@localhost Downloads]$ lsblk
NAME                                          MAJ:MIN RM   SIZE RO TYPE  MOUNTPOINT
sda                                             8:0    0 298.1G  0 disk
├─sda2                                          8:2    0 297.1G  0 part
│ └─luks-4ff425c4-697c-4f4c-a2bd-2effd8be7338 253:0    0 297.1G  0 crypt
│   ├─fedora_workstation-root                 253:1    0    50G  0 lvm   /
│   ├─fedora_workstation-swap                 253:2    0   5.9G  0 lvm   [SWAP]
│   └─fedora_workstation-home                 253:3    0 241.2G  0 lvm   /home
└─sda1
sdb                                             8:16   1    7.5G 0 disk
└─sdb1                                          8:17   1    7.4G 0 part  /run/media/username/my-sdcard
once you identified the SD Card go to next step to flash it
Using dd command for flash the SD Card
Before you execute the command below, make sure to:
- replace the parameter after if= with the path to the downloaded image
- replace the parameter after of= with the identifier of your SD card
Step 5 - flash the SD Card with the following command
[username@localhost ~]$ sudo dd if=hypriotos-rpi-v1.1.3.img.zip of=/dev/sdb bs=1M
Password:
1220+1 records in
1220+1 records out
1280000000 bytes transferred in 522.36475 secs (250622 bytes/secs)
[username@localhost ~]$ sync
[username@localhost ~]$
Booting HypriotOS for the first time
- connecting the Raspberry Pi to your local network via an ethernet cable
- putting the SD card into the designated slot
- plugging in the power adapter
- start up The Raspberry PI
- To log into the Raspberry Pi via ssh we need to find out the IP address of your Raspberry Pi first. If you are not sure what the IP-Address of your PI is, there are different ways of finding it out. One way is to use the tool nmap or other IP-Scanner.
After you found out the IP address establish a connection to the Raspberry Pi with the ssh command. Replace the IP address after the @ with the one of your Raspberry Pi. Default username is "pirate" and password "hypriot"
[username@localhost ~]$ ssh pirate@10.42.0.168
pirate@10.42.0.168's password:

HypriotOS (Debian GNU/Linux 8)

The programs included with the Debian GNU/Linux system are free software;
the exact distribution terms for each program are described in the
individual files in /usr/share/doc/*/copyright.

Debian GNU/Linux comes with ABSOLUTELY NO WARRANTY, to the extent
permitted by applicable law.
Last login: Thu Feb  2 01:43:11 2017 from 10.42.0.1
HypriotOS/armv7: pirate@black-pearl in ~
$
Testing Docker on Raspberry PI
We can check if Docker is running typing:
HypriotOS/armv7: pirate@black-pearl in ~
$ docker info
Containers: 0
 Running: 0
 Paused: 0
 Stopped: 0
Images: 0
Server Version: 1.12.5
Storage Driver: overlay
 Backing Filesystem: extfs
Logging Driver: json-file
Cgroup Driver: cgroupfs
Plugins:
 Volume: local
 Network: bridge null overlay host
Swarm: inactive
Runtimes: runc
Default Runtime: runc
Security Options:
Kernel Version: 4.4.39-hypriotos-v7+
Operating System: Raspbian GNU/Linux 8 (jessie)
OSType: linux
Architecture: armv7l
CPUs: 4
Total Memory: 861.9 MiB
Name: black-pearl
ID: IWPG:6N4R:LCDH:GP2G:CS2F:V4OR:QYPW:IU5J:GROD:O53G:WUO3:ZE7G
Docker Root Dir: /var/lib/docker
Debug Mode (client): false
Debug Mode (server): false
Registry: https://index.docker.io/v1/
Insecure Registries:
 127.0.0.0/8
HypriotOS/armv7: pirate@black-pearl in ~
$
Congratulations! You have succeeded in getting Docker running on your Raspberry Pi! :)
Running your first container on Raspberry PI
HypriotOS/armv7: pirate@black-pearl in ~
$  docker pull hypriot/rpi-busybox-httpd
Pulling busybox-httpd container:
Running the container:
HypriotOS/armv7: pirate@black-pearl in ~
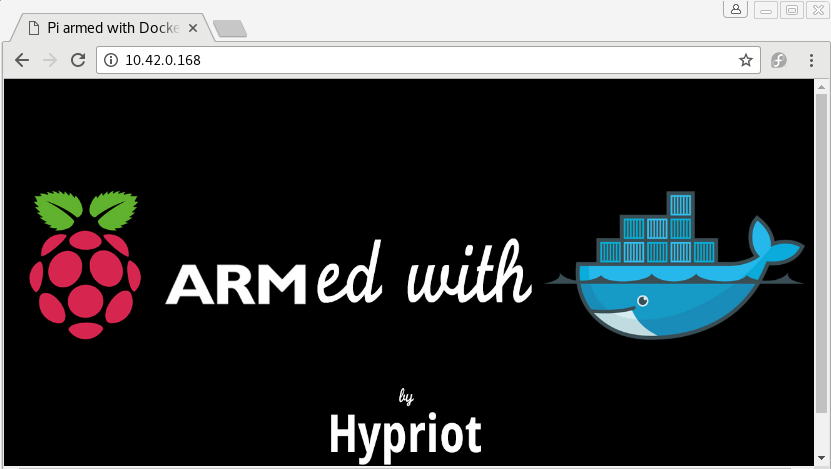
$ docker run -d -p 80:80 hypriot/rpi-busybox-httpdTesting busybox-httpd from browser:
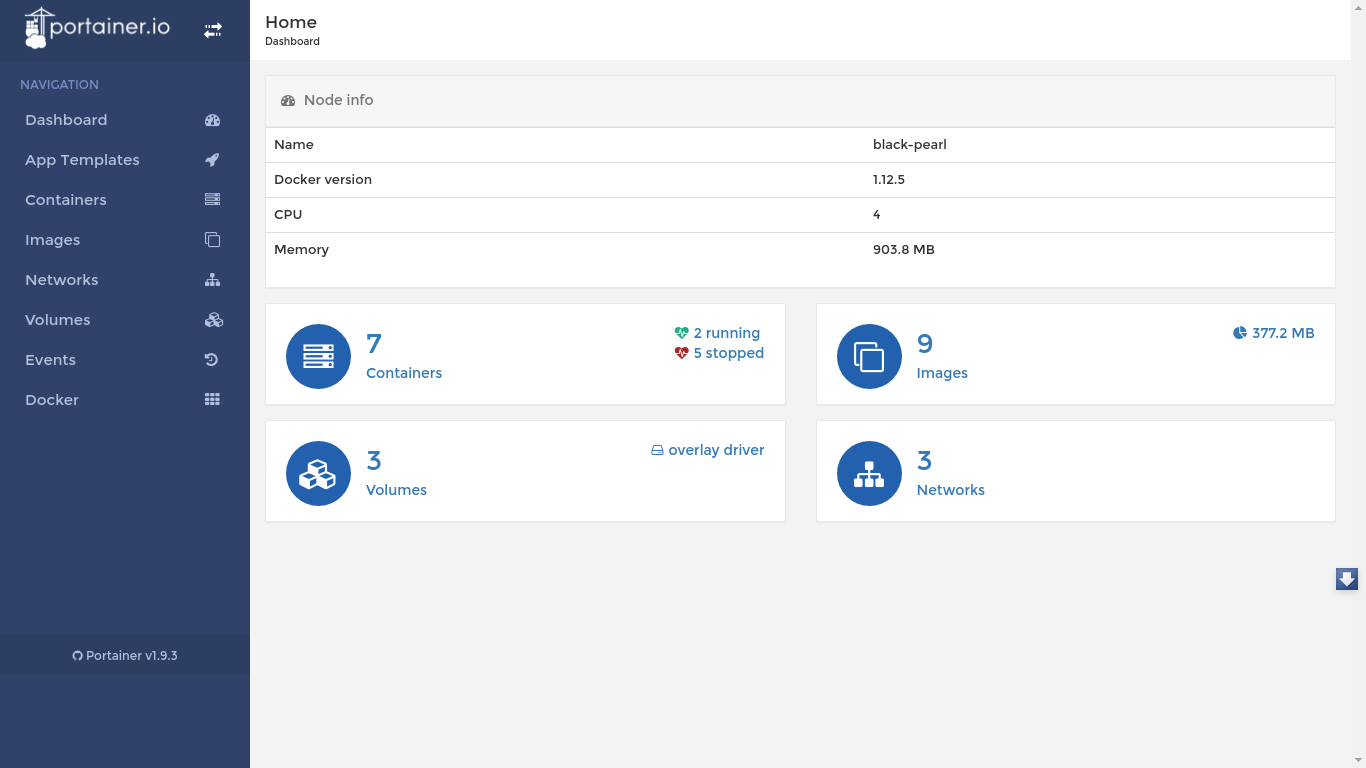
Portainer
a friendly container for beginners
Portainer is an open-source lightweight management UI which allows you to easily manage your Docker host or Swarm cluster.
It has never been so easy to manage Docker. Portainer provides a detailed overview of Docker and allows you to manage containers, images, networks and volumes.
You are one Docker command away from running Portainer anywhere. You'll be started in less than a minute.

Setting up Portainer
Pulling Portainer image into Docker:
HypriotOS/armv7: pirate@black-pearl in ~
$ docker pull hypriot/rpi-portainer
Running Portainer:
HypriotOS/armv7: pirate@black-pearl in ~
$ docker run -d -p 9000:9000 -v /var/run/docker.sock:/var/run/docker.sock hypriot/rpi-portainer
We can verified that Portainer ir running typing:
HypriotOS/armv7: pirate@black-pearl in ~
$ docker ps
CONTAINER ID        IMAGE               COMMAND       CREATED       STATUS              PORTS                NAMES
ab8bb844e699   hypriot/rpi-portainer  "/portainer"   4 hours ago   Up 4 hours    0.0.0.0:9000->9000/tcp   nauseous_babbage
Portainer UI Docker interface
Docker on Raspberry PI
By Xc0d3 Cuba


