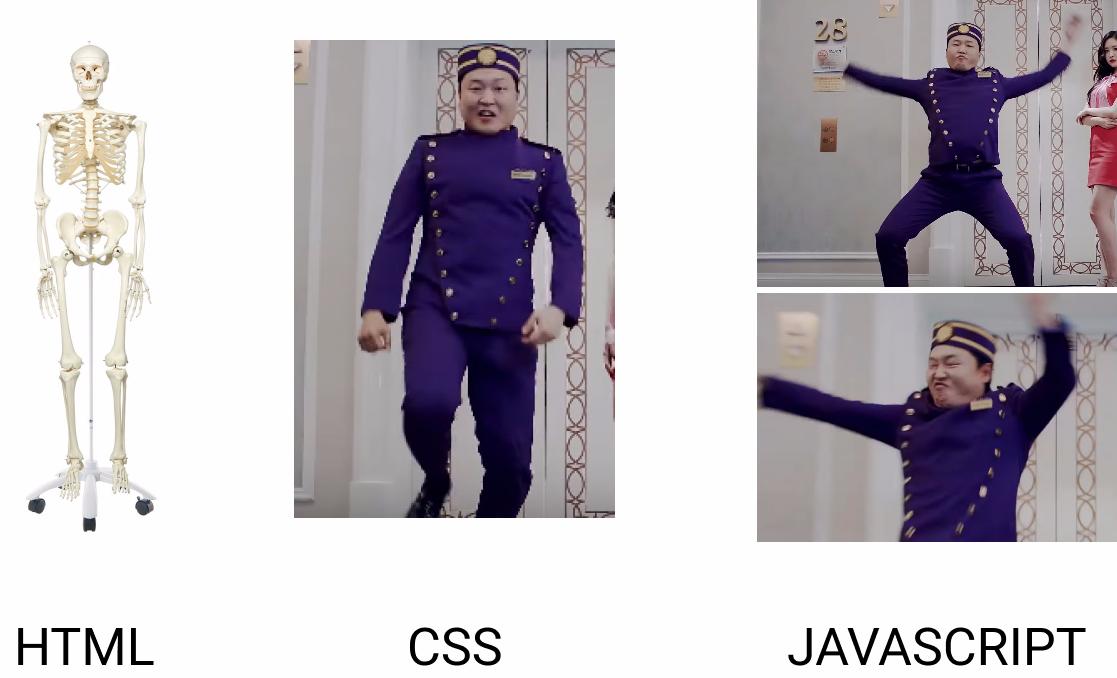
Web Design Training Package
Week 1
Week 2
Part 1
FLOATS
Lorem ipsum dolor sit amet, consectetur adipiscing elit. Proin urna odio, aliquam vulputate faucibus id, elementum lobortis felis. Mauris urna dolor, placerat ac sagittis quis.
TABLES ?
Lorem ipsum dolor sit amet, consectetur adipiscing elit. Proin urna odio, aliquam vulputate faucibus id, elementum lobortis felis. Mauris urna dolor, placerat ac sagittis quis.
HOW TO POSITION HTML ELEMENTS
Week 2
Part 2
HTML POSITIONING
We have seen the following positions of elements:
- Block, for sections in a webpage
- Inline, for text
- Table, for two-dimensional table data
- Positioned, for explicit position of an element
https://www.w3schools.com/css/css_positioning.asp
Week 3
Part 1
Javascript
101
Javascript Events
Workshop
- Copy the html from https://alvaro.glitch.me/week3.html
- Writing into an HTML element, using innerHTML
- Writing into the HTML output using document.write()
- Writing into an alert box, using window.alert()
- Writing into the browser console, using console.log()
- Add a class with a button
- Remove a class with a button
- Create a function triggered by a button that can hide an item from your website.
- Use : display: none;
- Bring it back with: display: block;
Ideas for layouts
- https://themeforest.net/
- https://www.w3schools.com/w3css/w3css_templates.asp
- https://startbootstrap.com/template-categories/all/
- https://www.templatemonster.com/html-templates.php
Week 3
Part 2
Photoshop
introduction
Photoshop Alternatives
- Sketch
- Illustrator
- www.pixelmator.com
- invisionapp.com
- gimp
Tools for photoshop
- Grid system
- https://1440px.com/
Week 4
Research & Development
How to define a the Web Design
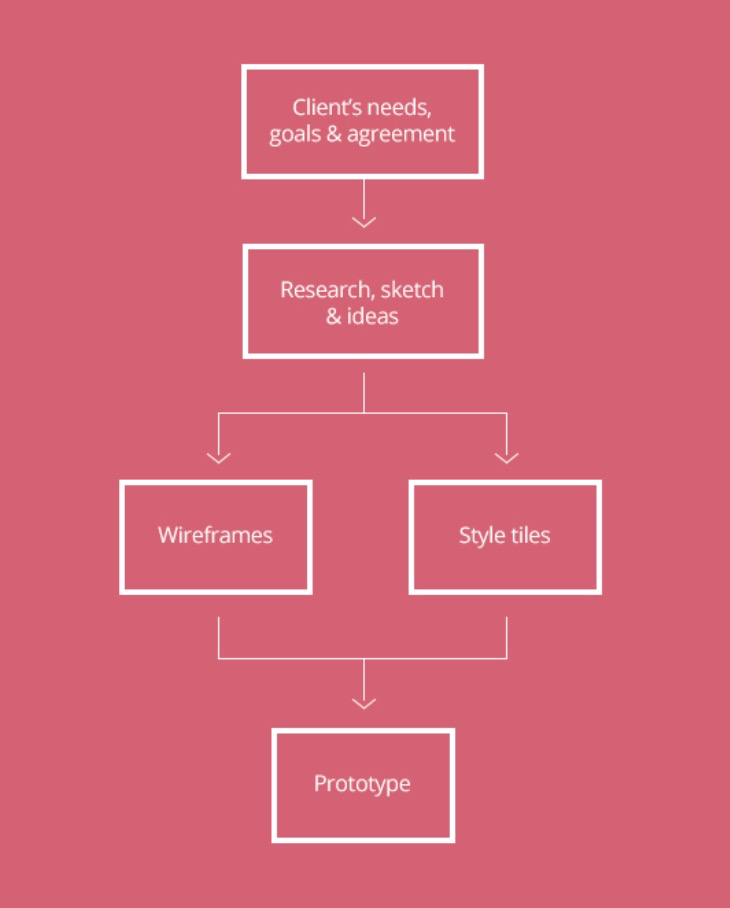
Step 1
Clients Needs
- What’s the purpose of this website ?
- Who’s the target audience/users ?
- Who's the client ?
- What is the tone of the website ?
- Who are your competitors ?
- What actions do you want the visitors to take ?
Step 2
Research, ideas & sketch
Start sketching
If you’re a designer and you don’t have a personal notebook, you better drive to your nearest library. Writing down your notes using a pen and paper is the most efficient way when it comes to any activity that involves brainstorming. Take some time and start sketching any idea that pops to your head. You don’t have to know how to draw. You can start with a circle, then your ideas will flow naturally. You can be in your taxi on your way to work, and a creative idea can pop. Write it down.
Compile your inspiration
Create a bookmark folder with the project’s name. Start researching and then save any webpage you deem relevant. Make sure not to copy exact elements or ideas as this will be considered plagiarizing. Find your best looking websites and layouts based on the client’s needs and search for other websites in the same business. Write down what you like and what you don’t like about them. Layouts, colors, shapes, animations.. Anything that will give you ideas and inspiration for your next step.
Brainstorm with pen an paper

Know your competitors
Take a good look at your competitors’ websites. Check all the local and international competitors and learn from their content. What do they all have in common? This is what you should include in your website. What are they missing? That’s what you can improve in your website.

Step 3:
Wireframes
Wireframes are the blueprint of your website. It’s what gives your website a visual structure. Some designers have the tendency to include design elements in their wireframes. This should be avoided completely, as this will distract the purpose of the wireframes, which is to state where things go, not how things look like. Wireframes should be in grayscale to focus only on the layout. The first approach to a wireframe is, yes, a pen and paper. List all your elements to include on a web page. Next, arrange them on the page. You can do that also on paper or by using any wireframe tool such as proto.io, wireframe.cc or even Photoshop. It’s a simple layout to start working from. Here’s a nice example of a wireframe:
Element placement
You can’t start your website without knowing where things go. Here’s where you decide that. You can even meet up with your client to discuss the best placement for your content.
Information hierarchy
A sitemap with a list of links can be overwhelming to a client and even the designer. By laying out the sitemap, you will be able to see how the pages fall into place which will allow you to make adjustments before you get too far ahead.
Interactivity
When creating your wireframes, you must ask your questions: How are these elements going to interact with each other? Will the visitor take the actions I want him to take? How will the visitor move around the site? Here’s where user experience plays its role. So you created your layout. Next, you will create your interface.
Step 4:
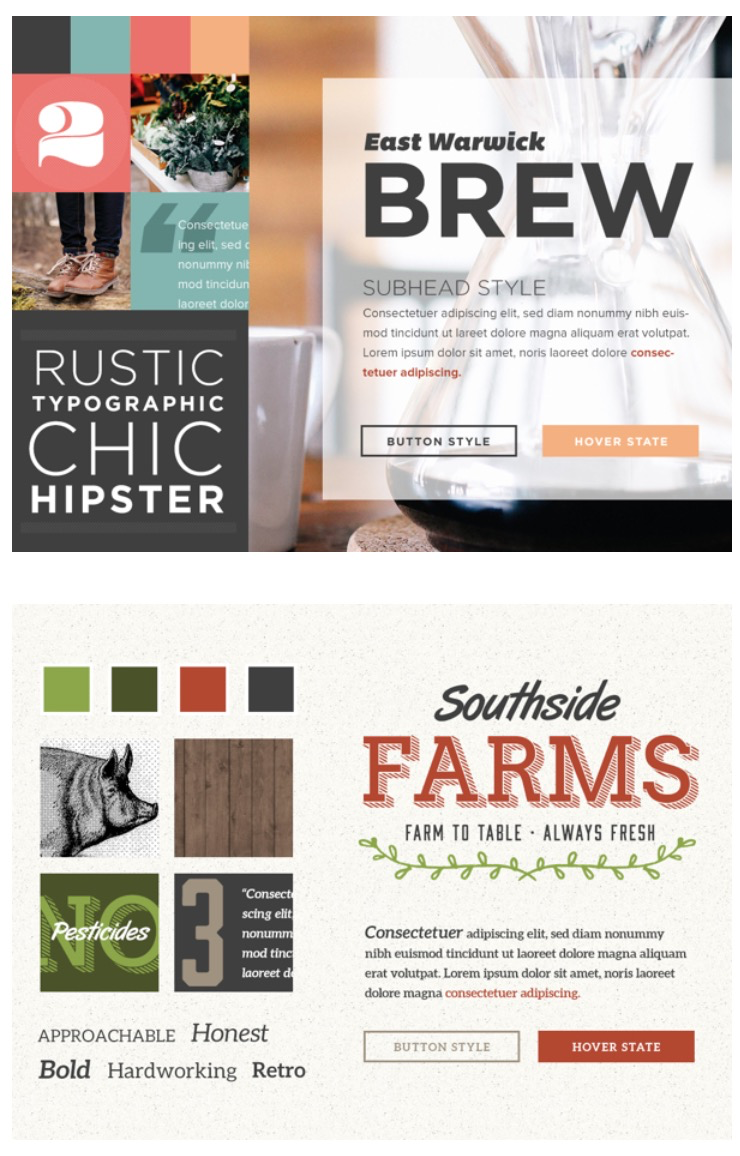
Style tiles
Style tiles (also known as style guides) are a design deliverable consisting of fonts, colors and interface elements that communicate the essence of a visual brand for the web. Style tiles are based on visual preference discussions with the client The usual elements consist of the logo, typography, colors and tone of voice. Here are two quick examples of style tiles.
From concept to visual
Composing your style tiles will translate the mood, feeling and tone of your website based on what you learned from your client’s needs. It will help you make choices about how to use the elements of design in a way that the client will understand.
Maintain consistency
With a style tile, you are able to maintain a look and feel by creating a set of rules which the design follows. The process becomes flexible, easily to maintain and consistent.
Time efficient
Designing your style tiles will show your client the website’s skin. Instead of composing your full designed website in a certain style, now you can update your style tiles with the client’s requests in a quick and efficient way. Now that you have designed your skin. Next, you will apply it.
Designing a website is very much like building a house; the floor plans are the wireframes, and the visual interior design is your style tiles. The wonderful thing about this design process is how easy this step has become. By composing your wireframe and style tiles, all you need to do now is combine them together. Here’s where you start seeing how your website will look like. Prototyping means building a model of the website before you build the actual website. Some designers like to design their prototypes on Photoshop, while others like to skip Photoshop and move onto a web framework such as inVision and UXpin.
Step 5:
Prototype
1 Prototype
Implement the style tiles into the layout while adapting user experience and ensuring design ease-of-use.
2 Test
This step is essential as it evaluates whether the website meets the client’s needs and expectations. You can even share your prototype with your users to test your interactivity and user experience.
3 Fine-tune
Here’s where you refine any alterations and elements that need to be improved. This process may take time depending on how many cycles that you and the user/client will take in order to have a final polished design.

Week 5
Tools and Libraries
Flexbox Exciting Features
- can be laid out in any flow direction (leftwards, rightwards, downwards, or even upwards!)
- can have display order reversed or rearranged at the style layer (i.e., visual order can be independent of source and speech order)
- can be laid out linearly along a single (main) axis or wrapped into multiple lines along a secondary (cross) axis
- can “flex” their sizes to respond to the available space
- can be aligned with respect to their container or each other
- can be dynamically collapsed or uncollapsed along the main axis while preserving the container’s cross size.
jQuery is a fast, small, and feature-rich JavaScript library. It makes things like HTML document traversal and manipulation, event handling, animation, and Ajax much simpler with an easy-to-use API that works across a multitude of browsers. With a combination of versatility and extensibility, jQuery has changed the way that millions of people write JavaScript.
What is jquery?
Why we use it ?
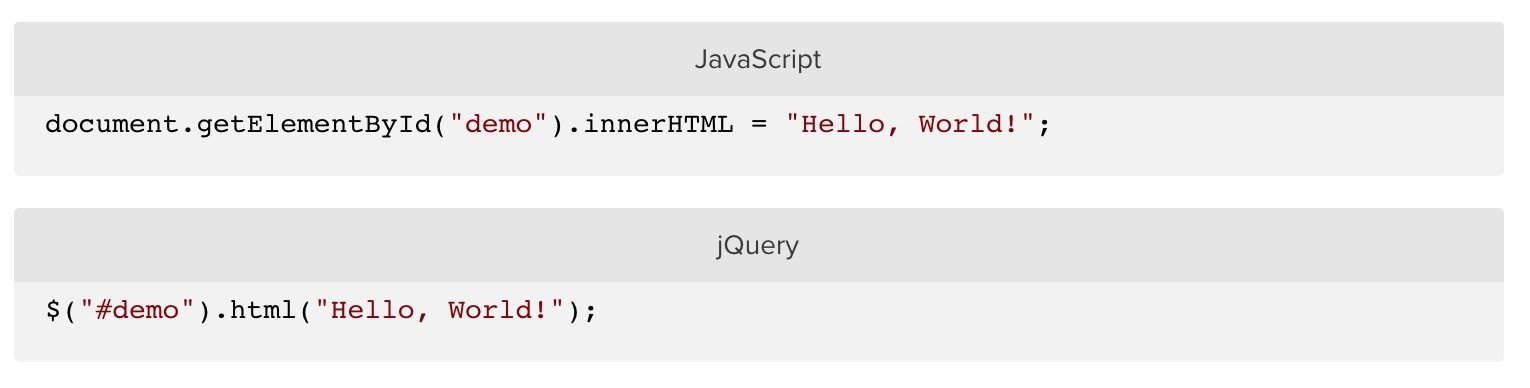
How to identify
jquery code
$() or JQUERY

Web Design Training Package
By Alvaro Uribe


