code in one day: Html & css crash course
Brett Haymaker, JavaScript Developer & Instructor
Introductions
- Who am I?
- Why am I here?
- What am I looking to take away from this course?
- I'll start us off
Course Trajectory
- Fundamentals of the Internet: Review
- HTML review / Why we use a text editor
- HTML lab
- CSS review
- CSS lab
- CSS positioning review
- CSS positioning lab
- File structure / Build a project together from scratch
- Discuss deployment strategies / options
If we have time:
- media queries
- transitions
- animations
Fundamentals of the internet
- The wires
- Montana
- Request / Response
- domain names / IPs
- The disappointing reality of the internet
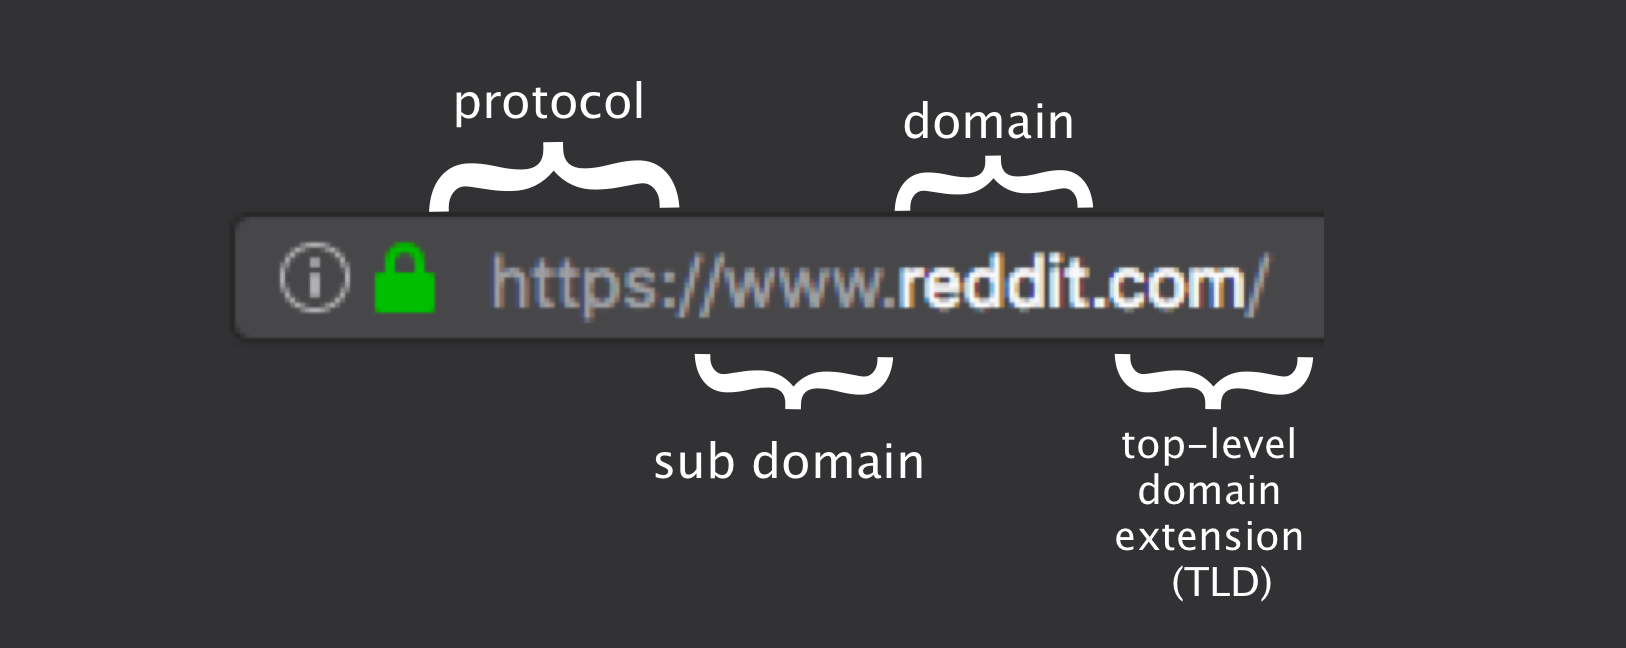
Domain Anatomy
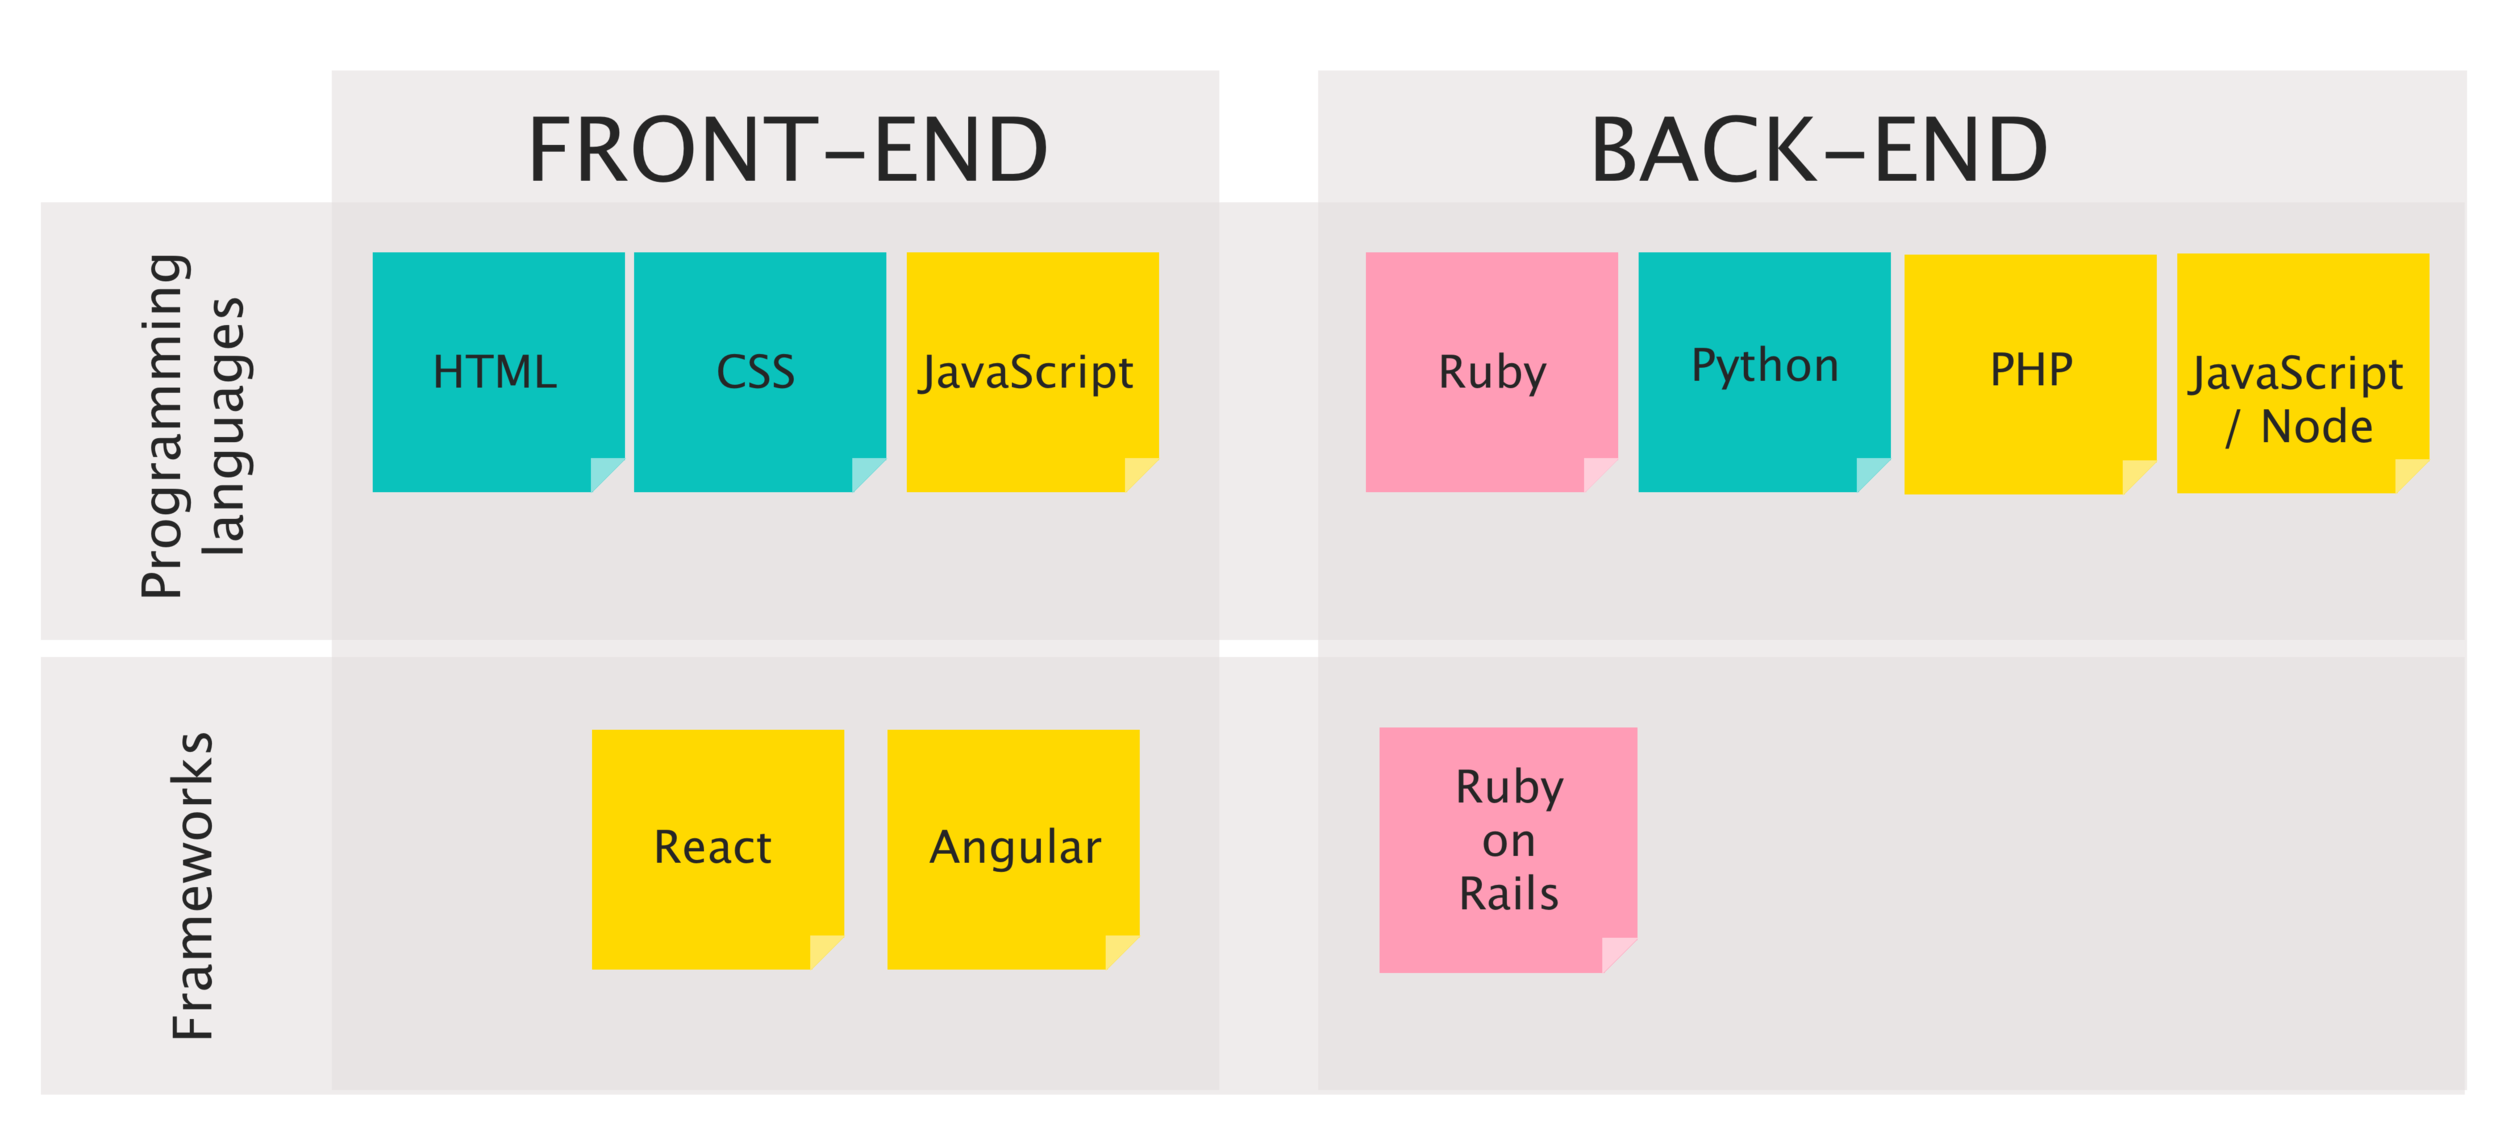
Front-end vs. Back-end
Learning Objectives: HTML
-
Identify common HTML elements and write with correct
syntax -
Assign attributes to elements
-
Correctly indent content according to document
hierarchy -
Recognize name and purpose of HTML5 semantic
elements -
Build a basic static HTML webpage from scratch
html syntax
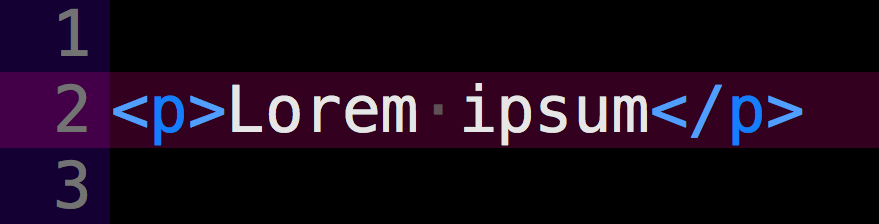
A tag is essentially an element or object that you will place on the page. These elements are represented by an opening tag and a closing tag.
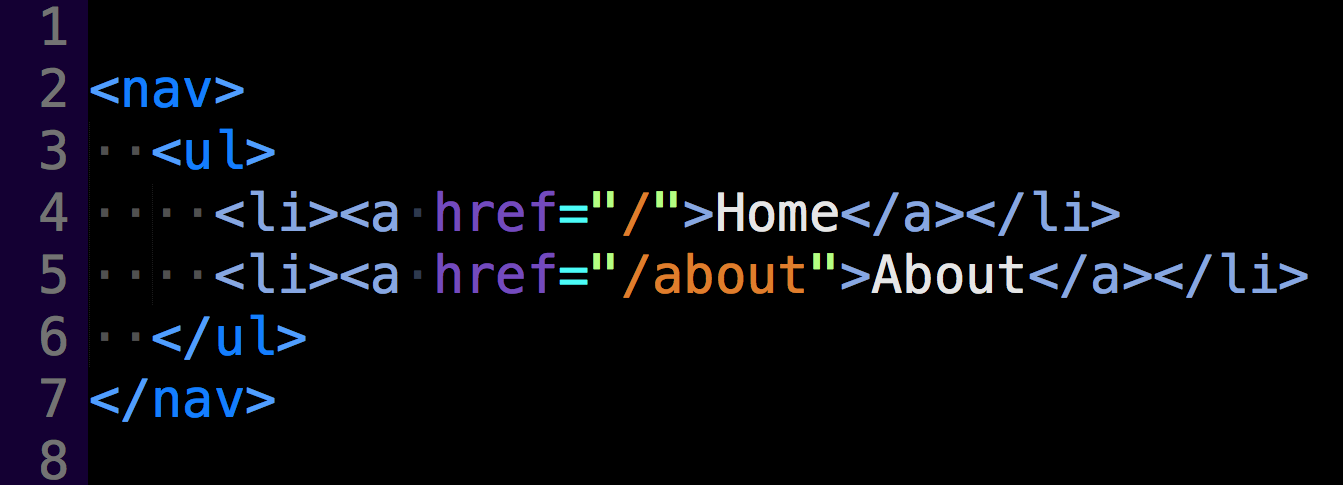
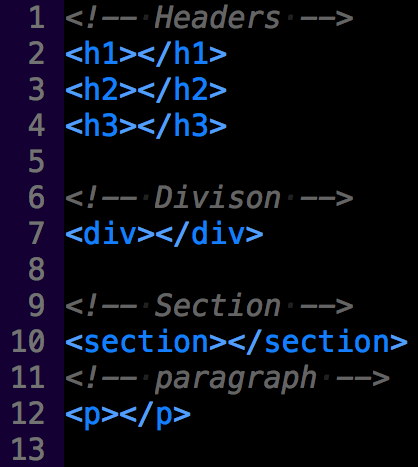
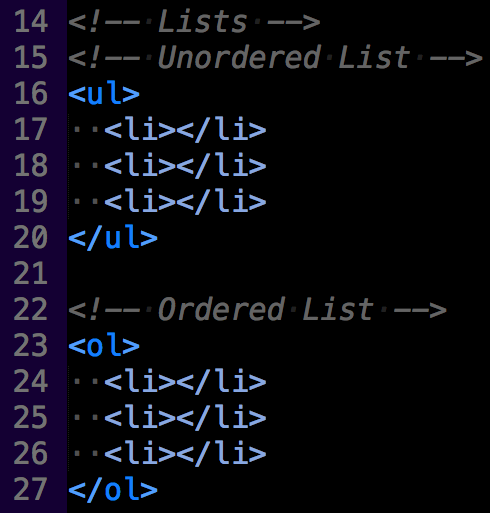
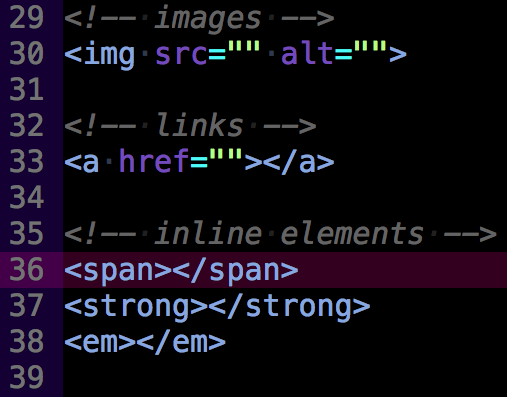
NEsted elements
Elements can be nested inside of one another... We use indentation to visually communicate this nested hierarchy.
Page Structure
The main components of every HTML document...
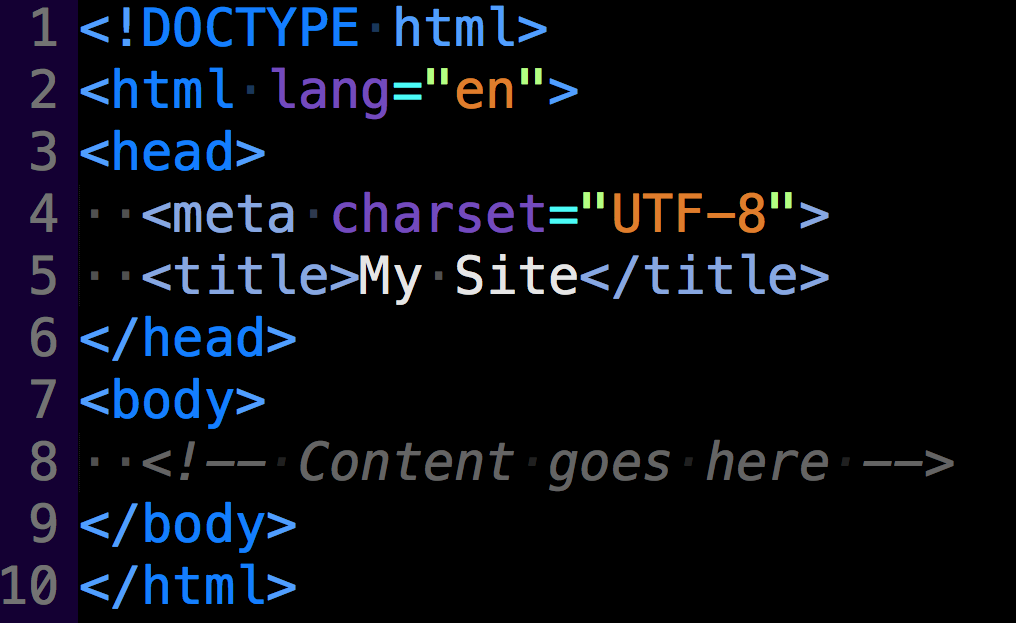
- DOCTYPE
- html
- head
- body
Page elements
MALFORMED HTML LAB
10 MINUTES
In the ugly/ directory in the class starter files
- Open the index.html file
- Identify the mistakes
- Leverage our text editors to help you find the errors
Creating a Resume in html
30 MINUTES
- In a new directory/folder, create a new index.html
- Using the tags we have covered so far, create - to the best of your ability - a copy of your resume
Learning Objectives: css
-
Link external stylesheets to your web page.
-
Use CSS selectors to target elements for styling.
-
Style basic CSS properties of an element.
-
Set the box model properties to control the size of
elements. -
CSS Lab!
css: What is it?
CSS stands for Cascading Style Sheets. This is where we will tell page elements that we have added to our HTML document how they will appear - and in some cases, how they will behave.
Css syntax
applying Css
We have three ways of applying CSS to our HTML elements
- internal stylesheet
- external stylesheet
- inline
- Let's apply some styles together in these various ways.
- Now you try.
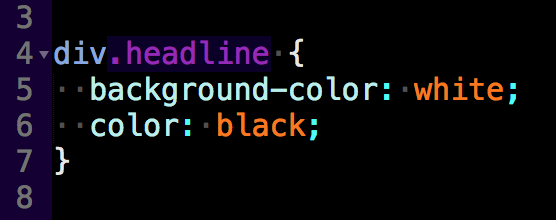
Css selectors
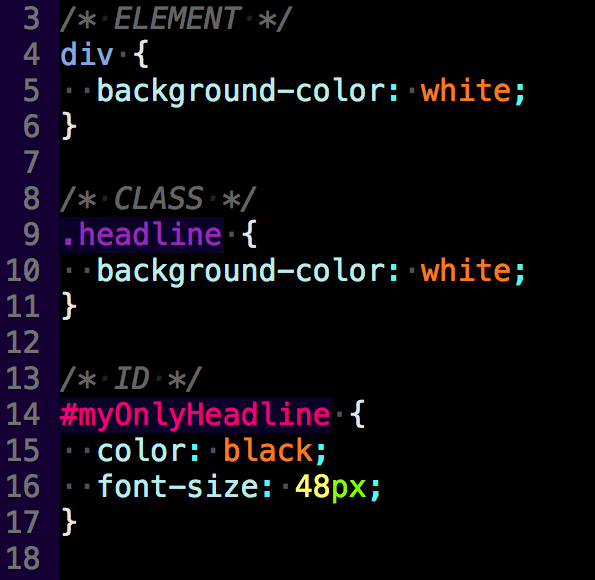
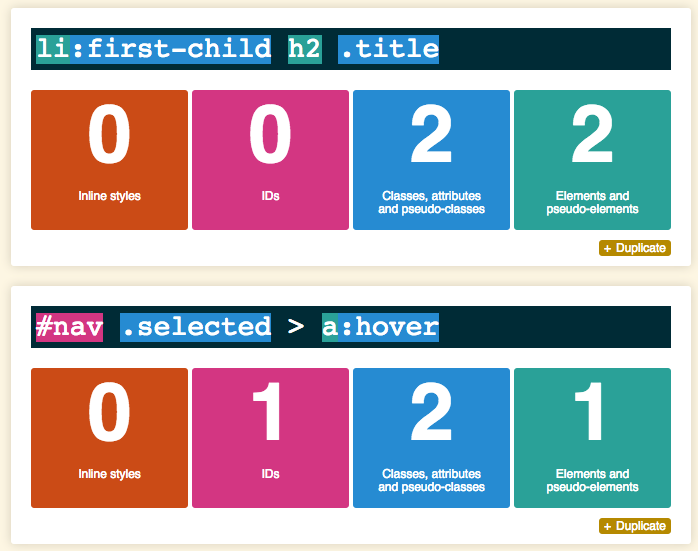
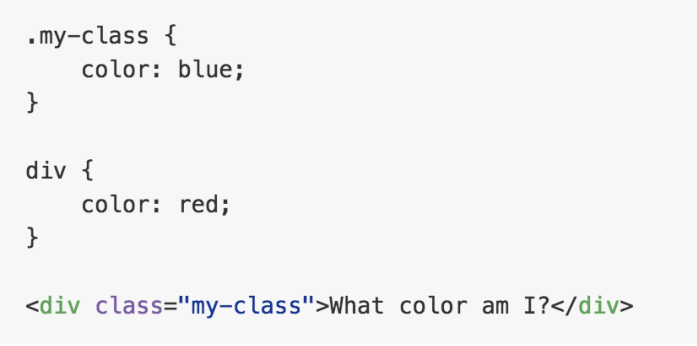
css specificity
Specificity refers to how a selector, or a group of selectors, is ranked by the CSS language. While CSS is known for its cascading behavior, this same cascade can be broken and over-ridden.
Knowing how CSS determines and calculates specificity can help us craft our styles more efficiently and accurately. Take a look:
css cascade vs. specificity
css Combinators

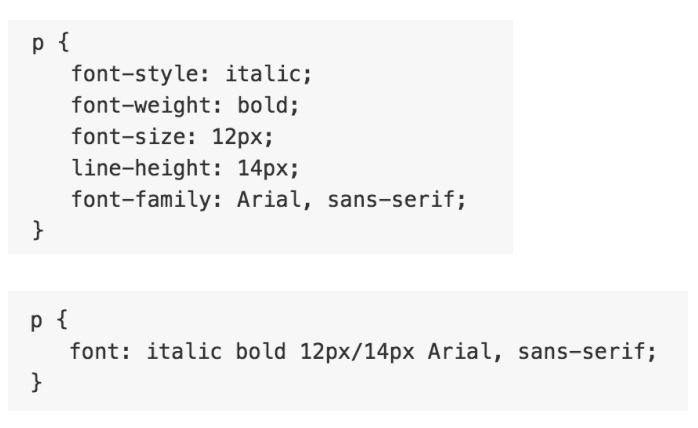
css short-hand properties vs. explicit
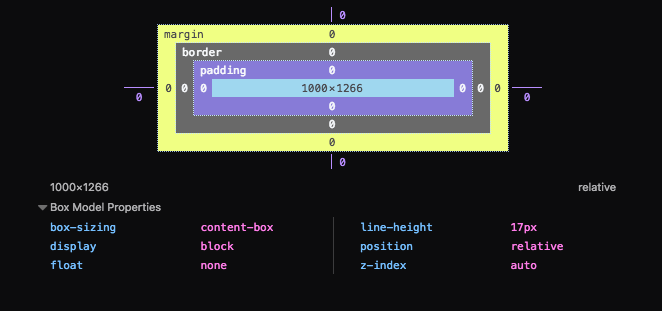
The Box Model
Every element in your web page is a rectangular box. This box consists of 4 distinct parts:
- the content
- the padding
- the border
- the margin
Margin vs. padding
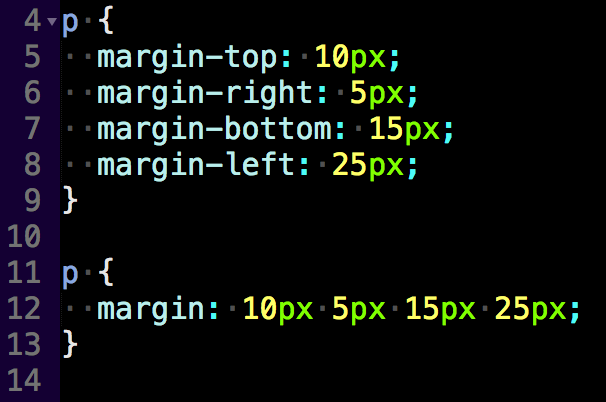
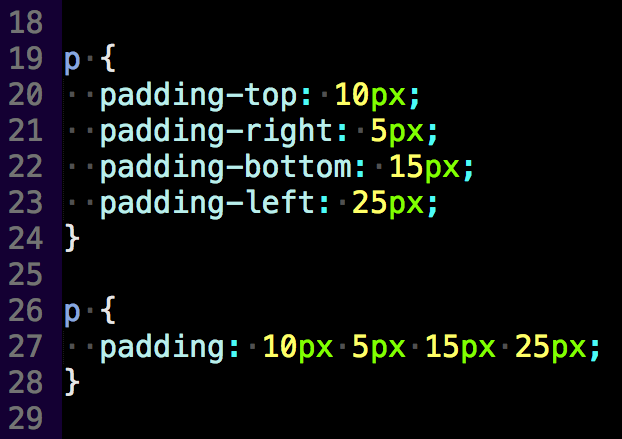
What's the difference? Experiment!
css lab
15 - 30 MINUTES
Using your resume .html file, experiment with the CSS properties we have covered thus far:
- Use at least 1 ID & 4 classes
- Combine selectors by using both the element tag name and the class name to achieve greater specificity
Learning Objectives: CSS part 2
-
Project Setup from scratch
-
Display Types
-
Positioning
-
Floats and clear
LET's BUILD TOGETHER...
Together, let's:
- Create a project folder on our Desktop
- In Sublime / Atom, open that folder
- Create an index.html file and a main.css file from within Sublime
- Create the basic structure of an html document
display types
The CSS display property has three main options, and it's important to know how those options alter the orientation and the flow of elements on the page.
1. display: block;
2. display: inline;
3. display: inline-block;
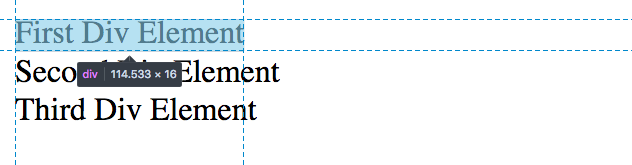
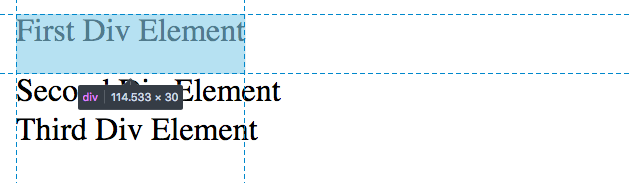
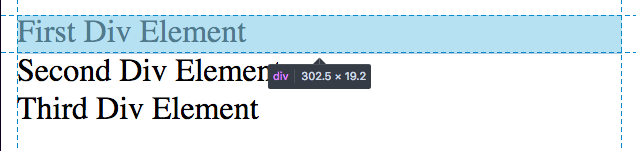
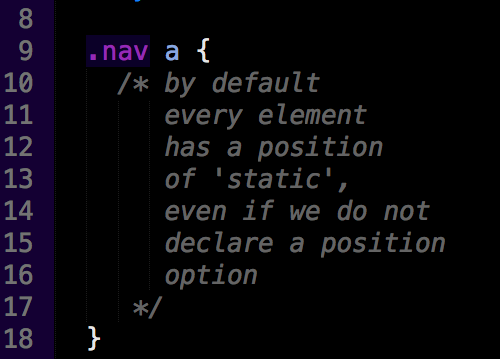
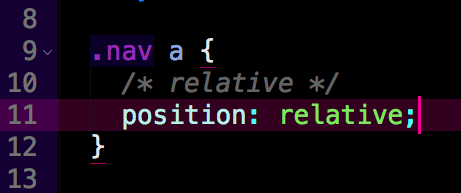
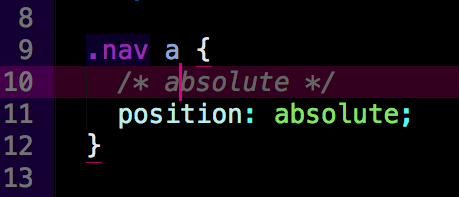
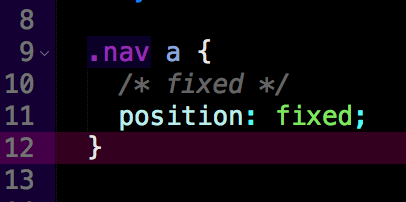
positioning
Positioning is intended to move an element outside it's normal flow on the page, whether that flow is inline, block, or inline-block.
positioning
positioning
positioning
Floats & clear
Floats were created as a way for us to impose behavior on page elements that fall outside of the normal flow. By applying floats, we alter the normal flow of the document...
...an alteration that we need to restore to the document after we done floating elements. If we don't 'clear' a float - our page will behave in perplexing, unexpected ways.
floats & clear
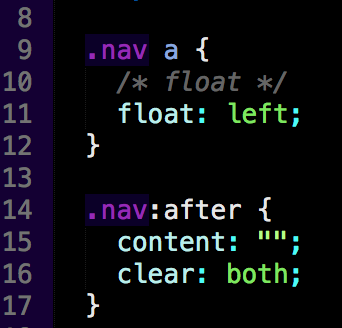
We can add an additional div at the bottom of our floated elements
OR
we can take advantage of CSS psuedo-elements like :after & :before
Learning Objectives: Deploying a page
-
Netlify deployment
-
Other hosting platforms
-
Bluehost
-
Dreamhost
-
-
FTP / SSH
-
FileZilla
-
Resources
HTML & CSS:
marksheet.io
learn.shayhowe.com
css-tricks.com/guides/beginner
Upcoming courses
wrap up
Quick Survey:
Q&A
Thank you!
Contact information:
brett.haymaker@gmail.com
@BrettHaymaker
brett-haymaker.com
Code In One Day Bootcamp
By Brett Haymaker


