


Content ITV PRO
This is Itvedant Content department
Implementing Appointment POST API
Business Scenario
In this lab, you will create an Appointment entity using JPA annotations, configure the database connection in Spring Boot, automatically generate the database schema, and implement a POST API to store appointment data.
Pre-Lab Preparation
Basics of Spring Boot
JPA and Hibernate
MySQL fundamentals
REST API concepts
Task 1: Create Package Structure
1
Open your project in Eclipse
2
Inside base package: com.itvedant.medicare
Create Classes in following packages:
entities
repositories
services
controllers
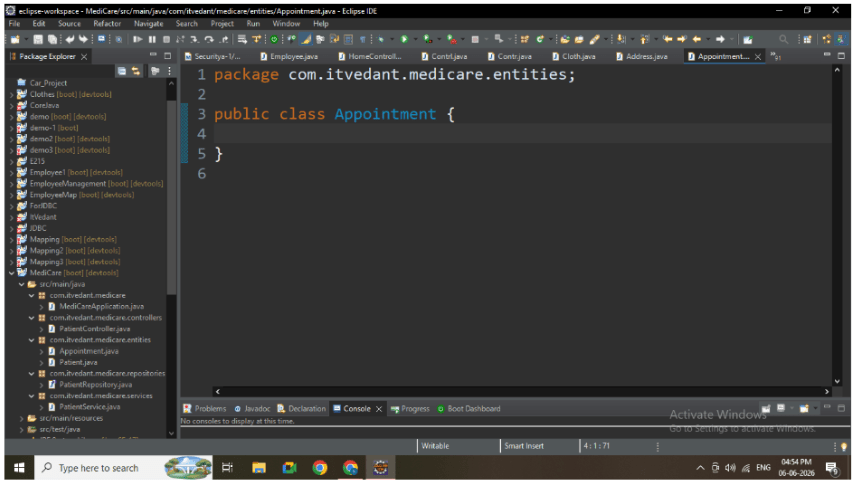
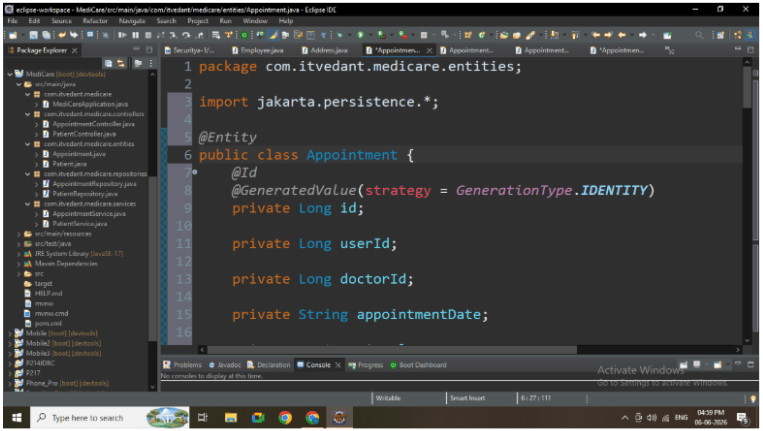
Task 2: Create Appointment Entity with JPA Annotations
1
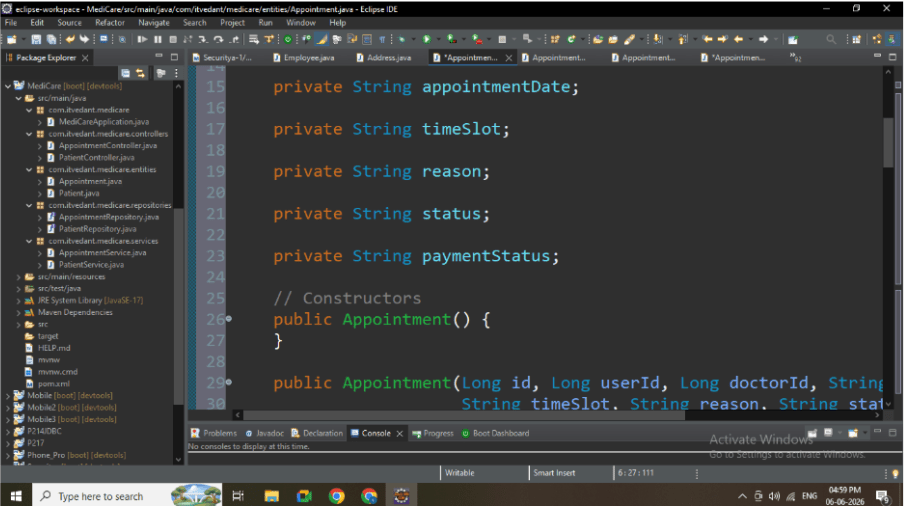
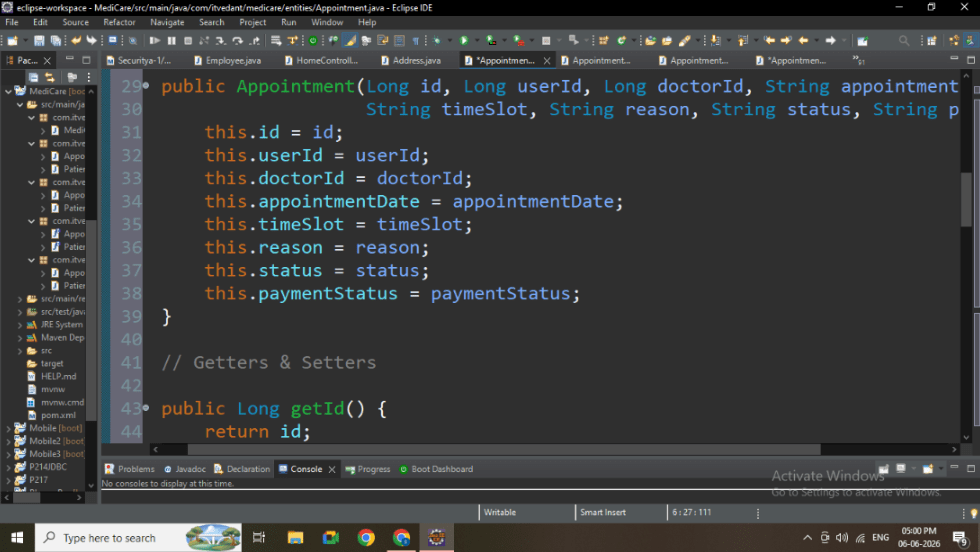
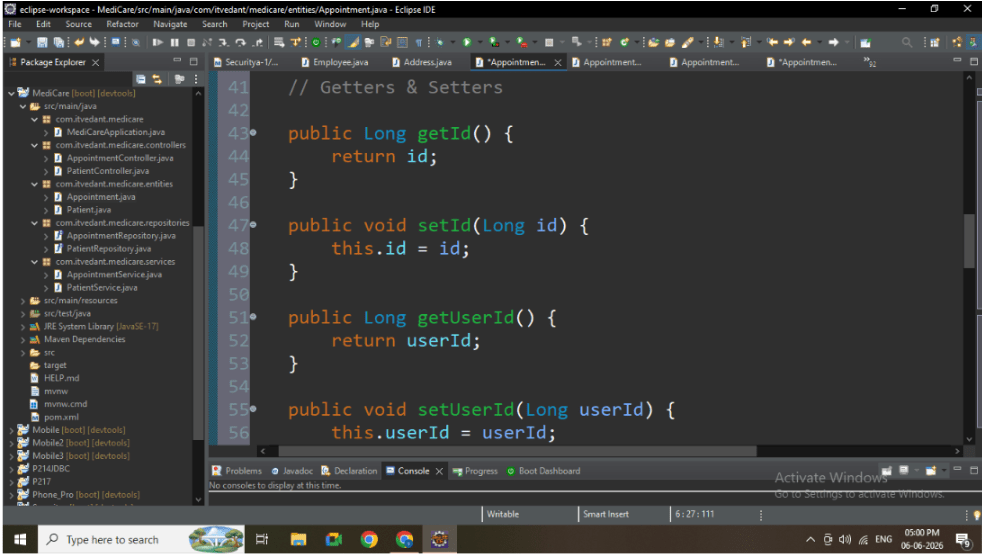
Inside entities package, create: Appointment.java
2
Apply JPA annotations:
@Entity
@Table
@Id
@GeneratedValue
3
Add fields:
id
userId
doctorId
appointmentDate
timeSlot
reason
status
paymentStatus
Task 3: Configure Database (MySQL)
1
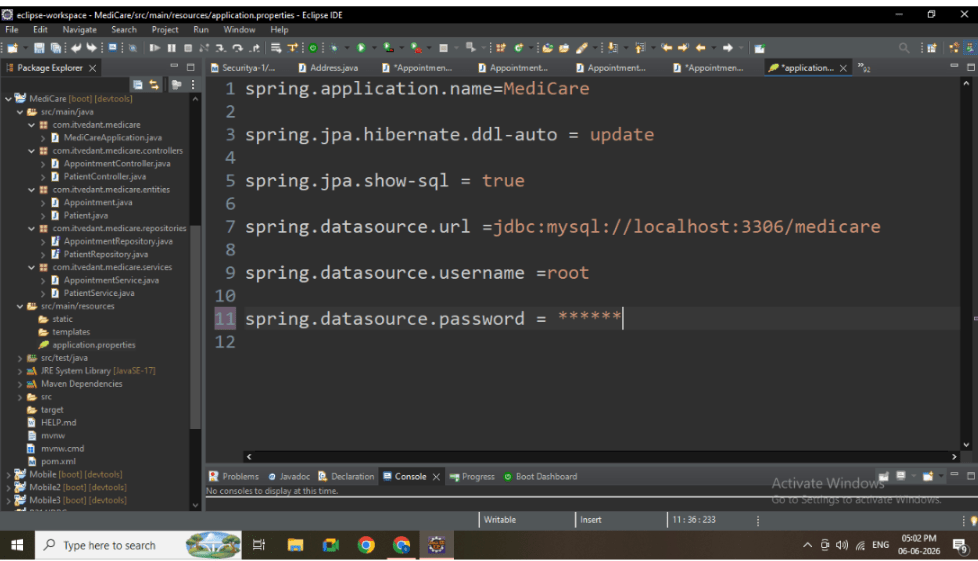
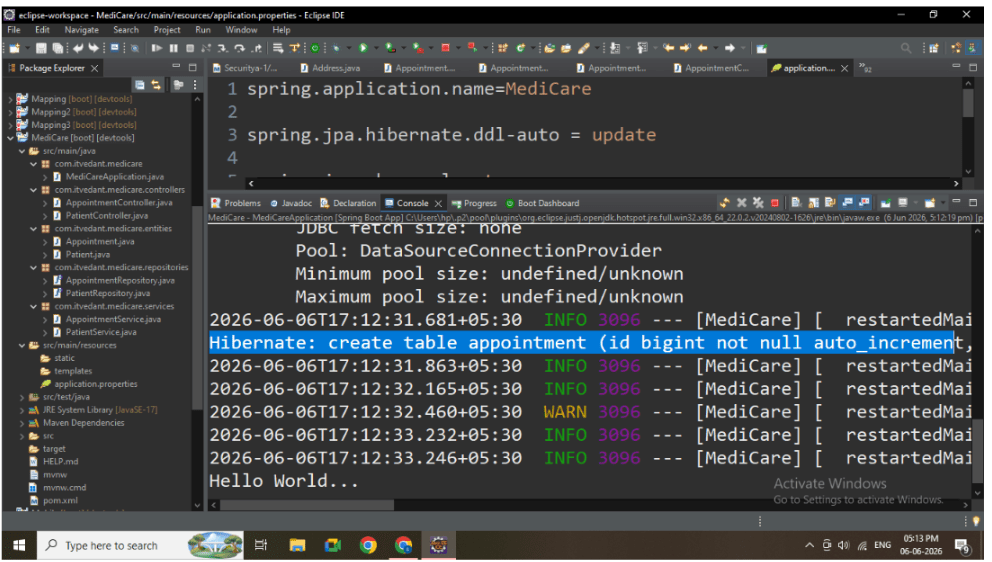
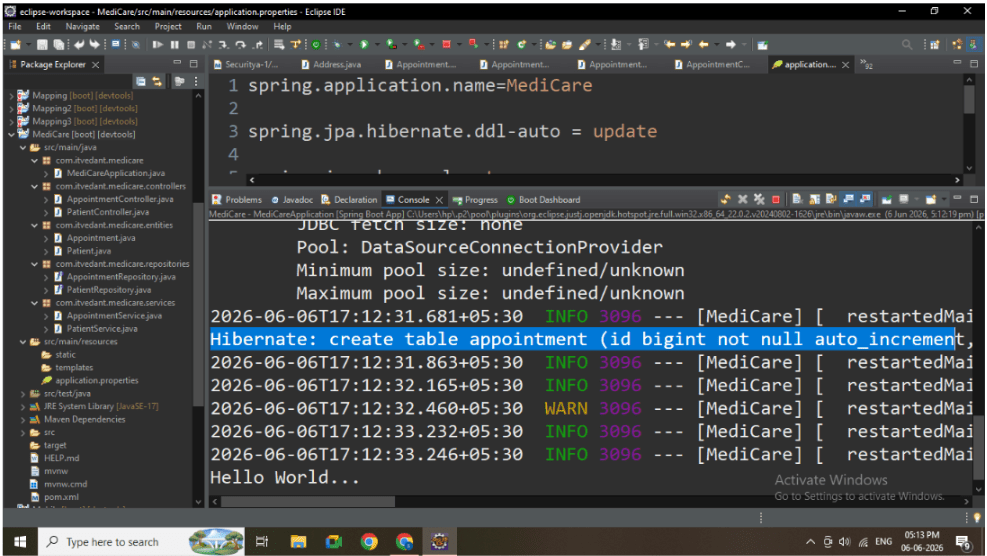
Open: src/main/resources/application.properties
2
Add database configuration:
spring.application.name=MediCare
spring.jpa.hibernate.ddl-auto = update
spring.jpa.show-sql = true
spring.datasource.url =jdbc:mysql://localhost:3306/medicare
spring.datasource.username =root
spring.datasource.password = *******
Task 4: Verify Schema Creation
1
Run the Spring Boot application
Task 5: Create Repository Layer
1
Inside repositories package, create : AppointmentRepository.java
2
Extend JpaRepository
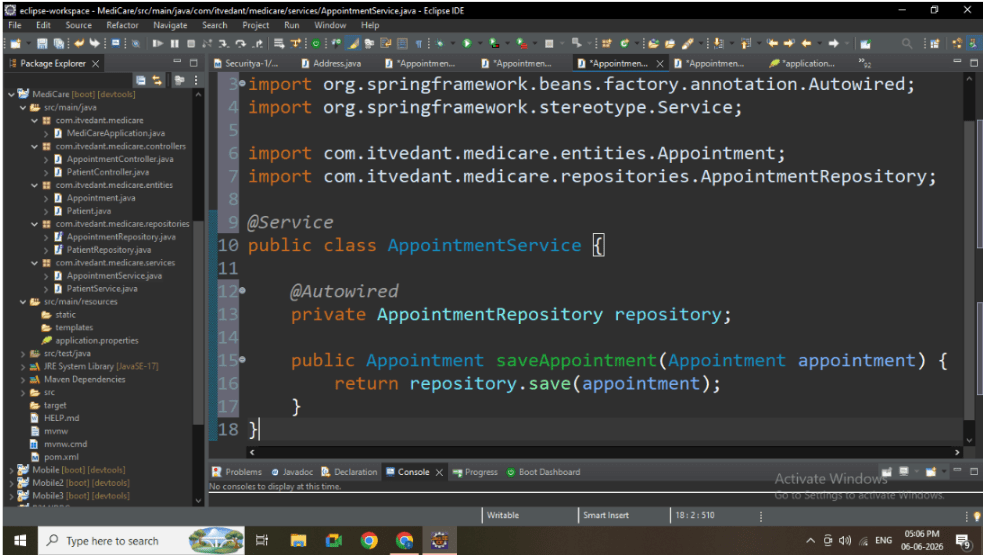
Task 6: Create Service Layer
1
Inside services package, create: AppointmentService.java
2
Add save method:public Appointment saveAppointment(Appointment appointment)
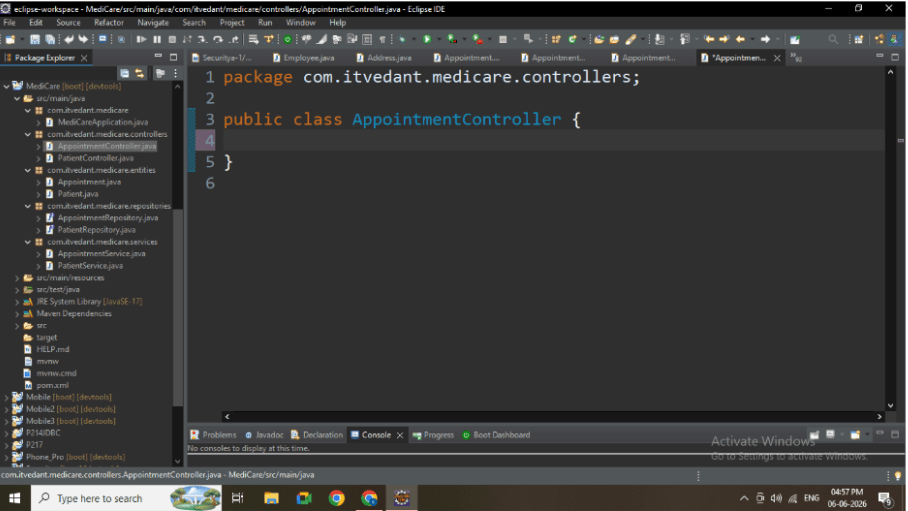
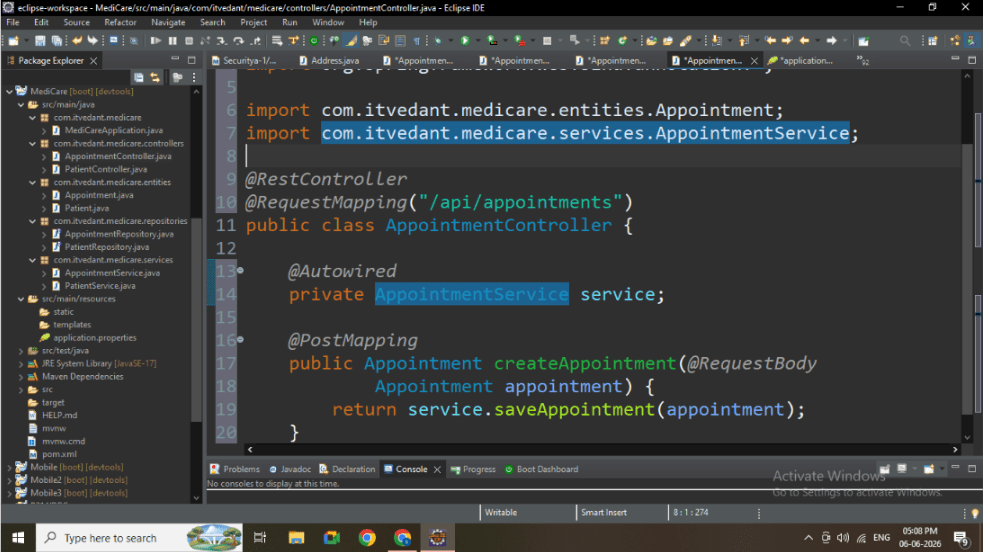
Task 7: Create Controller Layer
1
Inside controllers package, create: AppointmentController.java
2
Add POST API using @PostMapping
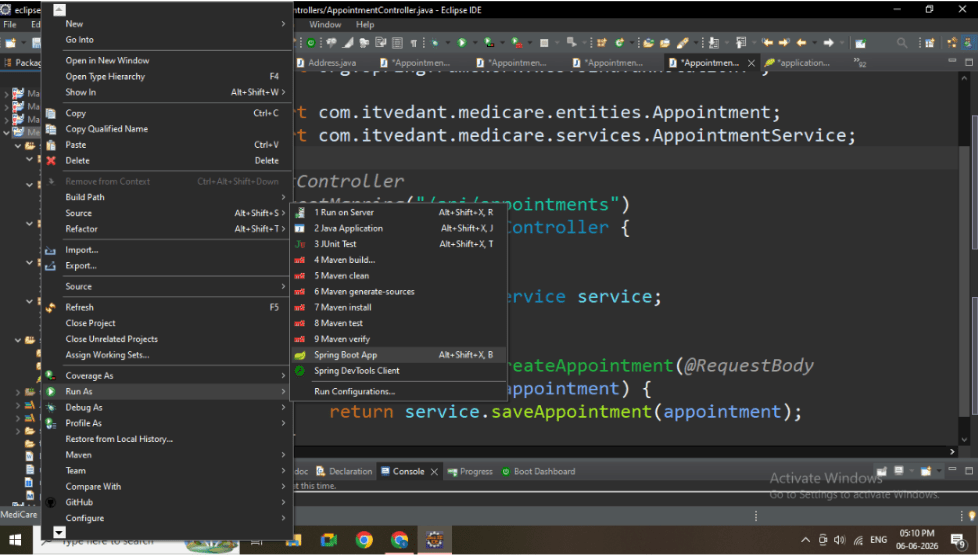
Task 8: Run Application
1
Right-click main class
2
Run As → Spring Boot App
3
Verify: Tomcat started on port 8080
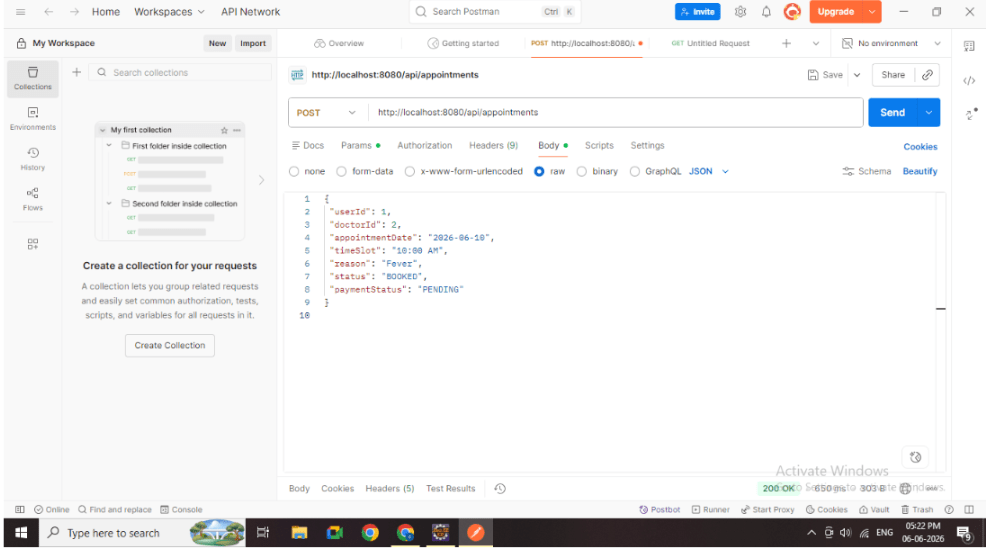
Task 9: Test POST API Using Postman
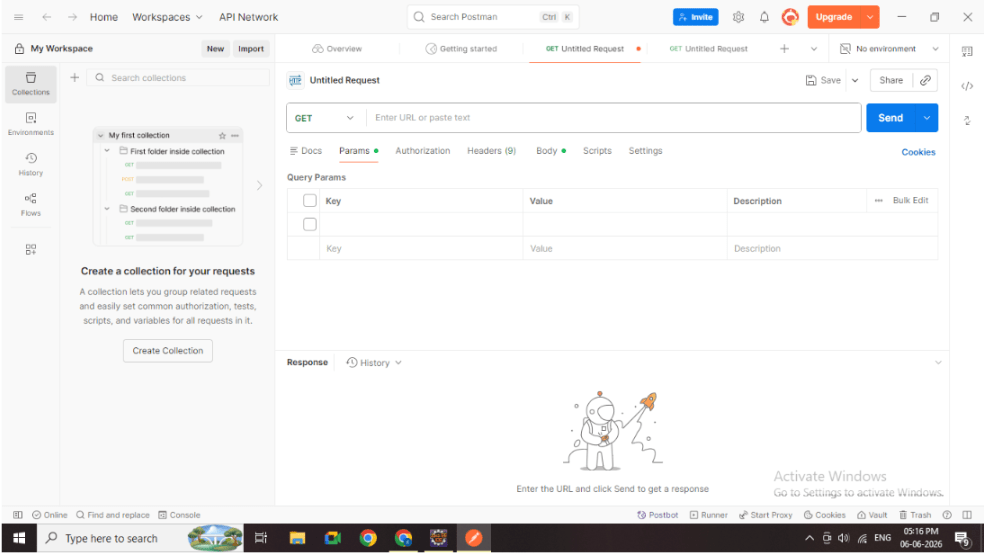
1
Open Postman
2
2
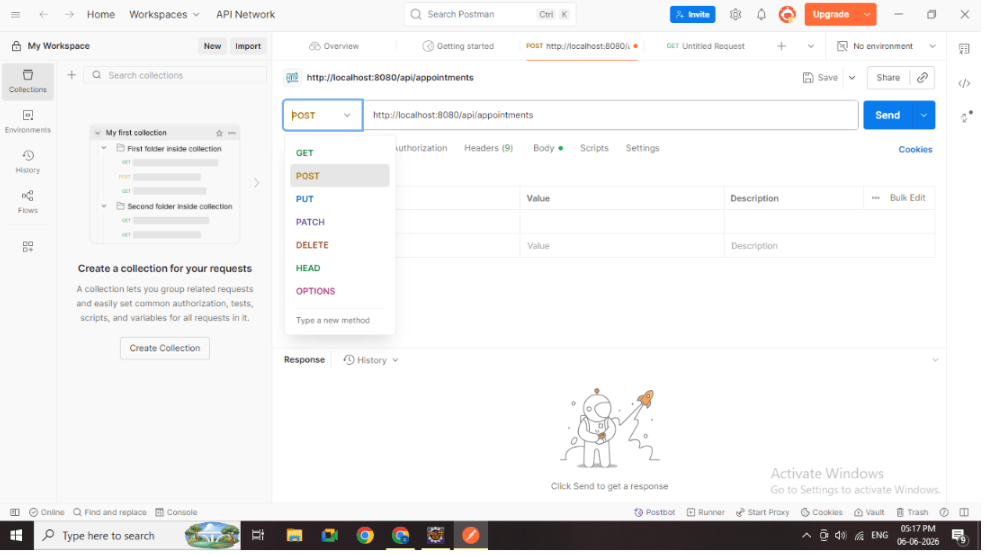
Select method: POST
3
Enter URL: http://localhost:8080/api/appointments
4
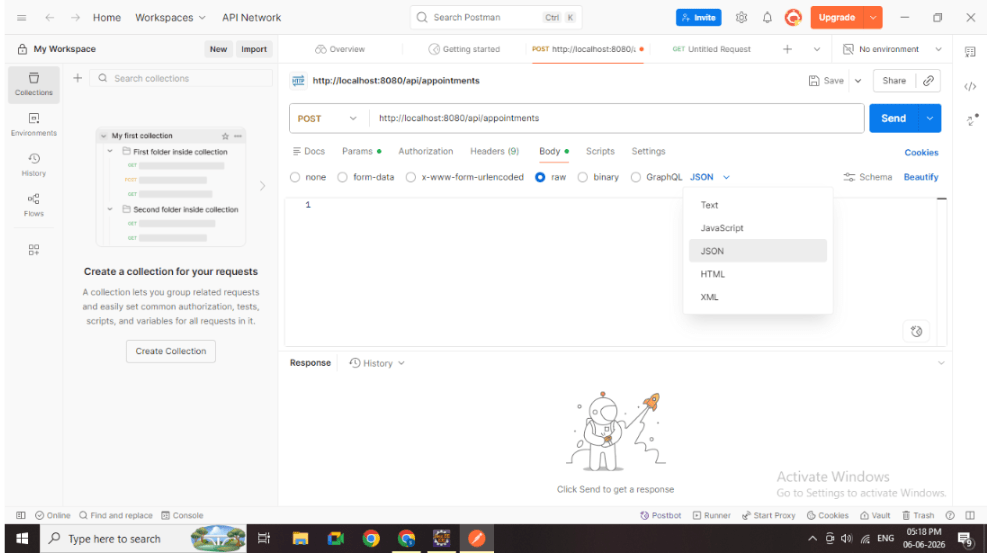
Select Body → raw → JSON
5
Enter JSON:
{
 "userId": 1,
 "doctorId": 2,
 "appointmentDate": "2026-06-10",
 "timeSlot": "10:00 AM",
 "reason": "Fever",
 "status": "BOOKED",
 "paymentStatus": "PENDING"
}
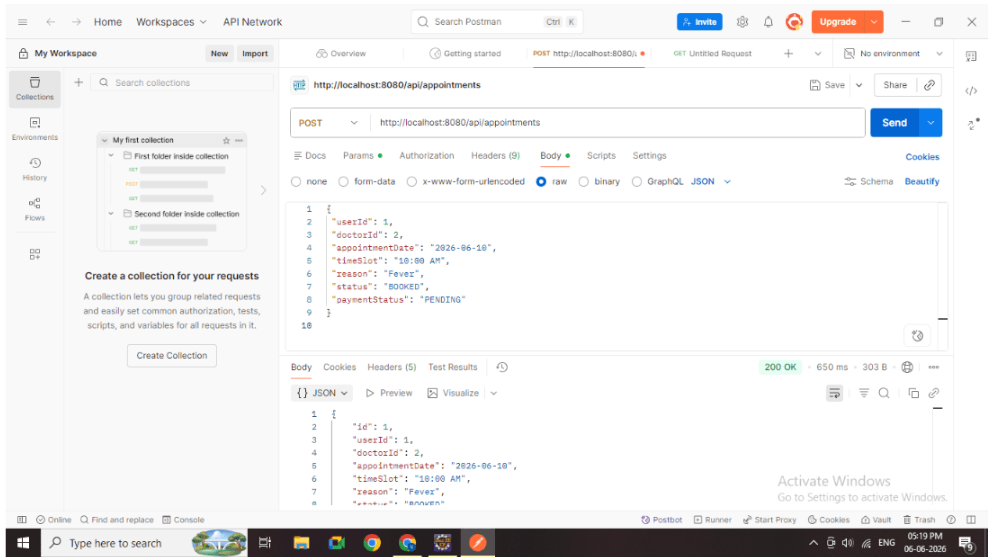
6
Click Send
7
Verify response
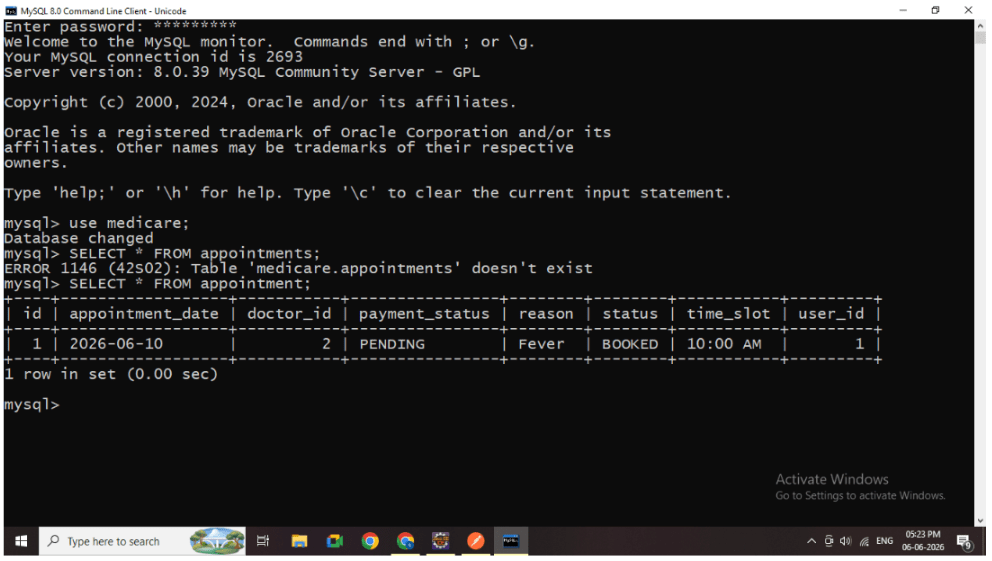
Task 10: Verify Data in Database
1
Open MySQL
2
Run:
SELECT * FROM appointment;
Great job!
Applied JPA annotations
Configured MySQL database
Verified schema creation
Implemented POST API
Tested API using Postman
Verified data persistence
Checkpoint
Next-Lab Preparation
Text
By Content ITV


