COM414
Dr. Daniel Kelly
Internet Technologies
Week 2
Assignment 1
- Assignment Details are on Blackboard
- Team members are on Blackboard
- We go break into teams later
Week 1
Recap
...
<h1> Tag
<h1> Big heading here </h1>Big heading here
<h2>,<h3>,<h4>,<h5>,<h6>
<p> Tag
<p> Paragraph here... </p>Paragraph here...
Nested Elements
<p>This is a paragraph with <strong>important</strong> text</p>This is a paragraph with important text.
Elements can be inside other elements
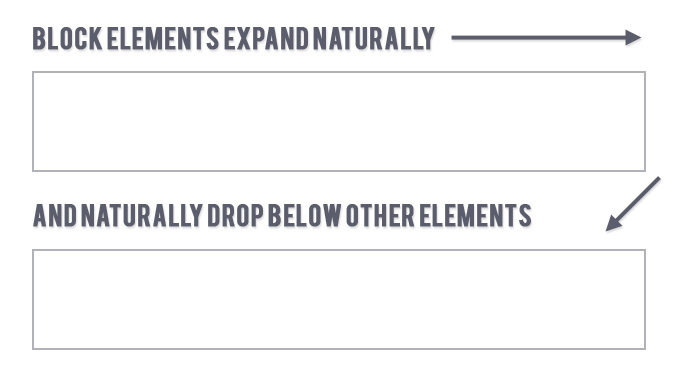
Block Level vs Inline Elements
<h1>
<h6>
<p>
Example Block Level:
<strong>
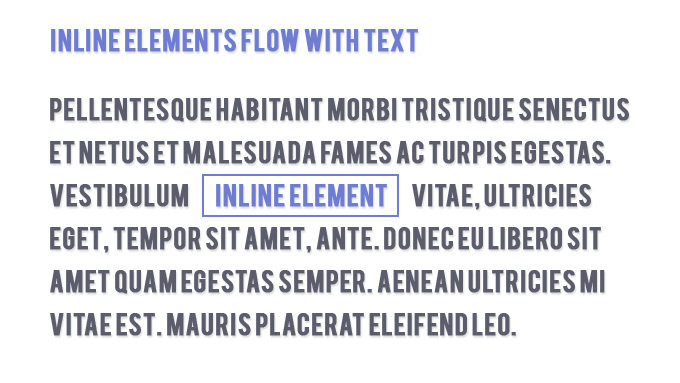
<em>Example Inline:
Lists within Lists
<ol>
    <li>Car
        <ul>
            <li>Ford</li>
            <li>Audi</li>
            <li>BMW</li>
        </ul>
    </li>
    <li>Boat</li>
    <li>Plane</li>
</ol>- Car
- Ford
- Audi
- BMW
- Boat
- Plane
Lists
Images
<img src="dog.jpg">
Links
<a href="url">Link Text</a><a href="www.google.com">Click here to go to Google</a>
<a href="www.twitter.com">Click here to go to Twitter</a>HTML
Intermediate
Figure and Figure Caption
Images often come with captions.
HTML uses <figure> element to contain an <img> and a <figcaption> so that the two are associated
Figure and Figure Caption
Images often come with captions.
<figure>
	<img src="ned.jpg">
	<br />
	<figcaption>
      Brace Yourself. Assignments are coming!!!
  	</figcaption>
</figure>

<table>Display information in a grid:
e.g. Football Results, stocks, timetables, budgets
Table
<table>
    <tr>
        <td>myDataHere</td>
        <td>myOtherData</td>
    </tr>
</table>| myDataHere | myOtherData |
Table Row
{
{
Table Data
{
Table Data
Table
<table>
    <tr>
        <th>Country</th>
        <th>Population</th>
    </tr>
    <tr>
        <td>China</td>
        <td>1,384M</td>
    </tr>
    <tr>
        <td>India</td>
        <td>1,296M</td>
    </tr>
</table>| Country | Population |
|---|---|
| China | 1,384M |
| India | 1,296M |
Table Row
{
Table Row
{
Table Row
{
{
{
Table Heading
Table Heading
Data (Column1)
{
Data (Column2)
{
Table
<table>
    <thead>
        <tr>
            <th>Country</th>
            <th>Population</th>
        </tr>
    </thead>
    <tbody>
        <tr>
            <td>China</td>
            <td>1,384M</td>
        </tr>
        <tr>
            <td>India</td>
            <td>1,296M</td>
        </tr>
    </tbody>
</table>
Table Head
{
Table Body
{
| Country | Population |
|---|---|
| China | 1,384M |
| India | 1,296M |

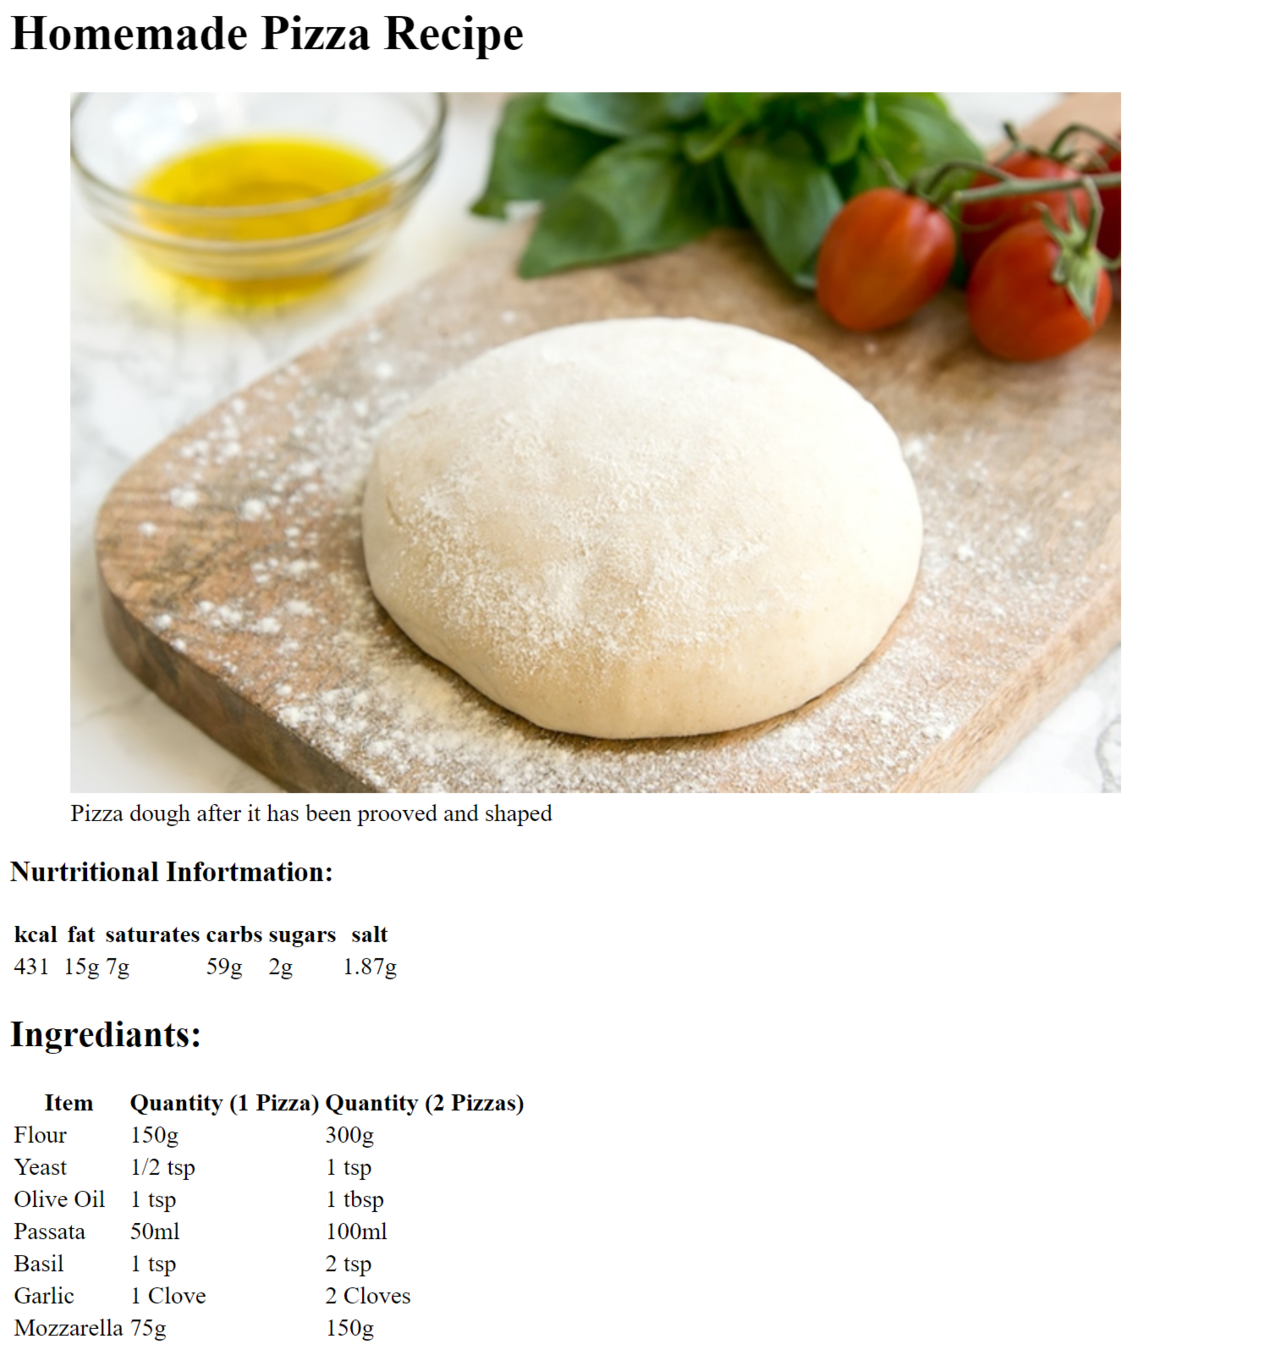
Challenge:
Recreate the following page
Forms
Retrieving Data from the User
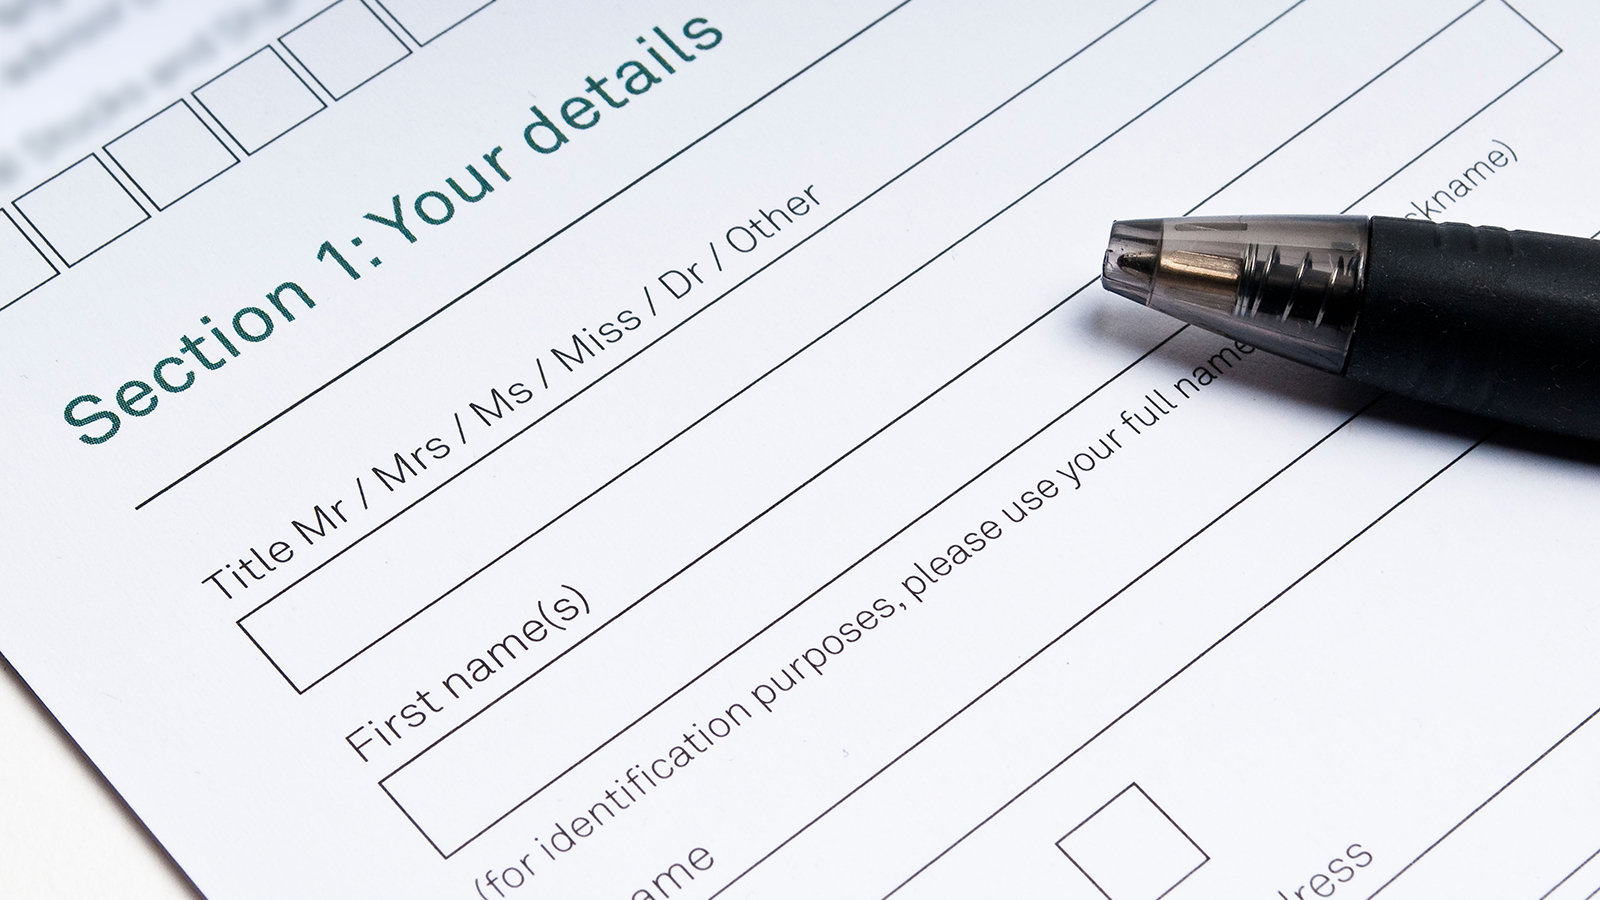
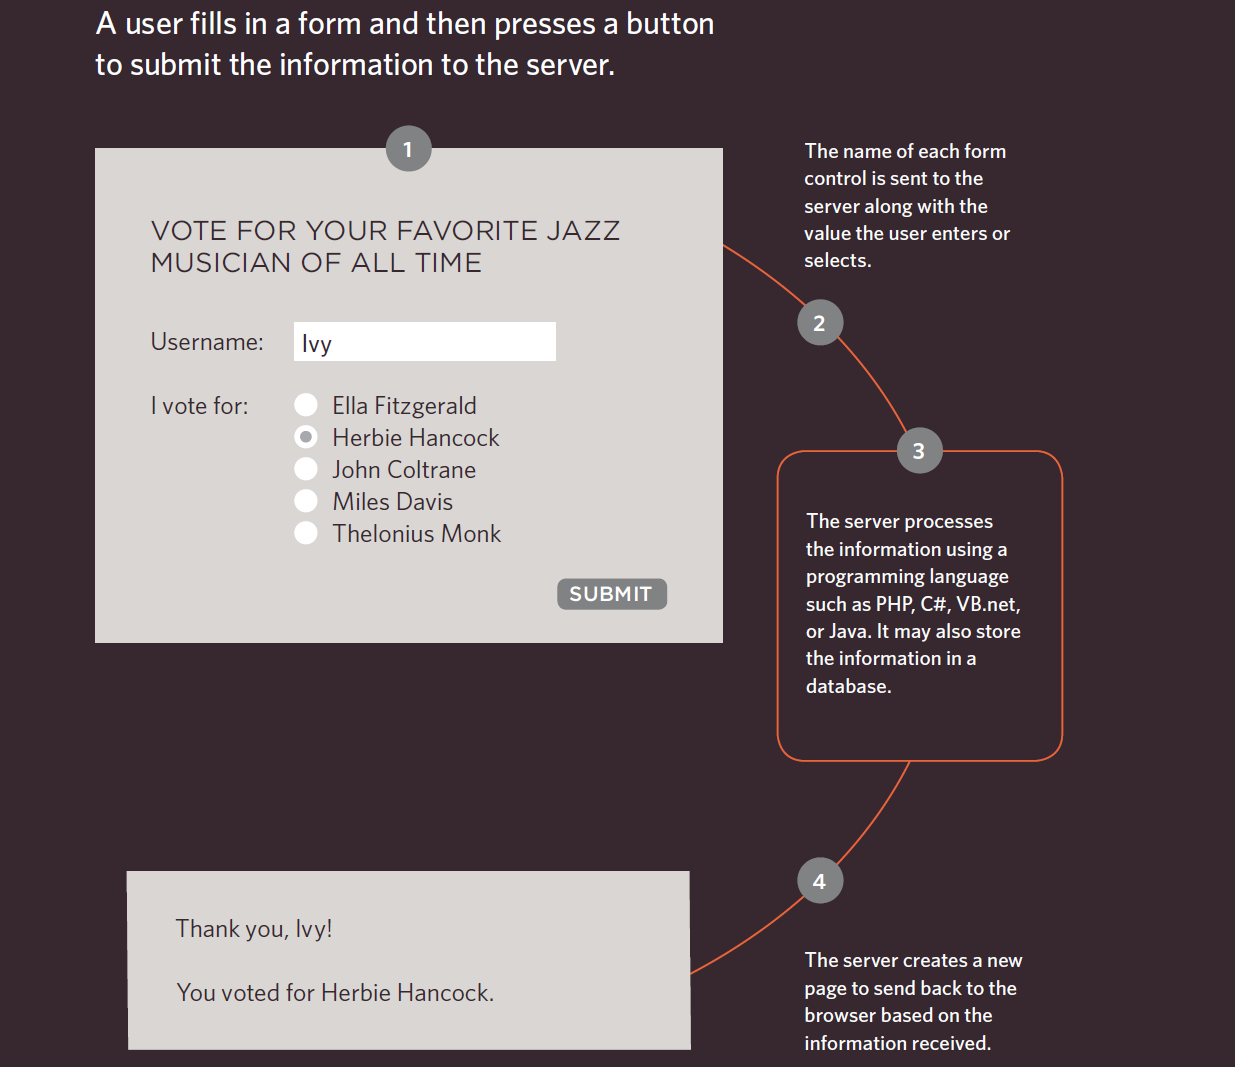
How Forms Work:
<form> tag
-
action - the URL to send form data to
-
method - the type of HTTP request (post or get)
<form action="/where-to-send" method="post">
    <!-- Different Inputs will go here -->
</form>
<input> tag
<input type="typeOfInput"><input> element used to create several form control. The value of the type determines what kind of input is created
<input type="text">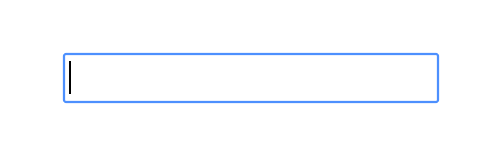
<input> tag
<input type="typeOfInput"><input type="button">
<input type="text">
<input type="color">
<input type="checkbox">
<input type="datetime-local">
<input type="file"><input> tag
<input type="text" placeholder="username">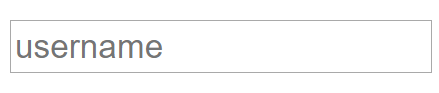
placeholder attribute
Specifies a short hint that describes the expected value of an input field
(e.g. a sample value or a short description of the expected format)
<input> tag
<input type="text" name="myname">name attribute
Specifies the name of an input element
Is used to reference the data entered in the input later
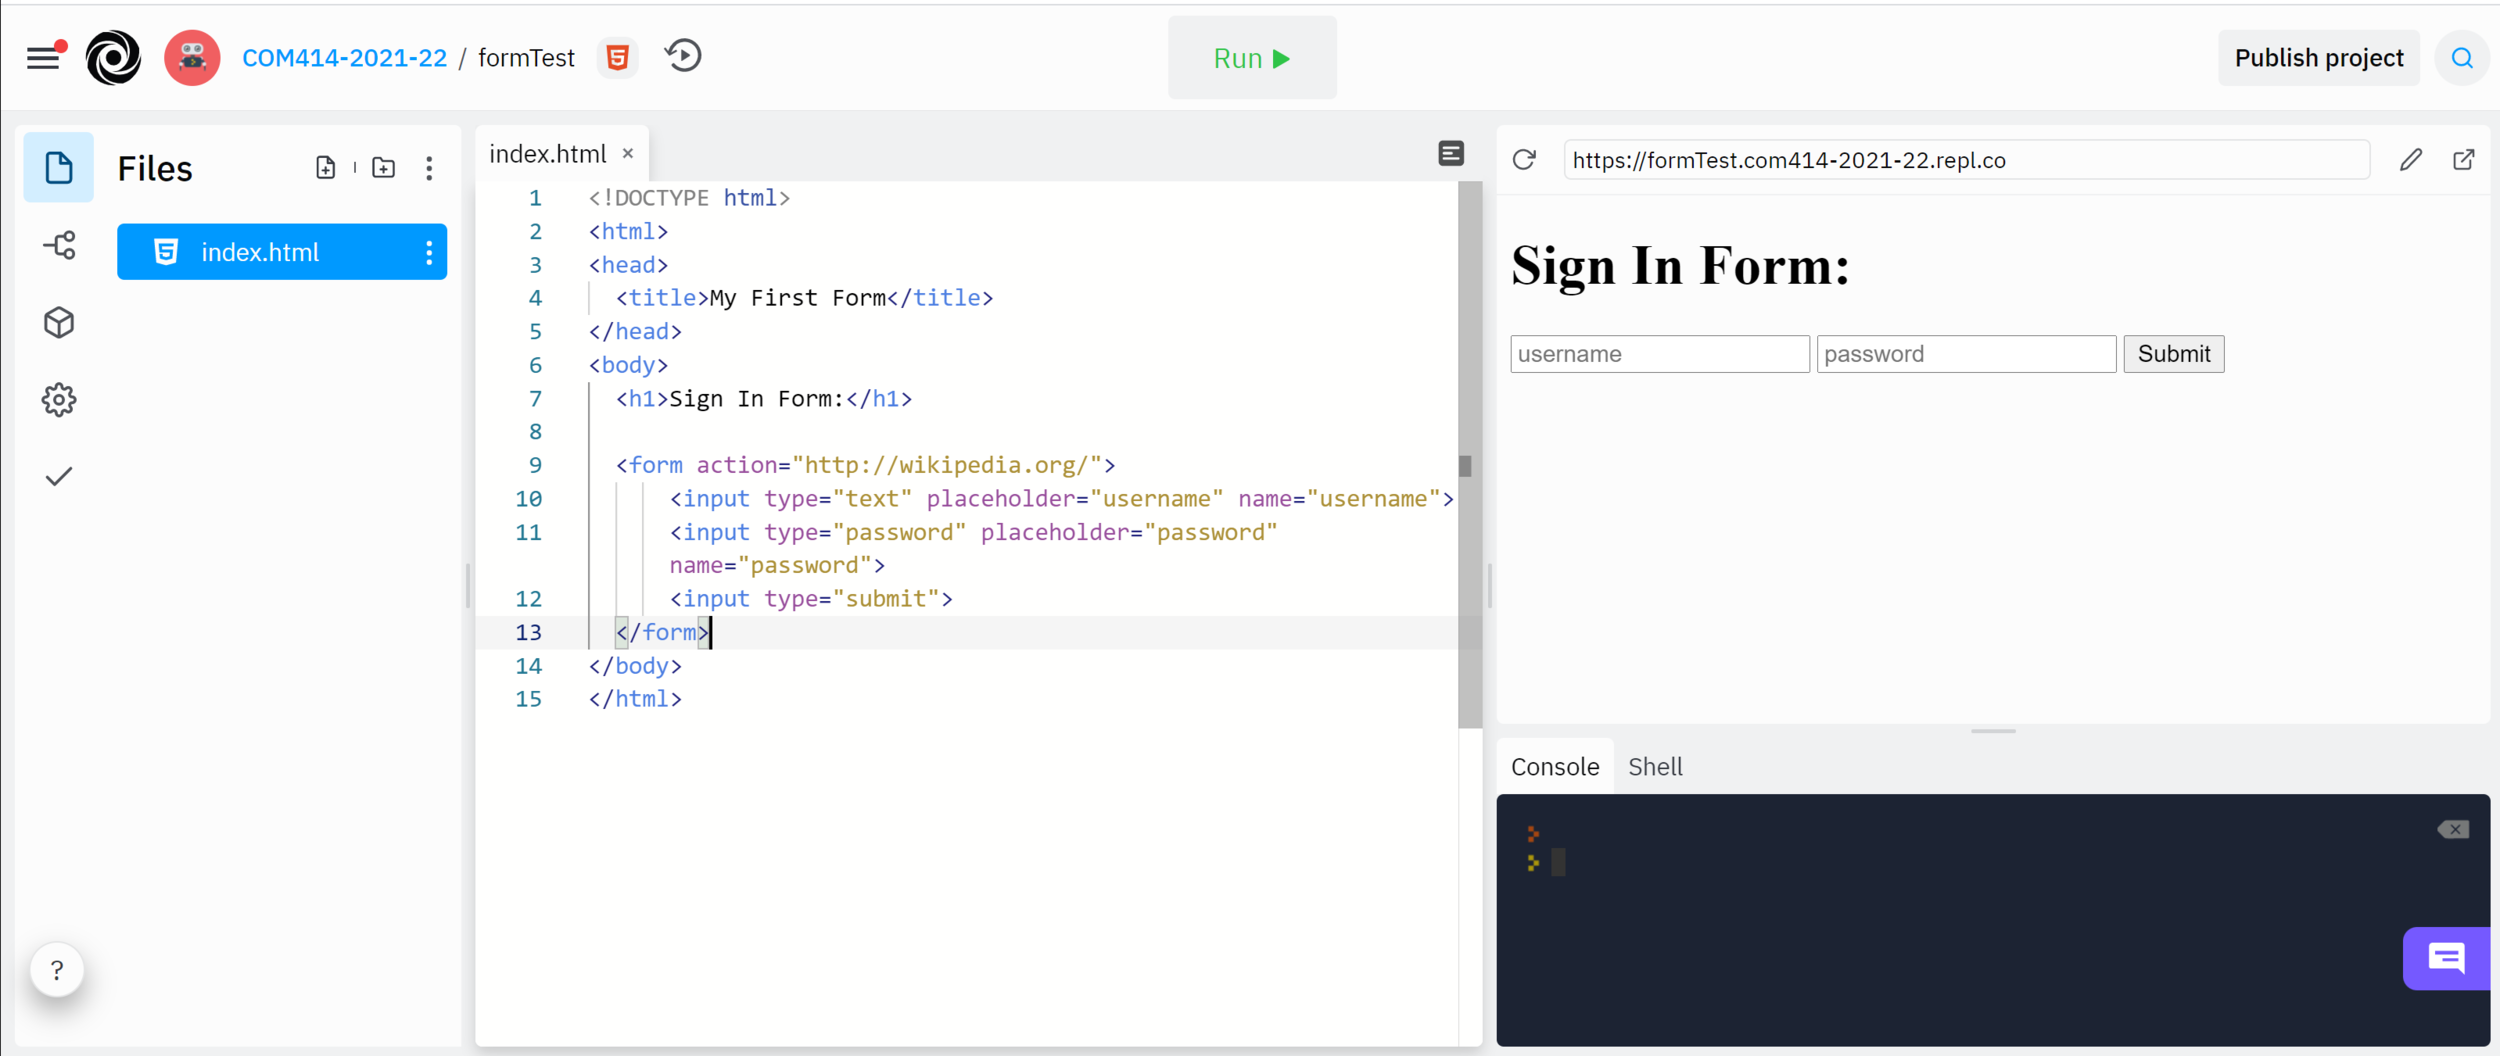
<!DOCTYPE html>
<html>
<head>
	<title>My First Form</title>
</head>
<body>
	<h1>Sign In Form:</h1>

	<form action="http://wikipedia.org/">
  		<input type="text" placeholder="username" name="username">
  		<input type="password" placeholder="password" name="password">
  		<input type="submit">
	</form>
</body>
</html>- Enter the following replit:
- Open the webpage in a new tab (see next slide)
- Enter username and password and click submit
- Notice the data gets sent to wikipedia
- Look at the address bar

<label>
<label>Username:
    <input type="text">
</label>
Defines a label for an input element

<label>
<form action="/sign-in-url" method="post">
  	<label>Username: <input type="text"></label>
  	<label>Password: <input type="password"></label>
  	<input type="submit">
</form>
Task: Recreate the input form below

Basic Validations
- Required - attribute that validates that an input is not empty
- Type - Some types also have built in validation (e.g. email)
<form method="post">
  	<label>Email: <input type="email" placeholder="email" required></label>
  	<label>Password: <input type="password" placeholder="password" required></label>
  	<input type="submit">
</form>Radio Buttons
<input type="radio">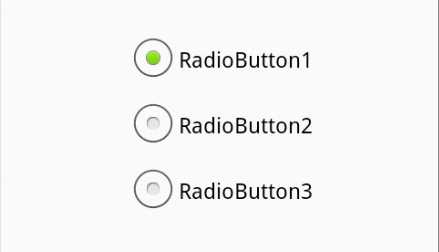
<label>RadioButton1: <input type="radio"></input></label>
<label>RadioButton2: <input type="radio"></input></label>
<label>RadioButton2: <input type="radio"></input></label>
Radio Buttons
<form>
  <label>Male: <input type="radio" name="gender"></input></label>
  <label>Female: <input type="radio" name="gender"></input></label>
</form>
Link radio buttons together by giving them the same value for the name attribute
Dropdowns
<select>
    <option>Item 1</option>
    <option>Item 2</option>
    <option>Item 3</option>
</select>Text Area
<textarea></textarea>
<textarea row="10" cols="10"></textarea>
<form>
    <p>What is your student status:</p>

    <label>Undergrad: <input type="radio" name="status"></label>
    <label>Postgrad: <input type="radio" name="status"></label>

    <p>What year are you in?</p>

    <select>
        <option>First</option>
        <option>Second</option>
        <option>Third</option>
        <option>Fourth</option>
    </select>

    <p>Other comments?</p>

    <textarea></textarea>

    <button>submit!</button>
</form>- Enter the following code in to the body section of the html:
- Open the page in new tab
- Provide input for each of the questions and click the submit button
- Notice on the address bar:
- status=on
-
However, notice that data for the dropdown and text area are not submitted
- The reason for this is we have not given a name to the <select> and <textarea> elements
<form>
    <p>What is your student status:</p>

    <label>Undergrad: <input type="radio" name="status"></label>
    <label>Postgrad: <input type="radio" name="status"></label>

    <p>What year are you in?</p>

    <select name="year">
        <option>First</option>
        <option>Second</option>
        <option>Third</option>
        <option>Fourth</option>
    </select>

    <p>Other comments?</p>

    <textarea name="comments"></textarea>

    <button>submit!</button>
</form>- Modify the code by adding
- name = "year" in the select tag
- name = "comments" in the textarea tag
- Save and open in browser again
- Provide input for each of the questions and click the submit button
- Notice on the address bar:
-
status=on&year=2&comments=mycomments
-
- However, status=on is not very meaningful as it will be the same if Undergrad or Postgrad is selected.
<form>
    <p>What is your student status:</p>

    <label>Undergrad:
    <input type="radio" name="status" value="undergrad">
    </label>

    <label>Postgrad:
    <input type="radio" name="status" value="postgrad">
    </label>

    <p>What year are you in?</p>

    <select name="year">
        <option value="1">First</option>
        <option value="2">Second</option>
        <option value="3">Third</option>
        <option value="4">Fourth</option>
    </select>

    <p>Other comments?</p>

    <textarea name="comments"></textarea>

    <button>submit!</button>
</form>- Modify the code by adding
- value = "undergrad" for undergrad radio
- value= "postgrad" for postgrad radio
- Can also add value attributes to other tags
- For each option tag within select add a numerical representation of the year
- Save and open in browser
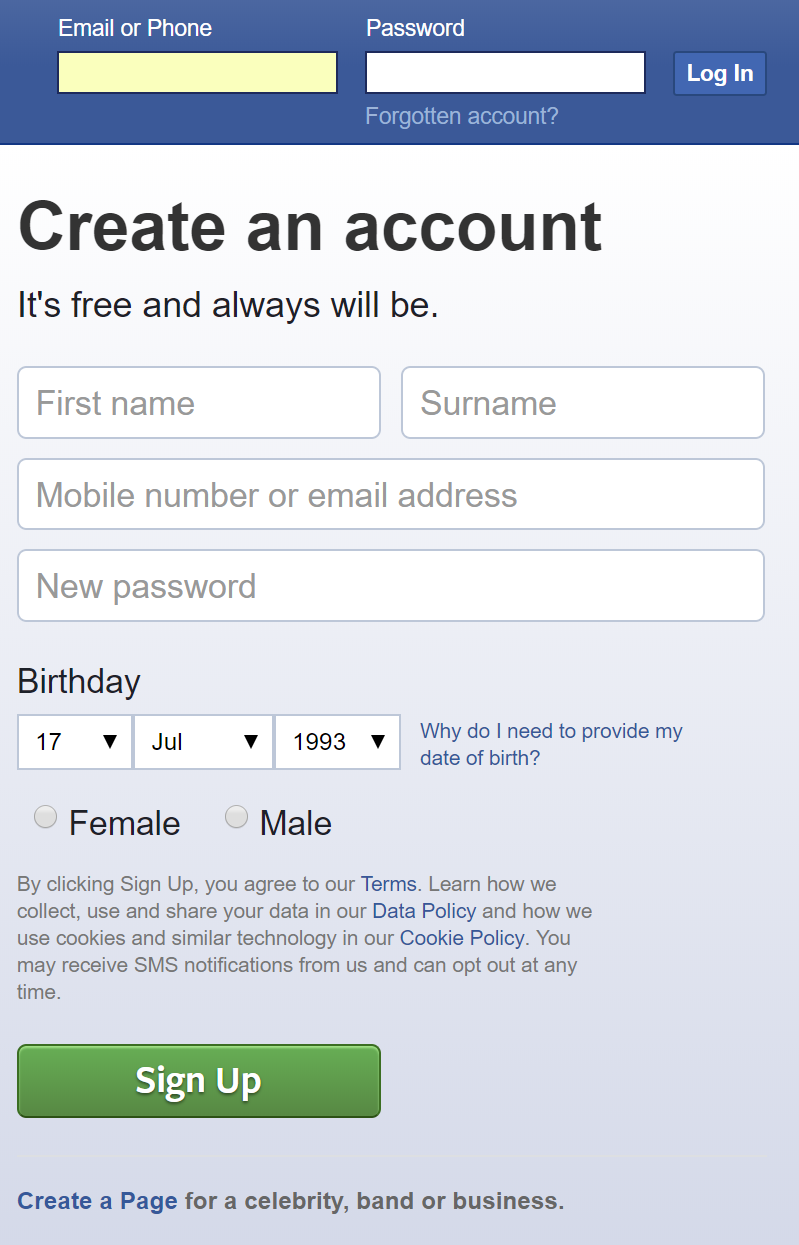
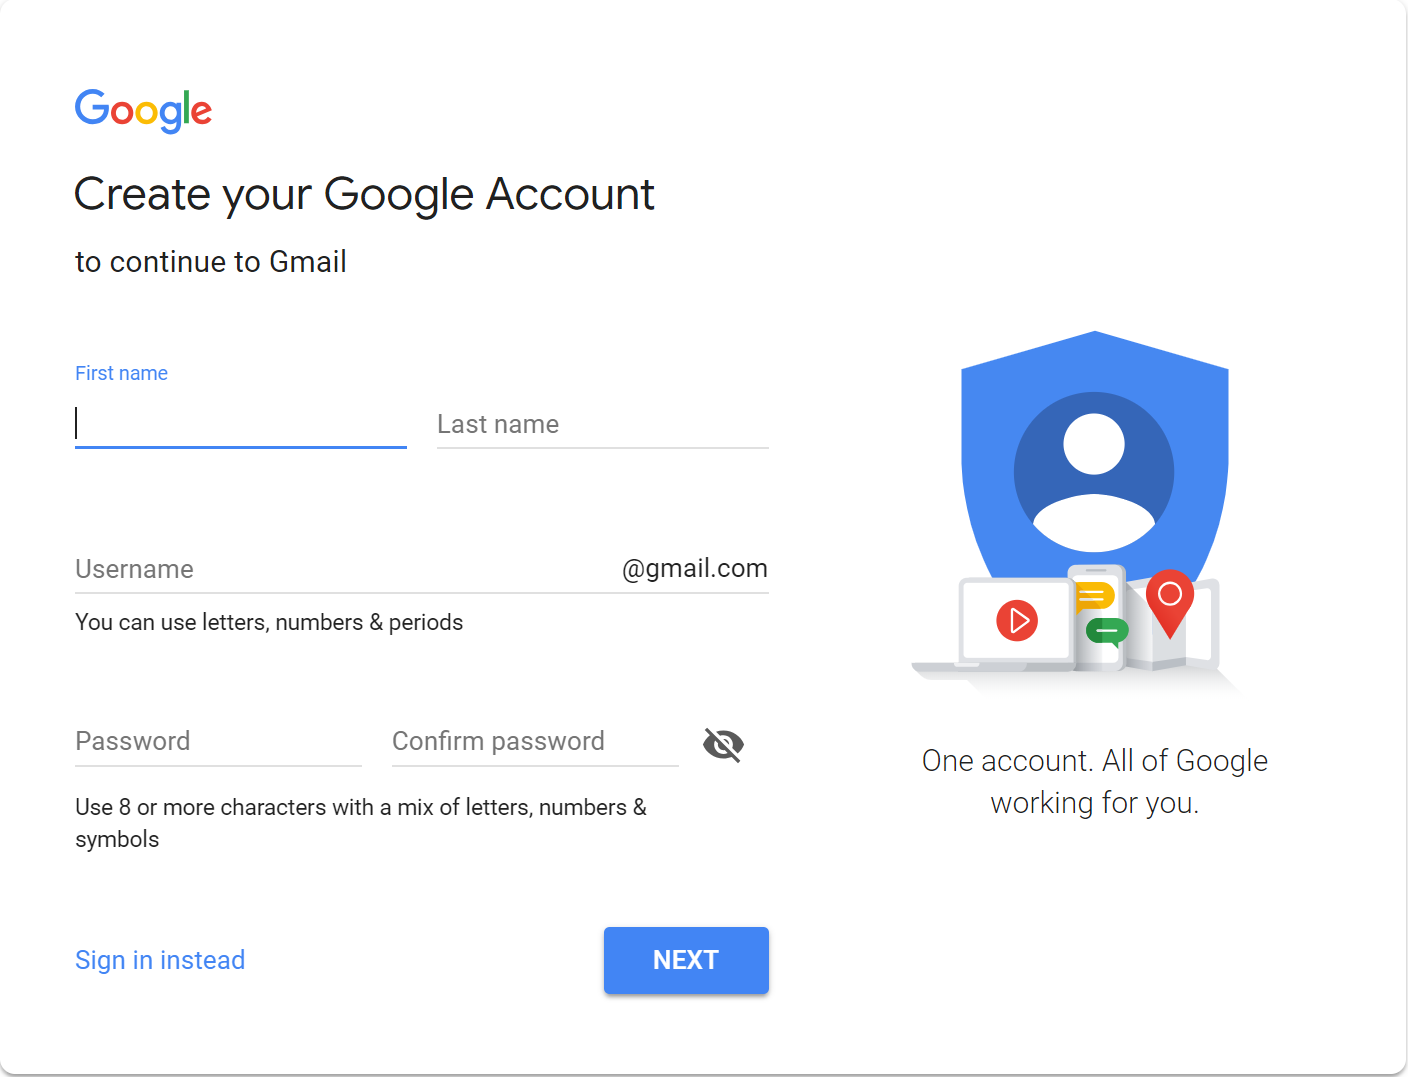
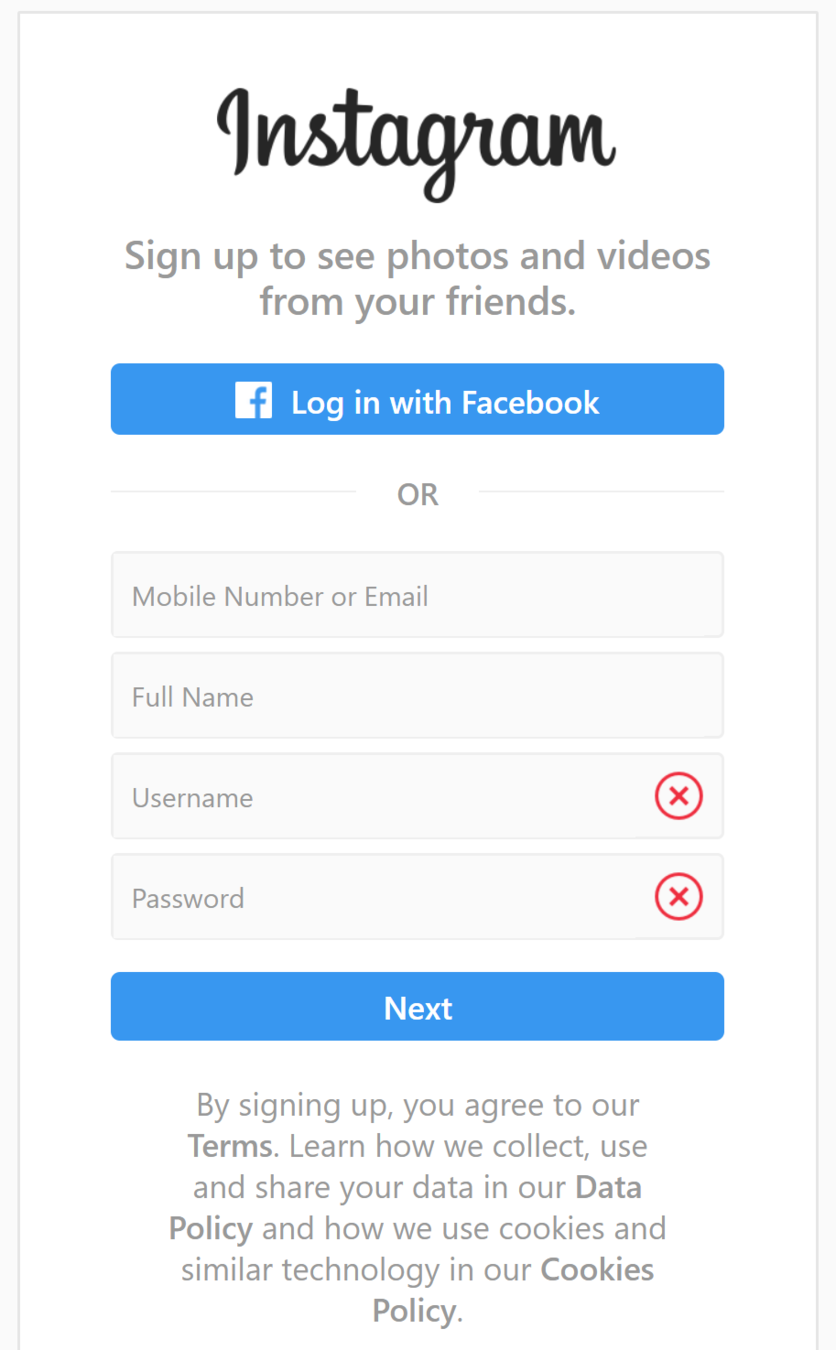
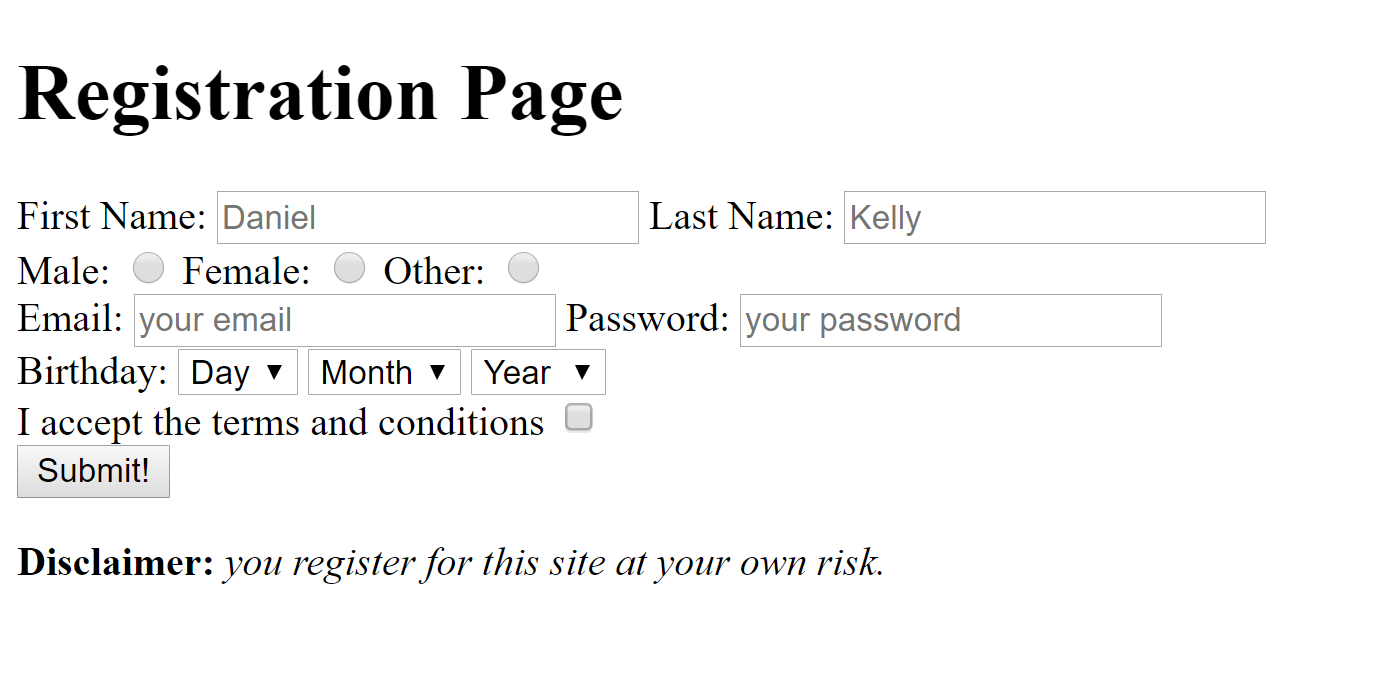
Make the following Registration Page
- First name must be entered
- Last name must be entered
- Email must be entered and be in correct email format
- Password must be entered (BONUS: password must be between 5-10 characters)
- Birthday should use 3 separate dropdowns (do not need to provide all days, months etc)
Text
Text
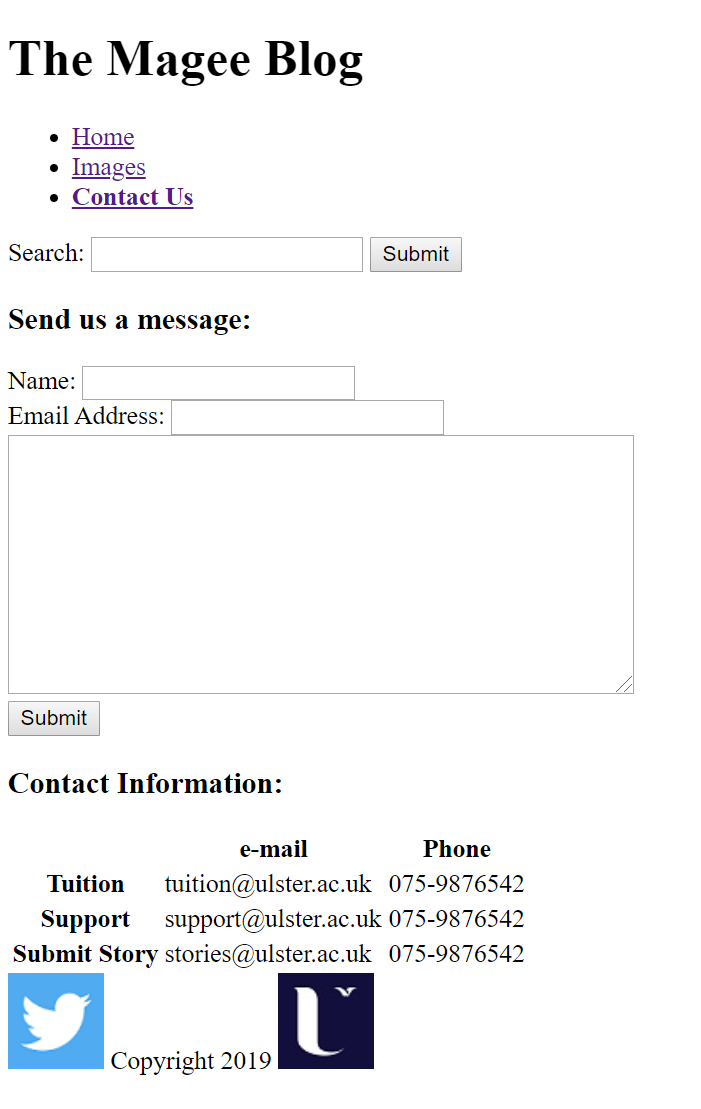
Text
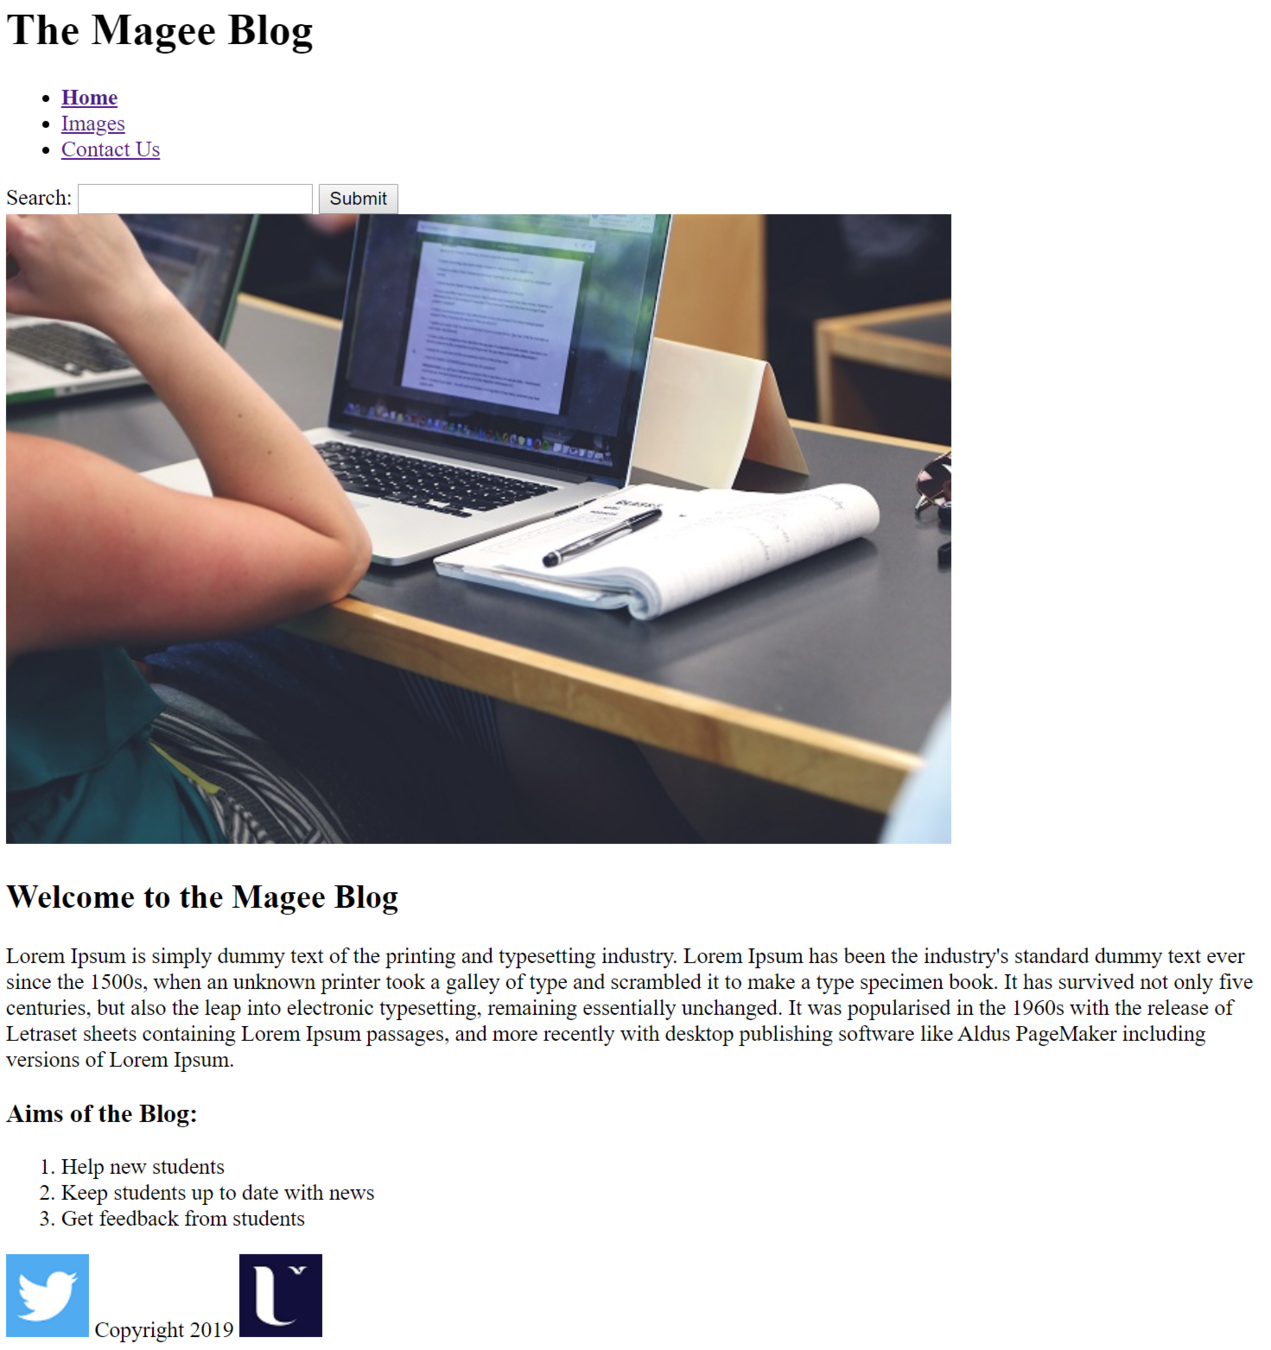

index.html
images.html
contactus.html
index.html
images.html
contactus.html
CSS
Cascading Style Sheets

Add Some Style
Dr. Daniel Kelly
with CSS
"nouns" and "adjectives"
no CSS
only "nouns"
with CSS
"nouns" and "adjectives"
no CSS
only "nouns"
HTML Box
A helpful way to understand CSS is to imagine a box surrounding every HTML element
<body>
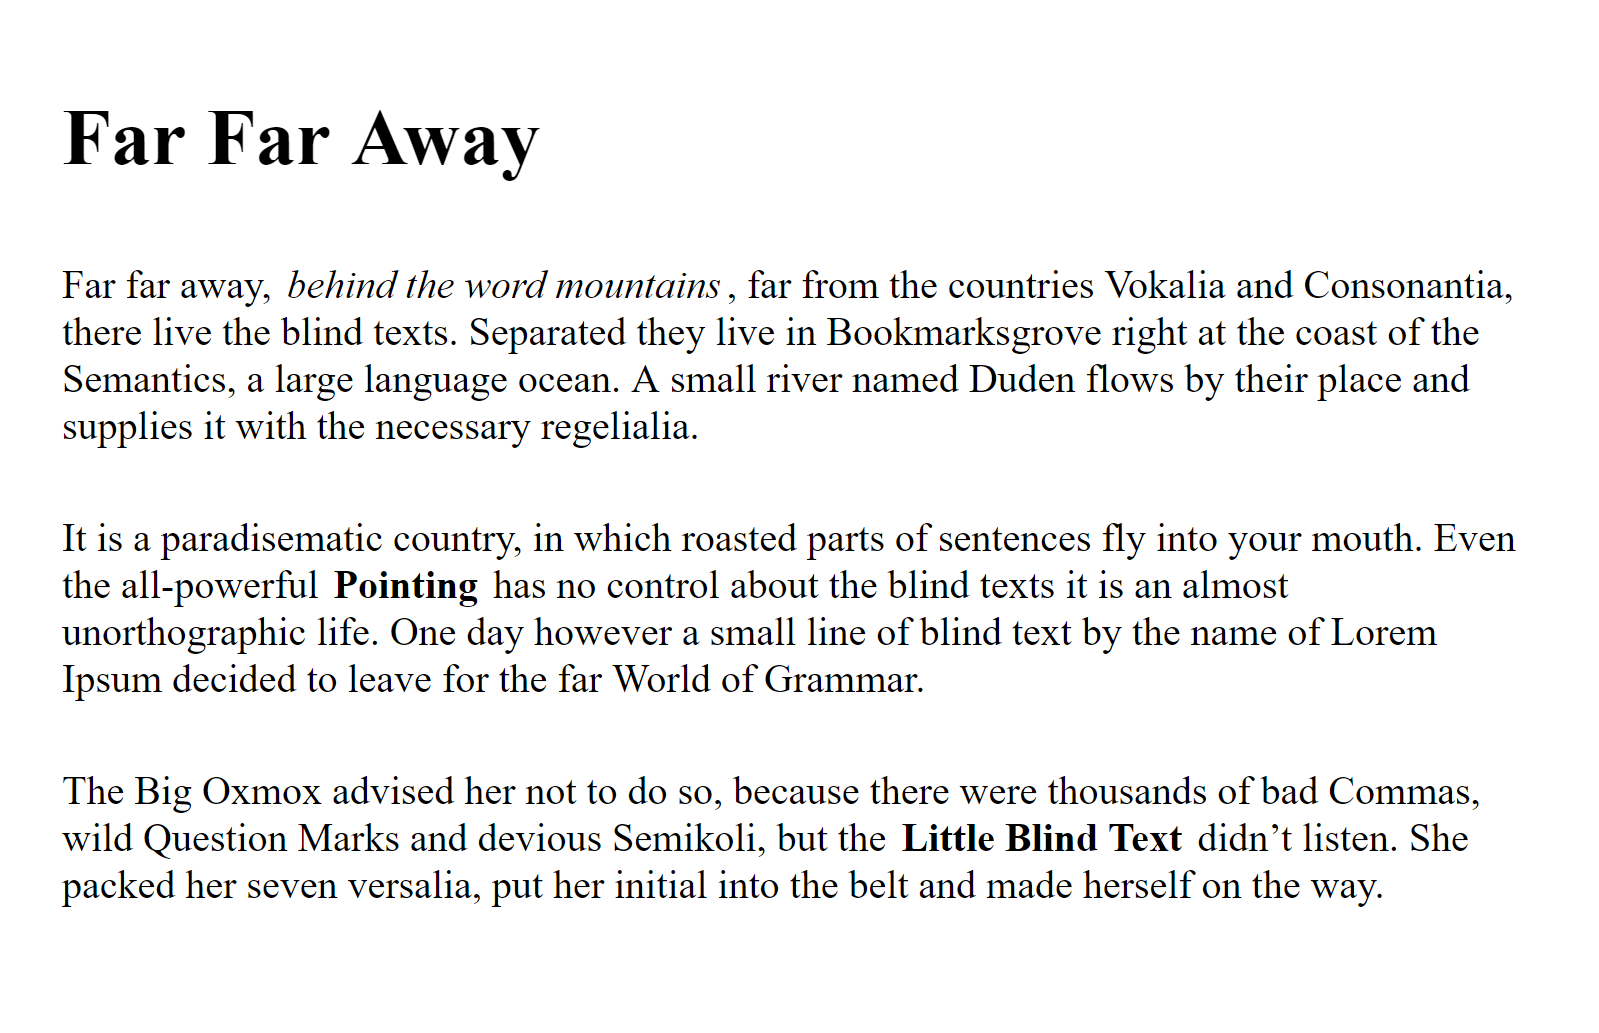
<h1>Far Far Away</h1>
<p>Far far away, <em>behind the word mountains</em>, far from the
countries Vokalia and Consonantia, there live the blind texts.
Separated they live in Bookmarksgrove right at the coast of the
Semantics, a large language ocean. A small river named Duden flows
by their place and supplies it with the necessary regelialia.</p>
<p>It is a paradisematic country, in which roasted parts of sentences
fly into your mouth. Even the all-powerful <strong>Pointing</strong>
has no control about the blind texts it is an almost unorthographic life.
One day however a small line of blind text by the name of Lorem Ipsum
decided to leave for the far World of Grammar.</p>
<p>The Big Oxmox advised her not to do so, because there were thousands of
bad Commas, wild Question Marks and devious Semikoli, but the
<strong>Little Blind Text</strong> didn’t listen. She packed her seven versalia,
put her initial into the belt and made herself on the way.</p>
</body>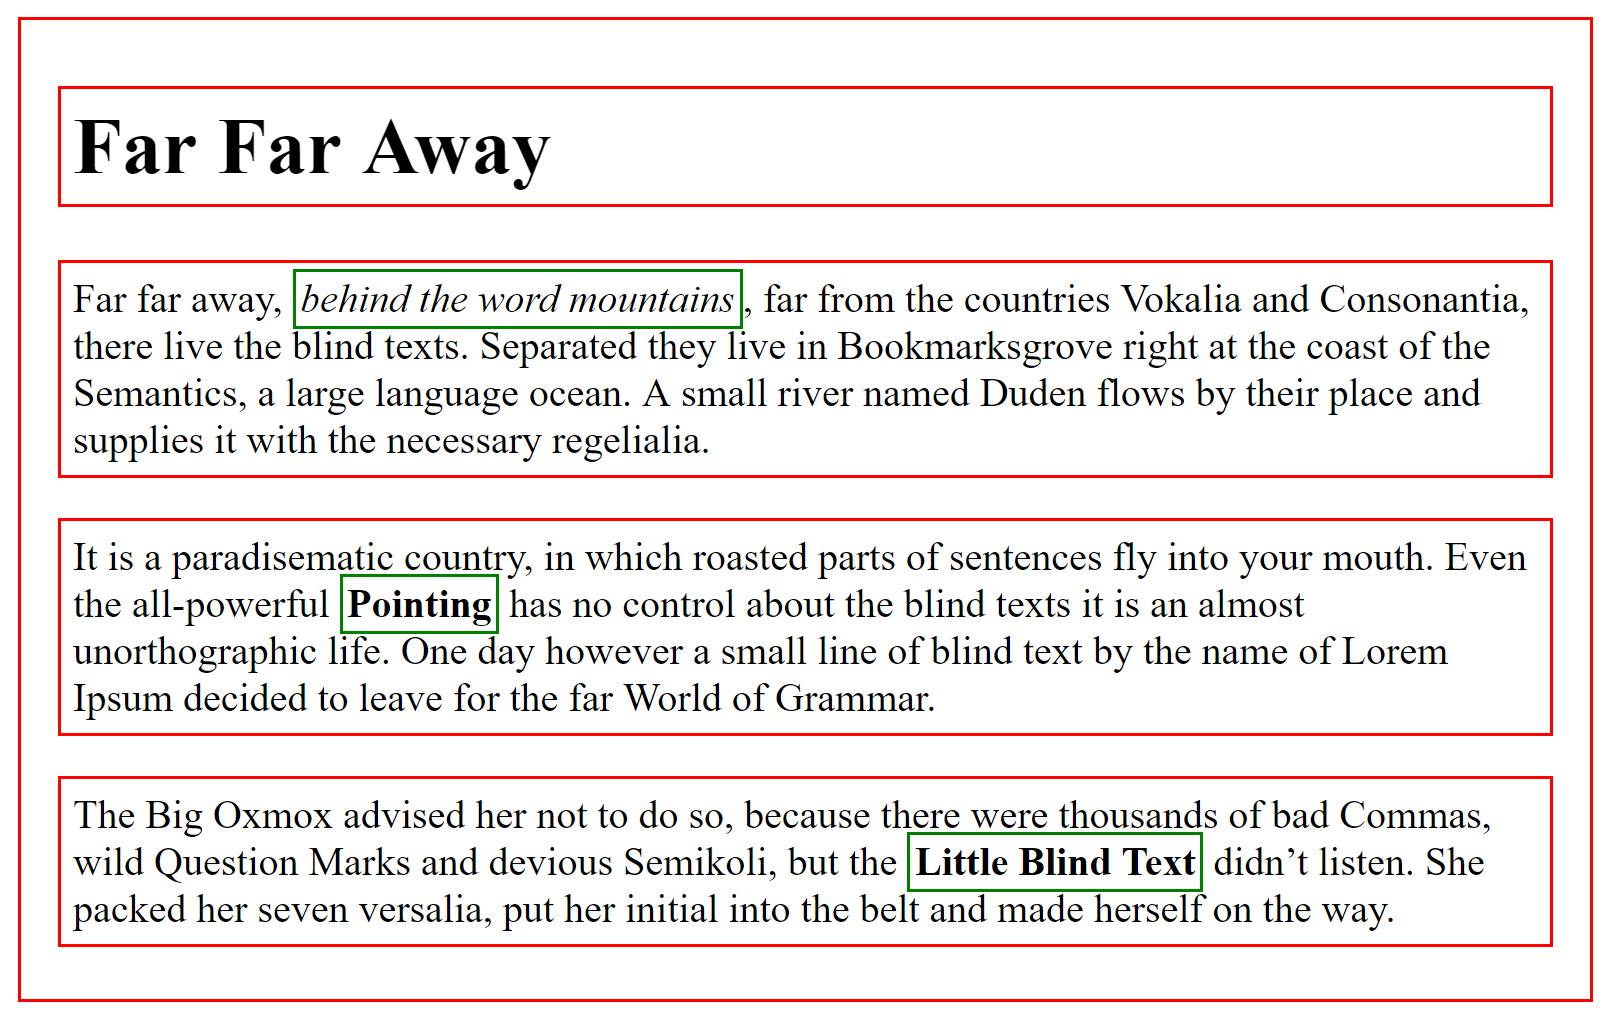
: Block Level Element
: Inline Element
HTML Box
CSS allows us to create rules that control the way each individual box (and contents) is presented
<body>
    <h1>Far Far Away</h1>

    <p>Far far away, <em>behind the word mountains</em>, far from the
    countries Vokalia and Consonantia, there live the blind texts.
    Separated they live in Bookmarksgrove right at the coast of the
    Semantics, a large language ocean. A small river named Duden flows
    by their place and supplies it with the necessary regelialia.</p>

    <p>It is a paradisematic country, in which roasted parts of sentences
     fly into your mouth. Even the all-powerful <strong>Pointing</strong>
    has no control about the blind texts it is an almost unorthographic life.
    One day however a small line of blind text by the name of Lorem Ipsum
    decided to leave for the far World of Grammar.</p>

    <p>The Big Oxmox advised her not to do so, because there were thousands of
    bad Commas, wild Question Marks and devious Semikoli, but the
    <strong>Little Blind Text</strong> didn’t listen. She packed her seven versalia,
    put her initial into the belt and made herself on the way.</p>
</body>
CSS General Structure
selector
{
    property: value;
}
selector
property
: selects existing HTML
: applies style to selected HTML
CSS General Structure
h1
{
    color: pink;
}
Changes color text for all h1's to pink
CSS General Structure
selector
{
    property: value1;
    anotherproperty: value2;
}
Change style of multiple aspects of element at once
CSS General Structure
p
{
    color: red;
    background-color: blue;
}
Change text color to red and background color to blue for all <p> elements
CSS Simple Examples
/*Make all h1's in the html purple and 50px font*/
h1{
    color: purple;
    font-size: 50px;
}
/*Make all img's in the html have 2px red border*/
img{
border-color: red;
border-size: 2px;
}<link>: Joining HTML and CSS
<!DOCTYPE html>
<html>
<head>
	<title>CSS Demo</title>
	<link rel="stylesheet" type="text/css" href="myfirststyle.css">
</head>
<body>

	<h1>Heading here</h1>

	<h4>Sub-heading here</h4>

	<p>Body text here.</p>

</body>
</html>
myhtmlfile.html:
myfirststyle.css:
h1{
    color: red;
}

h4{
    color: green;
}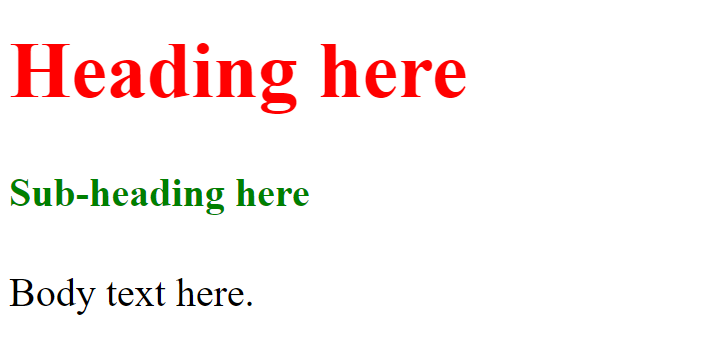
Result on Browser:
Colour
Color in CSS
Built in Colors
h1
{
    color: red;
}

h2
{
    color: green;
}-
Built in Colors specified by word
-
Approx 200 built in Colors
- See here
Color in CSS
Built in Colors
h1
{
    color: red;
}

h2
{
    color: green;
}-
Built in Colors specified by word
-
Approx 200 built in Colors
- See here
Text Color
h1
{
    color: red;
}
Color in CSS
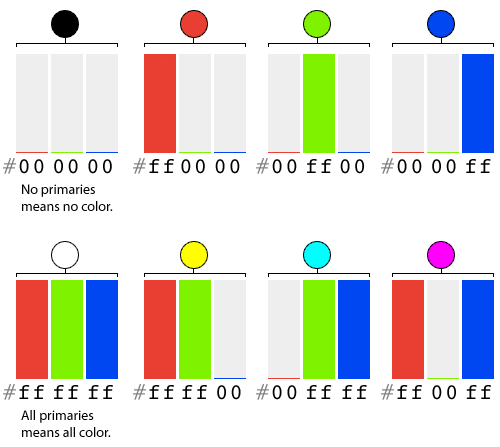
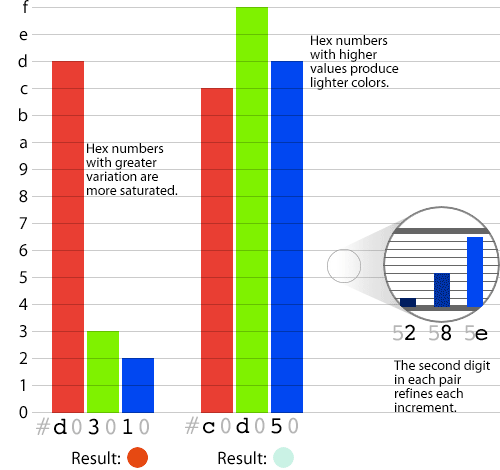
Hexadecimal Colors
h1
{
    color: #000000;
}

h2
{
    color: #FF1493;
}-
# + String of 6 hexademical numbers
-
Approx 6,777,216 colors
#000000
Hexadecimal Colors
#000000
Color in CSS
RGB Colors
h1
{
    color: rgb(0, 255, 0);
}

h2
{
    color: rgb(10, 99, 150);
}-
3 Channels: 0-255
-
Red
-
Green
-
Blue
-
-
Approx 6,777,216 colors
Color in CSS
RGBA Colors
h1
{
    color: rgba(0, 255, 0, 1);
}

h2
{
    color: rgba(10, 99, 150,.3);
}-
4 Channels:
- Red: 0-255
- Green: 0-255
- Blue: 0-255
-
Alpha (transparency): 0-1
- 0: Fully Transparent
- 1: Fully Opaque
Intermediate HTML
By D.Kelly


