Hands-on
Mobile App Development

with
It's Coding Time.
We're going to build a 'social weather tracking' app.
Let's begin by viewing a typical brief from a client.

Brief
I'd like a social weather tracking app, please.
(slightly less) Brief
I'd like an app which allows users to view and upload pictures of the weather, wherever they are.
The app should allow a user to use their smartphone to share a picture of the weather with a title and short description.
The app should work on iPhone and Android devices.
User Stories
As a <type of user>, I want <some goal>
so that <some reason>.
A standard way of writing requirements from a user's point of view.
The starting point: user stories should then be split into a series of tasks.
User Stories
As a user I want to view other people's weather photos so that I know what the weather is like near me.
Examples for our app:
As a user I want to upload a new weather photo.
As a user I want to limit the amount of data used over my phone's data connection so that my bill is low.
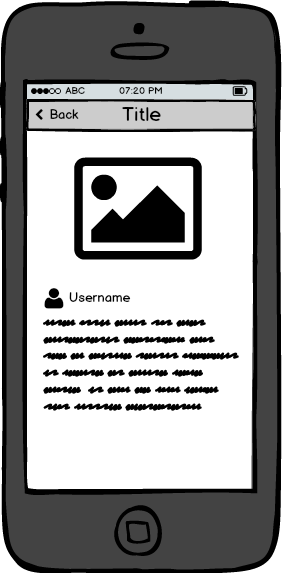
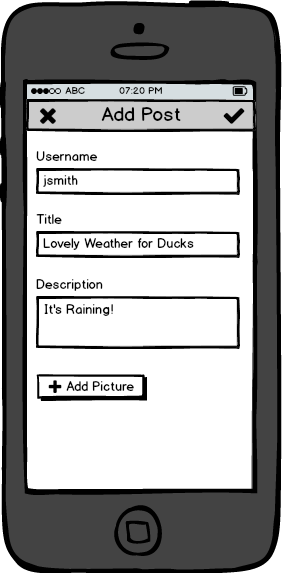
Wireframes
A low fidelity example of how the app will function.
'A picture speaks a thousand words'
Includes key UI components for each screen.
Often static - sometimes dynamic.
Low fidelity on purpose: focus on functionality, not looks.
Wireframes
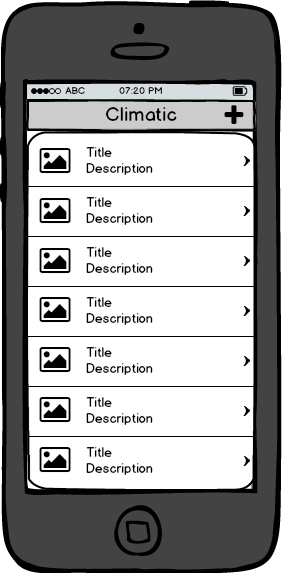
List of Posts
Post Detail
Add Post View
Section A
Setting up Project
Goals:
Scaffold new Ionic project
Understand project structure
Setup new project
$ ionic start climatic-app blank --type ionic1 --skip-link

$ cd climatic-app

$ ionic serve
You should now see a (very basic) Ionic app running in the browser.
We'll be building most of the app using the browser before deploying to our phones.
Directory Structure
Section B
List View
Goals:
Create a List View
List View
Used to render lists of data.
Task
Render controller items in the list.
Hint: use `ng-controller` and `ng-repeat`.
Task
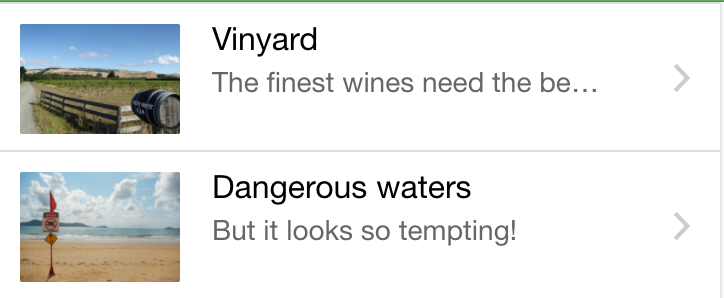
Render thumbnail images in list.
Hint: use the list HTML markup from the Ionic Docs.
Hint: use `ng-src` in the img tags.
Section C
Fetching Data from Server
Goals:
Fetch list data from server
Promises
Represents the result of an asynchronous operation.
Can be in one of three states:
Pending Resolved Rejected
Promises often used for async operations such as fetching data from a server.
Promises: by example (1)
Request file from server
Server receives request, sends file
File received
Promise State
Operations
pending
pending
resolved
Promises: by example (2)
Request file from server
Server can't find requested file
Error received
Promise State
Operations
pending
pending
rejected
Promises: by example (3)
We use then and catch to receive the data returned from the async operation.
var promise = getDataFromServer();

function onResolved(data) {
  // Do something with data
}
promise.then(onResolved);

function onRejected(error) {
  // Handle error
}
promise.catch(onRejected);
Angular Factories
Singleton objects
Often used to fetch data from server
Promises often returned for async operations such as data fetching
Task
Return posts from posts.factory.js
Hint: use $q to return a promise
Fetching Data from Server
Our app will be syncing data from a backend server

The server is implemented using Parse
We'll be using the Parse library in app to communicate with the backend
Installing Parse library
Third party libraries are installed using bower
To install the Parse library, run:
$ bower install parse --save-devWe can then import and use the library in our app.
Task
Return posts from backend server
Section D
Infinite Scrolling
Goals:
Use infinite scrolling to fetch all data from server
Infinite Scrolling
Automatically load next content when user scrolls to the bottom of the list
Ionic directive ion-infinite-scroll makes it easy to add into our app
Task
Add infinite scrolling to app
Hint: use `loadNext` method in controller to load more data from the infinite scroll directive
Hint: use `hasMorePosts` flag in controller to disable infinite scroll if there are no more posts to fetch
Section E
Loading Indicator
Goals:
Show loading indicator while fetching data
Loading Indicator
Show a progress indicator while data is loading
Use $ionicLoading service to show and hide Ionic's loading indicator
Task
Show loading indicator while data is being fetched from server
Hint: show indicator before fetching posts in controller, then hide indicator afterwards
Task
Show same loading spinner for first load and infinite scroller
Hint: use the 'lines' spinner. See docs at
Section F
Custom Styles
Goals:
Update app with custom styles
Custom Styles
Ionic uses the SASS preprocessor to compile its default styles.
You can override these styles by setting SASS variables.
Change colors, fonts, text sizes, paddings and more.
Task
Change colour scheme for app:
Set 'positive' to #68AA63
Set 'calm' to #D7A872
Set 'assertive' to #D03C39
Hint: modify the file in the 'scss' folder to
update the styles.
Section G
Running and Debugging
Goals:
Run Ionic Lab feature to show iOS vs Android layout
Debug app in browser
Debug app on device
$ ionic serve -lPreview app in iOS and Android modes.
$ ionic cordova run androidRun app on Android device.
$ ionic emulate iosRun app in iOS simulator.
$ ionic serve -w chromium-browser
Tip: ionic serve opens your default browser.
Use the -w flag to open in a different browser.
Section H
Routing
Goals:
Add URL routing to app
Routing
All but the simplest app uses more than one screen.
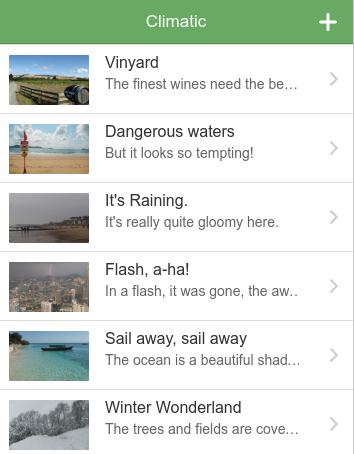
The classic example is the 'list-detail' view:
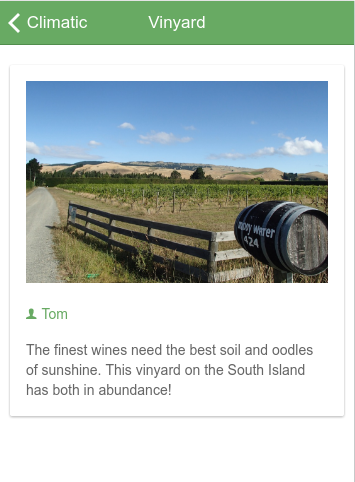
Routing
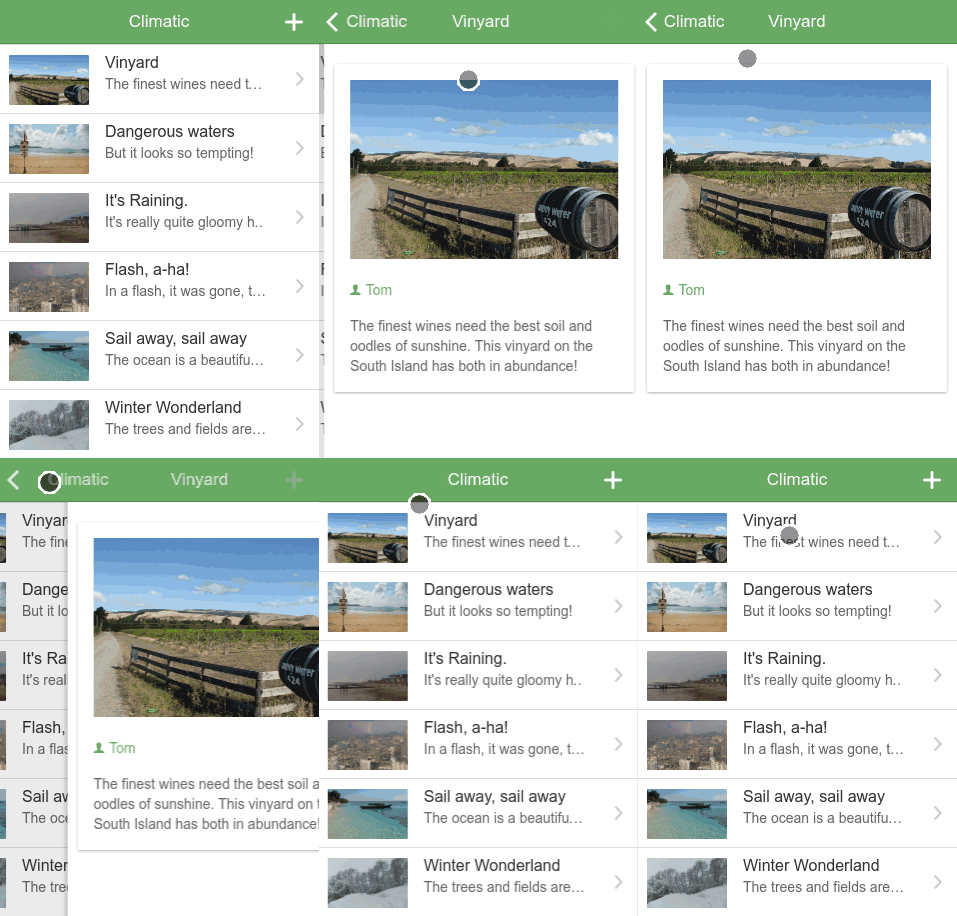
Ionic mimics a native app:
Detail view is 'pushed' over list view
Back button appears on detail view
Tapping Back 'pops' detail view, returns to list
Routing
To support routing, we must make changes to the index.html page.
<body ng-app="climatic">
  <ion-nav-bar class="bar-positive">
    <ion-nav-back-button></ion-nav-back-button>
  </ion-nav-bar>
  <ion-nav-view></ion-nav-view>
</body>
Our content will be automatically rendered in the <ion-nav-view> element.
Routing
The contents of <ion-nav-view> are populated by the router:
$stateProvider.state('feed', {
  url: '/posts',
  templateUrl: 'tmpl/posts/feed.html',
  controller: 'FeedController',
  controllerAs: '$ctrl'
});
The page content now lives in a separate template file
Task
Restore 'Climatic' title in navbar
Hint:
Section I
Detail View
Goals:
Tap list item, to view details of the post
Routing
To route from list to detail view, we use a regular HTML <a> tag, with a custom attribute `ui-sref`
<ul class="list">
  <li ng-repeat="item in $ctrl.posts">
    <a ui-sref="post({id: item.objectId})">
      <h2>{{:: item.title }}</h2>
    </a>
  </li>
</ul>
ui-sref calls `post` function, which matches router config to change the page
Task
Add detail view template and controller to router config
Routing
Data passed into `ui-sref` is accessible via the `$stateParams` service
angular
  .module('climatic')
  .controller('PostController', PostController);

function PostController($stateParams) {
  var id = $stateParams.id;

  // id is the value passed in by `ui-sref`
  // Do something with it...
}
Task
Implement `getPostById` in post factory to return correct item
Hint: use a loop to fetch the correct post from the `posts` array, according to the passed ID
Section J
Platform-Specific UI
Goals:
Tweak UI for device platform
(iOS vs Android)
Platform Specific UI
Native iOS and Android UIs are different:
Ionic will automatically render some components differently for each platform.
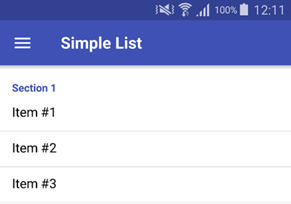
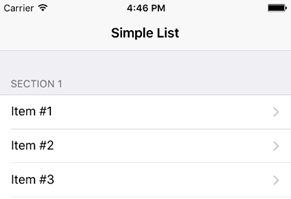
There are also ways to manually customise the UI depending on the runtime platform.
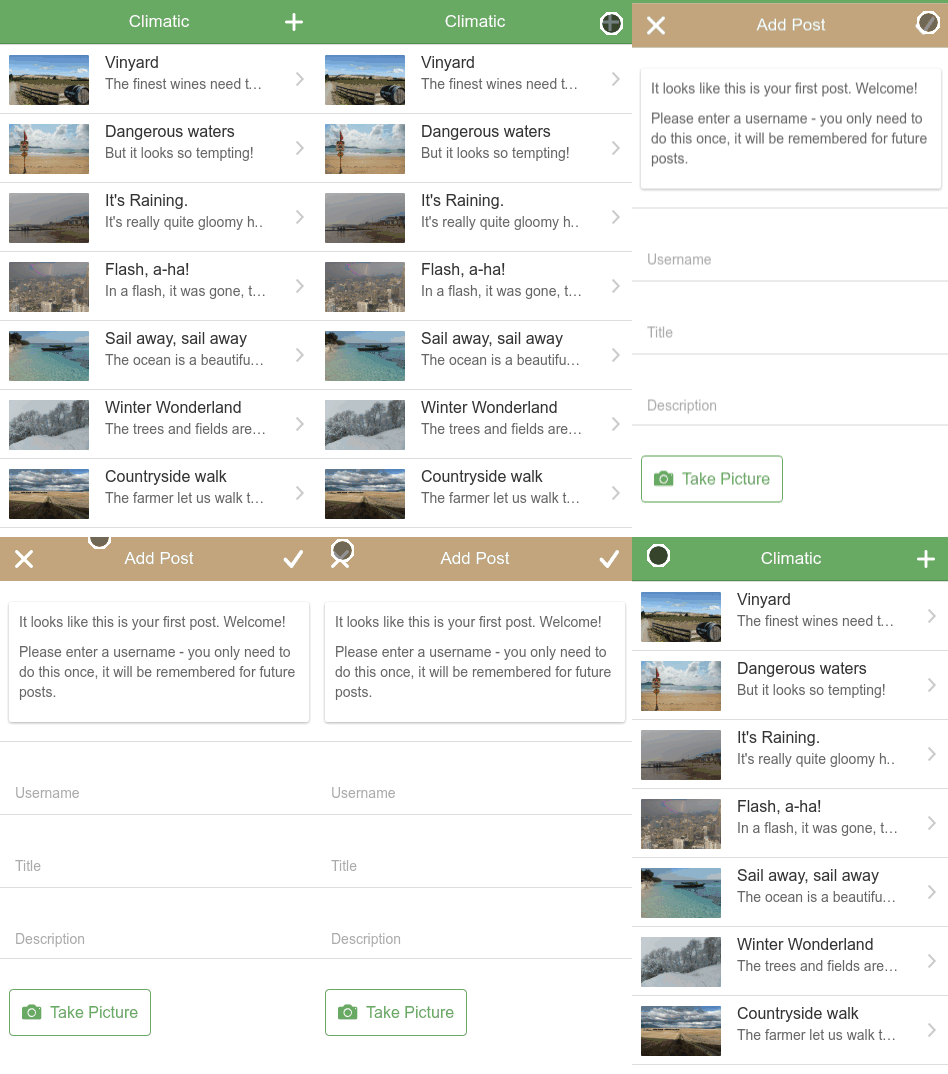
Render right chevron arrows
on iOS but not Android
Task
Resources:
Hint: use Ionic Labs mode to see both platforms in browser
Section K
'Add Post' Modal
Goals:
Show a pop-up modal with a form to create a new post
Modal
Another way to display a new screen is via a 'modal'
A modal is a full-screen pop-up window

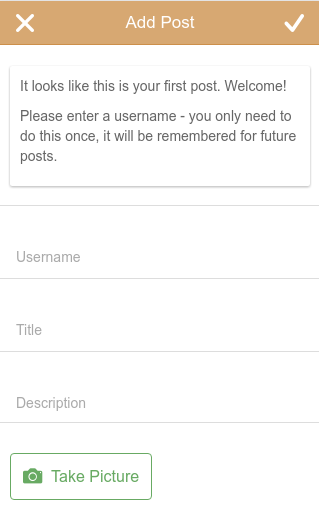
Modal
Ionic has a built-in service, $ionicModal
Modal is shown and hidden from JavaScript, typically via `ng-click`
Modal content rendered from template file
Modal
Modal is revealed from bottom of screen
Consumes entire screen, including header bar
Modified header bar includes controls to dismiss modal
Navbar Buttons
Show buttons in navbar with <ion-nav-buttons> directive

<ion-view>
  <ion-nav-title>Climatic</ion-nav-title>
  <ion-nav-buttons side="secondary">
    <button class="button"></button>
  </ion-nav-buttons>
  <ion-content>
  </ion-content>
</ion-view>
Task
Reveal modal when header bar + button is tapped
Hint: modal can be revealed by calling function in FeedController
Task
Hide modal when header bar tick or cross is tapped
Hint: modal HTML has access to everything in FeedController
Section L
'Add Post' Form
Goals:
Add form elements to Add Post modal
Ionic Forms
Ionic ships with styles for many different form elements.
Task
Add following form elements to modal:
'Title' (text)
'Description' (textarea)
Hint: use 'Floating Label' format:
http://ionicframework.com/docs/components/#forms-floating-labels
Task
Bind input and textarea values to controller 'addPostData' object
Hint: use 'ng-model' directive
Elastic textareas
Ionic does not provide this out-of-the-box, so we must use a third party library:
Native apps: multi-line text inputs automatically grow/shrink when text is typed.
$ bower install angular-elastic --save-devTask
Use angular-elastic plugin to auto grow and shrink textarea when content changes
Hint: read docs at
Use the 'attribute' method
Section M
Take Picture
Goals:
Take picture from phone camera and include in form data
A container to run HTML, CSS and JavaScript code as a native app.

Loads the code in an embedded Webview, without the standard browser controls,
so the app feels like a native app.
Provides plugins to access native APIs via JS, such as the camera, filesystem and push notifications.
We'll be using the Camera plugin to take pictures from our app.

$ cordova plugin add cordova-plugin-cameraAngular wrapper for Cordova plugins.

Built by Ionic team, for Ionic!
$ bower install ngCordova --save-devInstall with Bower:
Task
Hook up button to take picture
Show resulting picture in app
Hint: call `$ctrl.addPicture()` when button is tapped
Hint: use `ng-if` to conditionally render button or image
Task
Hook up button to take picture
Show resulting picture in app
Hint: call `takePicture()` when button is tapped
Hint: use `ng-if` to conditionally render button or image
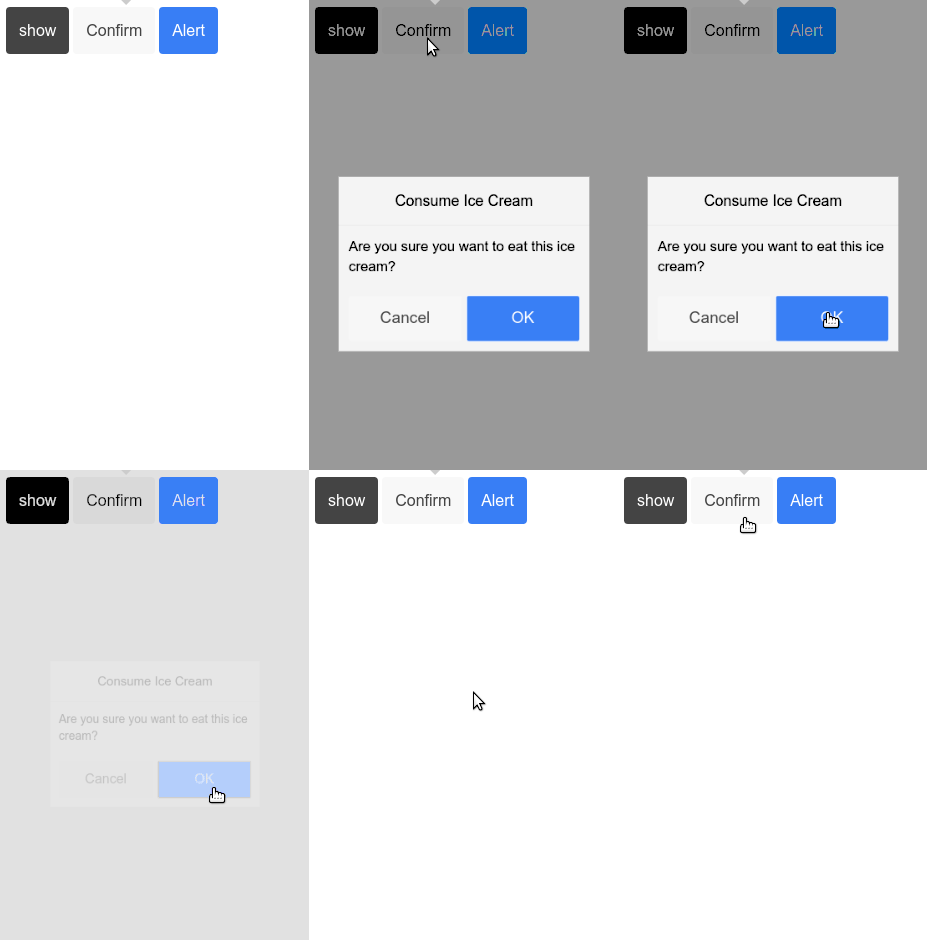
$ionicPopup
Ask the user for response to continue
Display small 'pop-up' box in centre of app
Task
Show popup if there was an error when taking the picture
Hint: use the `$ionicPopup` service
Hint: add code to the `FeedController`
Task
Render Retake Picture' and 'Delete Picture' buttons once picture has been taken
'Retake Picture': replace existing picture
'Remove Picture': remove existing picture
Hint: use 'assertive' colour and different icon for 'Remove Picture' button
Section N
Form Validation
Goals:
Ensure form data is valid before saving to server
Task
Disable 'Save' button if the title, description or picture fields are empty
Hint: use the `ng-disabled` attribute on the save button
Hint: have `ng-disabled` call a function in the FeedController to check if the fields are empty or not
Section O
Saving Form Data
Goals:
Save post to server

We'll be using Parse again to save the data to the server.
Task
Save data to the server, and close the modal when it has saved
Hint: we need to implement the `savePost` function in the FeedController
Hint: call the `savePost` function inside the PostsFactory to save the data. This returns a promise, which is resolved when the data is saved.
Task
Refresh the feed page when the data has been saved correctly
Hint: find the existing code in FeedController which loads the feed when the app starts, and reuse it for this task
Task
Show a loading spinner while the data is being saved
Hint: re-use the same loading spinner which is shown when the app first loads the feed data
Section P
Refreshing Data
Goals:
Implement pull-to-refresh on list
Pull to Refresh
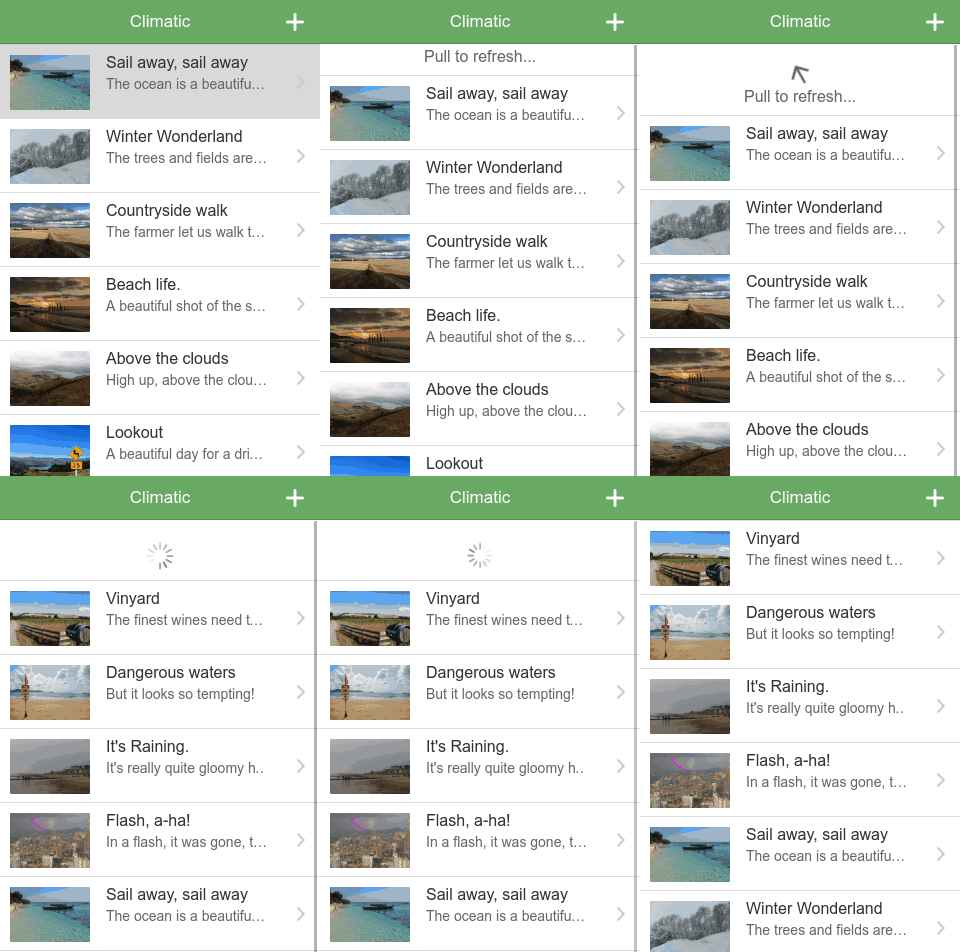
Drag list downwards to refresh
Ionic includes built-in directive for pull-to-refresh:
Task
Add pull-to-refresh to list view
Hint: use `ion-refresher` directive
Hint: don't forget to call `$scope.$broadcast` once refresh has completed
Section Q
Polishing
Goals:
Add icon & splashscreen
Change headerbar colour
From a single image, Ionic can generate app icons and splashscreen images in each different format, for each platform.
Icons and Splashscreen
Each platform requires a large number of different-sized icons and splashscreen images to support all different devices.
If you didn't sign up earlier, do so now with:
Icons and Splashscreen
You need to have an Ionic account to generate resources.
$ ionic signupIcons and Splashscreen
Generate pngs from Ionic icon / splashscreen photoshop files
Put png files in resources/ folder
Run command to generate all icons and splashscreens:
$ ionic cordova resourcesTask
Generate icons and splashscreen from provided files
Status Bar: iOS
On iOS, the status bar is transparent: your app's headerbar will appear beneath the statusbar text.
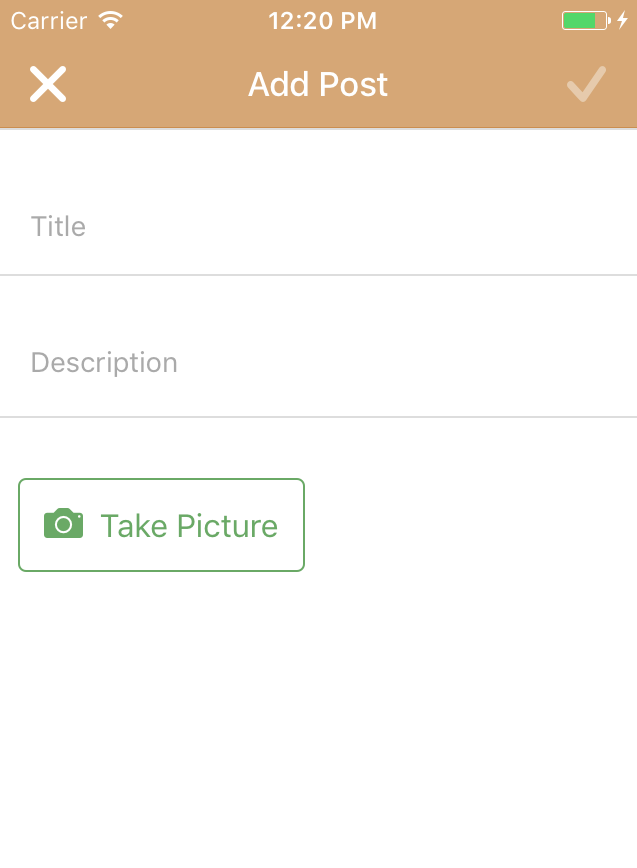
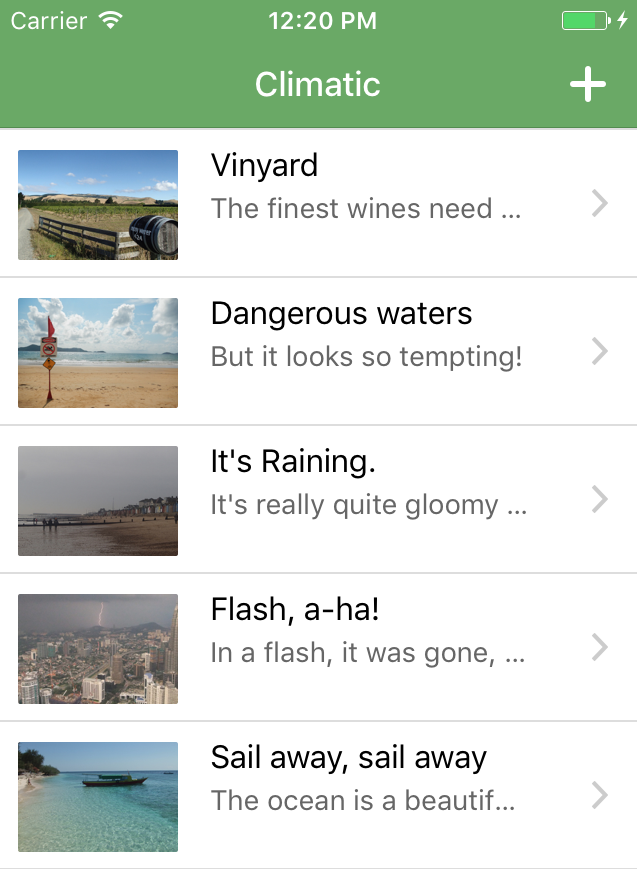
Status Bar: iOS
Control the status bar text colour with the Cordova StatusBar plugin:
Modify the following lines in app.js to change the status bar text to white:
if(window.StatusBar) {
  StatusBar.styleLightContent();
}Status Bar: Android
Material Design guidelines:

use a darkened tint of your main headerbar colour for status bar
Status Bar: Android
Set base (500) colour using colour picker
Choose a darker tint for the headerbar. Suggestion: pick 700 colour to start with.
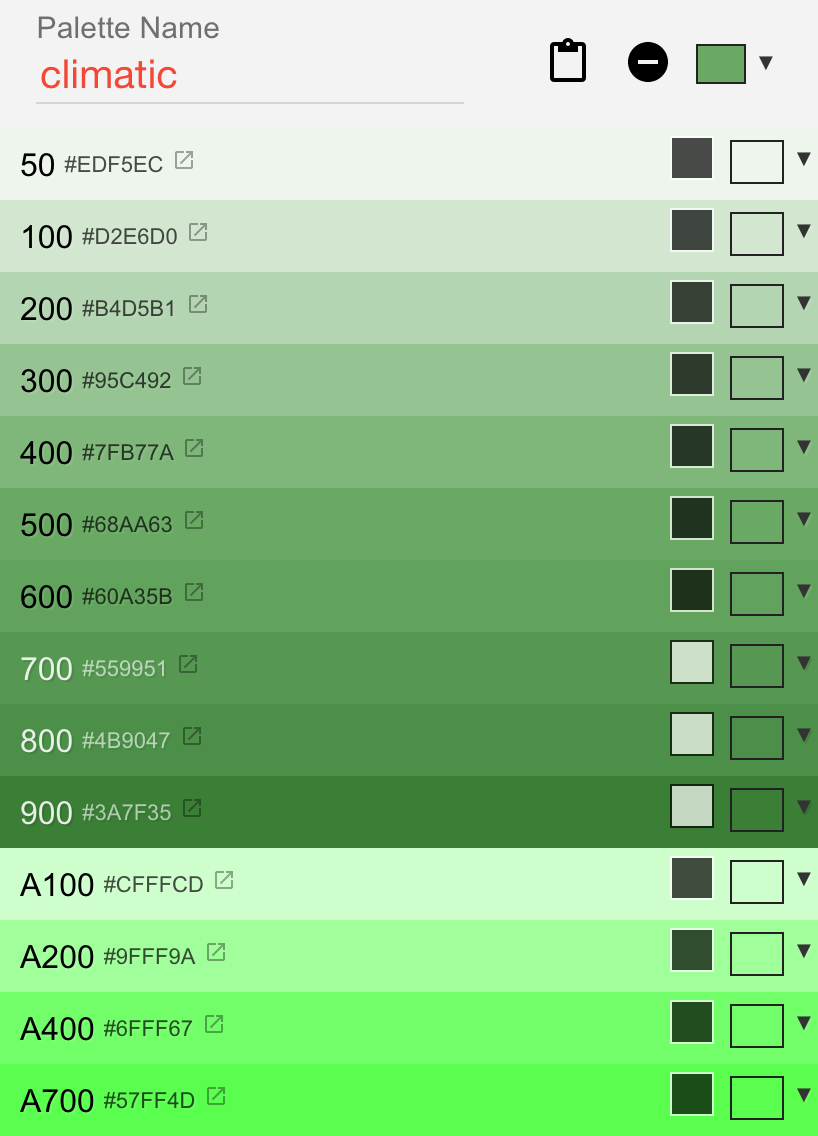
Status Bar: Android
Use the $ionicPlatform factory to to change the status bar colour for Android only
if(window.StatusBar) {
  if($ionicPlatform.is('ios')) {
    StatusBar.styleLightContent();
  } else if ($ionicPlatform.is('android')) {
    StatusBar.backgroundColorByHexString('#559951');
  }
}Task
Change statusbar colours for iOS and Android
Recents View Bar: Android
The Recents View is shown when the Android 'Recents' button is pressed.

We should set the headerbar colour in this view to match our primary theme colour.
Task
Change Recent Task Bar colour to match statusbar
Hint: use Cordova plugin:

Ionic Course, Part 2: Build the App
By Tom Spencer
Ionic Course, Part 2: Build the App
- 3,403


