QUESTION 4:
How did you use media technologies in the construction and research, planning and evaluation stages?
Camera skills (filming)
In order to film, we used a canon dslr camera which was provided by the college. Due to the fact that I had experience with using this camera in secondary school and outside of school, I found it easy to use. However, my other team members learnt how to use the camera during a camera workshop we had in college, where I also learnt how to manage the exposure controls and I became better at it as we filmed, which is something I didn't know how to do beforehand. This helped us a lot when it came to shooting in different lighting's outside and indoors. After having a music video shoot, we would all come together to have a team meeting and we would discuss whether or not we were happy with the content we gained. If not, we planned a date where we could re-shoot the footage, which allowed not only our teamwork skills to be built, but our camera skills to build as we were learning how to achieve the best shots and angles each time we did a shoot.


Camera skills (photography)
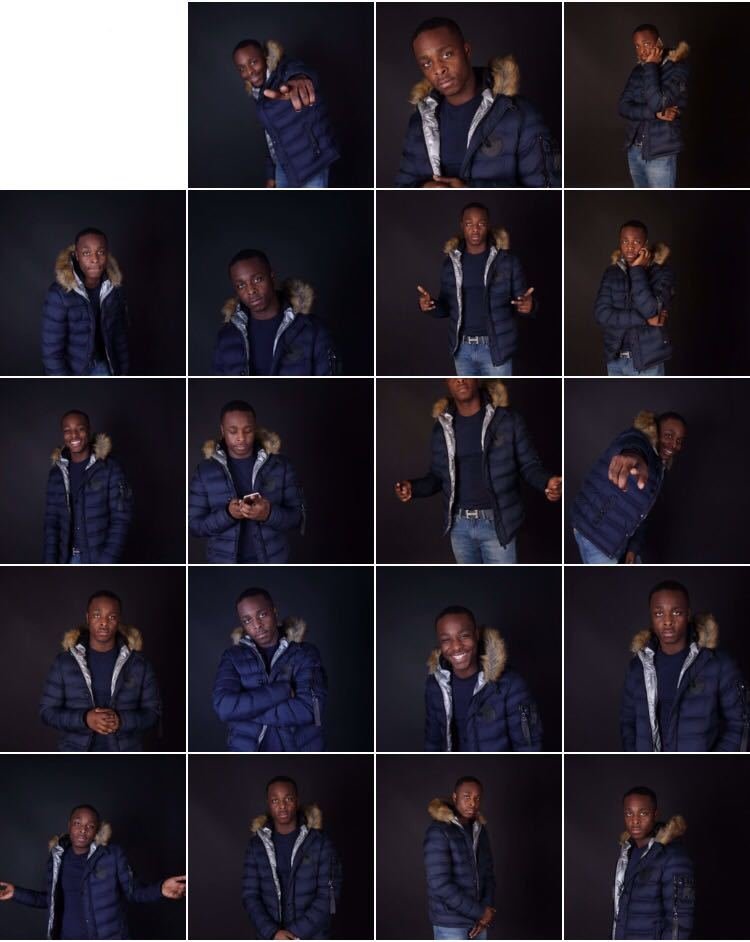
Based on the fact that we already had experience with using a dslr camera from when we took pictures from the AS year, having a photo shoot for our print products was easy, as we applied all the skills we learnt from the year before into this year. We decided to have the shoot in the colleges photography studio, as that was were we were most comfortable and for other intentional reasons, such as creating mystery, which I have touched on in the previous questions. Using the studio was also an advantage as it allowed the artist to be the main focus of the picture, as there is nothing around to distract the viewers. We mainly stuck to mid shots and long shots as that is what we learnt to be a key convention in terms of camera when it comes to Afro Beats cd covers and print products in general. Even though we already had experience from before, we still managed to improve some of the basic skills we had such as working with the lighting in the studio, shutter speed on the camera and the brightness.
Equipment
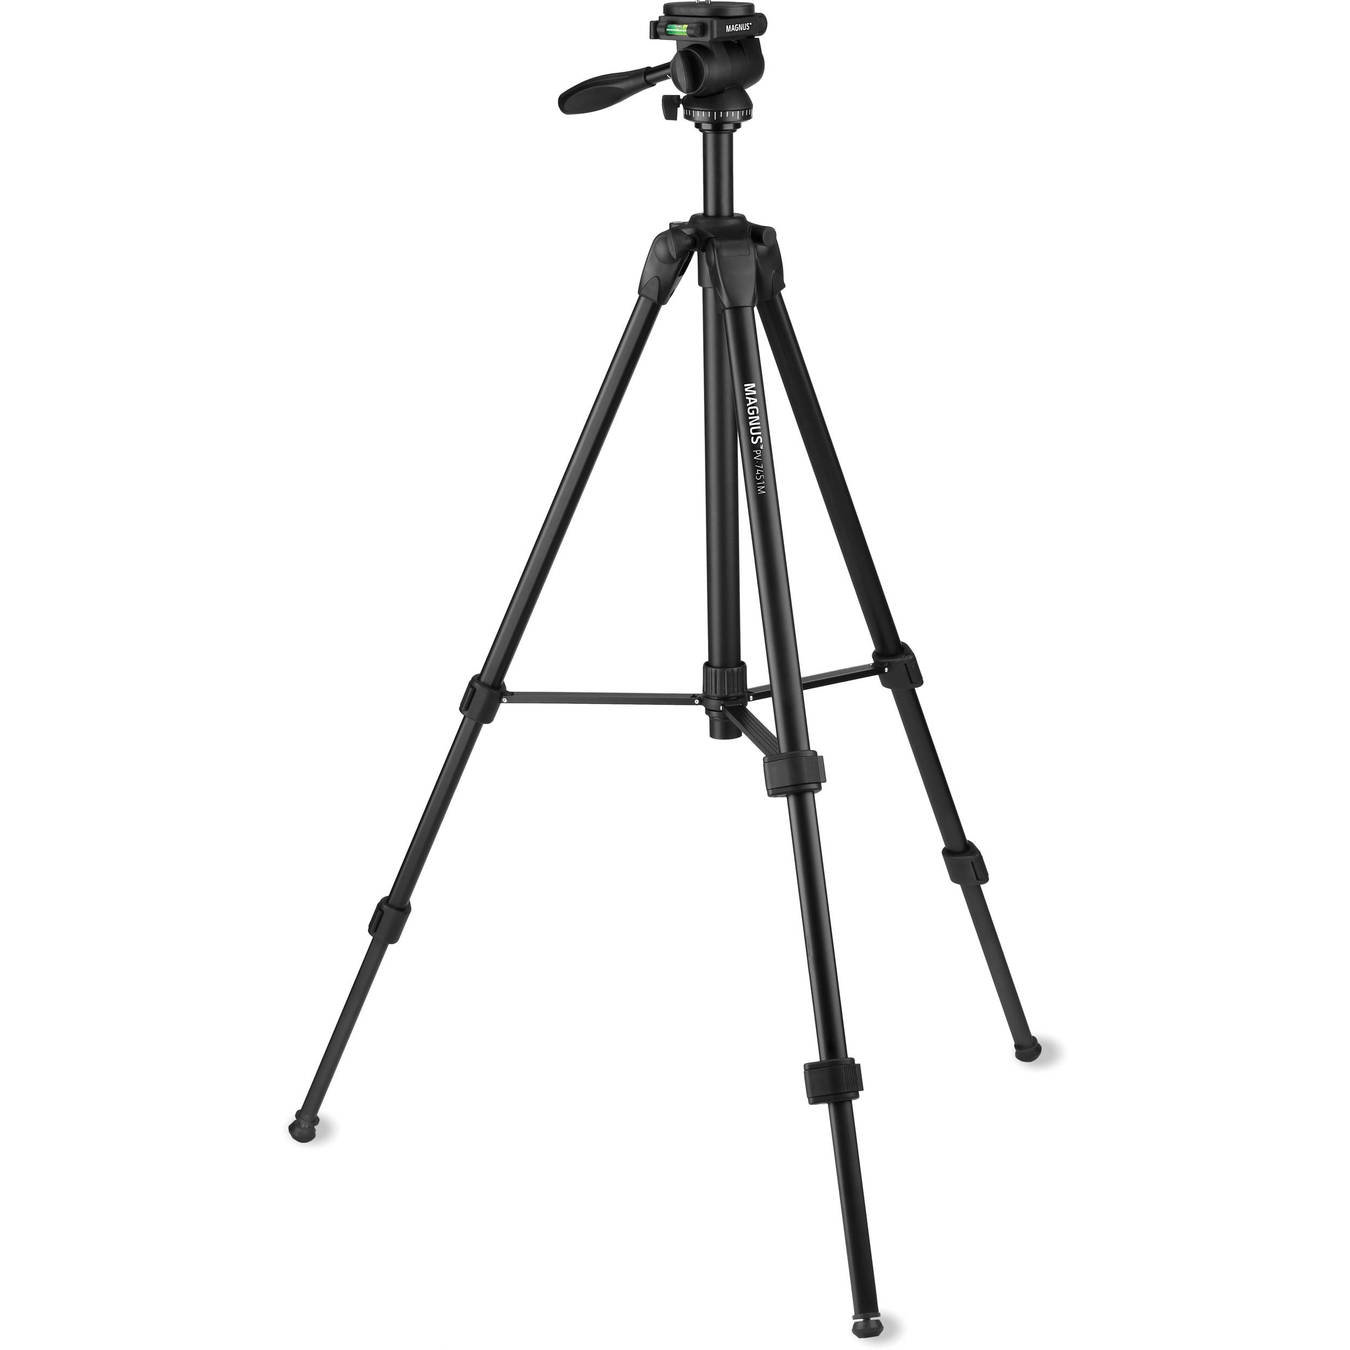
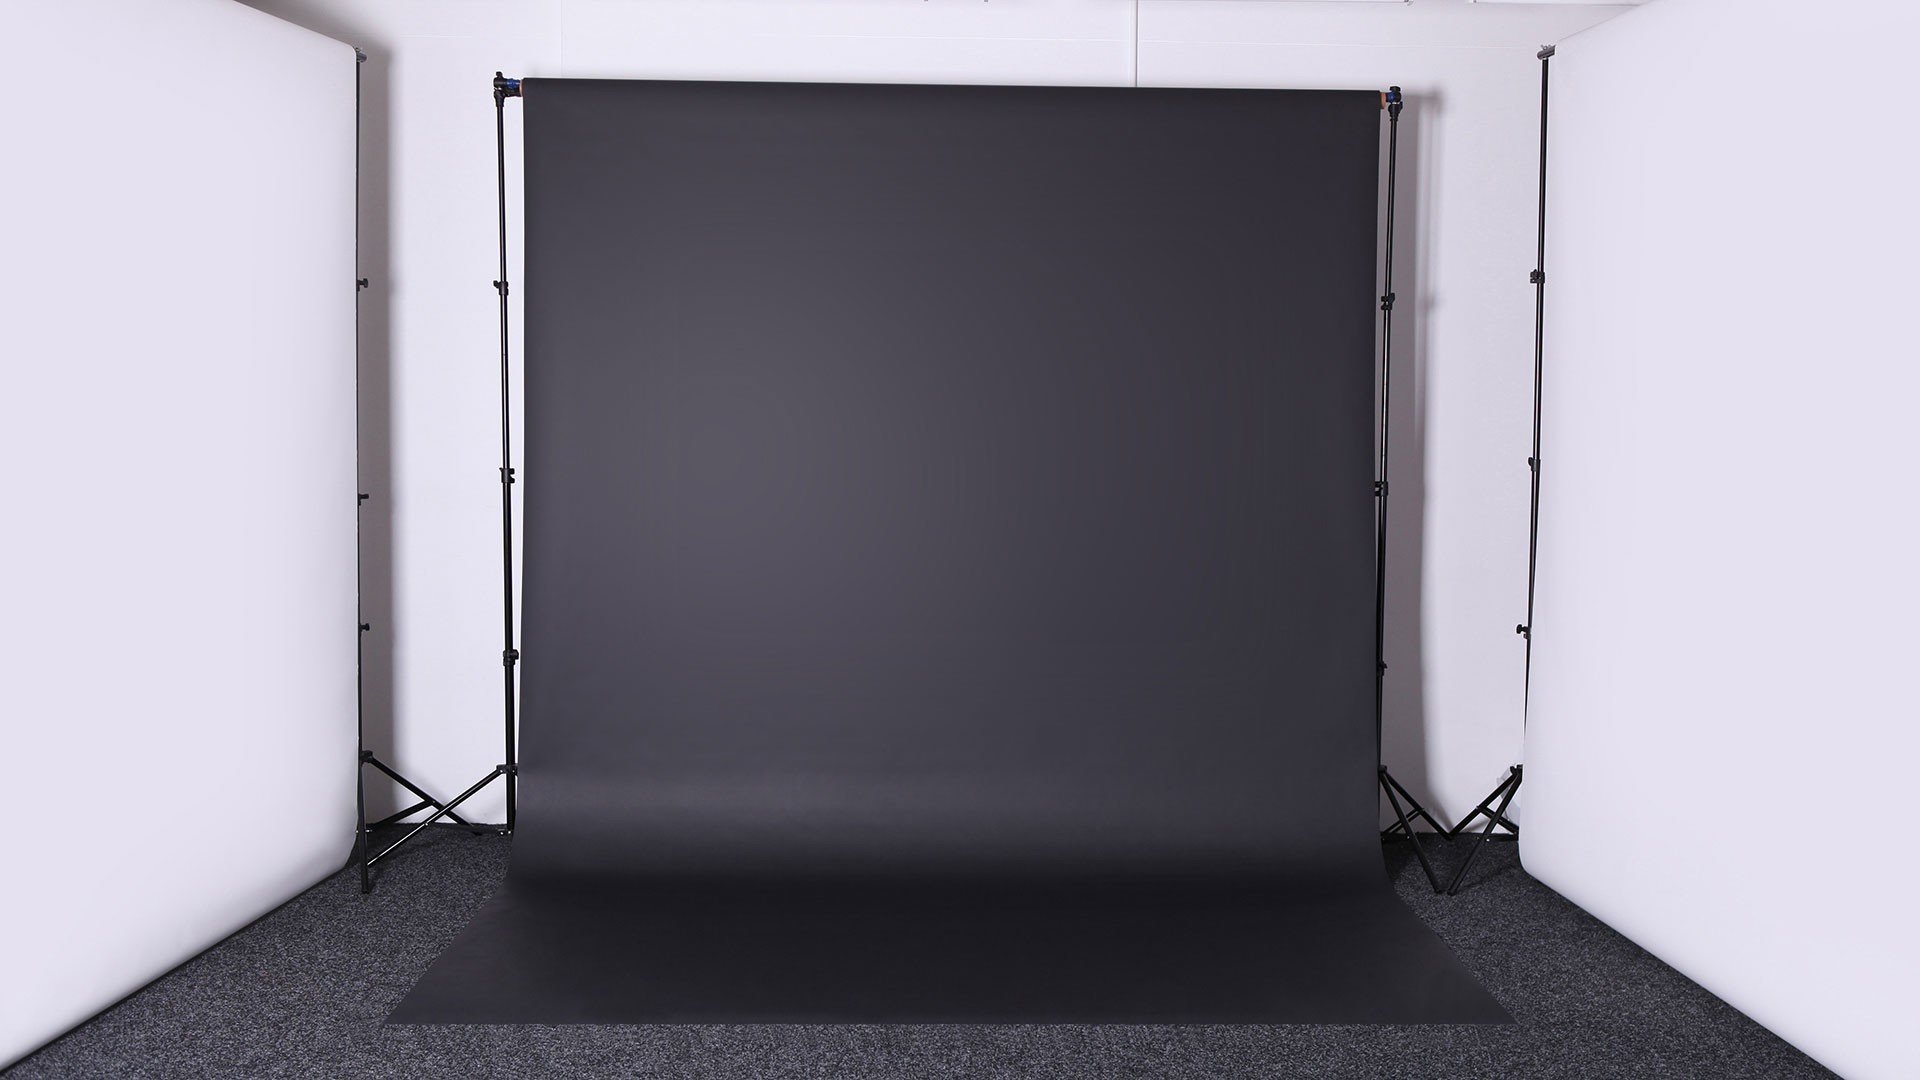
In order to have a successful shoot, there were different equipment's we needed to use such a tripod, which enabled us to receive the best still shots of the artist and the dancers, which allows the viewers to have no distractions when watching the video and they will be able to see clearly. We also used the soft boxes in the photography studio which enabled us to get a natural flash when taking the pictures, and helped maintain the professionalism of the pictures. We also used the backdrop paper in the studio, which helped us achieve a nice flat background, helping all the focus go on the artist. As we used these equipment's, it became much easier for us to learn how to use them quickly and in the safest manner, as some people in the group were unsure on how to put the camera on the tripod at first, but became much more experienced once we were done filming.

Research and planning
In order to research and plan different music videos and the specific genre we wanted to go ahead with, as well as how we wanted the music video to be like through finding our case studies, we had to use different websites such as Youtube and Google. The case studies we ended up choosing allowed us to have some sort of inspiration and a guide into how we would go about when we started to create the video, in terms of the different locations, the clothing and many more key conventions as such. Furthermore, this is the website we used in order to upload the music video, and through doing this, I learnt new things such as choosing your own thumbnail, which is the still picture we see before clicking onto the video, and I also learnt about tags, which makes it easier for people to come across the video. Google enabled us to use the key websites we needed such as Youtube and Blogger, where we constantly updated the process of our music video coming together. Google also enabled us to find all the different case studies we found in order to help us find inspiration when it came to our print products, through Google Images. Google also allowed us to find the different things we needed for our print products in order to stick to the key conventions such as barcodes, and the logo's for sites that the viewers will be able to access the song through. Google also allowed us to find the lyrics to 'Dance for Me - Mr Eazi' through the website 'musixmatch.com' which we used during the research and planning stage, in order to break down the verses and plan where we would shoot each scene. Google also allowed me to research into key theories that I would need to include into my evaluation such as postmodernism, the theorist Goodwin etc. I also managed to find key connotations of colours that helped me choose the right colours when it came to editing my print products, so that they would fit the genre well. Google also allowed me to access moodle, which allowed me to find the correct dimensions I would need for the CD and the CD case.


Research and planning continued..
In order to find all the key resources that the college supplied us with, so that I could continue with the music video outside of college hours, I used Moodle, where I had access to every information and tasks that I needed, such as risk assessment sheets, call sheets, and templates/layouts to help guide me on creating my print products.
Furthermore, I used Timetoast at the beginning of this academic year in order to create a timeline full of deadlines with all the things that I will need to do and when I will need to get them done by. This allowed me to have a clear image and a layout of what I need to do in structure, and it kept me organised so that I would never miss a deadline. I feel that it was a good resource to use as it was clear and extremely helpful.
Lastly, I used Whatsapp in order to communicate with my team mates outside of college hours, where we were able to discuss days that we would shoot, if we needed to re-shoot, send pictures that we found would help us with inspiration, and updates on what we have done or found to help with the progress. Also, due to the fact that we needed phone numbers for Whatsapp, this was a bonus as it allowed us to have contact with each other without internet through phone calls and text messages.


Editing
In order to edit our music video, we used Adobe Premier Pro. My team members and I have never had any experience with this software, therefore, it was new to all of us. We had a brief workshop before we had to start editing, which helped us get the gist of how to use it and do the basics. We also got the chance to do a draft music video before the real one, which made us slightly more confident when it came to the final piece. We began to feel much more confident in using it as we continued to edit our final piece, as we learnt new tips from the media technician, and different tutorials on YouTube. As I used the software, I learnt different things such as how to cut and edit different clips in order to make them bigger or smaller and/or shorter or longer. I also learnt how to mute the videos and add the music over it, so that it sounded like the artist was singing the lyrics. Furthermore, I learnt how to use the colour corrector so that most, if not all, of the clips wouldn't clash, as some were extremely bright in comparison to some of the darker ones. In addition to this, I learnt how to change the green screen of a clip into a different colour, even though we didn't end up using the green screen clips we didn't end up liking how it looked. I also learnt how to increase the speed or make clips slower as well as how to input different transitions, and to make them shorter or longer.
Editing continuation..
In order to edit and create my print products, I used Adobe Photoshop. Due to my past experience with this software, during my AS year and in secondary school, I found using this software easy and straightforward. Also, I had created a draft piece for my print products before hand, which enabled me to refresh my mind on how to use the software again, and the different tools that are available. However, as I edited and created my print products, I was able to still learn new things such as the 'spot-healing tool' which allowed me to remove most of the blemishes off of my models face, making him look naturally airbrushed and adding onto the professionalism of the picture. Furthermore, I was able to learn more about how to use the colour corrector and how to make him brighter and add more colour using saturation levels. I was also able to refresh my skills on being able to remove the background using the magic wand which I had learnt how to do in secondary school.

Sound
Through the use of the software, Adobe Premier Pro, we were able to mute the sounds of the clips we imported into the software, and managed to add on our own track, 'Dance For Me - Mr Eazi.' We managed to get a hold of the clip by downloading it online. During the filming stages, we played the music on our phones, through the soundcloud app, so that the artist could sing along to it, making the lip sync effect in the music video much more accurate as we matched it to the song in Adobe Premier Pro.

Evaluation
In order to do the evaluation questions, I used different websites. For question one, I used Prezi. Prezi is a cloud-based presentation software which I have come to be extremely familiar with over the years of me being a student. I like the website as there are many different themes to choose from, based on what your presentation is about and how dense the information is, also the themes allows the presentation to be fun and not bore the viewers. It is incredibly easy to use and not time-consuming at all, which is good based on how professional the presentation turns out to be at the end. Furthermore, I have used the software as it is free and easily accessible online or on the app store. I used it for my music video pitch that we did at the beginning of the year, and for my question one evaluation.
For question two, I used Google Slides which is another website that I have become very familiar with over the years as a student. It is a very easy website to use and is easily accessible with a gmail account. There are several themes to choose from which are all very simple and not as fun as Prezi, which is why I felt it was good for my question two as the information was not as dense as question one. I like how easy it is to share the presentation as it is very simple and quick to do. I used this website for my case studies, my print products pitch and my evaluation.

Evaluation continued..
For my question three, I used Emaze which is a fun website that you can use to create presentations with any theme you like, or create other things such as photo memories etc. The website is easily accessible as it is free and all you have to do is sign up with your name, email address and a password. As I said, there are many fun and colour themes to choose from, which allow you to change and personalise the themes at your choice whilst editing. I used this software for my evaluation. Emaze allows you to add sound to it which helps the presentation become more fun.
For question four, I used Slides, which is a professional presentation website, that allows you to make clean presentations easily. I like how simple it is to use this website as it does not require a lot of knowledge on using it for the first time. I like how the website automatically saves everything for me which lessened my anxiety on having to save it every two minutes in fear of losing everything.


Evaluation continued..
Blogger enabled me to easily post all of my progressions on my work when it came to my music video and my print products. It was an easy blog-publishing service for me as I had used it before during my AS year in Media Studies. I enjoyed using blogger as it allowed me to look over everything that I had done and everything that I still needed to do. It allows you to personalise your blog so that you can have your own desired theme, your own chosen colours for texts and you background. This helps your blog look much more fun and enables you to enjoy blogging. I also love how easily accessible it is as I can download it on my phone so that I can blog progress on the go.
Leyton media hub is an amazing website that enabled me to have the most inspiration that I could get when making everything I have done this year. This is due to the fact that it allows you to have a look at previous media students blogs so that you can gain access to their work, in order for you to feel inspired, as well as gain knowledge on what you should do to gain marks on work and to learn from their mistakes on keeping away from the things that made them lose marks. I also felt extremely inspired when it came to my evaluation as I managed to look at their structure and their way they wrote their work, influencing me when it came to putting my evaluation together.

How did you use media technologies in the construction and research, planning and evaluation stages
By iptihal
How did you use media technologies in the construction and research, planning and evaluation stages
- 689
