


James Vidler
VP of Product @ Agility CMS
By - James Vidler
Director of Technology
Page
Page Template
Content Zones
Modules
A
B
Page Template
Content Zone A
Content Zone B
Module A
Module B
+
Does a lot of other stuff too:
And more...
HTTP(s) Request
~/about-us
RouteConfig.cs
Matches Agility route constraint
Agility.Web.dll
Renders Page Template and each Module
RenderBody()
Rendered HTML served in Layout file
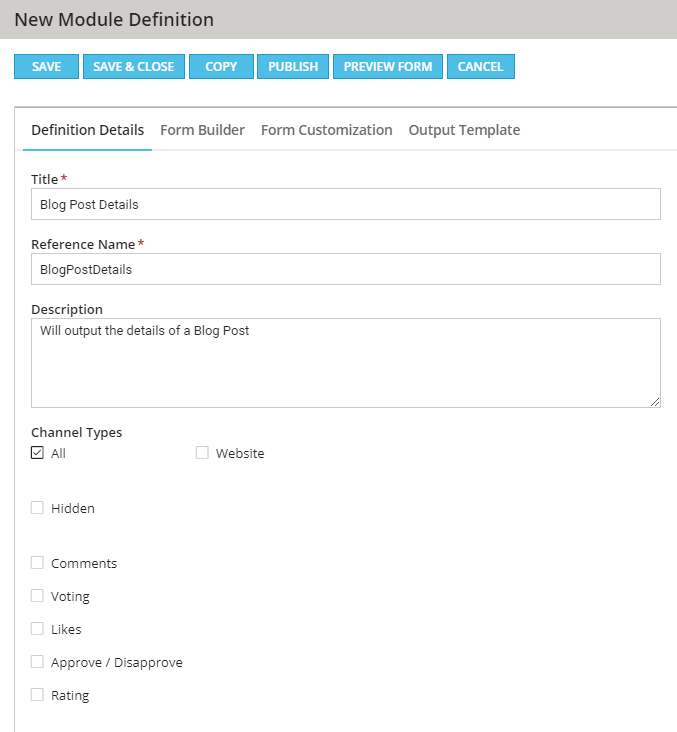
Now that we understand some basic concepts, we are going to build a blog ...
In the end, we should have a simple blog template, a list of posts, and a module to output the post details.
What we are going to do:
<!-- Normally, you'd but this in a CSS file -->
<style>
    .blog-template__wrapper {
        max-width: 730px;
        margin: 0 auto;
    }
</style>

<!-- Page Template Code -->
<div class="blog-template container contentWrap" role="main">
    <div class="blog-template__wrapper">
        @{Html.RenderContentZone("MainContentZone");}
    </div>
</div>What we are going to do:
using MVC4SampleSite.Models;
using System;
using System.Collections.Generic;
using System.Linq;
using System.Web;
using System.Web.Mvc;
namespace MVC4SampleSite.Controllers
{
public class BlogController : Controller
{
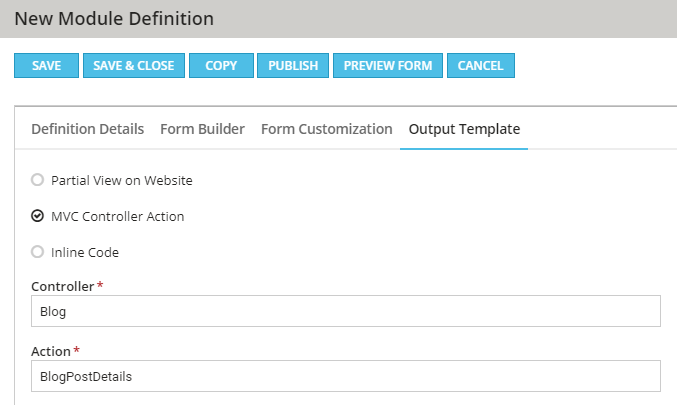
public ActionResult BlogPostDetails(Module_BlogPostDetails module)
{
return PartialView("~/Views/Blog/BlogPostDetails.cshtml", module);
}
}
}
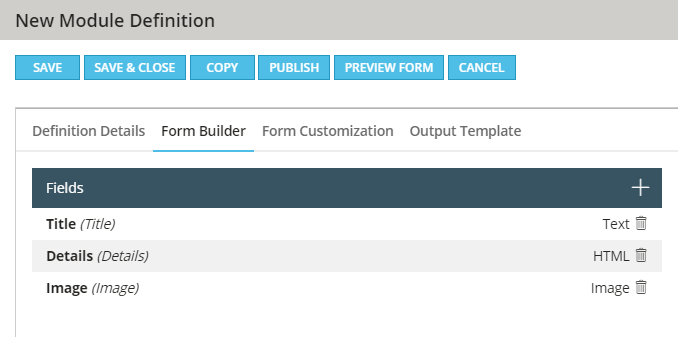
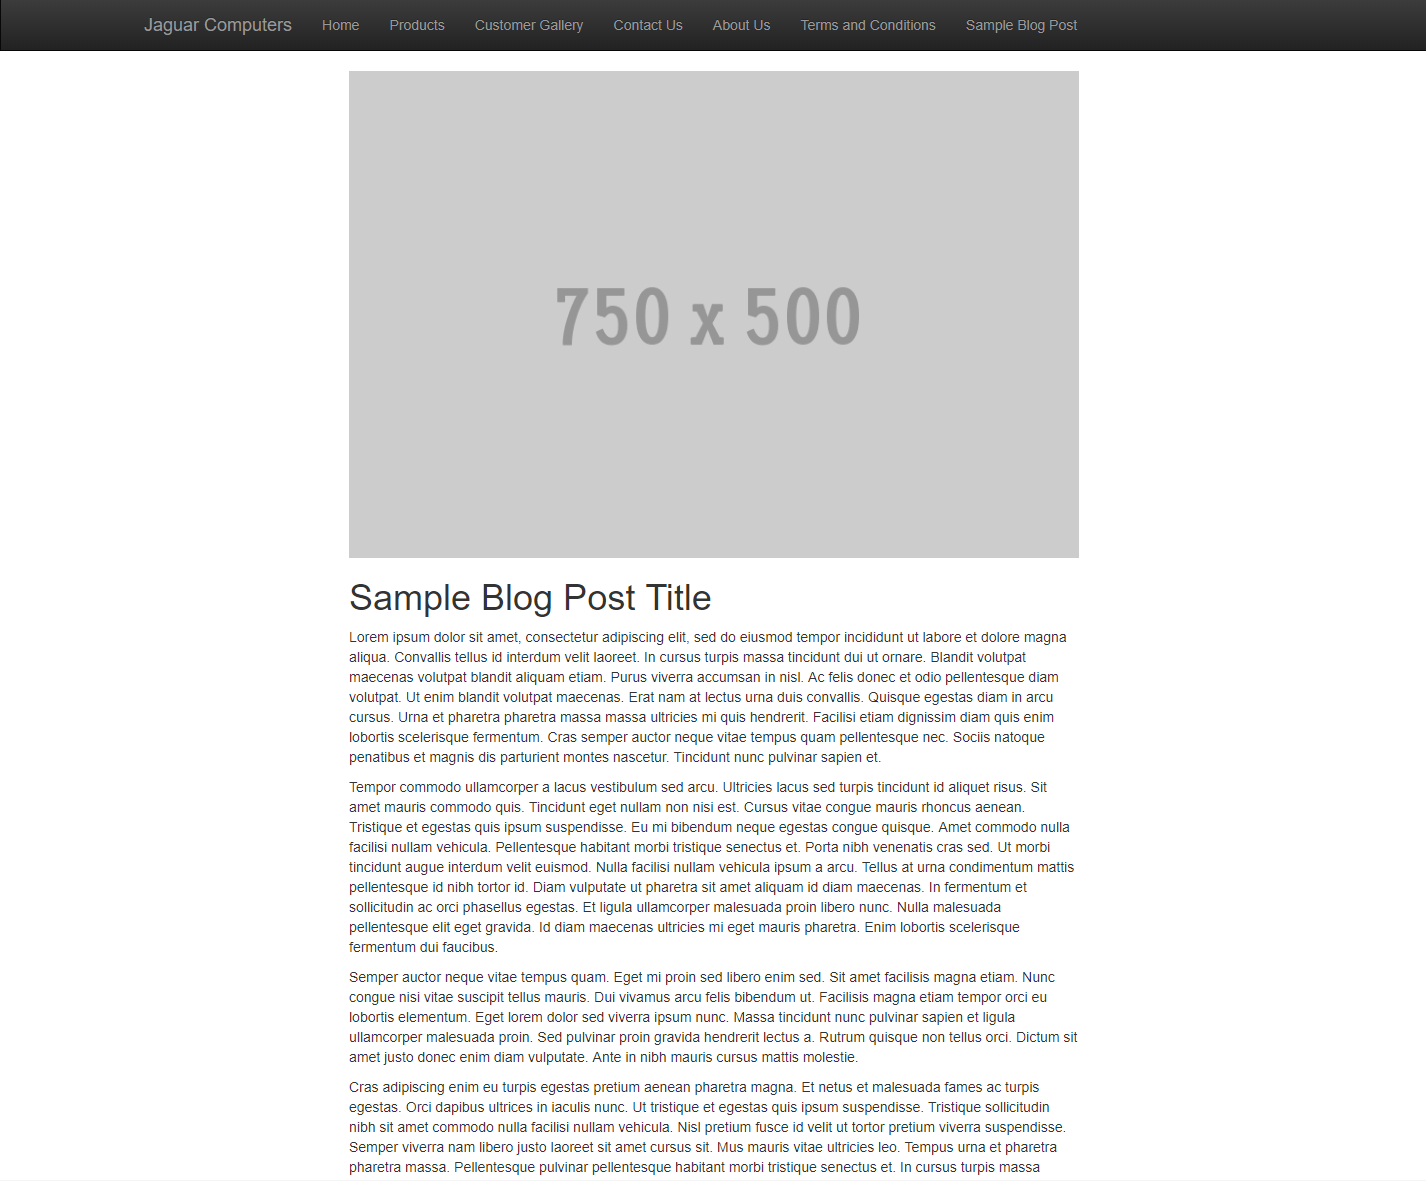
@model MVC4SampleSite.Models.Module_BlogPostDetails
<div class="blog-post-details">
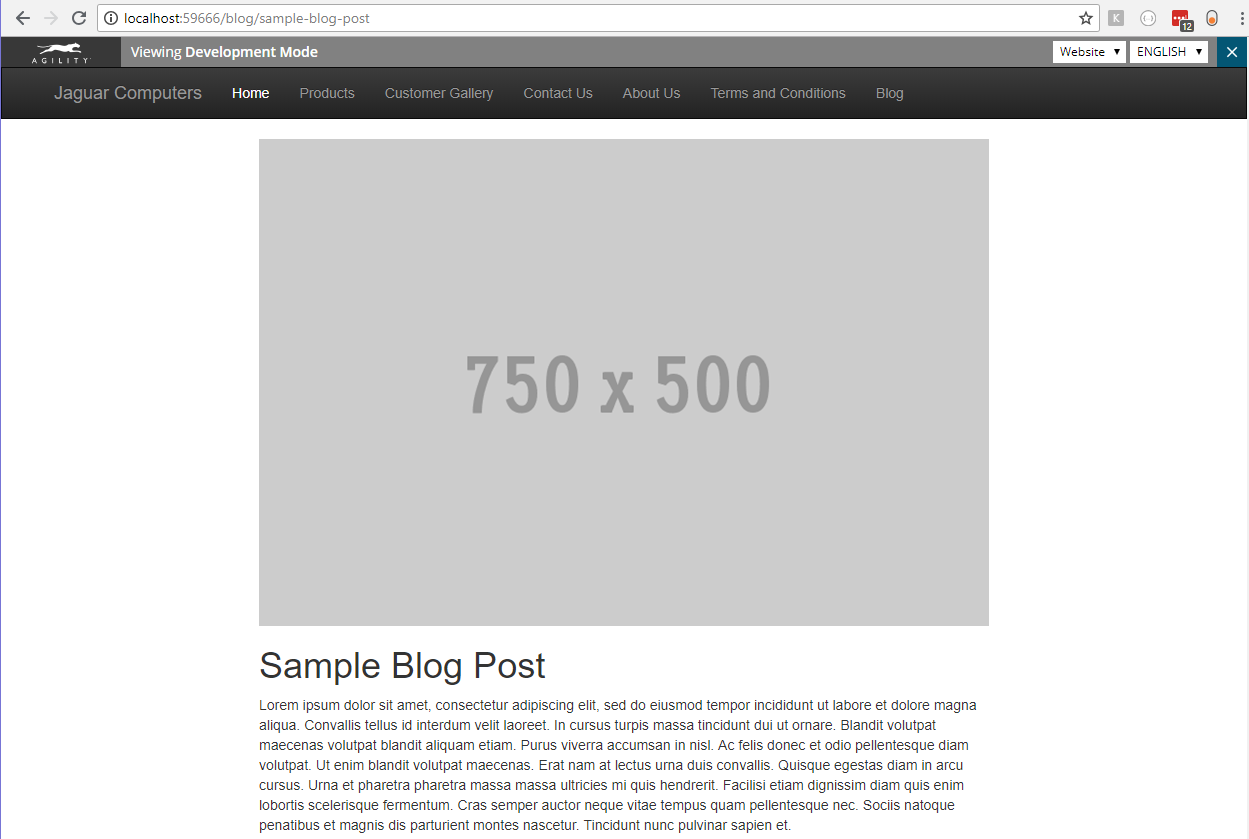
@if(Model.Image != null)
{
<!-- This img is being thumbnailed to 730px -->
<img class="img-responsive" src="@Model.Image.URL?w=730" alt="@Model.Image.Label" />
}
<h1>@Model.Title</h1>
@Html.Raw(Model.Details)
</div>Do you think our current Blog Post architecture is scalable? Why not?
How can it be improved?
What we are going to do:
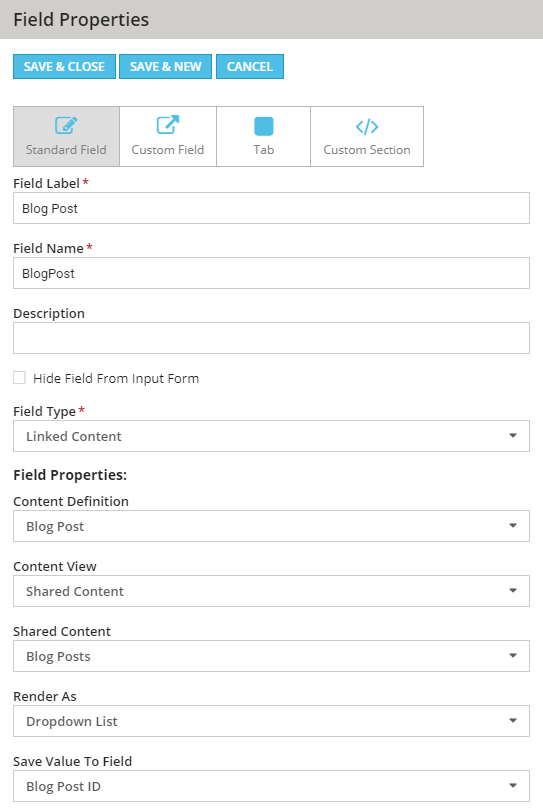
In the previous steps, we've replicated our Blog Post Details module schema to a Shared Content List called Blog Posts. Now we'll need to modify the module to be able to link to the Blogs Posts list.
using MVC4SampleSite.Models;
using System;
using System.Collections.Generic;
using System.Linq;
using System.Web;
using System.Web.Mvc;
using Agility.Web.Extensions;

namespace MVC4SampleSite.Controllers
{
    public class BlogController : Controller
    {
        public ActionResult BlogPostDetails(Module_BlogPostDetails module)
        {
            BlogPost blogPost = module.BlogPost.GetByID(module.BlogPostID);
            return PartialView("~/Views/Blog/BlogPostDetails.cshtml", blogPost);
        }

    }
}@model MVC4SampleSite.Models.BlogPost
<div class="blog-post-details">
@if(Model.Image != null)
{
<!-- This img is being thumbnailed to 730px -->
<img class="img-responsive" src="@Model.Image.URL?w=730" alt="@Model.Image.Label" />
}
<h1>@Model.Title</h1>
@Html.Raw(Model.Details)
</div>Note: The only thing that has changed here is the ViewModel declaration at the top
Our Blogs are now in Shared Content, and can be reference by a Module to output the details.
However, this still presents some architectural issues.
What limitations do we have with this implementation?
What we are going to do:
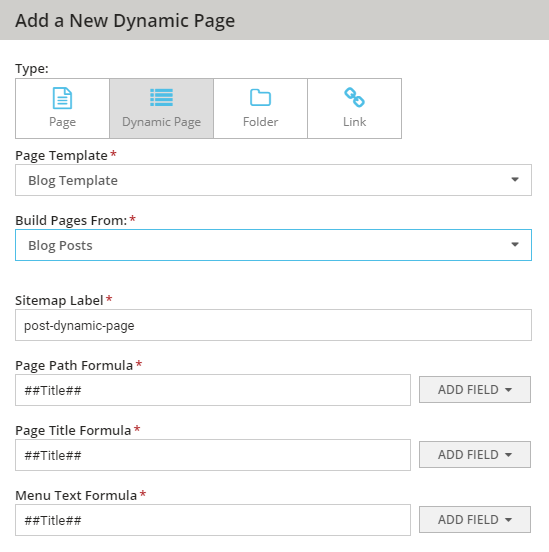
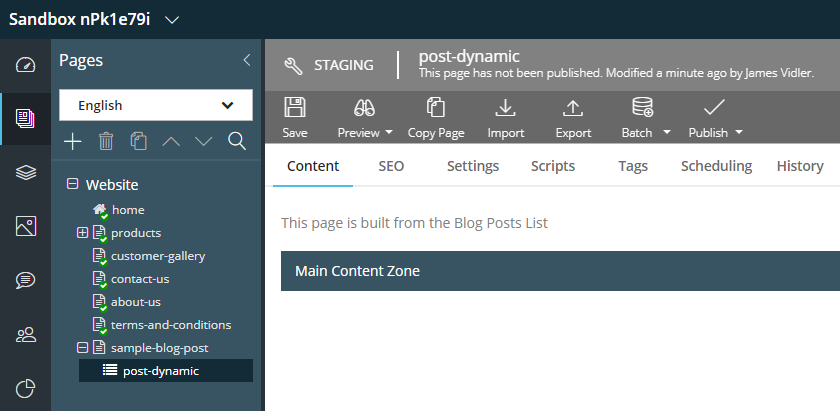
Note: Dynamic Pages CANNOT be created in the page root and must be under a page or folder
Note: This page will be empty for demonstration purposes, but normally this would be your root listing page that lists links to all your dynamic page items
Note: You will notice the module itself no longer has any fields, because the Blog Post will be dynamically resolved at run-time based on the Page Path Formula
using MVC4SampleSite.Models;
using System;
using System.Collections.Generic;
using System.Linq;
using System.Web;
using System.Web.Mvc;
using Agility.Web.Extensions;
using Agility.Web;

namespace MVC4SampleSite.Controllers
{
    public class BlogController : Controller
    {
        public ActionResult BlogPostDetails(Module_BlogPostDetails module)
        {
            BlogPost blogPost = AgilityContext.GetDynamicPageItem<BlogPost>();
            if(blogPost == null)
            {
                throw new HttpException(404, "No blog post found matching the Page Path Formula.");
            }
            return PartialView("~/Views/Blog/BlogPostDetails.cshtml", blogPost);
        }

    }
}Note: Agility.Web will automatically convert a standard string like Title to strip out whitespaces and special characters and force a friendly, lowercase URL
What we are going to do:
<agility.web>
    <settings applicationName="Agility Sample MVC4 (Live)"
 developmentMode="false" contentCacheFilePath="d:\home\AgilityContent\" xdt:Transform="SetAttributes">
      <trace traceLevel="Warning" emailErrors="true" logFilePath="d:\home\AgilityLogs\SampleMVC4.log"
 xdt:Transform="SetAttributes" />
    </settings>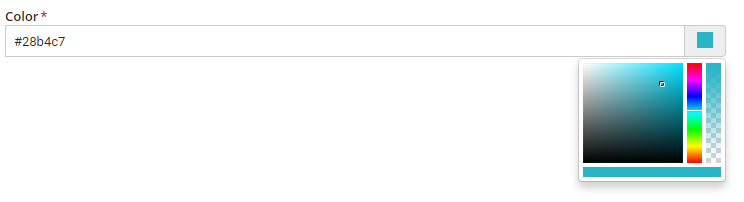
</agility.web>In the Content Manager, go to Shared Content > Colors and create or open an existing item
What we are going to do:
By James Vidler


