CREATE YOUR brand Package
with PIxlr
Download your learner files from bit.ly/llc-pixlr-files if you haven't already!
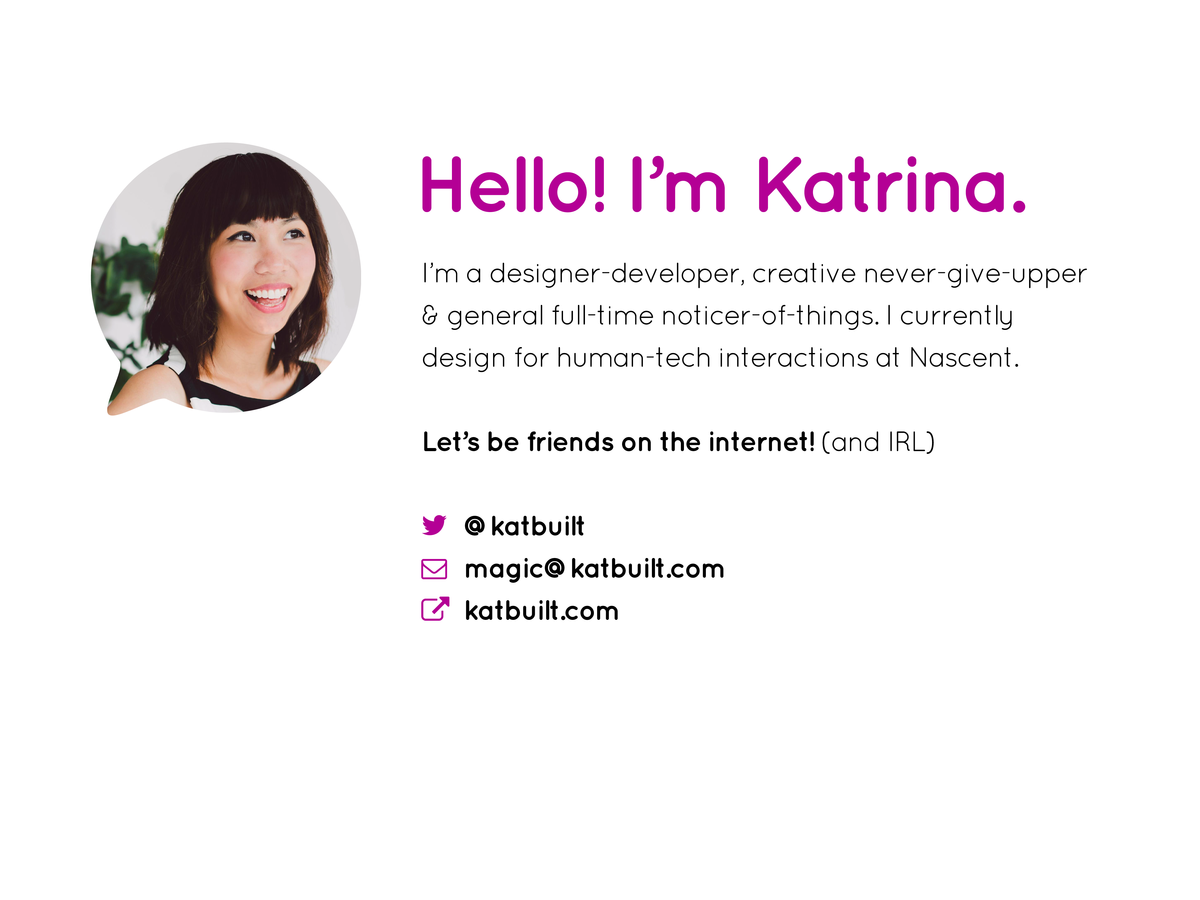
about me
follow along!
DoWnload FILES!
Intro
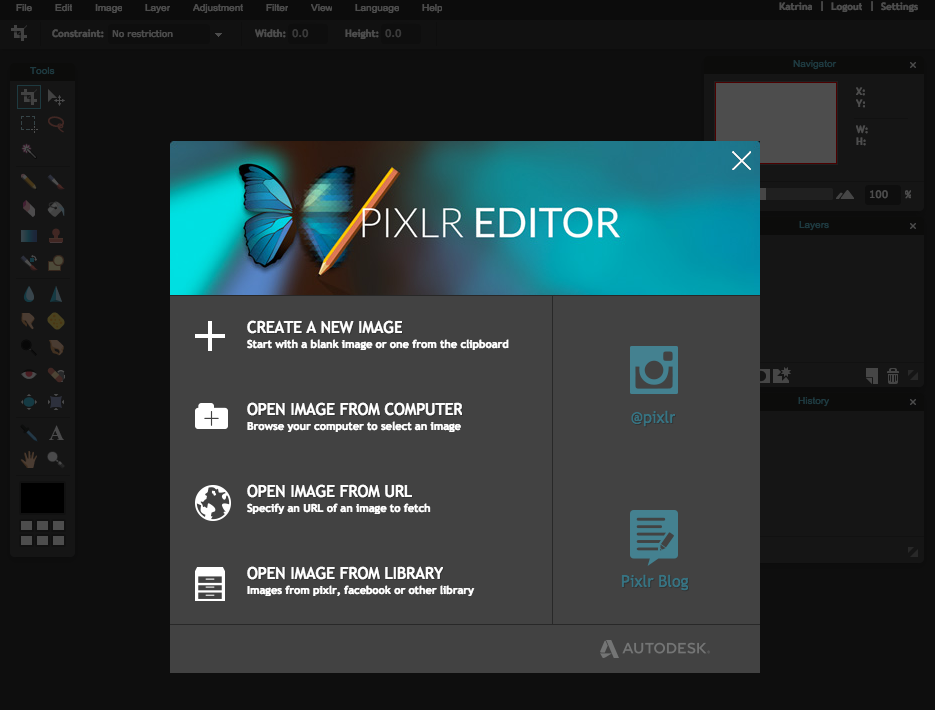
What is Pixlr?
Pixlr Photo Editor: Web app*

Let's CREATE!
Let's learn layers!
Intro to the Pixlr Interface
Combine colours, typefaces, and inspirational images
Brand Moodboard
Retouching 101
Cut, combine, and crop
Perfect your profile photos!
Mix and match images to create a fun & unique cover photo
Intro
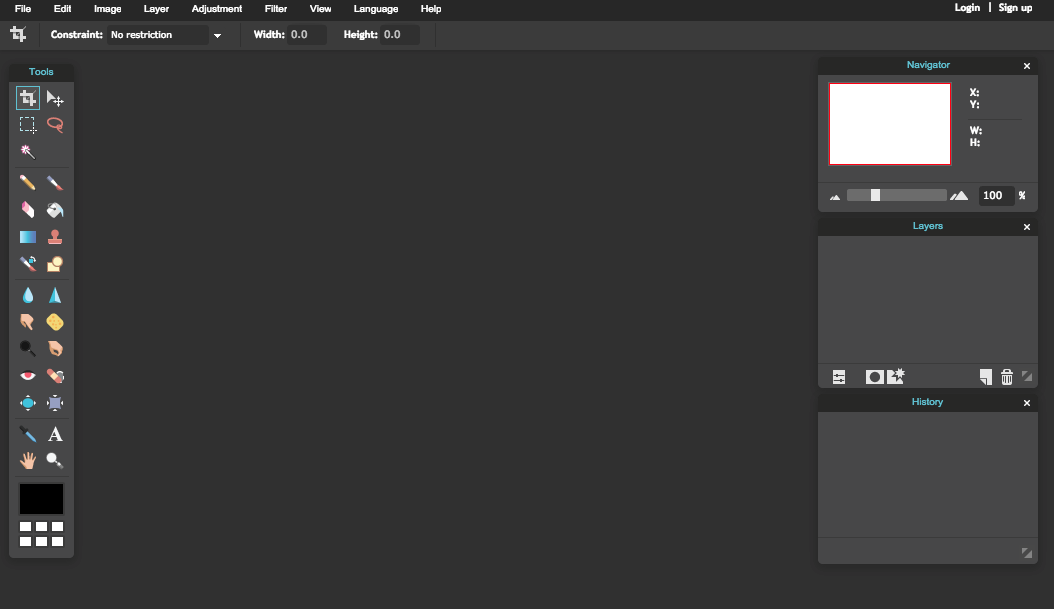
The PiXLR INTERFACE
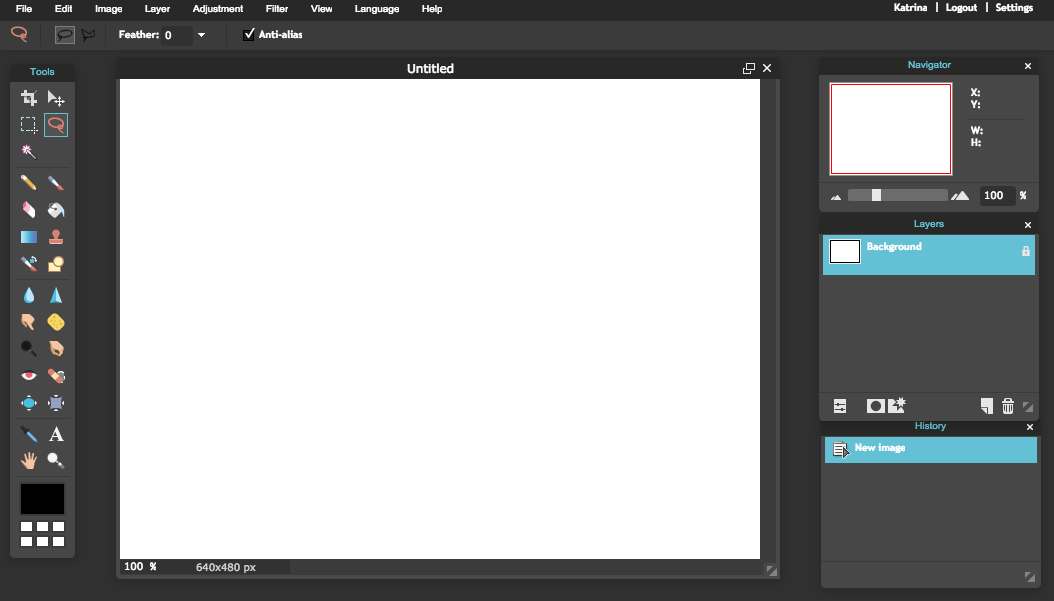
Menu bar
Options
Tools
Navigator
Layers
History
File Window or Tab
Zoom level and document dimensions
Intro
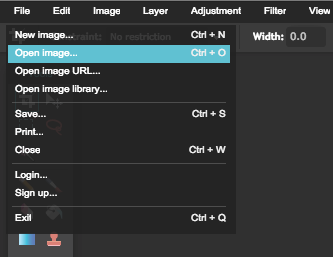
First, let's start by quickly making a Pixlr account so we can save images.
Click the Sign Up link to set up
a Pixlr account.
Intro
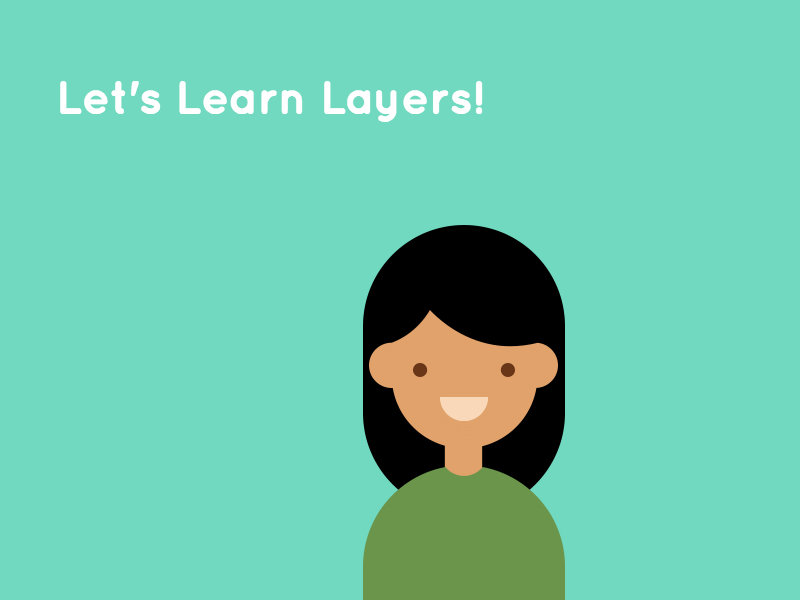
Let's Learn Layers!
Go to File > Open image...
> Learner Files > 01_Learn-Layers.pxd
Intro
Tools

Move / Select tool
Type tool
Paint bucket tool
Intro
Arrange + toggle the layers in the
Layers panel to match the image below.
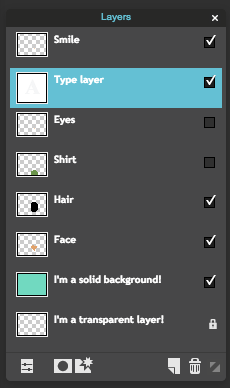
Visible
Invisible
Locked
Type
Intro
We can change the colours of the different layers using the Paint Bucket tool.
Double click here to choose a fill color for the Paint Bucket tool.
Intro
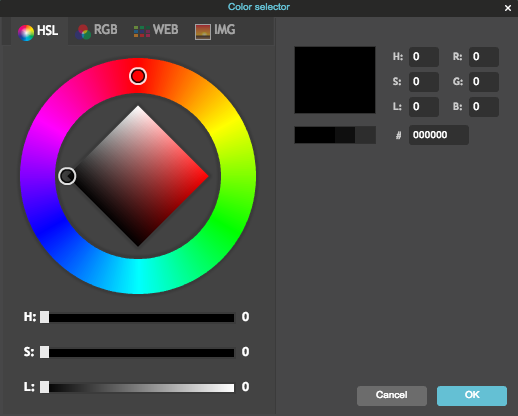
Colour modes
Hue, Saturation, and Lightness
HSL
Intro
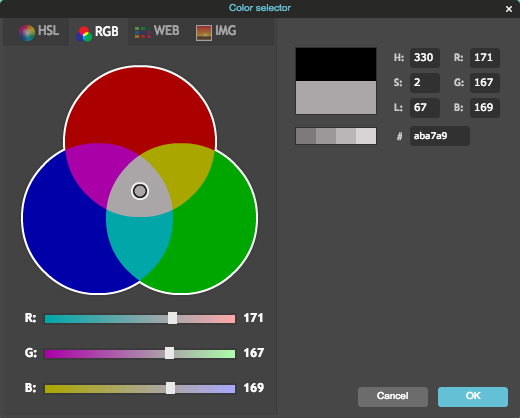
Colour modes
Red, Green Blue
RGB
Intro
Try changing the text, font, and text colour using the Type tool.
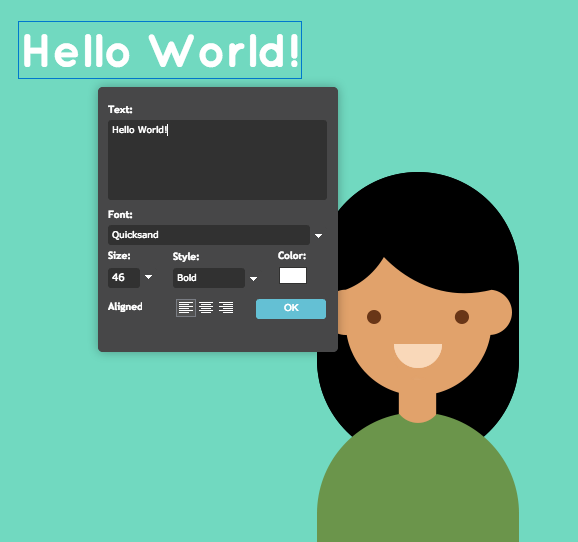
Type tool

Photo RETOUCH 101
Pixlr is proof that anyone can look like a model, because technology = magic.
Intro
Tools
Zoom tool
Red eye corrector
Spot healing brush
Hand tool
Dodge
Blur
Intro
File > Open image... > young-woman.jpg
Intro
Fix 'red eye' effect
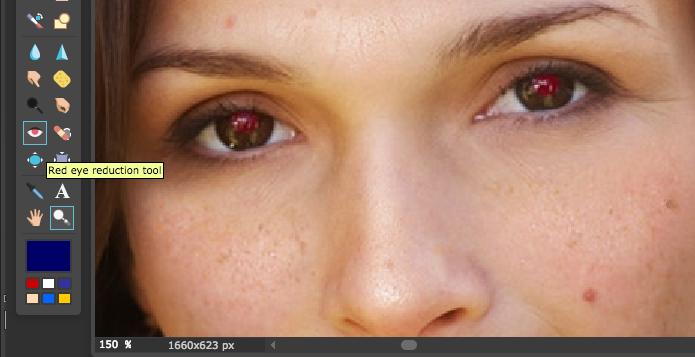
Select the Red eye reduction tool from the tools panel.
Click the center of each eye to remove the redness.
Intro
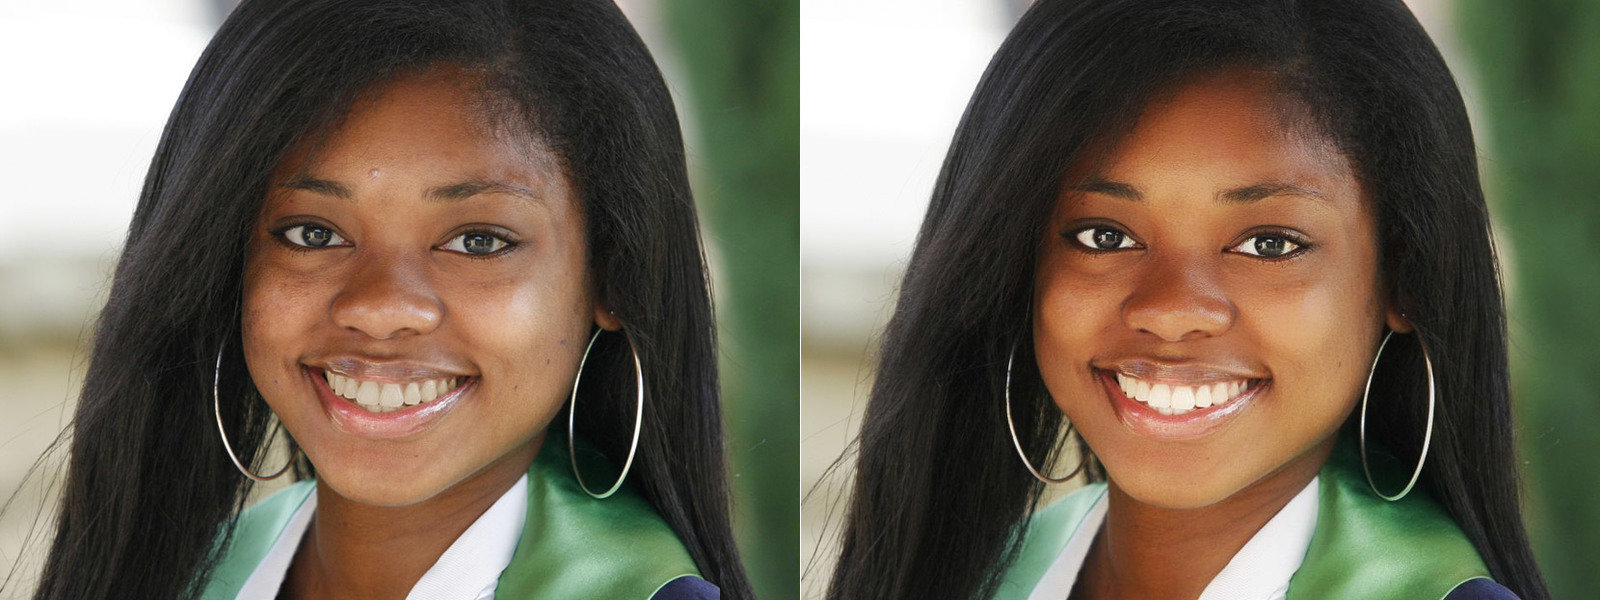
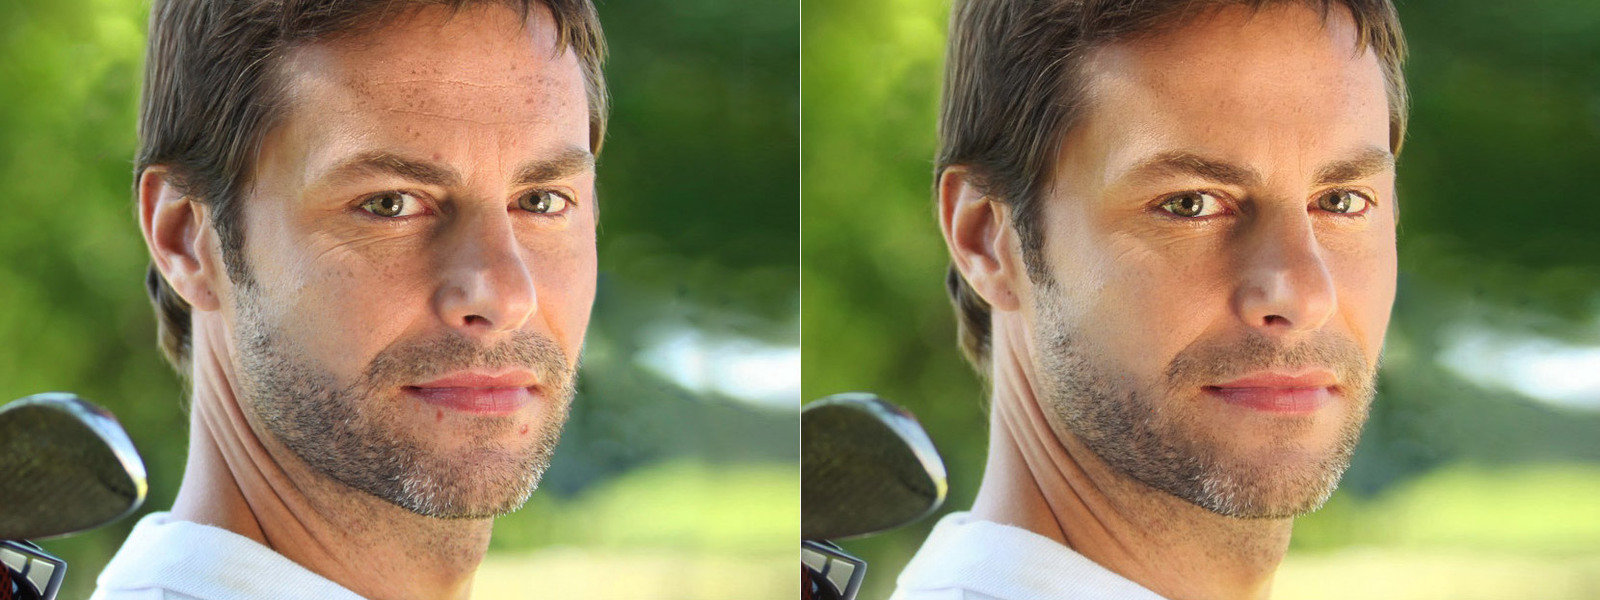
BYE BYE BLEMISHES
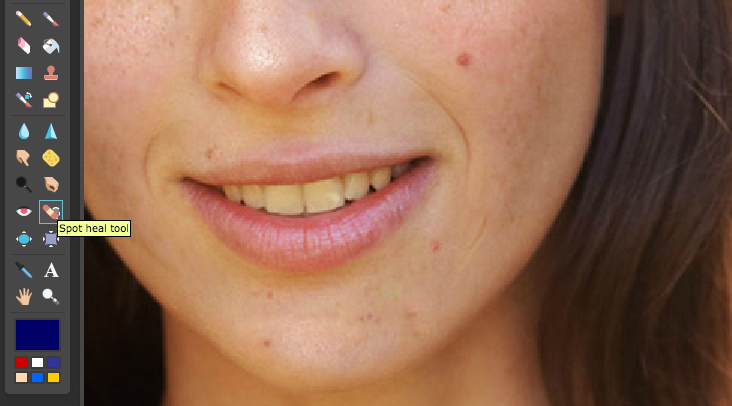
Use the Spot heal tool to quickly clear any face blemishes. You can adjust the size of the brush in the Options bar above.
Intro
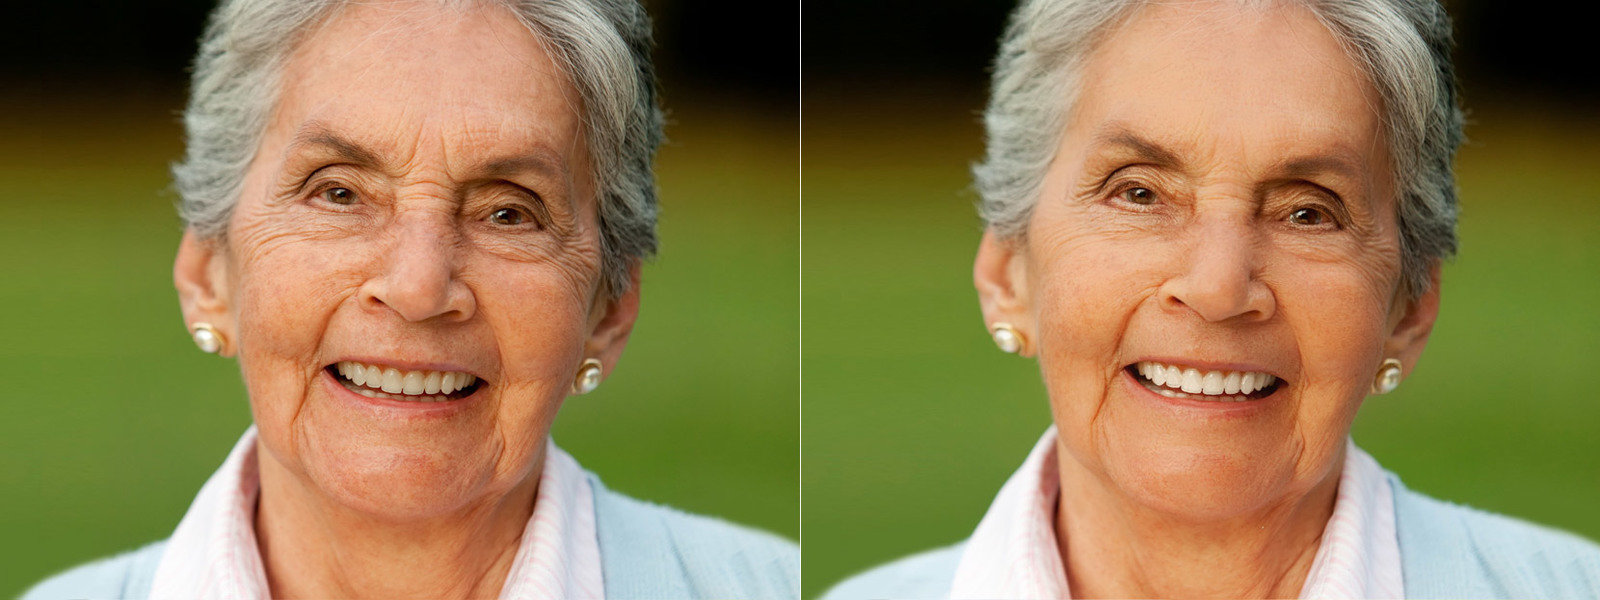
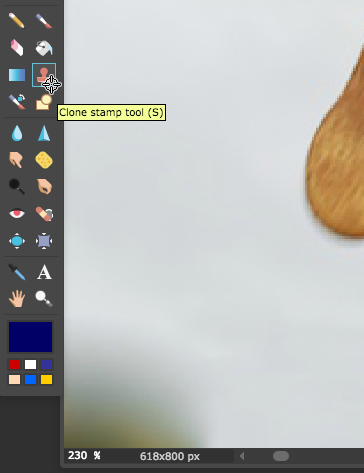
remove wrinkles
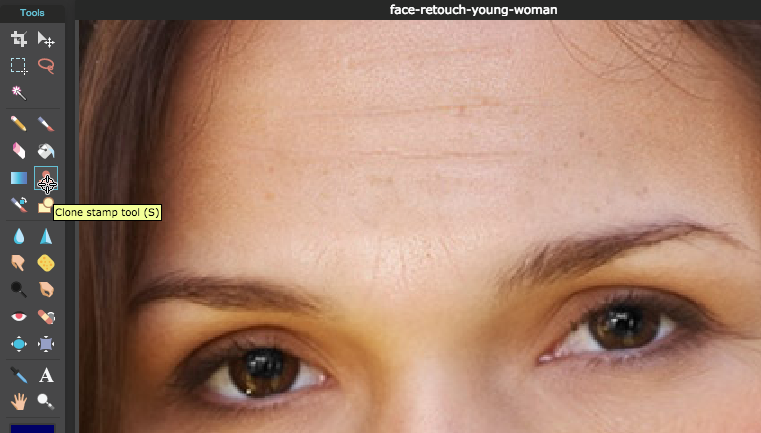
Use the Clone Stamp tool when blurring away fine lines and wrinkles. Hold Ctrl + click (PC) or Cmd+click (Mac) to choose a part of the skin that is smooth, for reference.
Intro
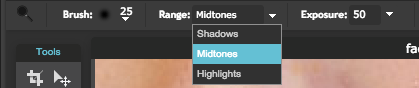
Whiter smiles!
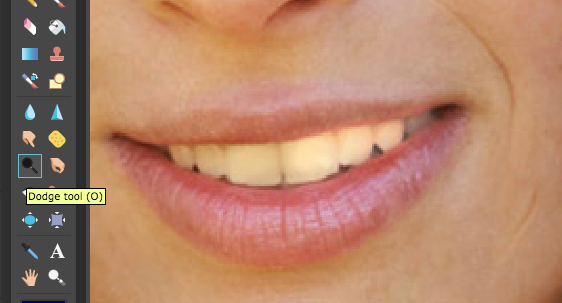
Use the Dodge tool to lighten darkened or yellowed areas like eyebags or teeth. Play around with the tool options for the right amount of subtlety.
Intro
Warm complexion
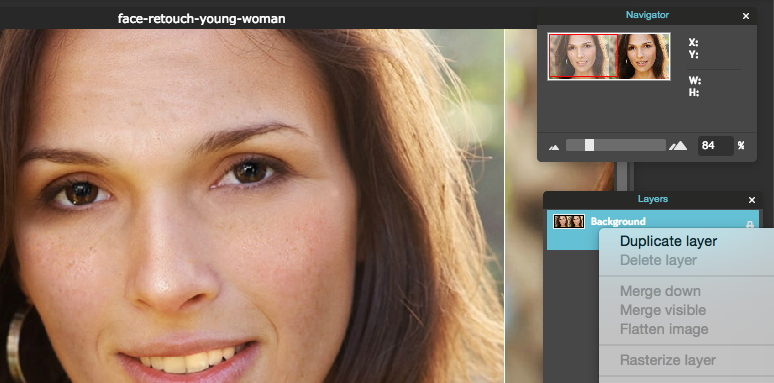
1. Duplicate your background layer by right clicking the layer name and selecting Duplicate Layer, or by dragging the layer down to the New Layer icon.
Intro
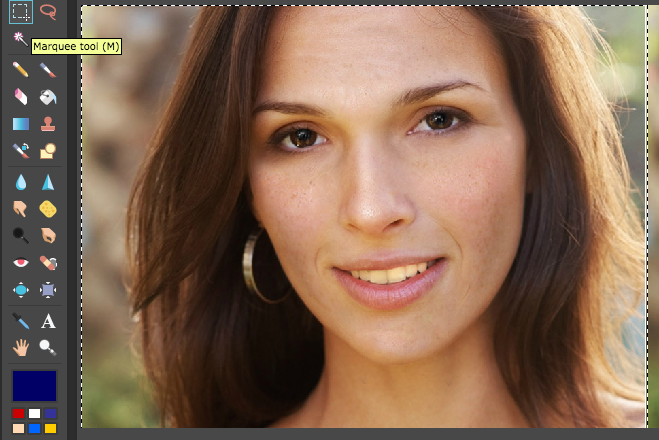
2. Select the photo area we want to "tan" using the Marquee tool. In this case it's the left half of the JPG file.
Intro
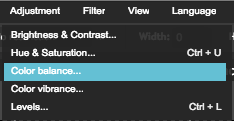
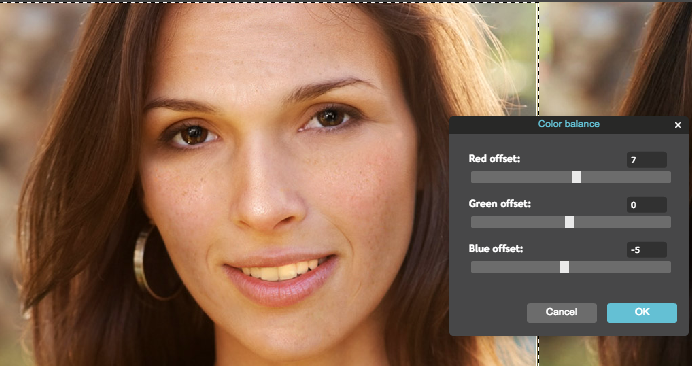
3. Go to the Adjustment menu, and choose Color balance. Play around with the RGB values until you get a golden tan.
Intro
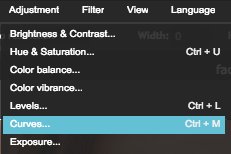
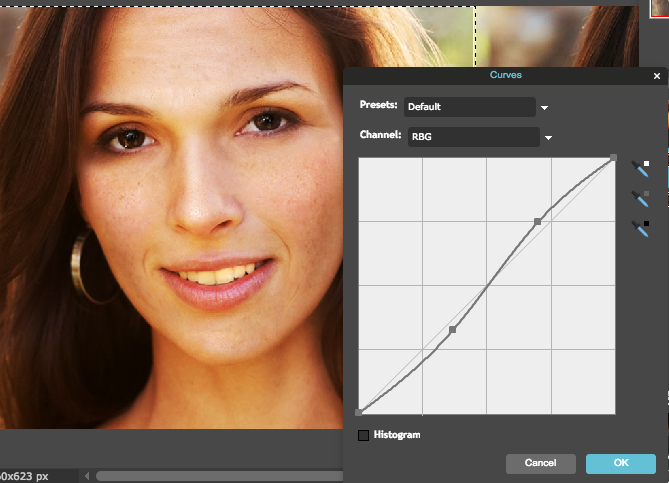
5. Go to the Adjustment menu, and choose Curves. Play around with the curved line to bring out different light/dark shades in the photo and get the skin / hair shade you like.
Intro
Bonus airbrush!
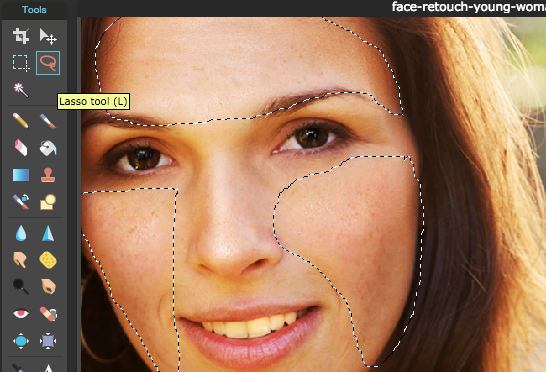
1. For that "Kardashian airbrush look": Duplicate Layer again, and select the cheek, forehead, and chin areas using the Lasso tool.
Intro
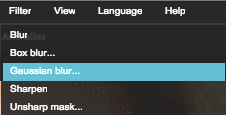
2. Go to the Filter menu > Gaussian blur. Play with the blur amount until you the skin texture smoothens, but not so blurred that it doesn't look like skin. Hit OK.
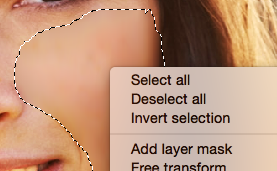
3. Right click using the Lasso tool or use Ctrl+D to deselect the area.
Intro
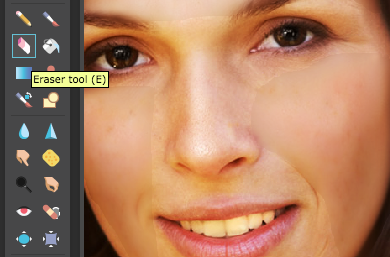
4. The edges of your "airbrushed" areas may seem harsh at first. Use the Eraser tool to gently erase the harsh edges and get them to blend with the rest of the skin.
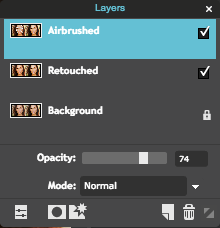
5. You might also need to adjust the Opacity of this airbrushing layer using the Layer Properties in the Layers panel.
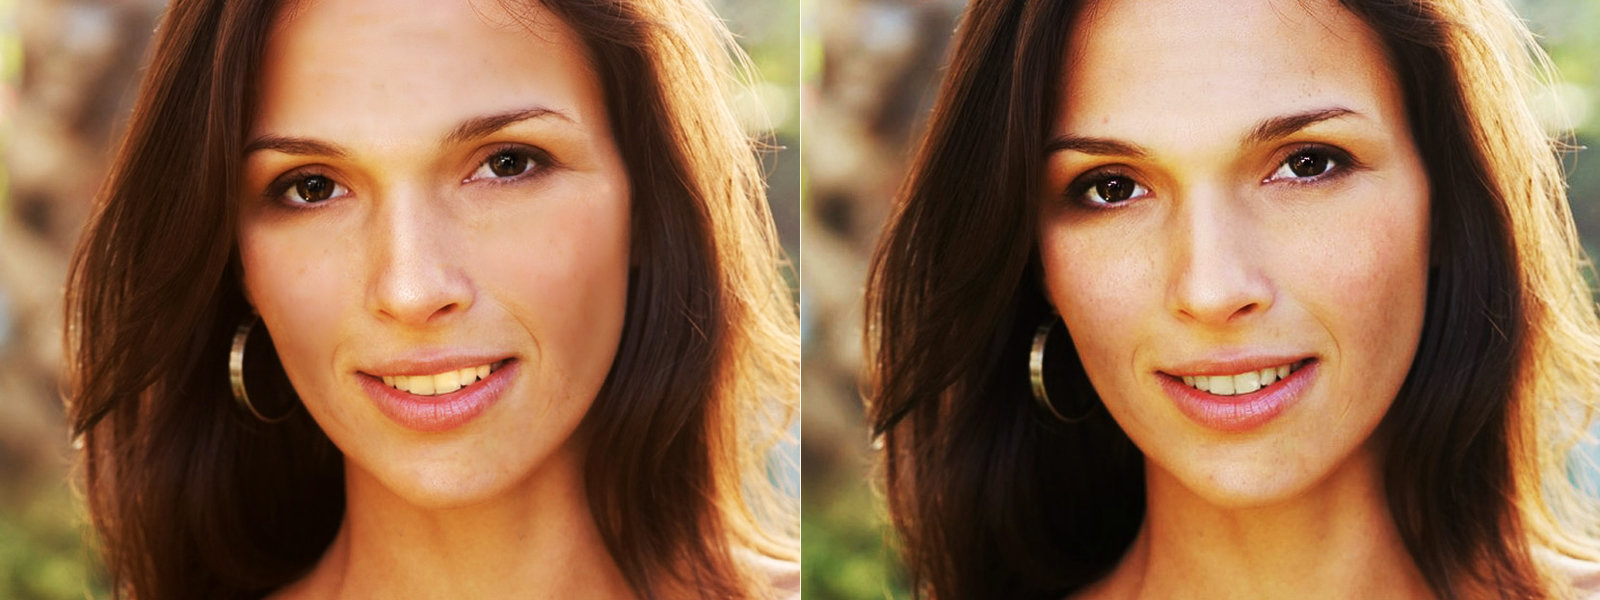
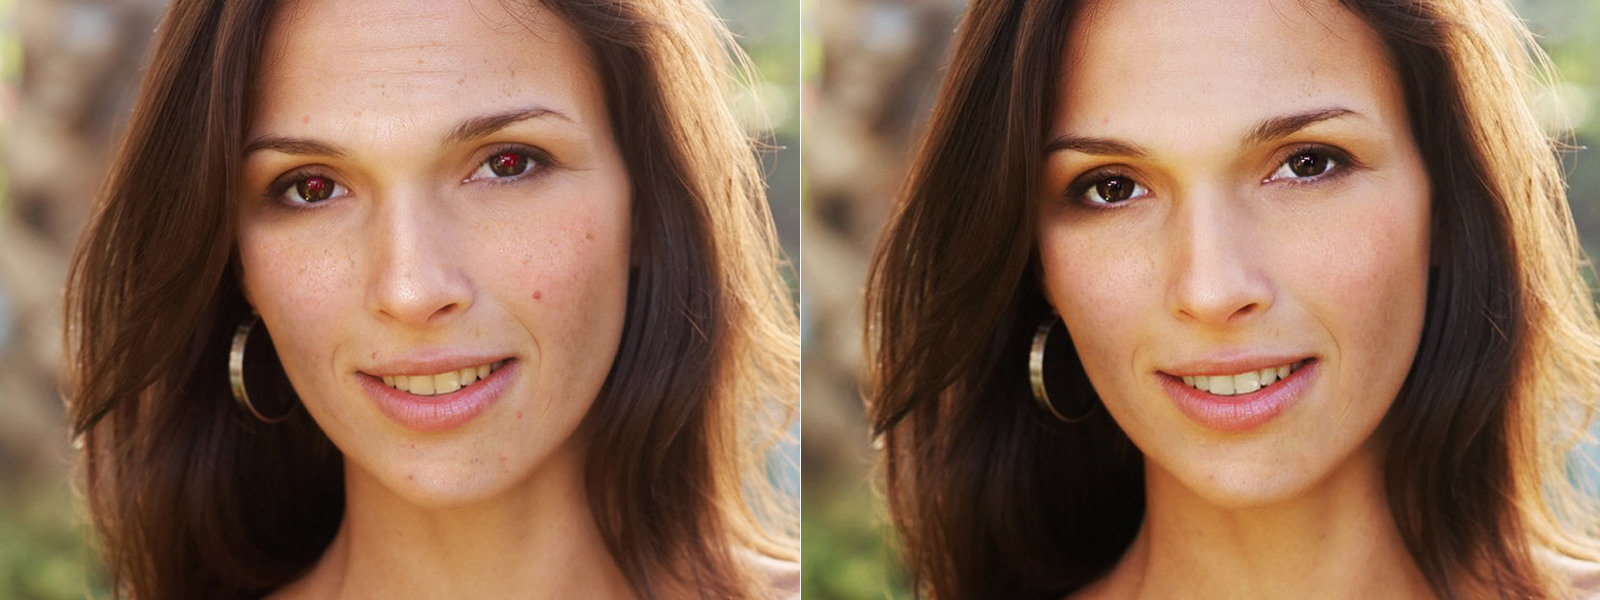
Awesome!
Try getting as close to the "After" image as possible.
Intro
Try these techniques out on your photos or any of the other example photos!
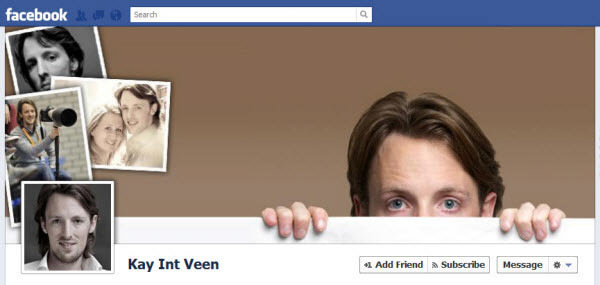
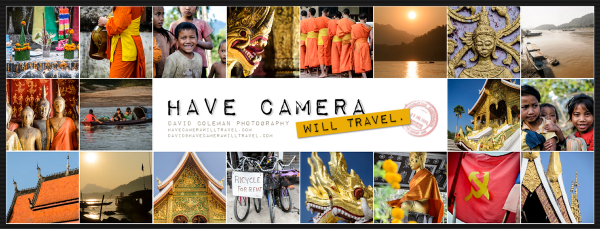
cover composite
Use masks + adjustment layers for a cool, classic, pop art technique.
Intro
Tools
Brush tool
Foreground colour
Crop
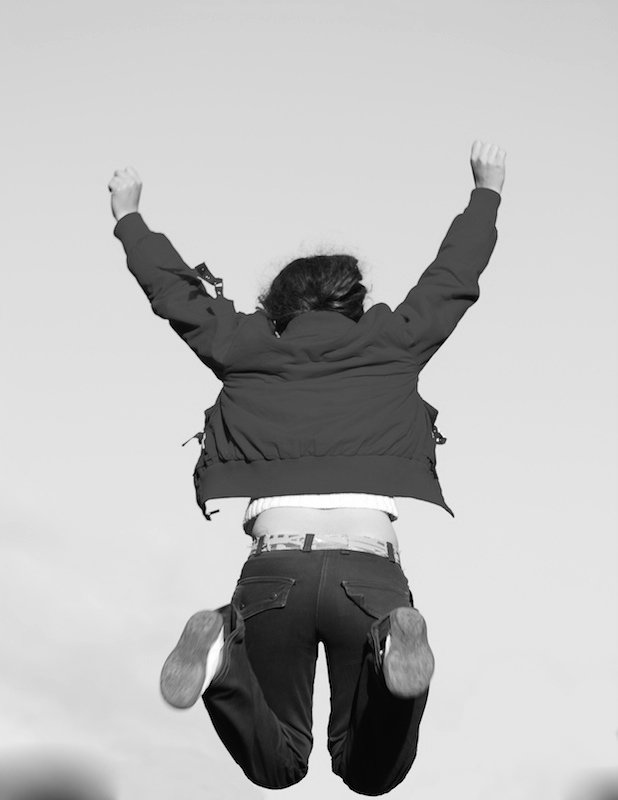
Open up the file jump.jpg from the folder 03_Compositing in your Learner Files.
File > Open... > 03_Compositing > jump.jpg
Intro
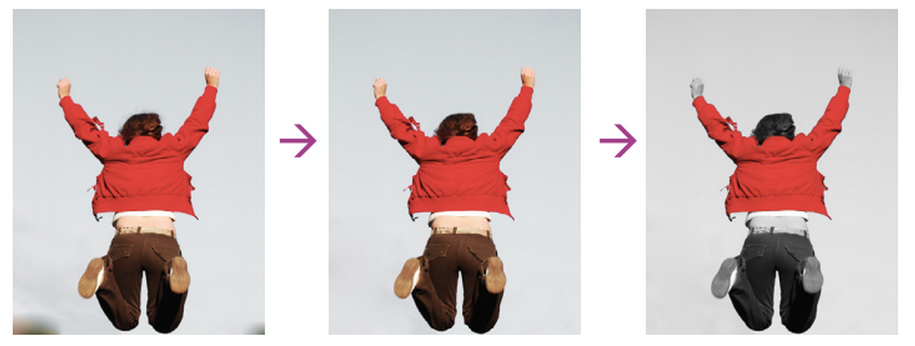
Remove shadows
Remove the shadows from the image using the same tool we used to remove wrinkles: the Clone Stamp tool
Anyone remember how we set a reference point for the stamp to clone?
Ctrl+click for PC, Cmd+click for Mac. Choose a spot in the light gray background for best results.
Intro
B&W + accent colour
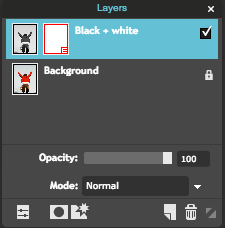
Duplicate your layer and name it Black + White.
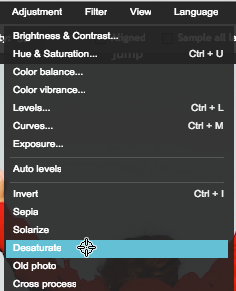
Make it B&W by going to Adjustment>Desaturate.
Intro
B&W + accent colour
1. Select the Black+White
layer and choose Add layer mask from the Layers panel
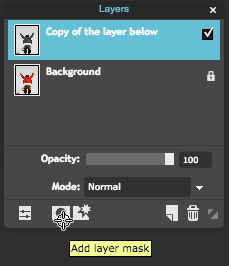
2. The red box is a layer mask
which lets us erase the visible area, without destroying the image file.
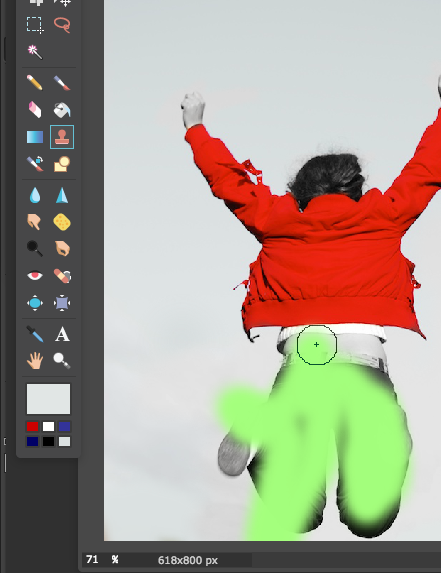
3. Use a black colour brush tool to "paint in" the black and white areas.
Intro
B&W + accent colour
4. Paint over everything but the jacket to reveal the black and white.
5. Zoom in and use a smaller brush to paint the edges
6. Right-click to adjust the size and hardness of the brush as needed
Tip: Instead of undoing changes use the eraser tool to re-apply black and white

Intro
Import into new img
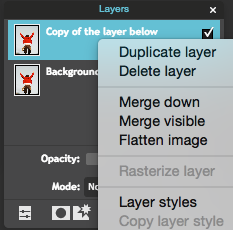
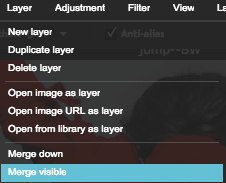
1. Go to Layer > Merge visible to combine the B&W and colour layers.
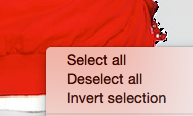
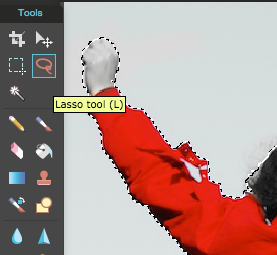
2. Isolate the person is by drawing around them using the Lasso and Magic Wand tools.
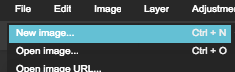
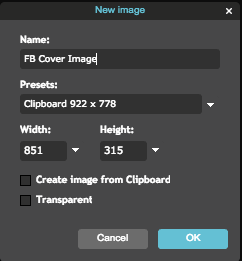
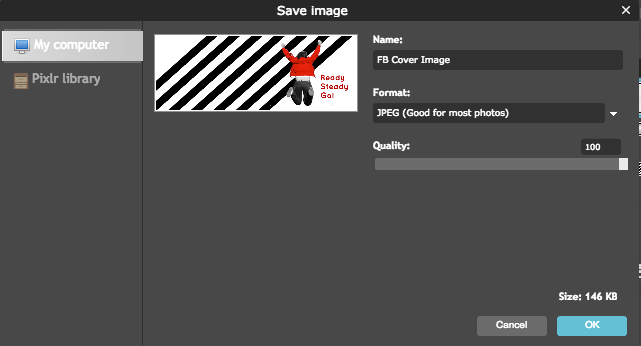
Create a new file by going to the File menu and selecting File > New...
For dimensions, enter 851 pixels wide x 315 pixels tall for a nice Facebook cover.
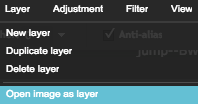
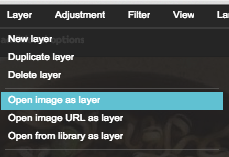
You can add more images
into your .pxd file using Layer > Open image as layer.
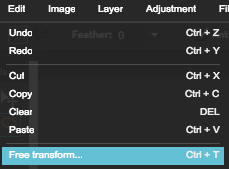
Use Edit > Free Transform
to bring up a box that sizes and scales your layers.
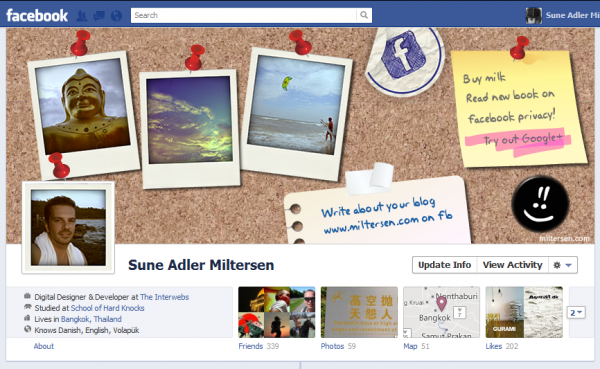
cover composite
Ta da! Play around with the Type Tool, Brush Tool, and Drawing Tools to add shapes and more.
Intro
Saving Your work
Go to File > Save... or hold Ctrl+S
BRAND MOODBOARD
Putting all our inspiration and ideas together
Intro
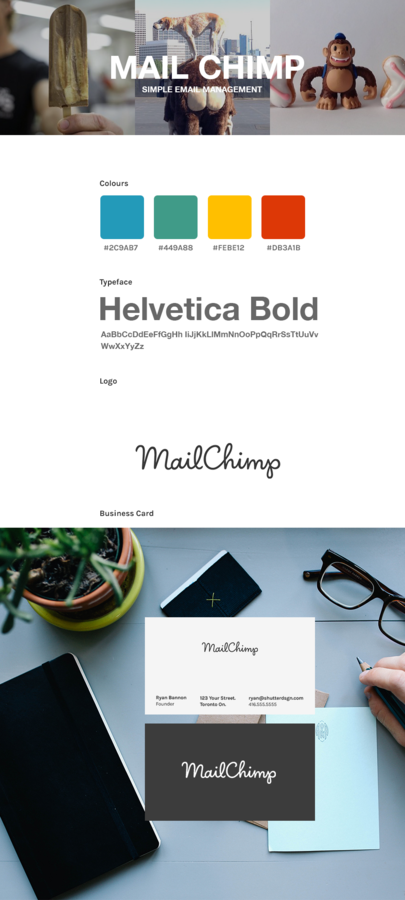
"House Aesthetic"
Colour
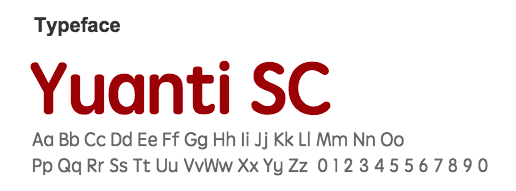
Typeface
Graphic Identity or Logo
BAsic
Brand
elements
Intro
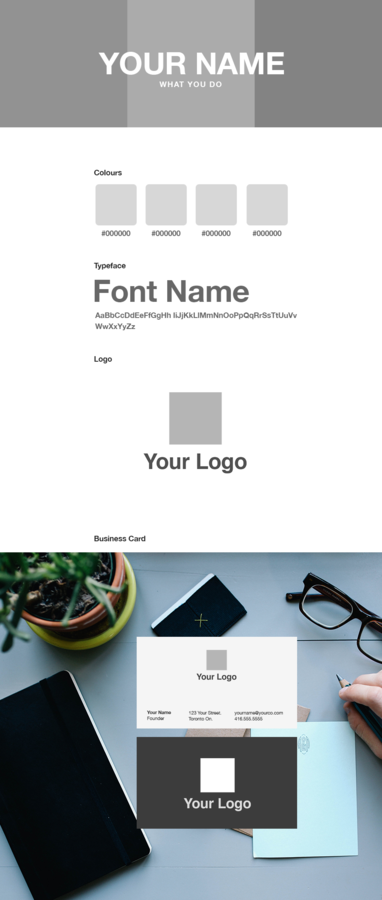
Open the file
04_Moodboard >
Moodboard-Template.pxd
Intro
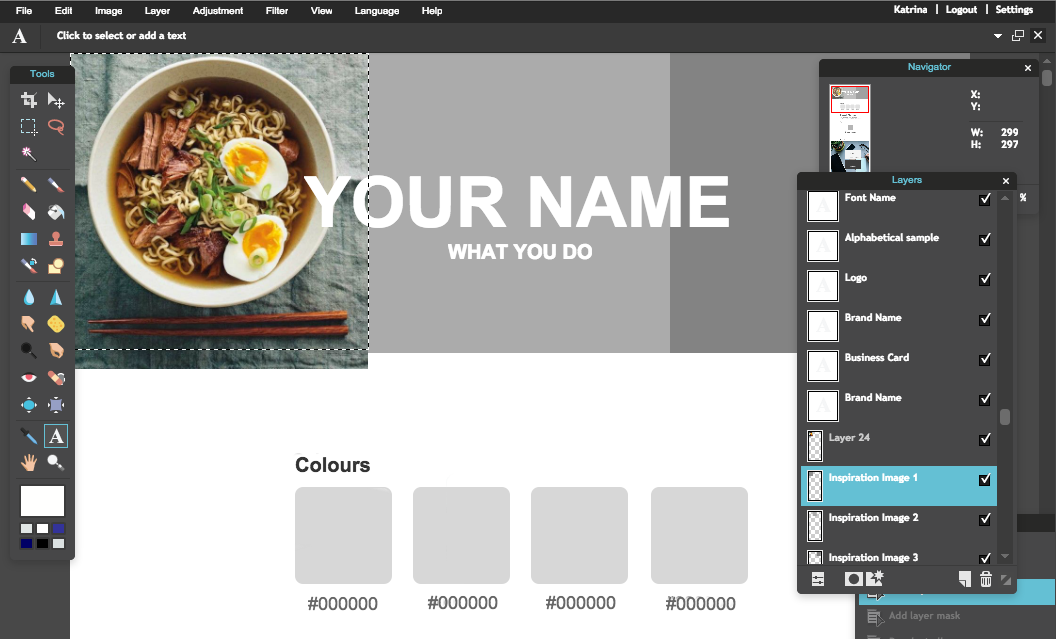
Start with your name (or brand name) and define what you do.
All the Text Layers in this .pxd file are editable, so you can start filling in those text areas.

Intro
Fill in the 3 gray squares with 3 inspiration images. Import images into your .pxd file by using Layer > Open image as layer
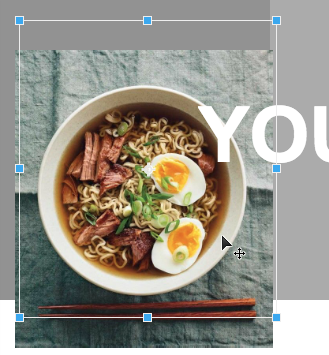
Use Ctrl+T or Cmd+T to Free Transform and resize your image to relatively fit in the gray box.
Intro
Fill in the 3 gray squares with 3 inspiration images. Use what we learned about Layer Masks to mask off any overflowing edges on the photos.
Hold Cmd (Mac) or Ctrl (PC) and click the layer named Inspiration image 1 to select that area.
Intro
Click on the layer you want to mask off, and then click the "Add layer mask" icon in the Layers panel.
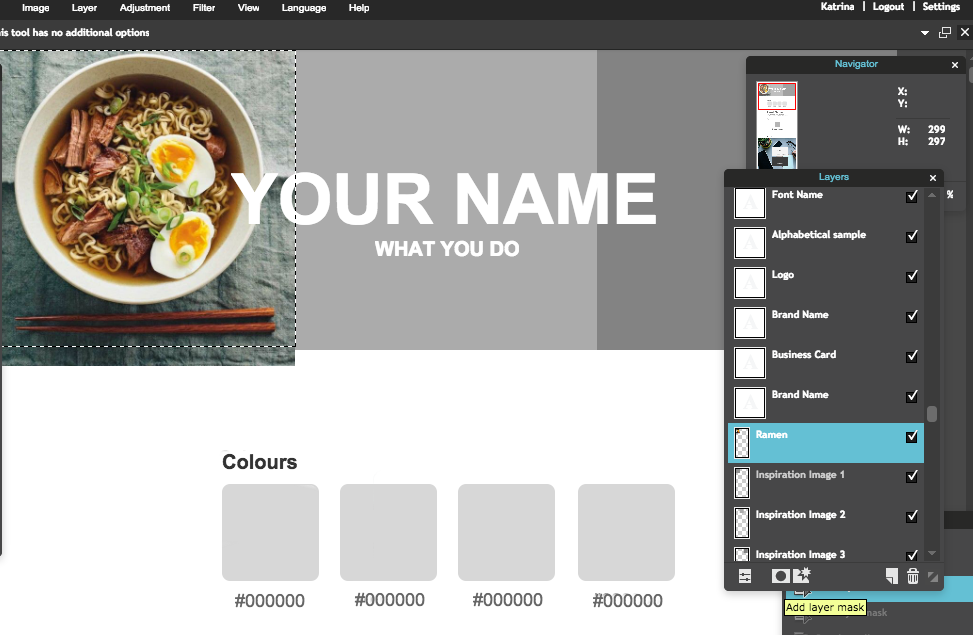
Choose the layer you want to mask off, and then click the "Add layer mask" icon in the Layers panel.
Intro
Your Layer Mask was successful if you see a red box beside your layer name.

Repeat this process for the other 2 images.
STOCK PHOTOS
(that don't suck)
Intro
Use the Paint Bucket to define brand colours, or use the Shape Drawing tool to fill in the squares.
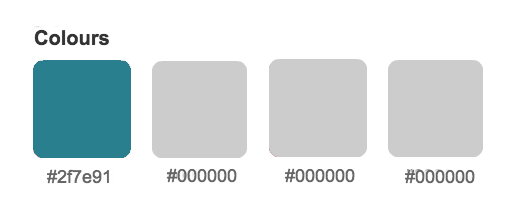
Remember to note your colours - you can name them underneath and that way you'll always have an idea of the ~exact~ shade you were looking for.
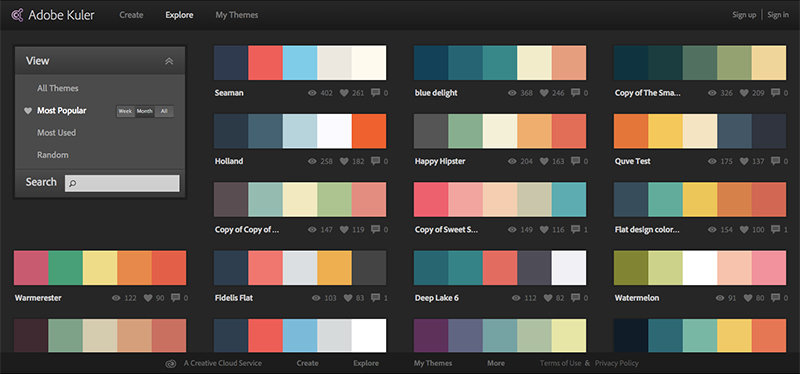
Use tools like Adobe Kuler (kuler.adobe.com) to discover new palettes.
Intro
Use the Type tool to define your brand typeface.
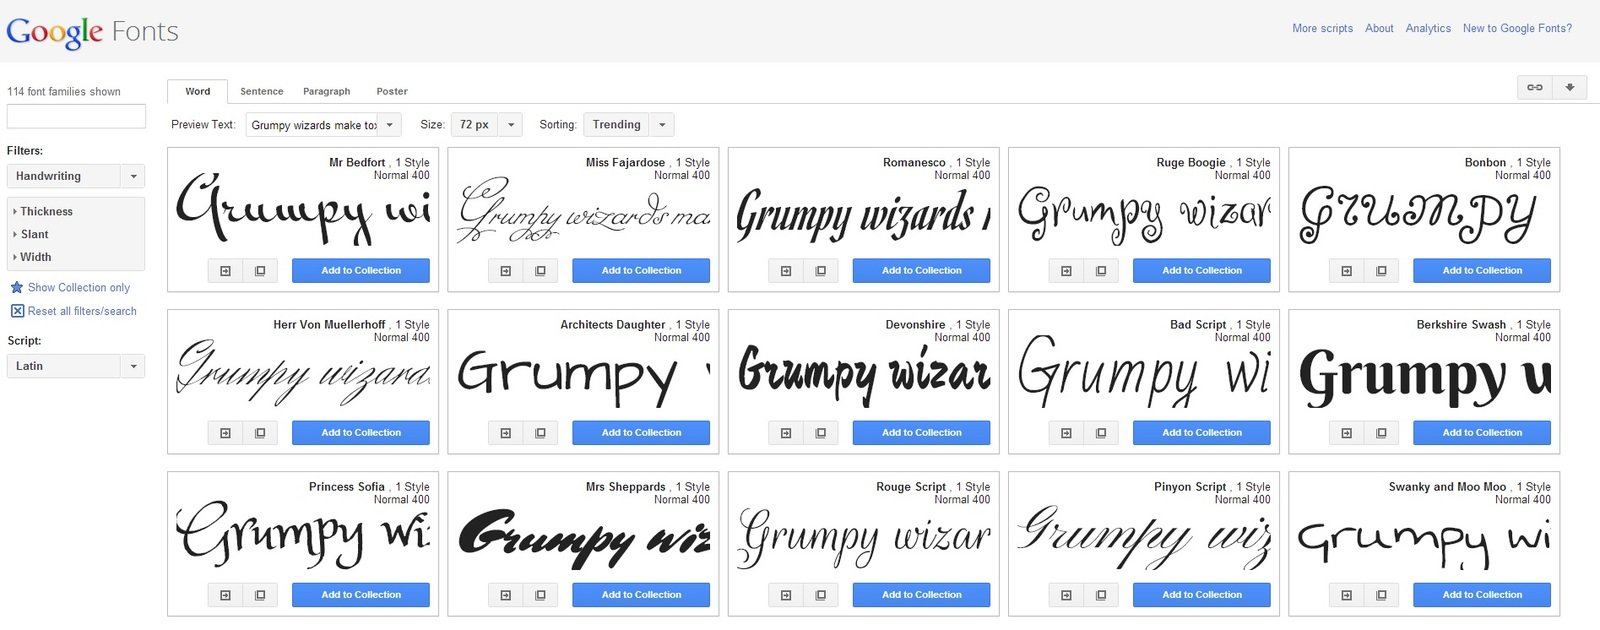
Need more choices? Download some from www.google.com/fonts!
SIMPLE LOGO SAMPLE

Intro
Import the .png file (logo or icon) into your .pxd file by using Layer > Open image as layer
Use Ctrl+T or Cmd+T to Free Transform and resize your image in proportion to how big you want your personal brand name to be.
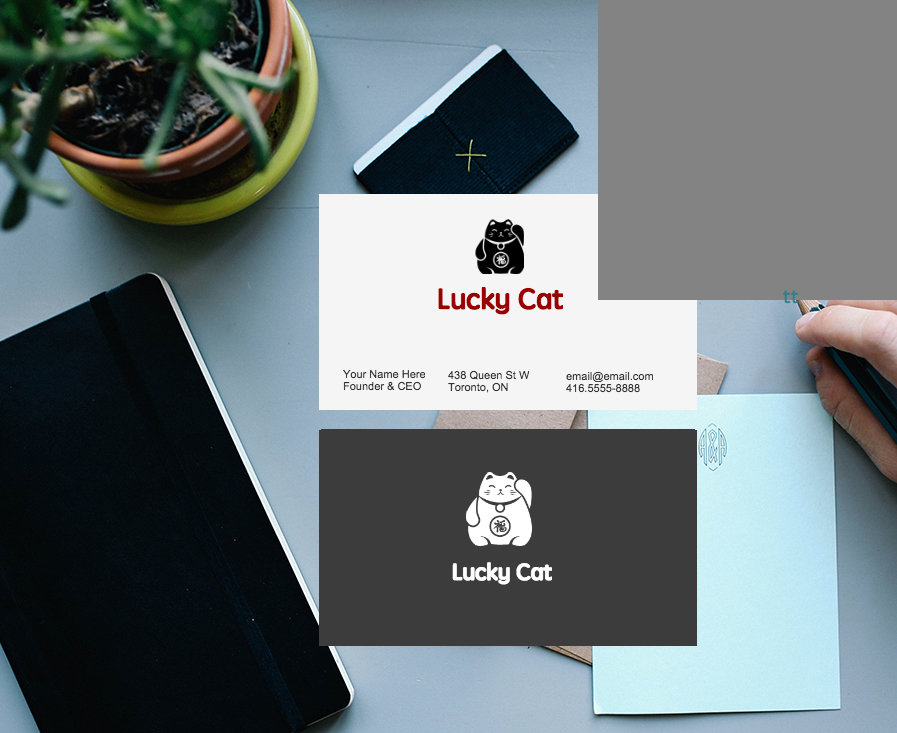
Intro
Download and use both a dark and light version of your icon.
Create your Brand Package with Pixlr
By Kat Bautista
Create your Brand Package with Pixlr
At this full-day workshop for absolute beginners, you’ll learn to use the online photo editor Pixlr plus as much design theory as we can reasonably fit in. If you know absolutely nothing about design, and want to build your photo editing skills while picking up some design tips and tricks, you’ve come to the right place!