mikedavistech
We are a goal-oriented interactive Los Angeles website design company that offers heart and soul to deliver innovative web design services. Visit site: https://www.sfwpexperts.com/website-design-los-angeles-california/
Churning out a compelling story out of one’s knowledge or experience is something most people definitely want to do.
Odds are, even you would have not been able to overlook the urge to share your tale.
And no doubt that’s why you have landed on this page.
That dream to have your own blog site is going to be true real soon.
Of course, we will guide you through the process of starting a WordPress blog in 2020, but prior to that I want you to be educated about the customer-driven web design company in Los Angeles - SFWP Experts. Choosing them as your long-term project partner will help your company grow at a faster pace, no matter how small it is.
Over to that, now we will head to the central topic of this article - how to start a WordPress blog.
5 Steps To Launch A WordPress Blog In 2020
Step 1: Partner With A Reliable Hosting Provider
The first and foremost thing you need to do when creating a WordPress blog is to get yourself a trusted hosting. There are tens of hundreds of hosting companies at your disposal to choose from, but when it comes to excellent service, we strongly recommend to choose paid web hosts instead of the free ones.
A few hosting providers like Bluehost, Flywheel, and WP Engine really provide a great service.
What’s even more important to take into consideration is that their plans work amazingly well with WordPress. They are easy to use, offer a lot of awesome features, and have quite flexible themes and plugins. Do let us know if you are looking for professionals for custom plugin development or beautiful theme design. We provide unique solutions for WordPress websites aimed at drawing visitors’ attention instantly. Last year, our Los Angeles web design company created 200 WordPress blog sites and 400 WordPress websites.
Step 2: Install WordPress And Change The Default Settings
Once you’ve selected a plan based on your needs, install WordPress, and configure settings. After your WordPress software is installed and ready, go to your URL to log into WordPress. You will get a link to your WordPress login from your hosting account that usually looks like your-url.com/wp-login, wp-admin, or something similar to these. Use the email and password you have created while setting up the information for your hosting account.
Though WordPress is highly customizable, I will guide how to set up your WordPress website via your WordPress dashboard: General WordPress Settings - Enter your site title and tagline
Writing WordPress Settings - Set a default post category and post types
Reading WordPress Settings - Determine how your homepage should display
Discussion WordPress Settings - Decide on how you want your comments to be posted (whether it should be manually approved or the comment author should have a previously approved comment)
Media WordPress Settings - Use cropping options for the images that you will add to your site
Permalinks WordPress Settings - Choose a link format that suits you. We advise you to select the post name option here as it’s easy to use, looks good, and boost your SEO efforts
User Profile Settings - Fill the required fields so people can know about you Finally, you’ll need to set up a Gravatar with the image that you want to upload in your profile section. Usually, a nice headshot looks good, though you can put any image that you think will look appropriate on your site. In case you get stuck at any point while playing with the settings in WordPress or you don’t have a clue about which option to select and which to ignore, recall our Wordpress developer expert team for help. Being in the WordPress web design field for a long time, we have garnered specialization in dealing with everything WordPress.
Step 3: Choose A Beautiful WordPress Theme
Let’s be blunt here - you don’t need to spend hours and hours to find the perfect theme since it’s not that important when you are just getting things started. Instead, focus on creating informative and quality content as people will be attracted to your site to see that only. By default, you’ll see the yearly WordPress theme on your screen since Automattic (one who manages WordPress) releases a new theme every year that’s focussed on bloggers. The latest theme is Twenty Seventeen and Twenty Eighteen is about to come. So all I want to say is the theme released each year is more than appropriate for you if you are just starting a WordPress blog.
However, in the future, if you want to select a theme having more features to suit the growing needs of your site, all you need to do is install a new theme. Head over Appearance > Themes > Add New through your sidebar. Once you reach there, click on the button to upload your theme and then select your theme zip file to upload. Lastly, you have to install the theme and then make it active.
Do you want to make your WordPress website visually more appealing? We have the right tools, technologies, and more importantly heads to do so. All you have to do is get into communication with our Los Angeles web design company and share your website appearance expectations.
Step 4: Install Needed Plugins
Though you don’t need plugins to start blogging considering WordPress is a well-equipped open-source platform, there are some plugins I suggest you install and activate. It will help you to achieve the best results from your blogging efforts.
Take note that each of the plugins underneath is free and you can install them by going to Plugins > Add New through your sidebar. To locate the plugin you want to use the search box or click to upload a plugin that you have downloaded elsewhere.
Once you have found the plugin you need, just click on the “Install Now”. Once it is installed, activate it and start your blogging journey.
Give a look to the plugins we recommend:
For Spam Protection - Akismet
To Add Social Sharing Buttons - AddThis
To Optimize Your Site’s SEO - Yoast
To Add Google Analytics - MonsterInsights
To Maintain WordPress Backups - VaultPress
These are the plugins that will help your site to run with ease. If you want to get more information on the plugin selection process or preferences, do remember to get in touch with our Los Angeles web design company.
Step 5: Start Your Blogging Adventure
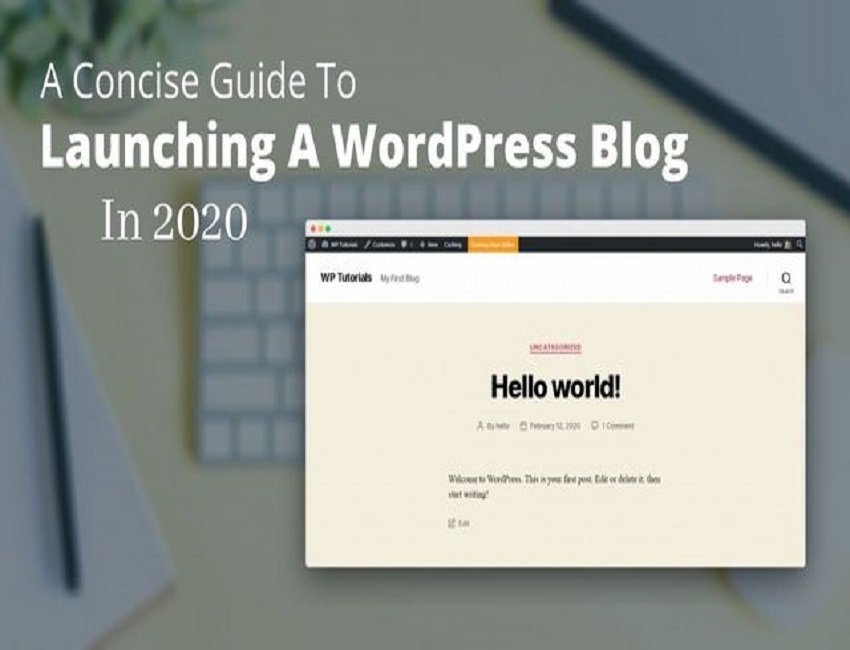
Before you begin blogging, the first thing you need to do is delete the sample page and post. To do this first click on the Page menu items in your sidebar and then you will see one sample page that can be deleted by clicking on the Trash button.
Once you are done with that, it’s time to create your first post. Head to Posts > Add New through your sidebar and then you will be on a screen for the content creation.
Here you need to give a title to your post, write your content, and add images, categories, and tags.
Now click the publish button and you have posted your first content on your blog site.
Conclusion
This was all about starting a WordPress blog in 2020. I hope you liked this article and if you need professional help to maintain your site, our Wordpress website design company is the aptest agency to connect with. SFWP Experts offers results-centric services to organizations around the world which helps them to easily capture their targeted customers. You can collaborate with us for numerous, excellent services like blog site design, web development, website maintenance, search engine optimization, pay per click advertising, digital marketing, and so forth.
Contact Details:
213-277-9177
By mikedavistech
Churning out a compelling story out of one’s knowledge or experience is something most people definitely want to do. Odds are, even you would have not been able to overlook the urge to share your tale. And no doubt that’s why you have landed on this page. That dream to have your own blog site is going to be true real soon. Of course, we will guide you through the process of starting a WordPress blog in 2020. Read more on https://bit.ly/37ymqk8


