Introduction to Blender
Form 3 - Computer
2023-2024
Floor 4 - Computer Room
Mr. Peter

Outline
Outline
Blender Animation - Timeline and Key frame

1
Blender Animation - Ex13_1
2
Blender Animation - Ex13_2
3
Blender Animation - Ex13_3
4
Blender Animation - Tutorial
The first part is the Blender animation tutorial before exercises
Blender Animation - Timeline and Key frame
2. Animation Timeline
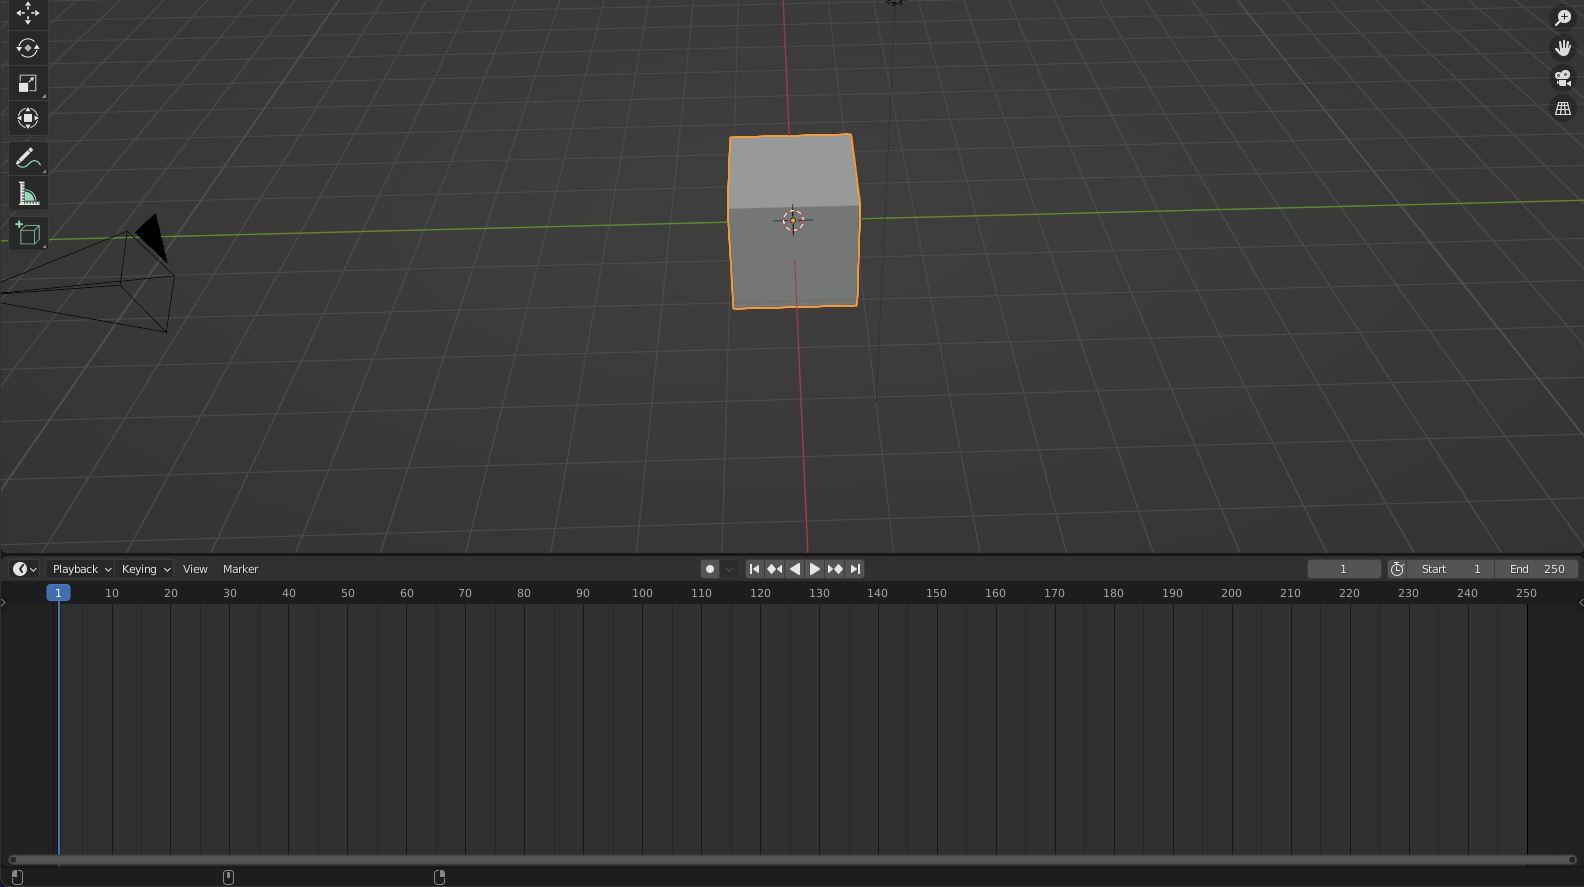
1. Select the object that need to be animated.
Blender Animation - Timeline and Key frame
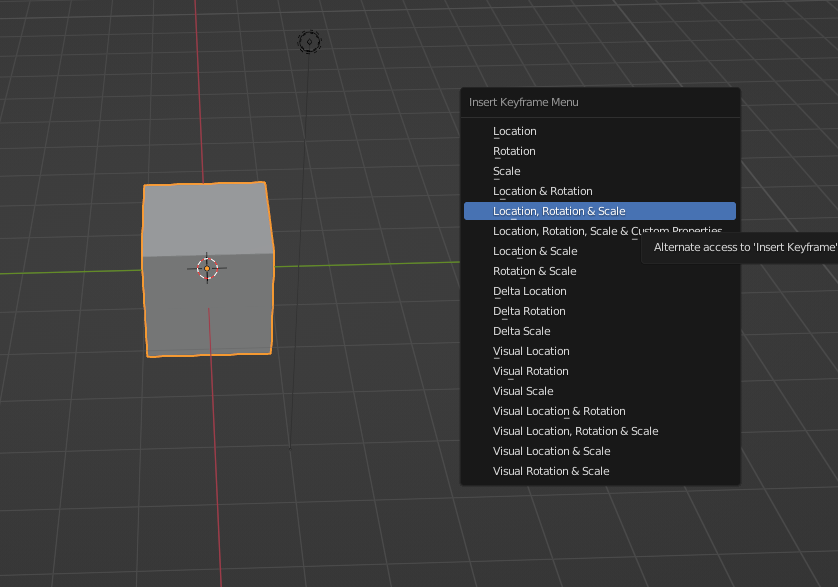
Press i key to popup the menu, which can add keyframe using the current state of the object.
Blender Animation - Timeline and Key frame
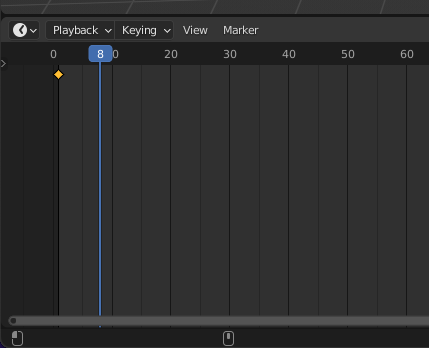
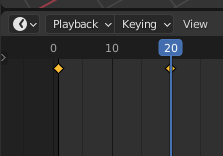
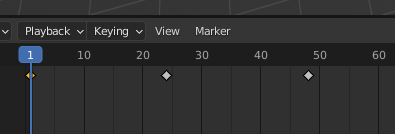
Keyframe will be represented in the Timeline section.
Blender Animation - Timeline and Key frame
Another way to add keyframe in the timeline
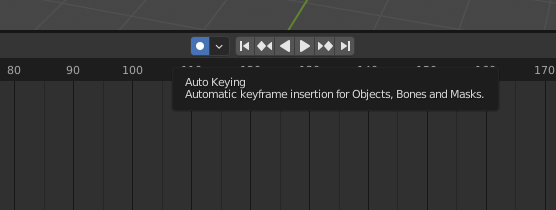
Enable this button, which can add keyframe automatically after the state of the selected object is changed.
Blender Animation - Timeline and Key frame
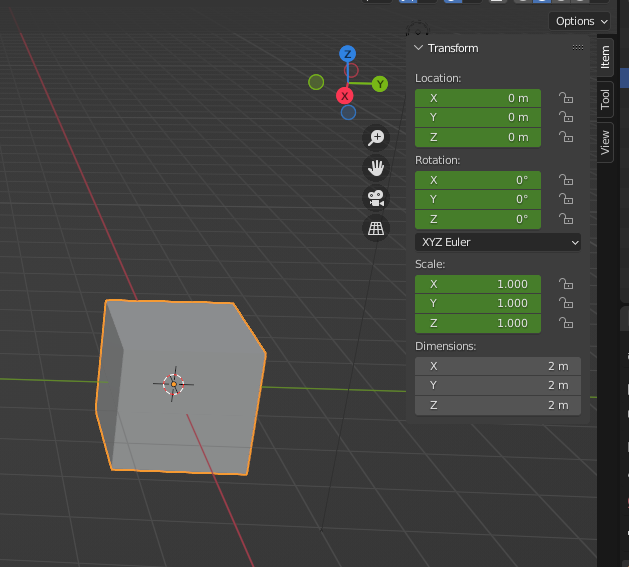
Press N key to popup the menu for defining transformation properties
Blender Animation - Timeline and Key frame
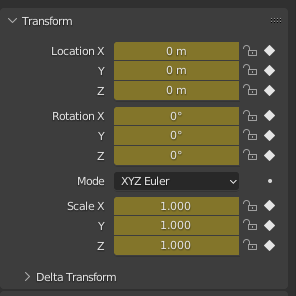
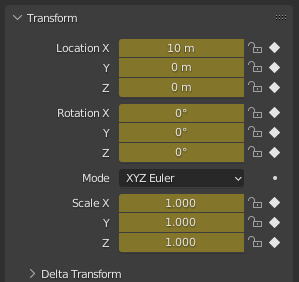
One keyframe represents one state of the object.
Set another keyframe with totally different state of the object in the 20 frame.
1.
2.
Defining two keyframes can animate an object, since both keyframes represents two state of the object. The computer will create a transition between two states automatically.
4.
Normally, 24 frames in a video represents one second.
3.
Set another keyframe with totally different state of the object in the 20 frame.
2.
Set another keyframe with totally different state of the object in the 20 frame.
2.
Blender Animation - Ex13_1
Ex13_1 - Create your first animation in Blender
Blender Animation - Ex13_1
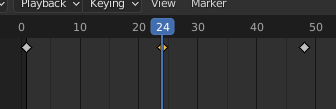
Set the first keyframe at the frame 1.
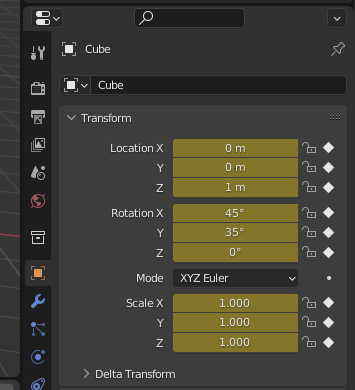
Set the state of the cube in the first keyframe
Set the state of the cube in the second keyframe
Set the second keyframe at the frame 24.
Define the final keyframe
1.
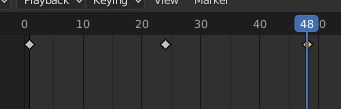
Select the first keyframe
2.
Press Shift + D keys to duplicate it and move it to frame 48.
Press Space key to play the animation. Save and submit your file.
Blender Animation - Ex13_1
Blender Animation - Ex13_2
Ex13_2 - Animation
Bottom Cube:
Set the cube as the following state at the frame 0.
Set the cube as the following state at the frame 240.
Blender Animation - Ex13_2
Upper Cube:
Set another cube as the following state at the frame 0.
Set another cube as the following state at the frame 240.
Blender Animation - Ex13_2
Press Space key to play the animation. Save your file called "99_Peter_Ex13_2.blend"
Blender Animation - Ex13_2
Blender Animation - Ex13_3
Ex13_3 - Animation
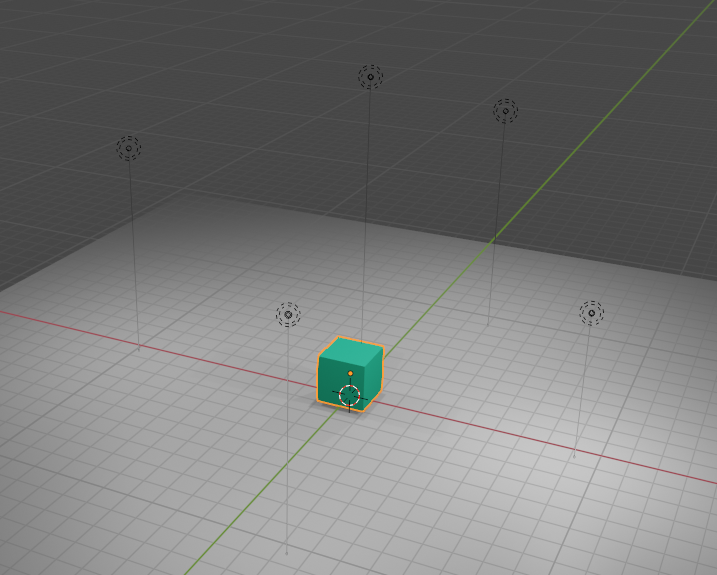
Before creating the animation, we need to create the scene first.
1. Add plane for the ground.
2. Add the cube.
3. Copy or add light bulb for lighting the scene.
Blender Animation - Ex13_3
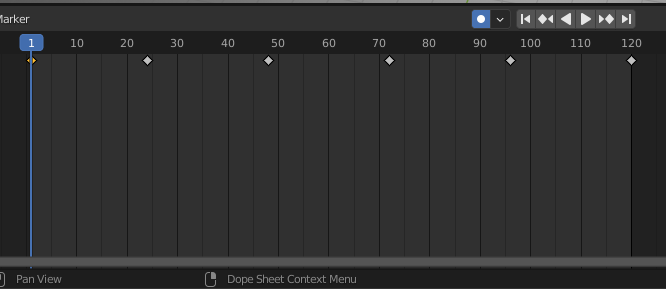
There are 6 keyframes for this animation, they are at frame 1, 24, 48, 72, 96 and 120.
Blender Animation - Ex13_3
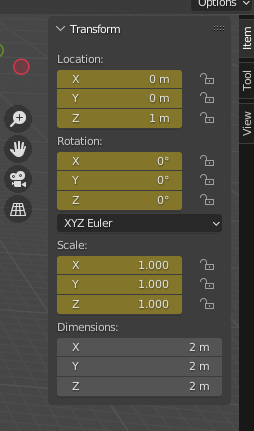
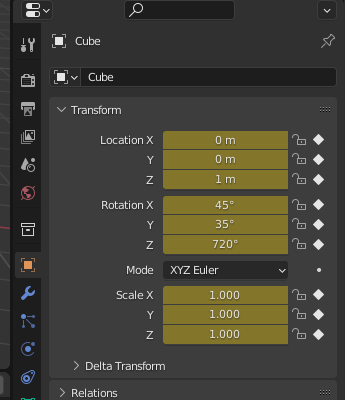
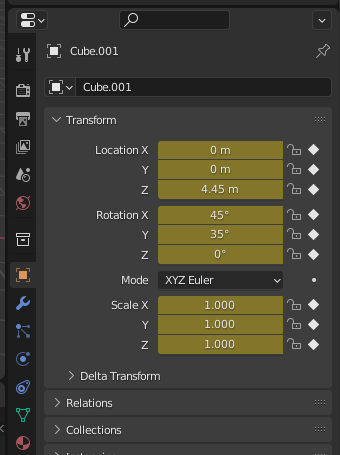
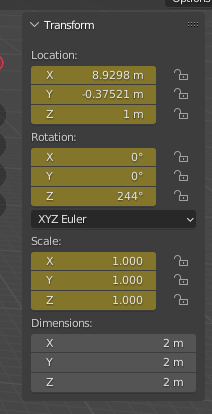
Set the cube as the following state at the frame 1.
Set the cube as the following state at the frame 24.
Blender Animation - Ex13_3
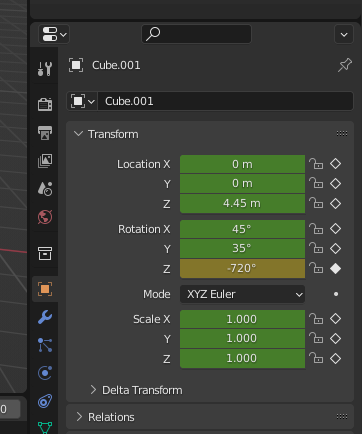
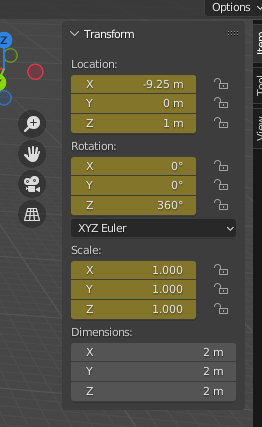
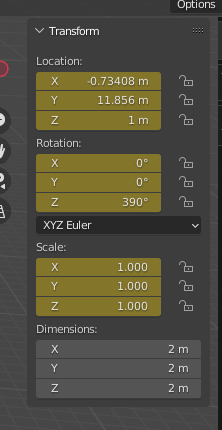
Set the cube as the following state at the frame 48.
Set the cube as the following state at the frame 72.
Blender Animation - Ex13_3
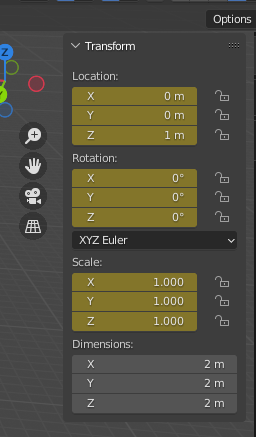
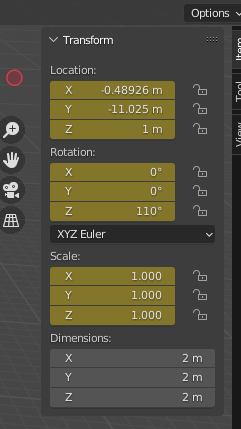
Set the cube as the following state at the frame 96.
Set the cube as the following state at the frame 120.
After set the six keyframes, you may try to play the animation to check whether it works or not.
Blender Animation - Ex13_3
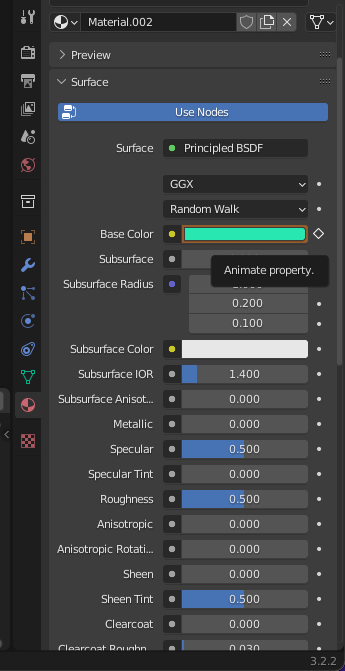
Color animation
Select a keyframe in animation timeline
Change the color of the cube in material
1.
2.
Enable the color animation by pressing the button
3.
Repeat above steps for every keyframes and choose different color at different keyframe.
4.
Blender Animation - Ex13_3
Press Space key to play the animation. Save your file called "99_Peter_Ex13_3.blend"
Blender Animation - Ex13_3
End :)
F3 - Introduction to Blender
By Mr Peter


