Introduction to Blender
Form 3 - Computer
2023-2024
Floor 4 - Computer Room
Mr. Peter

Outline
Outline

Test Revision
Test Revision
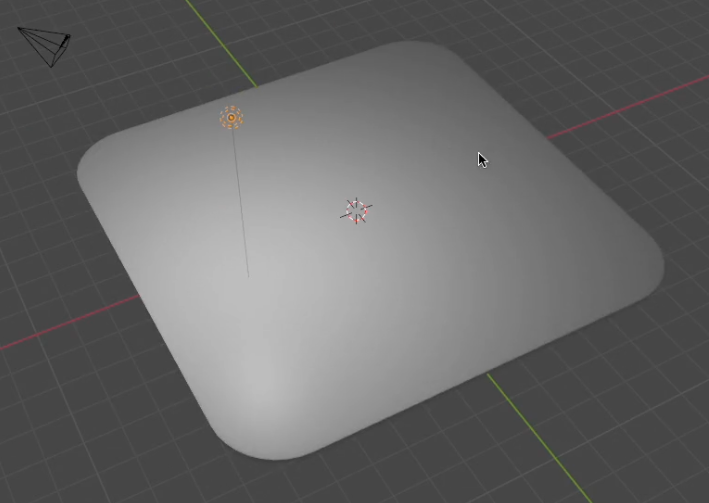
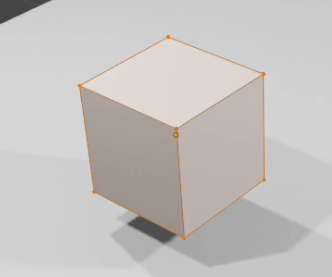
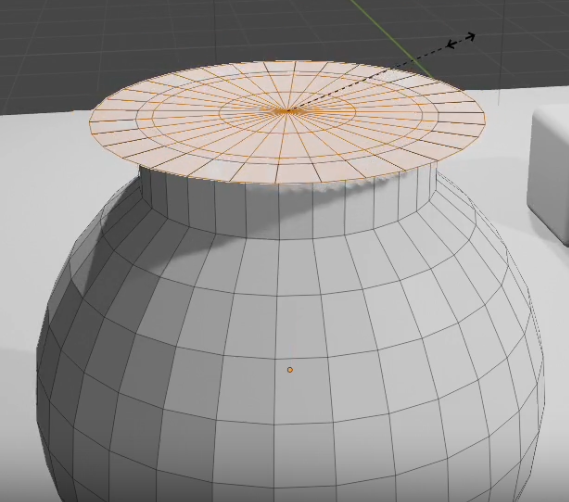
Part 1 - Create the ground
Test Revision - The ground
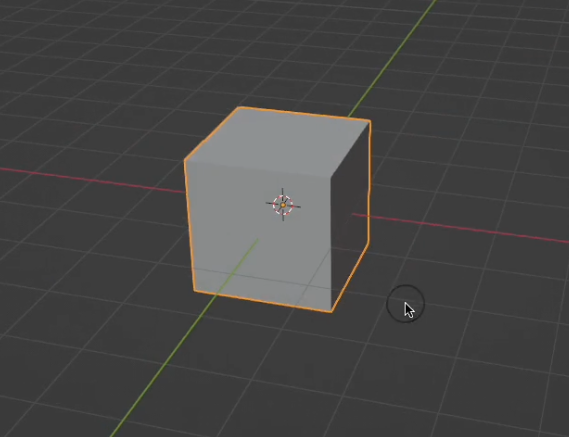
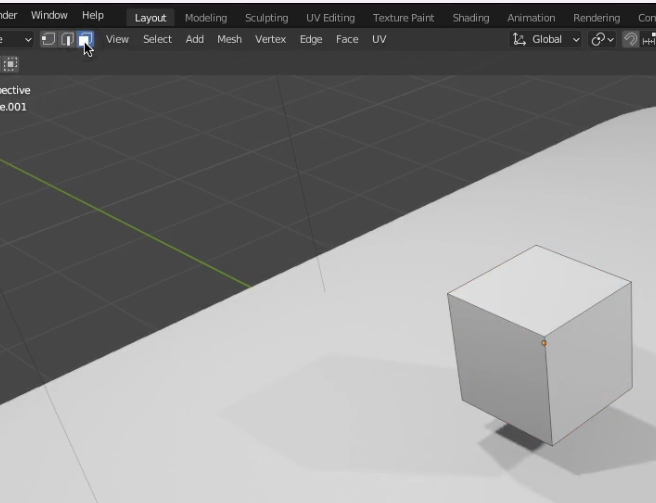
Select the cube
1.
Detail steps
Test Revision - The ground
Press S key to scale the cube
1.
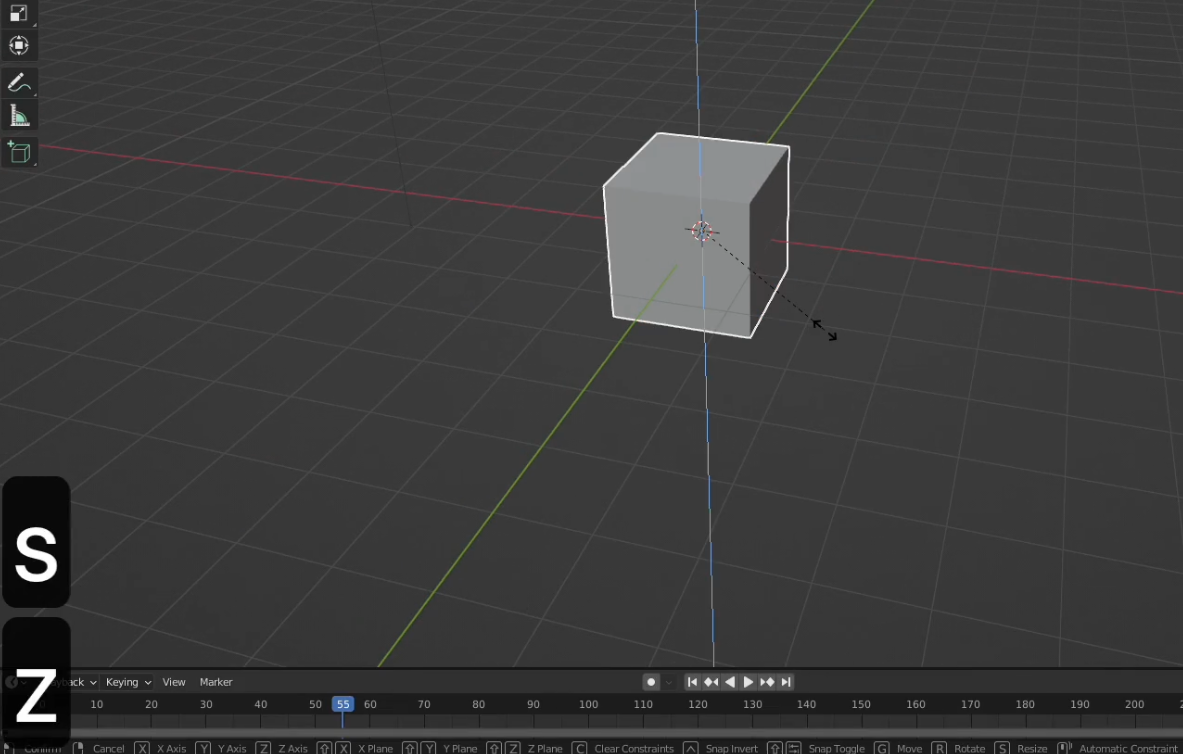
Press Z key to scale the cube along with Z axis
2.
Detail steps
After
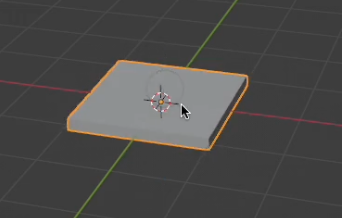
Test Revision - The ground
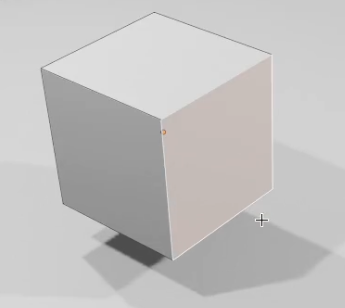
Select the ground
1.
Press S key to scale the cube to be bigger
2.
Detail steps
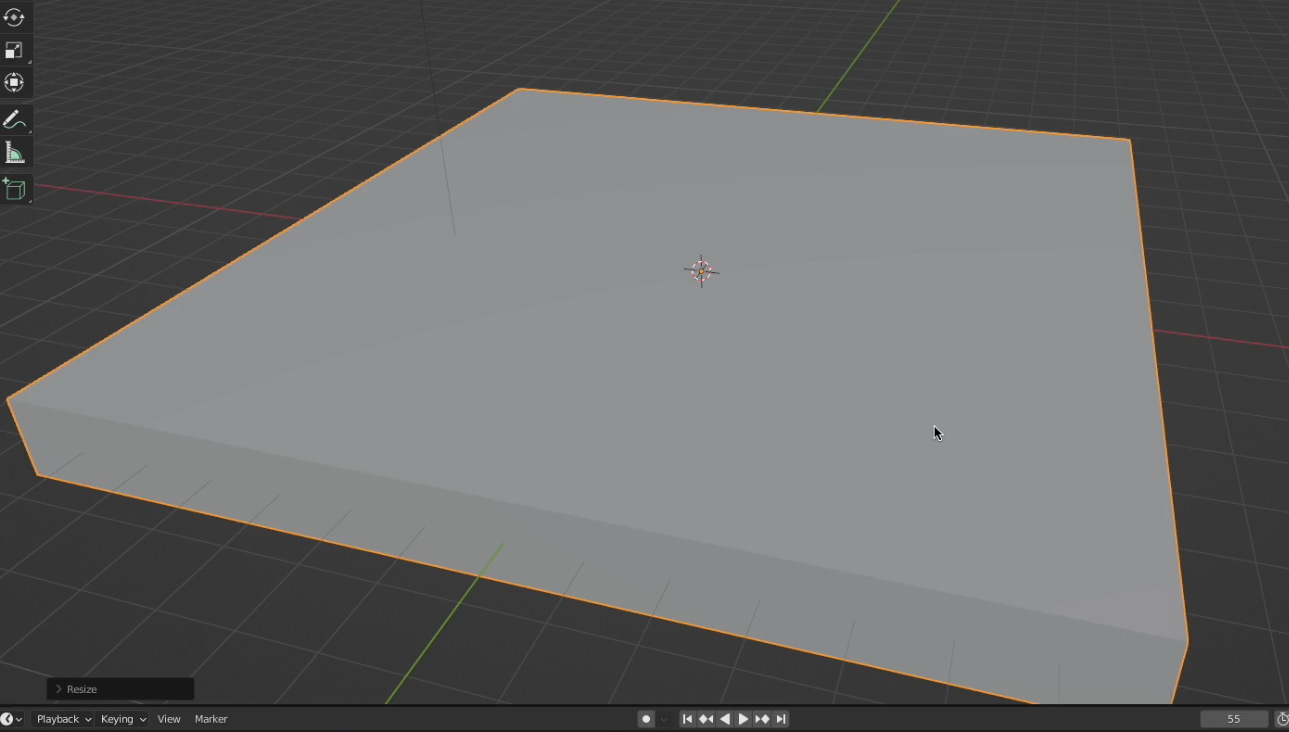
After
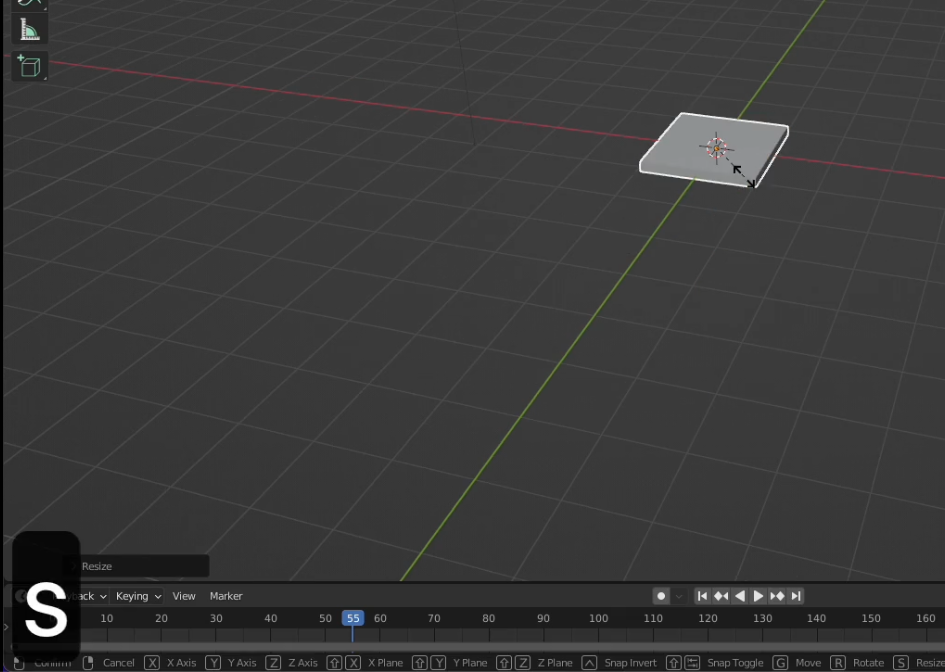
Test Revision - The ground
Select the ground
1.
2.
Detail steps
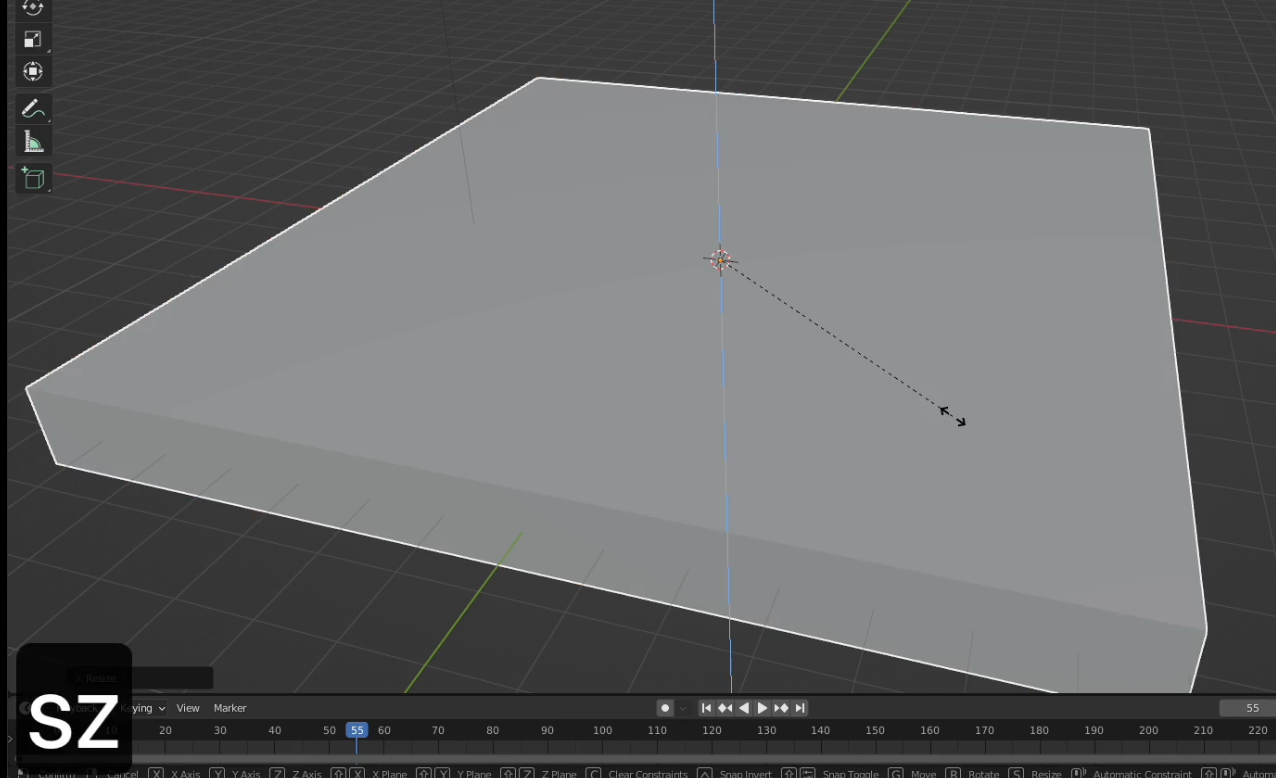
3.
Press S key to scale the cube
Press Z key to scale the cube along with Z axis
After
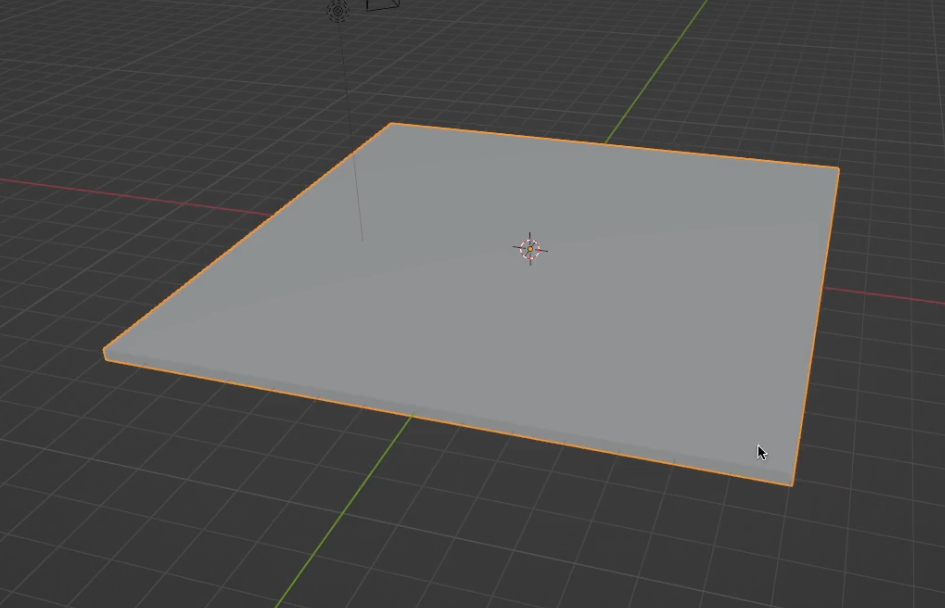
Test Revision - The ground
Press Ctrl + B to use Bevel tool
1.
2.
Detail steps
Press Tab key to edit the cube
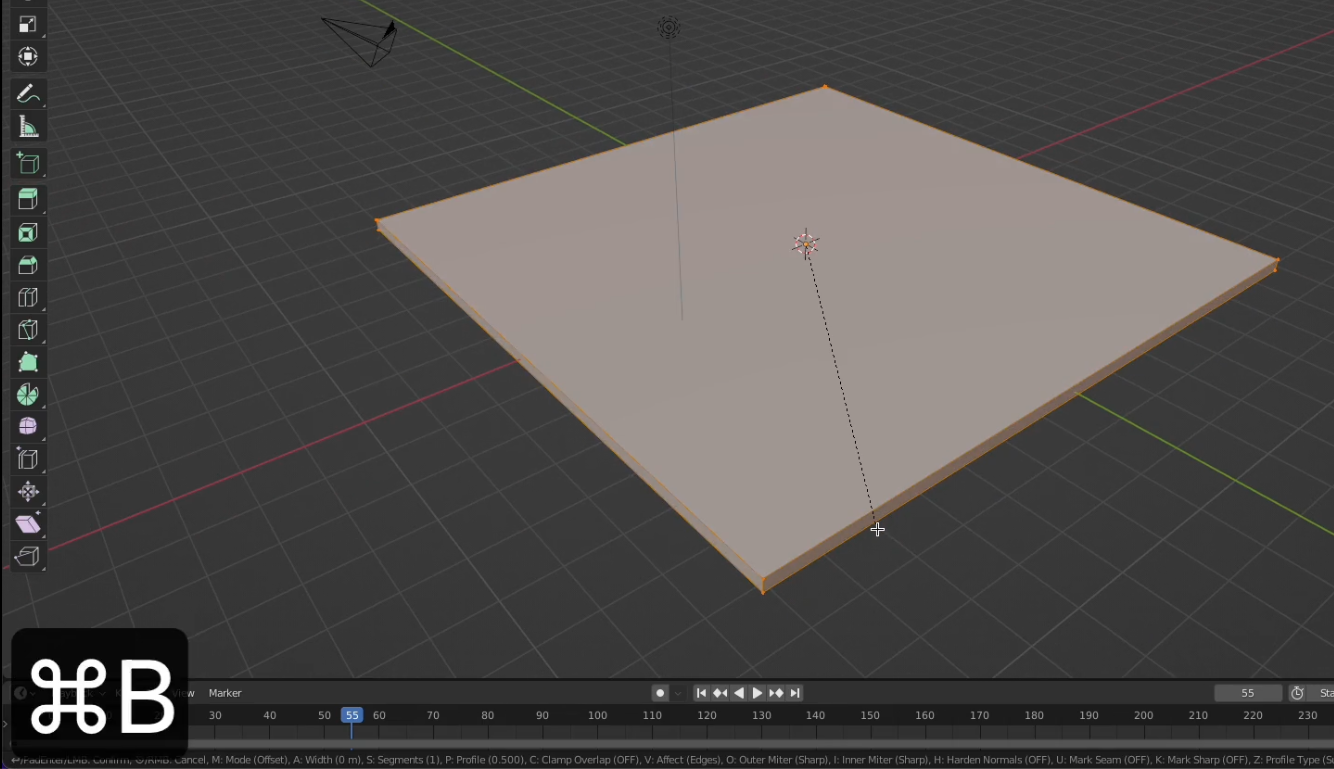
3.
Move the mouse to adjust corners of the object
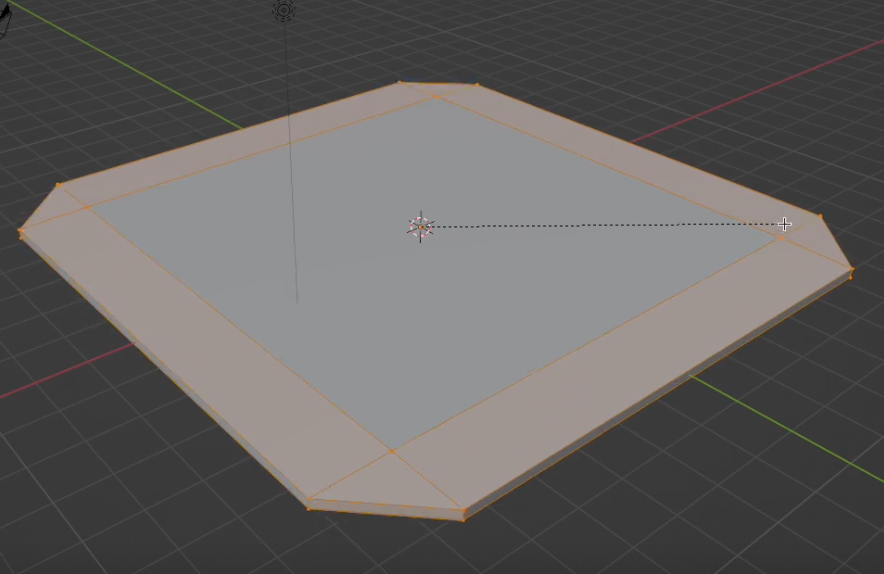
4.
Scroll the mouse to add more lines
5.
Click to confirm
After
After
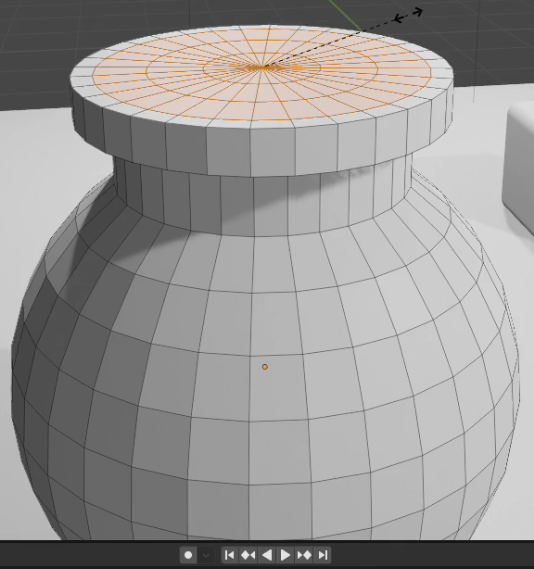
Test Revision - The ground
Press Ctrl + B to use Bevel tool
1.
2.
Detail steps
Press Tab key to edit the cube
3.
Move the mouse to adjust corners of the object
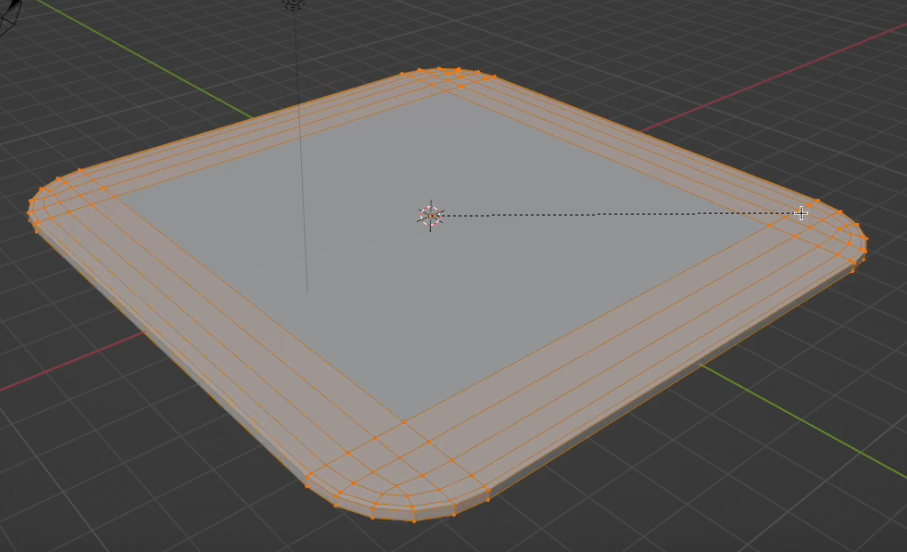
4.
Scroll the mouse to add more lines
5.
Click to confirm
After
After
6.
Press Tab key to leave the edit mode
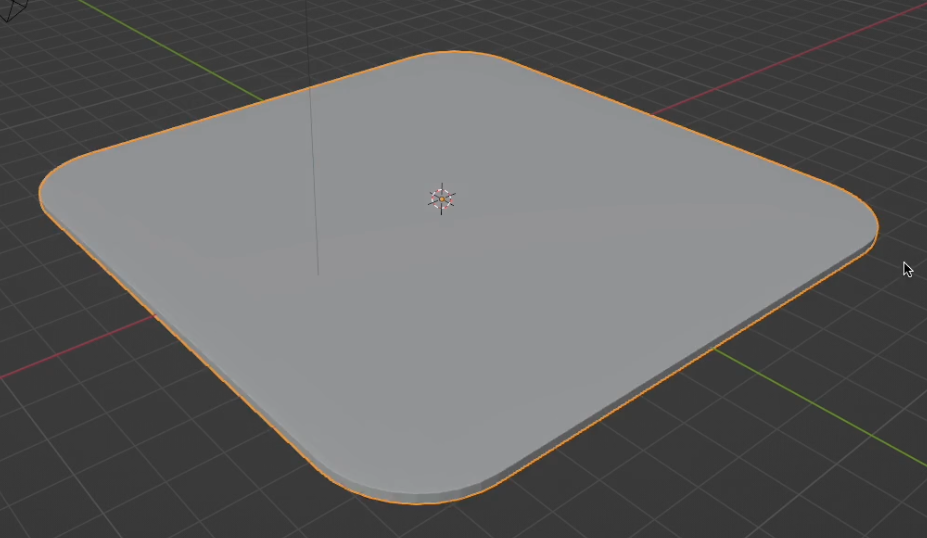
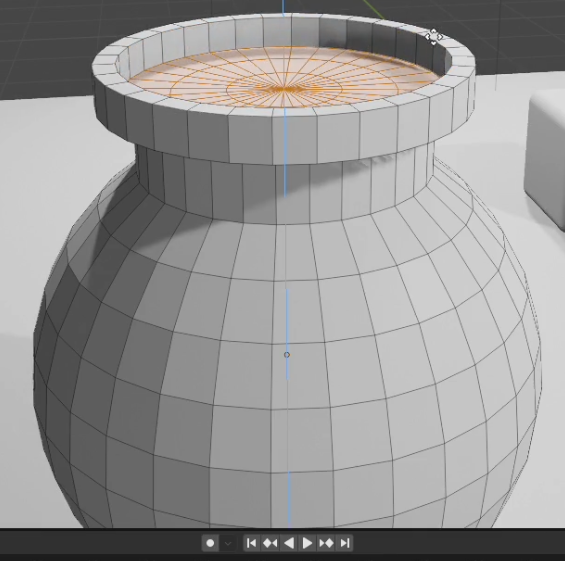
Test Revision - The ground
Press Ctrl + B to use Bevel tool
1.
2.
Detail steps
Press Tab key to edit the cube
3.
Move the mouse to adjust corners of the object
4.
Scroll the mouse to add more lines
5.
Click to confirm
After
After
6.
Press Tab key to leave the edit mode
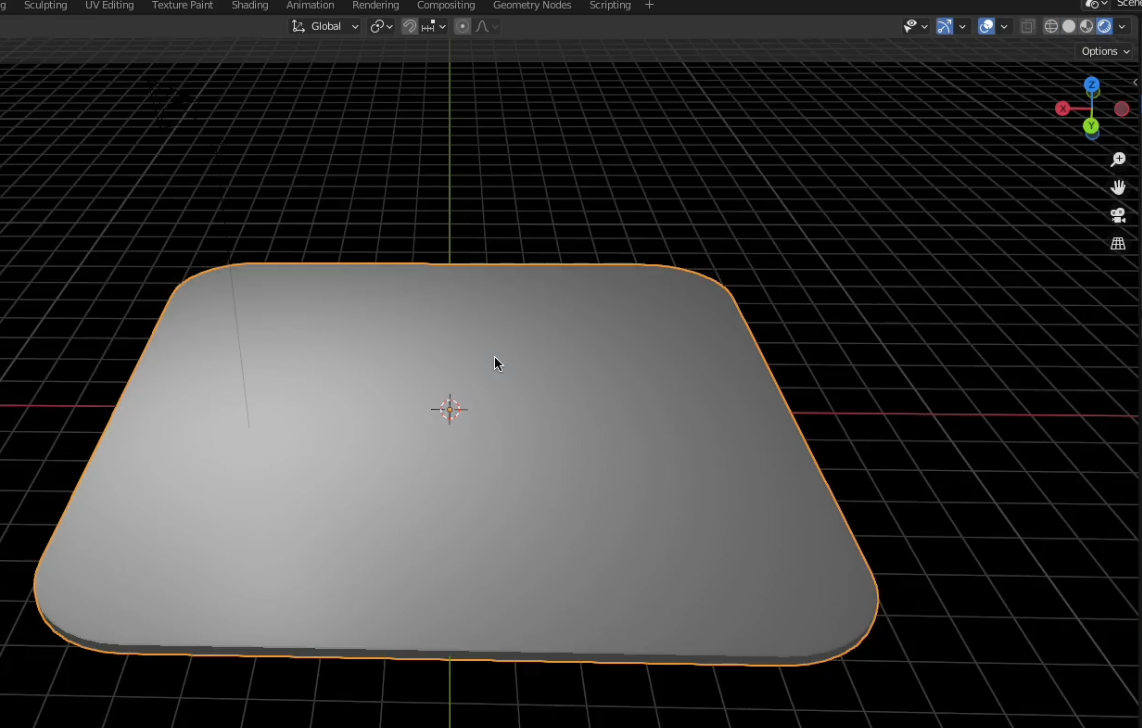
After
Test Revision
Part 2 - Illuminate the environment
Test Revision - Illuminate the environment
Detail steps

Change viewport shading to show colours and lighting
1.
Test Revision - Illuminate the environment
Detail steps
Select default light bulb or create a new light bulb by pressing Shift + A key.
1.
Press Shift + D keys to duplicate more light bulbs
2.

After
Test Revision
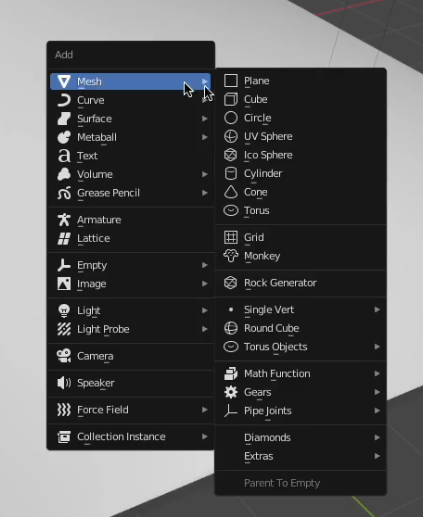
Part 3 - Create cylinder
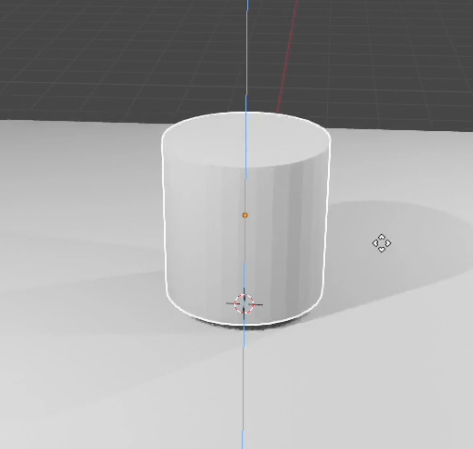
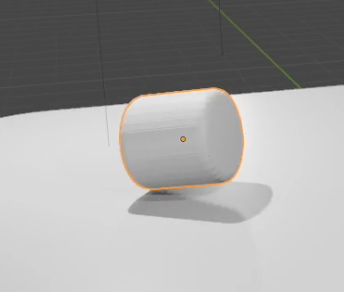
Test Revision - Cylinder
Detail steps
Press Shift + A keys to pop the menu
1.
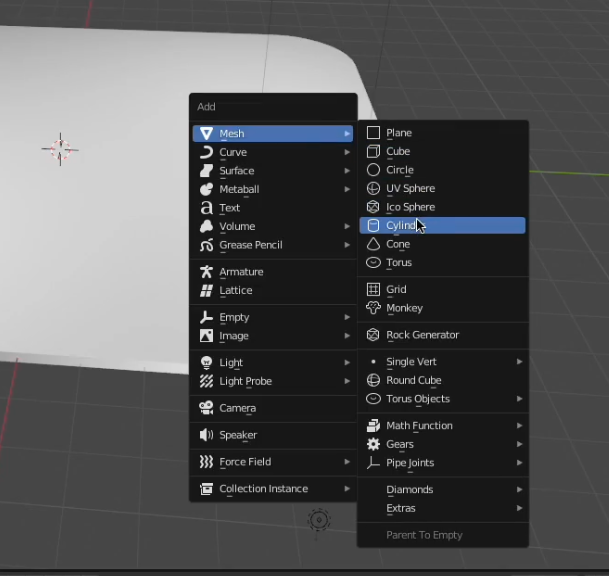
Choose Mesh -> Cylinder
2.
After
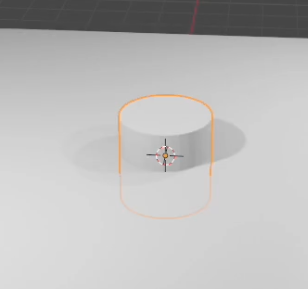
Test Revision - Cylinder
Detail steps
Select the cylinder
1.
Press G key to grab the object
2.
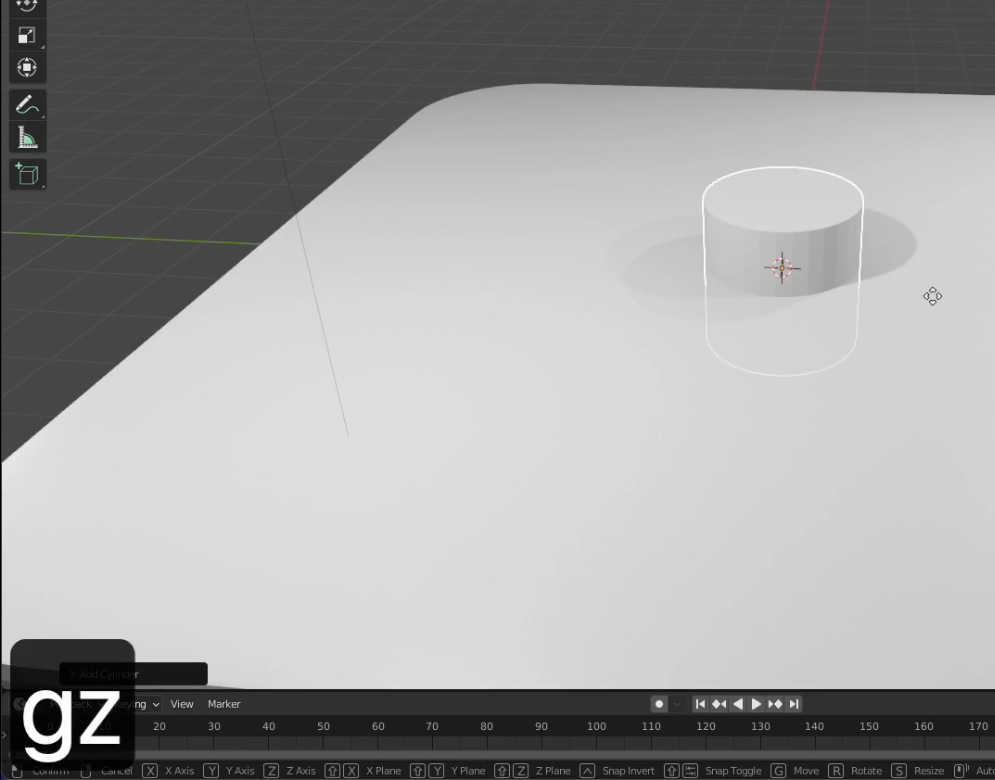
Press Z key to move it along with Z asix
3.
After
Test Revision - Cylinder
Detail steps
Select the cylinder
1.
Press Tab key to edit the object
2.
After
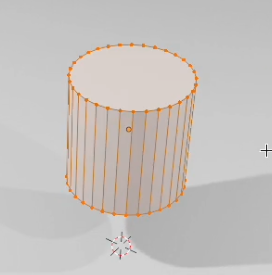
Test Revision - Cylinder
Detail steps
Press Ctrl + B keys to use Bevel tool
1.
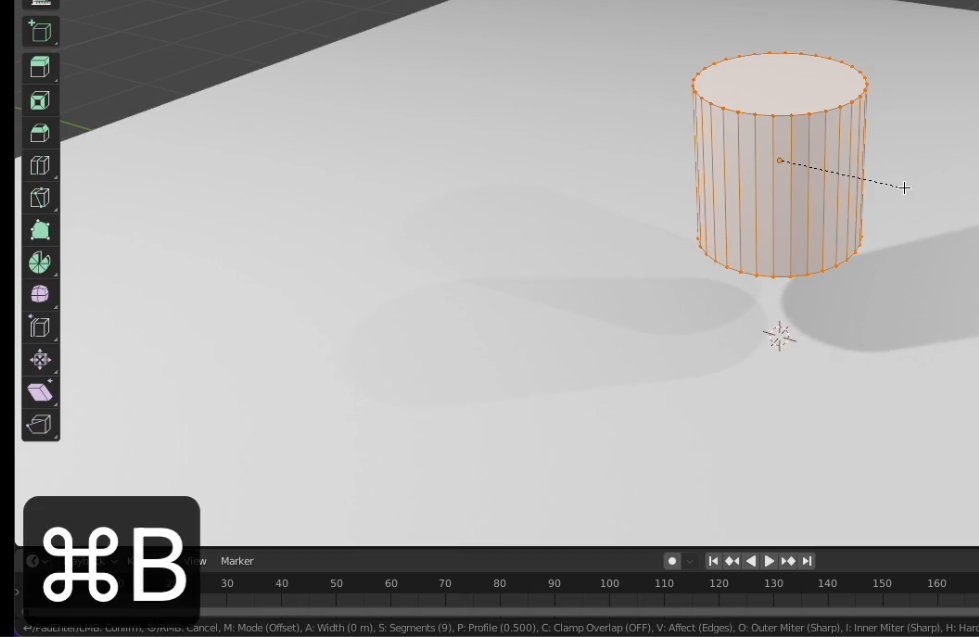
Move the mouse to adjust the corner of the object
2.
Click to confirm
3.
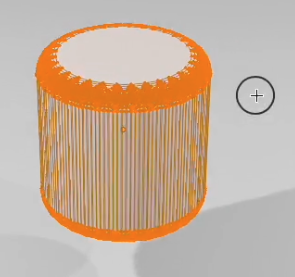
After
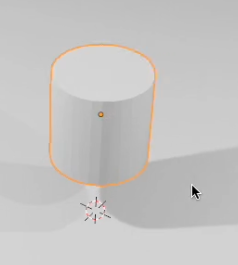
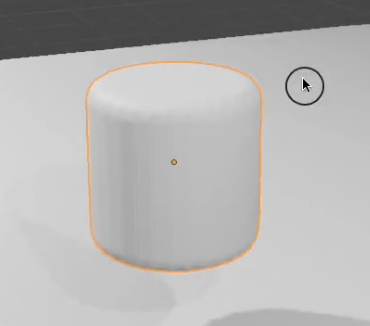
Test Revision - Cylinder
Detail steps
Press Tab keys to leave the editing mode
1.
Test Revision - Cylinder
Detail steps
Press R key to rotate the object
1.
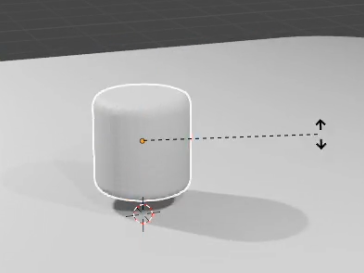
Click to confirm the rotation
2.
After
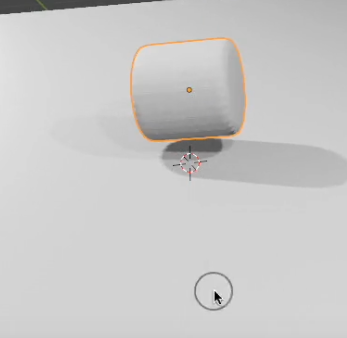
Test Revision - Cylinder
Detail steps
Press G keys to grab and move it to a suitable place
1.
Click to confirm the movement
2.
Test Revision
Part 4 - Create Dumbbell
Test Revision - Dumbbell
Detail steps
Press Shift + A keys to pop up the menu
1.
Choose Mesh -> Cube
2.
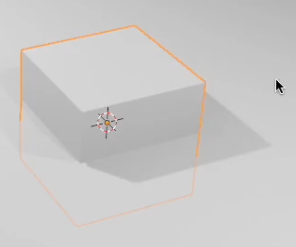
After
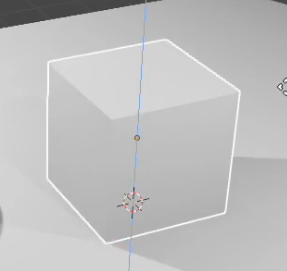
Test Revision - Dumbbell
Detail steps
Select the cube
1.
Press G key to grab the object
2.
After
Press Z key to move it along with Z asix
3.
Test Revision - Dumbbell
Detail steps
Select the cube
1.
Press S key to scale the object to be smaller
2.

Test Revision - Dumbbell
Detail steps
Select the cube
1.
Press Tab key to edit the object
2.
Test Revision - Dumbbell
Detail steps
Change to the face mode to enable selecting faces of the object
1.
Test Revision - Dumbbell
Detail steps
Select the face
1.
Press E key to extrude the face
2.
Press S key to scale the extruded face
3.
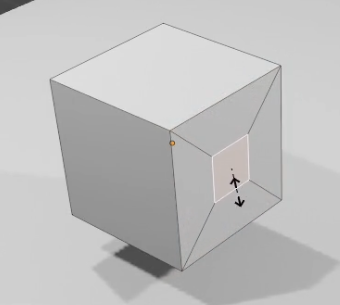
After
Test Revision - Dumbbell
Detail steps
1.
Press E key to extrude the face
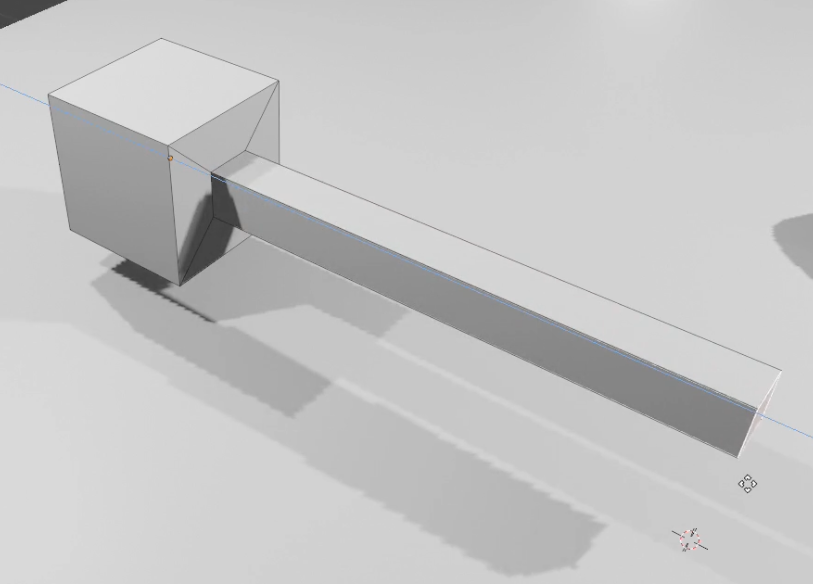
Test Revision - Dumbbell
Detail steps
1.
Press E key to extrude the face
2.
Press S key to scale the extruded face
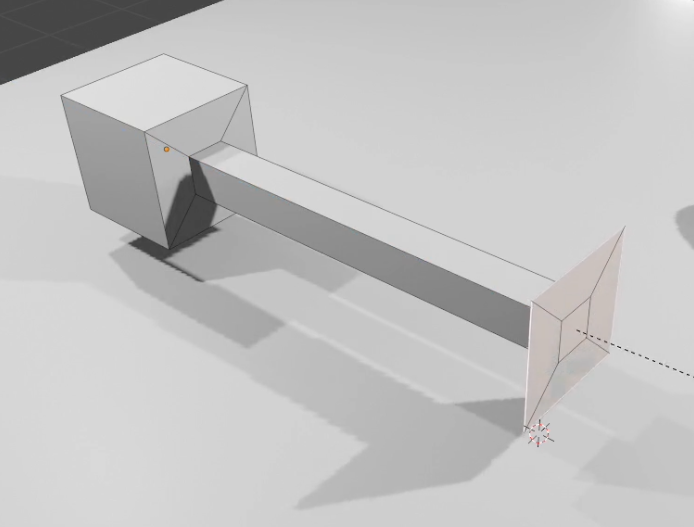
Test Revision - Dumbbell
Detail steps
1.
Press E key to extrude the face
Test Revision - Dumbbell
Detail steps
1.
Press A key to select all faces of the object
2.
Press Ctrl + B key to use bevel tool
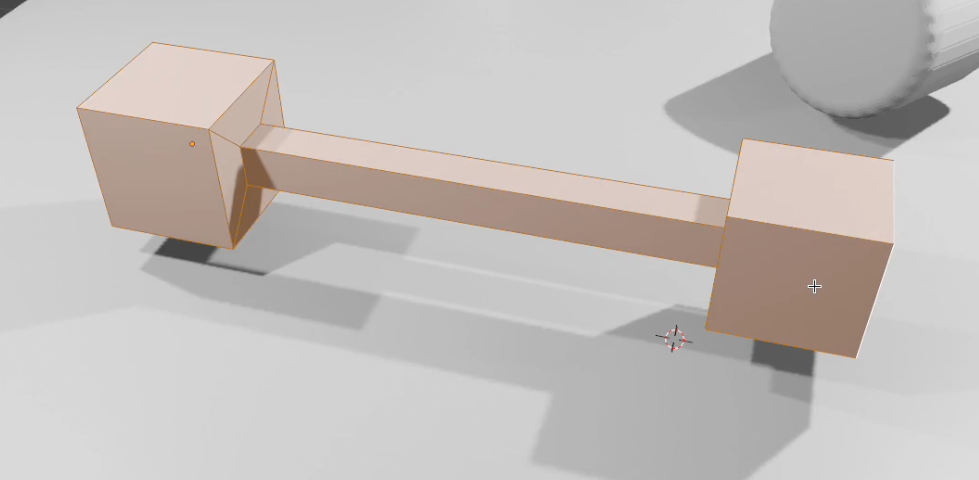
After
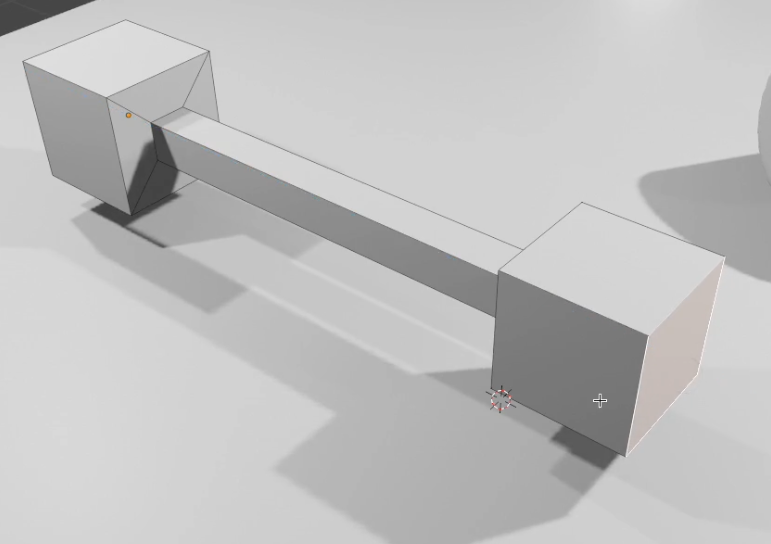
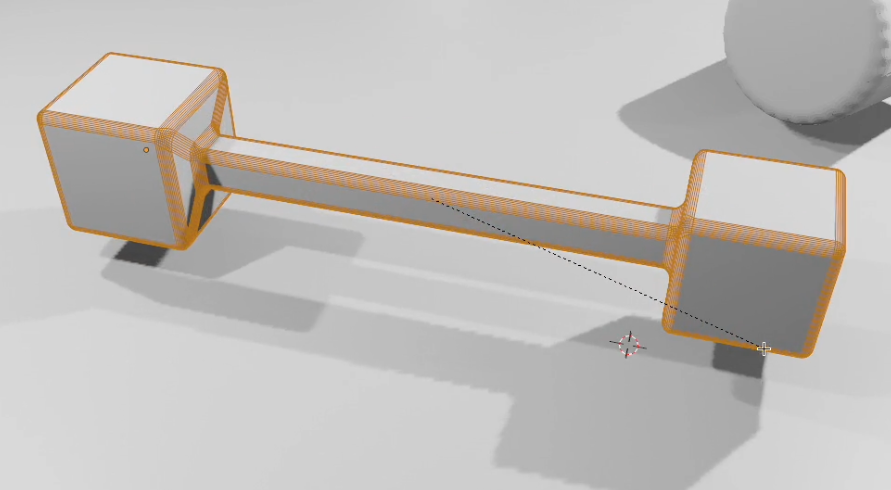
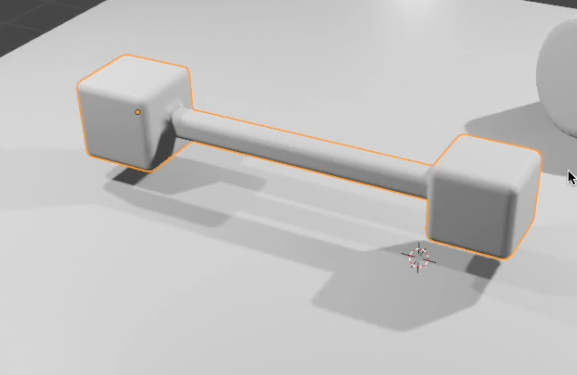
Test Revision - Dumbbell
Detail steps
1.
Press Tab key to leave the edit mode
Test Revision
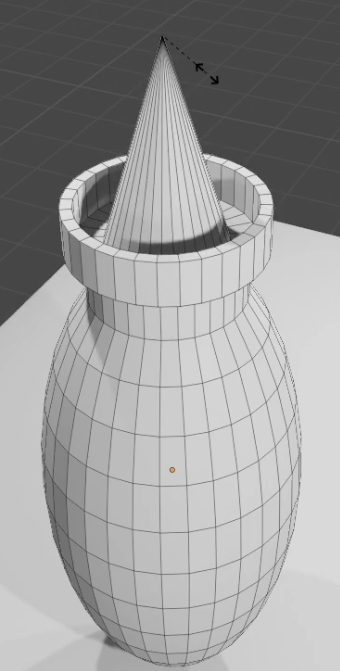
Part 5 - Create Rocket
Test Revision - Rocket
Detail steps
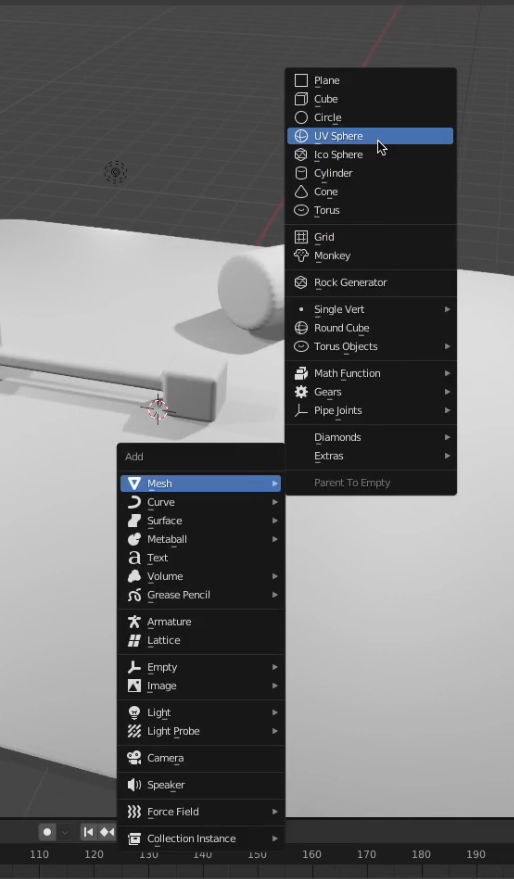
Press Shift + A keys to pop up the menu
1.
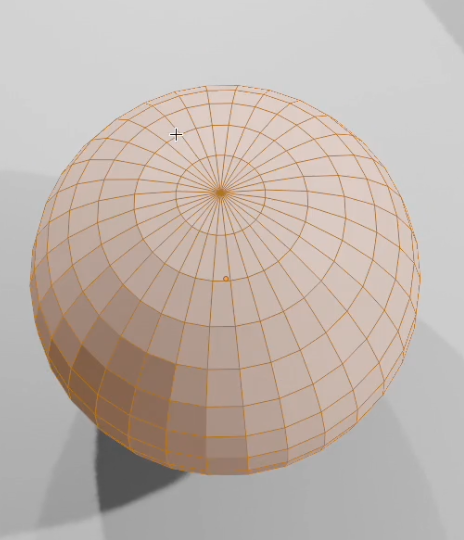
Choose Mesh -> UV Sphere
2.

After
Test Revision - Rocket
Detail steps
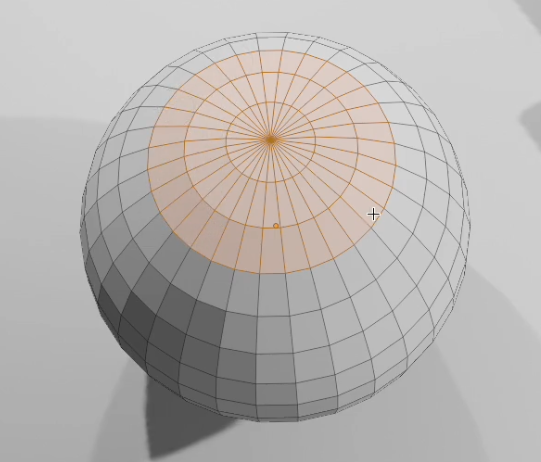
Press Tab key to edit the object
1.
Press and hold Shift key to select top faces
2.
After
Test Revision - Rocket
Detail steps
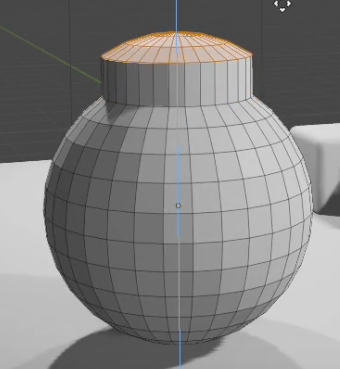
Press E key to extrude the face
1.
Press Z key to move it along with Z asix
2.
Test Revision - Rocket
Detail steps
Press S key to scale the face
1.
Press Z key to move it along with Z asix
2.
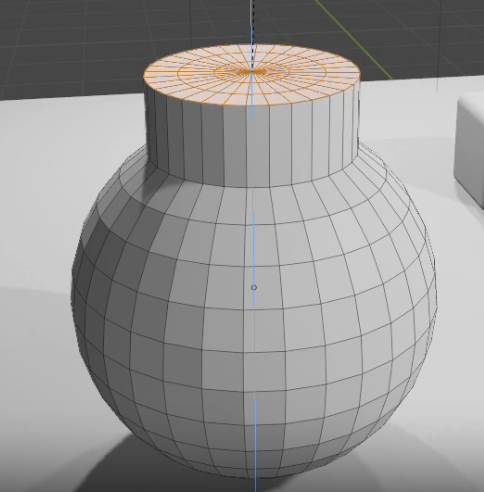
Input 0 as the scaling size
3.
Test Revision - Rocket
Detail steps
Press E key to extrude the face
1.
Press S key to scale the extruded face
2.
Test Revision - Rocket
Detail steps
Press E key to extrude the face
1.
Test Revision - Rocket
Detail steps
Press E key to extrude the face
1.
Press S key to scale the face
1.
Test Revision - Rocket
Detail steps
Press E key to extrude the face
1.
Test Revision - Rocket
Detail steps
Press Tab key to leave the edit mode
1.
Press S key to scale the object
2.
Press Z key to scale it along with Z asix
3.
After
Test Revision - Rocket
Detail steps
Press Tab key to edit the object
1.
Press and hold Shift key to select faces
2.
Test Revision - Rocket
Detail steps
Press E key to extrude the face
1.
Press S key to scale the selected face
3.
Pull up and click to confirm
2.
Input 0 as the scaling size
4.
After
Test Revision - Rocket
Detail steps
Press Tab key to leave the edit mode
1.
Press R key to rotate the object
2.
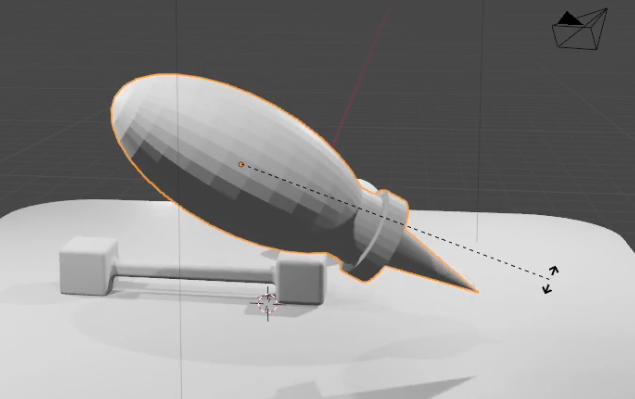
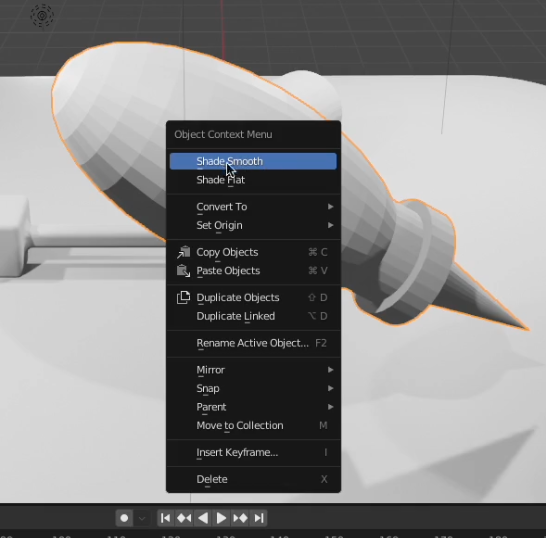
Test Revision - Rocket
Detail steps
Right click the object
1.
Select Shade Smooth option to make faces to be smooth
2.
Test Revision
Part 6 - Assign colour to the ground
Test Revision
Part 7 - Assign colour to the cylinder
Test Revision
Part 8 - Assign colour to the dumbbell
Test Revision
Part 9 - Assign colour to the rocket
Test Revision
Part 10 - Render image
F3 - Test Revision
By Mr Peter


