SETUP
WE NEED TOOLS
SPARK AR v90+

Create AR experiences for Instagram & Facebook -Meta-
ANY NOISE TEXTURE
Visual displacement with a single .jpeg
BASIC SETUP
- Create a new Blank Project in Spark AR
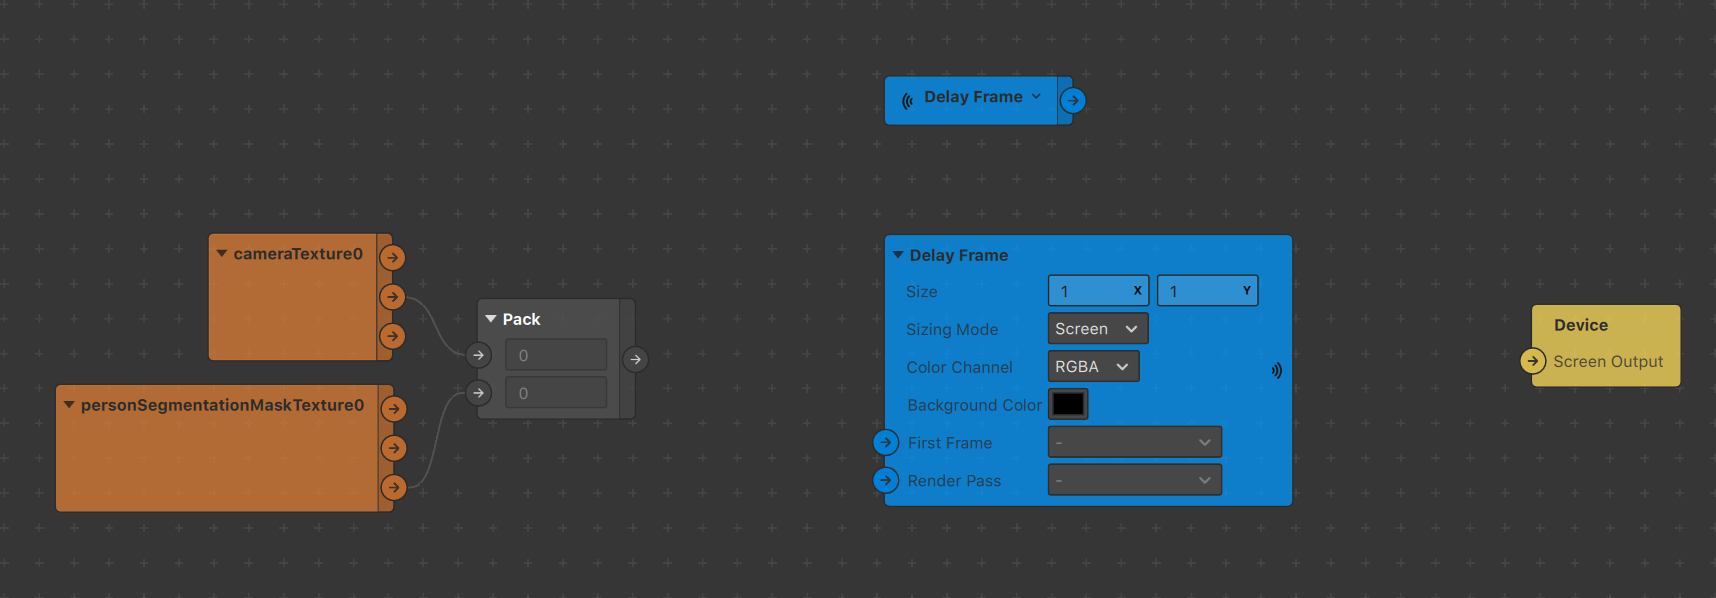
- Import patches in your patch editor as shown below :
FEEDBACK LOOP
Basic Loop : we take the output of the Delay Frame, apply transformations to it and feed it back in the same Delay Frame
How?
Texture Transform patch + 2D Transform Pack patch
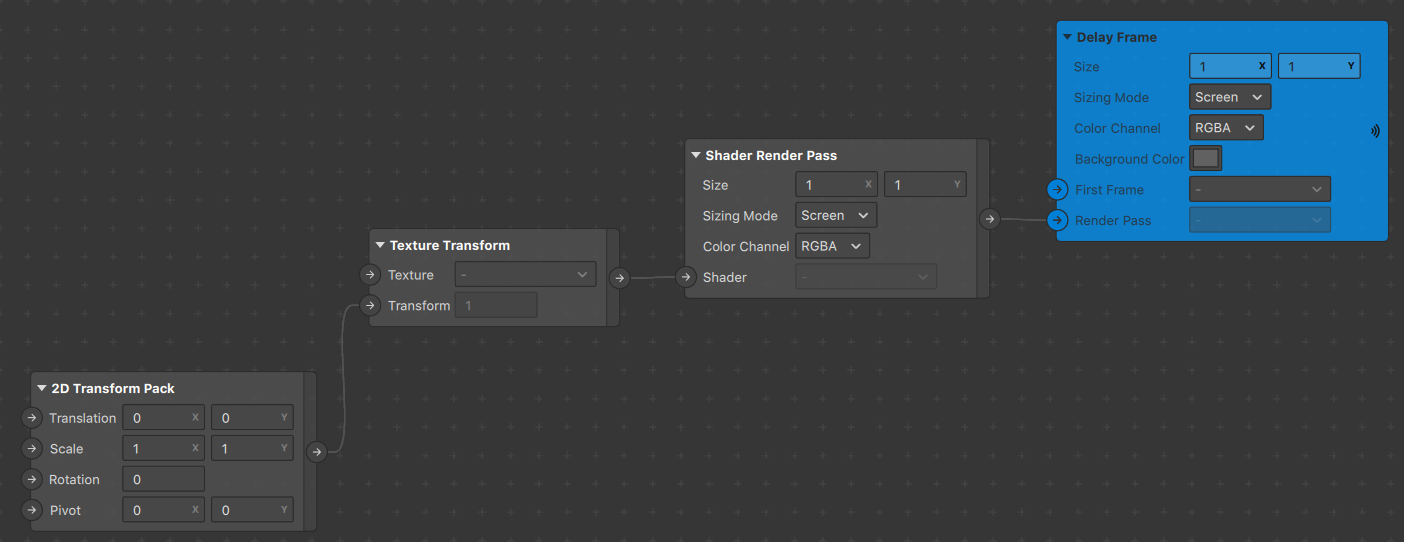
We're dealing with Shaders, so we need a Shader Render Pass patch in between
What to feed into the texture transform?
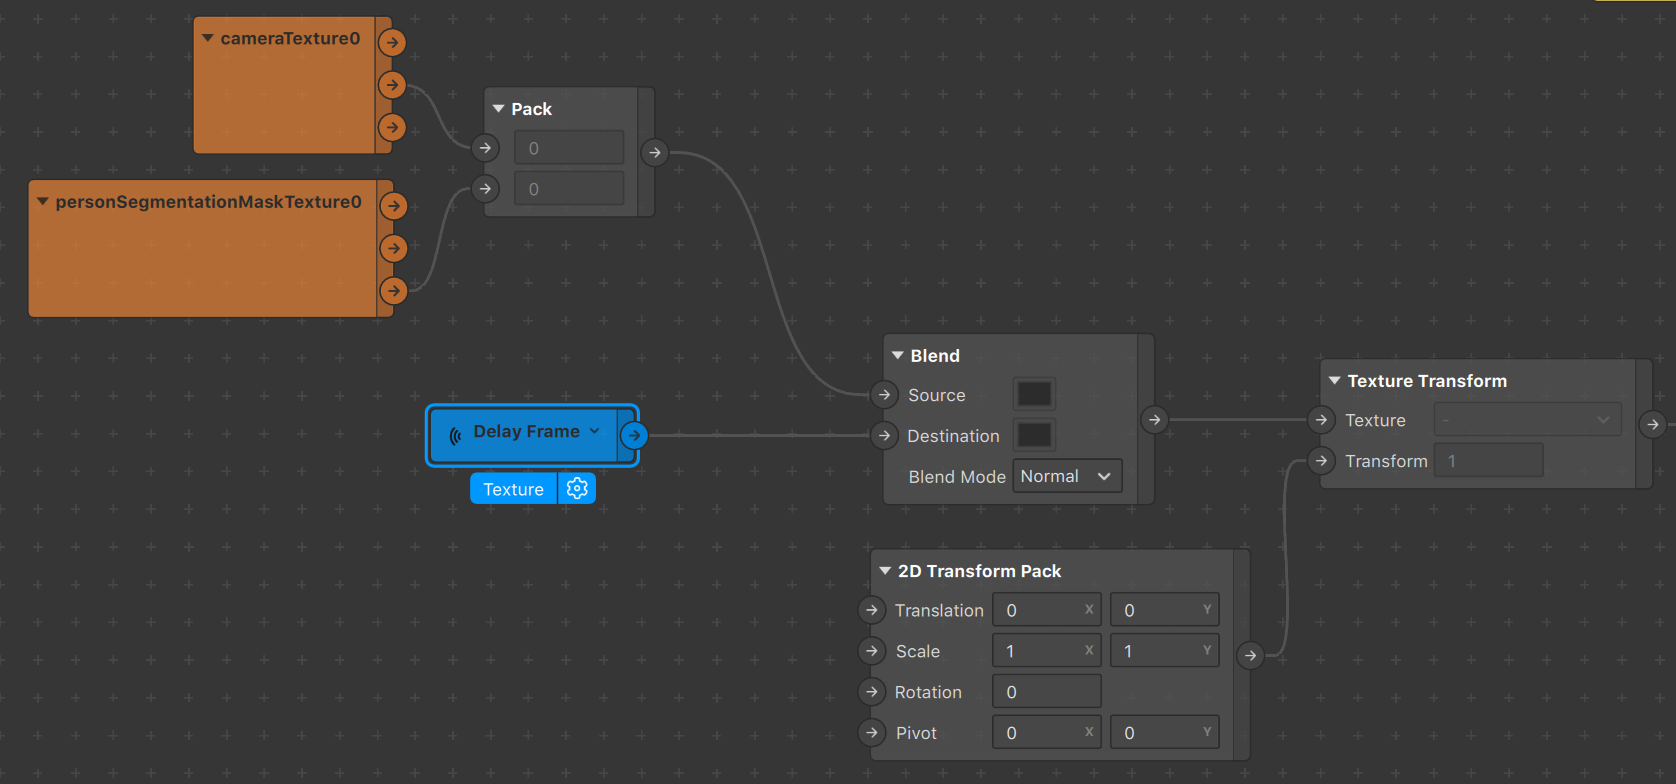
Our Person Segmentation setup!
N.B: Notice the Blend patch is set to "Normal" blend mode
Connect the output of the Blend patch to the input of our Device patch to get preliminary results!
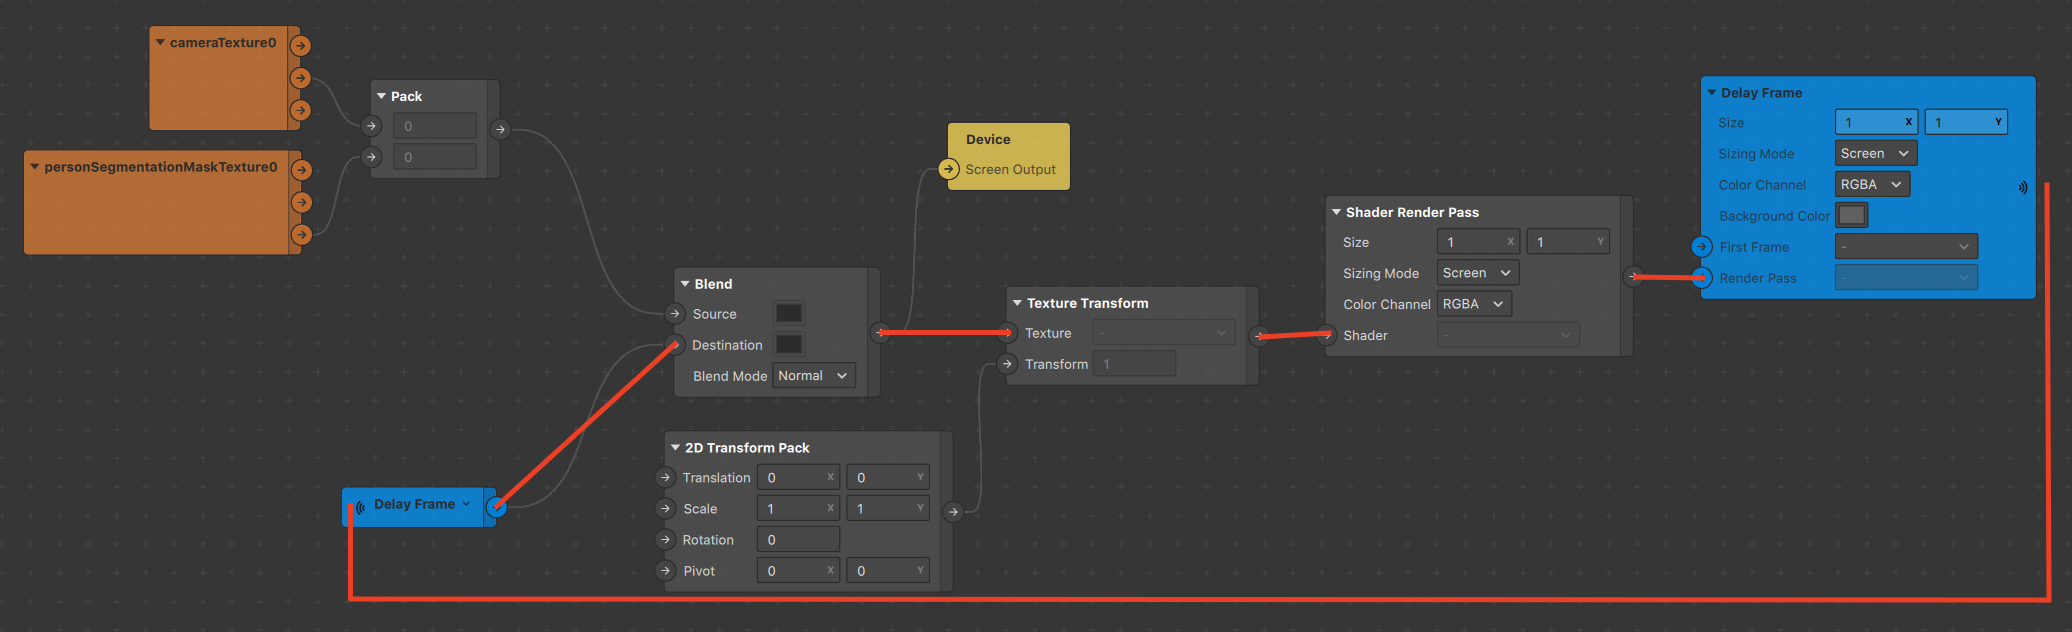
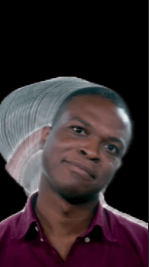
The Red lines highlight the loop we created
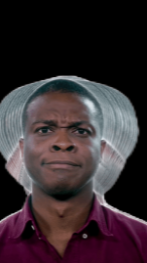
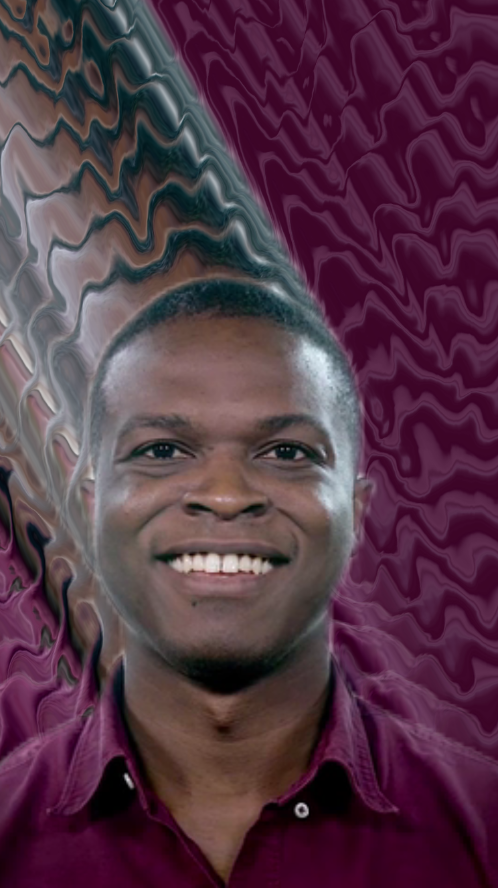
As Dolapo moves, he leaves behind after-images that we're going to transform
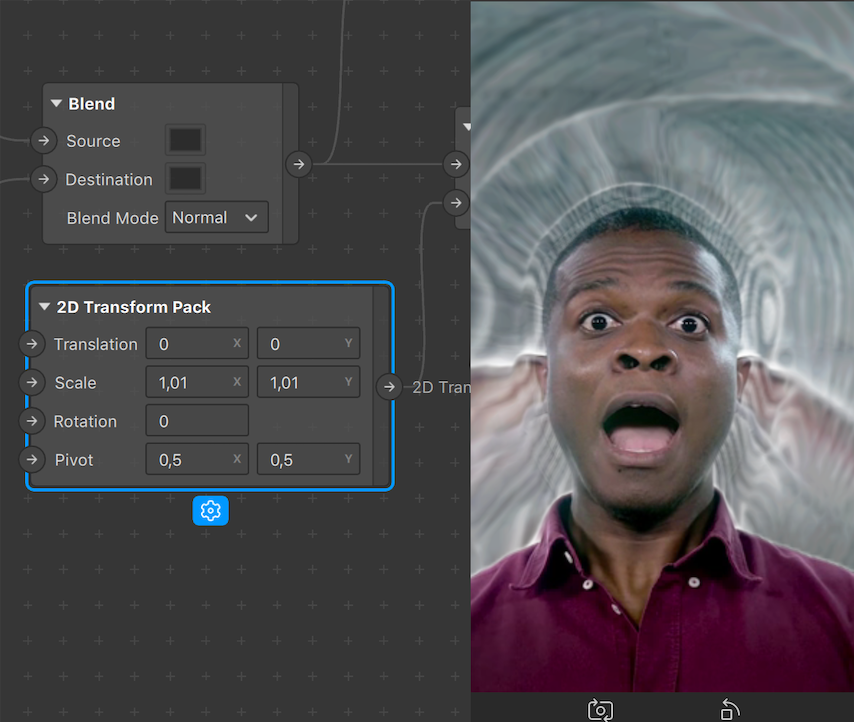
We can change the background color by modifying it in the Delay Frame patch
Modifying the values within the 2D Transform pack now affects our delayed frames
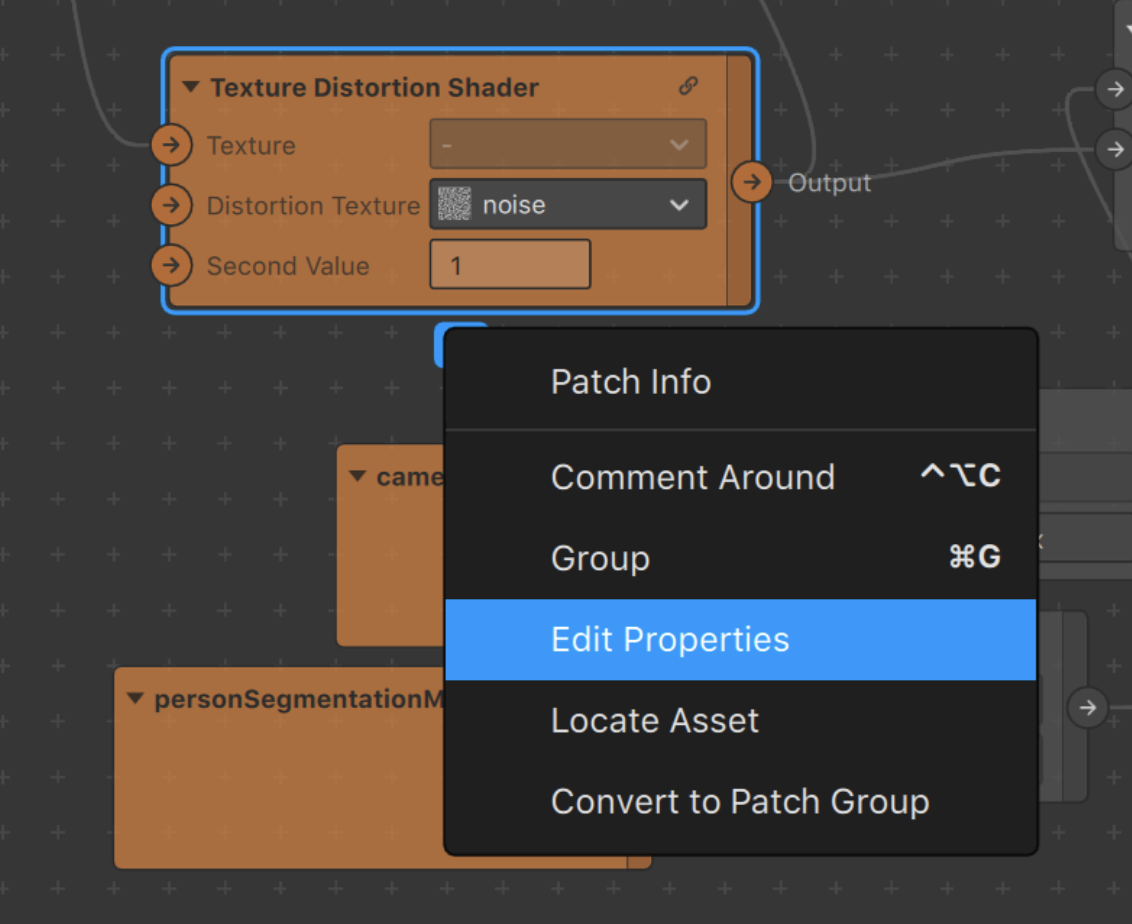
TEXTURE DISTORTION SHADER
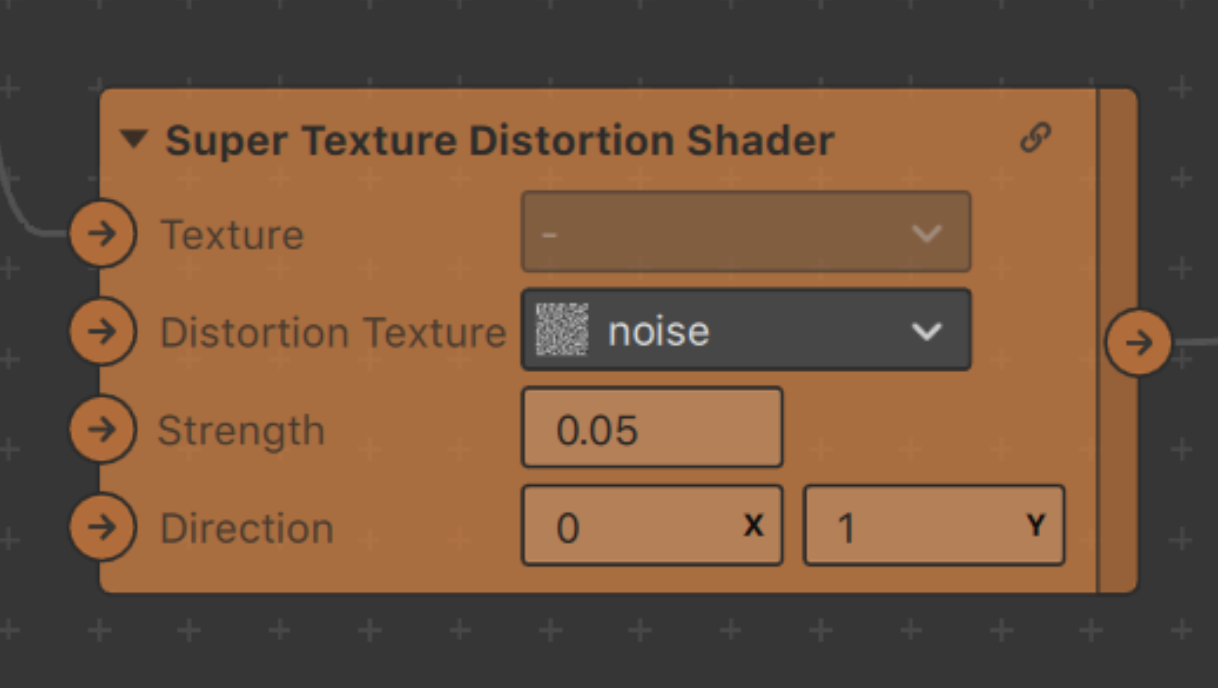
Find the Texture Distortion Shader patch in the Spark AR Studio AR Library

We'll use this new patch to connect the Delay Frame Receiver patch and the Blend patch
N.B: Use your noise texture in the second slot of the patch

We can recognize the noise texture as being used to distort our frames visually

We're going to be modifying the patch a bit to make it more flexible
1) expose a value to control the strength of the distortion
2) expose another value to control the direction
1) Strength Control
Expand the patch and add an input on the first Multiply patch, this is our Strength input
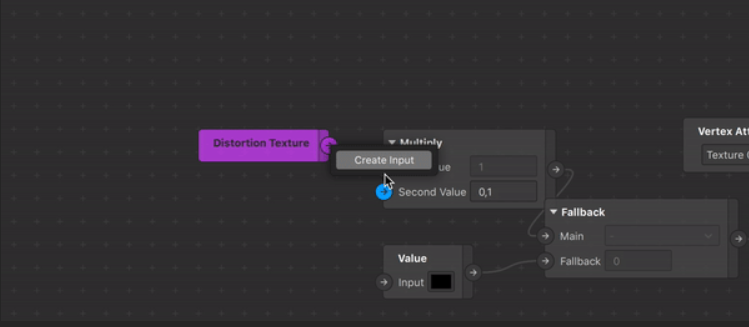
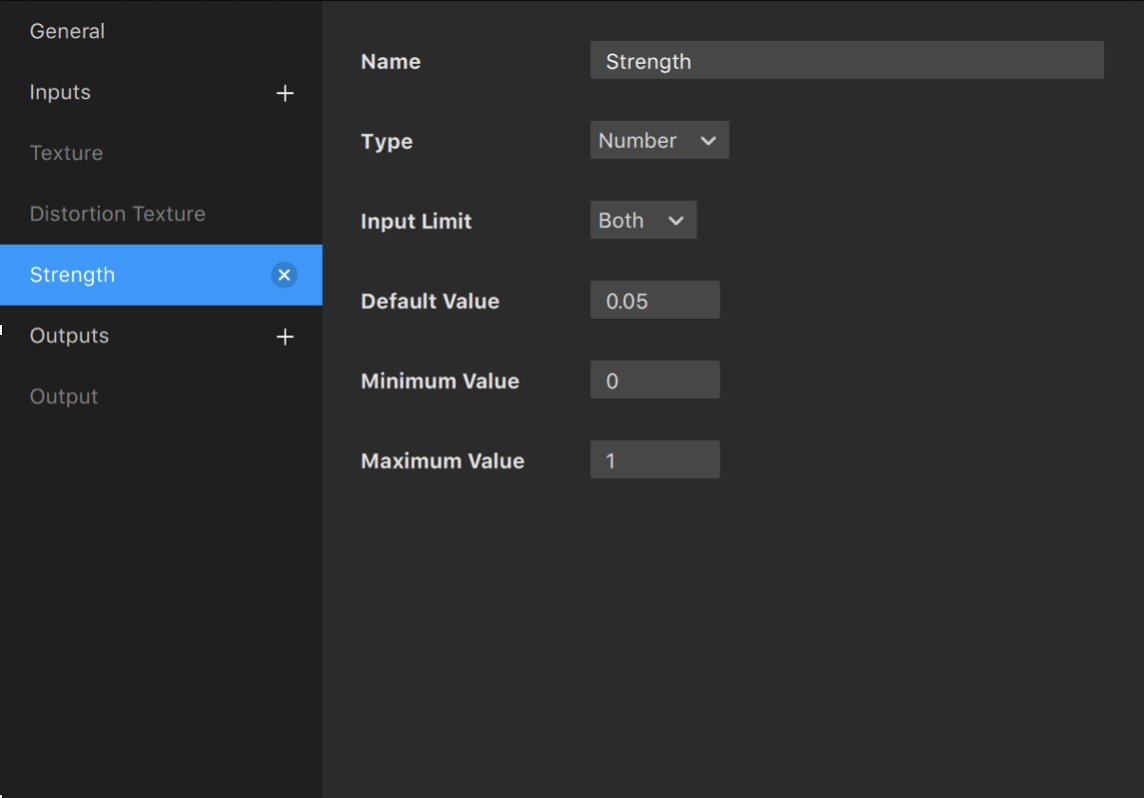
You can Edit the name of this input and other information by right-clicking your custom patch and going to "Edit Properties"
2) Direction Control
Add a Multiply patch in between the Swizzle patch's Output and the Add patch's second Input
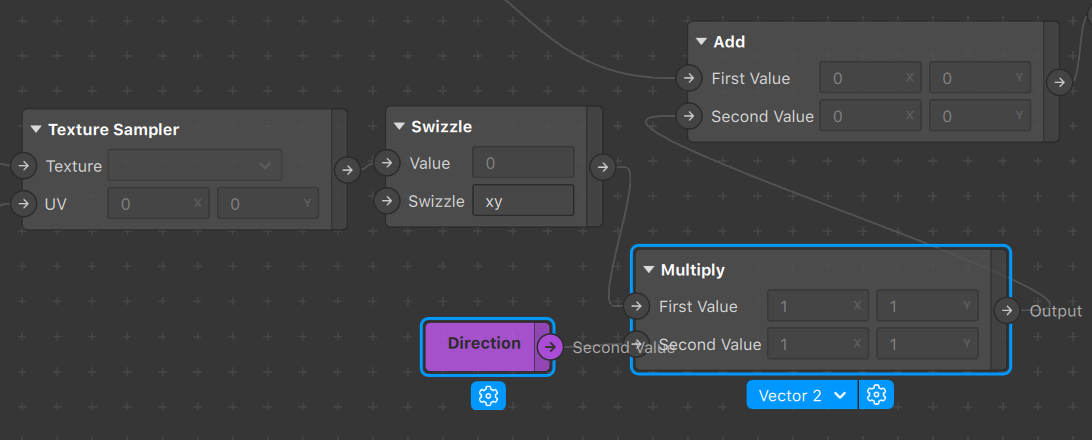
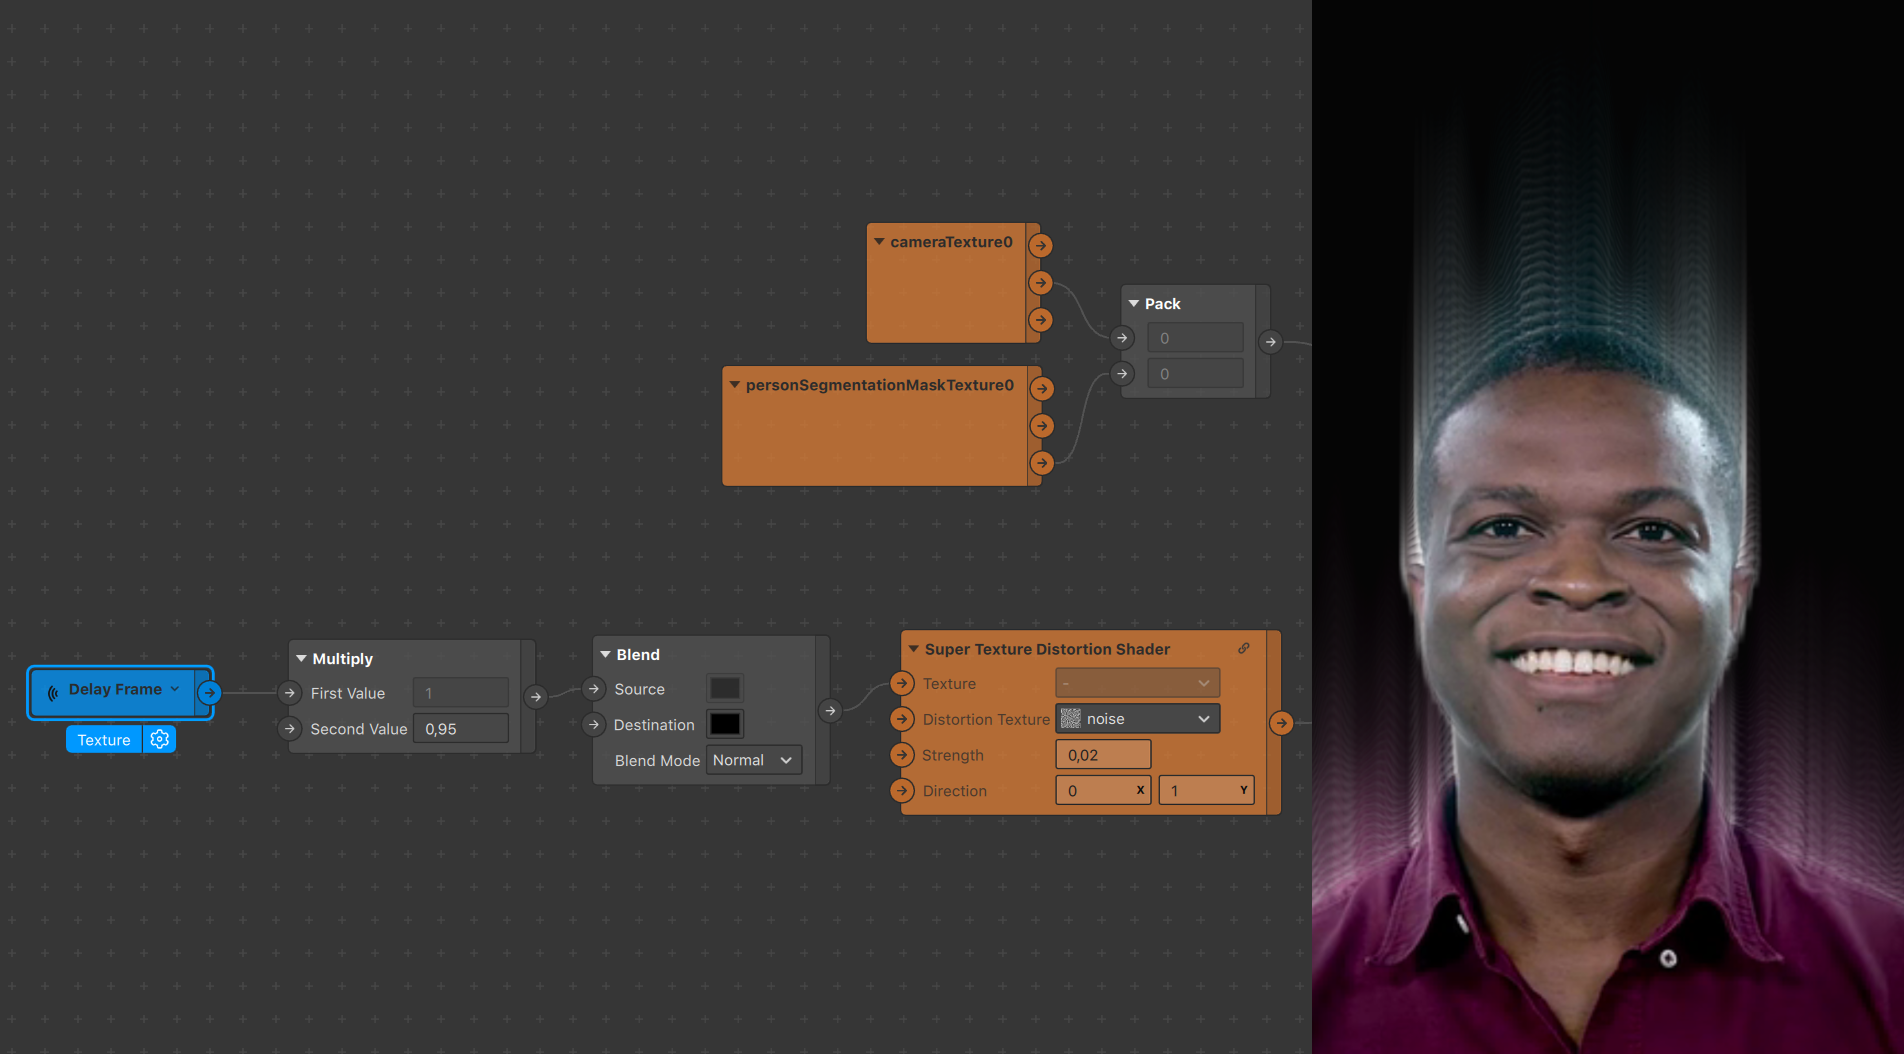
Your new SUPER TEXTURE DISTORTION SHADER patch should look something like this
SMOKE?
This is roughly what you should be seeing at this point
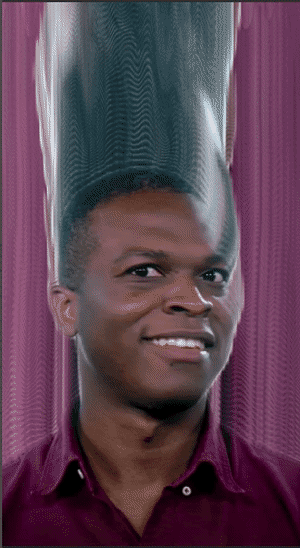
To go from this to smoke, we need to accomplish two things :
1) Limit the reach of the delayed frames
2) Change the color
1) Limit the reach
Add a Multiply patch set to a value below 1 between your Delay Frame and STDS
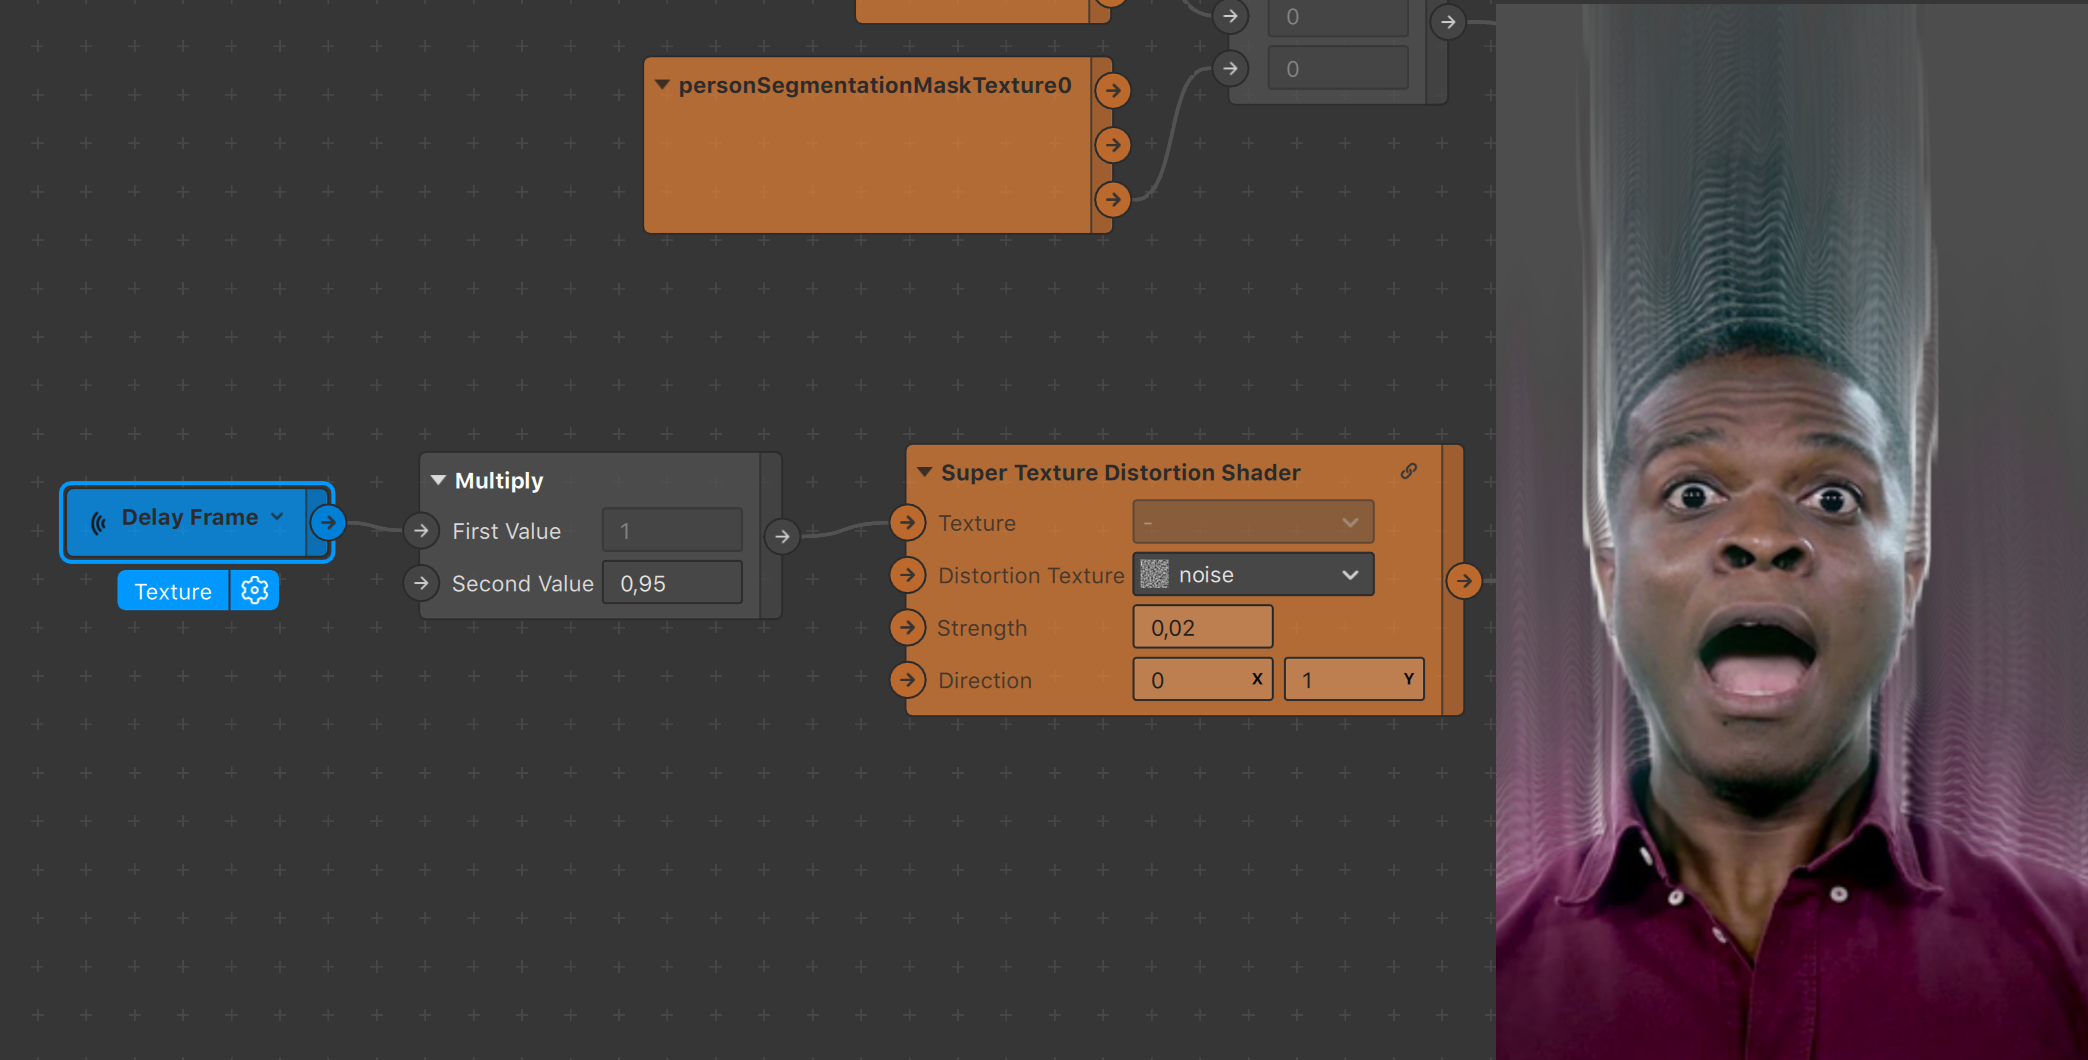
Add a Blend patch between the newly added Multiply and the STDS
This allows us to regain control of the background color, from now on set in the Destination input of the Blend patch
2) Make the smoke white
Until now we've been using the personSegmentationMaskTexture as the input being delayed and transformed, hence the coloring.
We instead want to feed only it's Alpha channel, which is comprised of only black and white.
Bring the blend patch connected to Device Output upwards
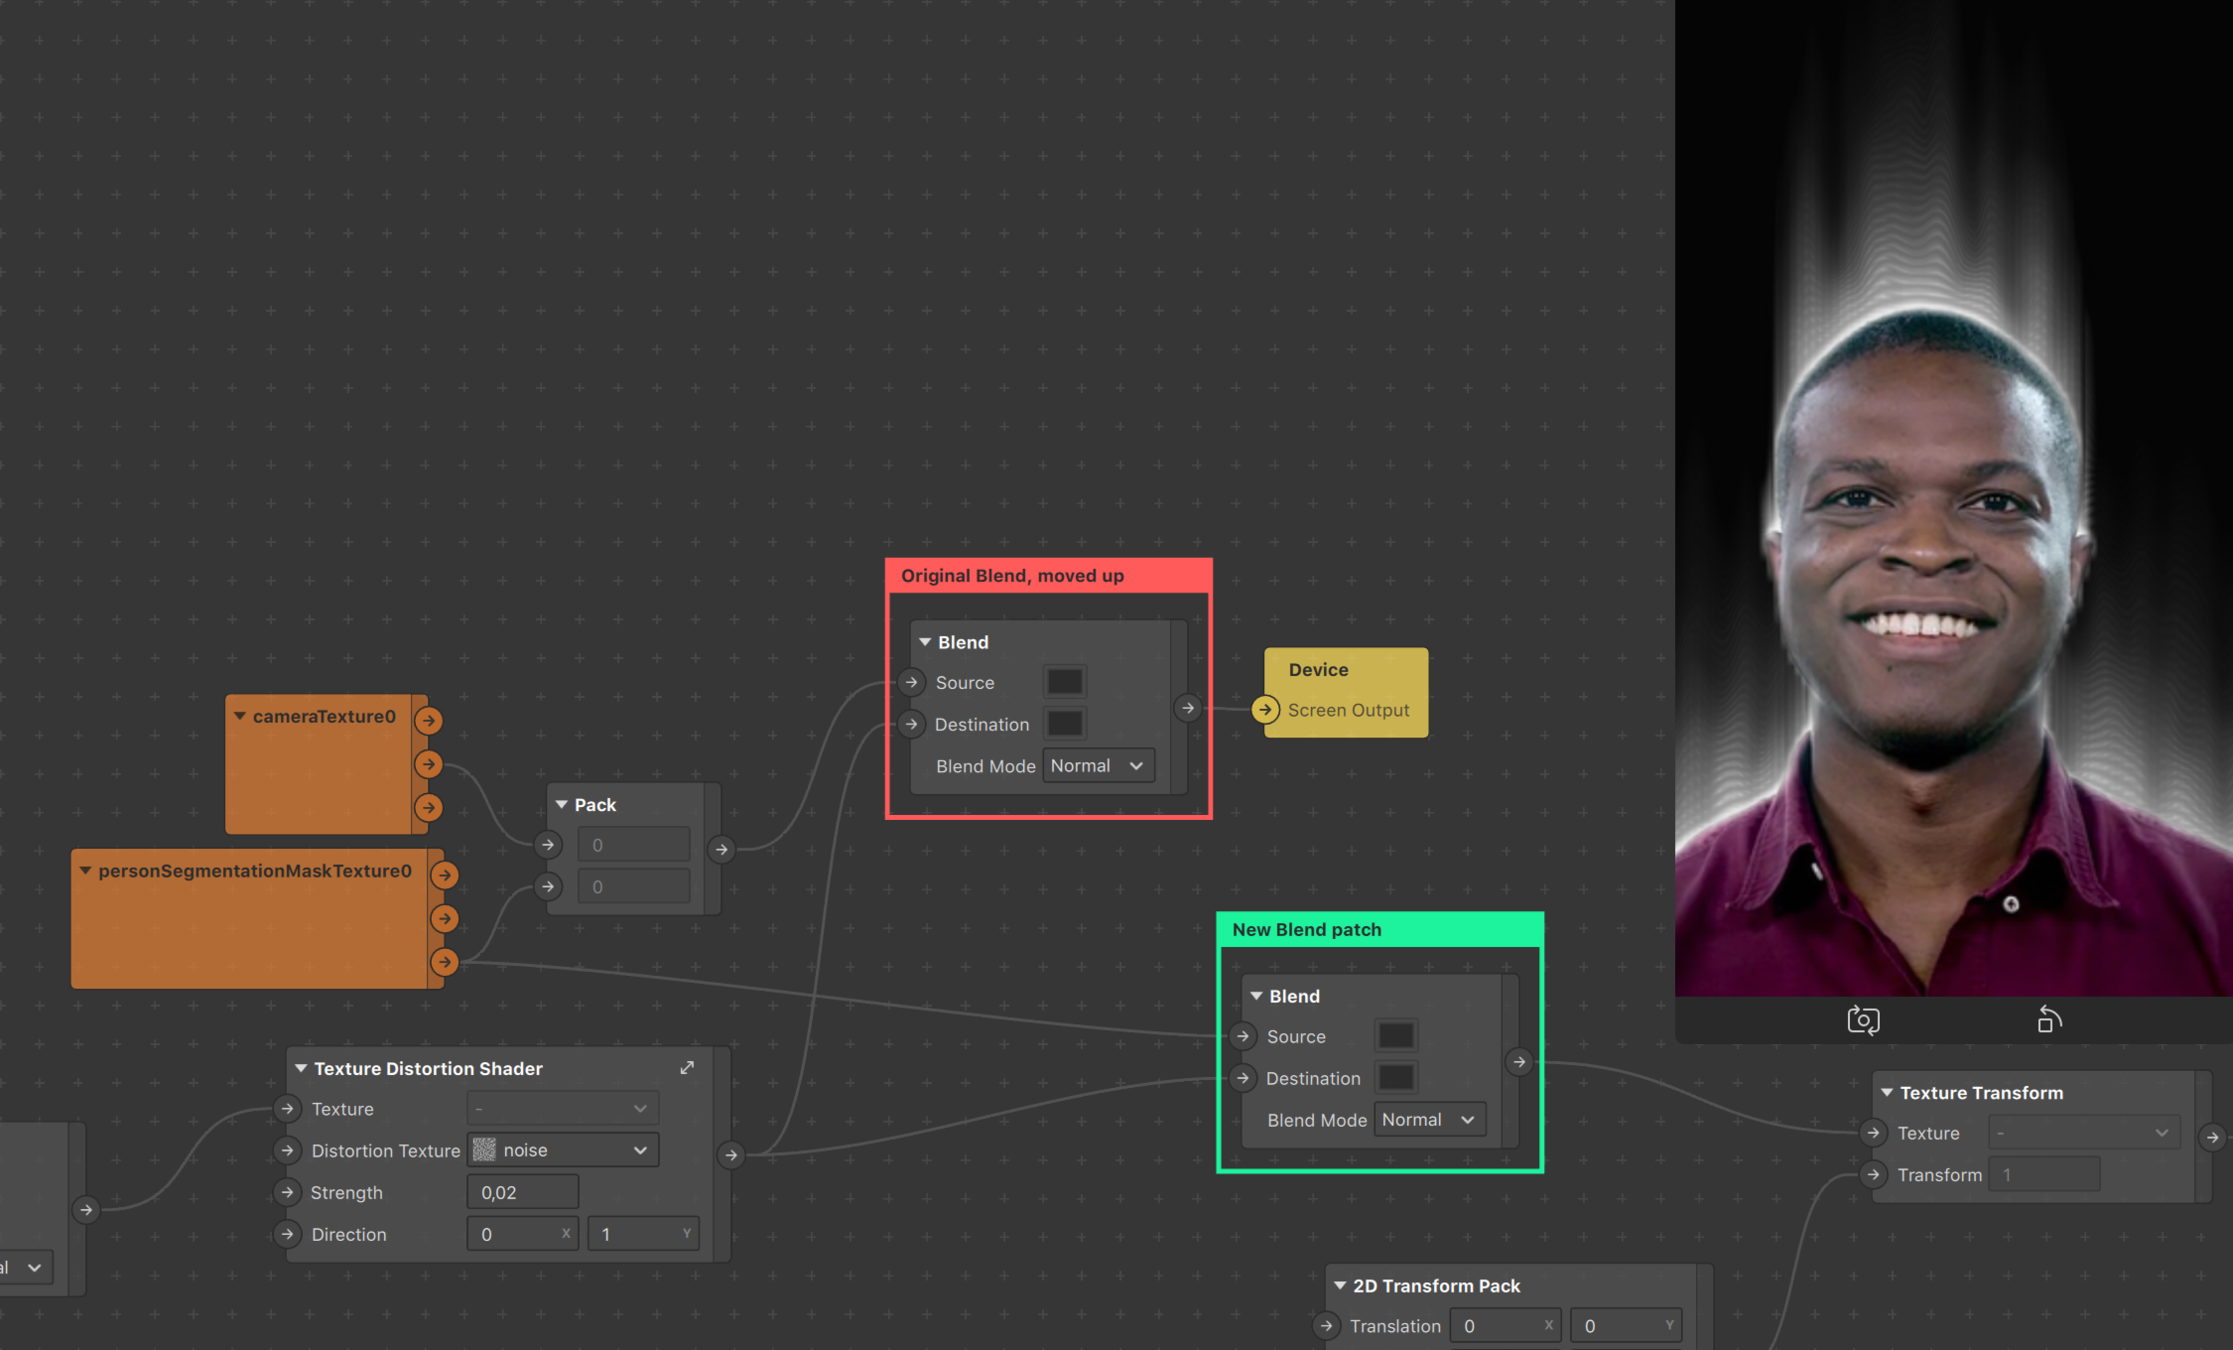
Add a new Blend patch underneath, taking the Alpha output from the segmentation and the Super Texture Distortion Shader output
It's Output will become the new Texture slot of the Texture Transform patch
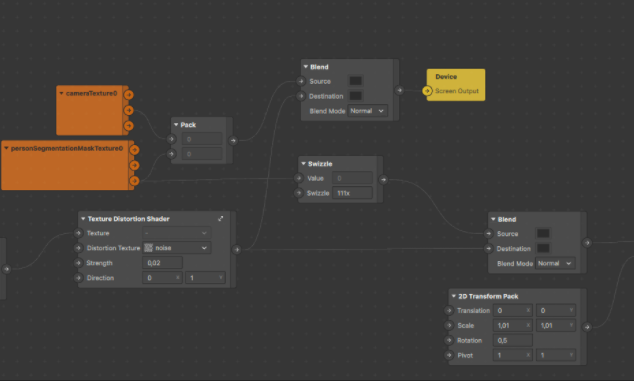
Add a Swizzle patch set to 111x between the Segmentation and the Blend patch to keep only the Alpha channel information
EXTRA : APPLY TO 3D OBJECT
Import any 3D item into your scene
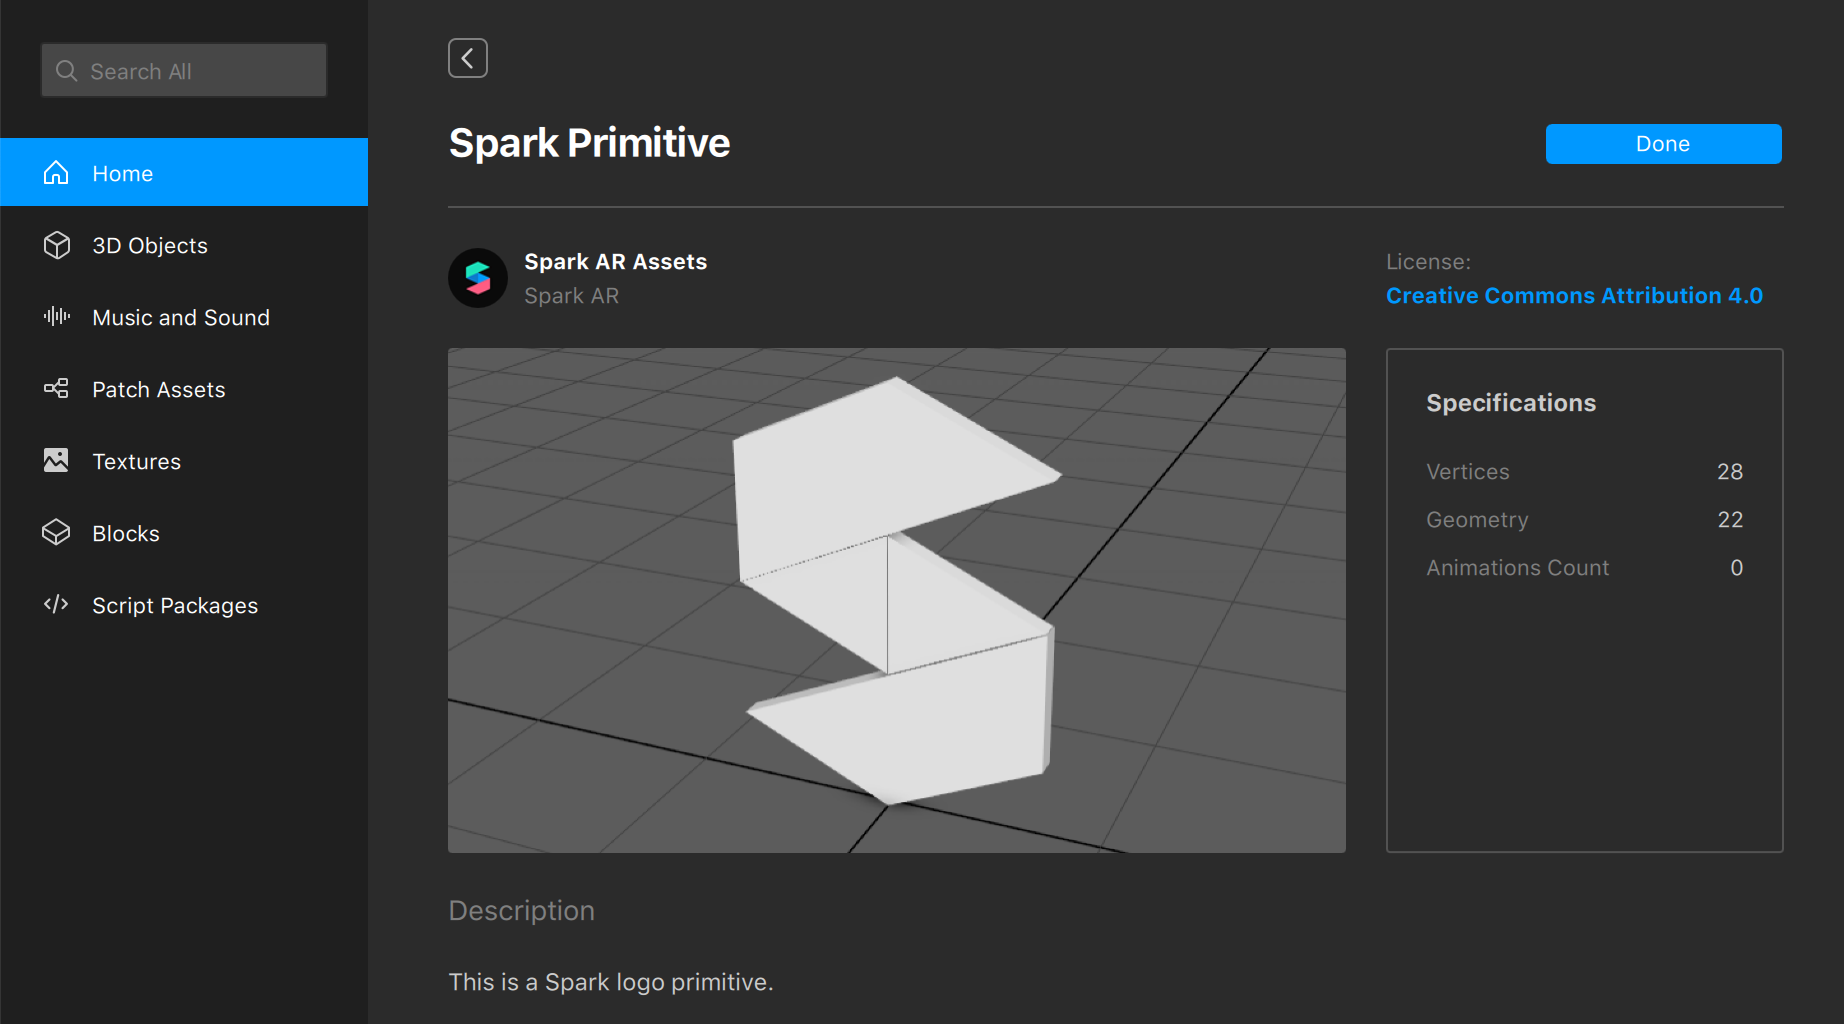
For this example we'll simply import a basic 3D shape from the Asset Library
Two things to take into account here :
1) What's driving the distortion
2) What's being rendered in front
To use the 3D object, we need to use a Scene Render Pass patch
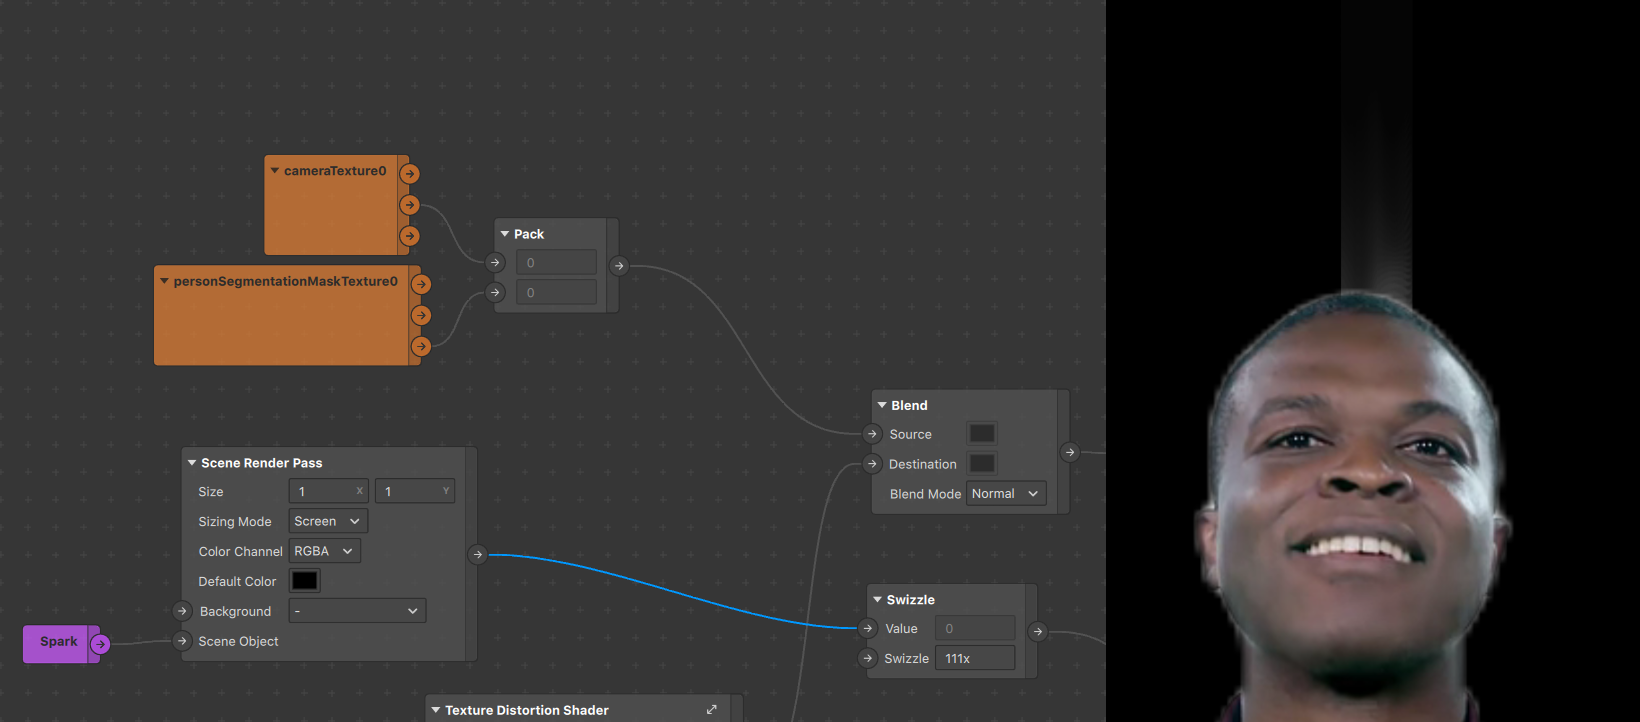
Now to tell Spark AR Studio to render our 3D object
Finish connecting our new 3D object to the previous setup
We now see our 3D model instead of the person segmentation, however we don't see the smoke
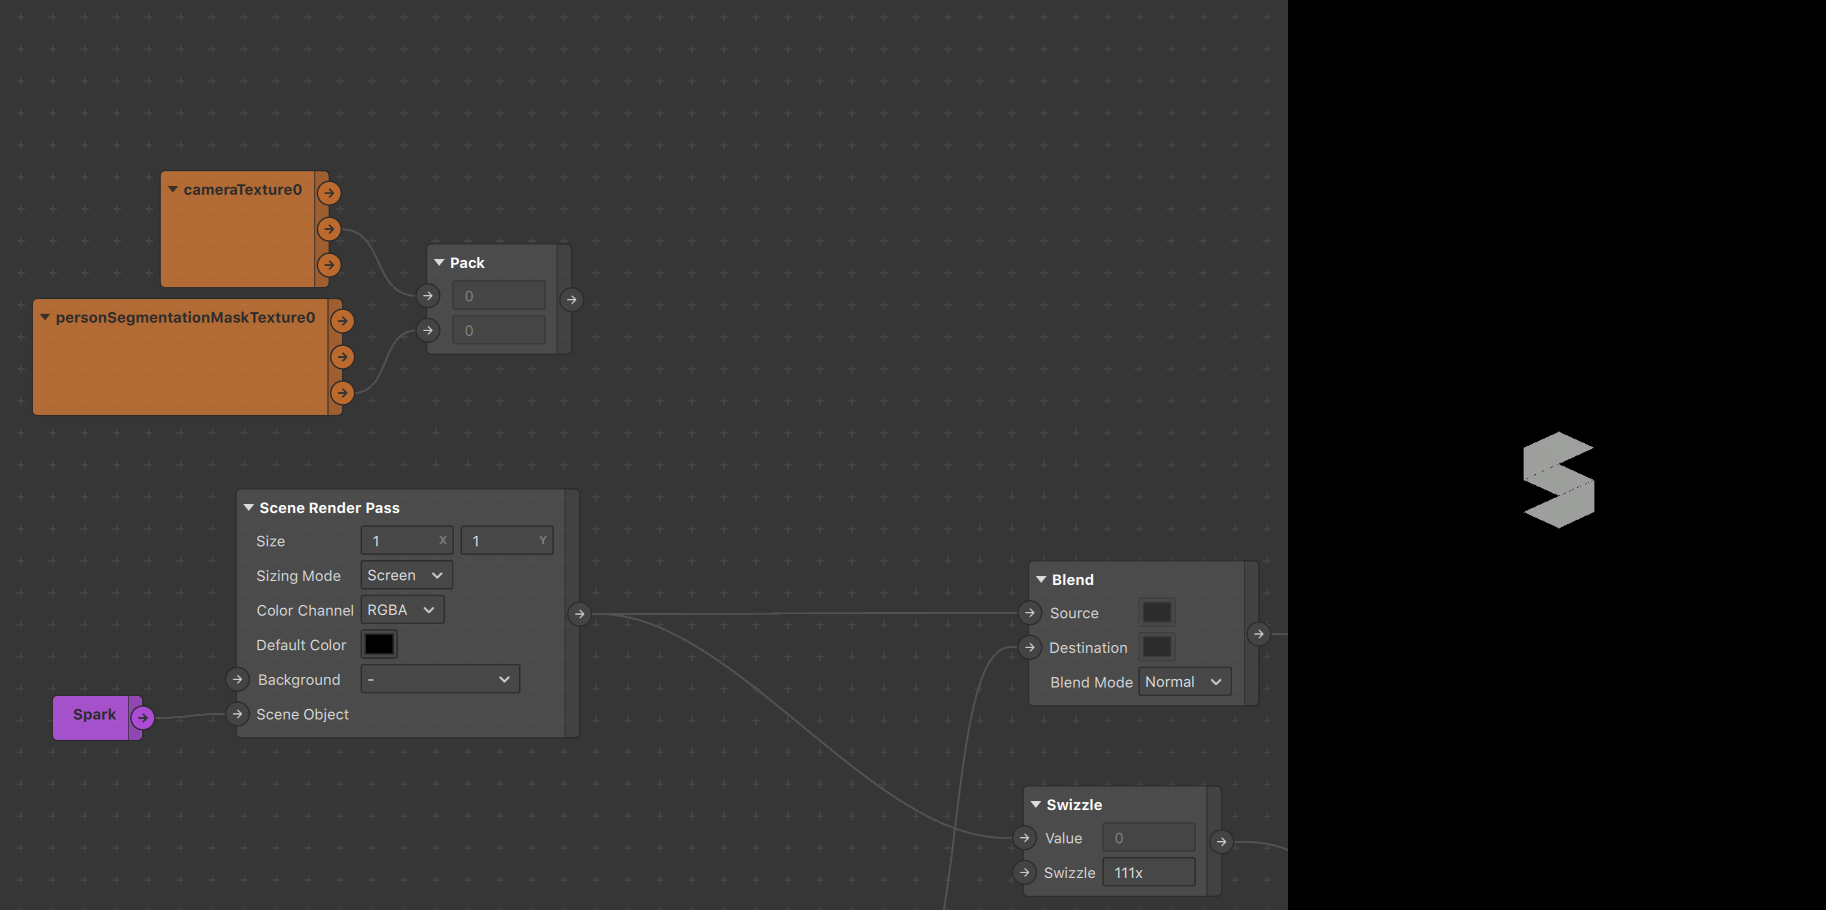
Remove the Background color on the Scene Render Pass to see the smoke
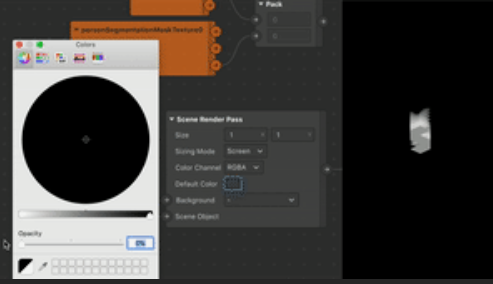
A final step would be to remove the black background
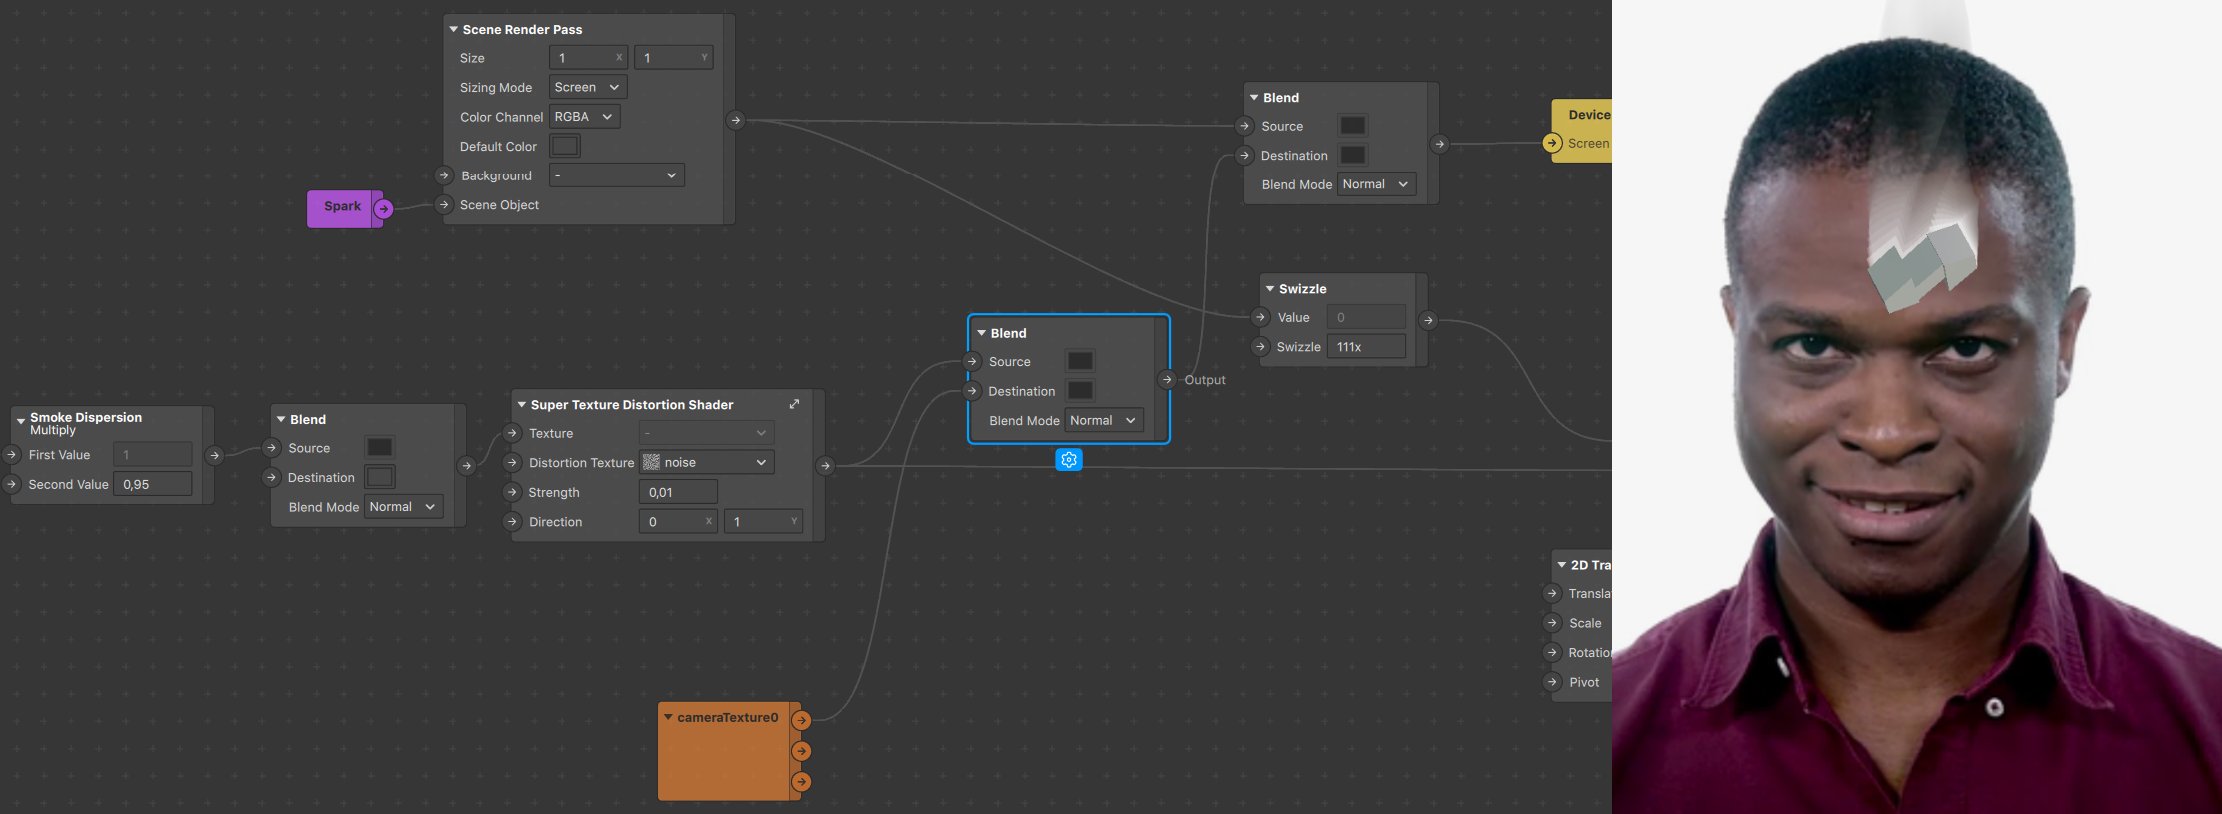
We'll move the Blend patch between our Multiply and Super Texture Distortion Shader patches and put it right after the chain (image above)
CONCLUSION
Now that you have the Super Texture Distortion Shader and you know how to create smoke with it, here are a few things to experiment with :
-
Animated noise to make the smoke more fluid!
-
Animation sequences, like fire!
-
Try making a glass effect with the distortion patch!
-
Multiply the smoke emitter by an animated color value!
-
Combine smoke and distortion for some heat waves!
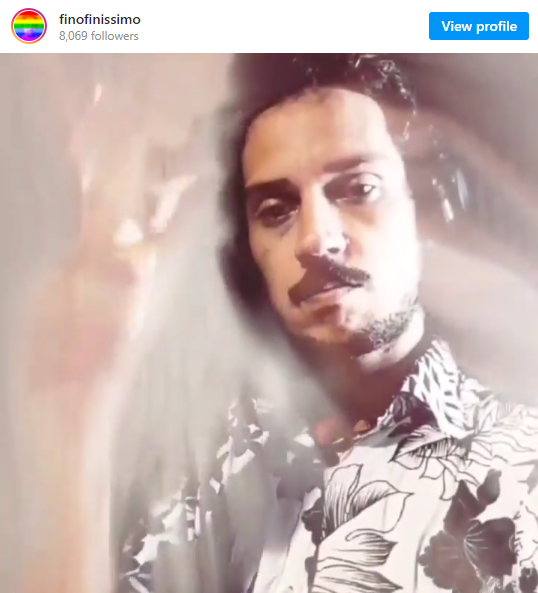
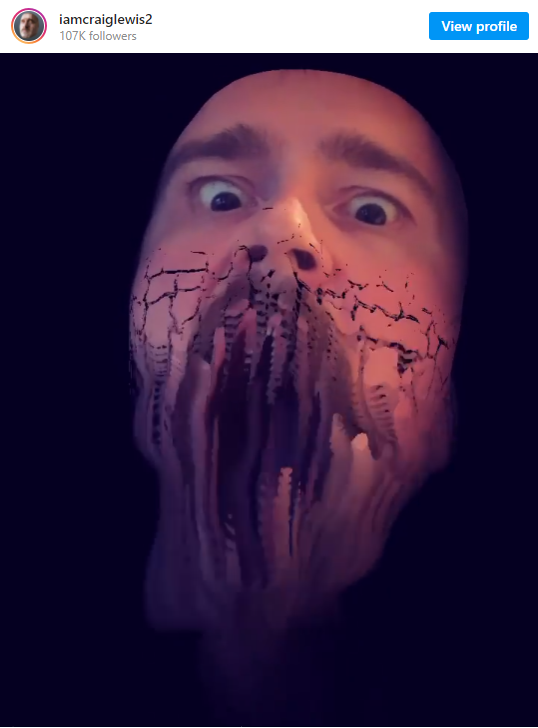
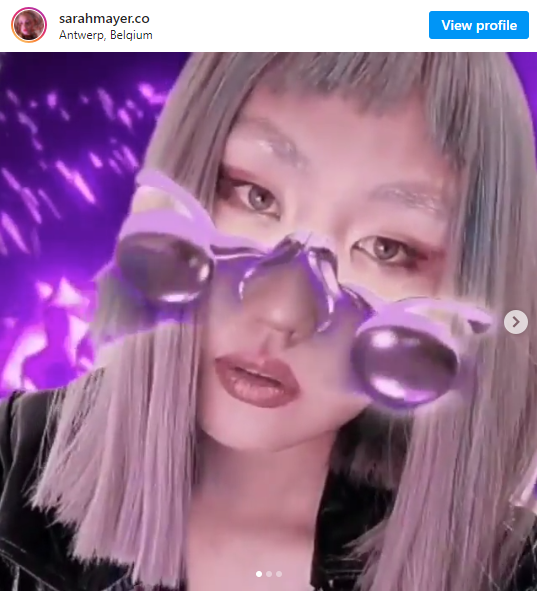
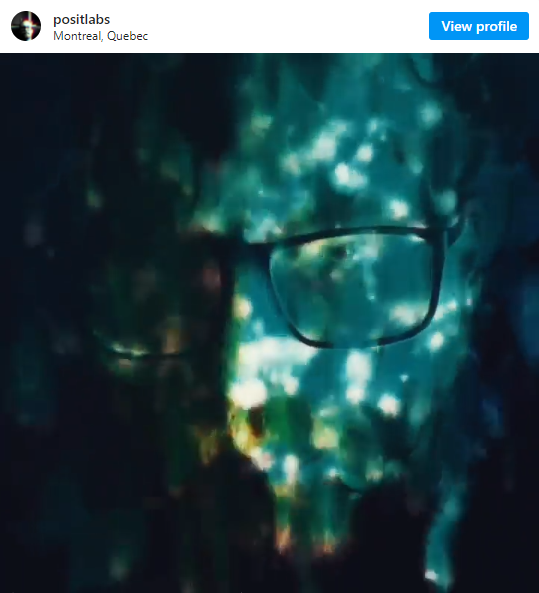
INSPIRATION
Check out these cool smokey effects!
If you make something cool, tag us on IG @popul_ar.experience!
Smoke Tutorial
By Alie Ross
Smoke Tutorial
In this slide deck you'll learn how to create a smokey visual shader using Spark AR.


