JAMstack Netlify Workshop
Serverless


What can we use it for?
- Clean data on a cron job ⏰
- Take data and use it to create data visualizations 📊
- Crop images uploaded by the user and create a user profile 🖼
Benefits
-
You pay only for what you use
(usually a lot less) - Less time babysitting a server
- Same idea as functional programming, breaking things into small bits
- Principle of least power
Simplest Example
functions/index.js
// functions/index.js
exports.handler = async (event, context) => {
  return {
    statusCode: 200,
    body: JSON.stringify({
      message: "Hi there Tacos",
      event
    })
  }
}
Simplest Example
netlify.toml
[build]
  functions = "functions"
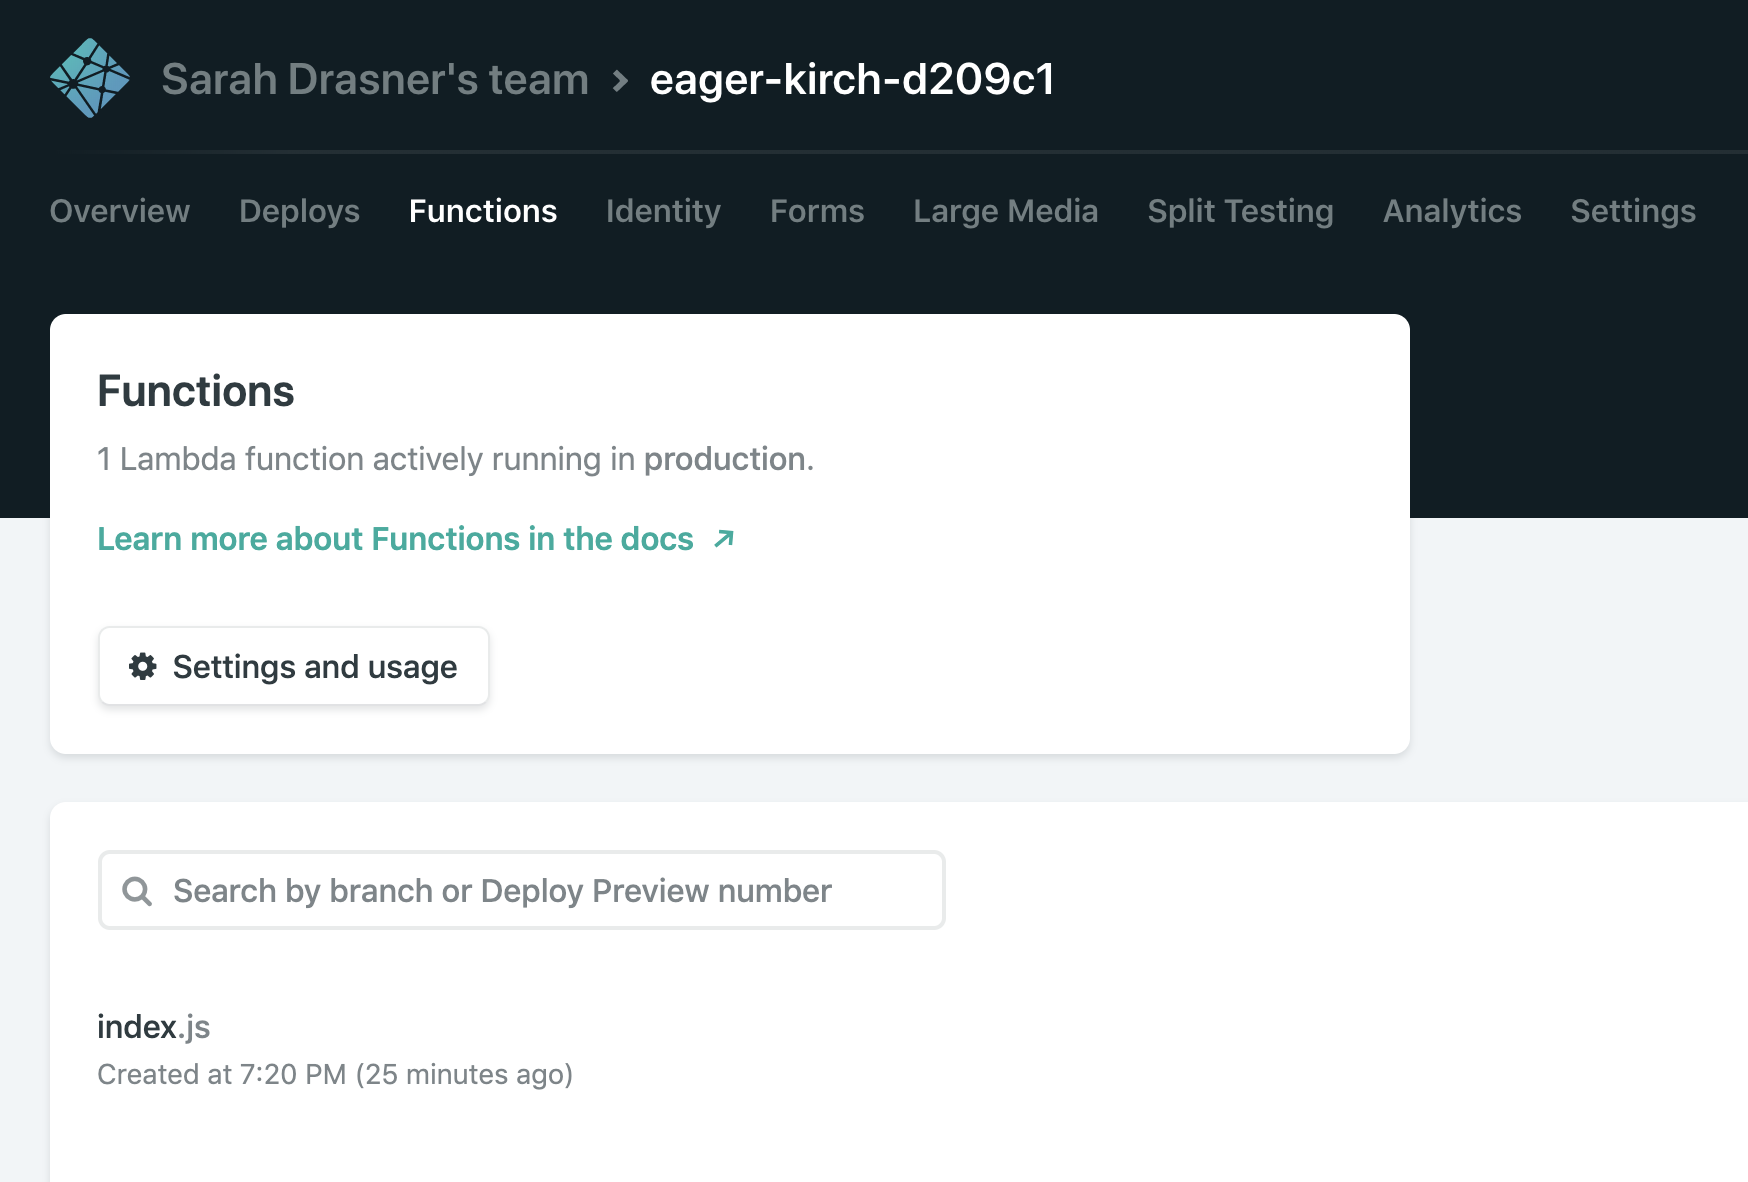
Let's Deploy! 🚀


More info:
Docs: https://www.netlify.com/docs/functions/
More info/collections:
https://functions.netlify.com/
Playground:
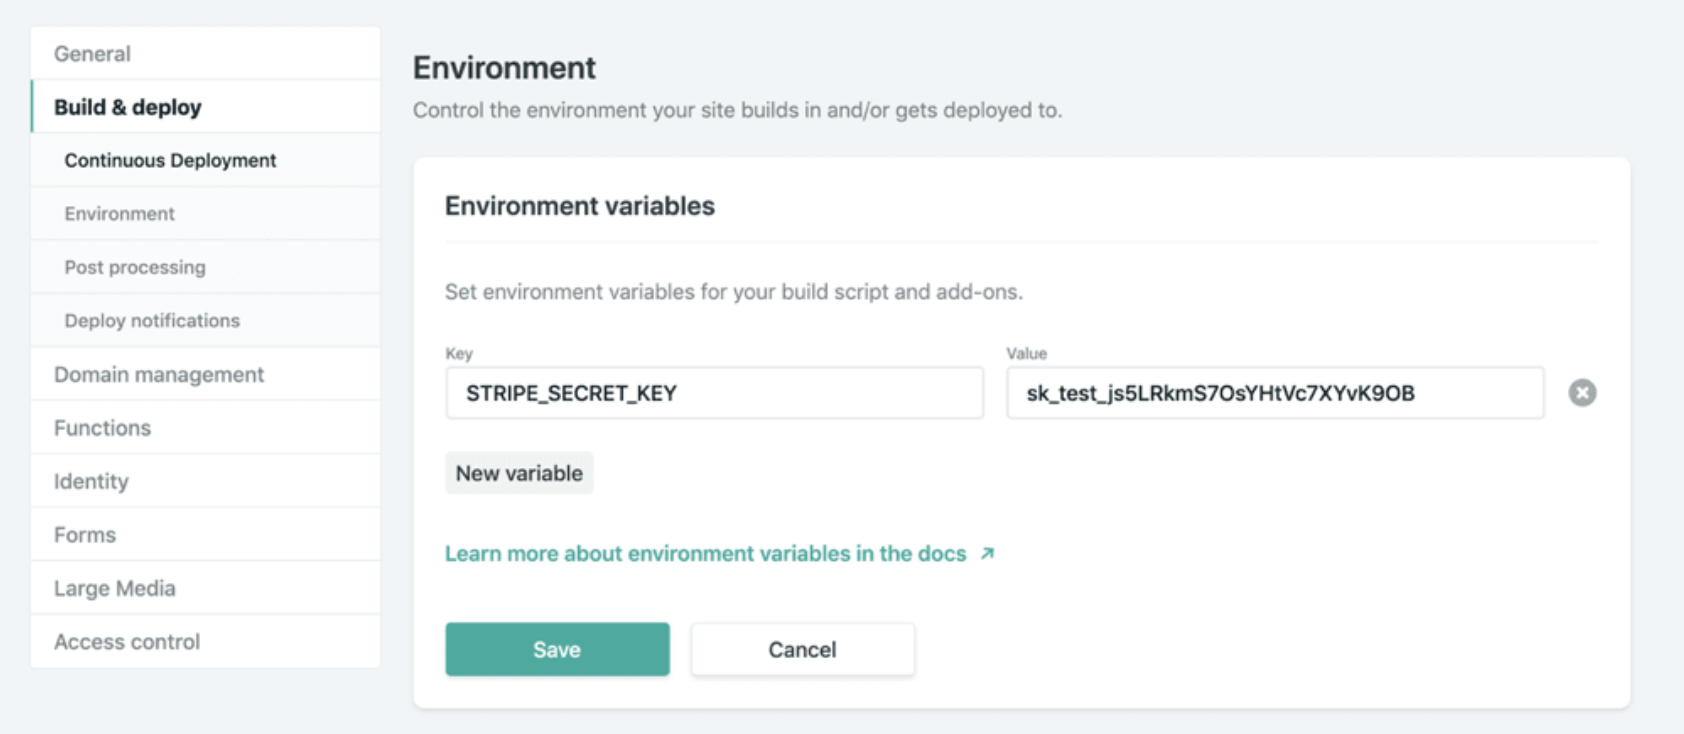
Environment Variable
const { GREETING } = process.env;

exports.handler = async (event, context) => {
  return {
    statusCode: 200,
    body: GREETING
  };
};
Fetch from an API
import fetch from "node-fetch";

const API_ENDPOINT = "https://icanhazdadjoke.com/";

exports.handler = async (event, context) => {
  return fetch(API_ENDPOINT, { headers: { "Accept": "application/json" } })
    .then(response => response.json())
    .then(data => ({
      statusCode: 200,
      body: data.joke
    }))
    .catch(error => ({ statusCode: 422, body: String(error) }));
};
Exercise:
Make your first Netlify function!
See if you can use an environment variable.
Extra points for calling an API, a


yarn add dotenvrequire("dotenv").config()
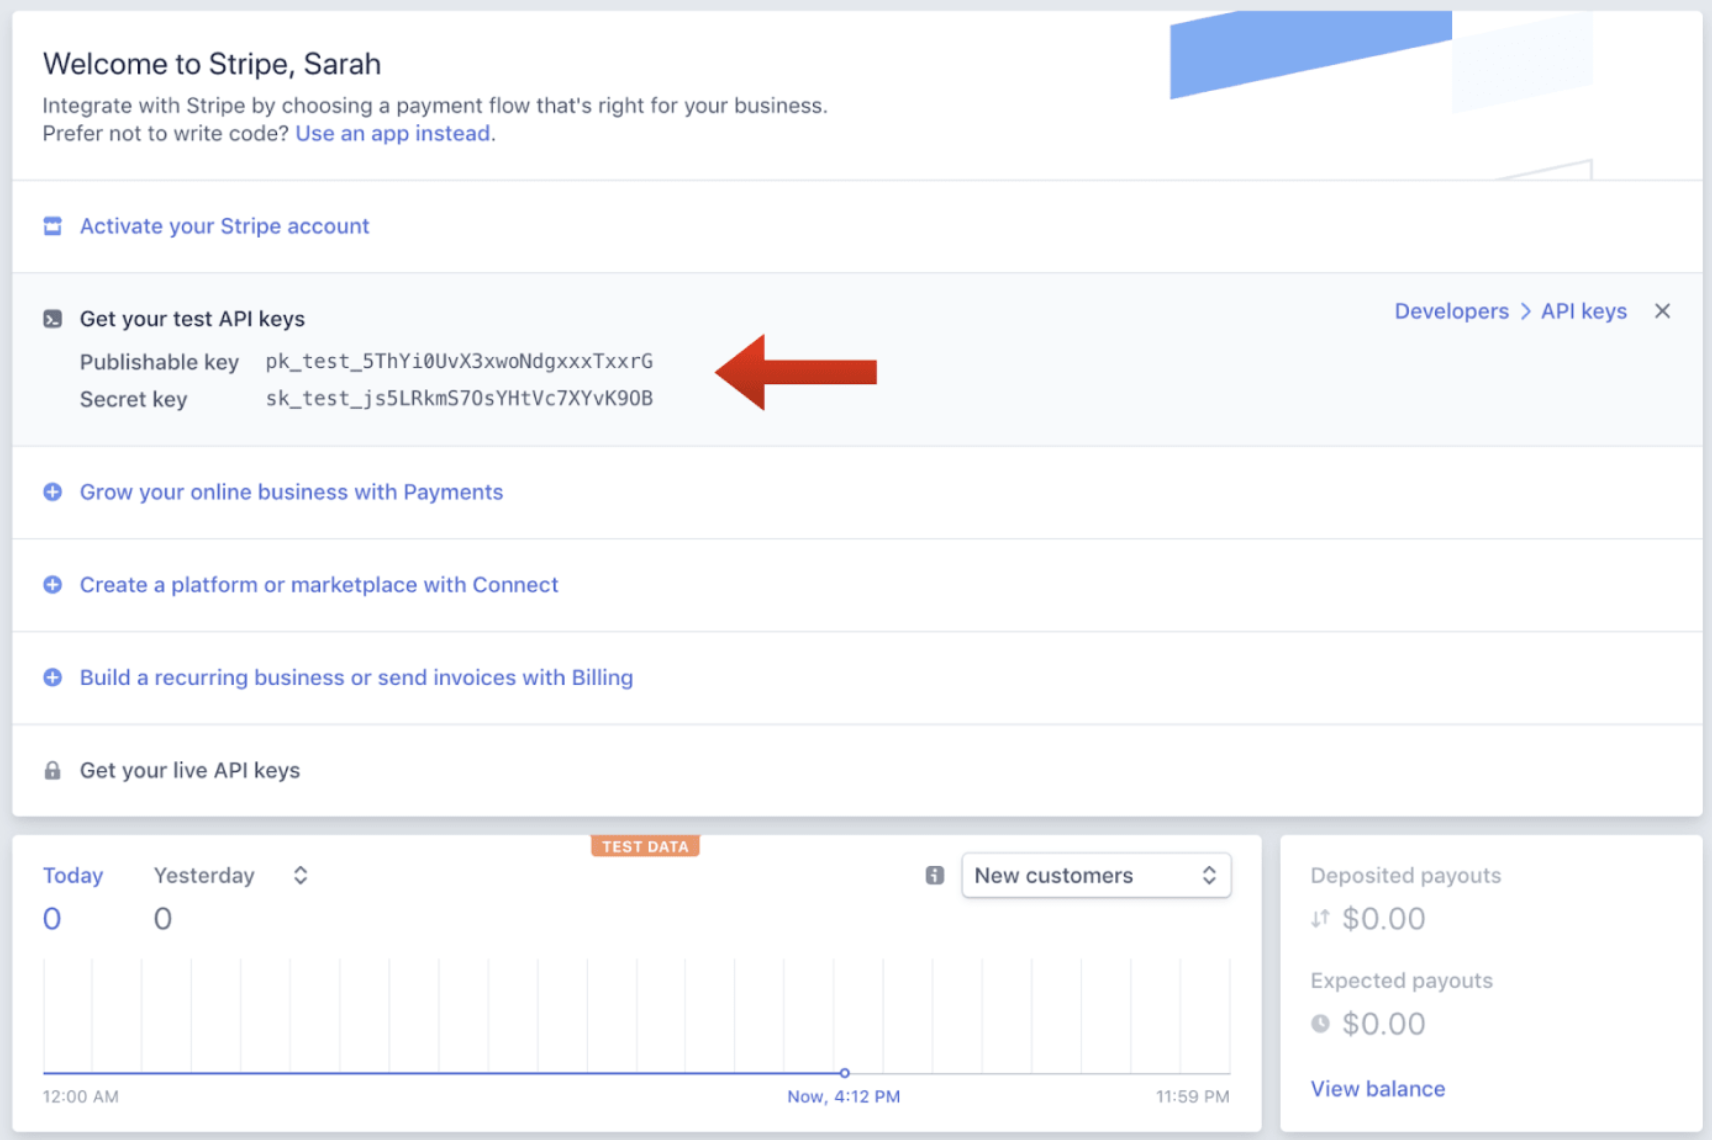
const stripe = require("stripe")(process.env.STRIPE_SECRET_KEY)
const headers = {
  "Access-Control-Allow-Origin": "*",
  "Access-Control-Allow-Headers": "Content-Type"
}
exports.handler = async (event, context) => {
if (!event.body || event.httpMethod !== "POST") {
return {
statusCode: 400,
headers,
body: JSON.stringify({
status: "invalid http method"
})
}
}
const data = JSON.parse(event.body)
if (!data.stripeToken || !data.stripeAmt || !data.stripeIdempotency) {
console.error("Required information is missing.")
return {
statusCode: 400,
headers,
body: JSON.stringify({
status: "missing information"
})
}
}try {
await stripe.customers
.create({
email: data.stripeEmail,
source: data.stripeToken
})
.then(customer => {
console.log(
`starting the charges,
amt: ${data.stripeAmt},
email: ${data.stripeEmail}`
)
return stripe.charges
.create(
{
currency: "usd",
amount: data.stripeAmt,
receipt_email: data.stripeEmail,
customer: customer.id,
description: "Sample Charge"
},
{
idempotency_key: data.stripeIdempotency
}
)
.then(result => {
console.log(`Charge created: ${result}`)
})
})

yarn add vue-stripe-elements-plus uuid<template>
<div id='app'>
<h1>Please give us your payment details:</h1>
<card class='stripe-card'
:class='{ complete }'
stripe='pk_test_XXXXXXXXXXXXXXXXXXXXXXXX'
:options='stripeOptions'
@change='complete = $event.complete'
/>
<button @click='pay'
class='pay-with-stripe'
:disabled='!complete'
>
Pay with credit card
</button>
</div>
</template><script>
import { stripeKey, stripeOptions } from './stripeConfig.json'
import { Card, createToken } from 'vue-stripe-elements-plus'
export default {
data () {
return {
complete: false,
stripeOptions: {
// see https://stripe.com/docs/stripe.js#element-options for details
}
}
},
components: { Card },
methods: {
pay () {
// createToken returns a Promise which resolves in a result object with
// either a token or an error key.
// See https://stripe.com/docs/api#tokens for the token object.
// See https://stripe.com/docs/api#errors for the error object.
// More general https://stripe.com/docs/stripe.js#stripe-create-token.
createToken().then(data => console.log(data.token))
}
}
}
</script>data() {
return {
...
stripeEmail: ""
};
},
methods: {
pay() {
createToken().then(data => {
const stripeData = { data, stripeEmail: this.stripeEmail };
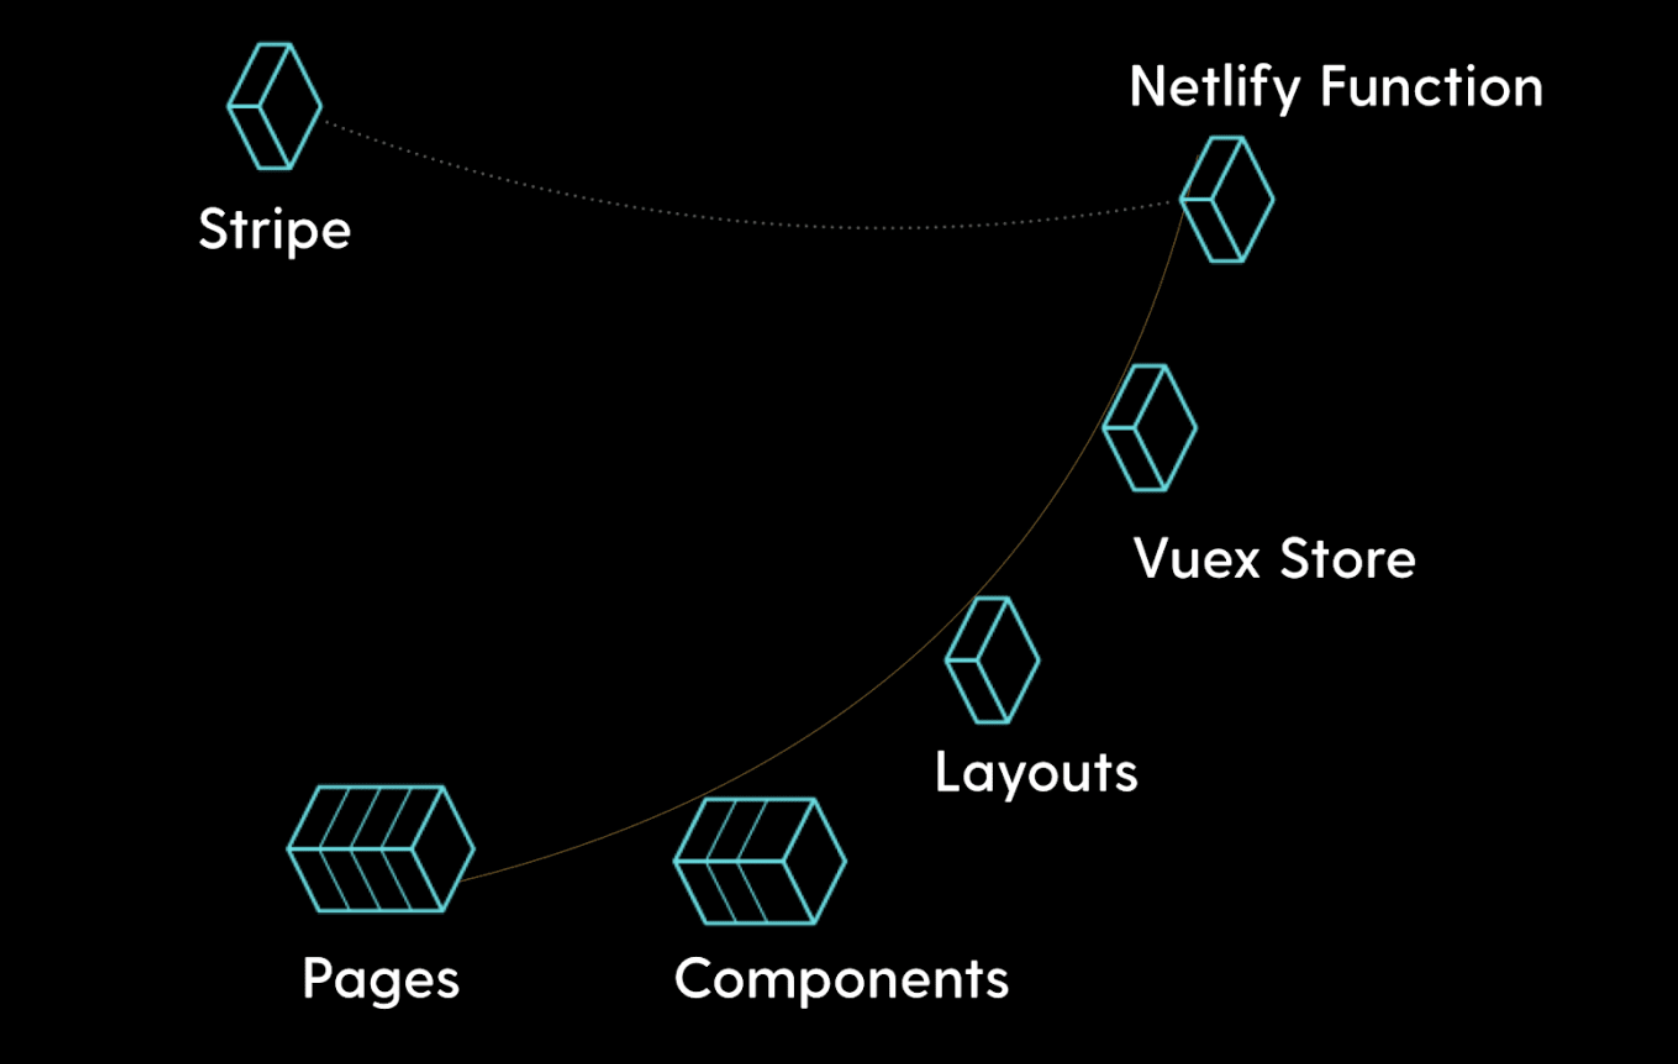
this.$store.dispatch("postStripeFunction", stripeData);
});
},
...// Vuex store
export const actions = {
async postStripeFunction({ getters, commit }, payload) {
commit("updateCartUI", "loading")
try {
await axios
.post(
"https://ecommerce-netlify.netlify.com/.netlify/functions/index",
{
stripeEmail: payload.stripeEmail,
stripeAmt: Math.floor(getters.cartTotal * 100), //it expects the price in cents
stripeToken: "tok_visa", //testing token, later we would use payload.data.token
stripeIdempotency: uuidv1() //we use this library to create a unique id
},
{
headers: {
"Content-Type": "application/json"
}
}
)
.then(res => {
if (res.status === 200) {
commit("updateCartUI", "success")
setTimeout(() => commit("clearCart"), 3000)
…<section v-if="cartUIStatus === 'idle'">
<app-cart-display />
</section>
<section v-else-if="cartUIStatus === 'loading'" class="loader">
<app-loader />
</section>
<section v-else-if="cartUIStatus === 'success'" class="success">
<h2>Success!</h2>
<p>Thank you for your purchase. You'll be receiving your items in 4 business days.</p>
<p>Forgot something?</p>
<button class="pay-with-stripe">
<nuxt-link exact to="/">Back to Home</nuxt-link>
</button>
</section>
<section v-else-if="cartUIStatus === 'failure'">
<p>Oops, something went wrong. Redirecting you to your cart to try again.</p>
</section>Exercise
Make a Netlify Function that hooks up to the Frontend (deployed):
Create a serverless function that connects to Twilio and texts someone when you hit a button. You have to store env variables
Alternative: use an API and display data on a button click.
JAMstack Netlify Workshop: Serverless Functions
By sdrasner
JAMstack Netlify Workshop: Serverless Functions
- 4,791


