Basic Web Development

Learning about HTml/css
HTML
The Foundation of YOUr Web Page
HTML
SYNTAX
<p>This is an HTML Tag</p>
Notice the opening and closing brackets
95% of HTML tags will look like this
<input name="task">
5% will look just be an open tag.
HTML
SYNTAX
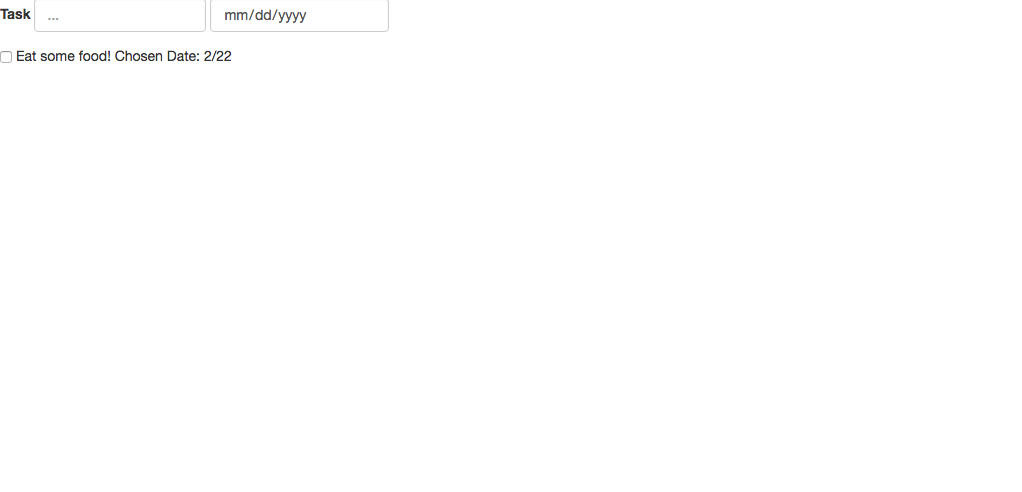
<body>
<div>
<form class="form-inline">
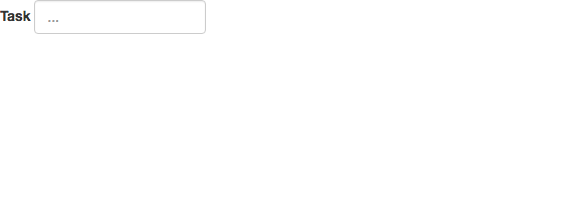
<label form="taskInput">Task</label>
<input type="text" class="form-control"">
<input type='date' class="form-control" id='datePicker'/>
</div>
<ul class="list-group" id="list">
<li>
<p>
<input type="checkbox" name="task">
<span>Eat some food!</span>
<span>Chosen Date: 2/22</span>
<p>
</li>
</ul>
</body>Arranged properly, these tags make up a basic html page.
HTML
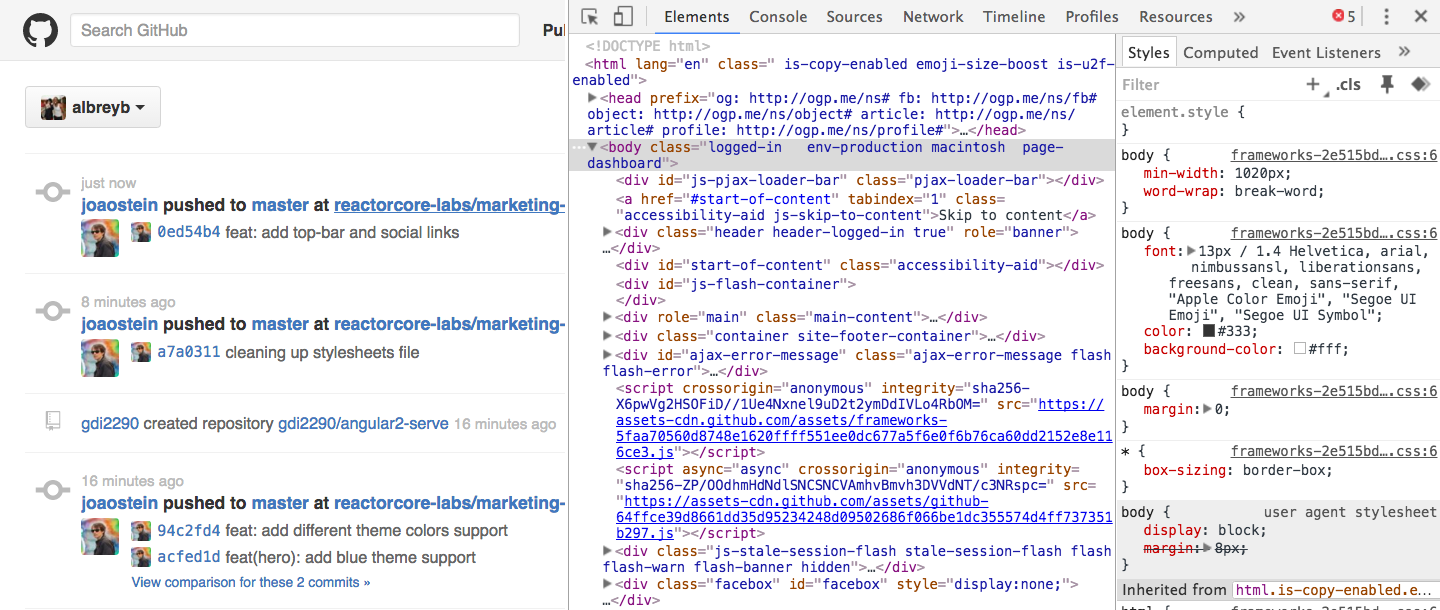
Fun Fact
YOU CAN LOOK AT THE HTML STRUCTURE OF ANY PAGE BY OPENING YOUR CONSOLE AND CLICKING ON THE 'ELEMENTS' TAB.
HTML
Properties
<input type='date' class="form-control" id='datePicker'/>Each tag has a specific set of properties that can be assigned to them.
Properties are the characteristics of your foundation.
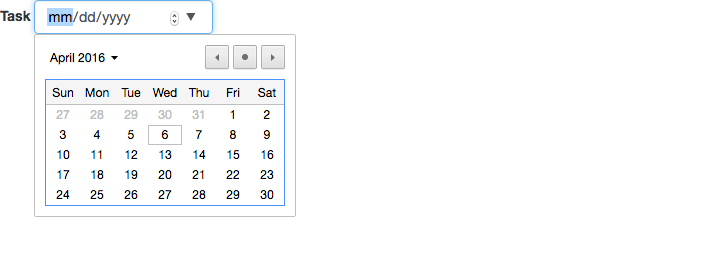
<input type="text" class="form-control" id="taskInput">If you change the characteristics, the tag changes too.
'id' changed to taskInput
'type' changed to text
HTML
Starting an HTML Page
<html>
<head>
	<title></title>
</head>
<body>

</body>
</html>
Never start an HTML page without first building this structure
Fortunately SublimeText has has a command that does this for you. Just type 'html' and press 'tab'.
HTML
Starting an HTML Page
<html>
<head>
	<title></title>
</head>
<body>

</body>
</html>
Never start an HTML page without first building this structure
Fortunately SublimeText has has a command that does this for you. Just type 'html' and press 'tab'.
HTML
Break It down now
<html>


</html>
These tags tells the interpreter your that you're about to write some HTML
<html>
<head>

</head>


</html>
The head is generally where you link other files like 'scripts', and 'css' links.
<html>
<head>
	<title></title>
</head>


</html>
It's also where you can add the title of your webpage.
<html>
<head>
	<title></title>
</head>
<body>

</body>
</html>
The 'body' is where you'll start to build your html page with other tags.
HTML
HTML Head tag: Script Tags
<html>
<head>
	<title>Test Web Page</title>
	<script type="text/javascript" src="javascript.js"></script>
	<link rel="stylesheet" type="text/css" href="styles.css">
</head>

</html>
script tags point to your javascript files
link tags point to your css files
<script type="text/javascript" src="javascript.js"></script>
<link rel="stylesheet" type="text/css" href="styles.css">
Notice the difference in syntax between the two.
HTML
HTML BOdy
<body>
     <p>This is the body of our html page</p>
     <a href="telegraphprep.slack.com">this is a link!</a>
</body>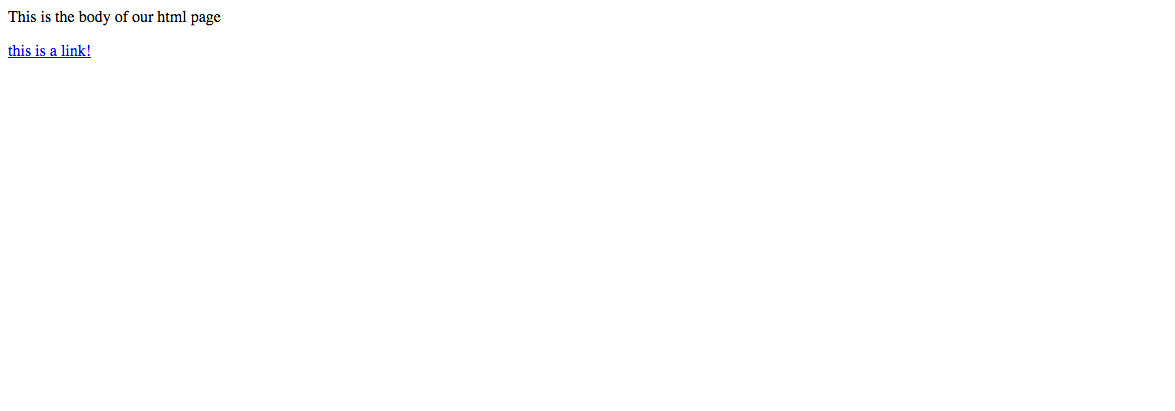
Structural HTML Tags go in the body.
HTML
<p>separate paragraphs of text.</p>NOT COMPREHENSIVE LIST OF Important tags
HTML
<a href="telegraphprep.slack.com">links to new page</a>NOT COMPREHENSIVE LIST OF Important tags
HTML
<div>
    Think of these as 'dividers',
    they divide up text, buttons,
    and other elements on the page
</div>
NOT COMPREHENSIVE LIST OF Important tags
HTML
<span>

Spans allow elements to be created on the same line

</span>
NOT COMPREHENSIVE LIST OF Important tags
HTML
<input> takes input from the user in many different forms.NOT COMPREHENSIVE LIST OF Important tags
HTML
NOT COMPREHENSIVE LIST OF Important tags
<ul> unordered list
	<li>eat food</li> list items
</ul>
HTML
NOT COMPREHENSIVE LIST OF Important tags
<ol> ordered list
	<li>drink water</li> list items
</ol>
CSS
the look and feel of our website
You now know everything you need to know about HTML Tags, we will now dive into CSS for a quick minute.CSS stands for Cascading Style Sheet, and it serves as the (you guessed it) language that styles our website.
Let's dive into a quick overview of CSS components.
CSS
Linking your CSS SHeet
<html>
<head>
	<title>Test Web Page</title>
	<link rel="stylesheet" type="text/css" href="styles.css">
</head>

</html>
You must use the 'link' tag to add your styles to your css.
The 'href' points to the file in your repo.
the 'rel' must be set to this
the 'type' must be set to this.
CSS
Changing element properties
<html>
<head>
	<title>Test Web Page</title>
	<link rel="stylesheet" type="text/css" href="styles.css">
</head>
<body>

<p>This is the body of our html page</p>
<p>We love our html page</p>
<p> It is the best</p>

</body>
</html>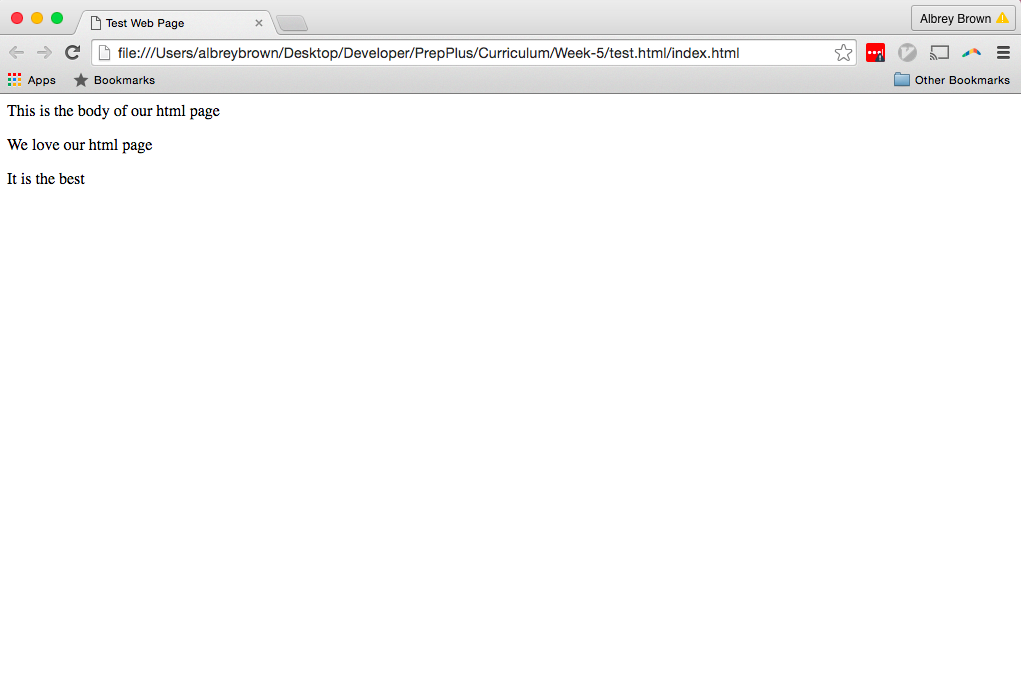
CSS
Changing element properties
<html>
<head>
	<title>Test Web Page</title>
	<link rel="stylesheet" type="text/css" href="styles.css">
</head>
<body>

<p>This is the body of our html page</p>
<p>We love our html page</p>
<p> It is the best</p>

</body>
</html>
Let's make this text blue using our css sheet.
/*in styles.css*/

p {
    color: blue;
}
We can change styles by tag name
encapsulate properties in brackets
properties ended with semi colons
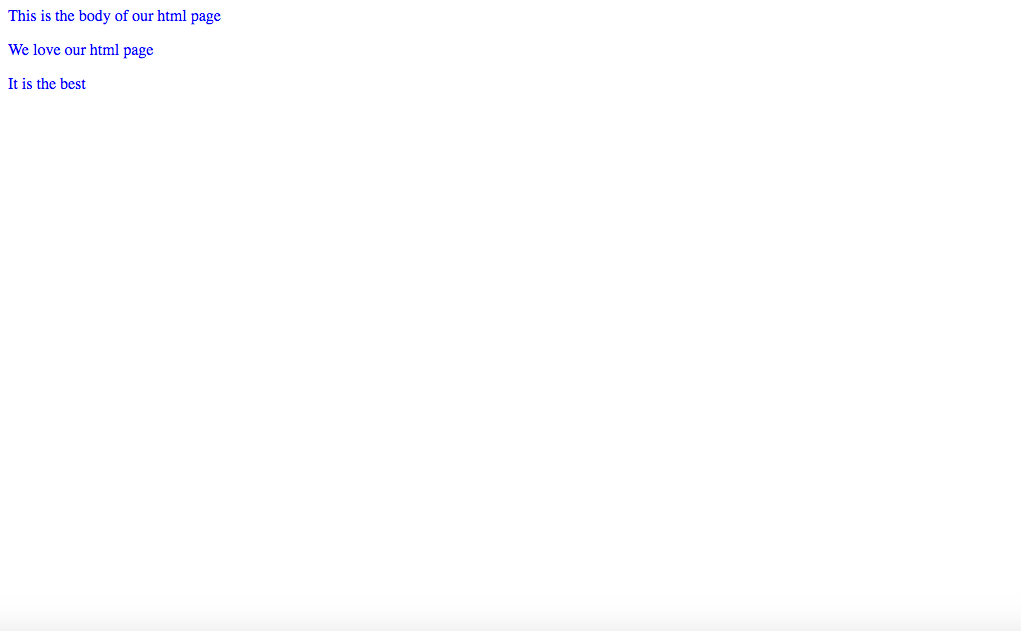
Result
CSS
CSS Classes
<html>
<head>
	<title>Test Web Page</title>
	<link rel="stylesheet" type="text/css" href="styles.css">
</head>
<body>

<p>This is the body of our html page</p>
<p>We love our html page</p>
<p> It is the best</p>

</body>
</html>
<html>
<head>
<title>Test Web Page</title>
<link rel="stylesheet" type="text/css" href="styles.css">
</head>
<body>
<div>
<p class="bestsentence">This is the body of our html page</p>
<p class="bestsentence">We love our html page</p>
<p class="bestsentence"> It is the best</p>
</div>
</body>
</html><html>
<head>
<title>Test Web Page</title>
<link rel="stylesheet" type="text/css" href="styles.css">
</head>
<body>
<div>
<p>This is the body of our html page</p>
<p>We love our html page</p>
<p> It is the best</p>
</div>
</body>
</html>Let's wrap our paragraph in a <div> to divide it from the rest of our page
These <p> tags are now CHILDREN of the <div> wrapped around it.
A 'class' is used to assign a set of characteristics to a GROUP of 'child' tags.
/*in styles.css*/
p {
	color: blue;
}
We can assign characteristics to a class in our CSS preceding the name with a '.'
/*in styles.css*/
.bestsentence {
	color: blue;
}
same result as using grabbing the p tag
CSS
CSS Id's
<html>
<head>
	<title>Test Web Page</title>
	<link rel="stylesheet" type="text/css" href="styles.css">
</head>
<body>
  <div id="firstParagraph">
      <p class="bestsentence">This is the body of our html page</p>
      <p class="bestsentence">We love our html page</p>
      <p class="bestsentence"> It is the best</p>
  </div>
</body>
</html>
ID's are used for special elements that our page only has ONE instance of.
We ID'd our <div> 'firstParagraph' in the hopes that we'll write more.
The reason we used an id instead of a class is because there will always be one first paragraph.
It's a simple philosophy, but people mess it up all the time.
/*in styles.css*/
#firstParagraph {
	color: blue;
}
We can specify ID's in our styles.css by preceding the name with a hash, '#'
Because the div is the PARENT element, each child will take on its characteristics.
Which is why we have the same result. Each p tag receives a note from its parent <div> that it's supposed to be blue.
Fin
You now know everything you need to know about to get started with the sprint. It has been released at this link:
https://github.com/TelegraphPrep/toDoListLite
HTML & CSS Basics
By telegraphprep
HTML & CSS Basics
Learning HTML & CSS


