Ship it!

Welcome!
Here at AmberEngine.com we use our own blend of Scrum and Git workflow.


1: Make a Story
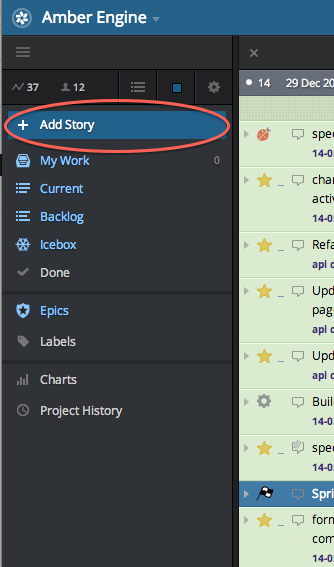
We use PivotalTracker.com to manage our work. If you have an idea, bug or chore that needs to be done. You can click "Add Story" in the appropriate project.
After that, let the Product Manager know about your story and they will prioritize it with the rest of the work that needs to be done.
2: Start Story
Once your story has been approved by our amazing Product Management team they will decide if it should be added to the current sprint or to the backlog for a future sprint.
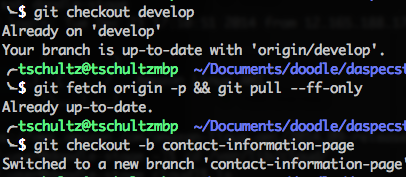
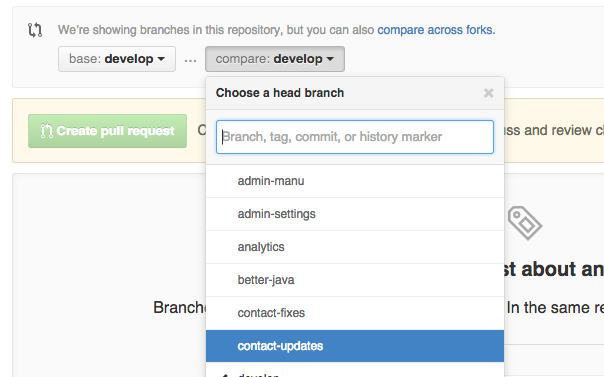
If your story is in current you can start by branching off `develop` in the project to start development on your story.


3: Make it!
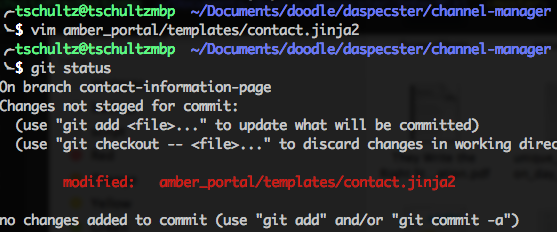
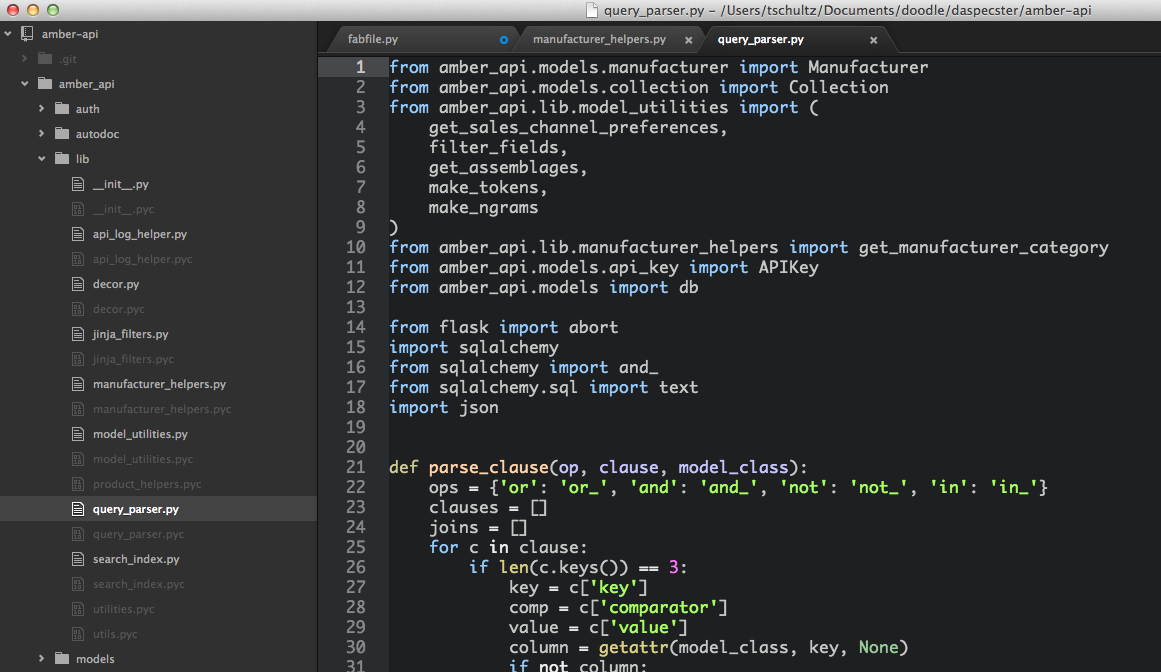
Start writing code and making changes. Commit your work often, trying to keep each commit about a single unit of work. Also take care to stay within code style guidelines and ensure that your work is not broken, i.e. use a linter and make sure your syntax is
correct.
You can deploy to your development instance at anytime.
$ fab mydev deploy
4: Done!
Not just yet! This is your baby and you need to support it until it's ready to enter the world!
Once you think your feature is complete, show our QA team the work on your EC2 development instance and create a PR to merge your branch into `develop`.
$ fab mydev deploy
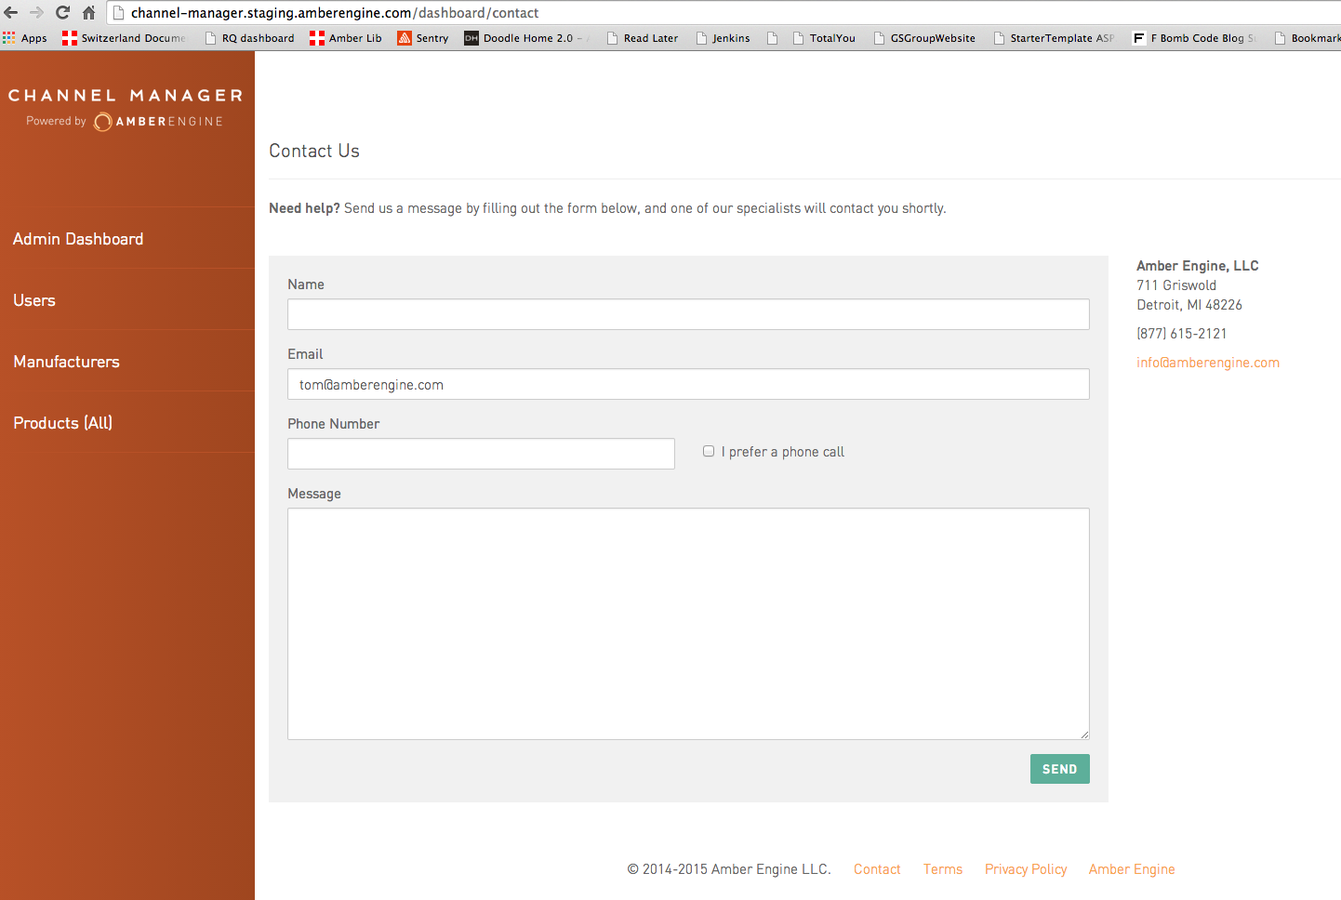
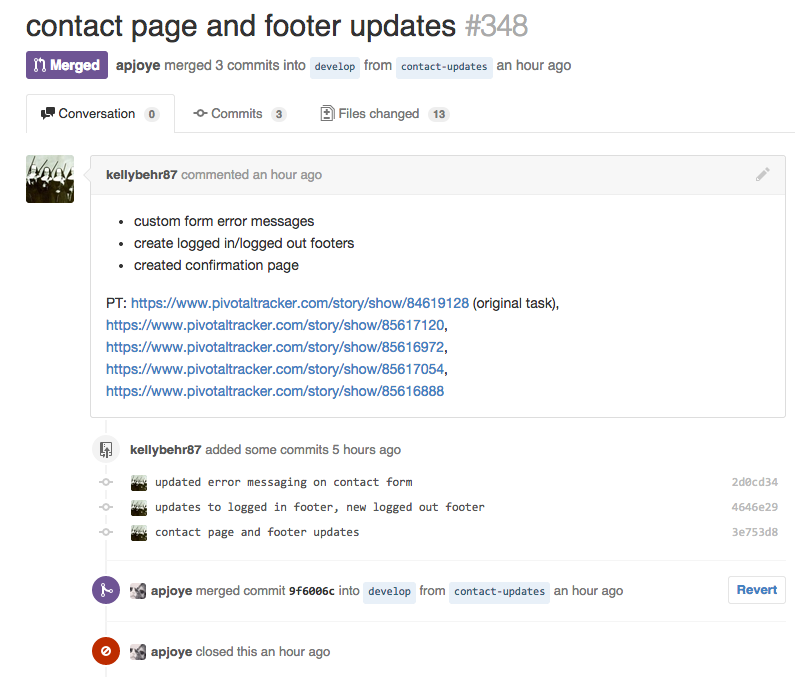
5: Pull Request
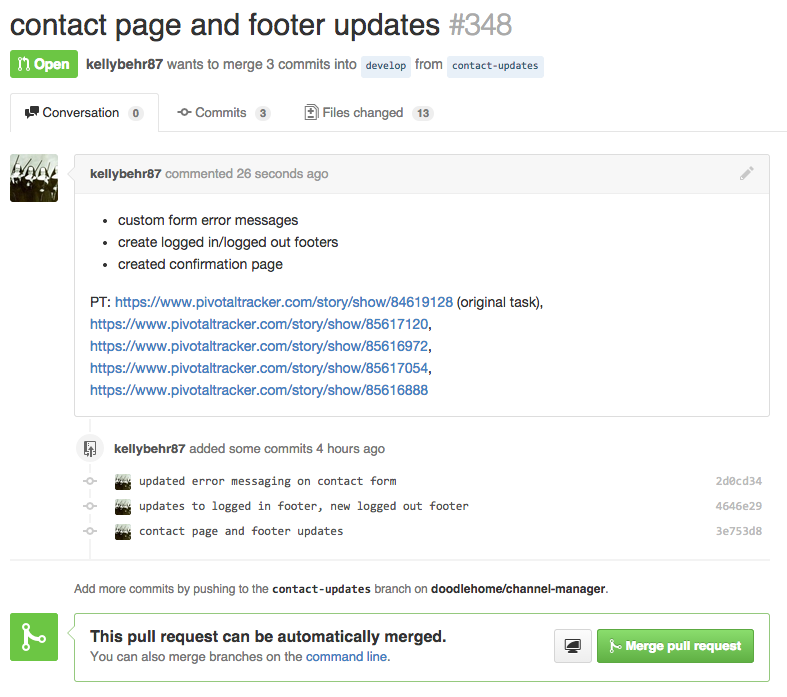
In your pull request description you should put the PivotalTracker story ID and some information about the feature and testing instructions. Next click 'Deliver' on your PT story.
QA and developers can give you feedback in the pull request and QA will leave feedback in PT.


Pull Request Example
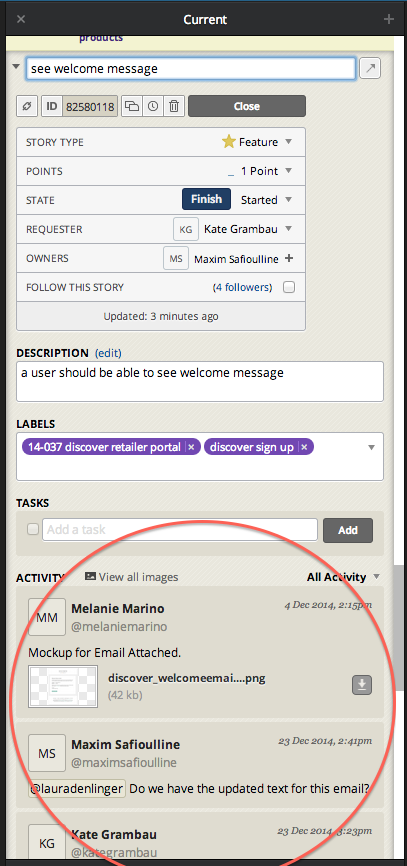
Note: Feedback
Feedback from creative and QA happens inside the PT story. If you have a question for The Creative Team or the QA Team you can ask it there.
Feedback about your code or the side effects of your pull request will be put in the pull request in github.
6: Merged
Once your PR is accepted by Product Management, it can be merged and deployed to the staging server.
This let's the project management team know that the code has been checked by QA.
(Verify on staging server)
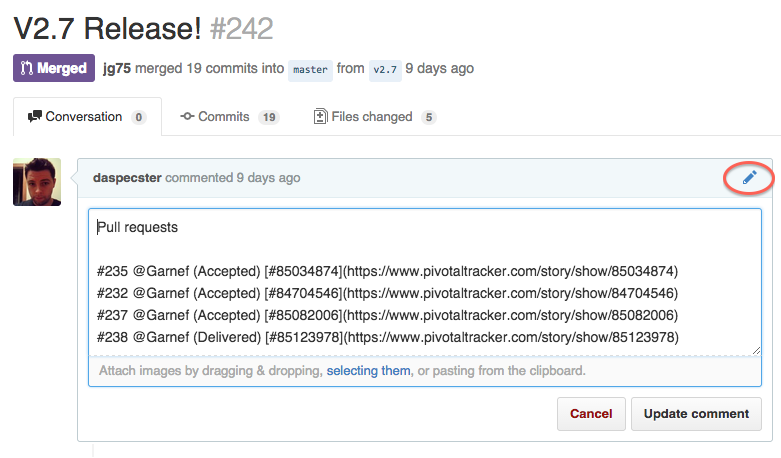
7: Track it!
Now that your awesome feature is in the `develop` branch and on the staging server, you'll want to list it in the release pull request for the current sprint by editing the PR description.
#<pr id> (<status>) @<username> #<PT ID>
#<pr id> (<status>) @<username> #<PT ID>
#<pr id> (<status>) @<username> #<PT ID>
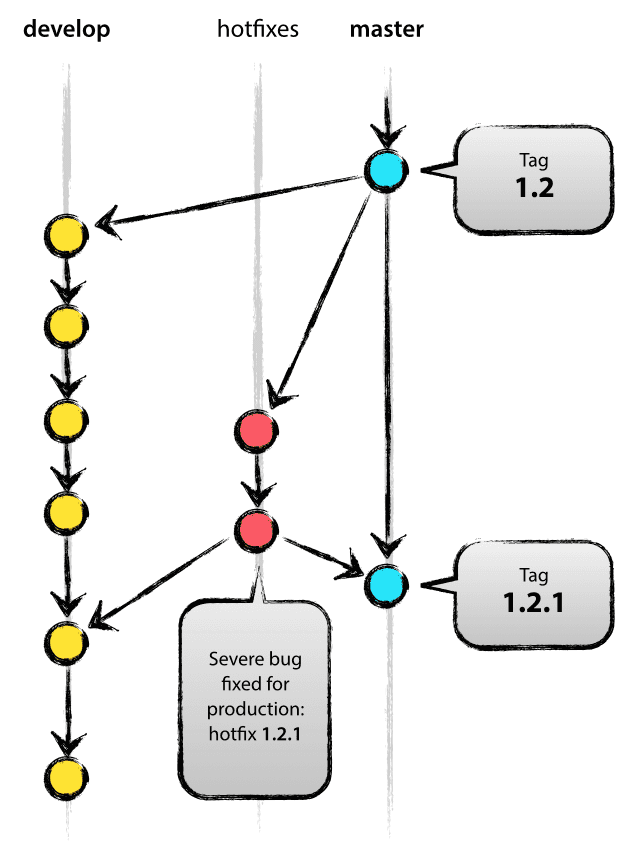
Hotfixes!

Hotfix Flow
$ git checkout master
$ git fetch origin -p
$ git pull --ff-only
$ git checkout -b hotfix-<title>
Once you've fixed the issue in your hotfix branch, you'll need to make PRs back to both `master` and `develop`.
Releases!

1: Tracking
During the sprint we build up the `develop` branch to be released at the end of the sprint.
Check that all the PT stories have been accepted.
Check the list of PR's when merging `develop` into the release branch that they all have PT stories.
Then merge `develop` to the release branch!
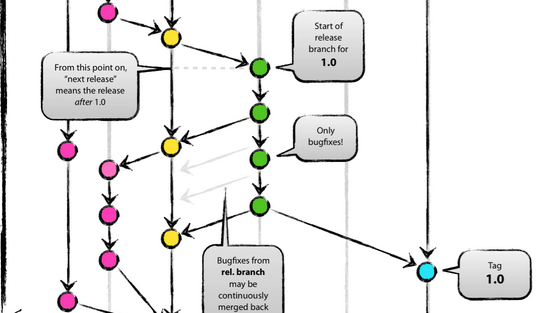
2: `master`
Merging `develop` into a release branch is practice for merging to `master`. Since the release branch is derived from and earlier `develop` == `master`.
Now you can create a PR to merge the release branch into `master`.

3: Deploy!
After merging the release branch to `master`, you can run your deployment processes.
Once deployed, all hands on deck to test the release and make sure there's no bugs.
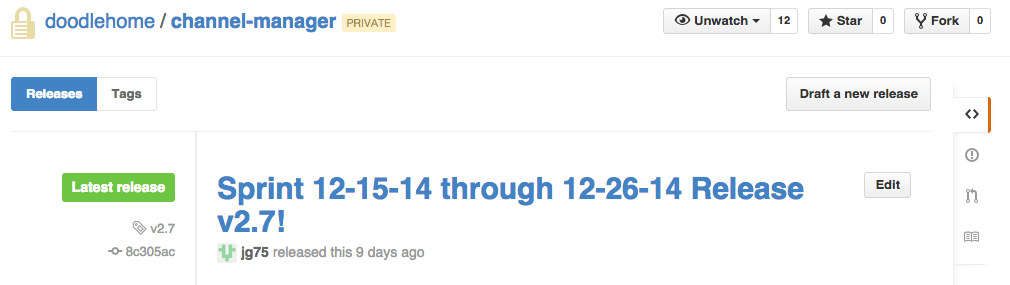
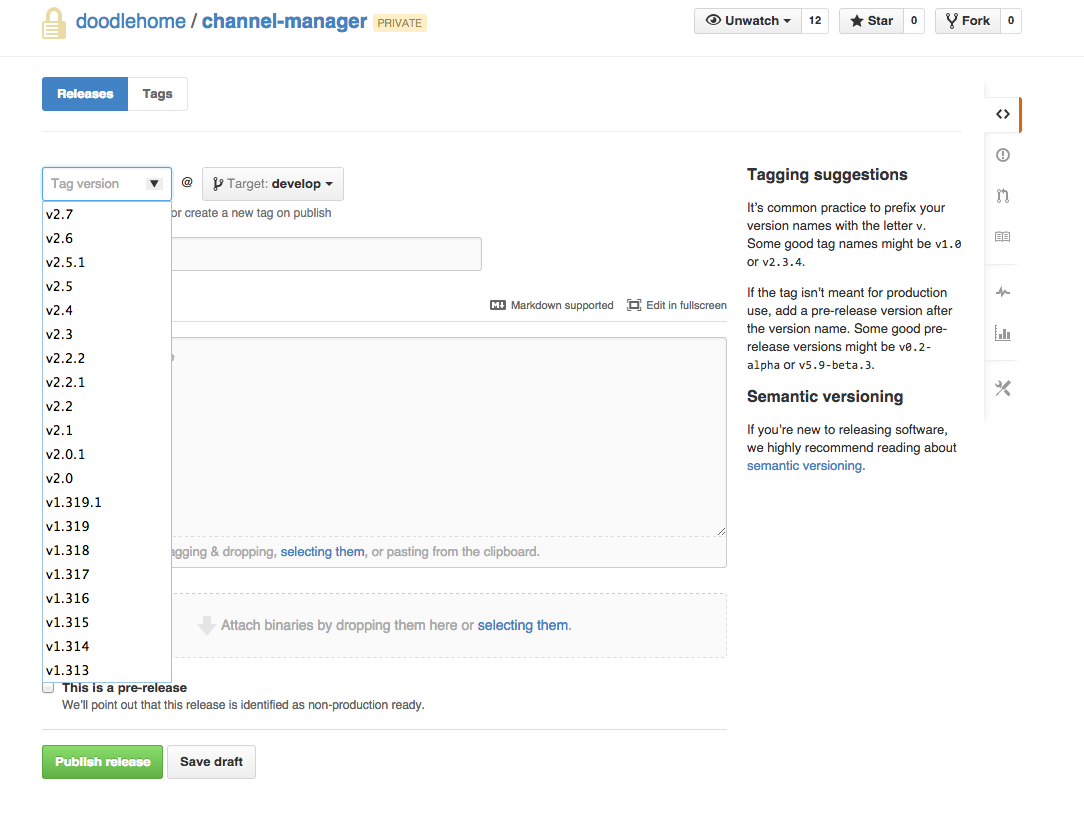
4: Tag Release
Now you want to tag `master` with the release version.
After that, you can make a new release branch off `develop` for the next sprint!
Release process
By Thomas Schultz