Introduction to DevOps concept and Bluemix platform
Hands on with DevOps on Bluemix
Microservices concept and the twelve factor apps
DevOps - Development & Operations
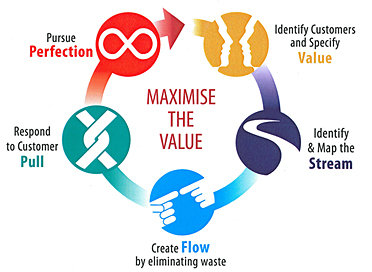
Lean Thinking

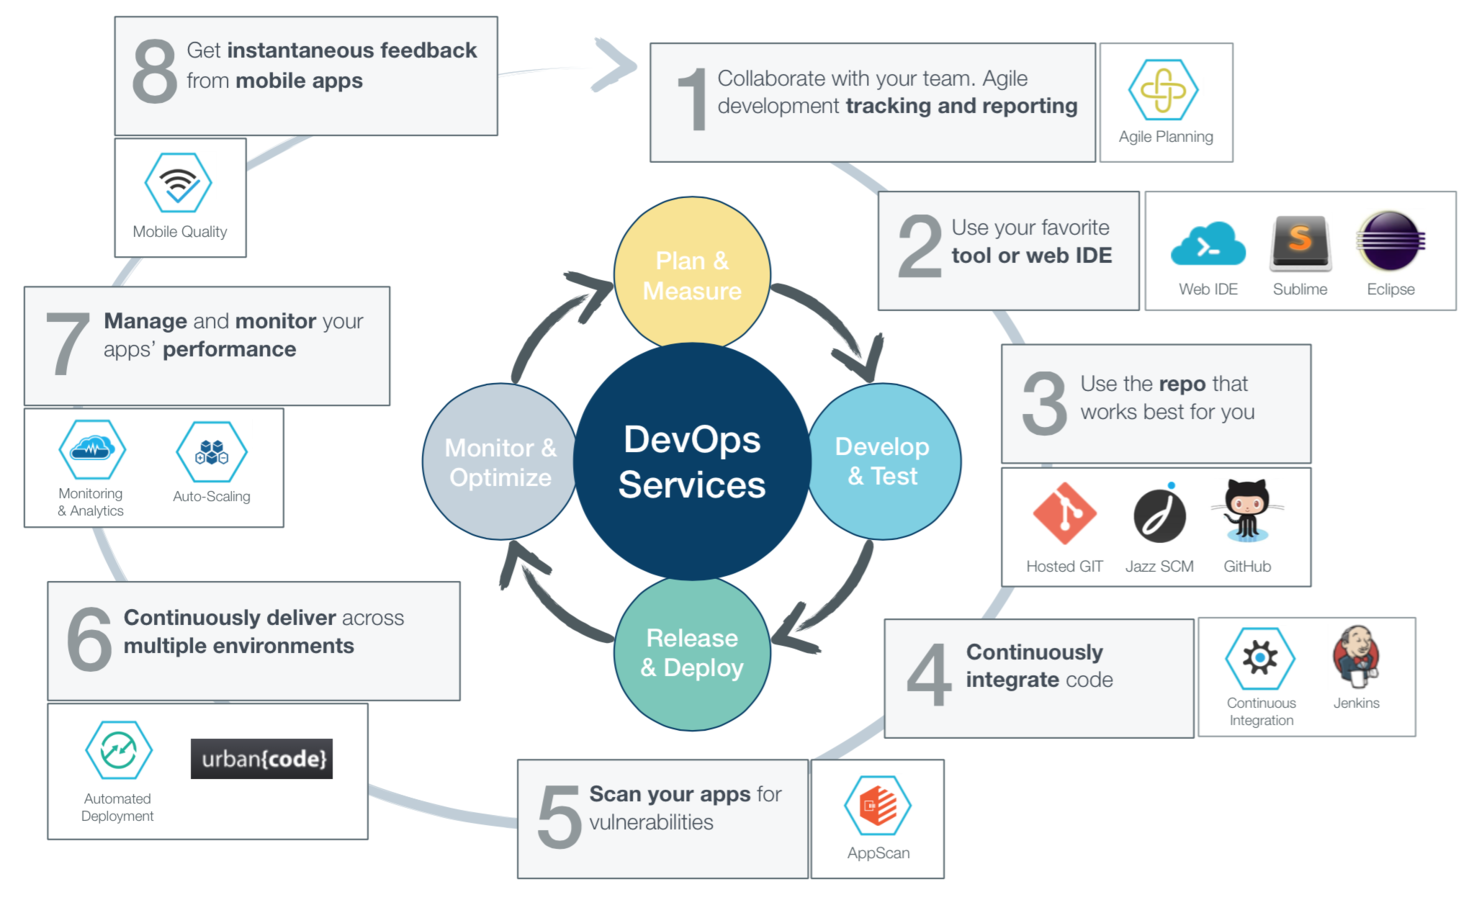
Application Development Lifecycle
Application Development Lifecycle
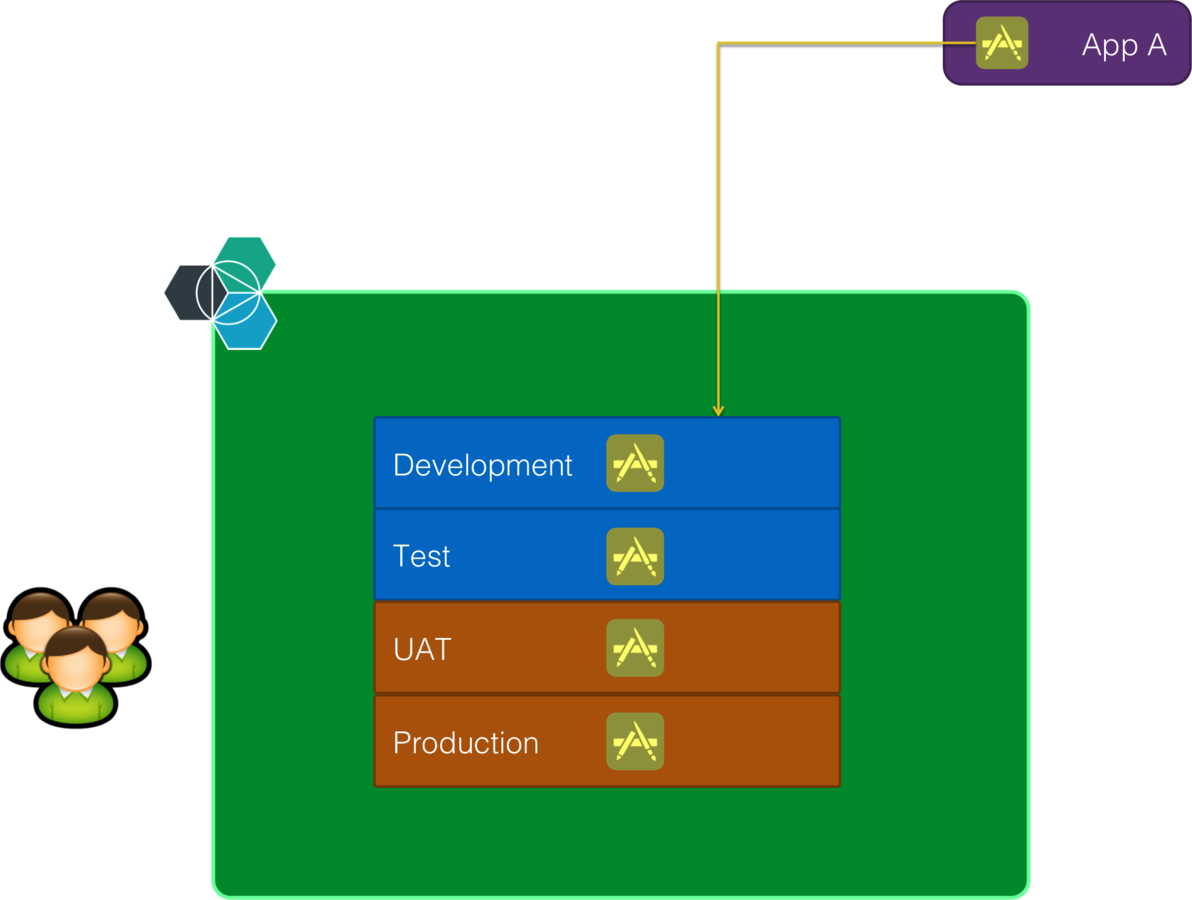
Application Development Lifecycle
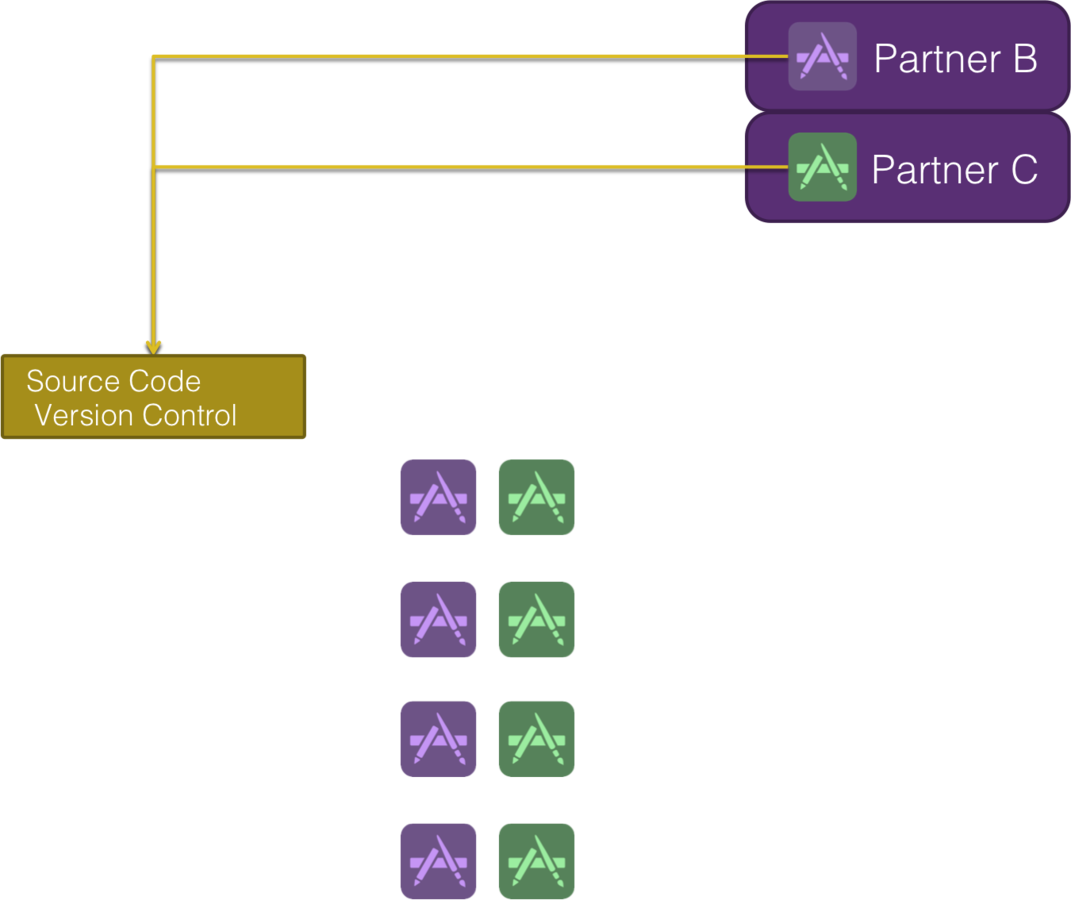

Application Development Lifecycle

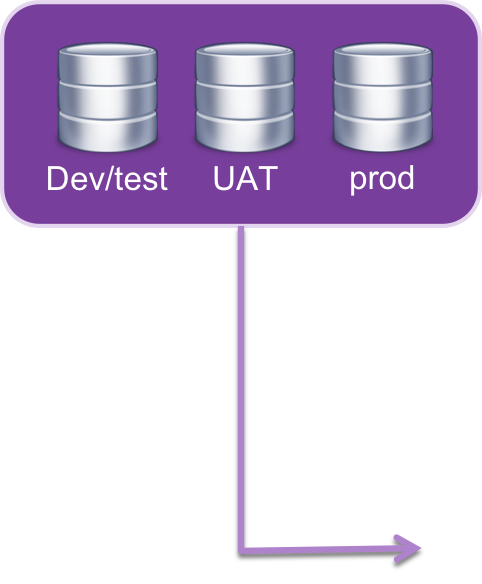

Application Development Lifecycle


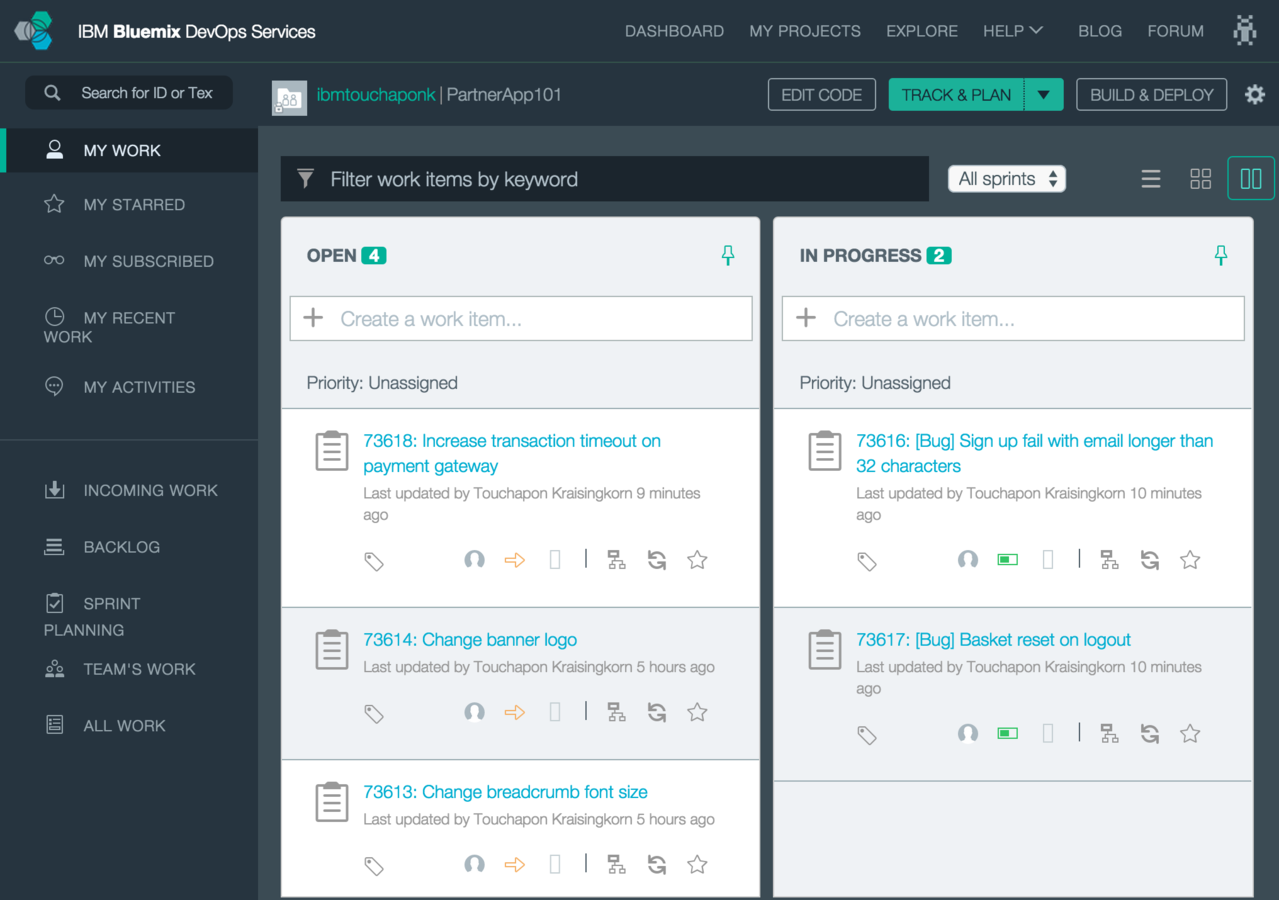
Application Development Lifecycle


IBM Software
Development Improvement with DevOps
Bendigo Bank Development Activities Improvement
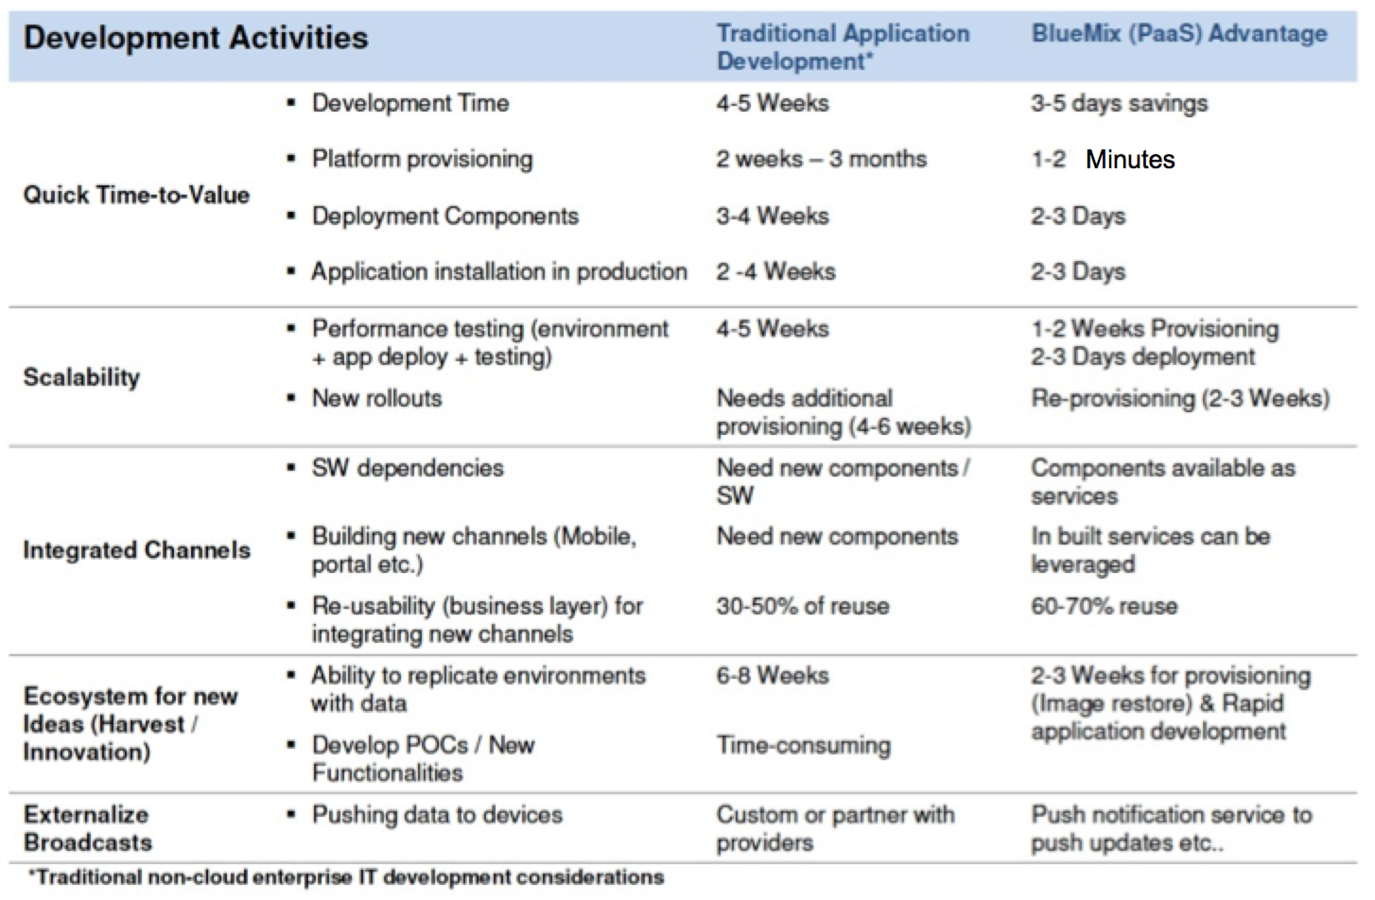


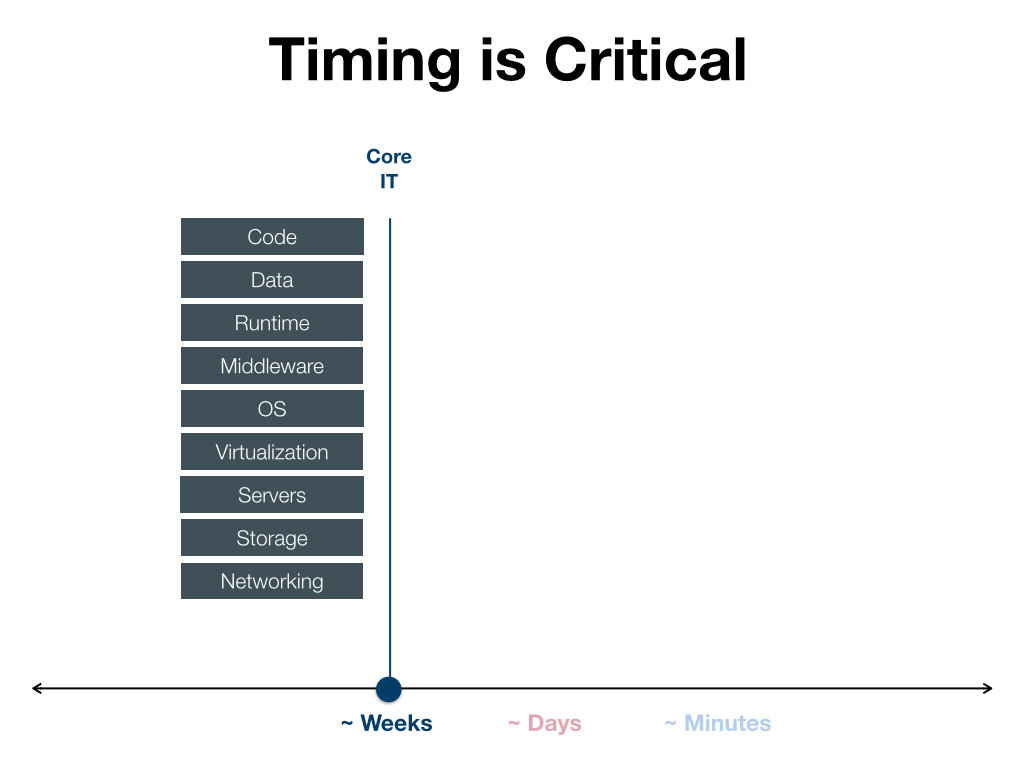

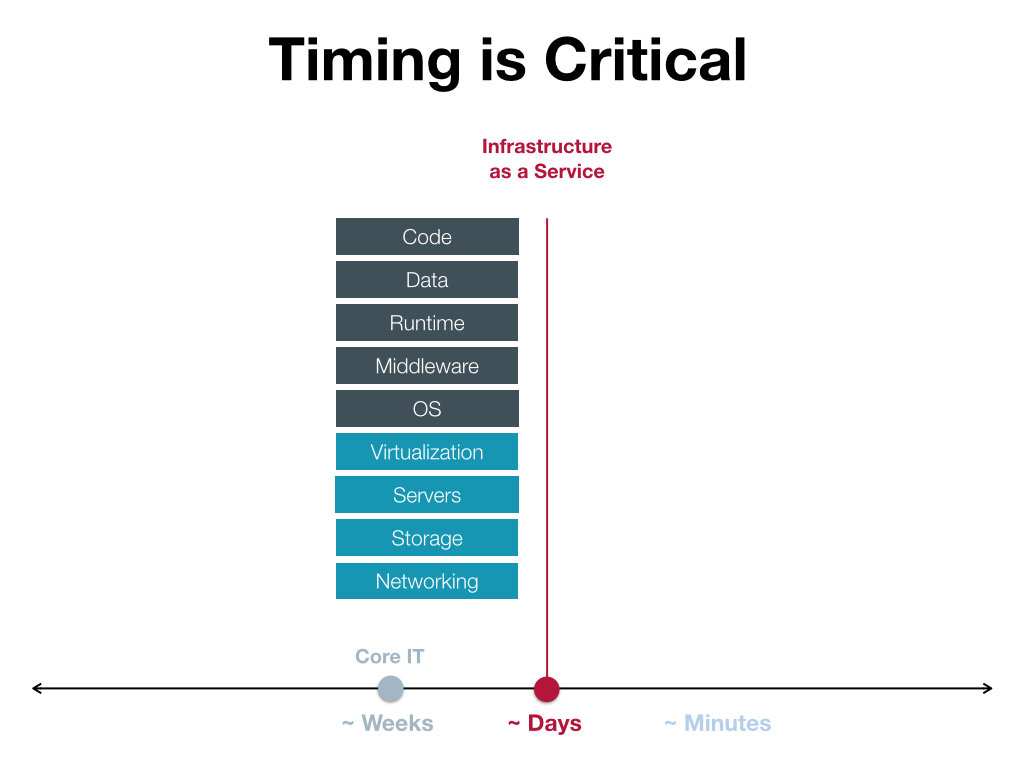
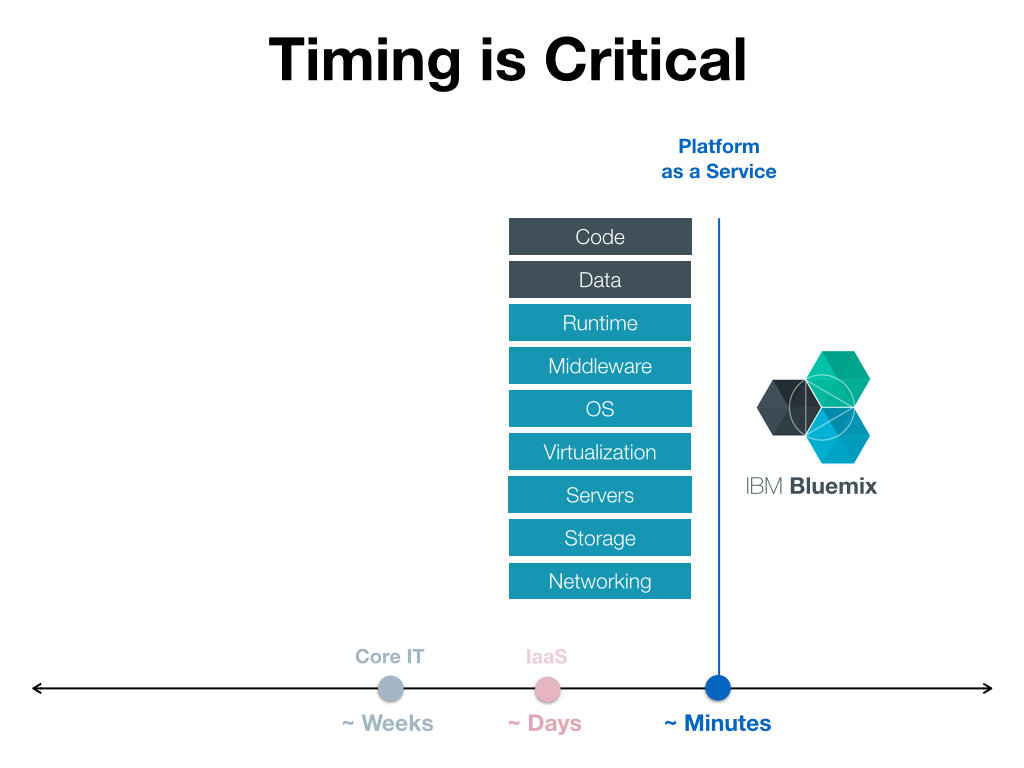

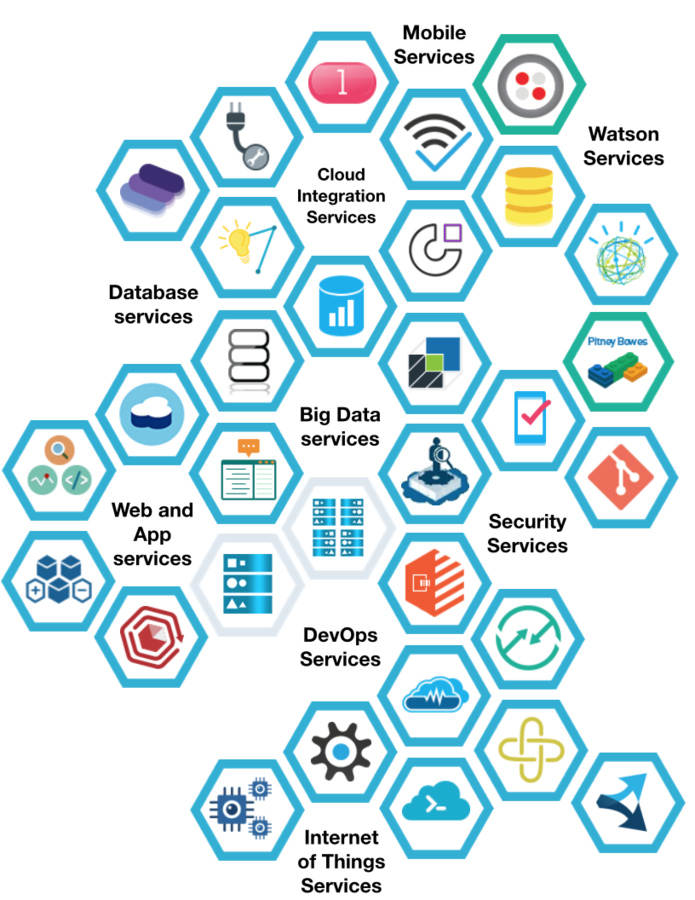

The Digital Innovation Platform
Faster Time to Market


1
2
3
Highly Scalable




Reduce IT Investment

Faster Time to Market

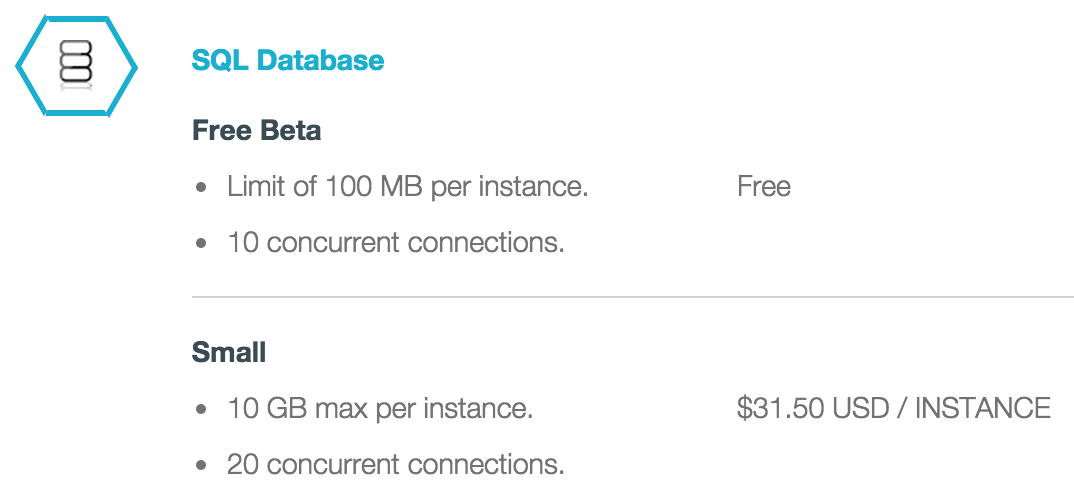
Reduced IT Investment

Scalable


Touring Bluemix

The Digital Innovation Platform
www.Bluemix.net

Starting your First App

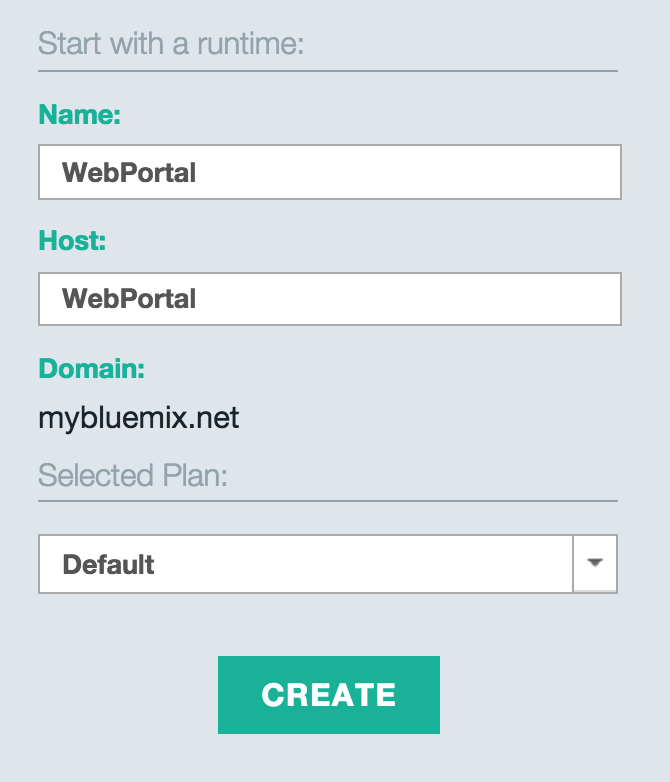
1. Starting up a Runtime
Add existing project to DevOps
1. Open application dashboard
2. Click Add git
3. Add starter template to Git
4. Click Edit Code to access DevOps Web IDE


DevOps Services
Automate Deployment & Continuous Integration
Preparing test environment
1. Add Delivery Pipeline Service
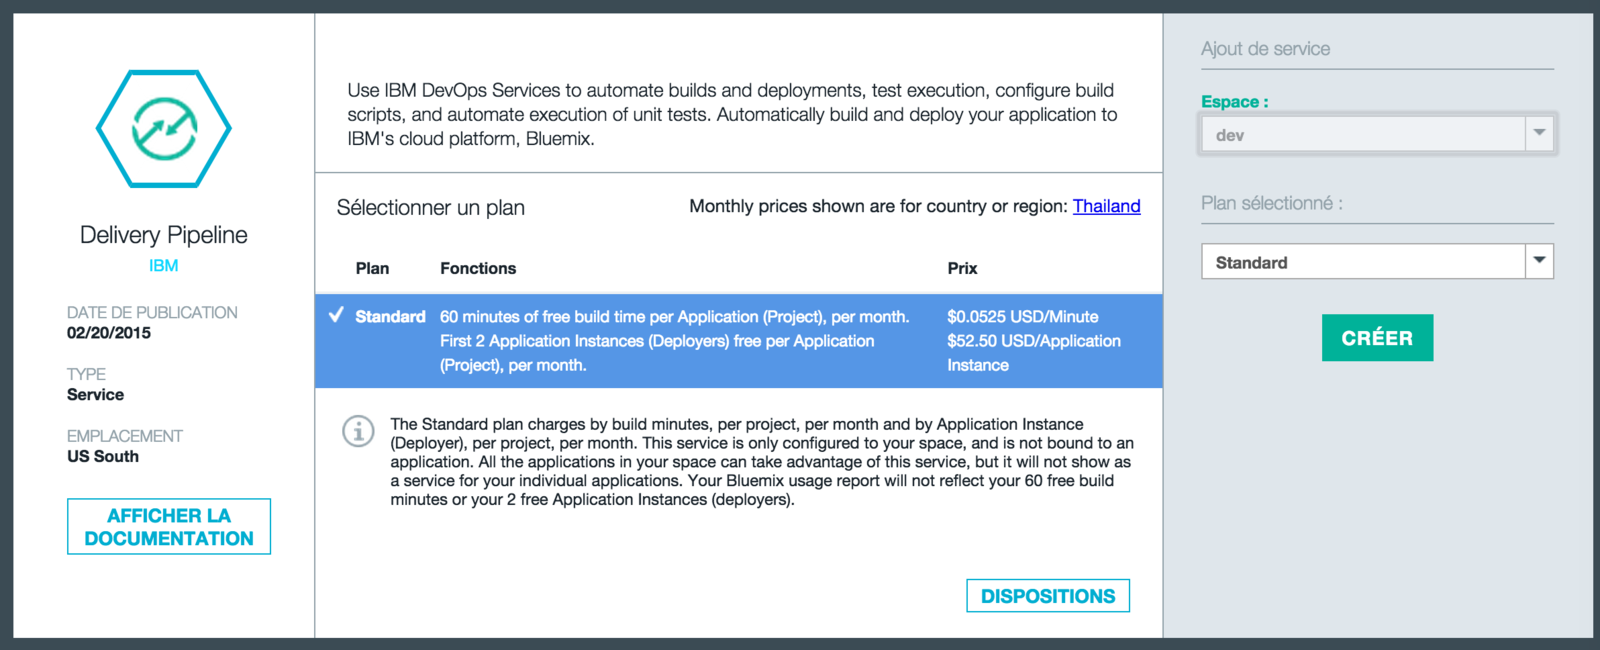
Preparing test environment
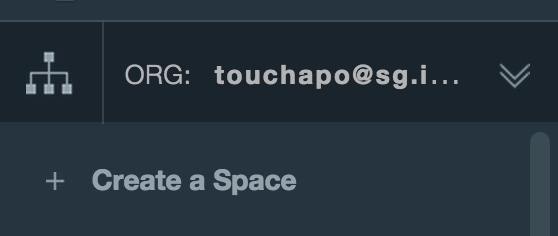
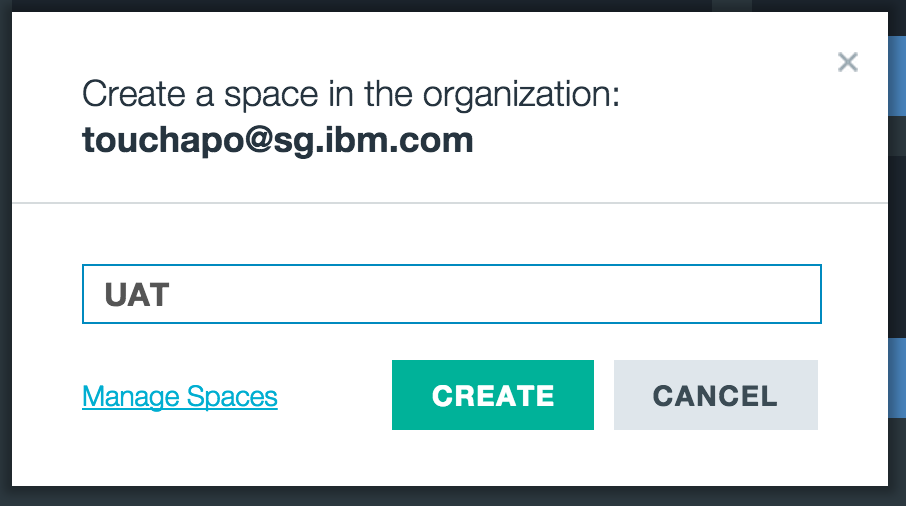
2. Click Create Space on the side bar
3. Create test & UAT spaces
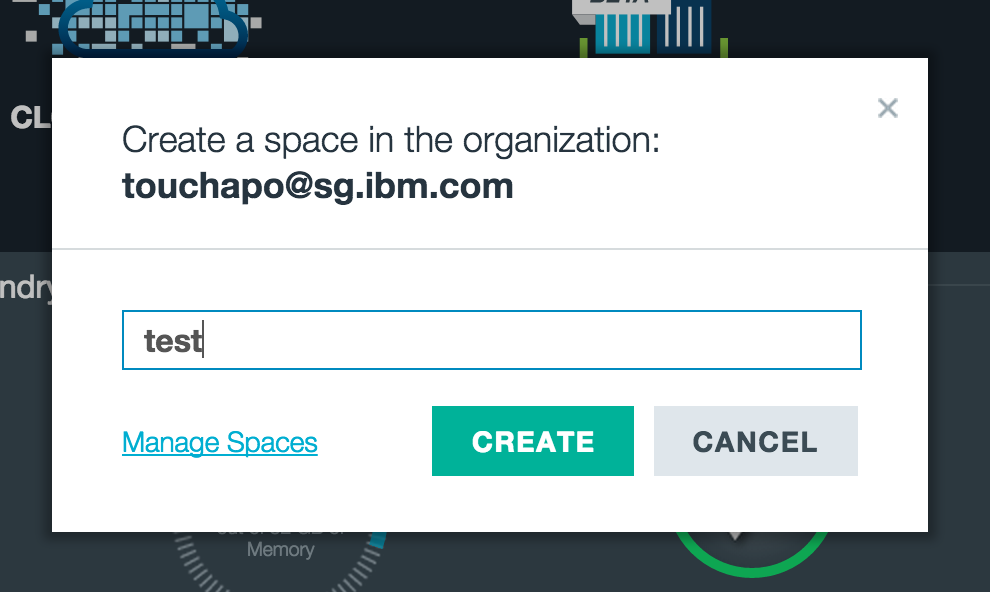
Preparing test environment
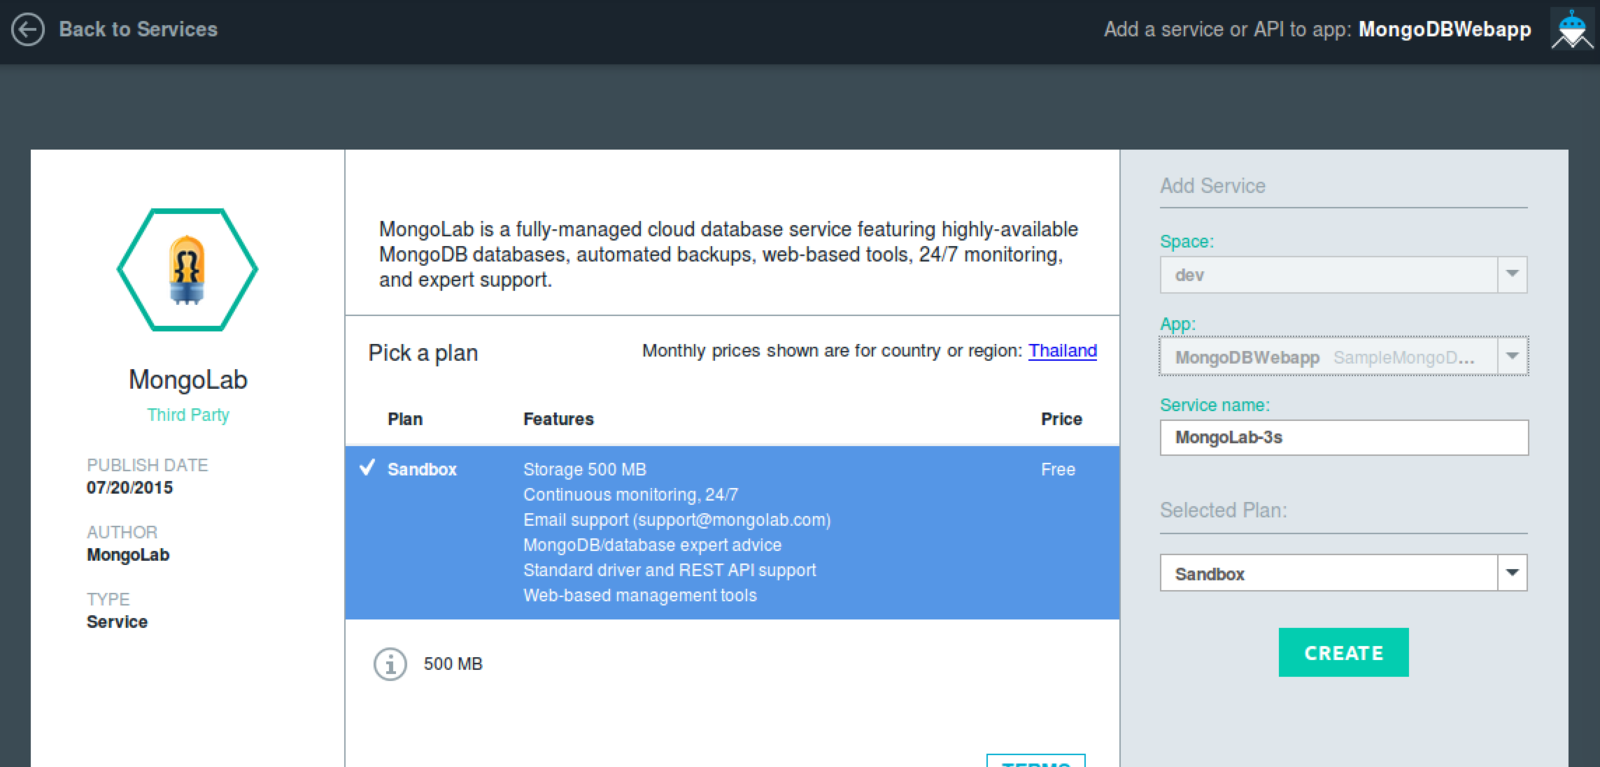
4. Add Monbolab to each space with the SAME service name
Add existing project to DevOps
1. Open application dashboard
2. Click Add git
3. Add starter template to Git
4. Click Edit Code to access DevOps Web IDE


Setting up project
1. Fork project from This Project
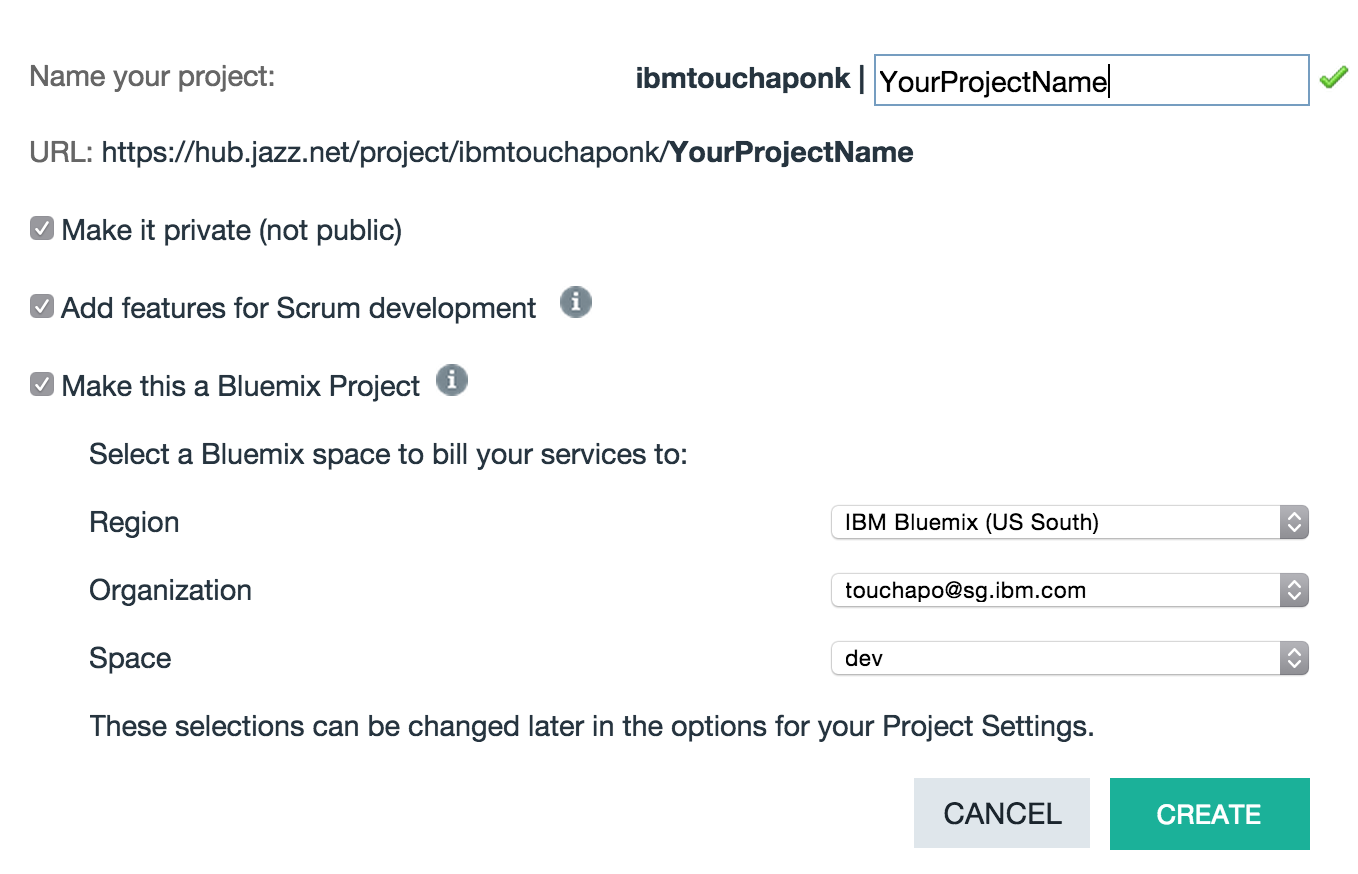
2. Enable Bluemix Project and Scrum development

Setting up Delivery Pipeline
1. Click on Build & Deploy
2. Add new build stage


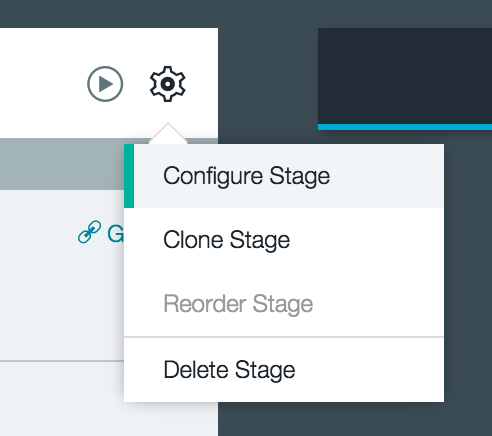
3. Configure build stage
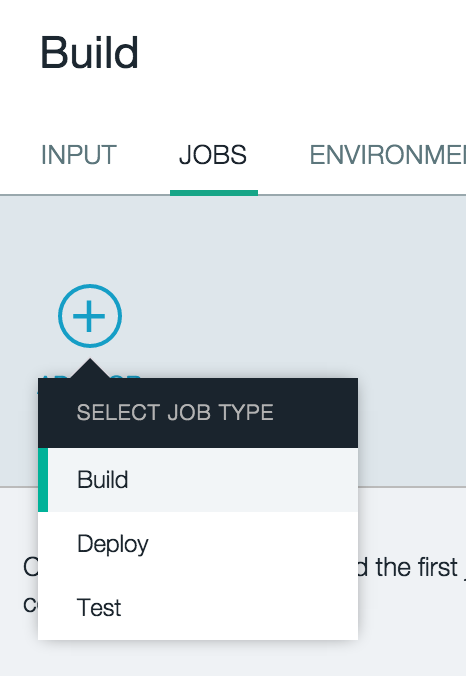
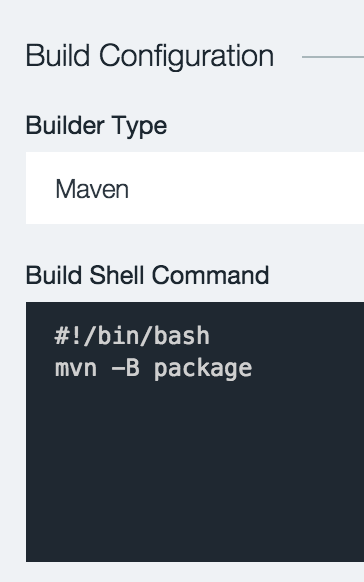
Setting up Delivery Pipeline
4. Add new deploy stage

5. Add deploy job
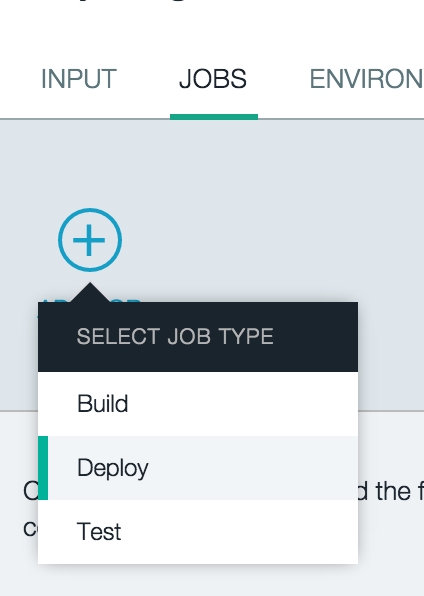
5. Append hostname with -dev
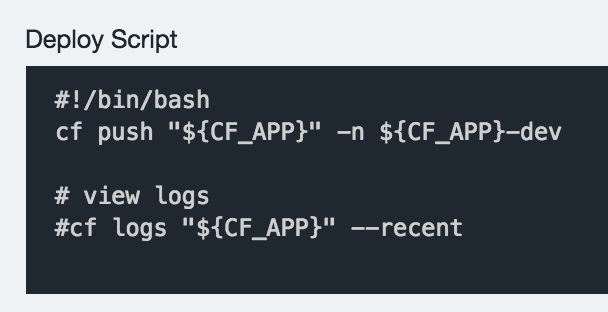
Setting up Delivery Pipeline
4. Clone the deploy stage
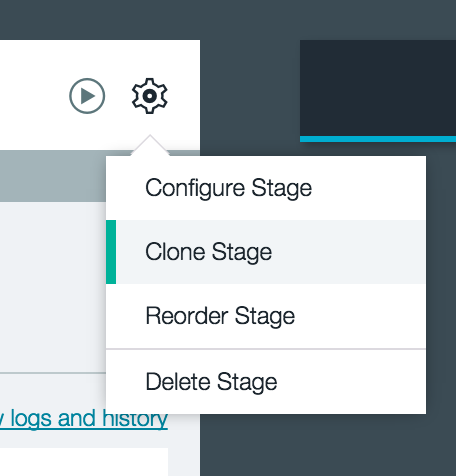
5. Edit configuration as shown:

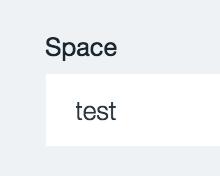
6. Repeat clone and config to UAT space

Commiting Code
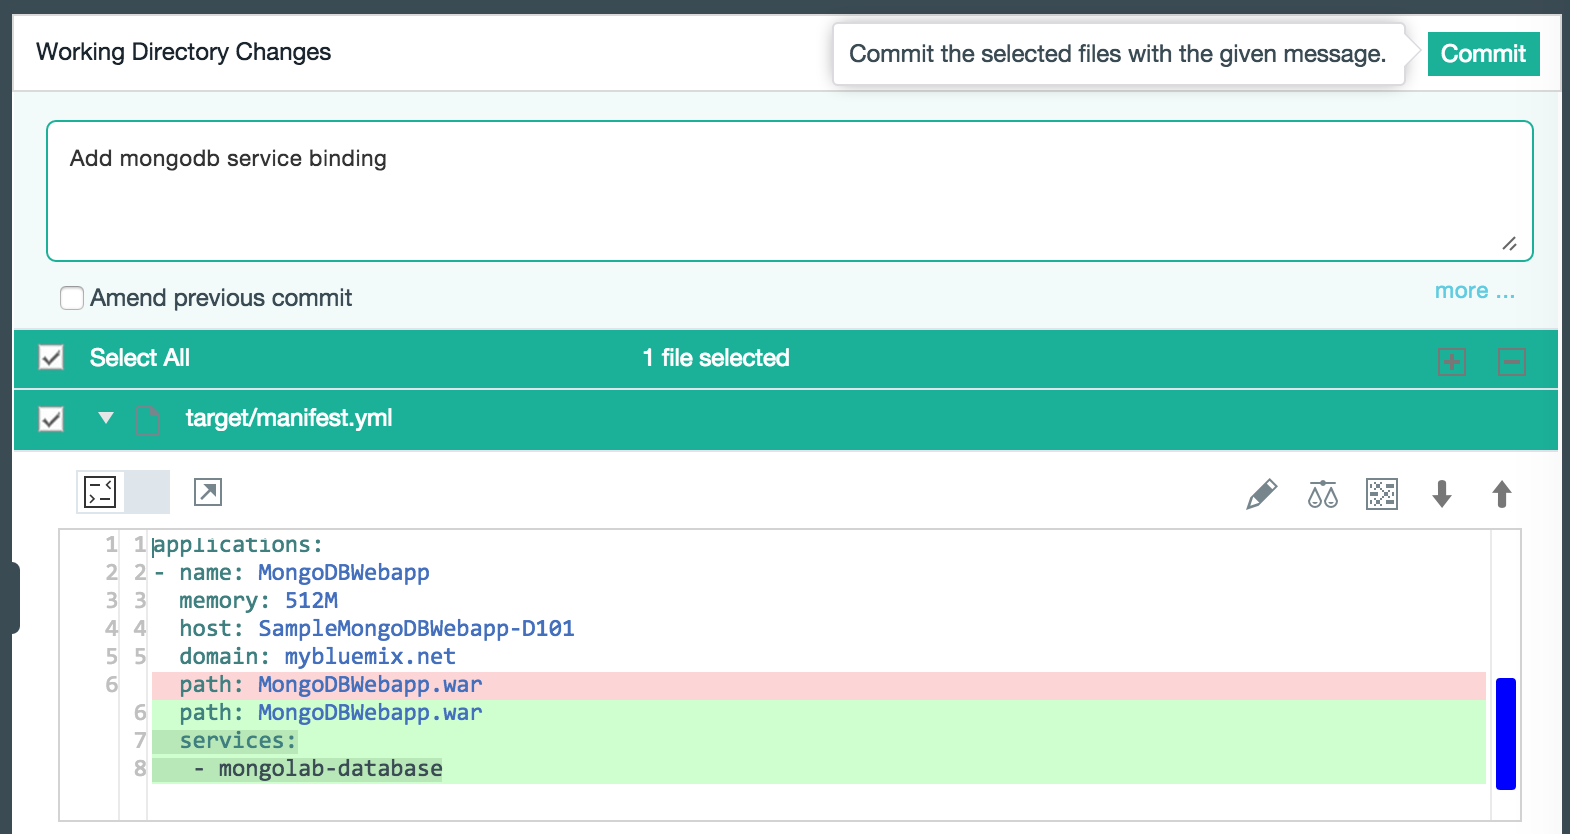
1. Add database service into manifest.yml
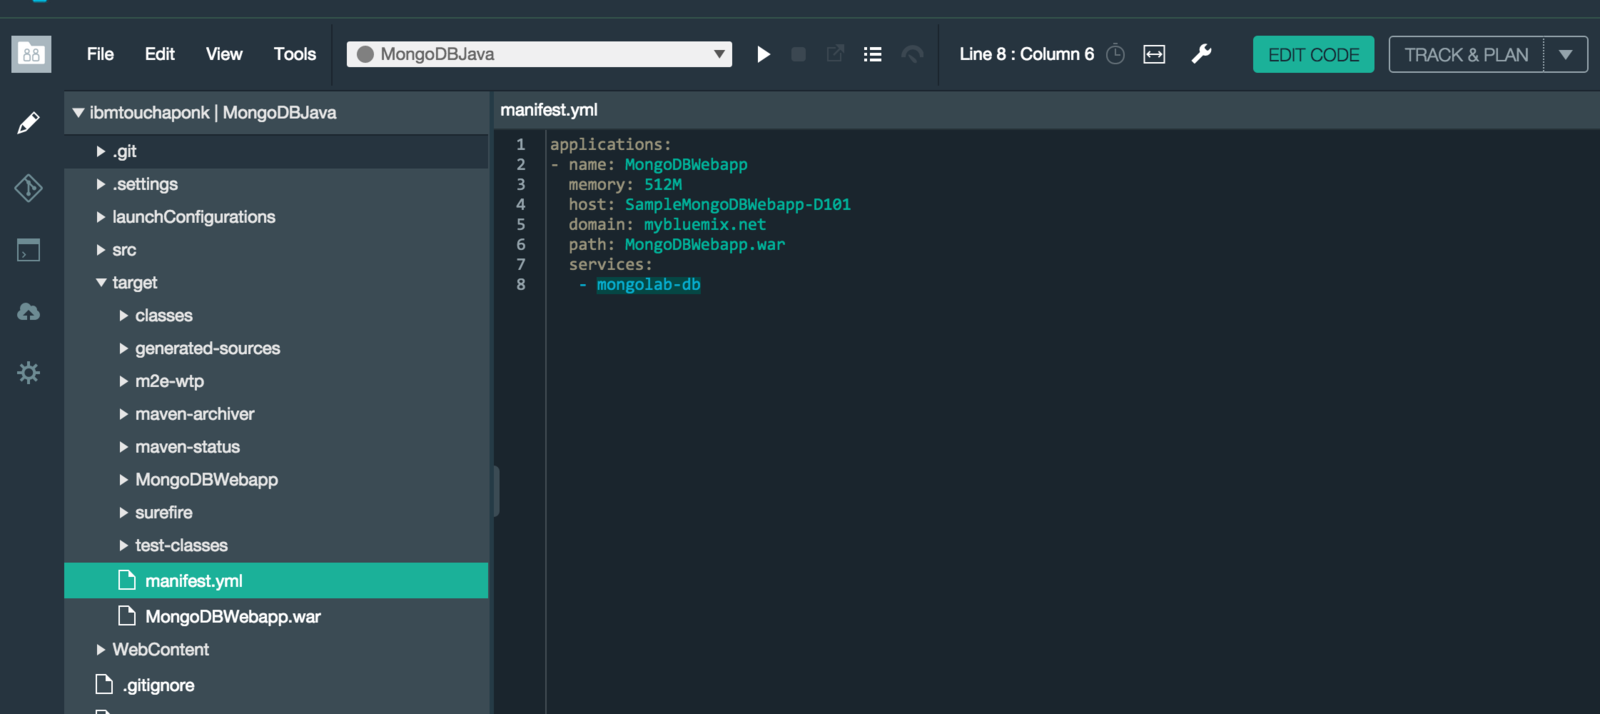
2. Go to Git Repository page
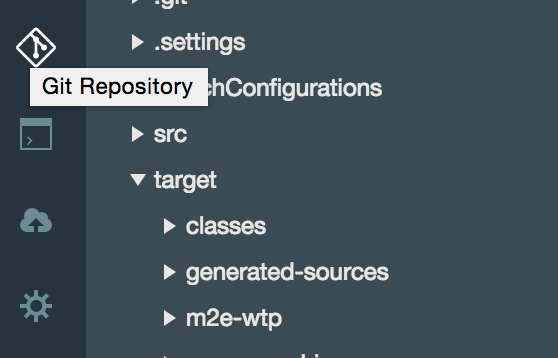
Commiting Code
3. Commit & Push the change
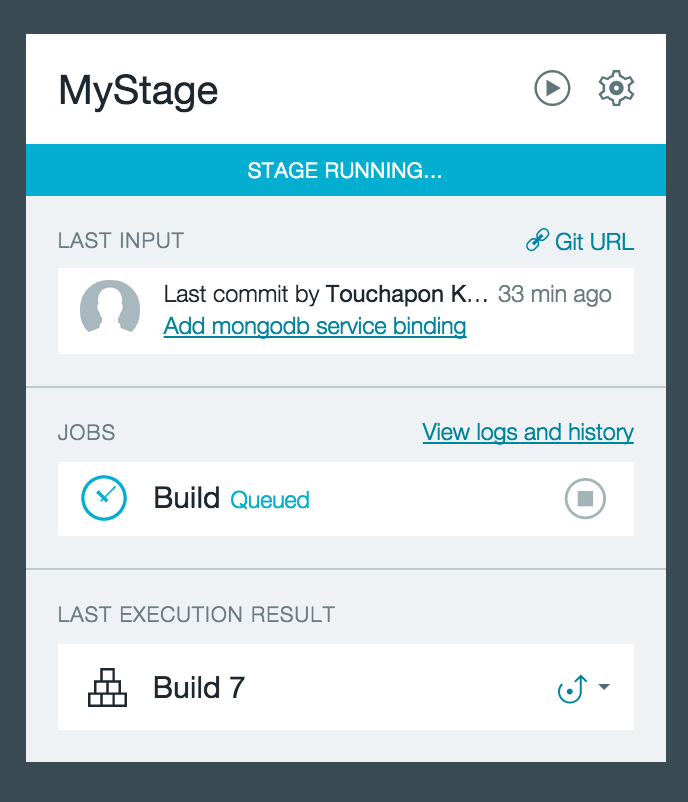
4. Go back to Build & Deploy
to see the pipeline running

Microservices Architecture
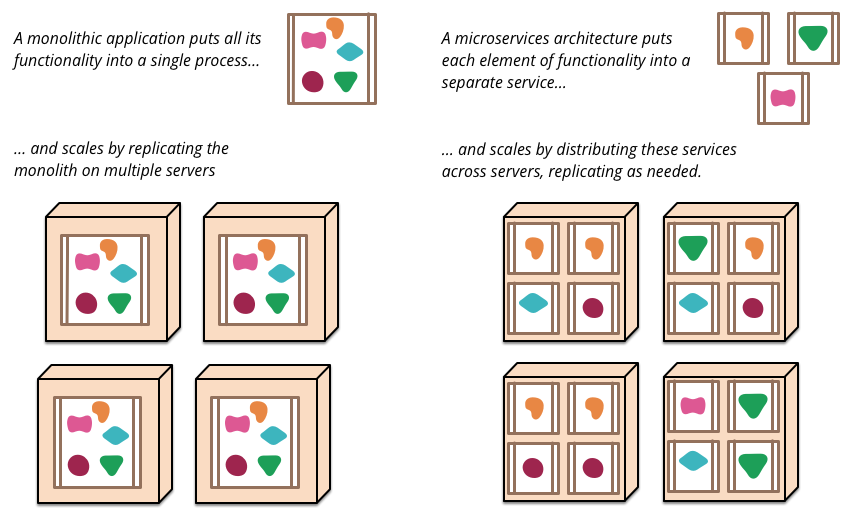
Monolithics VS Microservices
Why Microservices?
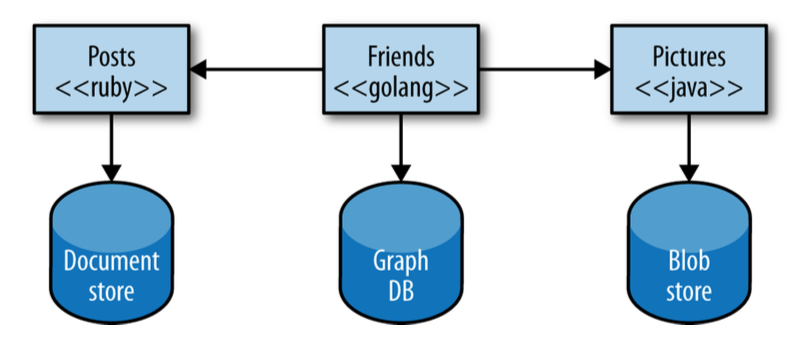
1. Multiple Technology
Why Microservices?
2. Independent Scalability
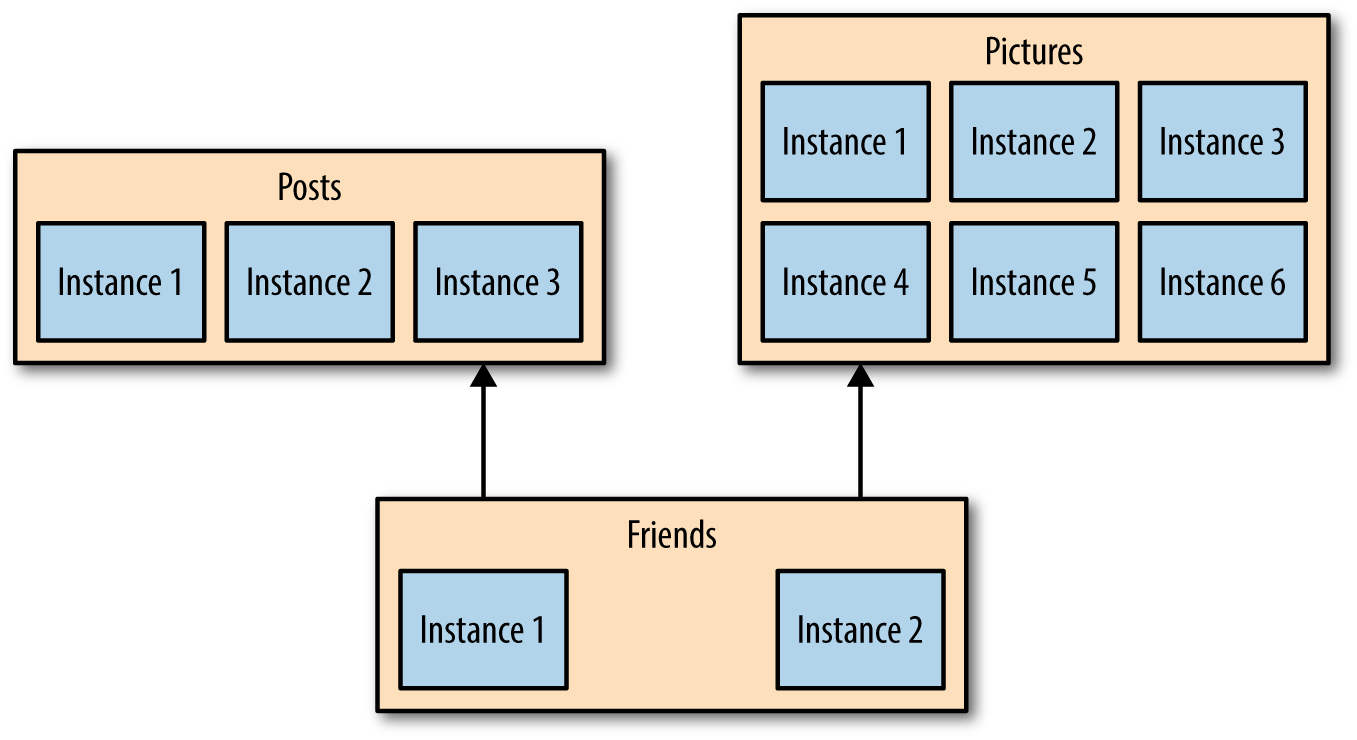
Why Microservices?
3. Resiliency with Bulkhead

Why Microservices?
3. Independent Lifecycle
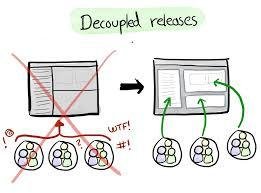
Why Microservices?
4. Composability
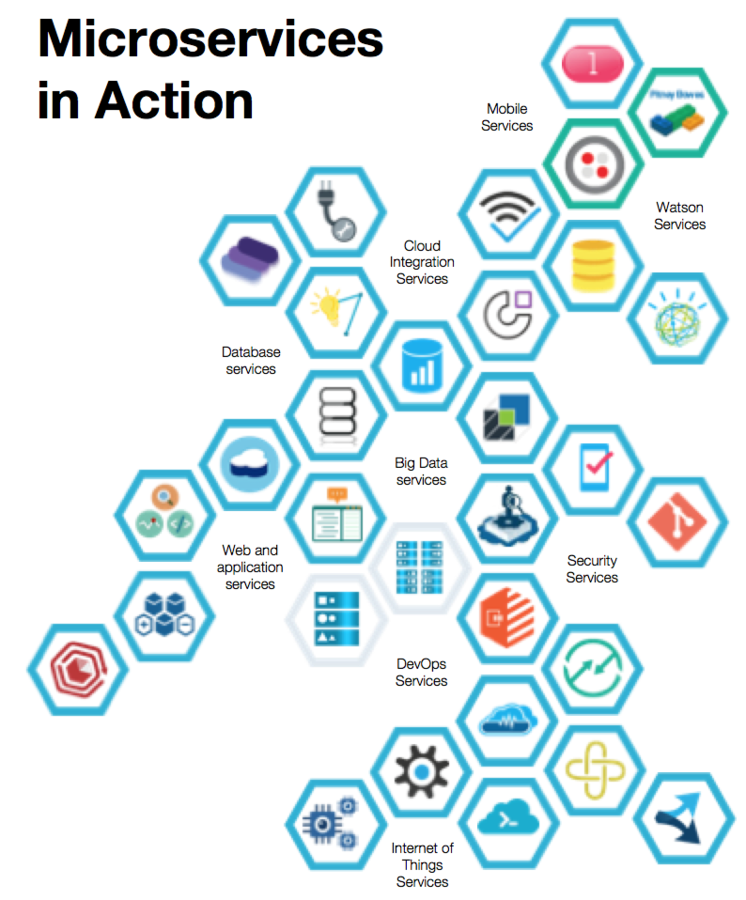
Building Microservices

Breaking up the monolith
Building Microservices
From Cloud-ready to Cloud-native
Building Microservices
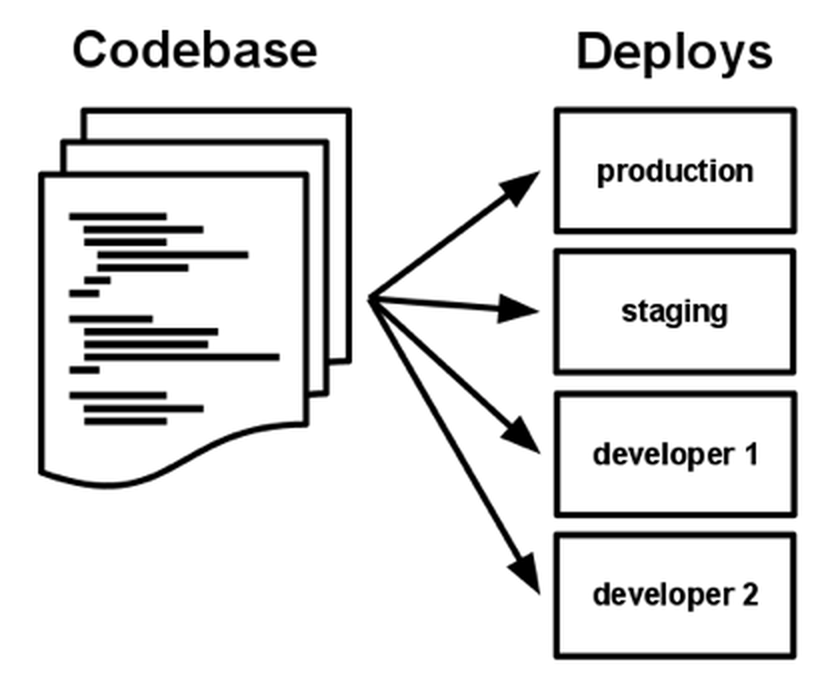
1. Codebase
Strictly One Codebase per One App (1-1 relationship)
Building Microservices
2. Dependencies
- Never relies on implicit existence of system-wide packages.
- Do not rely on the implicit existence of any system tools.
- The new developer can check out the app’s codebase onto their development machine, requiring only the language runtime and dependency manager installed as prerequisites.
Building Microservices
2. Dependencies
Building Microservices
3. Config
- An app’s config is everything that is likely to vary between deploys (staging, production, developer environments, etc)
- JDBC url, Storage credential, SMTP credential, etc
- Strict separation of config from code. Config varies substantially across deploys, code does not.
- Stores config in environment variables
Building Microservices
3. Config
Building Microservices
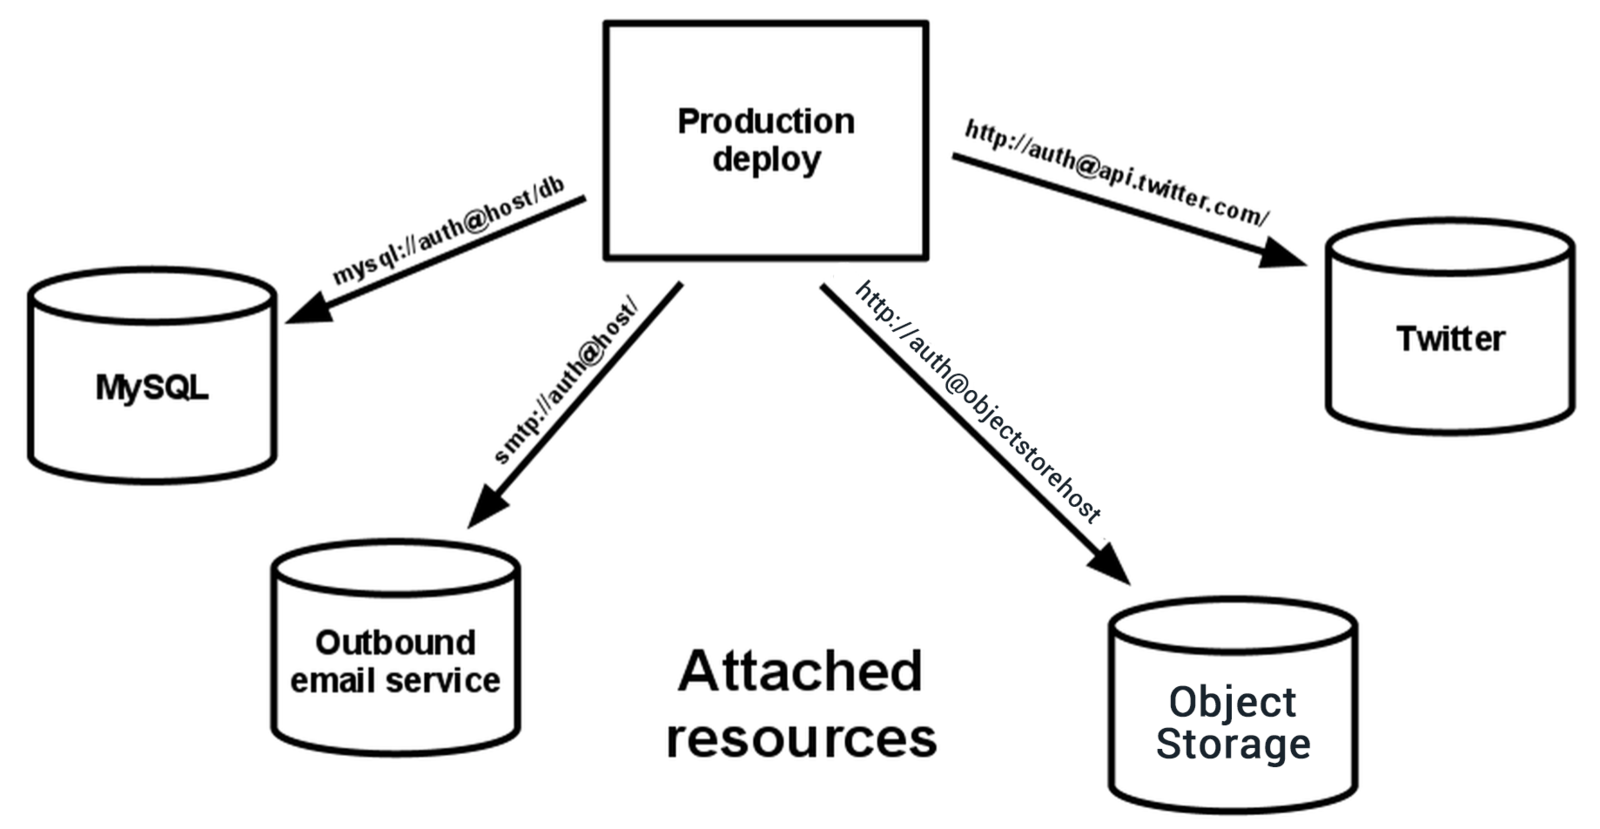
4. Backing Services
- Treat backing services as attached resources
- Makes no distinction between local and third party services
- A deploy of the twelve-factor app should be able to swap out a local MySQL database with one managed by a third party
Building Microservices
4. Backing Services
Building Microservices
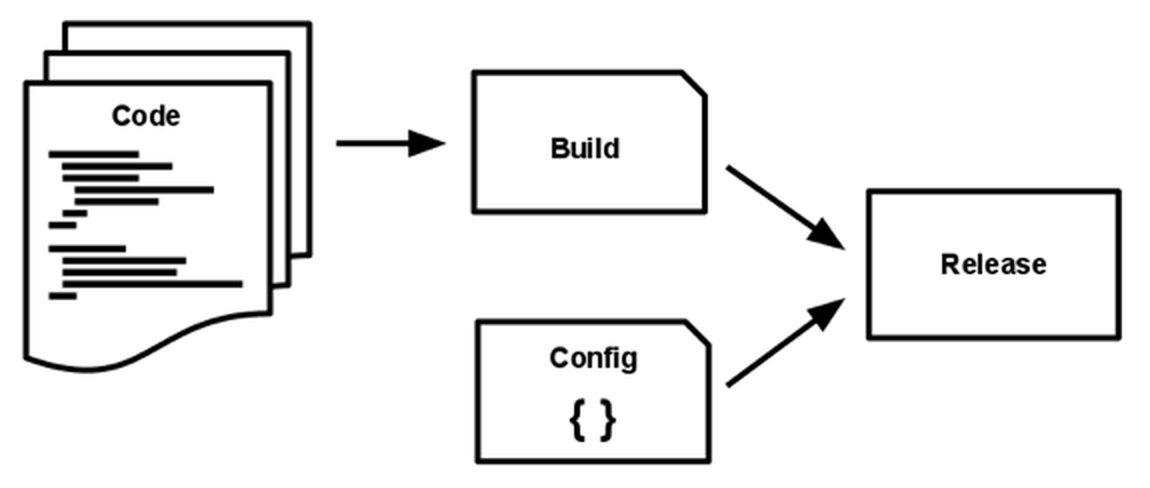
5. Build, release and run
- Strict separation between the build, release, and run stages
- Every release should always have a unique release ID
- Builds are initiated by the app’s developers whenever new code is deployed.
Building Microservices
6. Processes
- Processes are stateless and share-nothing
- Any data that needs to persist must be stored in a stateful backing service, typically a database or memcache
- The memory space or filesystem of the process can be used as a brief, single-transaction cache.
- Never assumes that anything cached in memory or on disk will be available on a future
Building Microservices
7. Port Binding
- Exports HTTP as a service by binding to a port
- In deployment, a routing layer handles routing requests from a public-facing hostname to the port-bound web processes.
- An app can become the backing service for another app, by providing the URL to the backing app as a resource handle in the config for the consuming app.
Building Microservices
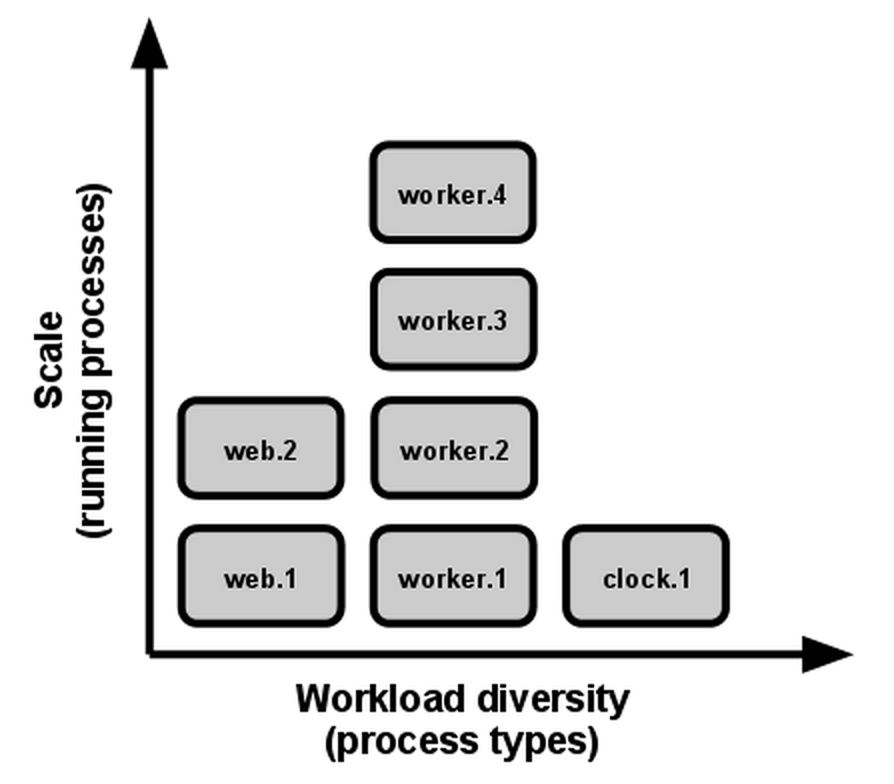
8. Concurrency
- Architect an app to handle diverse workloads by assigning each type of work to a process type
- App processes should never daemonize or write PID files
Building Microservices
9. Disposability
- Can be started or stopped at a moment’s notice
- This facilitates fast elastic scaling, rapid deployment of code or config changes, and robustness of production deploys
- Minimize startup time
- Shut down gracefully when they receive a SIGTERM signal
- For a worker process, graceful shutdown is achieved by returning the current job to the work queue.
Building Microservices
10. Dev/prod Parity
- Keep development, staging, and production as similar as possible
- Make the time gap small: a developer may write code and have it deployed hours or even just minutes later.
- Make the personnel gap small: developers who wrote code are closely involved in deploying it and watching its behavior in production.
- Make the tools gap small: keep development and production as similar as possible.

Building Microservices
11. Logs
- Treat logs as event streams
- App never concerns itself with routing or storage of its output stream
- The event stream for an app can be routed to a file, or watched via realtime tail in a terminal.
- Most significantly, the stream can be sent to a log indexing and analysis system such as Splunk, or a general-purpose data warehousing system such as Hadoop/Hive.
Building Microservices
12. Admin Processes
- Run admin/management tasks as one-off processes
- Admin code must ship with application code to avoid synchronization issues.
- They run against a release, using the same codebase and config as any process run against that release.
Building Microservices
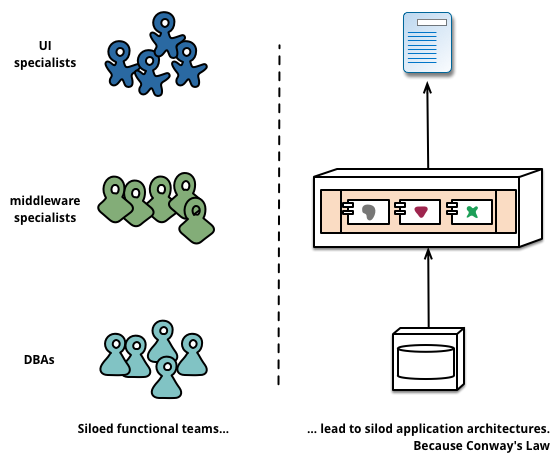
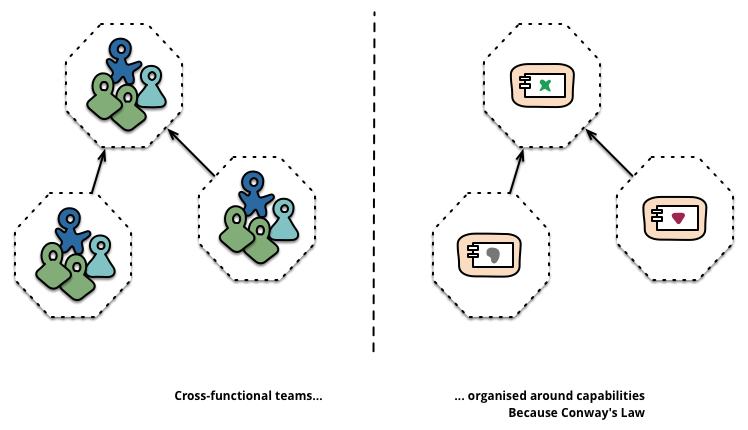
Breaking up the team!

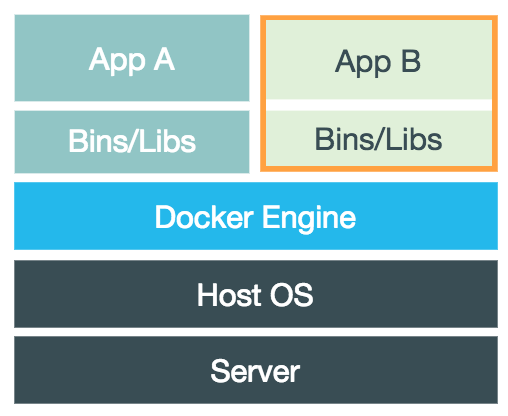
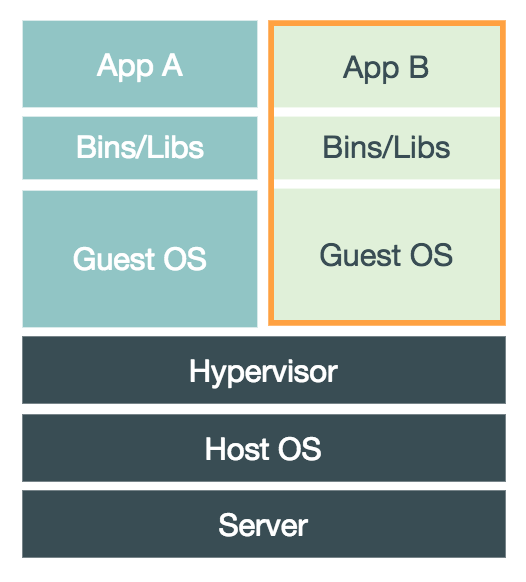
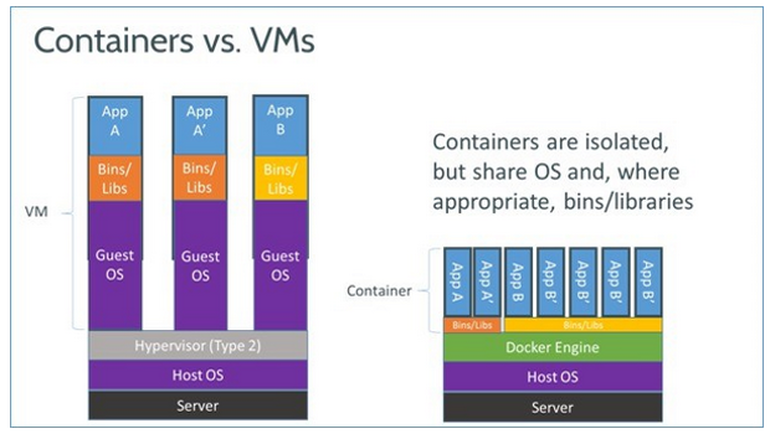
Virtual Machines
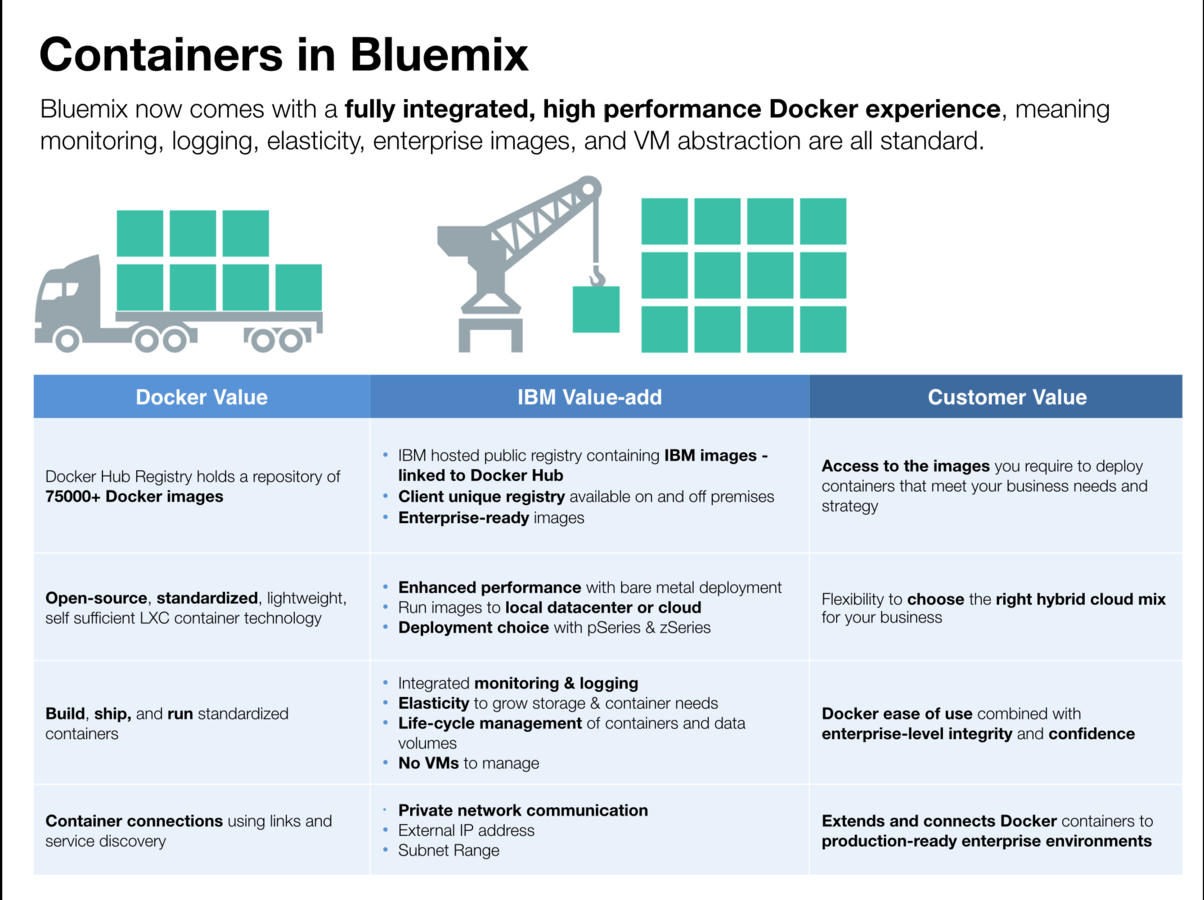
Containers

Docker
A Container Technology
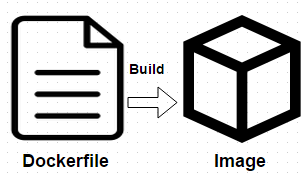
FROM ubuntu:12.04

MAINTAINER Touchapon Kraisingkorn

RUN apt-get update
RUN apt-get install -y apache2
RUN apt-get clean
RUN rm -rf /var/lib/apt/lists/*

ENV APACHE_RUN_USER www-data
ENV APACHE_RUN_GROUP www-data
ENV APACHE_LOG_DIR /var/log/apache2

EXPOSE 80

CMD ["/usr/sbin/apache2", "-D", "FOREGROUND"]
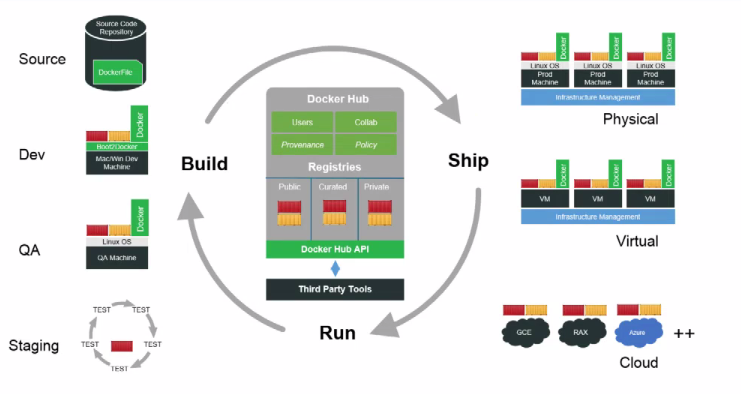


Deploying First Containers
Deploying simple containers
and images from public repository
Starting simple containers
1. Start and echo "Hello World" from empty Ubuntu docker image
sudo docker run ubuntu:14.04 /bin/echo 'Hello world'2. Start Ubuntu in "interactive" bash mode
sudo docker run -t -i ubuntu:14.04 /bin/bash-i = "Interactive" - connect to container STDIN
-t = assign terminal
runs /bin/bash
Starting simple containers
3. Start Websphere docker image
sudo docker run -d -p 9081:9080 registry.ng.bluemix.net/ibmliberty4. Check all docker images
sudo docker images5. Check all running dockers
sudo docker ps-p <host_port>:<container_port> =
Bind container port to host port
-d = runs in background
6. Terminate running docker
sudo docker kill <docker_name OR docker_id>Building & running a new image
1. Navigate to desktop/Docker/container01 and check Dockerfile
FROM registry.ng.bluemix.net/ibmliberty
ADD FirstJavaApp.war /opt/ibm/wlp/usr/servers/defaultServer/dropins/
ENV LICENSE accept
2. Building image from Dockerfile
sudo docker build -t <your_container_name>:1.0
sudo docker images
3. Running your image
sudo docker run -d -p 9080:9080 <your_container_name>:latestDocker on Bluemix : IBM Container
1. Rename your docker image
sudo docker tag <your_container_name>:1.0 registry.ng.bluemix.net/<your_bluemix_container_repository>/<your_container_name>:1.02. Push your docker image into repository
sudo docker push registry.ng.bluemix.net/<your_bluemix_container_repository>/<your_container_name>:1.0Docker on Bluemix : IBM Container
ELK Stack Docker Image

ELK Stack Docker Image
1. Start sebp/elk docker image on local machine
sudo docker run -p 5601:5601 -i -t -d sebp/elk2. Rename the docker image
sudo docker tag sebp/elk registry.ng.bluemix.net/<your_repository>/logger_elk:1.03. Push to Bluemix
sudo docker push registry.ng.bluemix.net/<your_repository>/logger_elk:1.0ELK Stack Docker Image

Cloud Integration
Integrating to On-Premise API

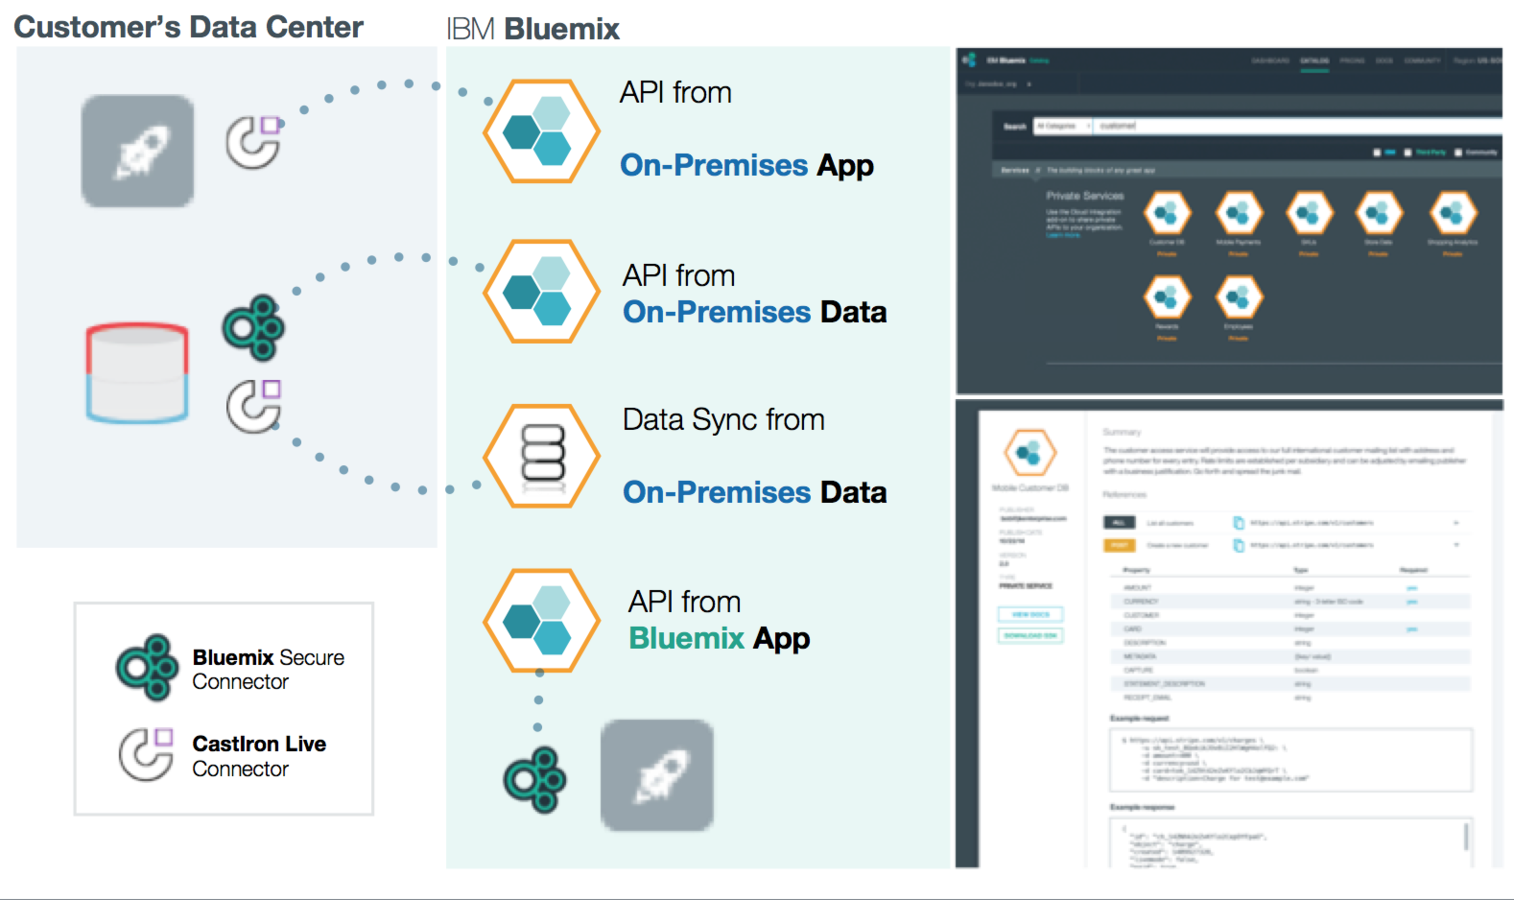
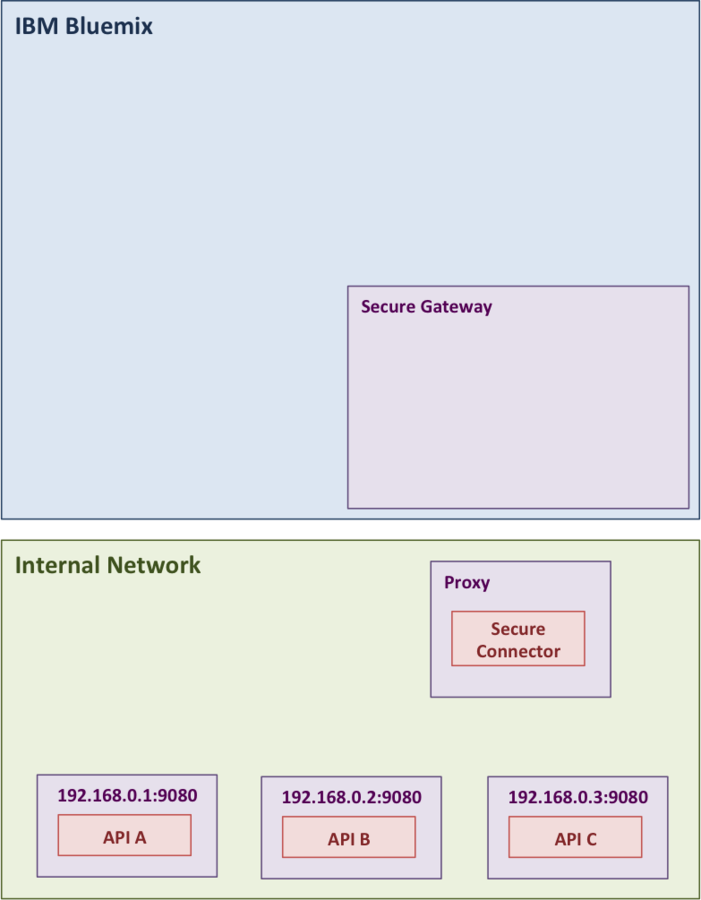
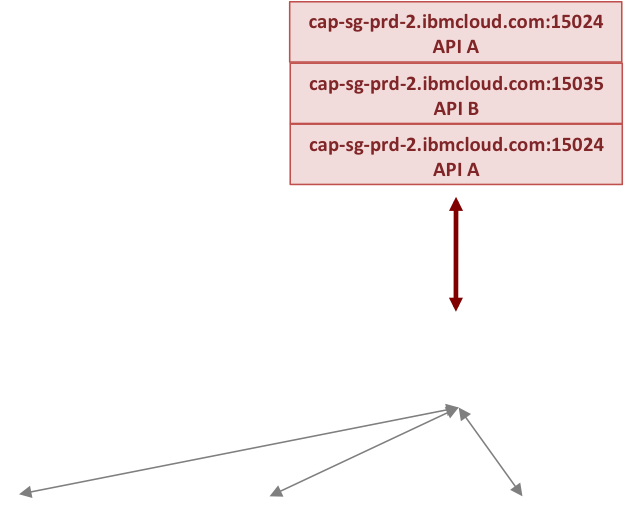
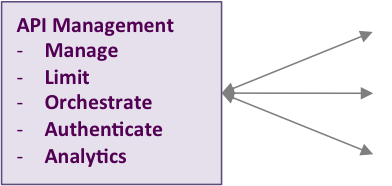
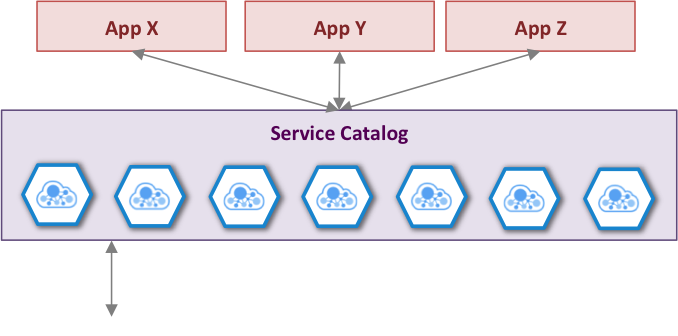
Composable Enterprise
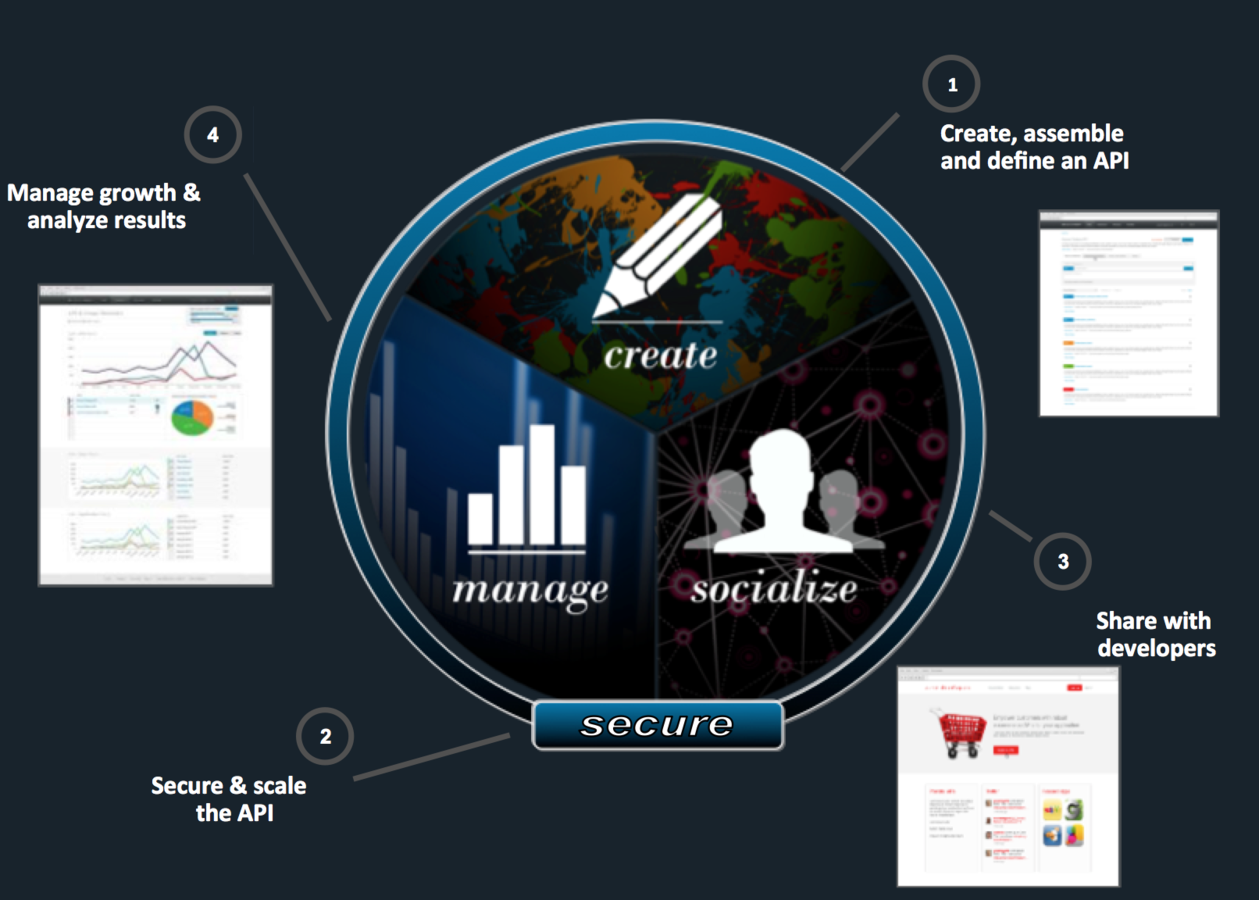
Composable Enterprise
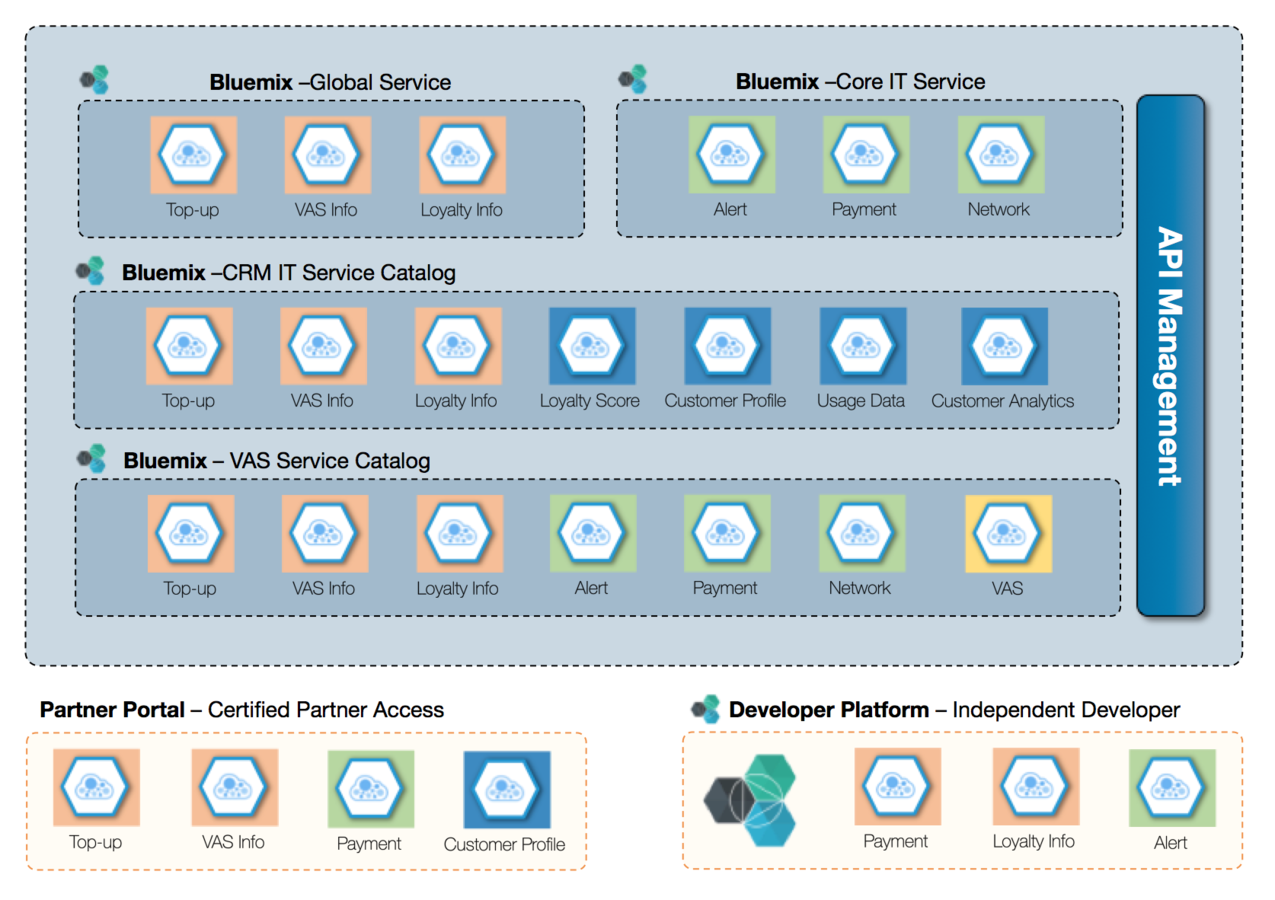

Deploying your First Node JS App

1. Start Node JS Runtime

2. Add project to Git

3. Go to Git


4. Upload source code files
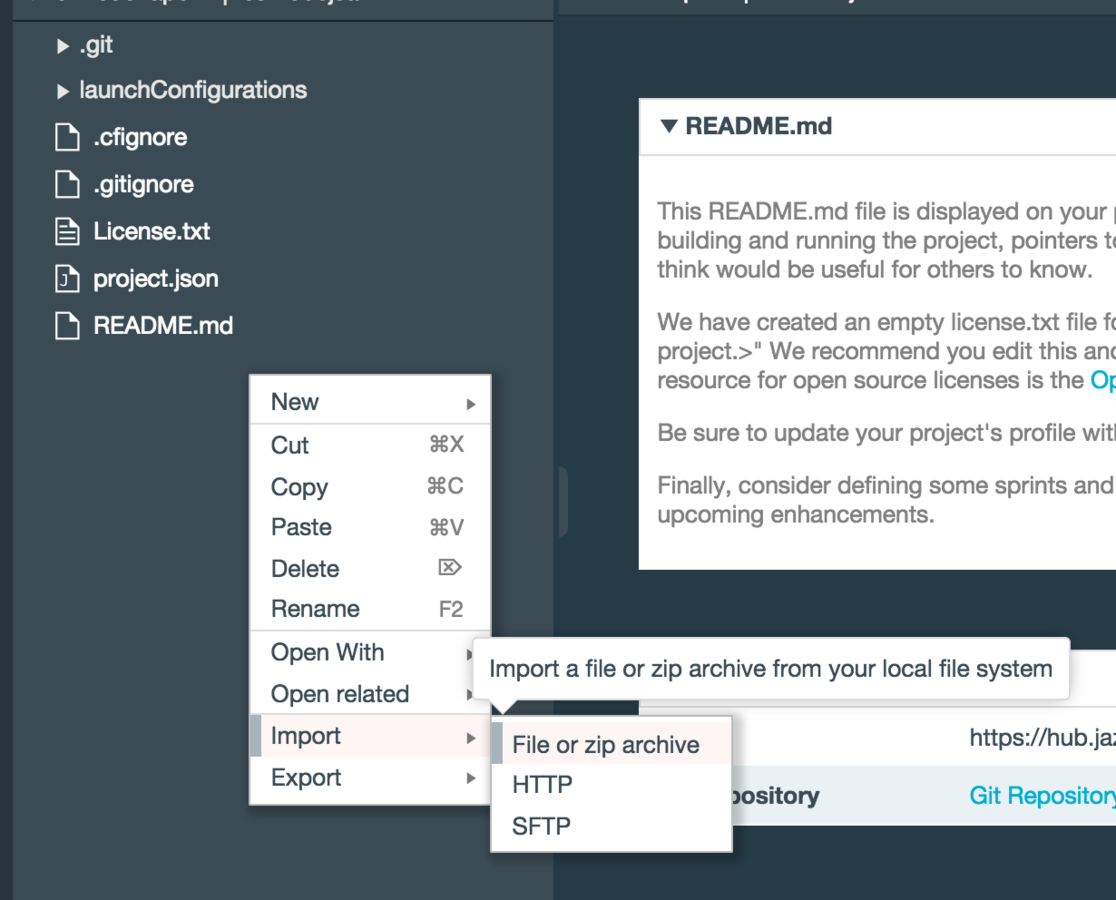

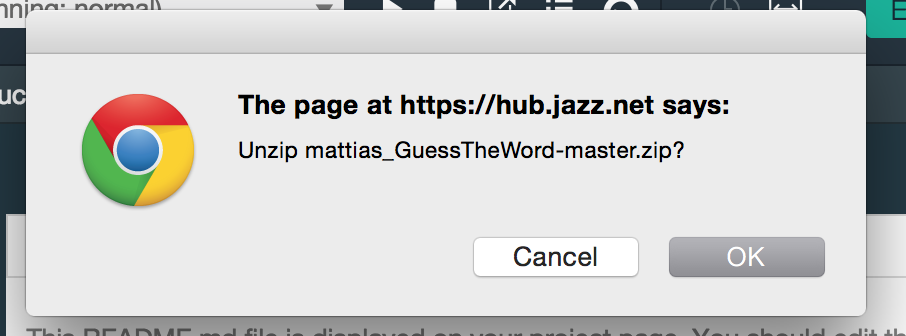
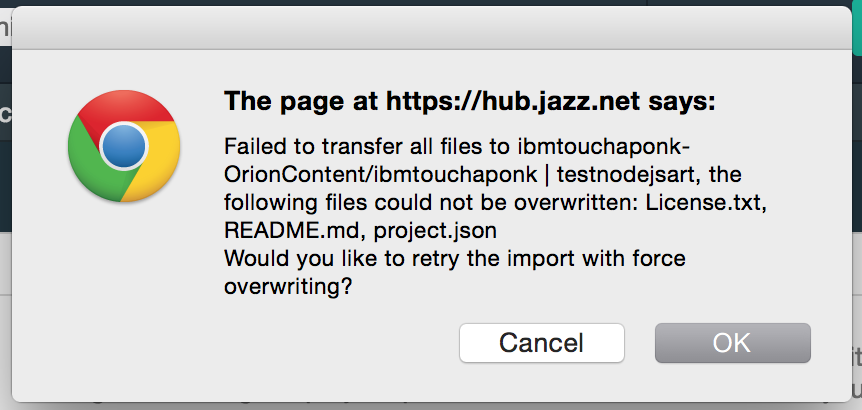
4. Extract & Overwrite the source code

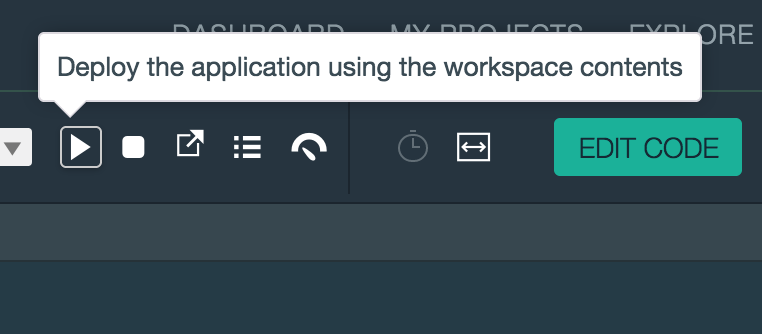
5. Deploy the change
6. Test out the service


7. Add Cloudant Database
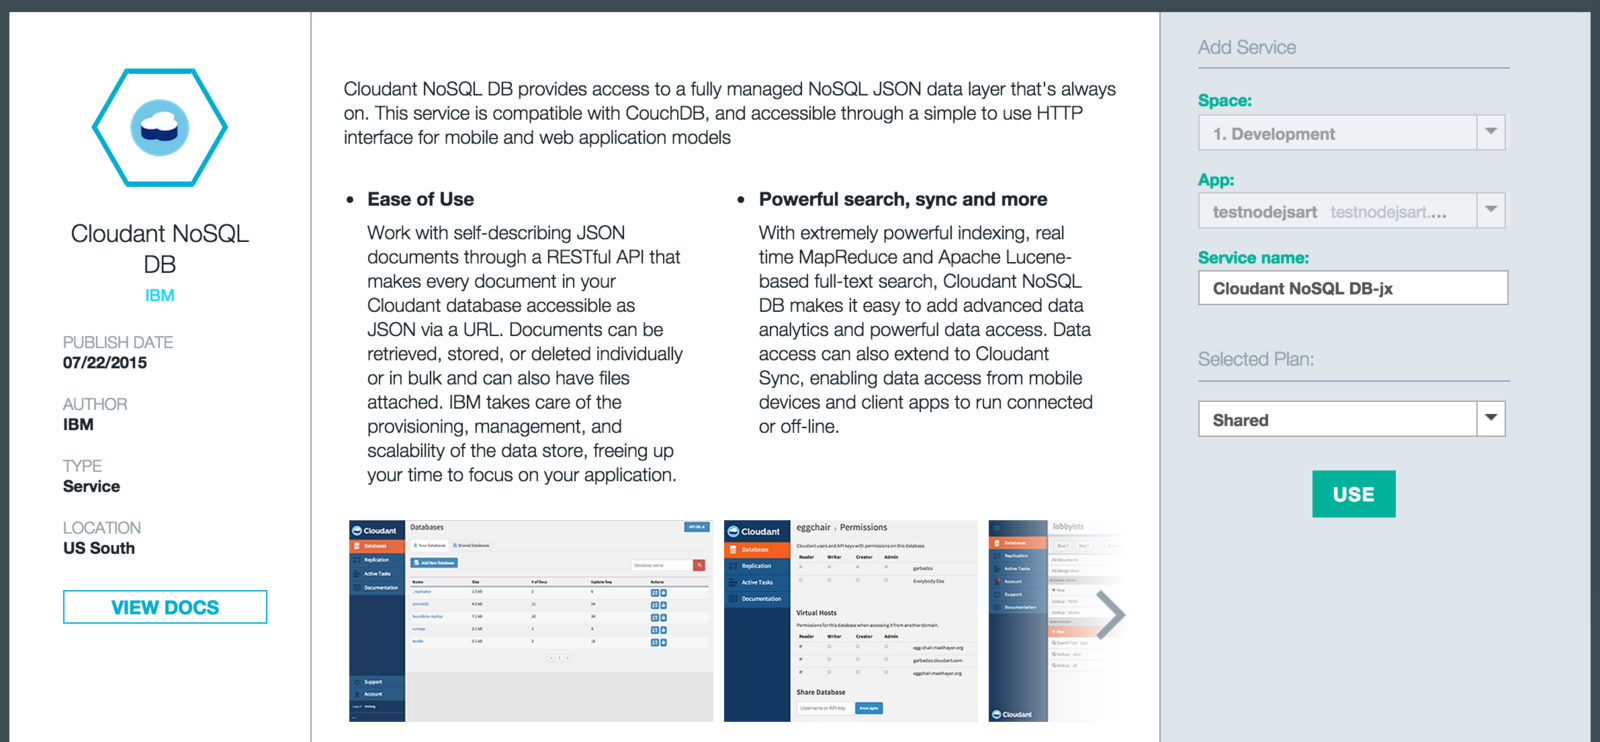


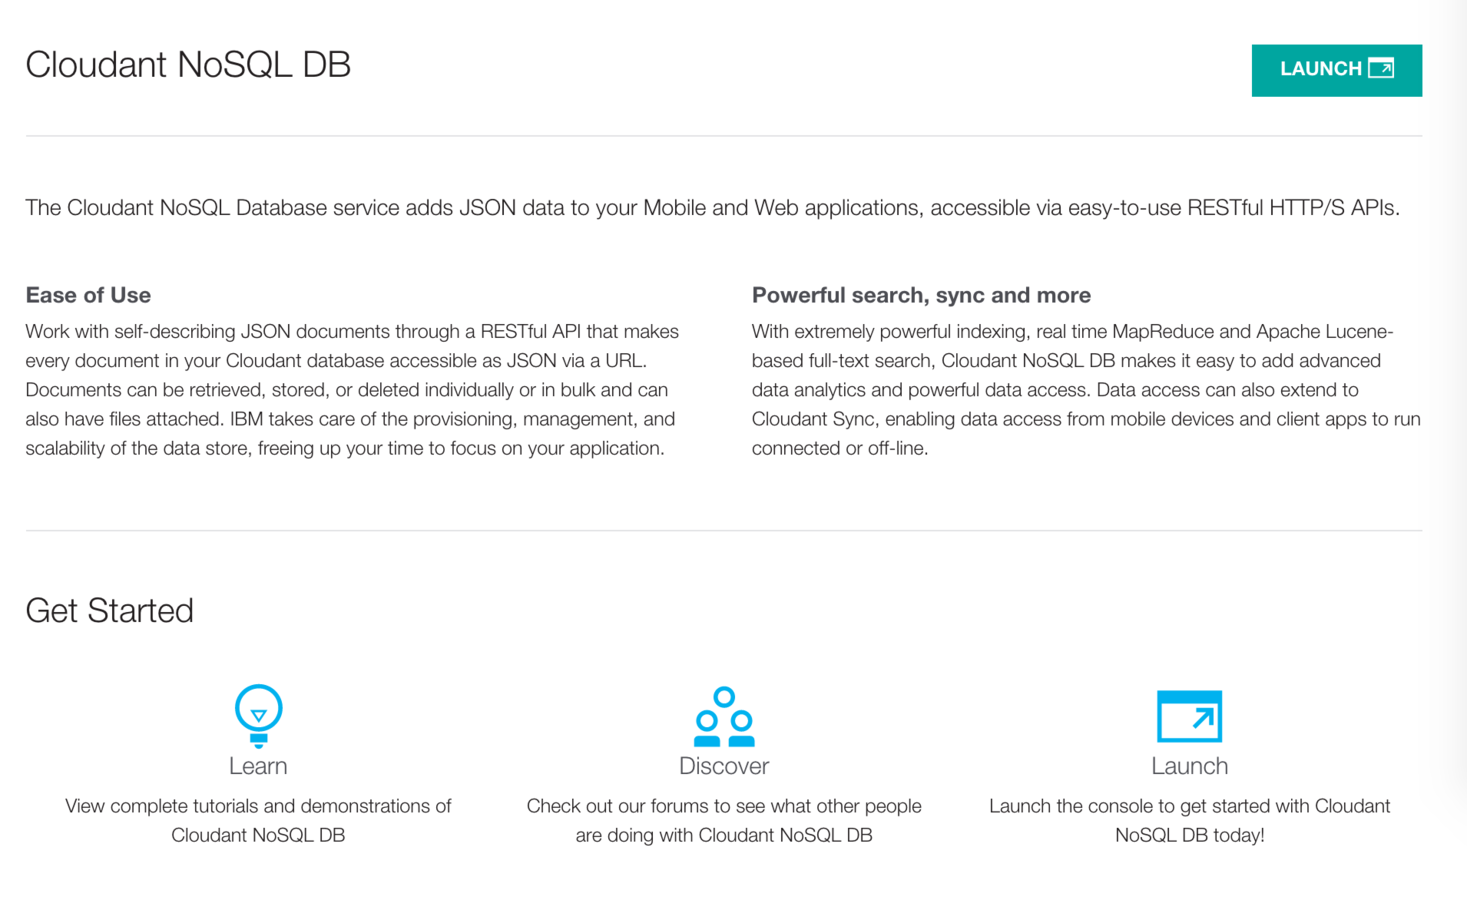
7. Open Cloudant Console


8. Create new database "hiscores"

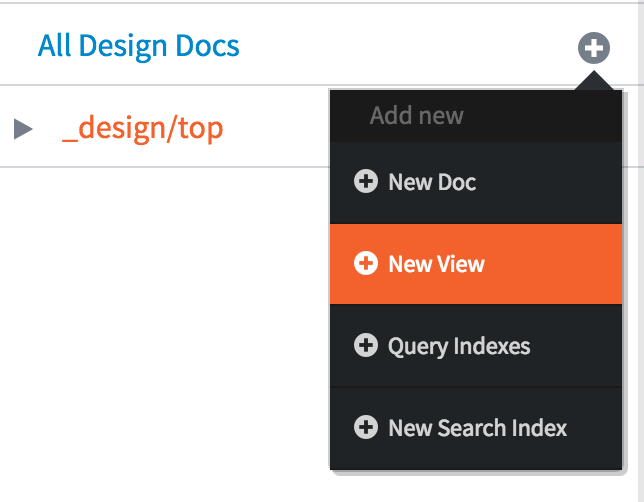
9. Create new view

10. Setup the new view:
View name: top_scores
Index name: top_scores_index
Map Function:
function(doc) {
 emit(doc.score,
    {score : doc.score,
    name : doc.name,
    date : doc.date});
}
Mobile Services
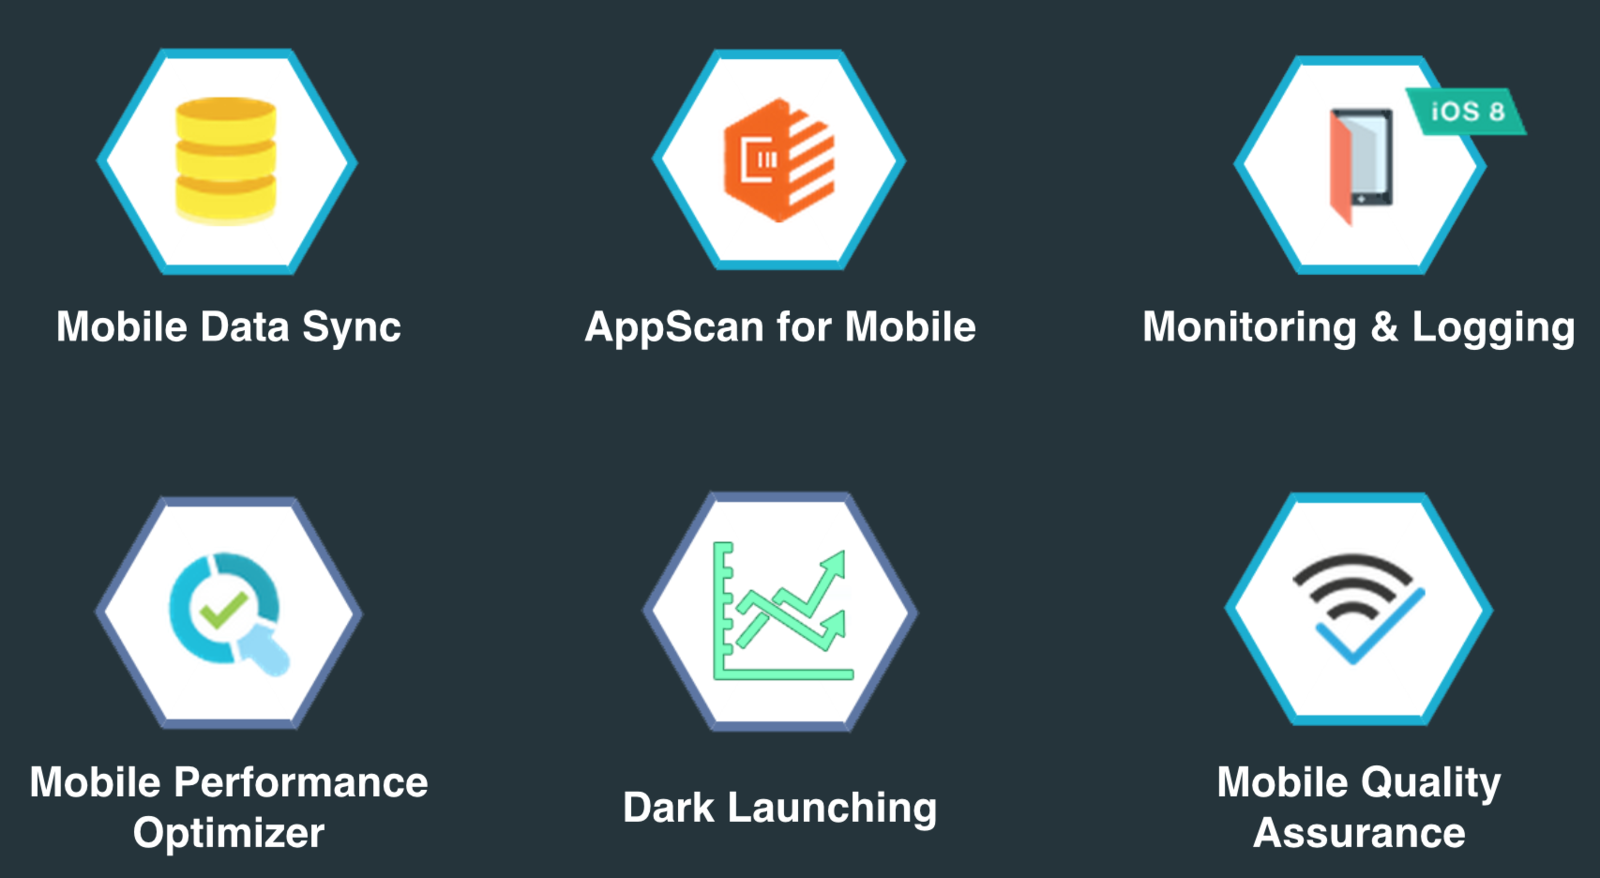
Ready Services
Mobile

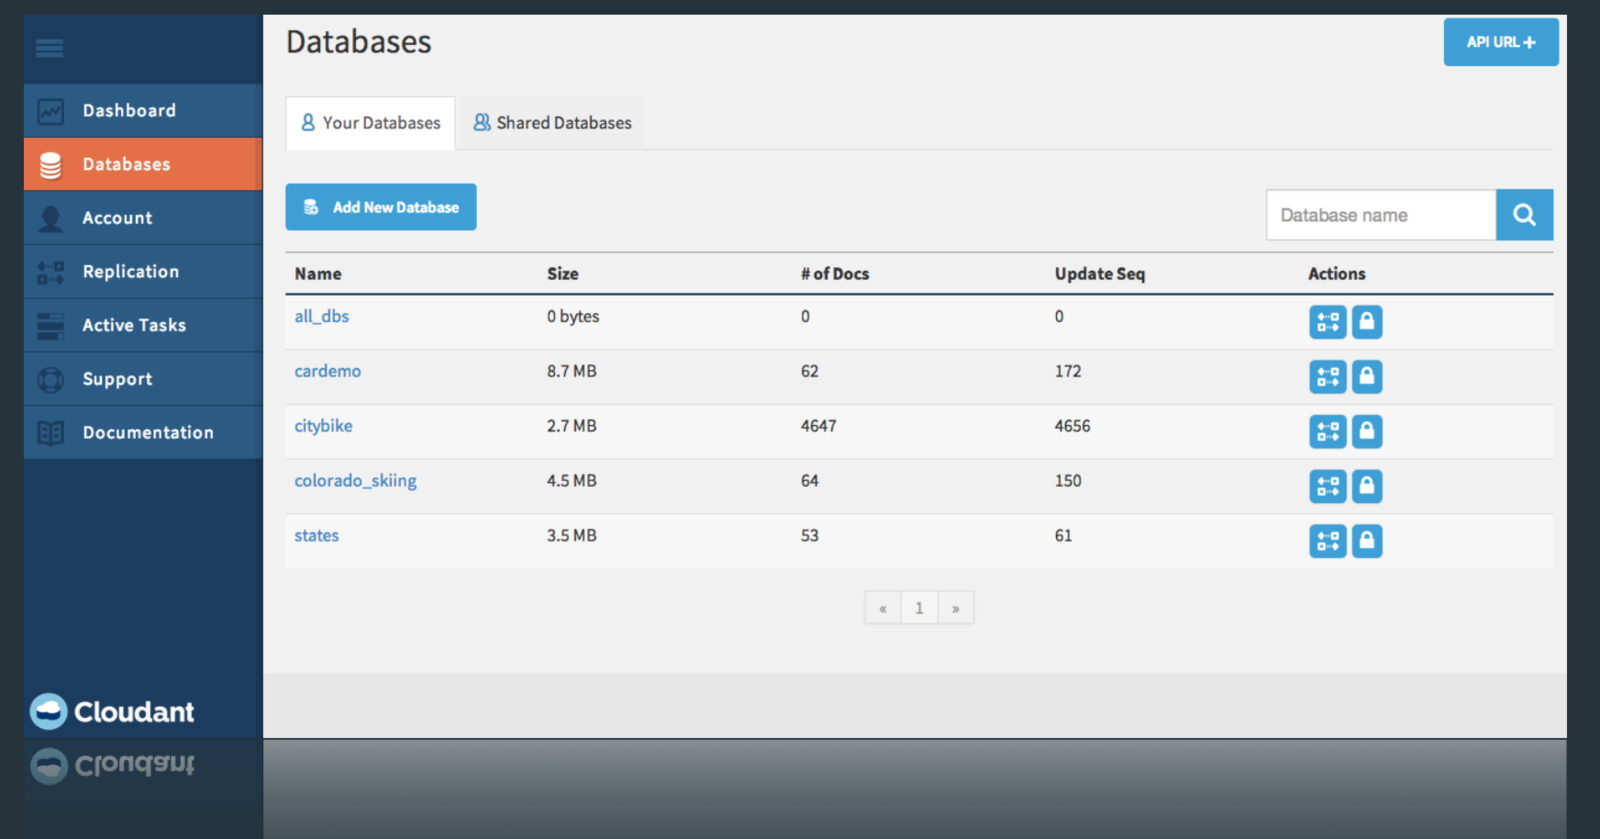
Ready Services
Mobile

Ready Services
Mobile

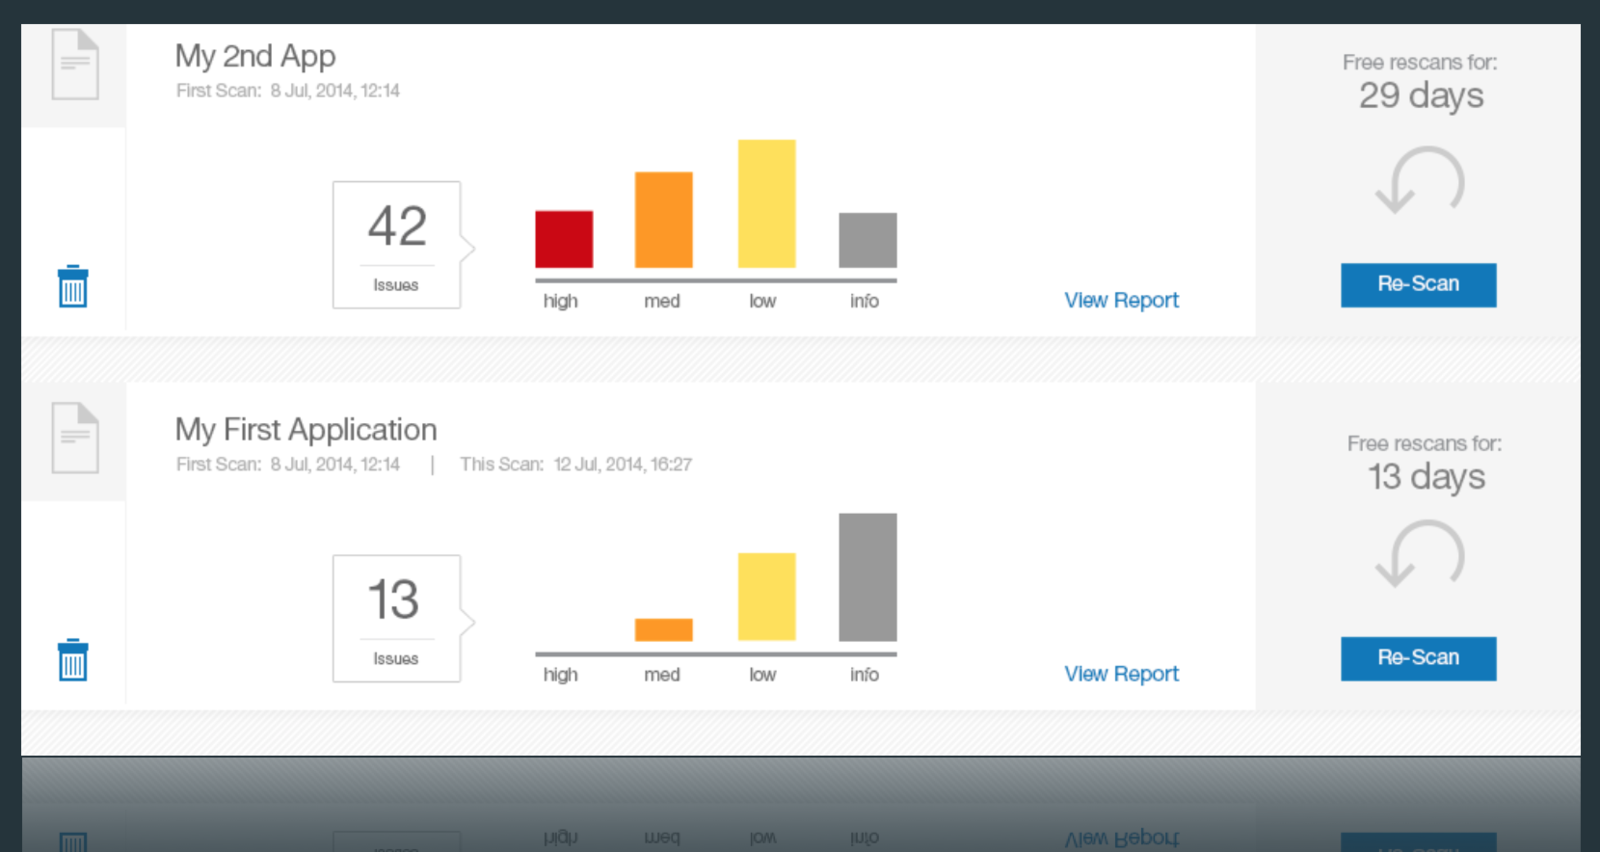
Ready Services
Mobile

Ready Services
Mobile

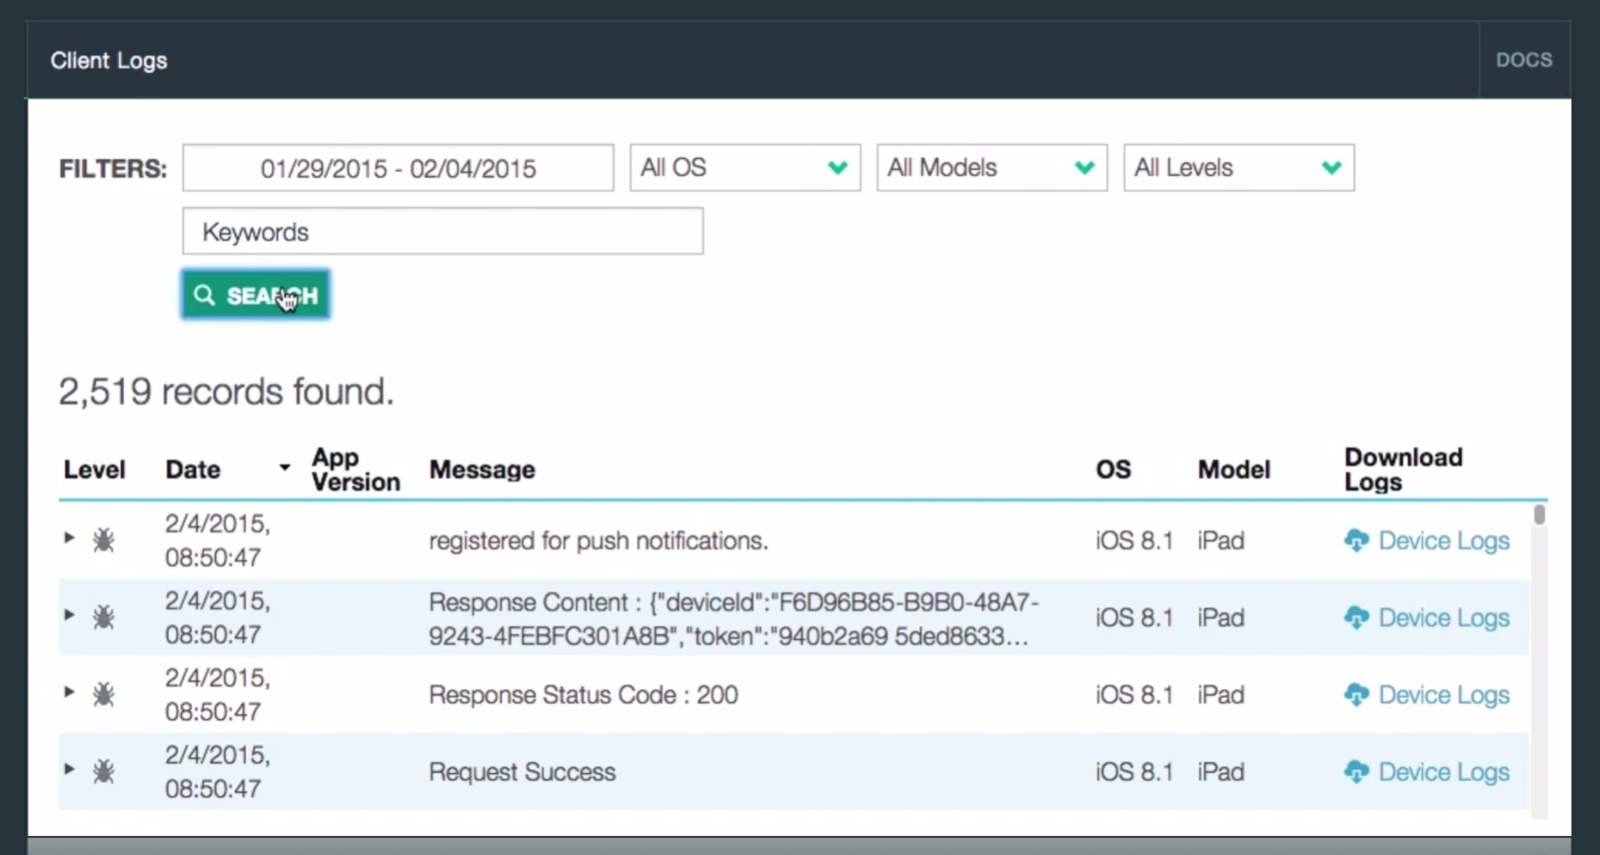
Ready Services
Mobile

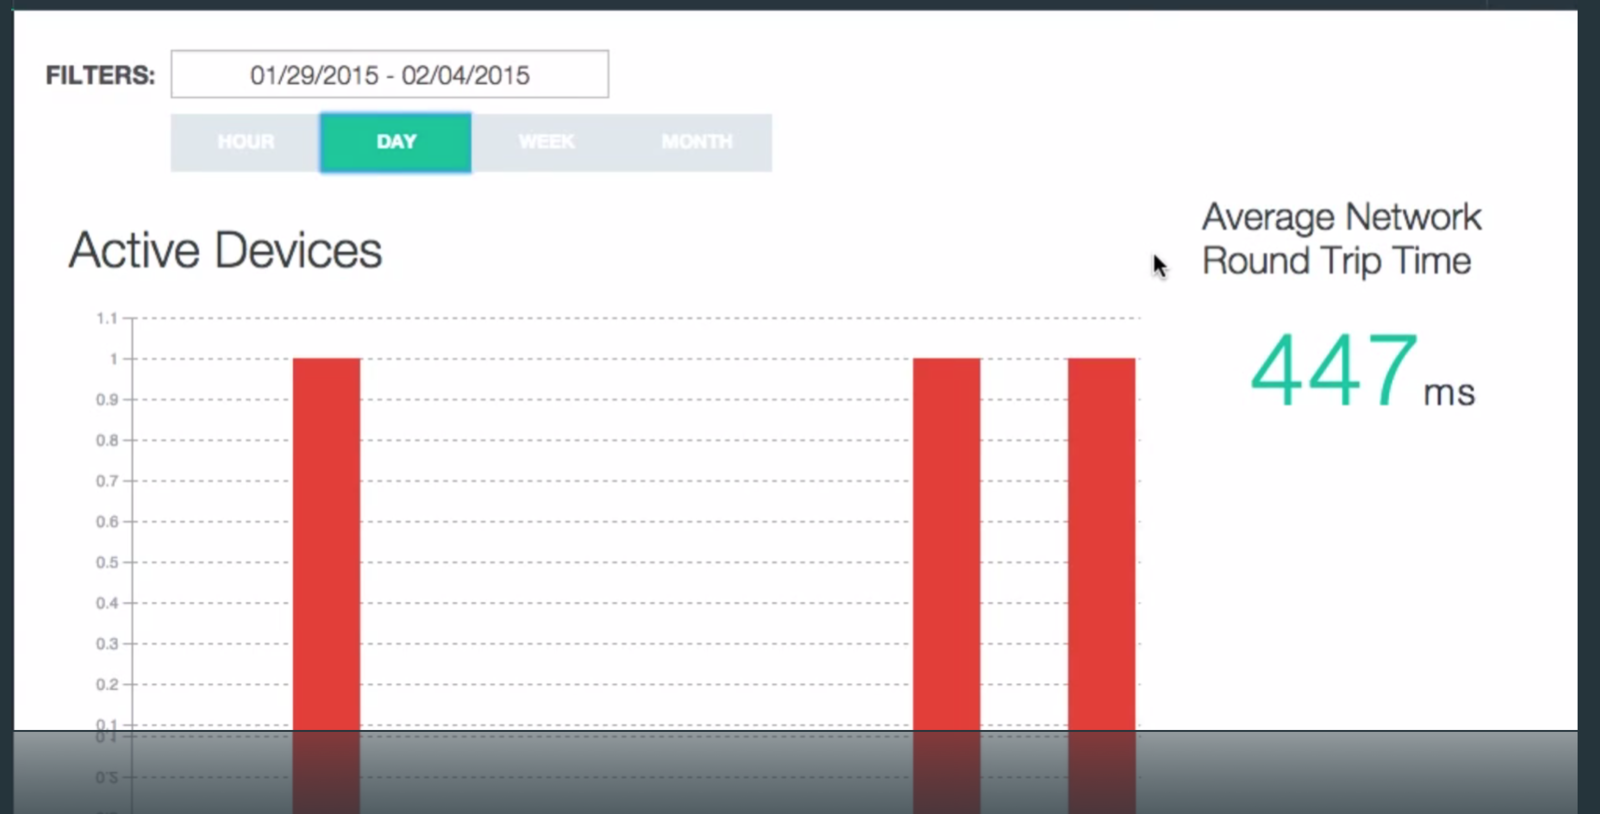
Ready Services
Mobile

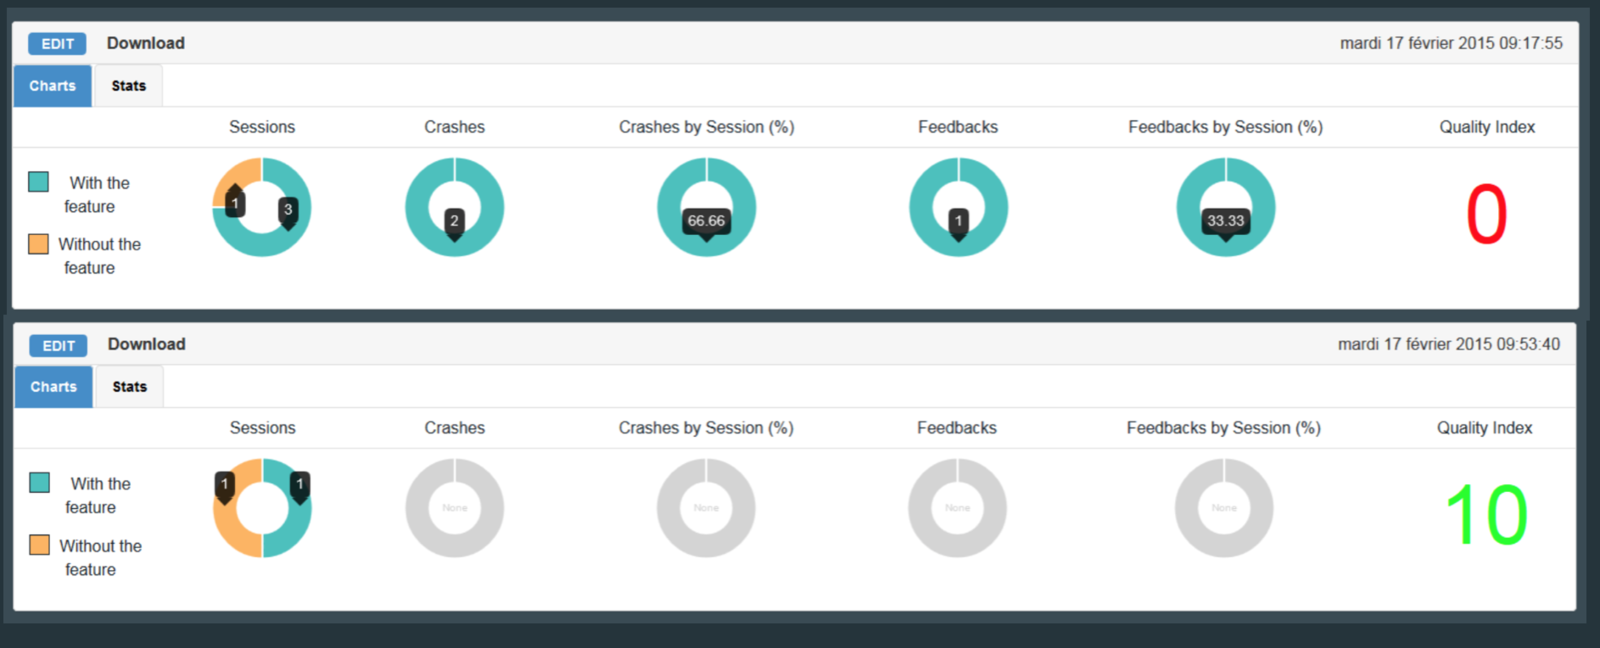
Ready Services
Mobile


Ready Services
Mobile

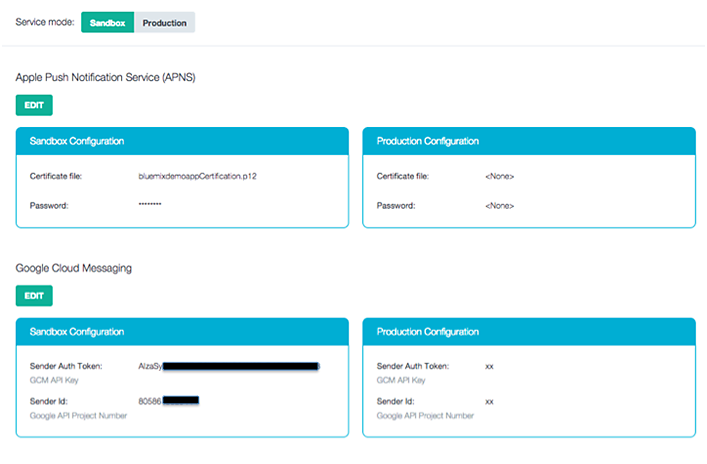
Ready Services
Mobile

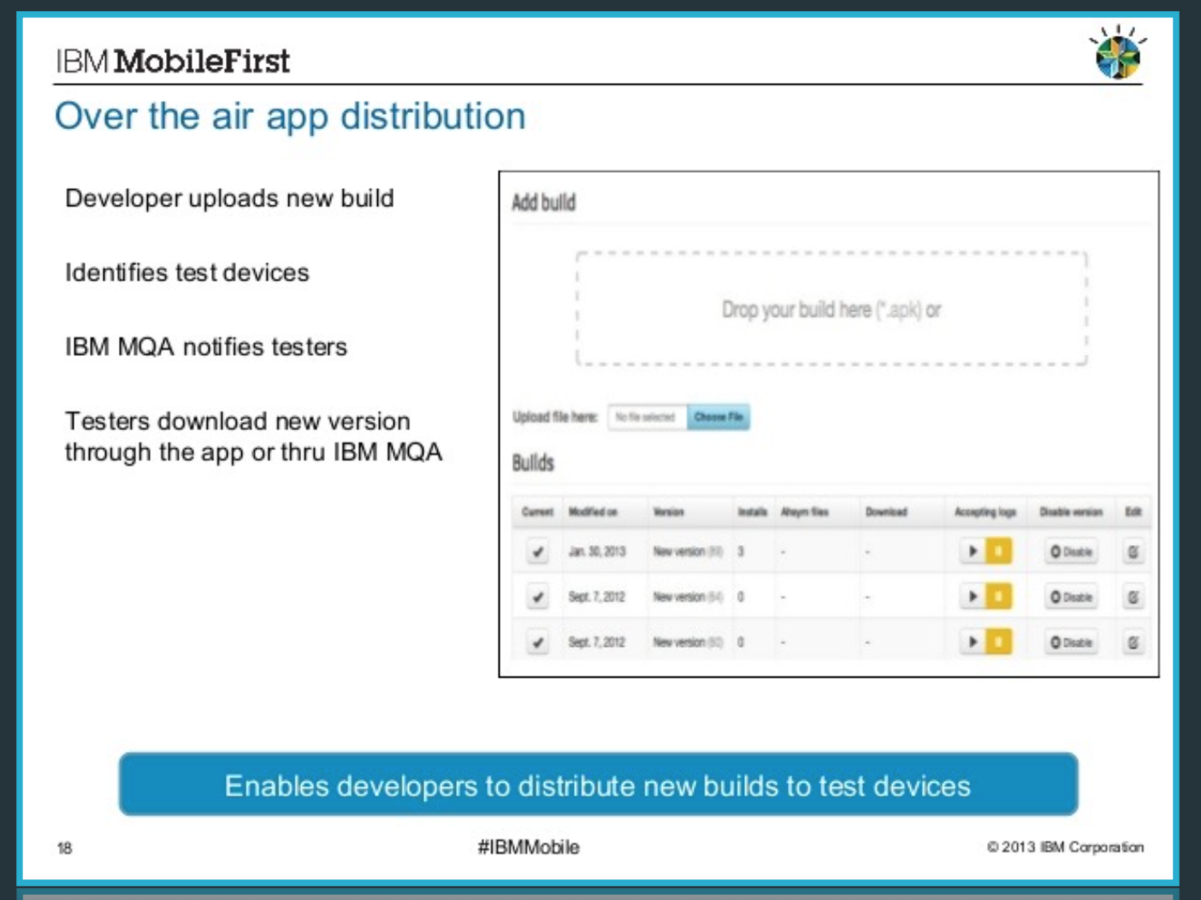
Ready Services
Mobile

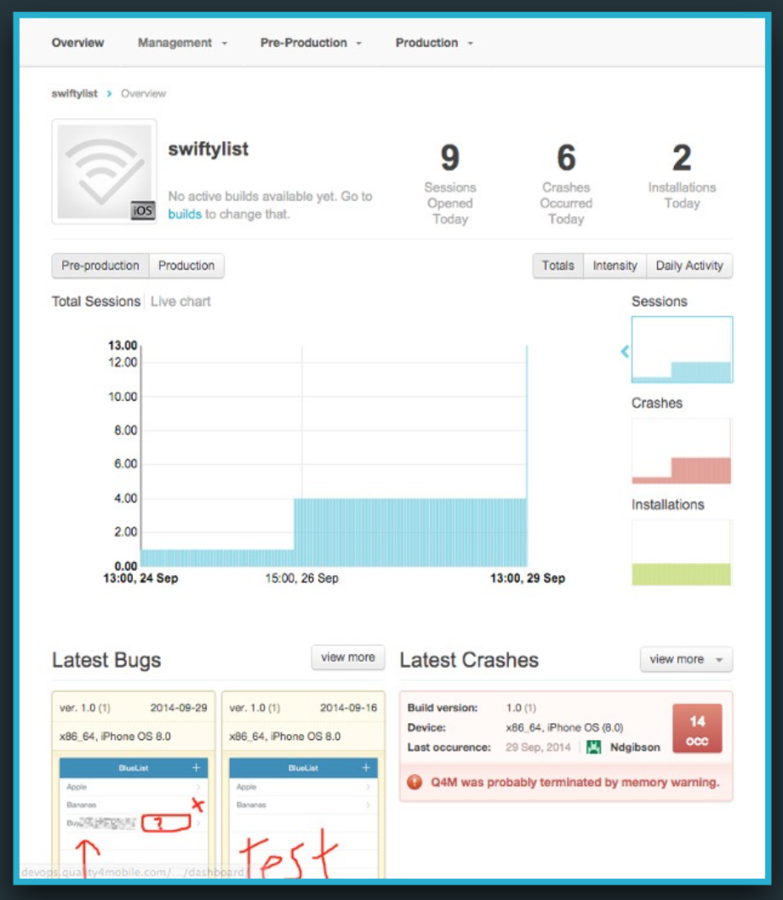
Ready Services
Mobile

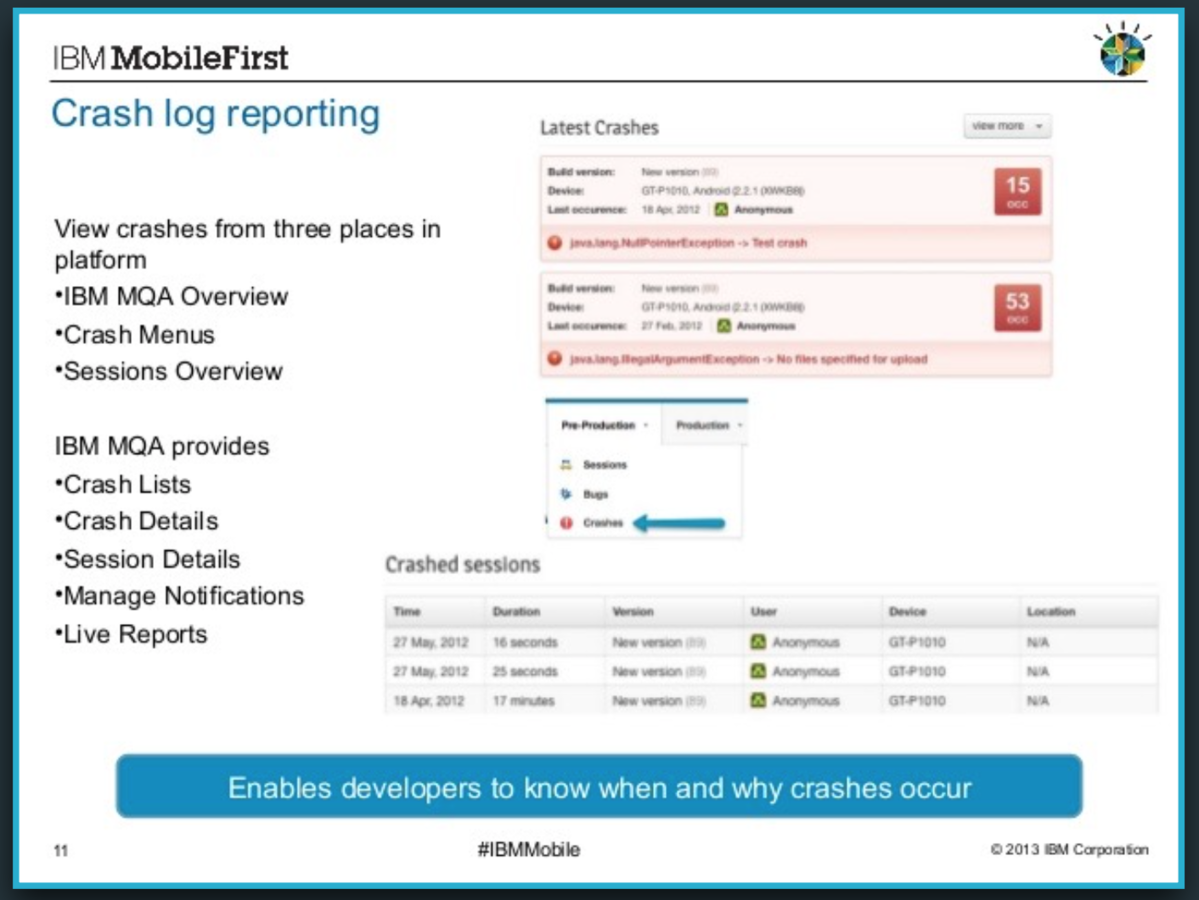
Big Data

Social Media Monitoring
Built with Bluemix
Resource at: BluemixAsean.MyBluemix.net/Credentials
1. Starting up Node-RED Starter

Built with Bluemix

2. Listening to Twitter
3. Sending SMS

4. Listening to popular tweets
Built with Bluemix

5. Disconnect SMS Node
6. Adding Hadoop Service


7. Write to hadoop
Built with Bluemix

8. Format & Write to NoSQL
msg.payload = {
    'MESSAGE':msg.payload,
    "PAYLOAD":msg.tweet
}
return msg;
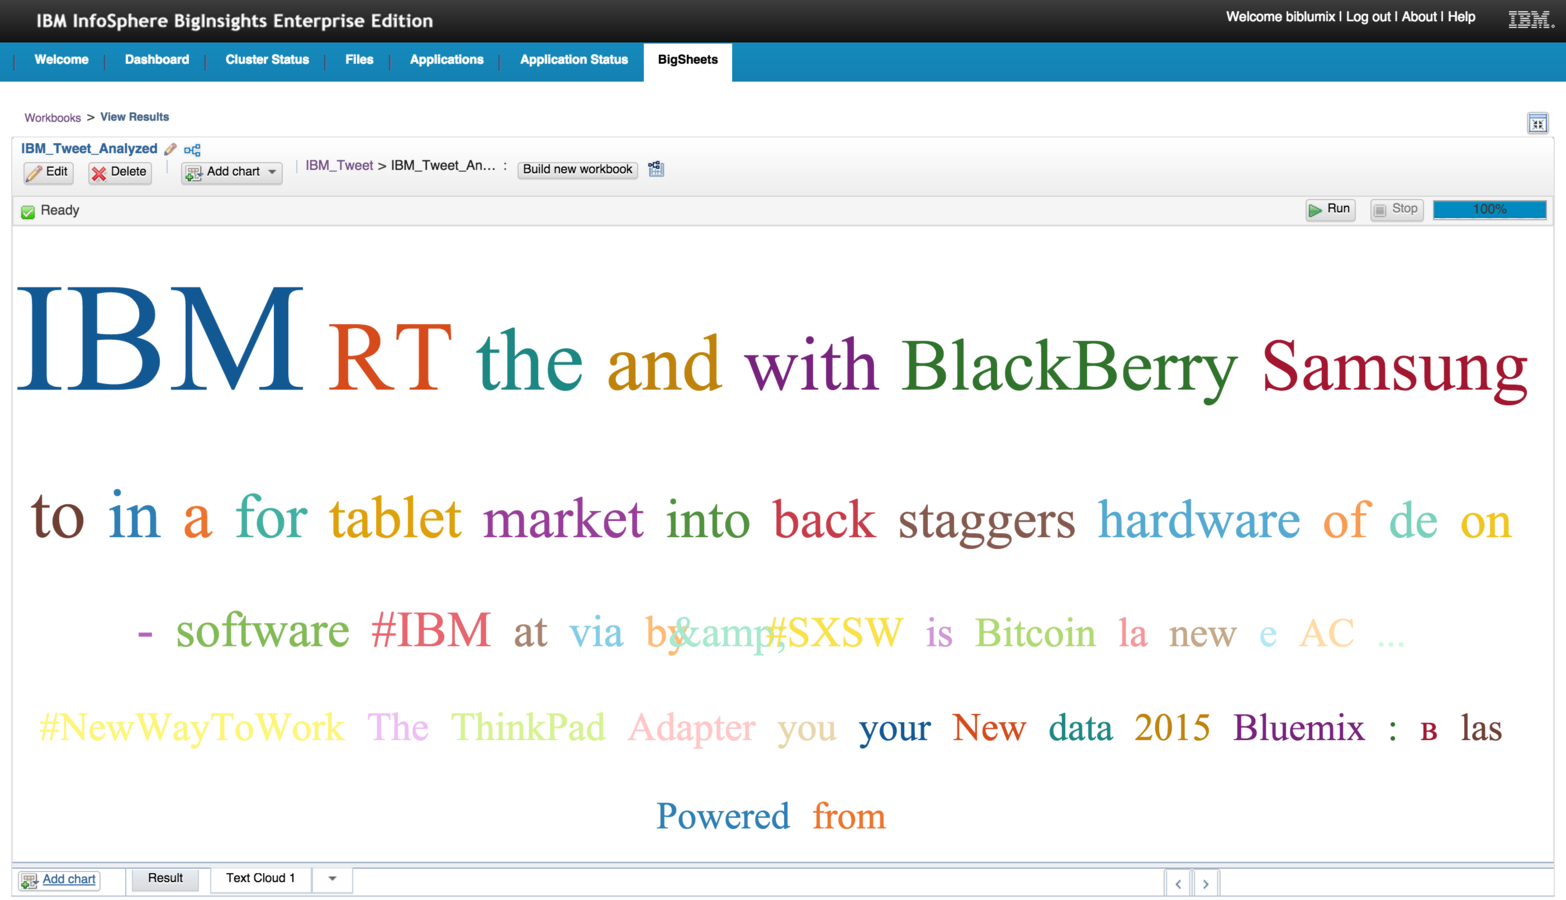
4. Big Data Analytics
Built with Bluemix

Deploying your First Java App
Deploying an existing Java Web App

Deploying Java App from Eclipse
Deploying Application from Eclipse and integrating with database
*VM Required
1. Open Eclipse for Java EE
Setting up & Deploy
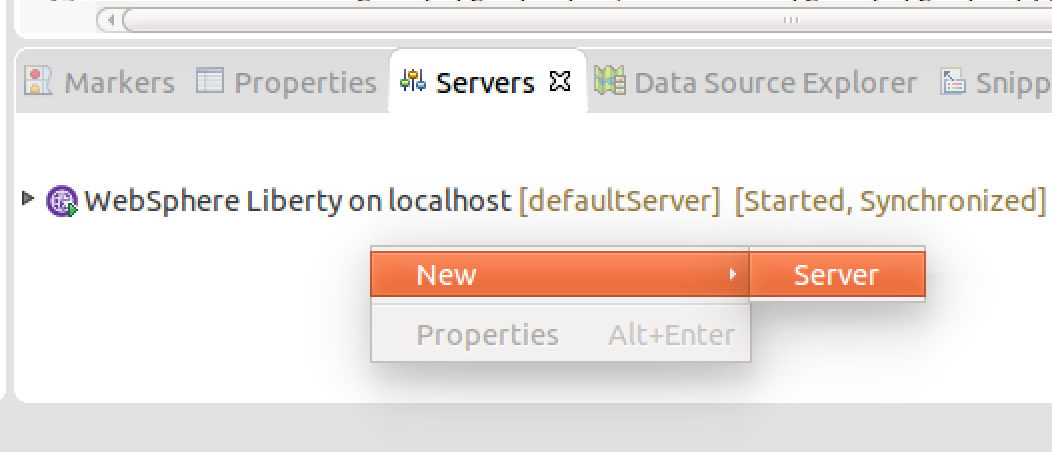
2. Create new server
from the server tab
3. Select IBM Bluemix
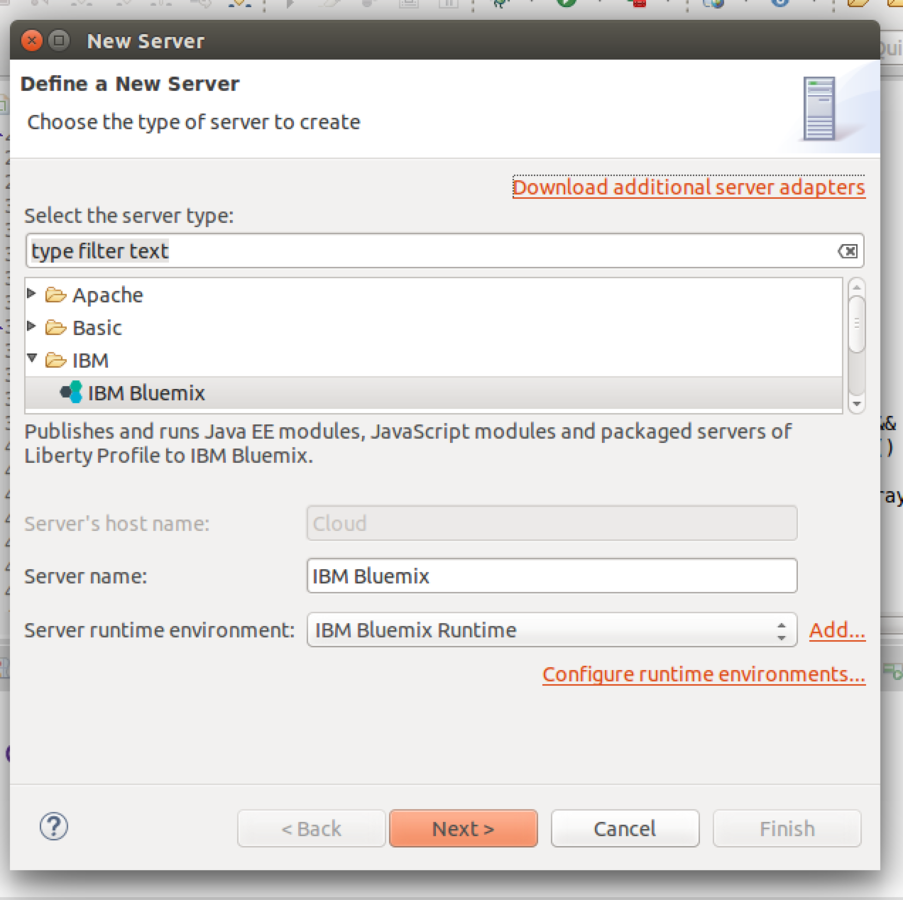
4. Enter Bluemix Credential
Setting up & Deploy
5. Select target Organization and Space
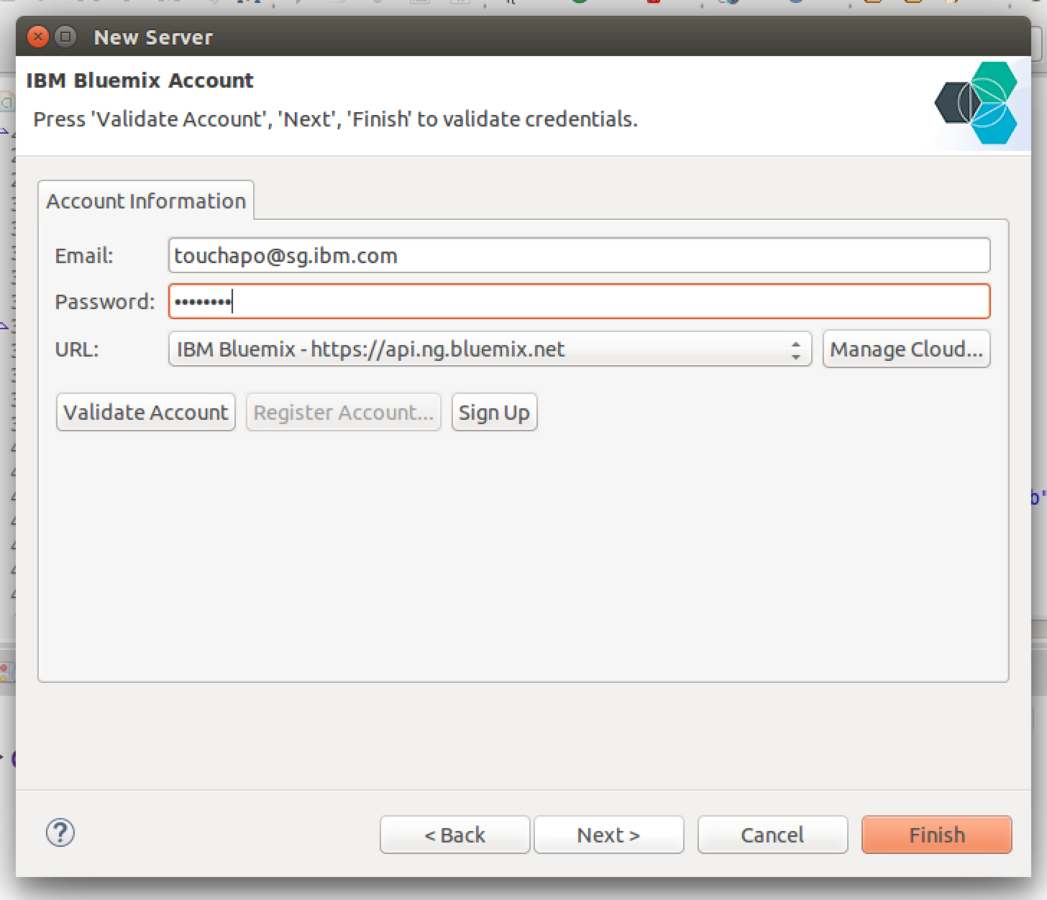
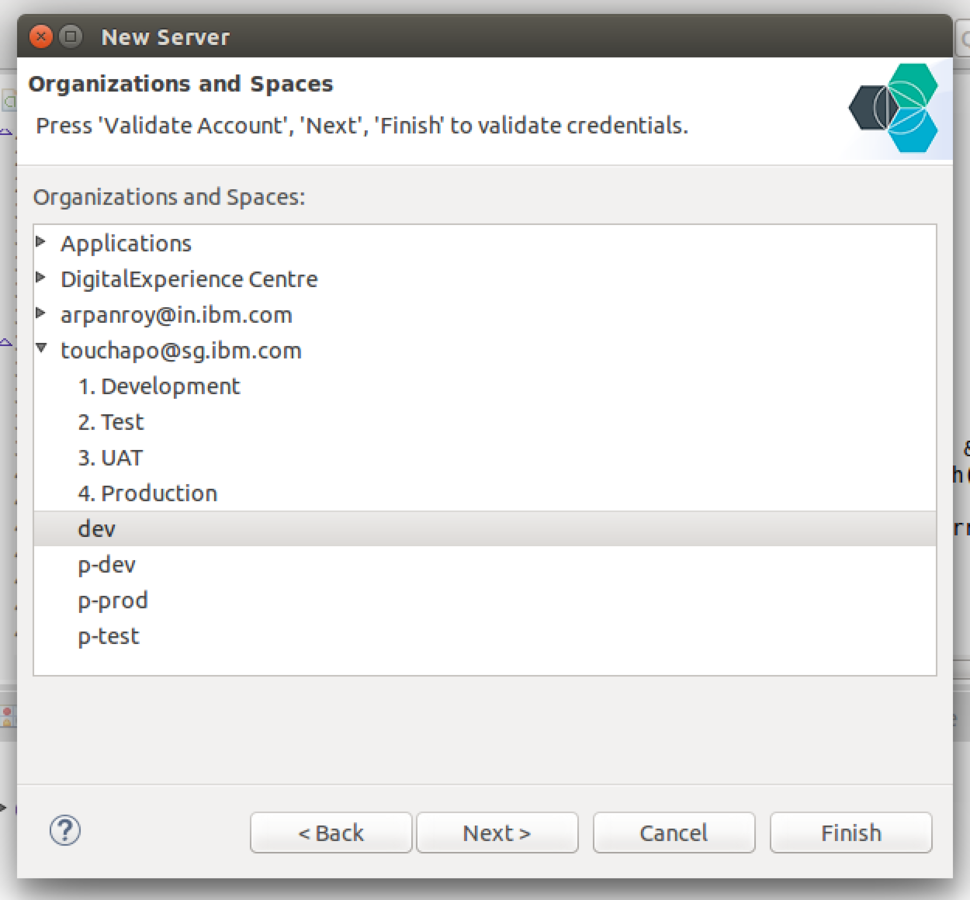
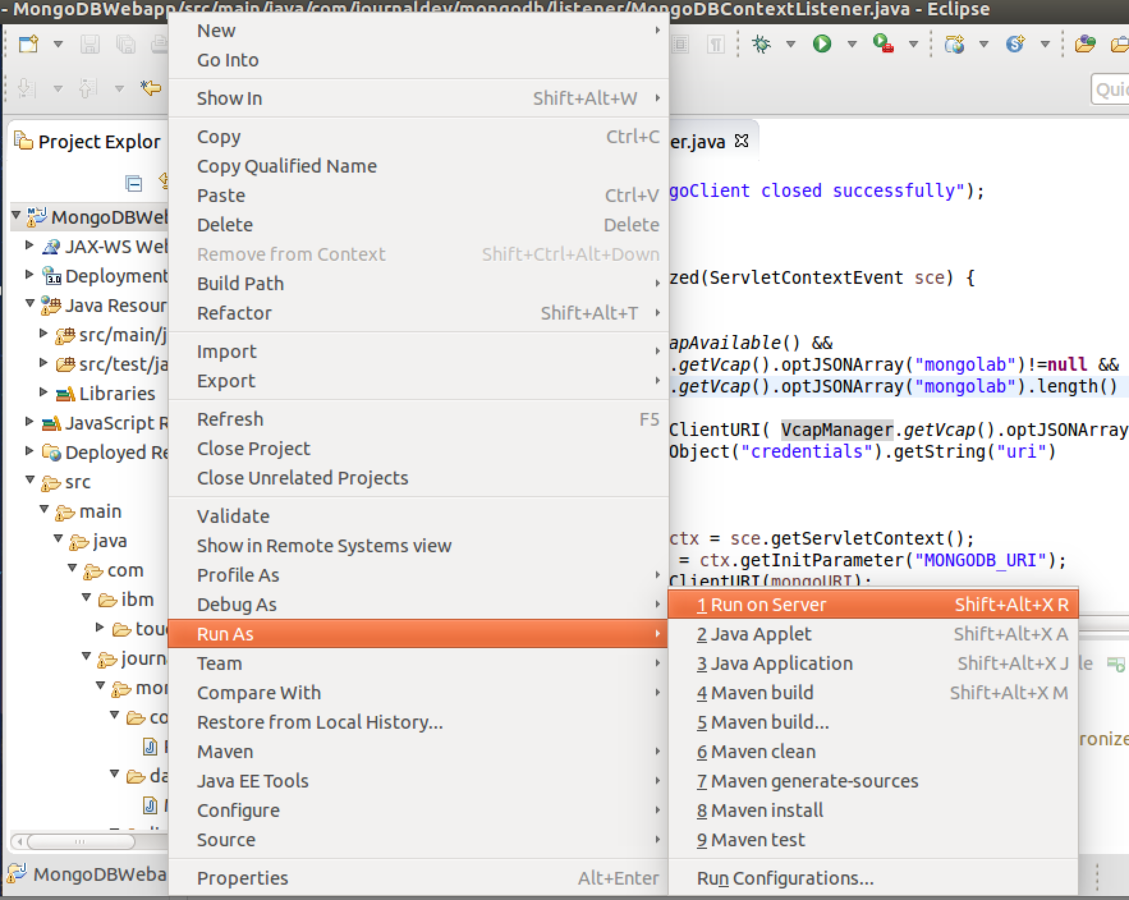
6. Run the project on server
7. Select Bluemix Server
Setting up & Deploy
8. Define Application name
9. Enter a UNIQUE
subdomain name
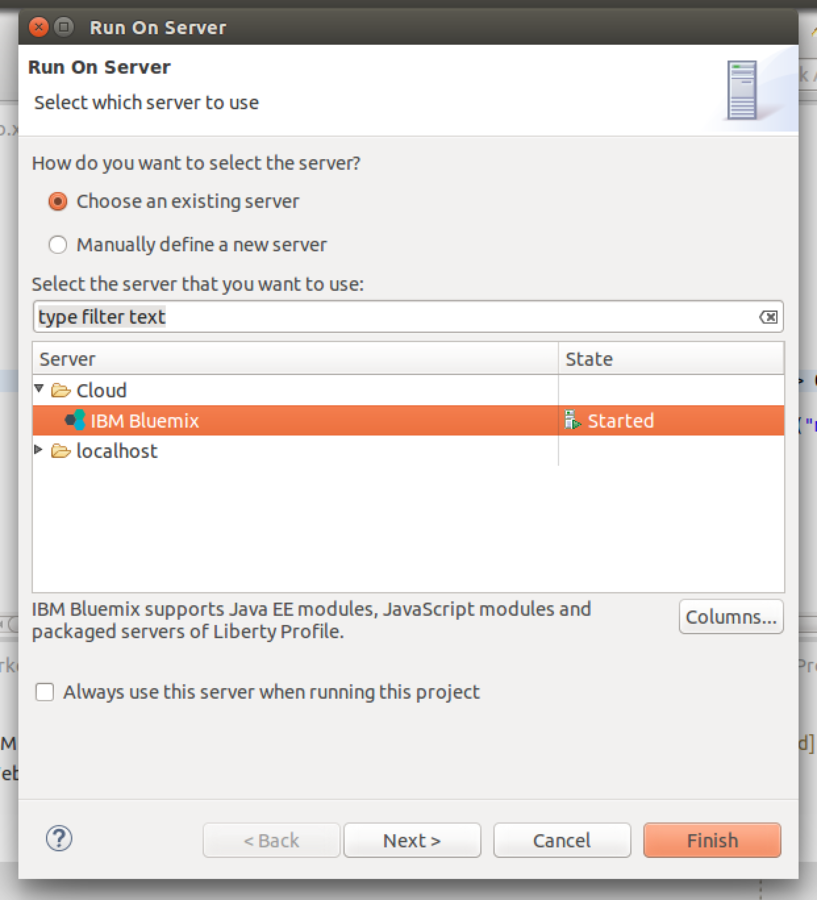
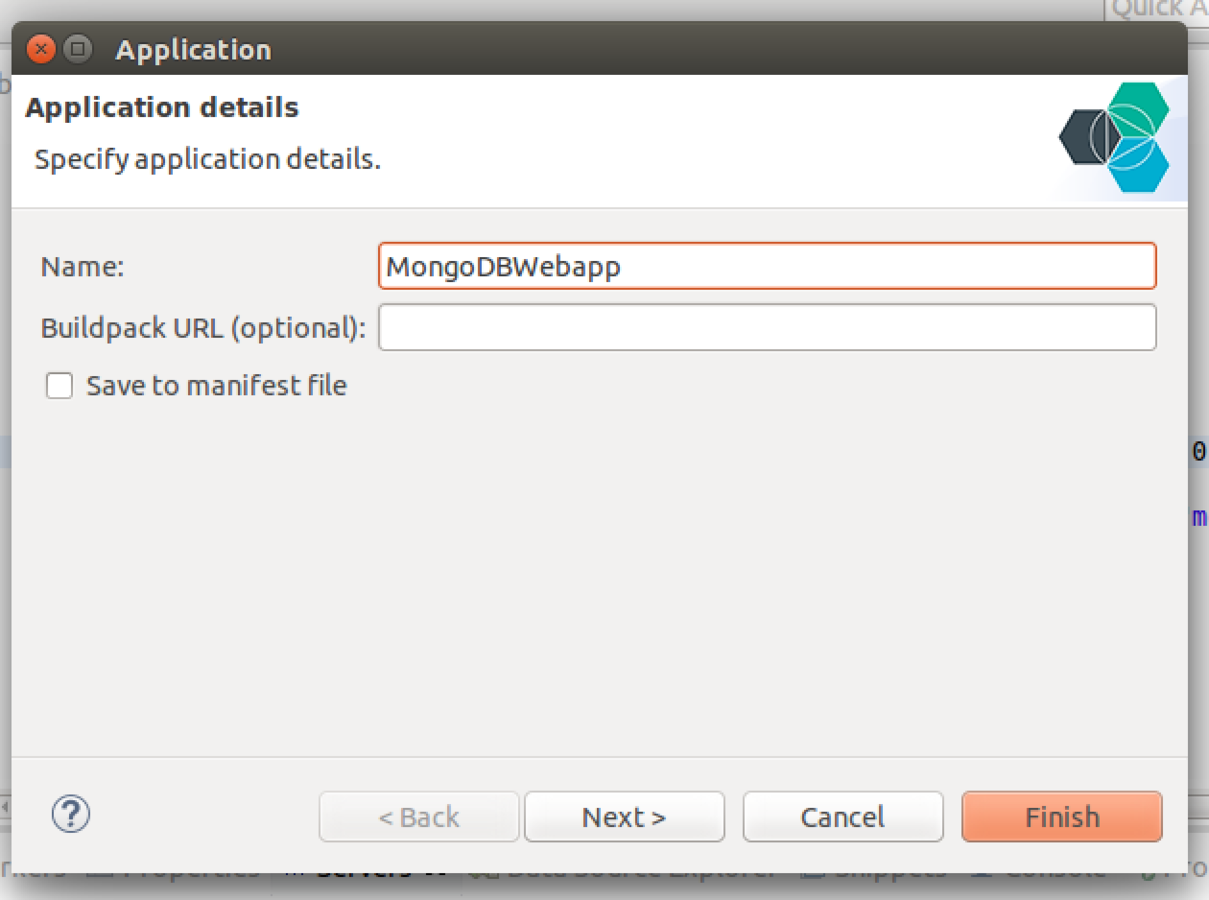
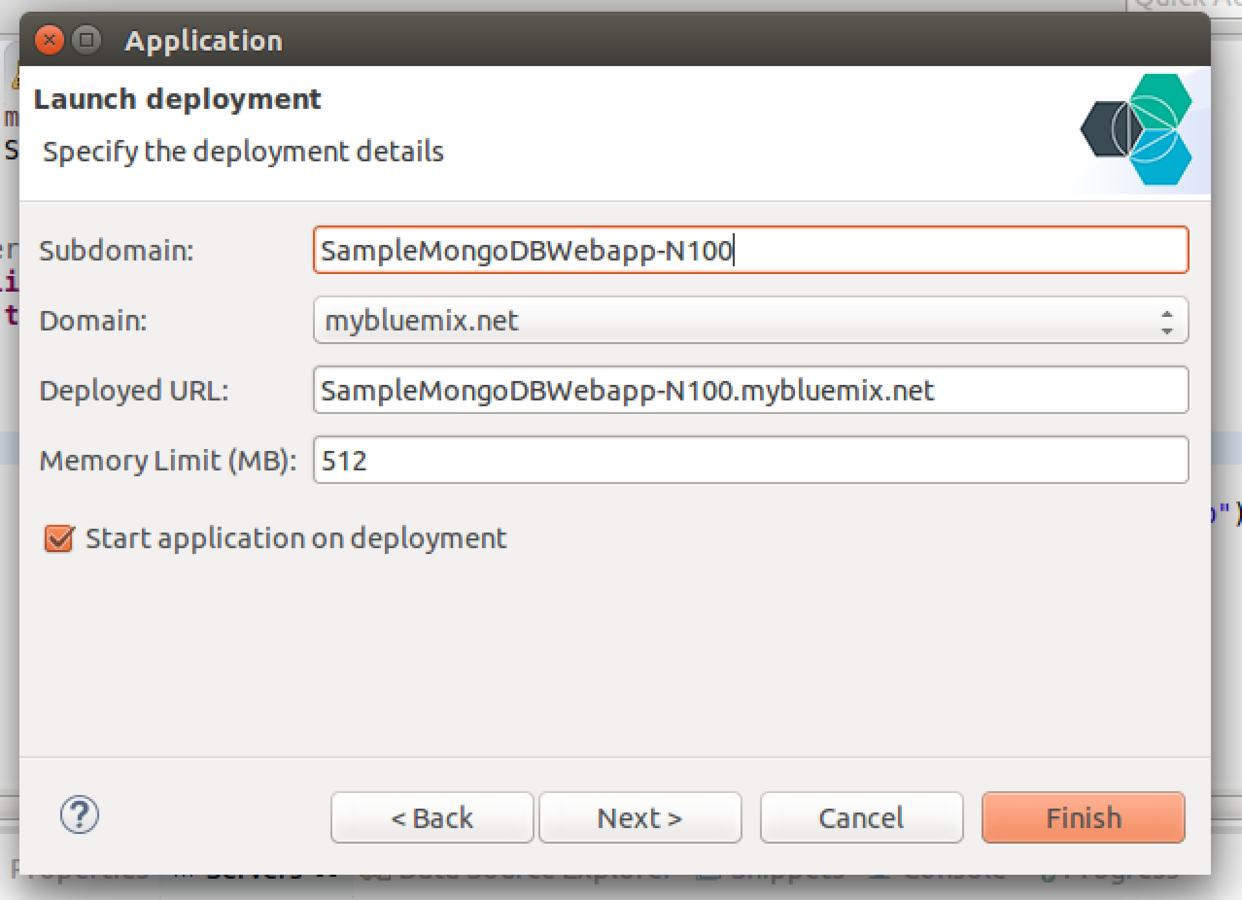
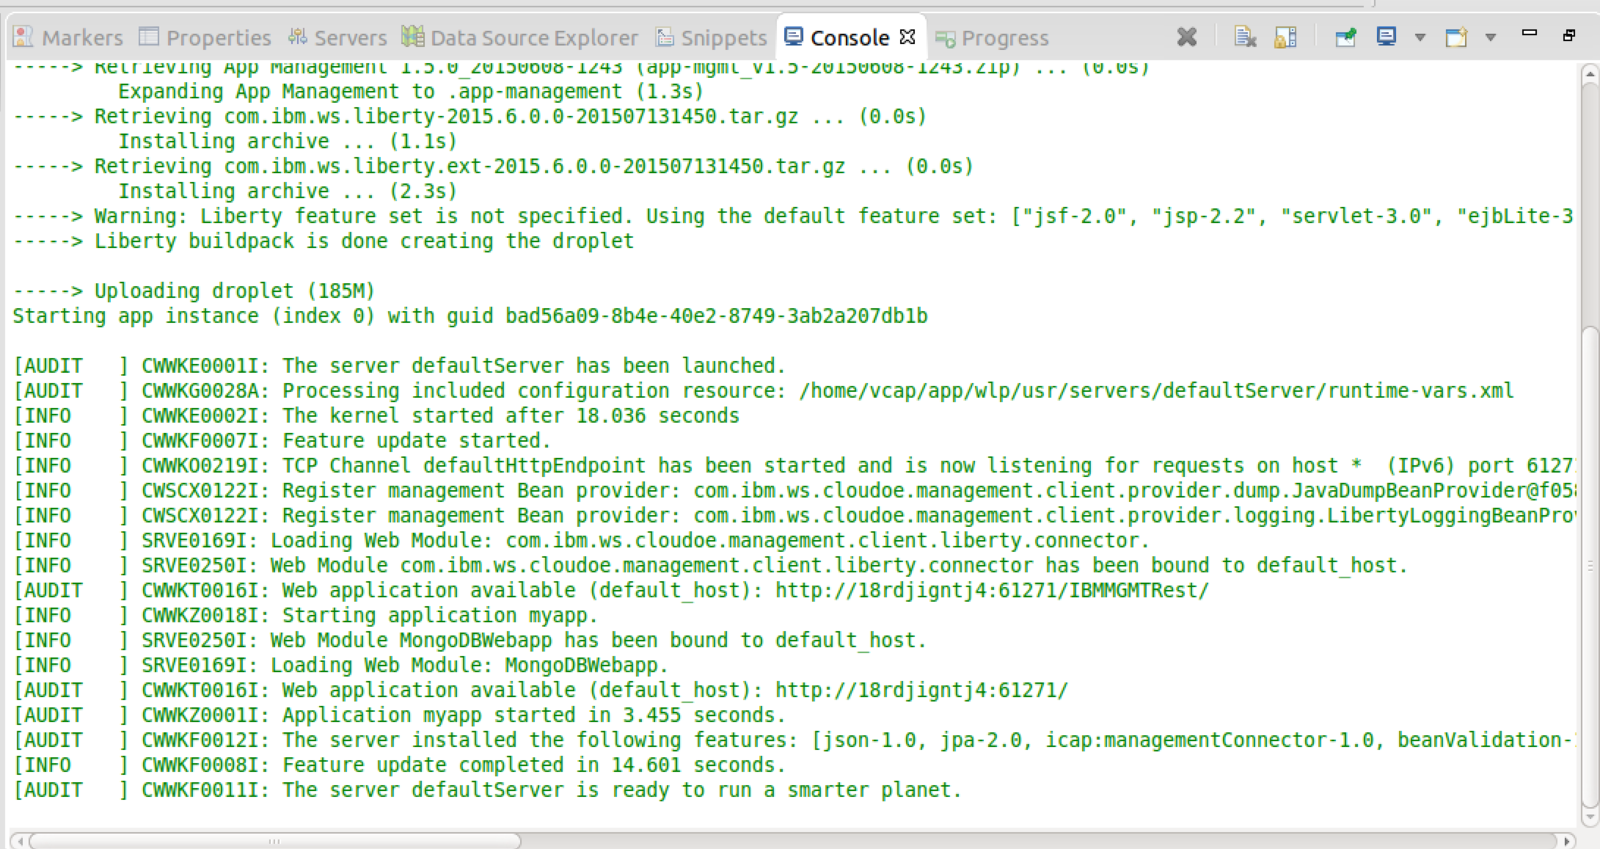
10. Your application is now
deployed onto Bluemix
Setting up & Deploy
11. Check Bluemix dashboard to see the new application running
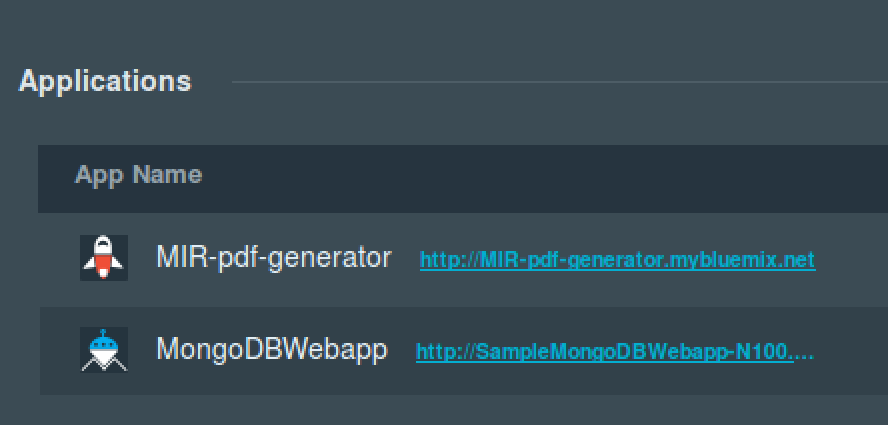
12. Click into
application to see status

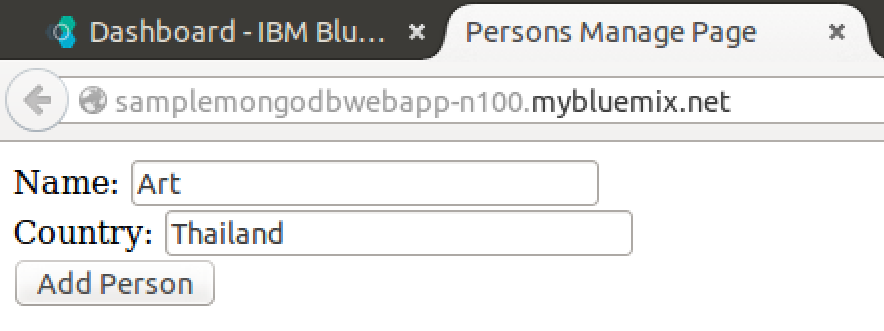
1. Add your name and
country in
Testing the service
2. The error is due to the service not being able to find a database




Adding Services
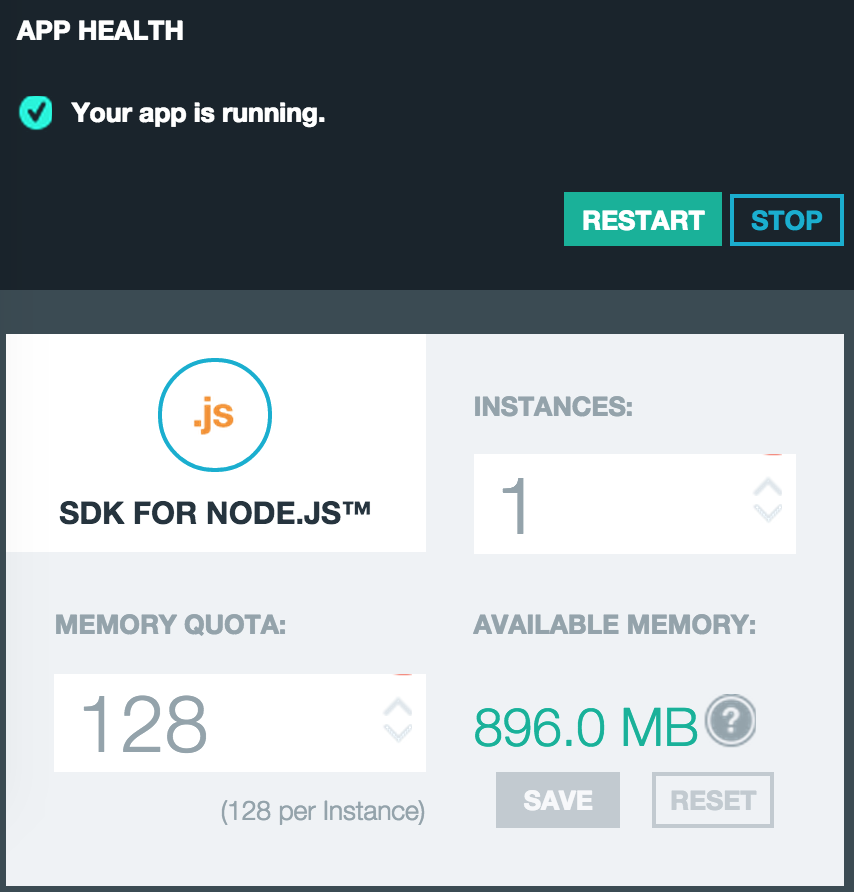
Auto Scaling
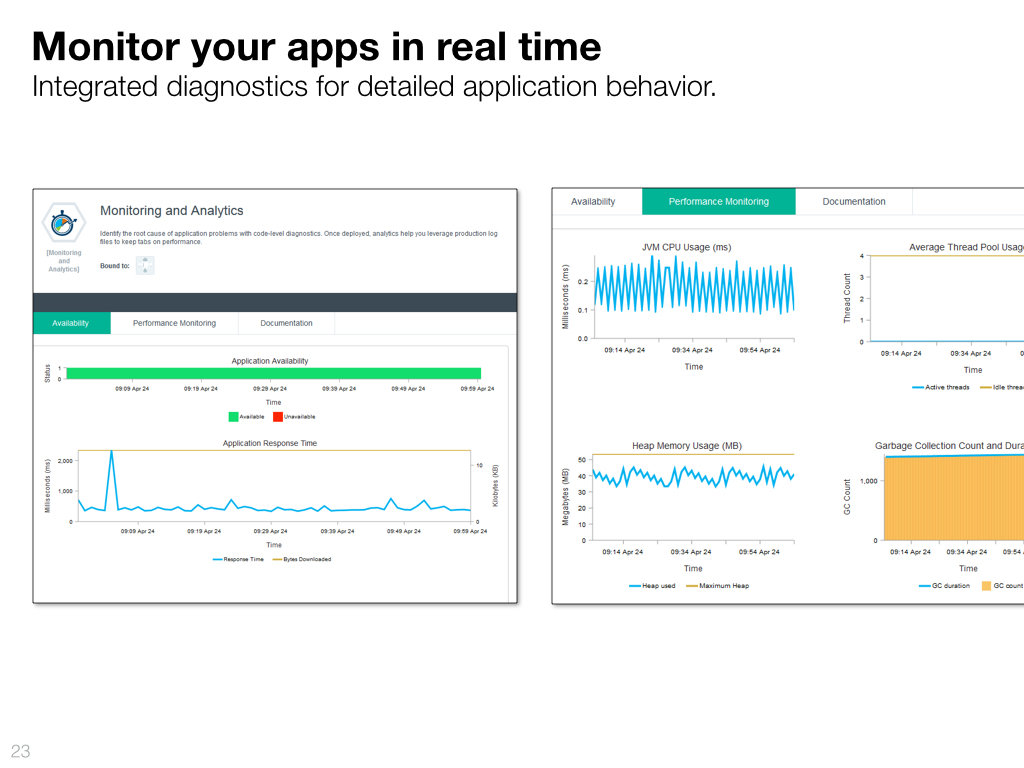
Monitoring & Analyics
Mongolab

1. Click on Add Service button
2. Add these services
3. Restage the application
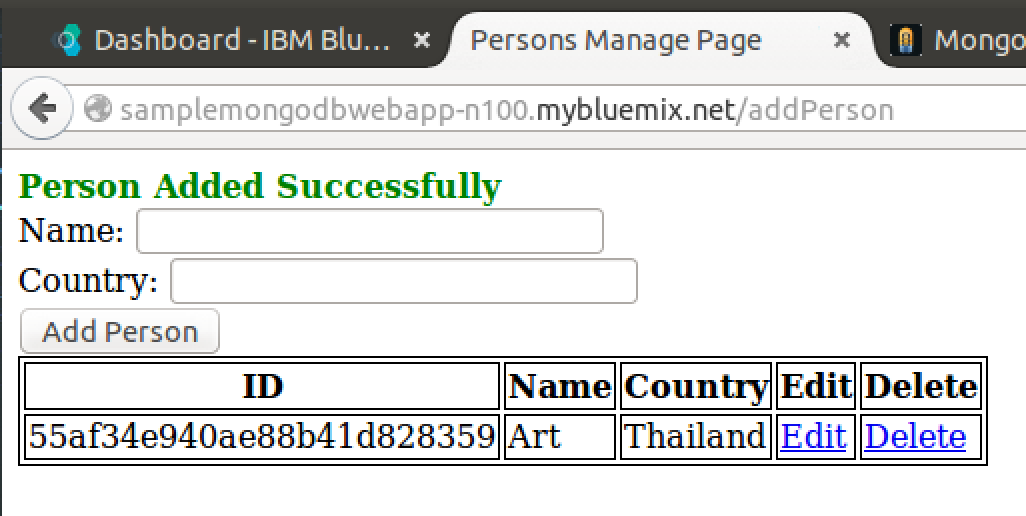
1. Add your name and
country in
Testing the service again
2. The app should now store your record into the database

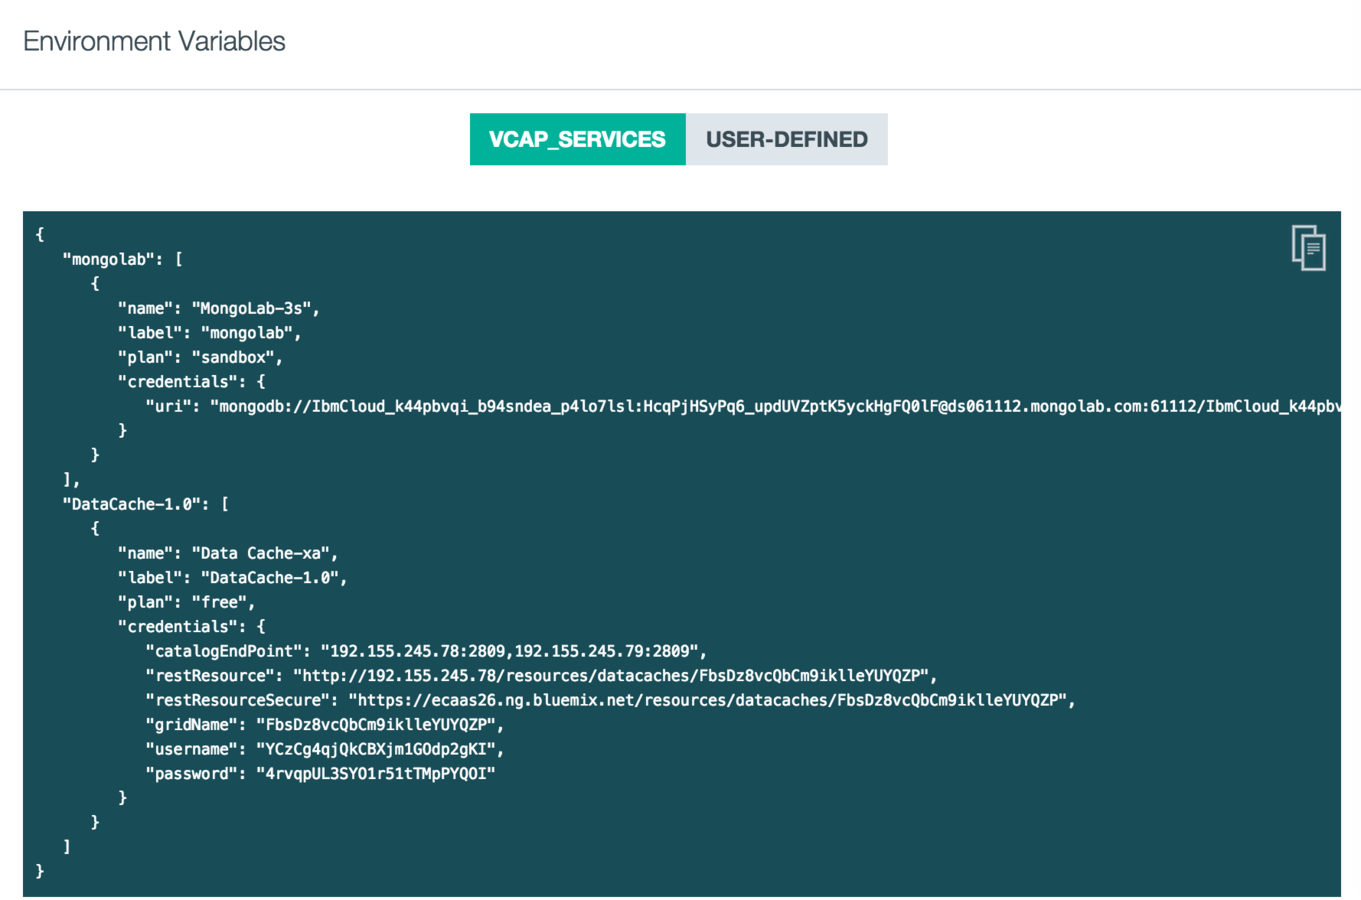
Behind the scene
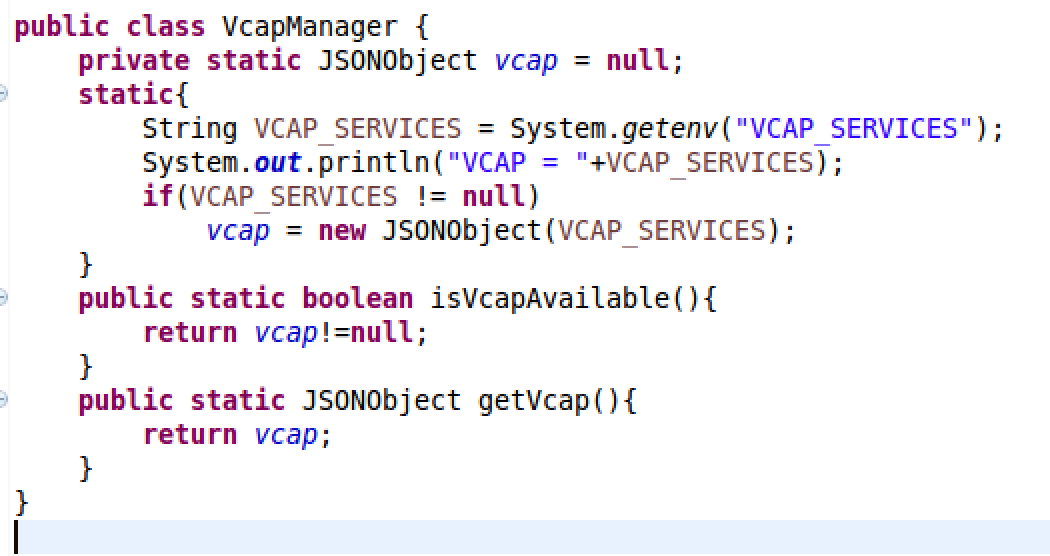
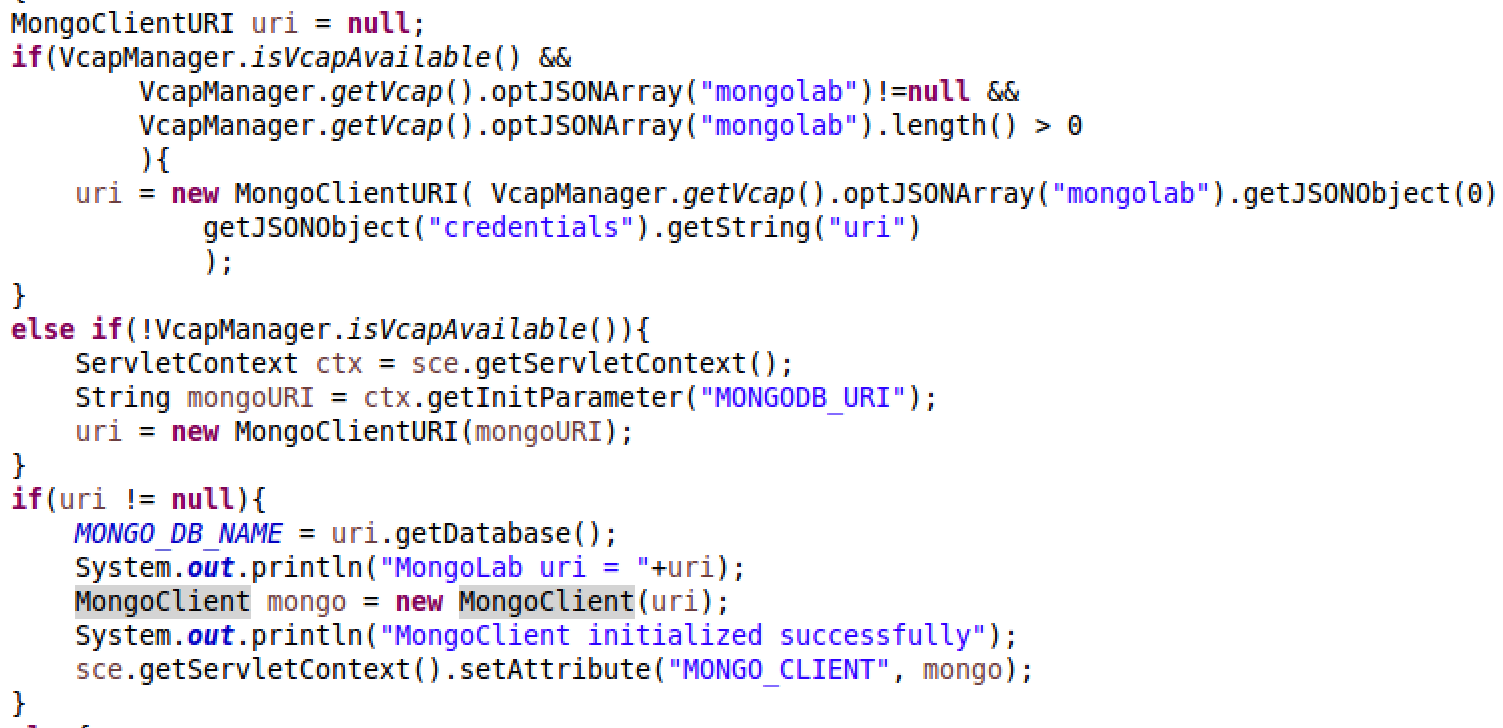
Auto Scaling Services
1. Open Auto Scaling service page

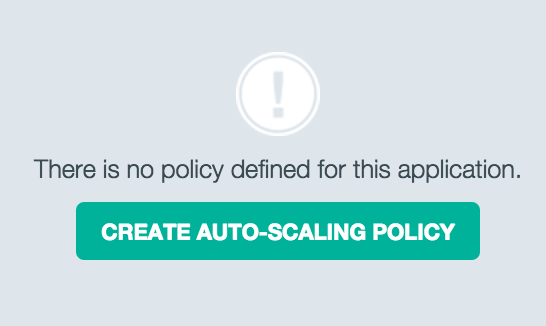
2. Create Auto Scaling policy

Monitoring & Analytics Services
1. Open Monitoring and Analytics service page
2. Availability, Monitoring and Logging tabs

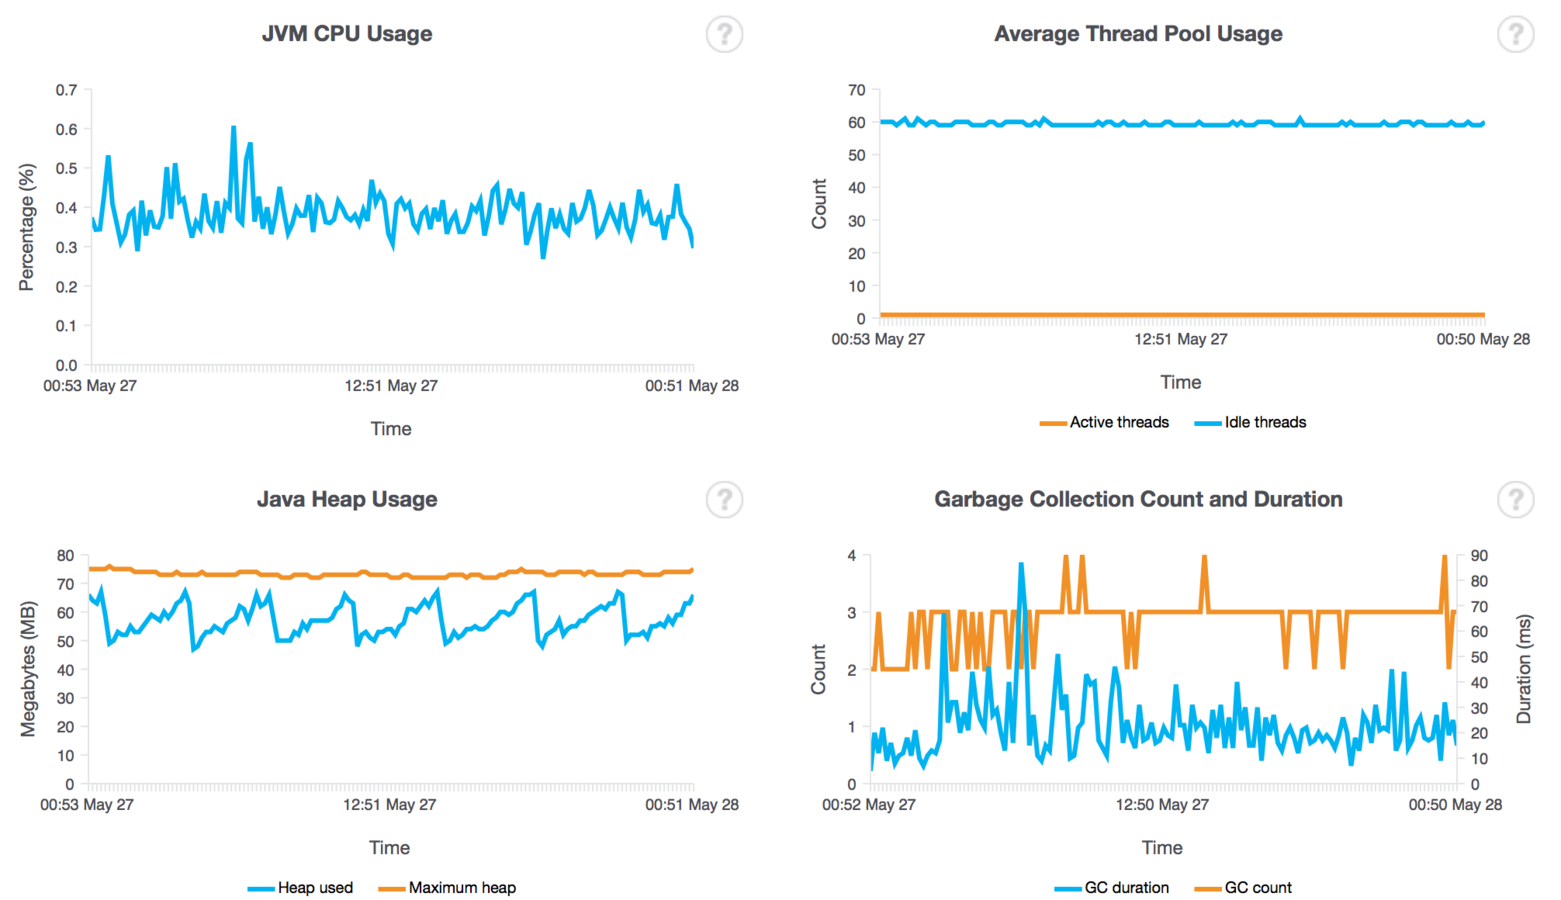
Monitoring & Analytics Services

Deploying your First Node JS App
Deploying an existing Node JS Web App

0. Install Cloudfoundry

1. Starting up Node JS Runtime


2. Adding Manifest File
applications:
- name: mysamplenodejs
  host: mysamplenodejs
  command: node app.js
3. Push using cf command line
cf push
Business Rules Services
Deploying ODM Business Rules on Bluemix
Big Data
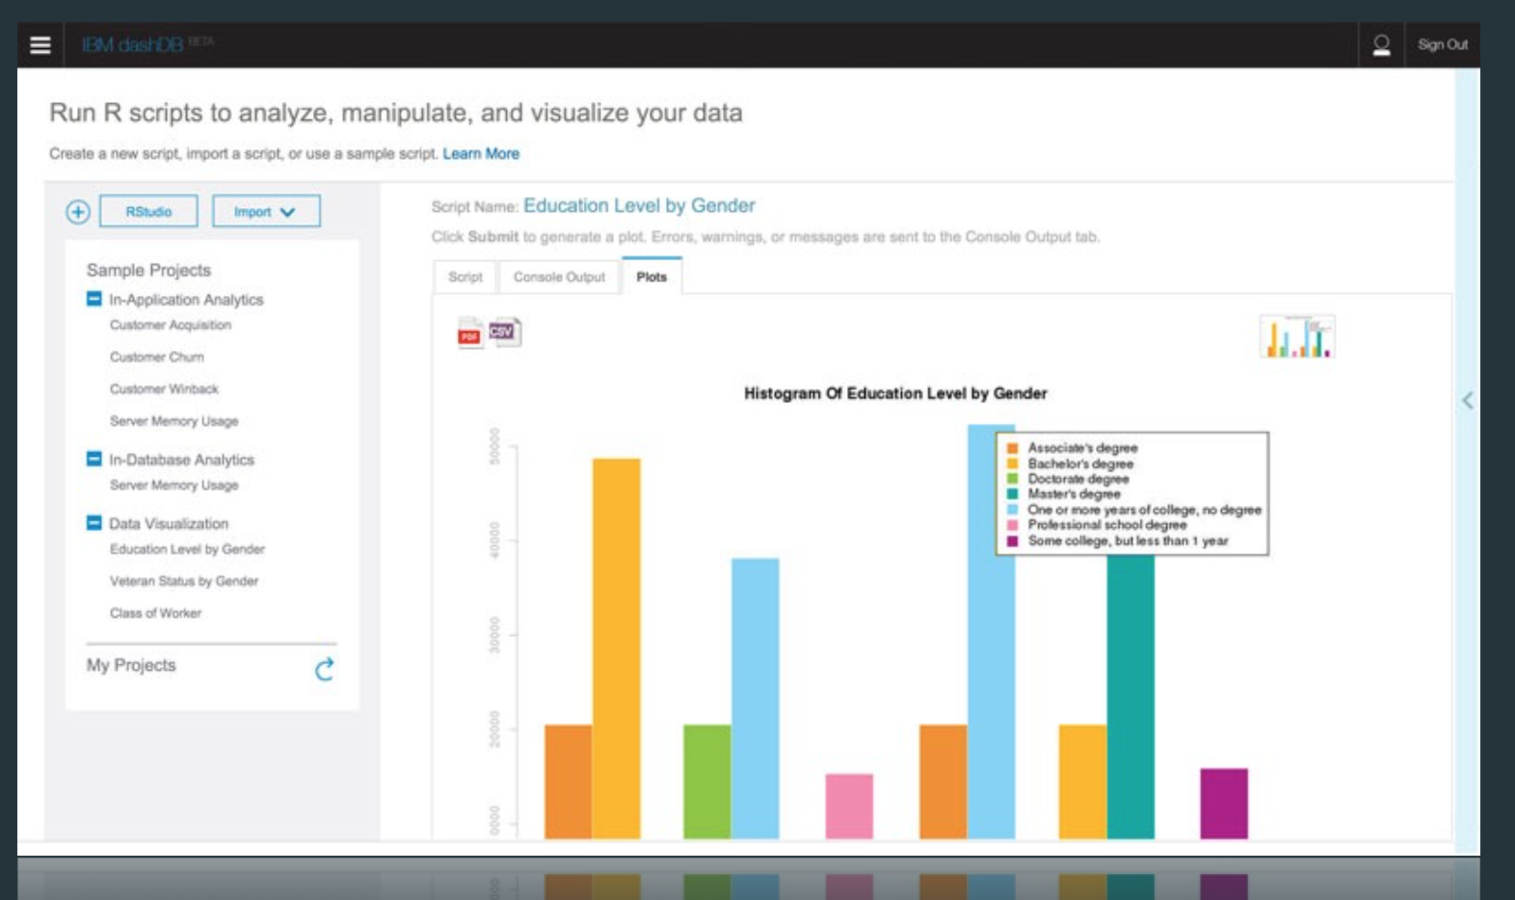
dashDB Lab
Bluemix_DevOps_Workshop_v12
By Touchapon Kraisingkorn
Bluemix_DevOps_Workshop_v12
- 1,663
