Session 1: Introduction to Bluemix (1 hours) - 13.00-14.00
- Introduction to Bluemix
- Accessing Bluemix and starting your first app
- Bluemix for Enterprise
Session 2: Explore Services on Bluemix (1 hour) - 14.00-15.00
- Watson, Big Data and IoT
Session 3: Node-RED (1 hour) - 15.00-16.00
- Building a simple web app with Node-RED
- Getting Twitter data and sending SMS
- Storing data into database

Touring Bluemix
Building Simple Web App
Gathering Twitter Data
Sending out SMS
Node-RED Workshop
Resource at: BluemixAsean.MyBluemix.net/Credentials
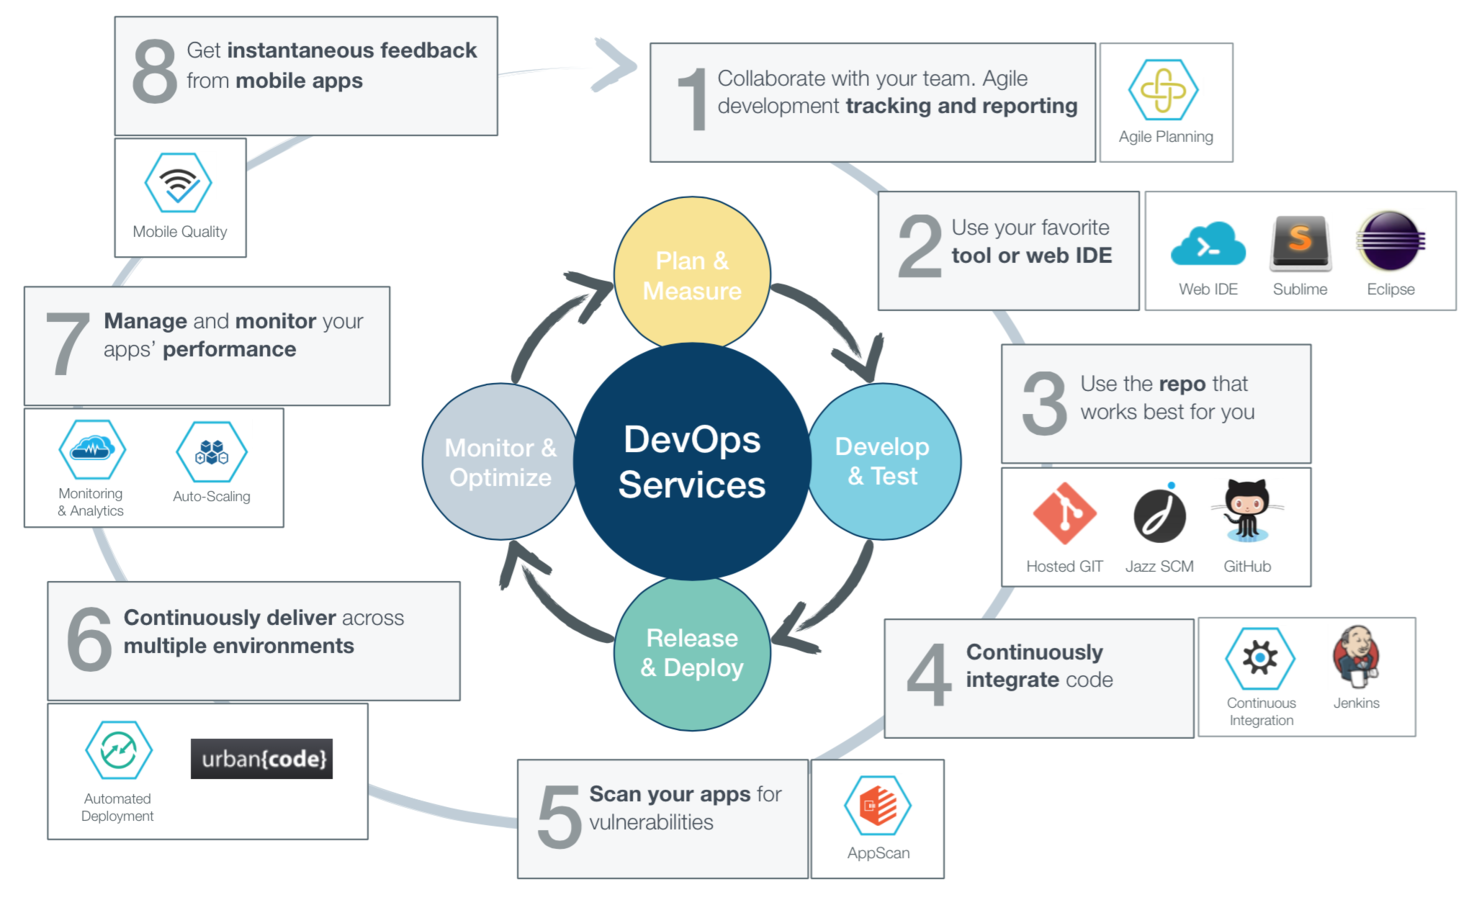
Application Development Lifecycle
Application Development Lifecycle
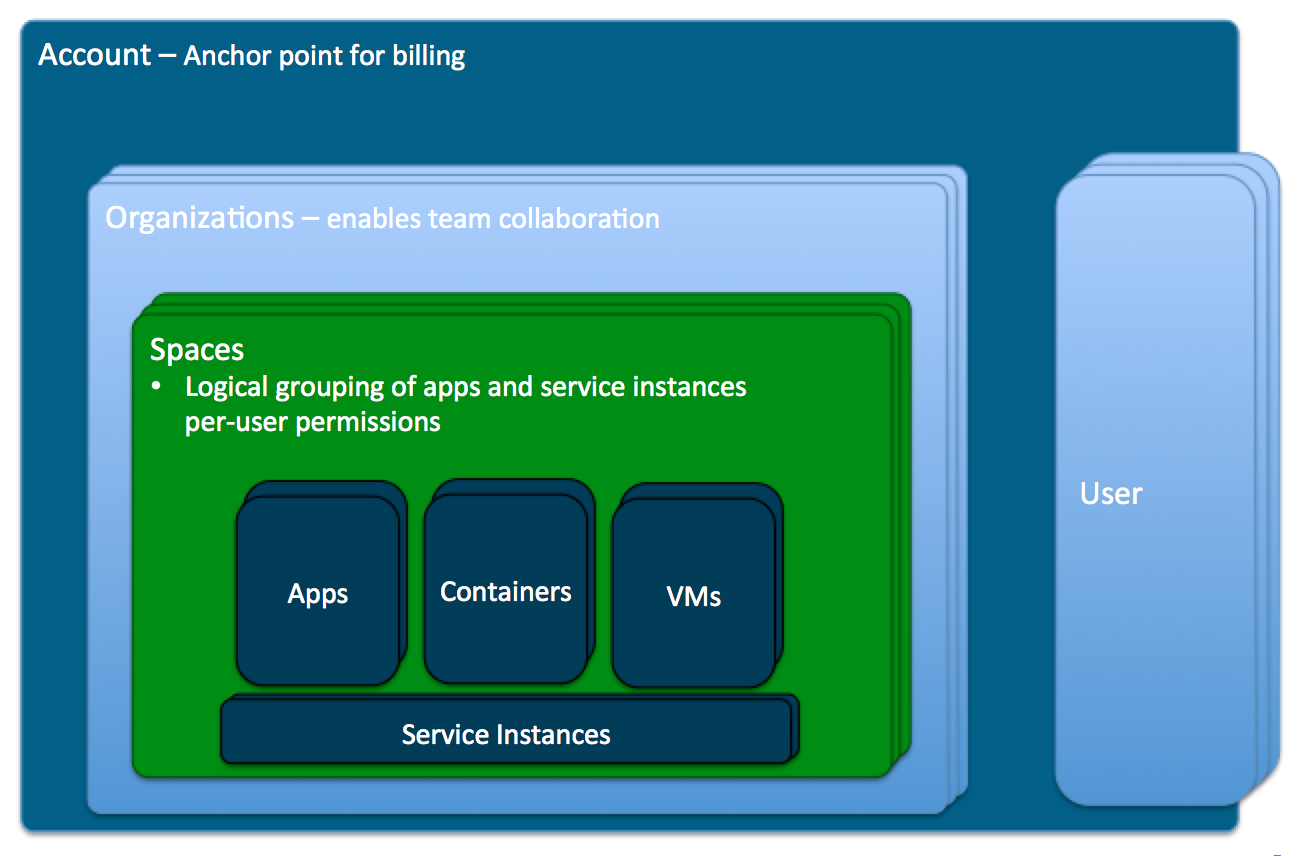
Application Development Lifecycle
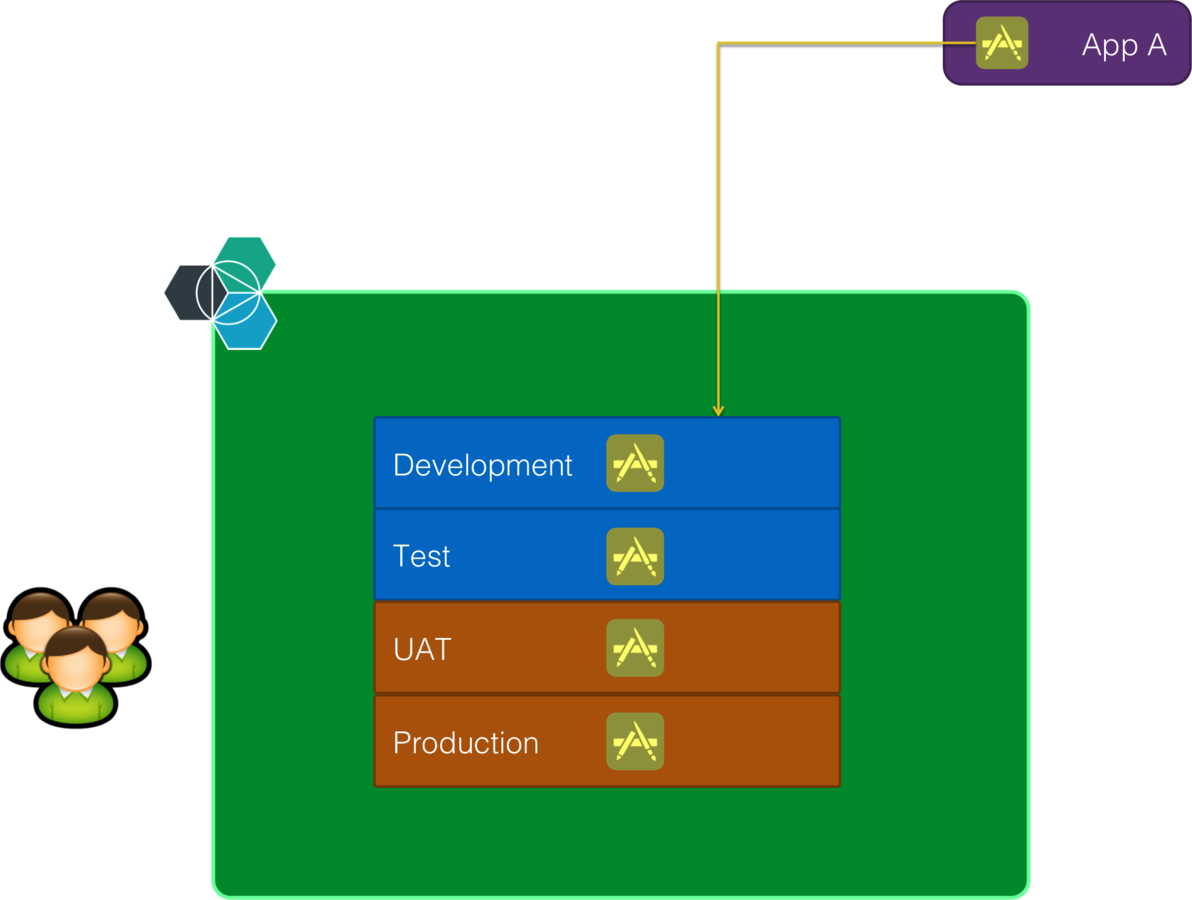
Application Development Lifecycle
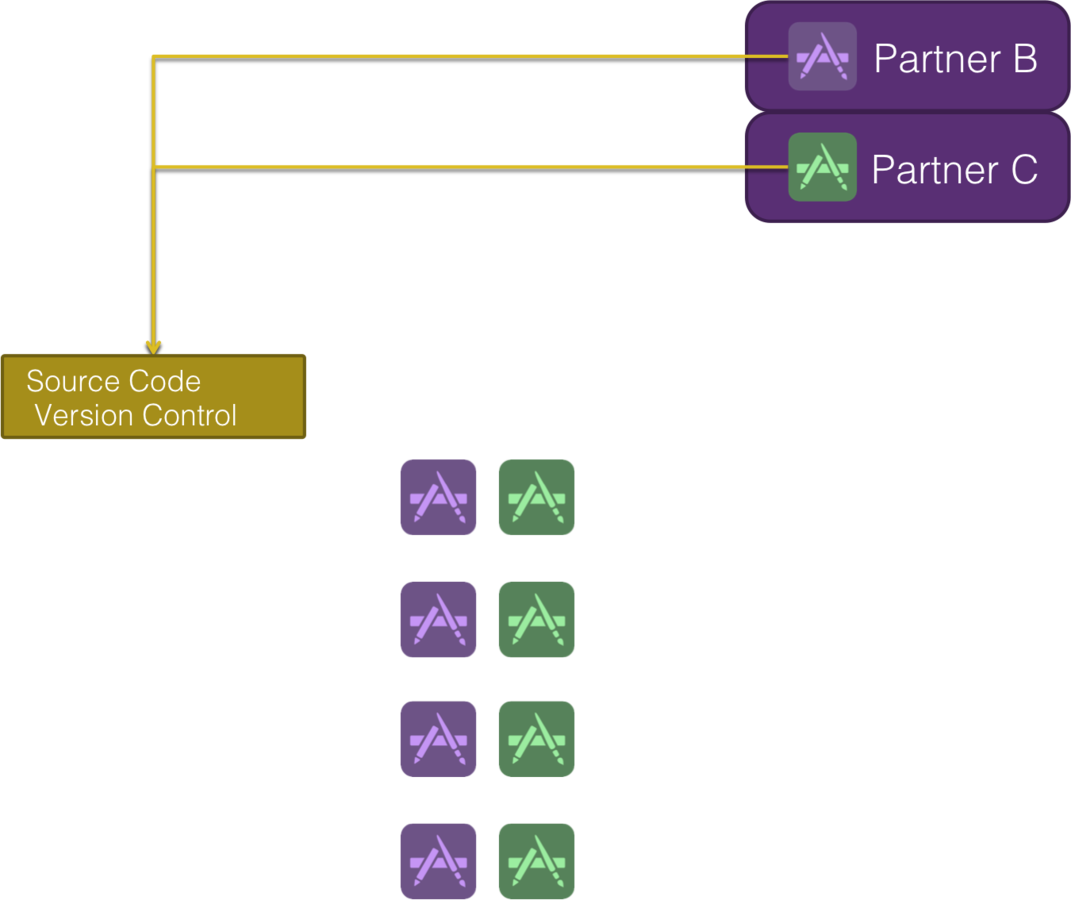

Application Development Lifecycle

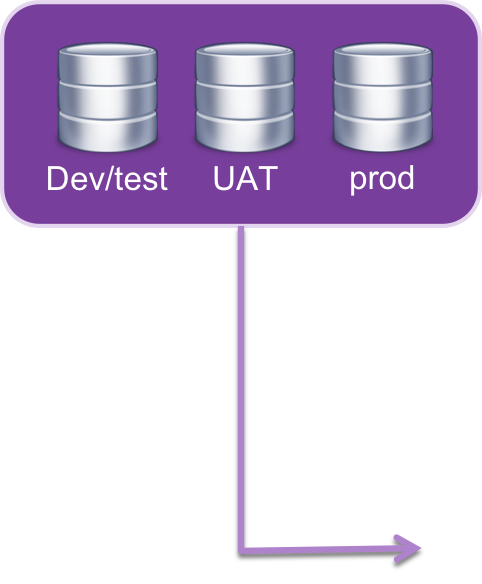

Application Development Lifecycle


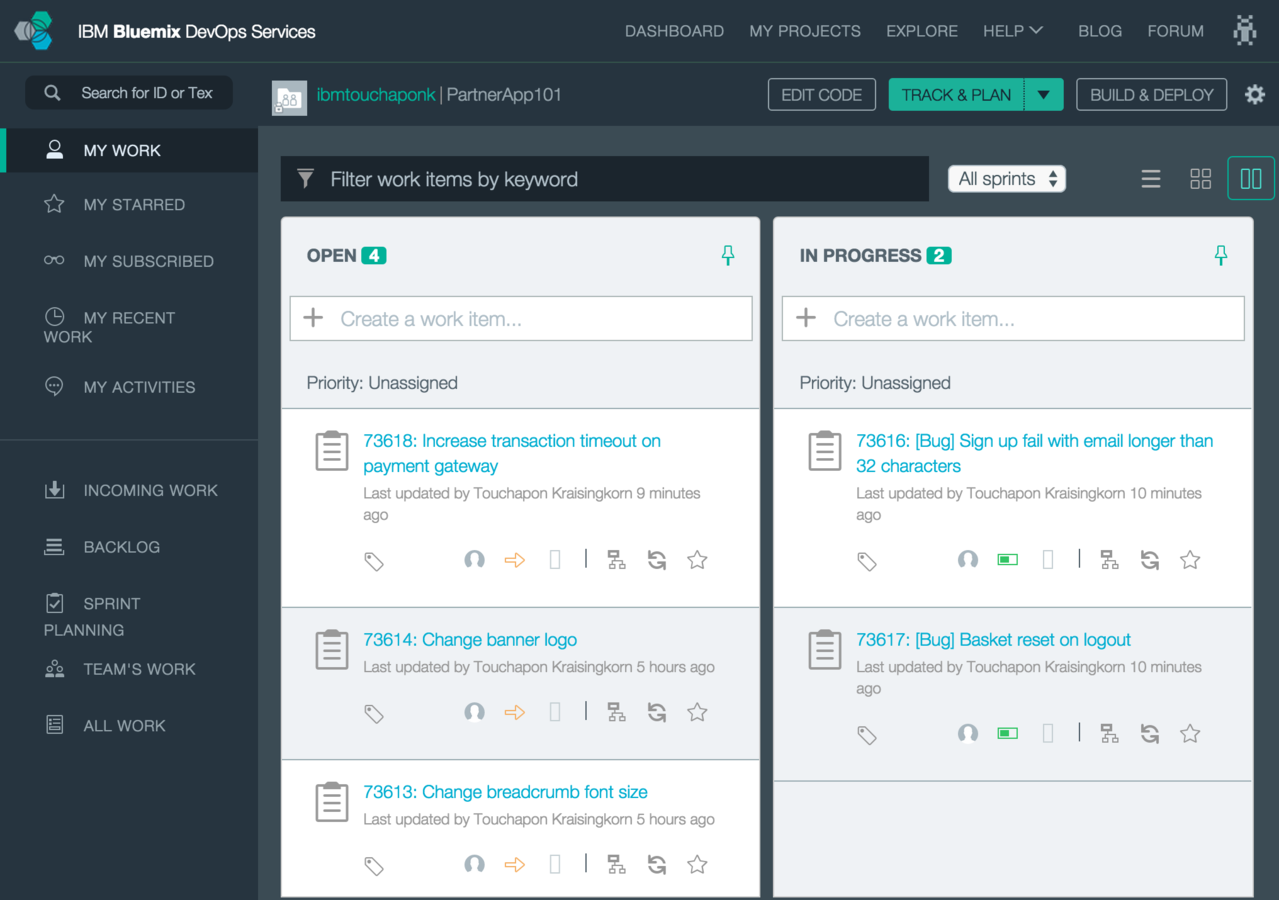
Application Development Lifecycle


DevOps Services
Automate Deployment & Continuous Integration
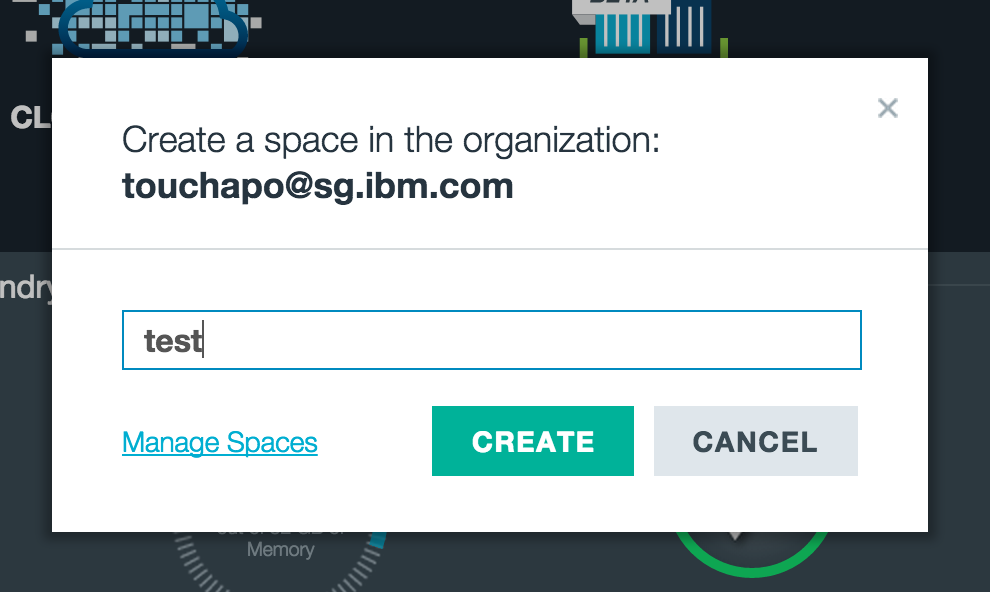
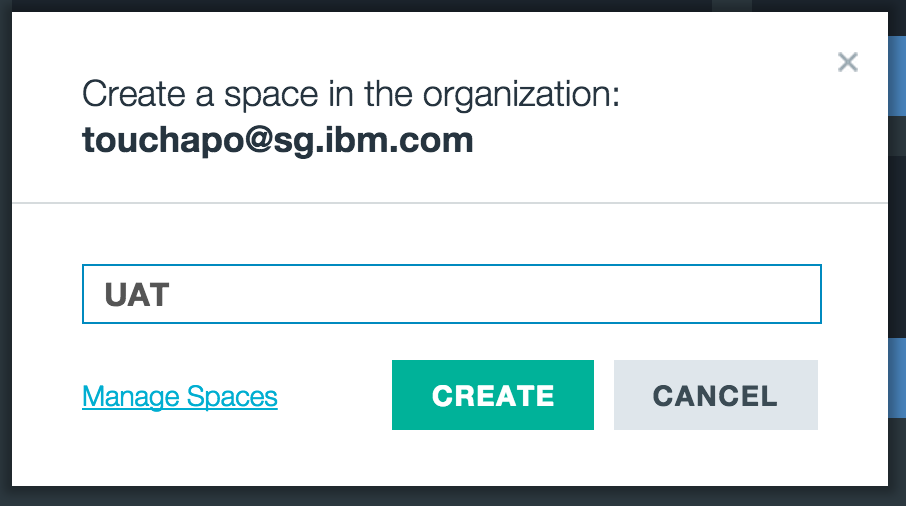
Preparing test environment
1. Add Delivery Pipeline Service
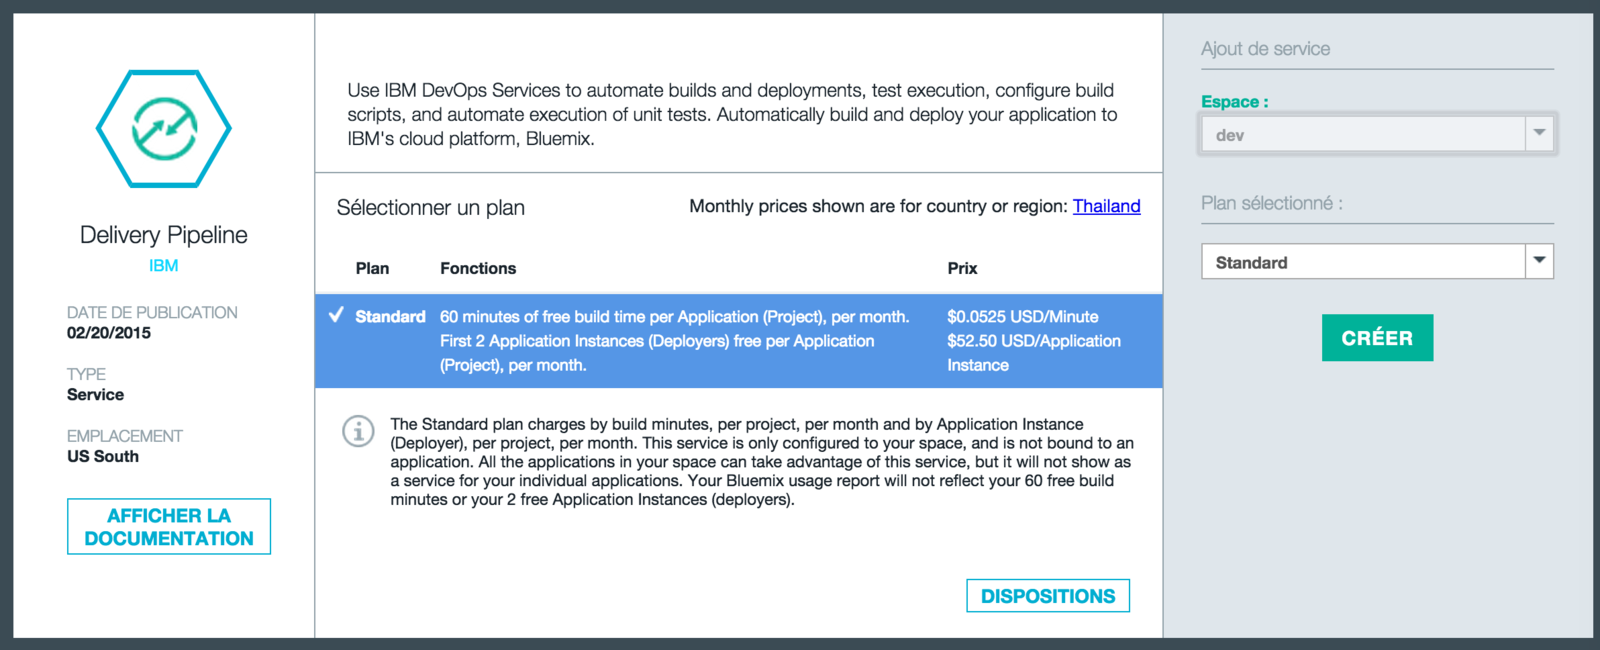
Preparing test environment
2. Click Create Space on the side bar
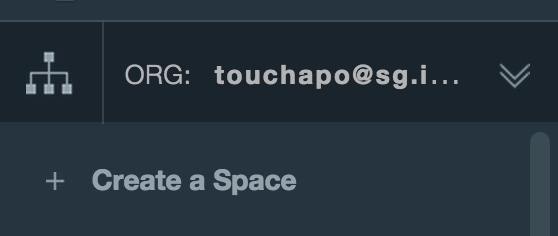
3. Create test & UAT spaces
Add existing project to DevOps
1. Open application dashboard
2. Click Add git
3. Add starter template to Git
4. Click Edit Code to access DevOps Web IDE


Setting up project
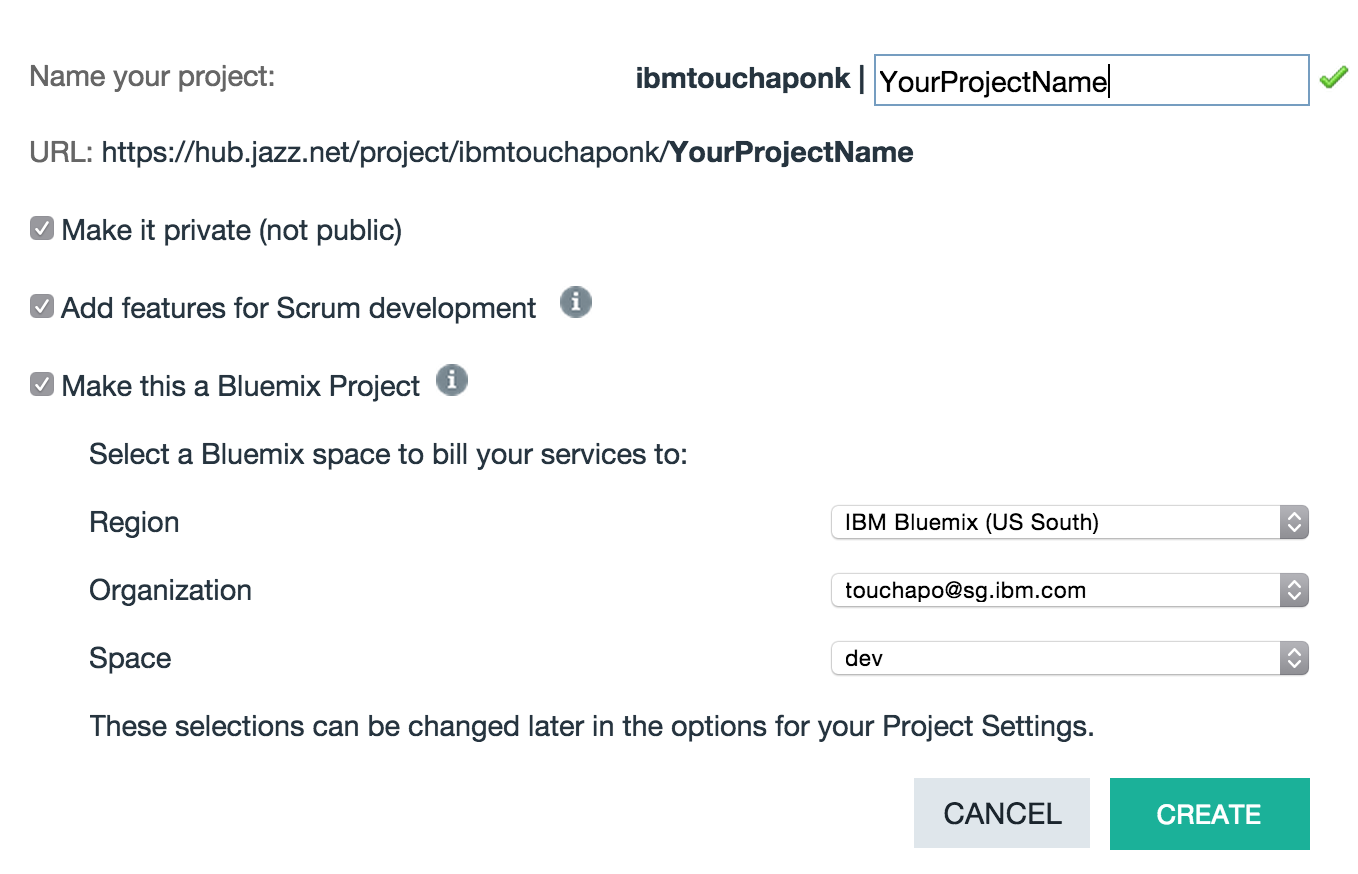
1. Fork project from This Project
2. Enable Bluemix Project and Scrum development

Setting up Delivery Pipeline
1. Click on Build & Deploy
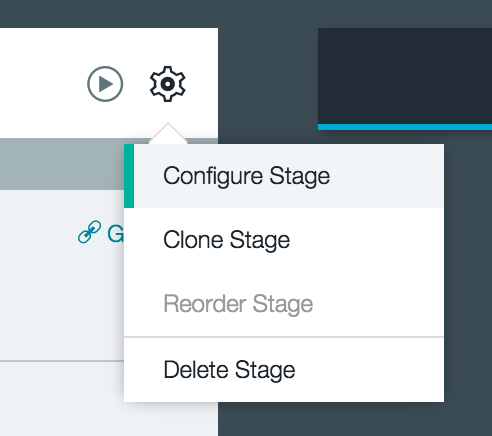
2. Add new build stage


3. Configure build stage
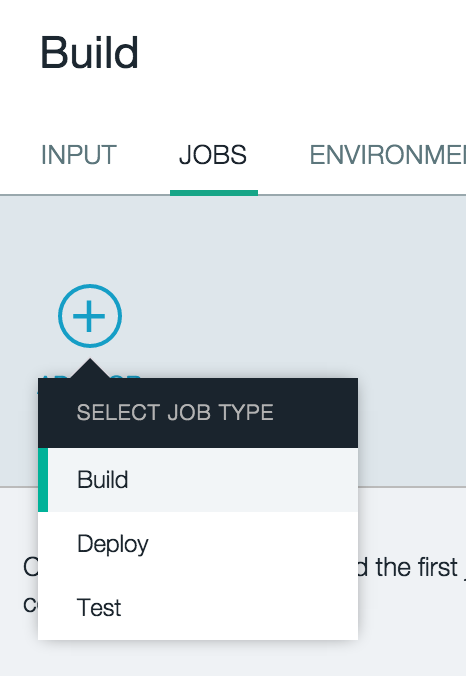
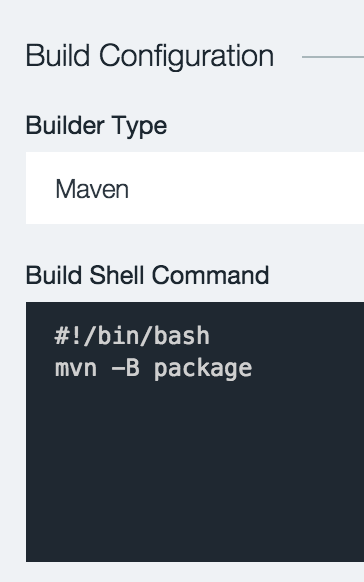
Setting up Delivery Pipeline
4. Add new deploy stage

5. Add deploy job
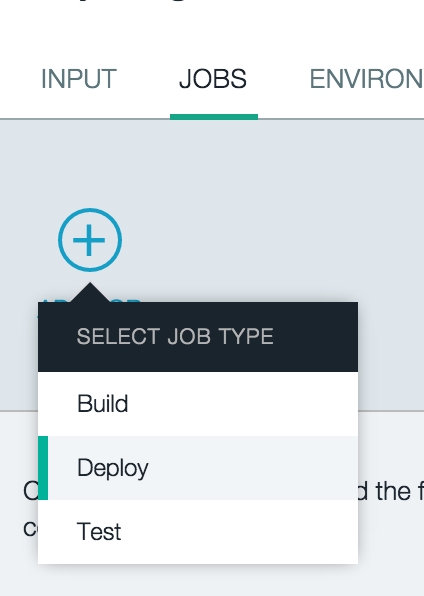
5. Append hostname with -dev
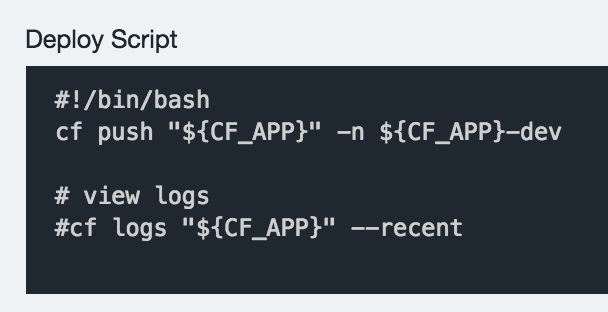
Setting up Delivery Pipeline
4. Clone the deploy stage
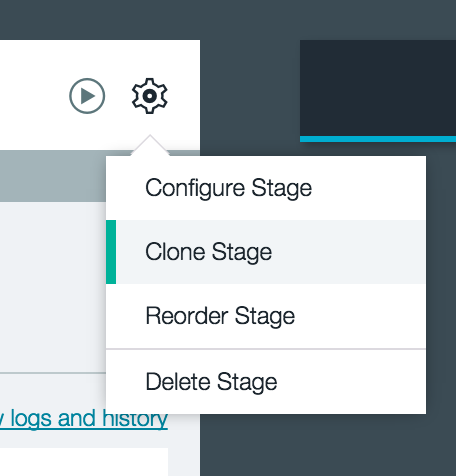
5. Edit configuration as shown:

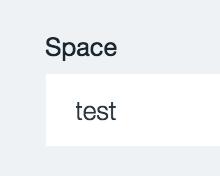
6. Repeat clone and config to UAT space

Commiting Code
1. Editing any source code
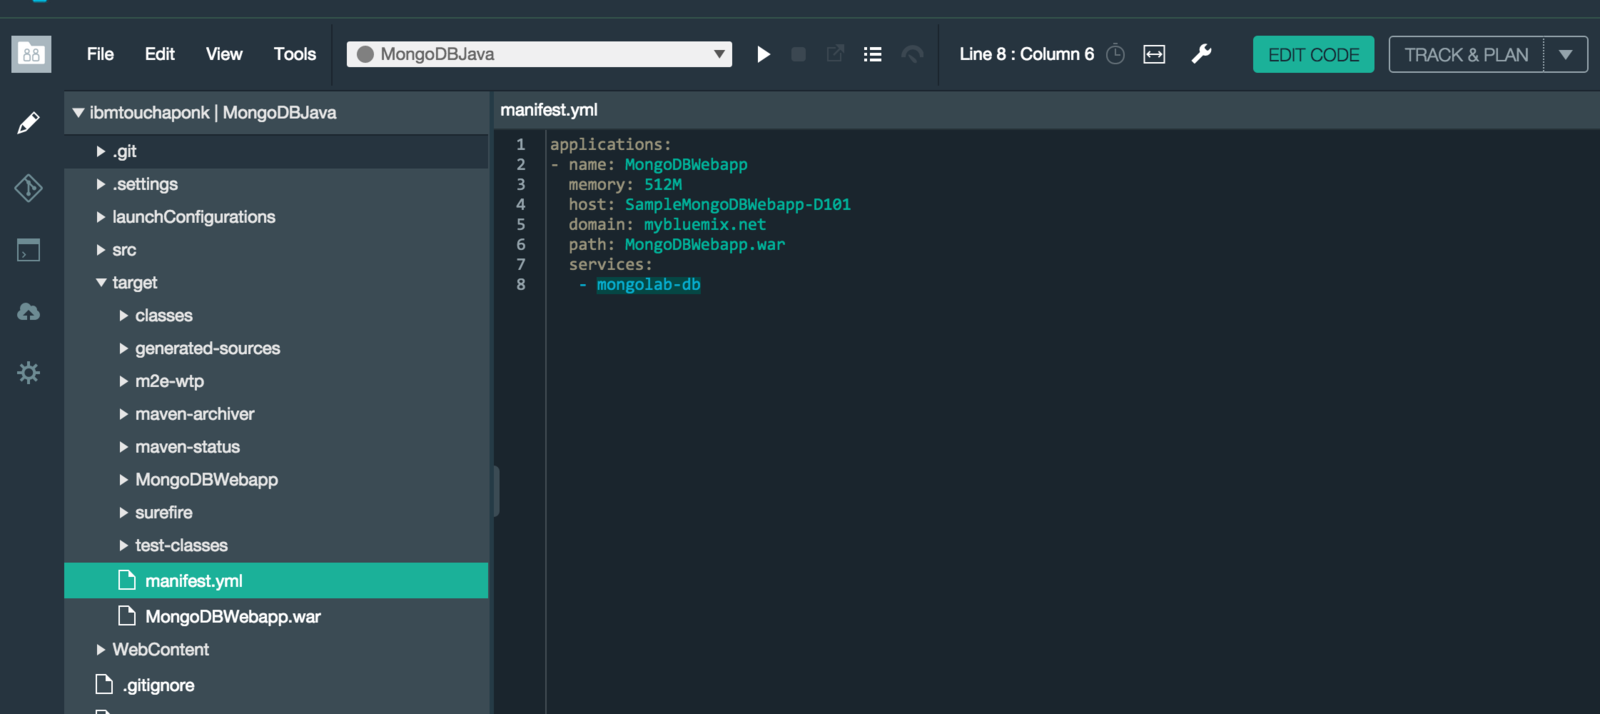
2. Go to Git Repository page
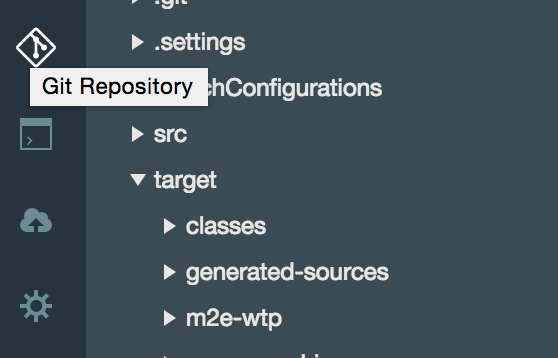
Commiting Code
3. Commit & Push the change
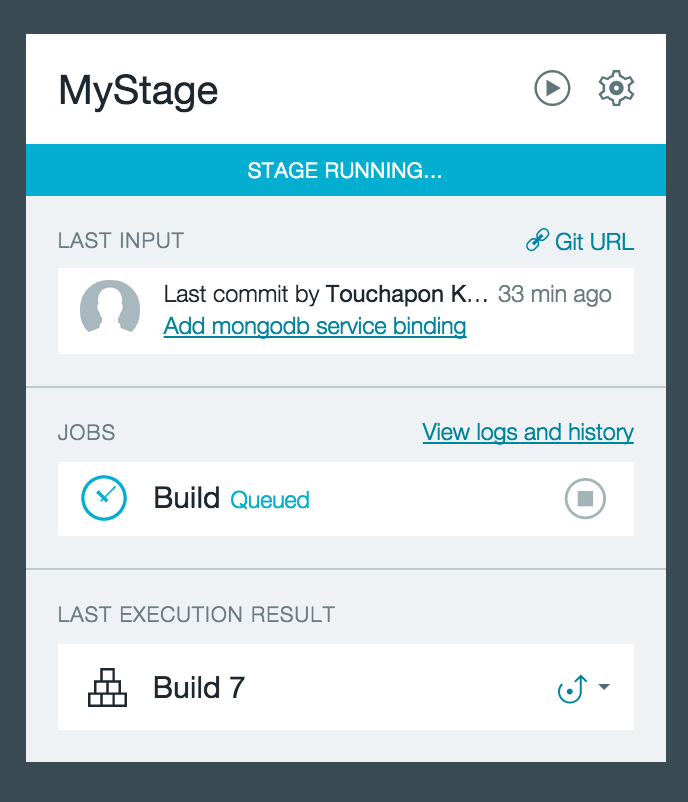
4. Go back to Build & Deploy
to see the pipeline running
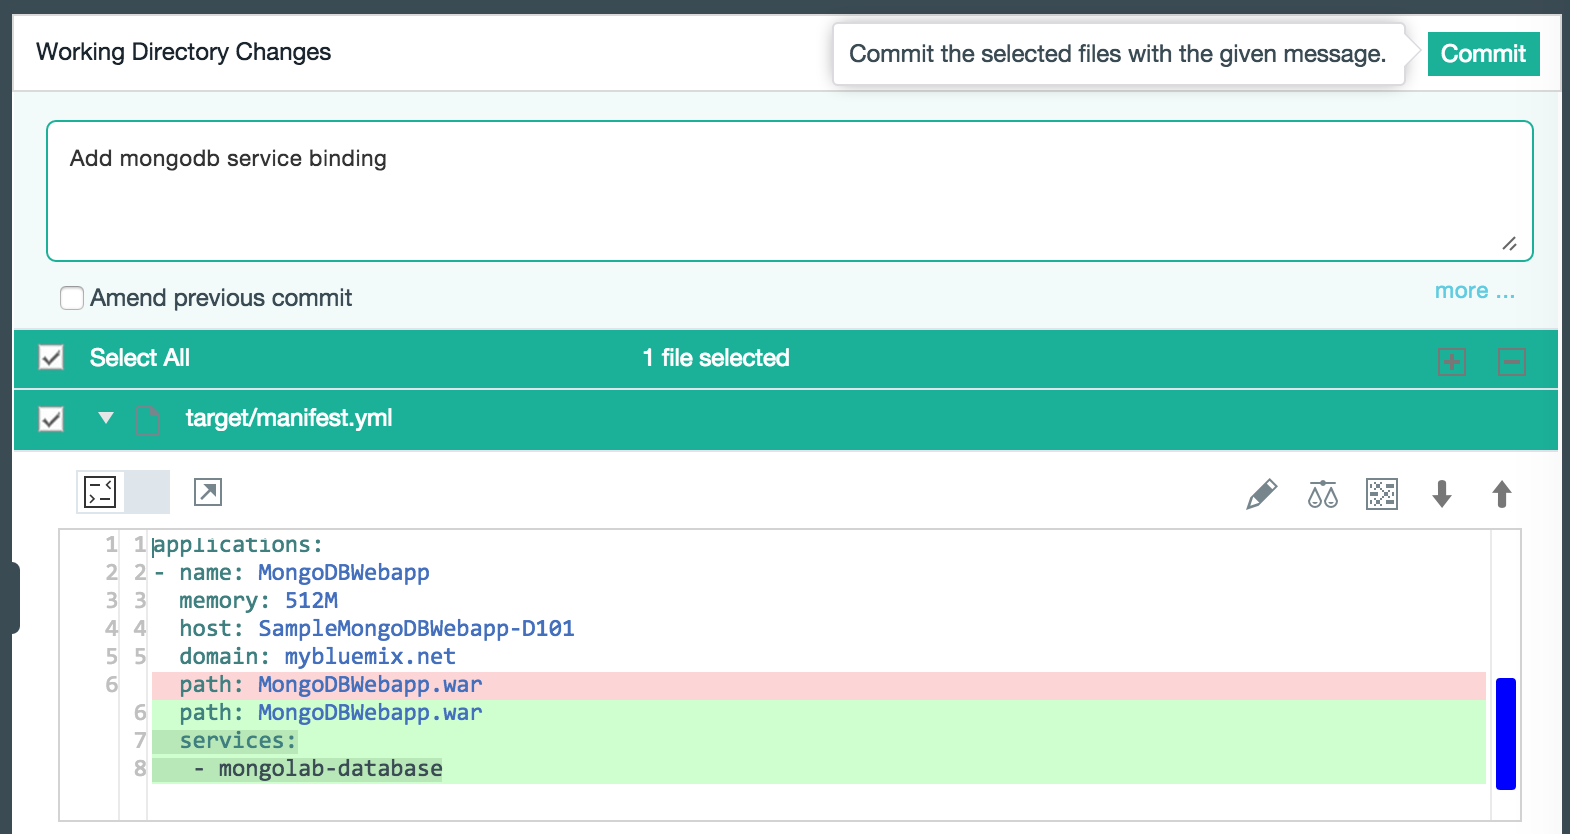

Microservices Architecture
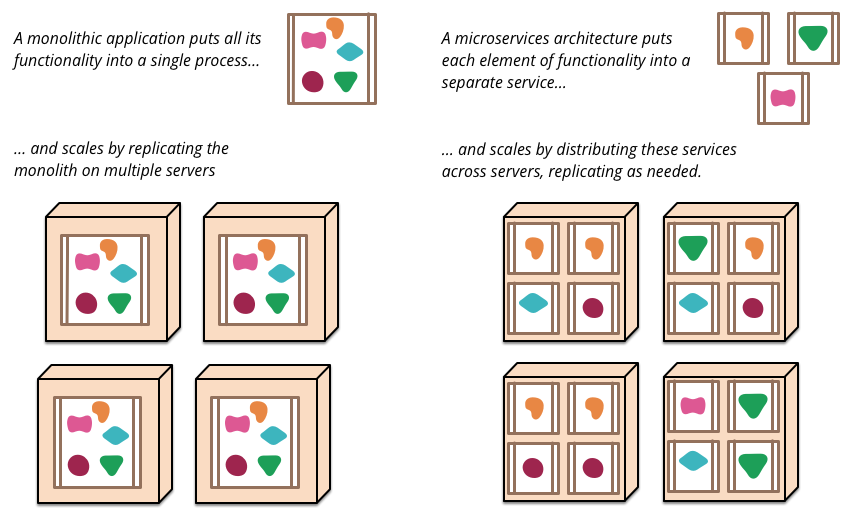
Monolithics VS Microservices
Why Microservices?
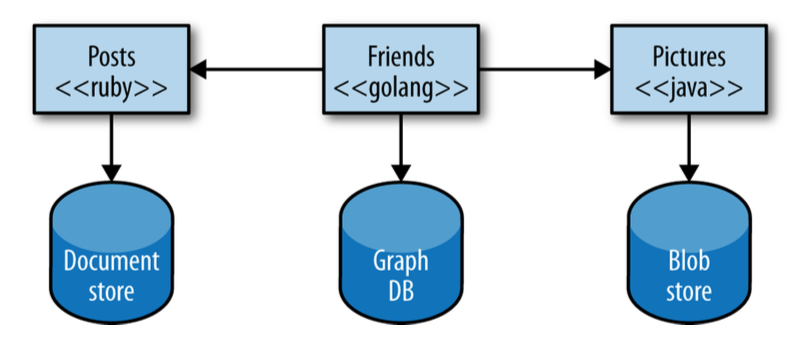
1. Multiple Technology
Why Microservices?
2. Independent Scalability
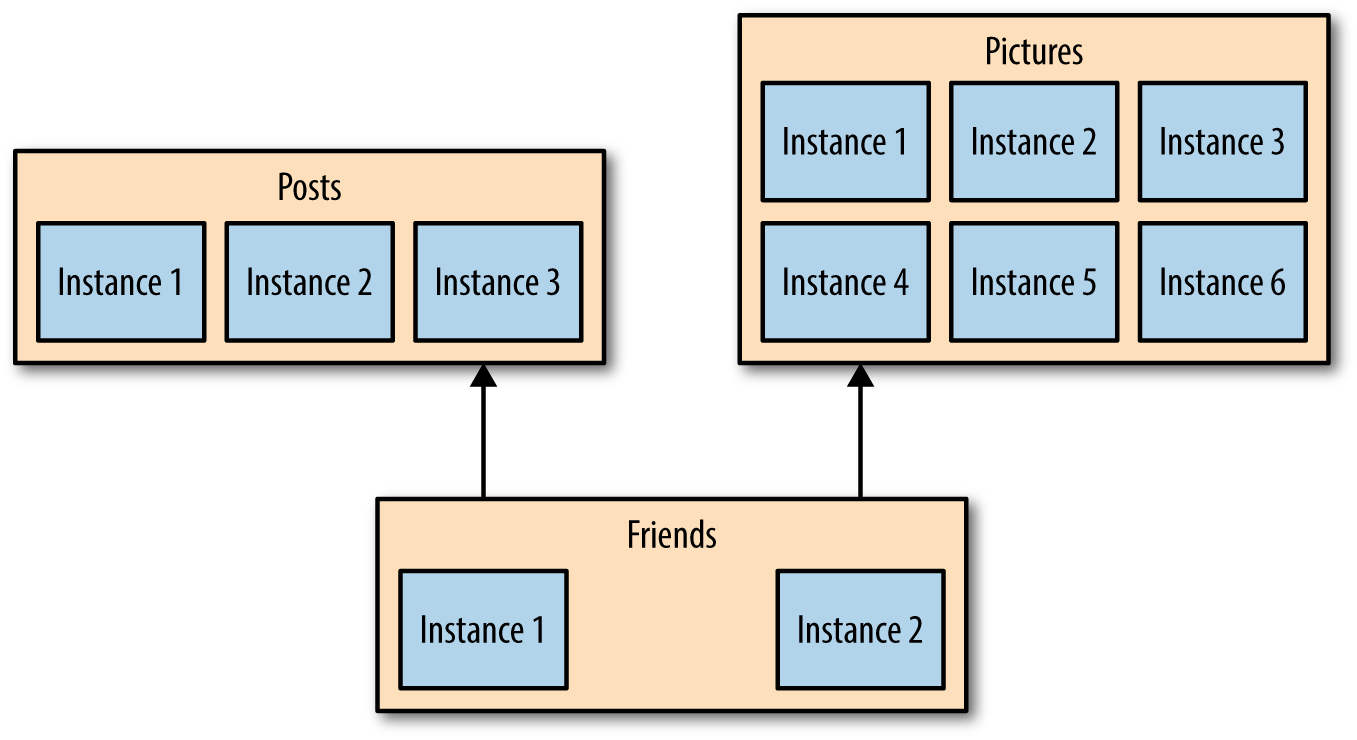
Why Microservices?
3. Resiliency with Bulkhead

Why Microservices?
3. Independent Lifecycle
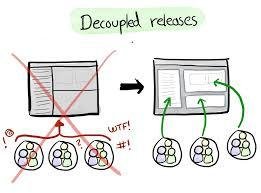
Why Microservices?
4. Composability
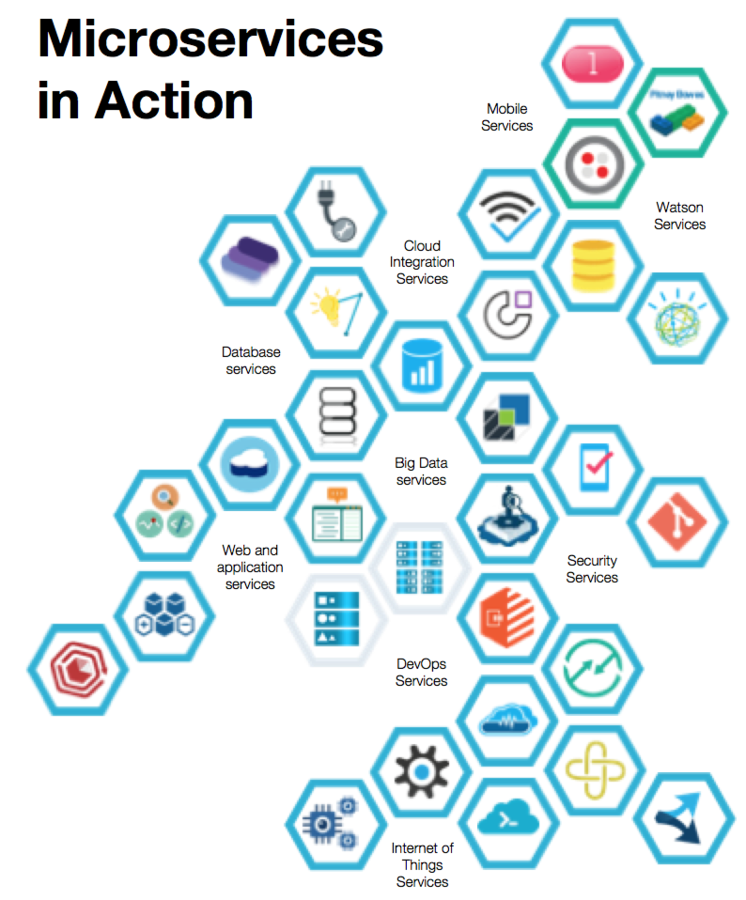
Building Microservices

Breaking up the monolith
Building Microservices
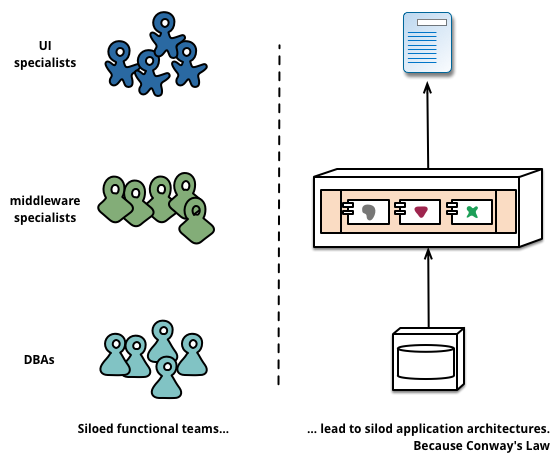
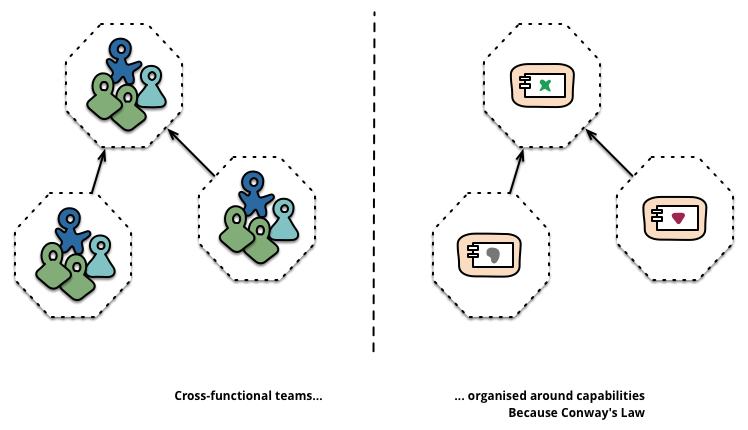
Breaking up the team!

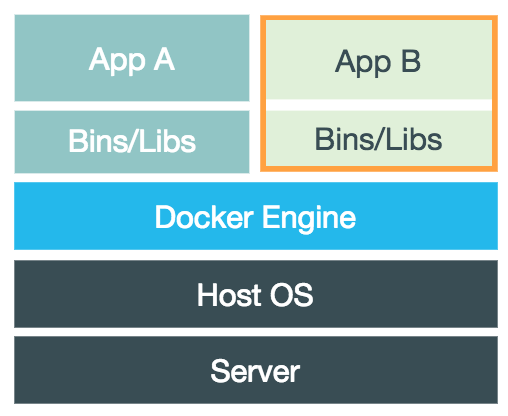
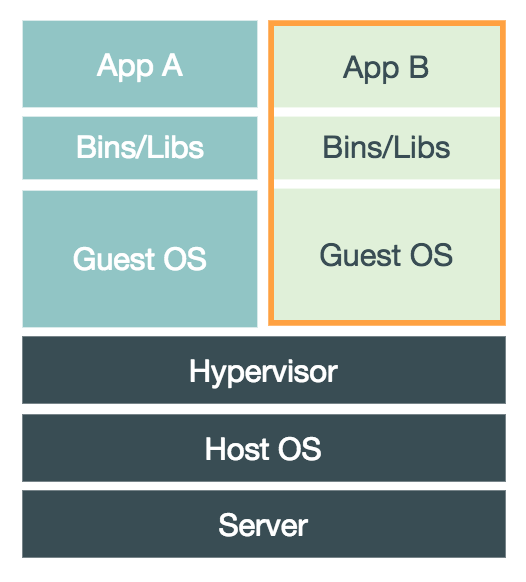
Virtual Machines
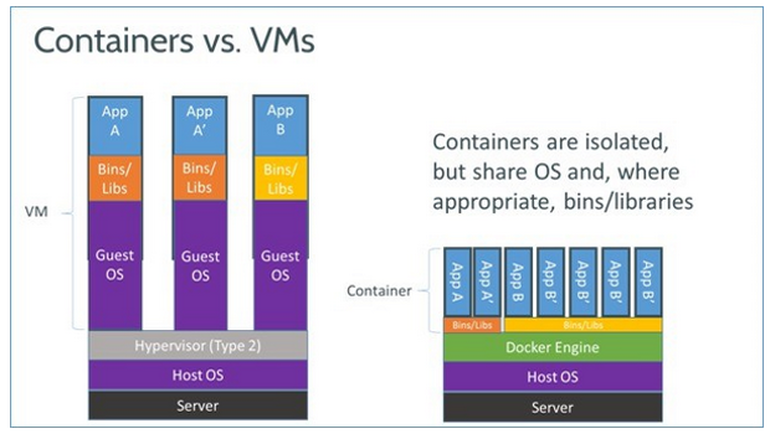
Containers

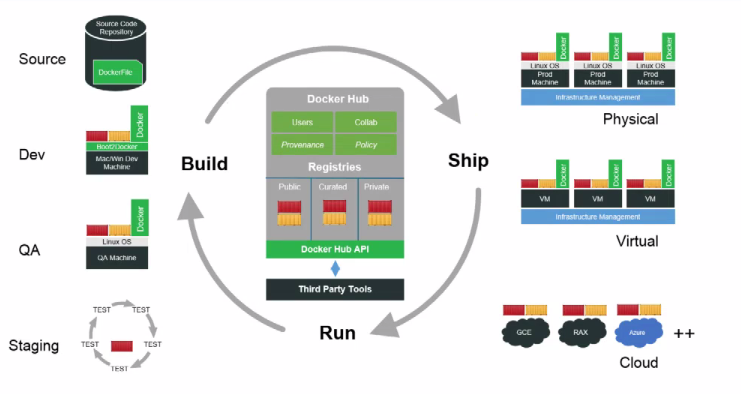
Docker
A Container Technology


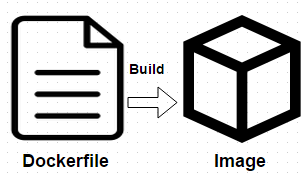
FROM ubuntu:12.04

MAINTAINER Touchapon Kraisingkorn

RUN apt-get update
RUN apt-get install -y apache2
RUN apt-get clean
RUN rm -rf /var/lib/apt/lists/*

ENV APACHE_RUN_USER www-data
ENV APACHE_RUN_GROUP www-data
ENV APACHE_LOG_DIR /var/log/apache2

EXPOSE 80

CMD ["/usr/sbin/apache2", "-D", "FOREGROUND"]


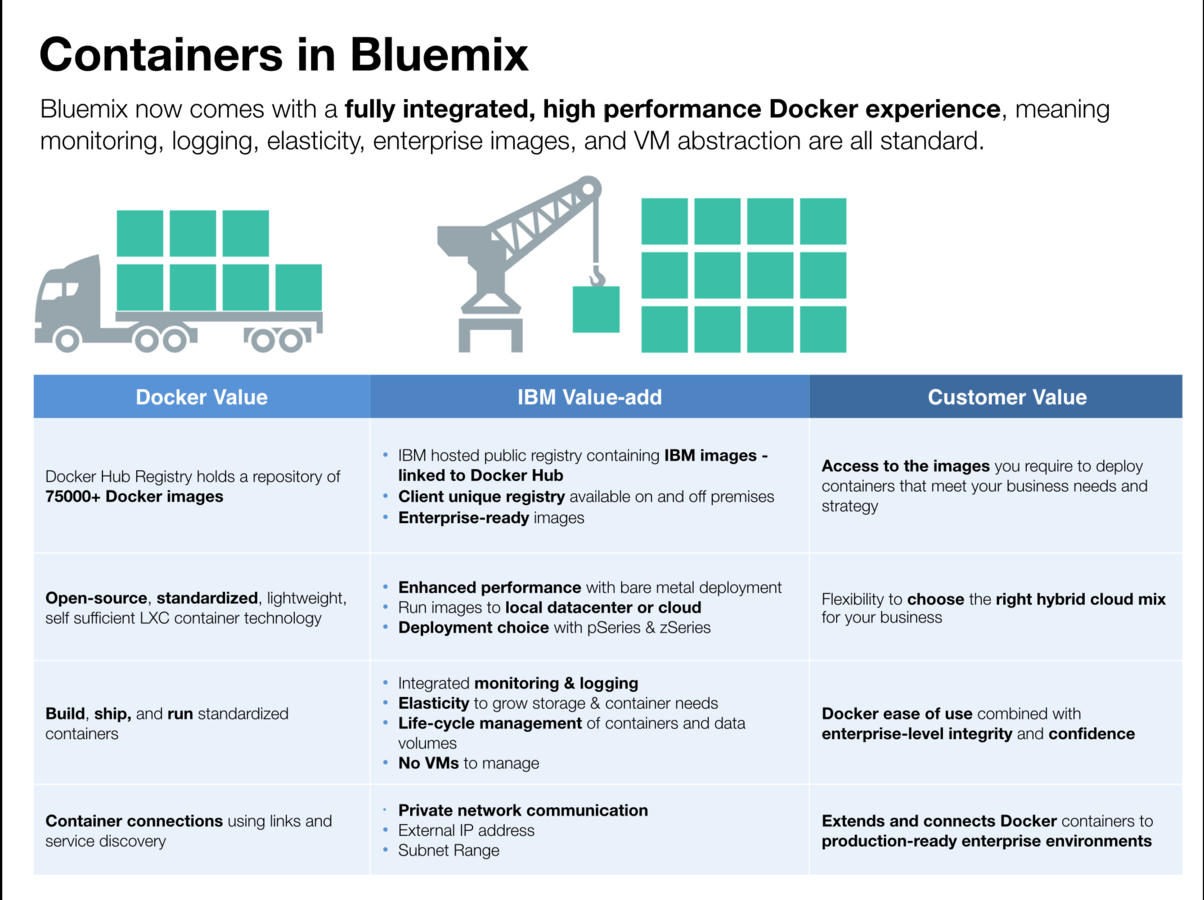


Mobile Services
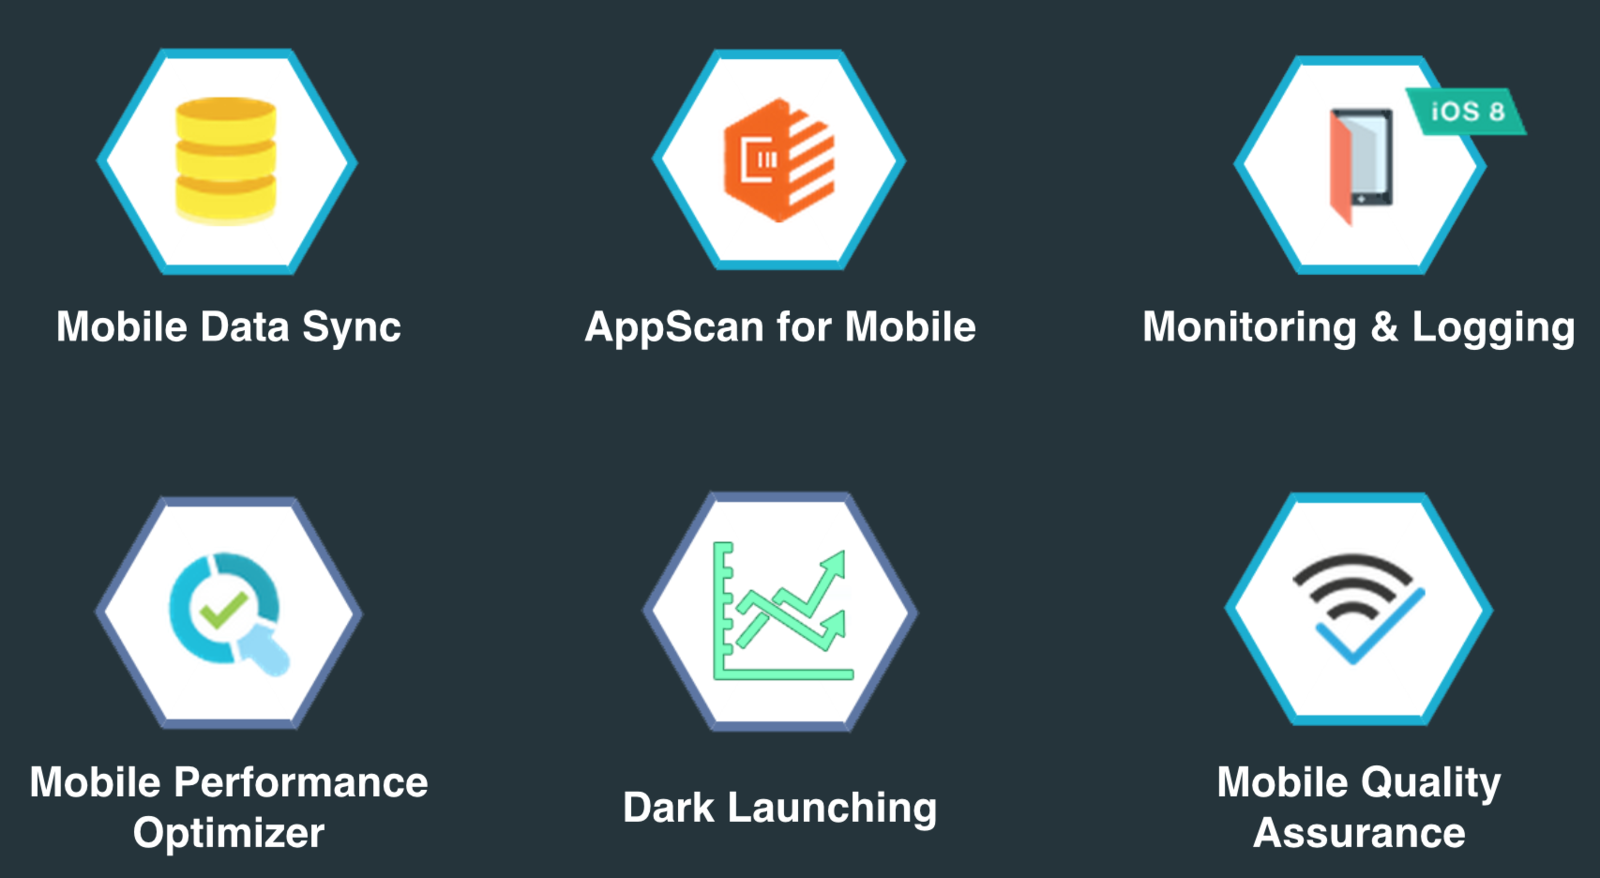
Ready Services
Mobile

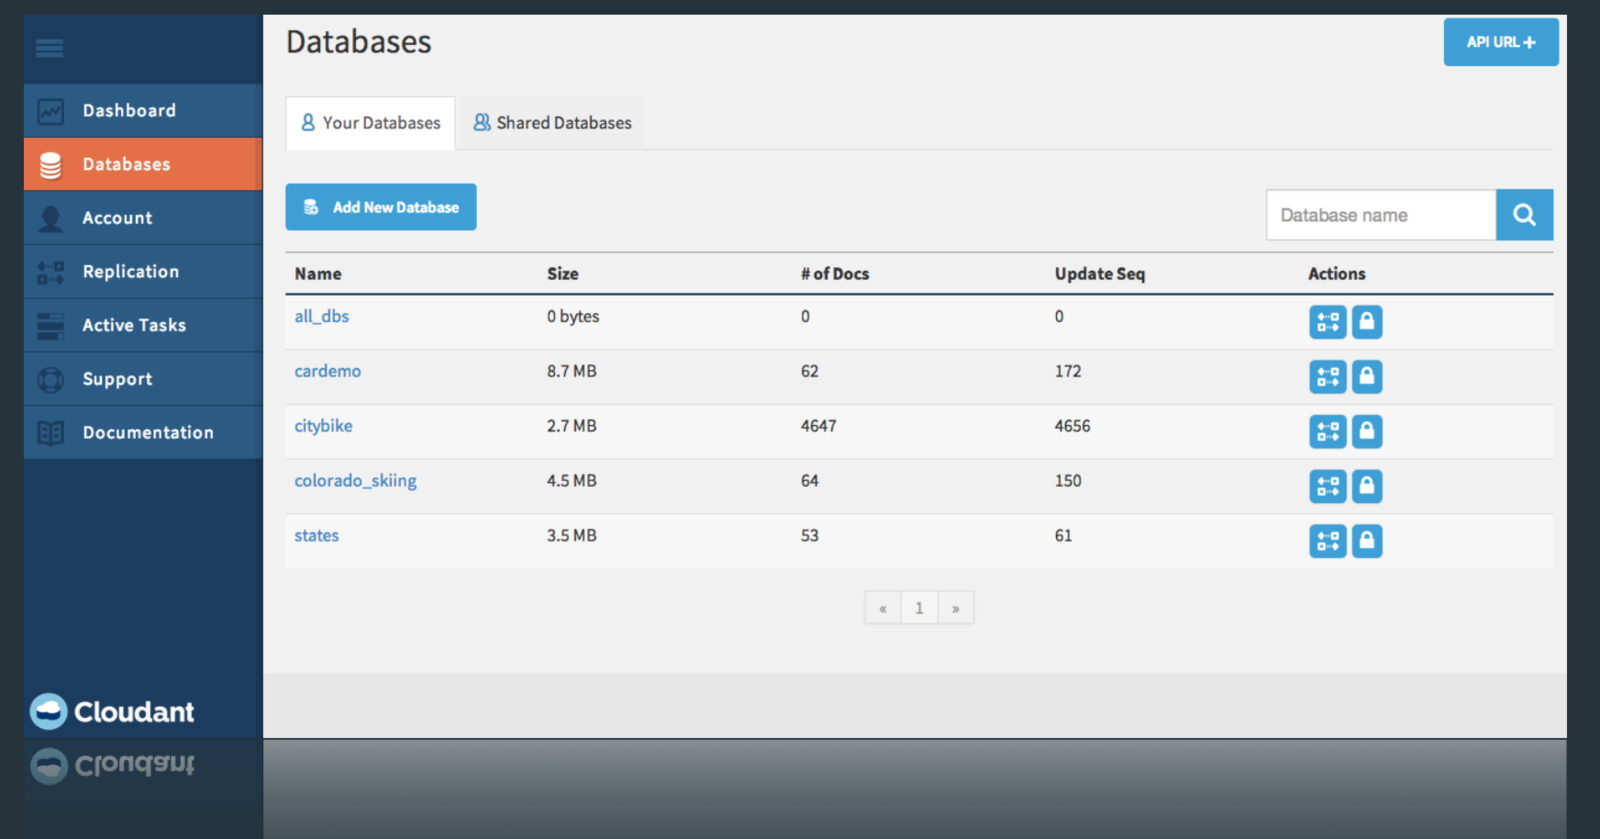
Ready Services
Mobile

Ready Services
Mobile

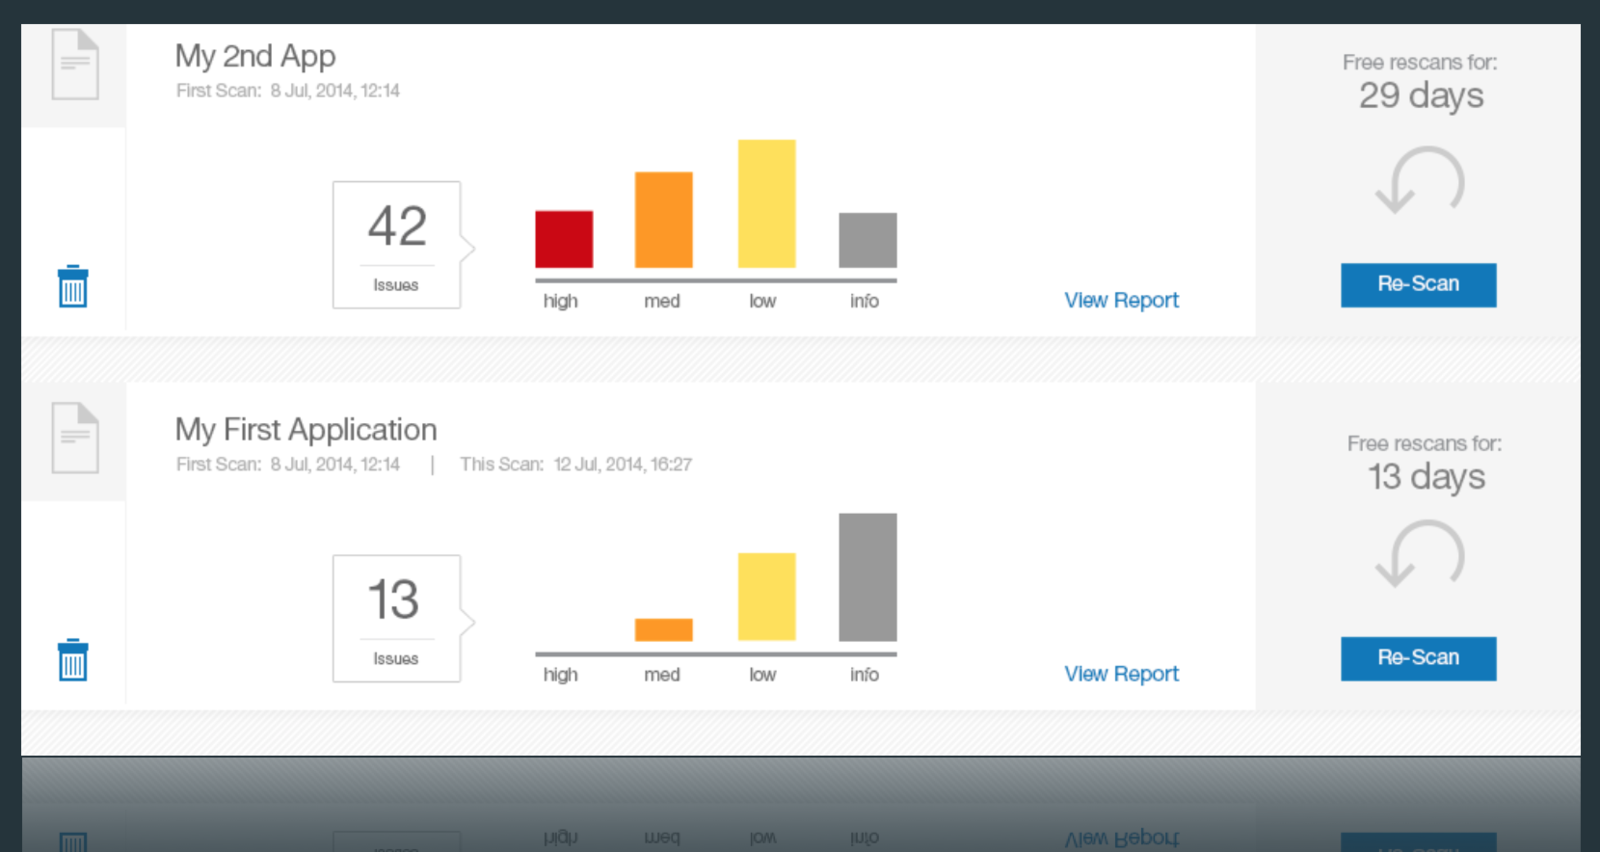
Ready Services
Mobile

Ready Services
Mobile

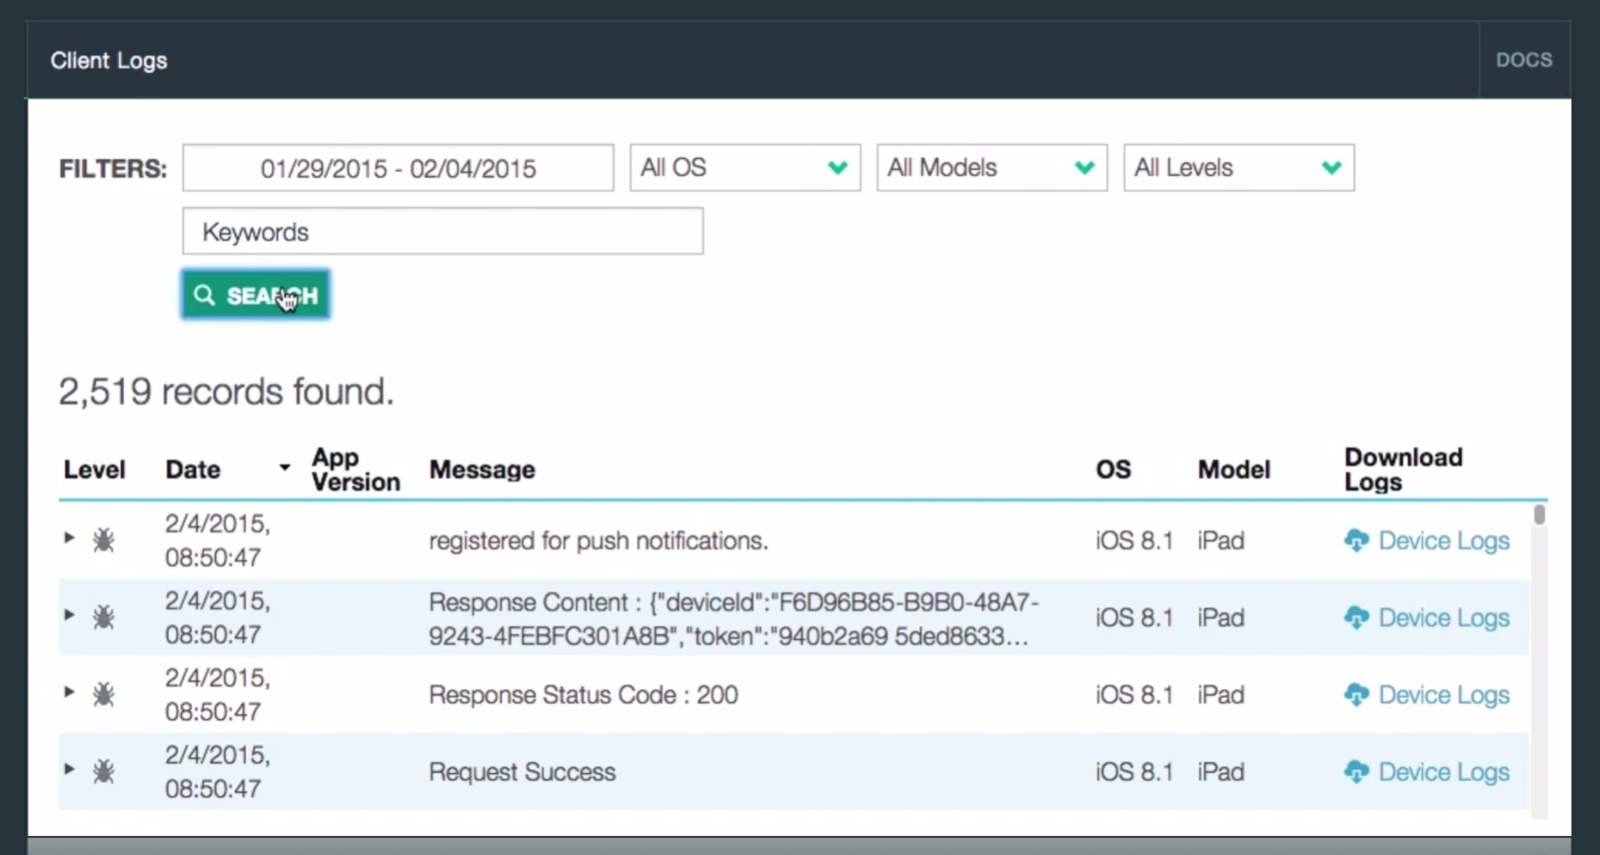
Ready Services
Mobile

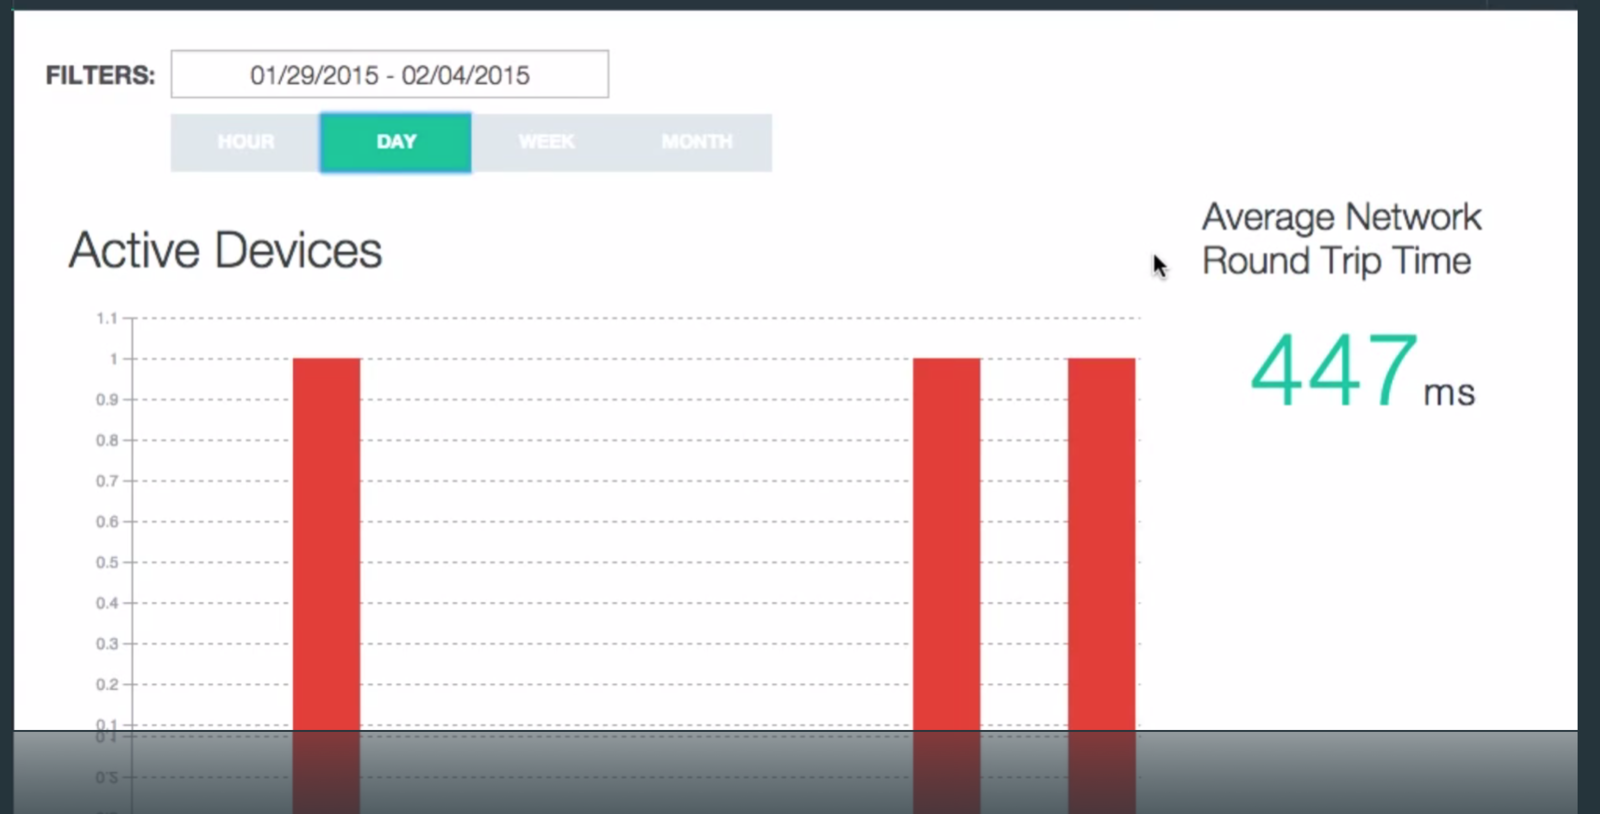
Ready Services
Mobile

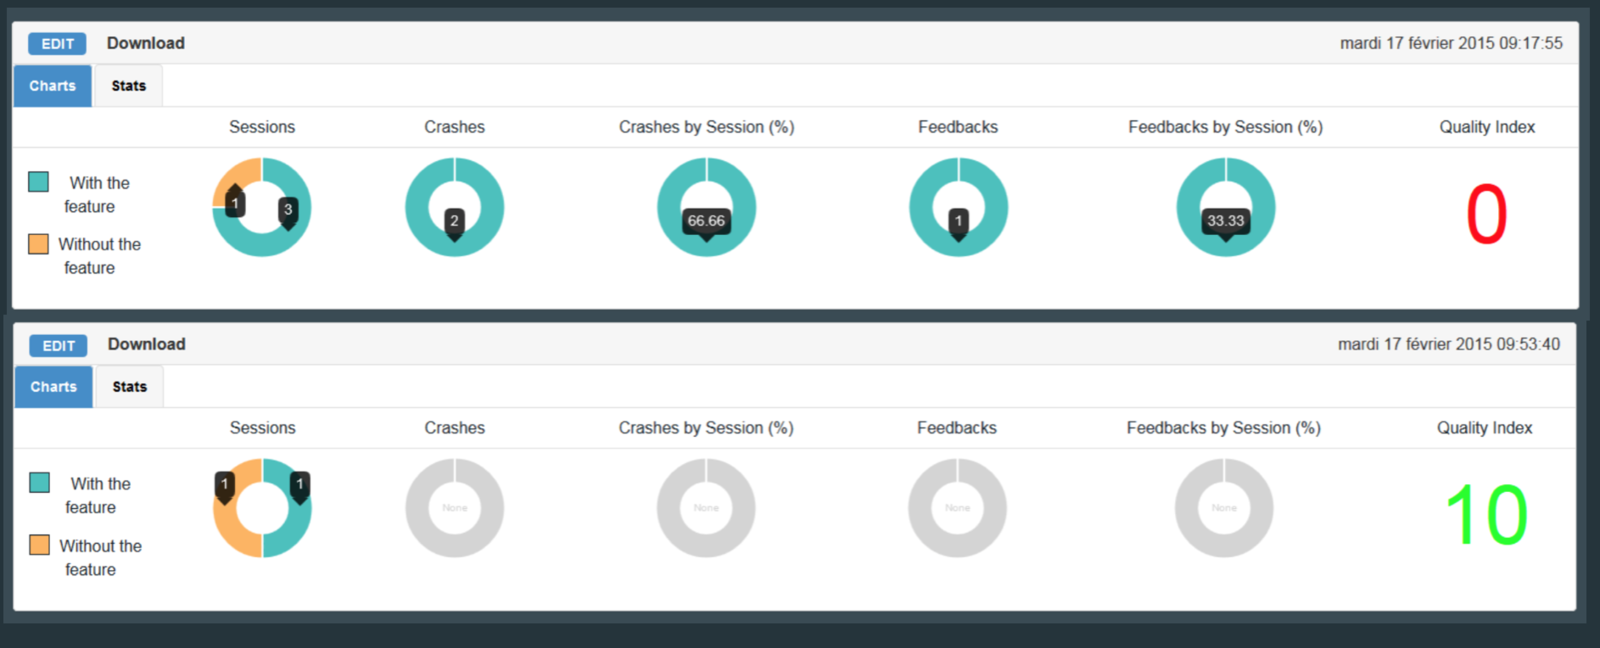
Ready Services
Mobile


Ready Services
Mobile

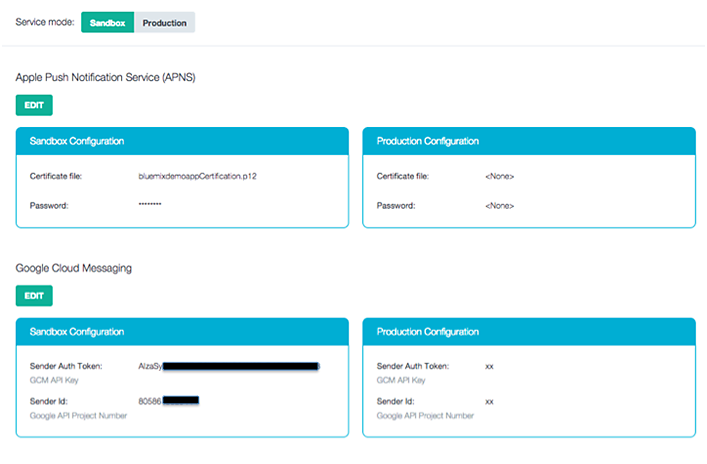
Ready Services
Mobile

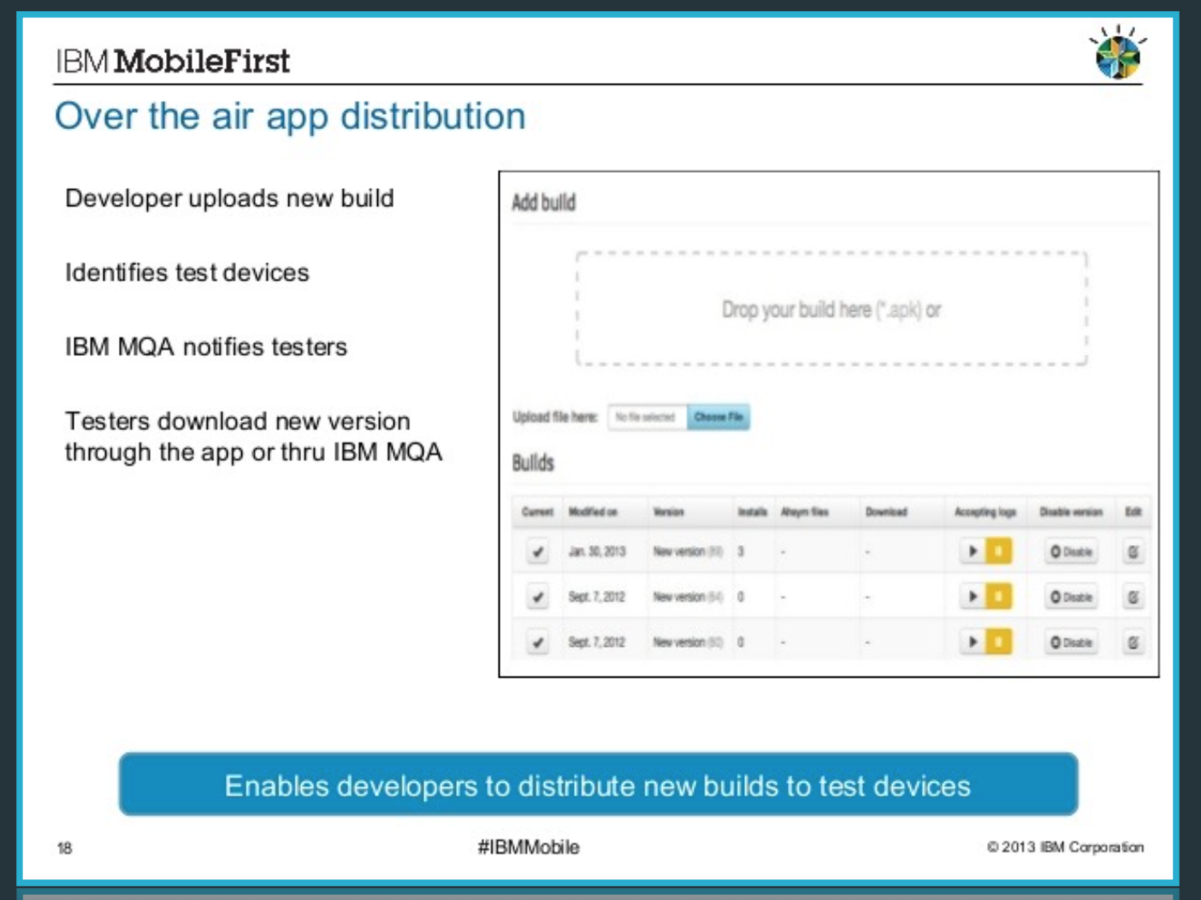
Ready Services
Mobile

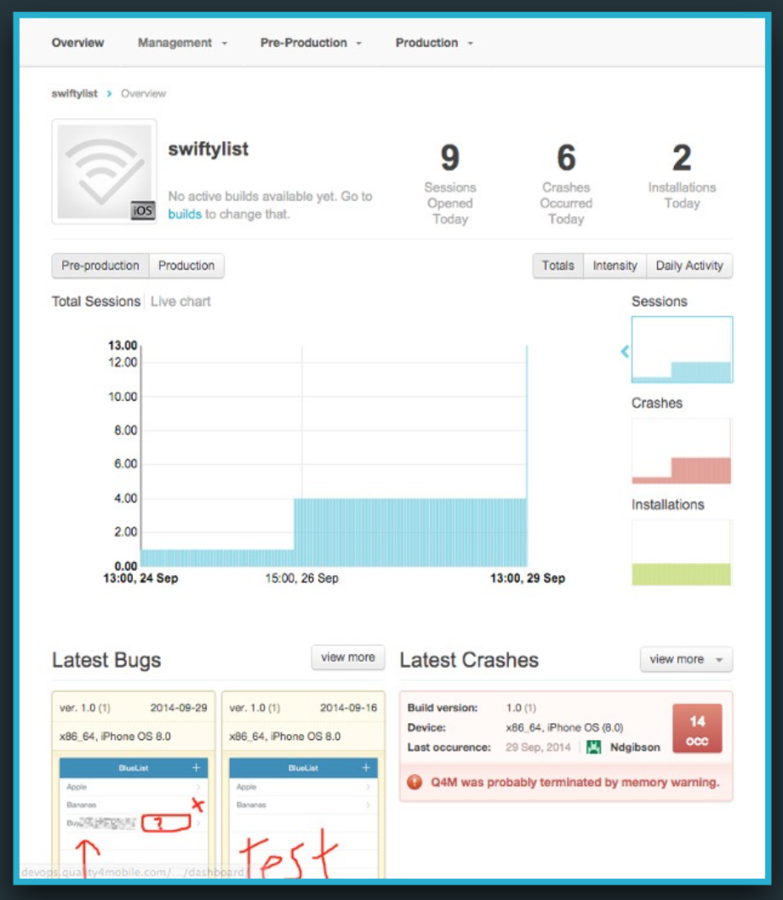
Ready Services
Mobile

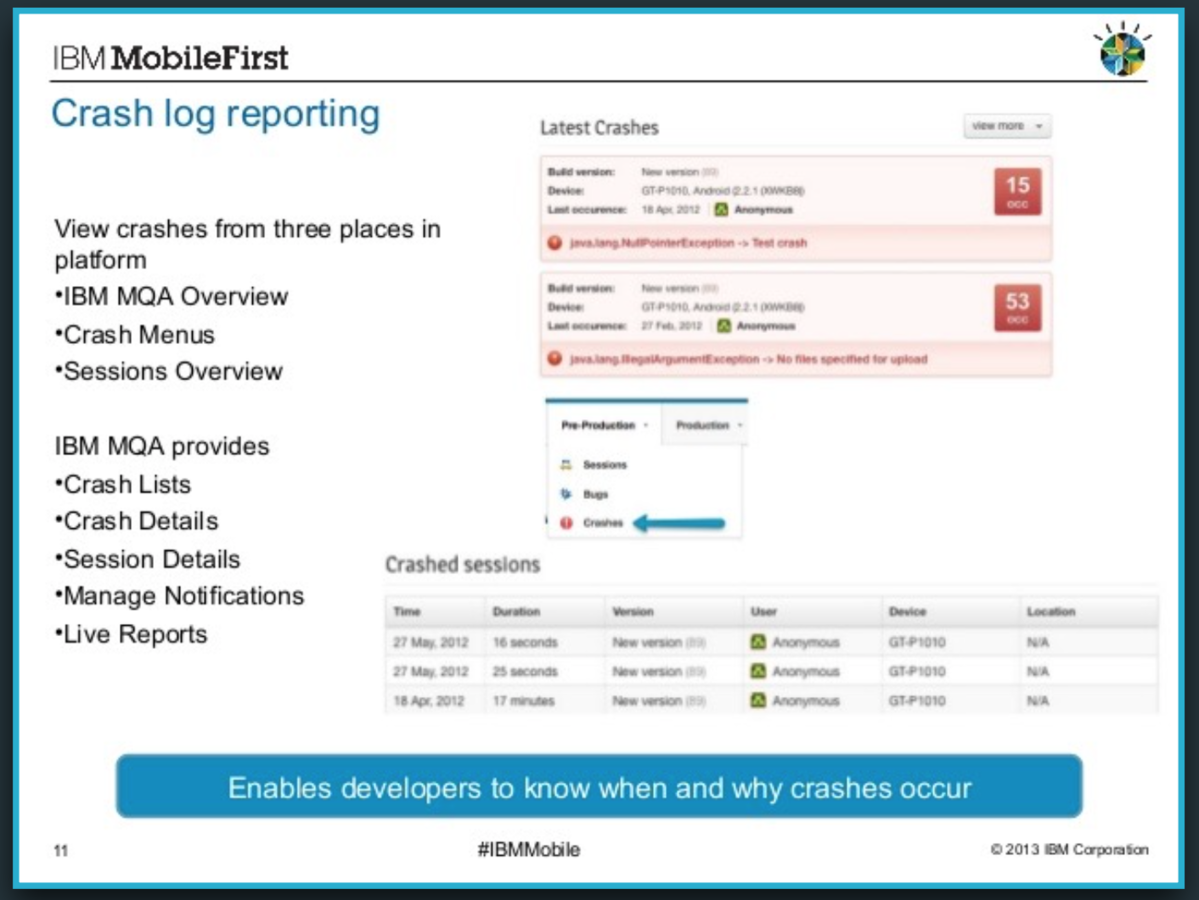

Deploying your First Node JS App

1. Start Node JS Runtime

2. Add project to Git

3. Go to Git


4. Upload source code files
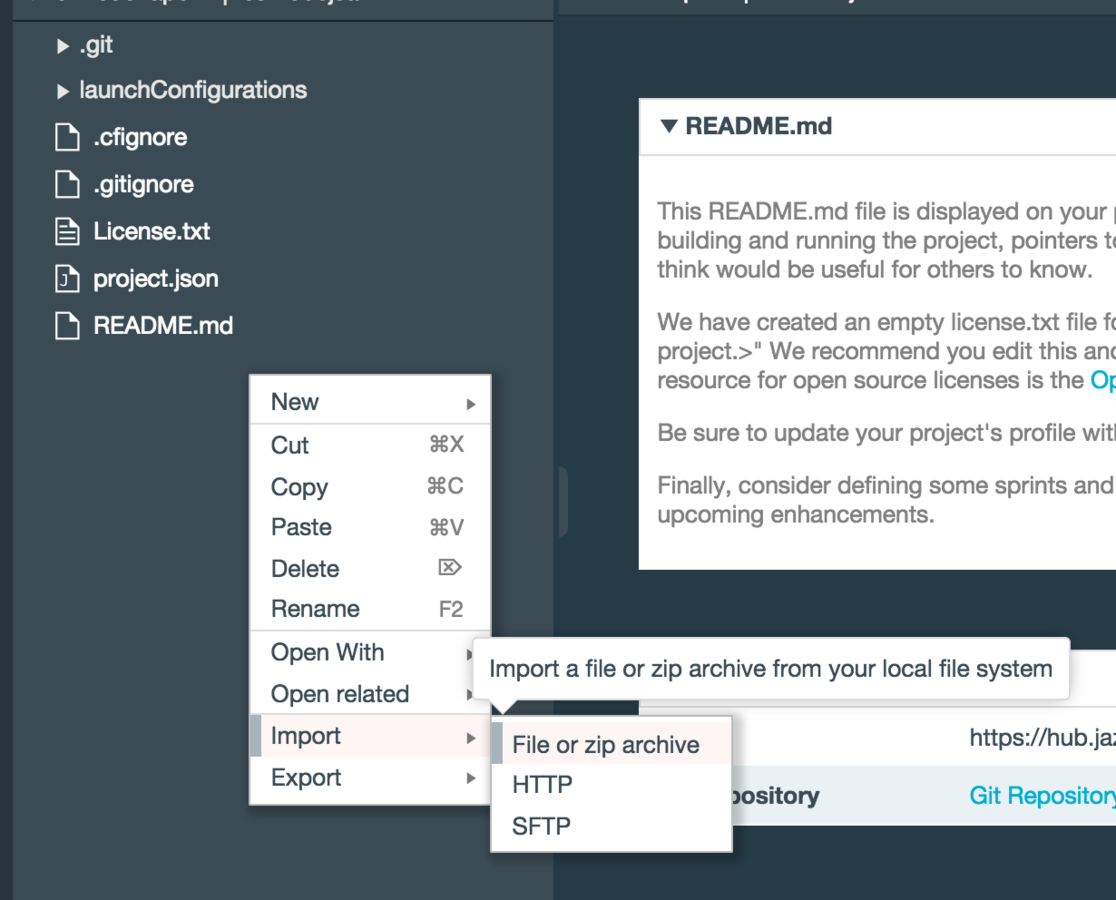

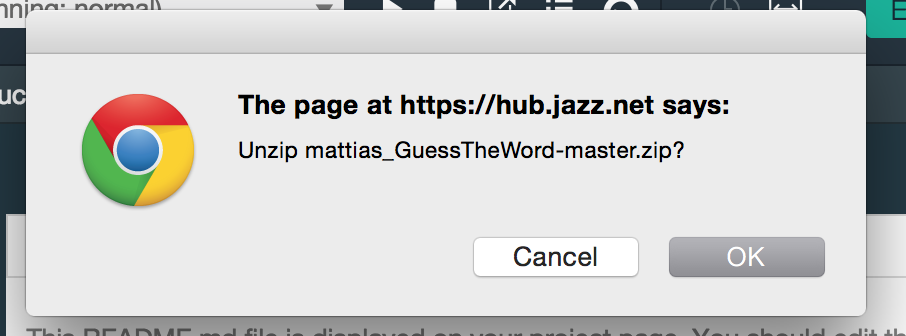
4. Extract & Overwrite the source code
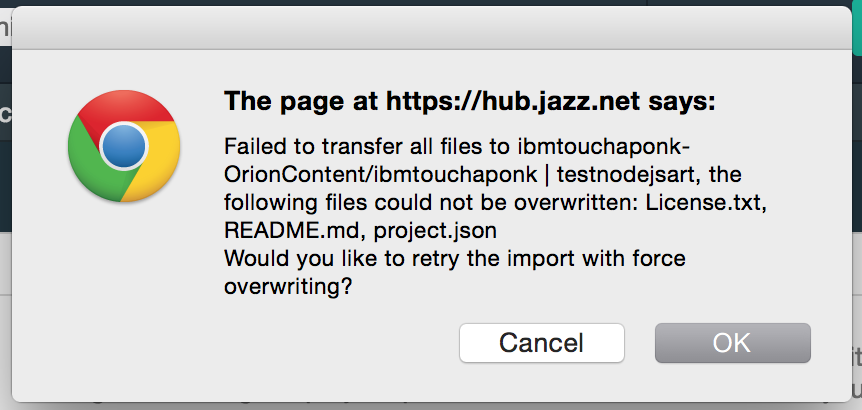

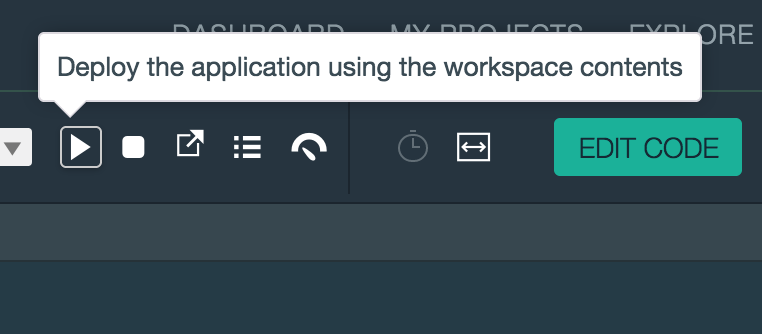
5. Deploy the change
6. Test out the service


7. Add Cloudant Database
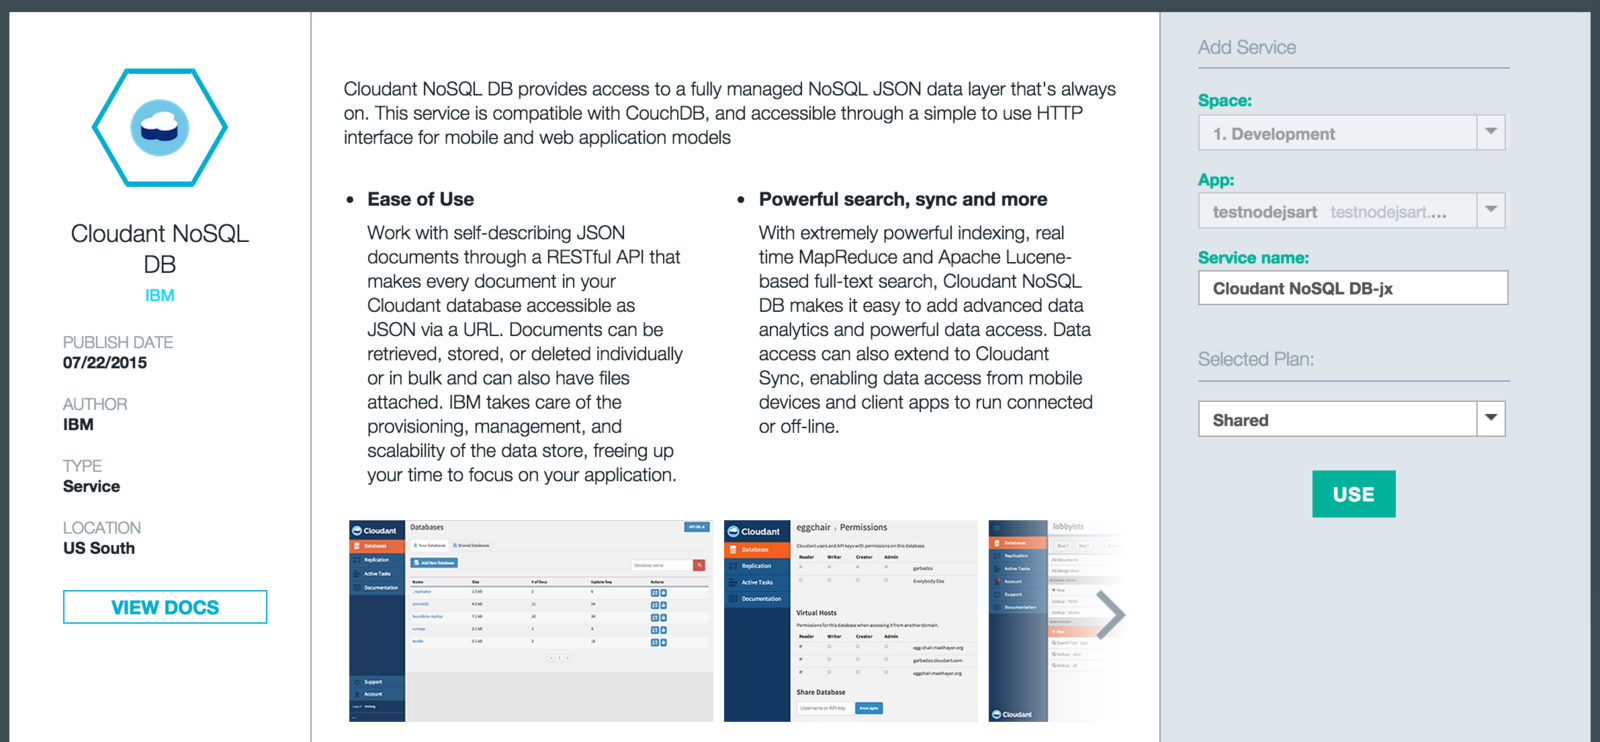


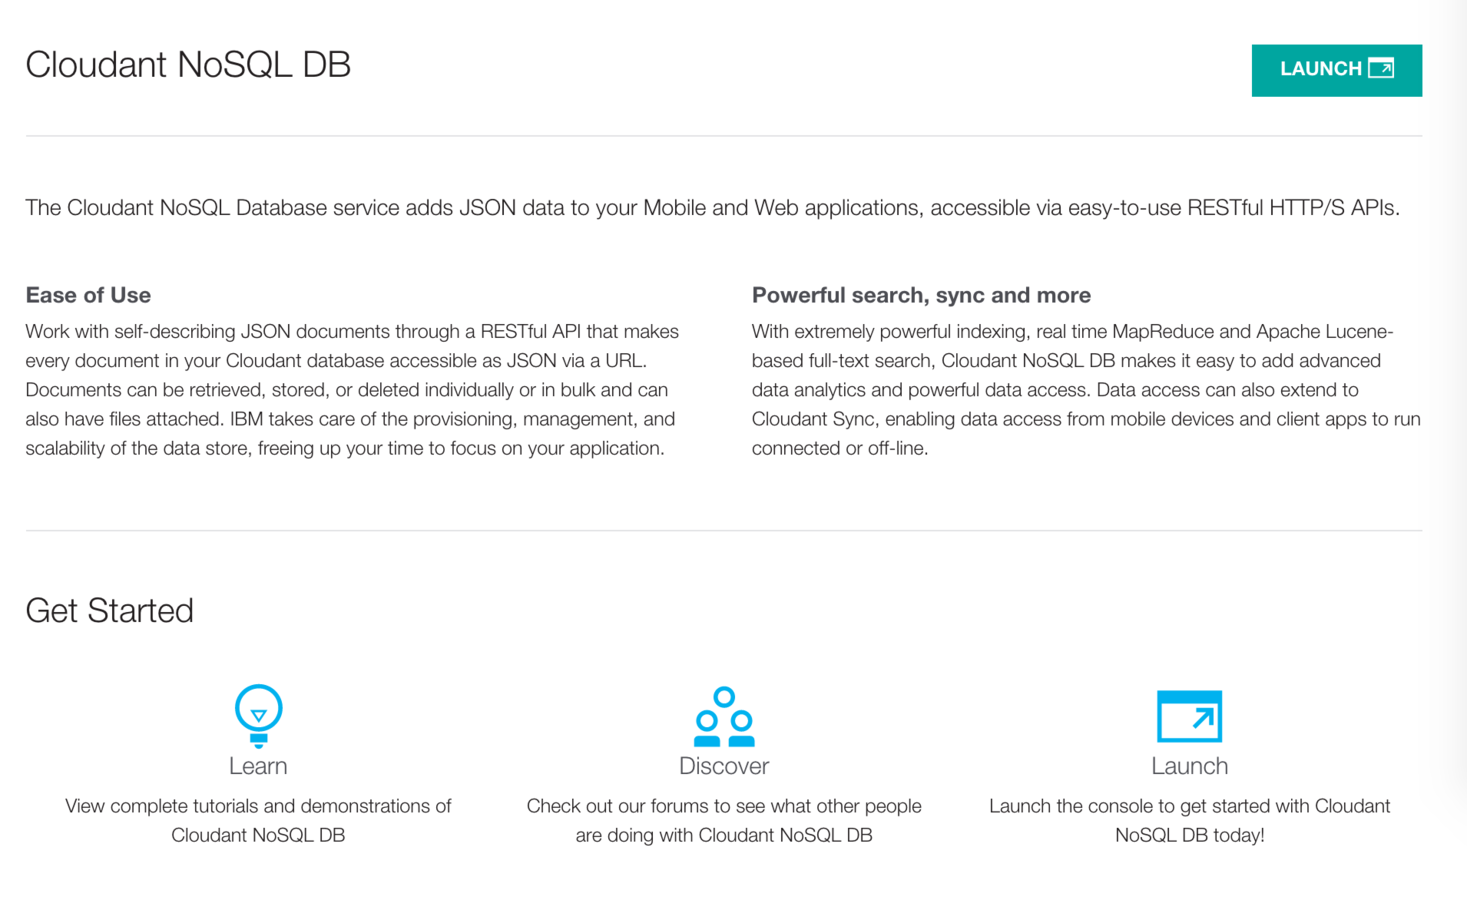
7. Open Cloudant Console


8. Create new database "hiscores"

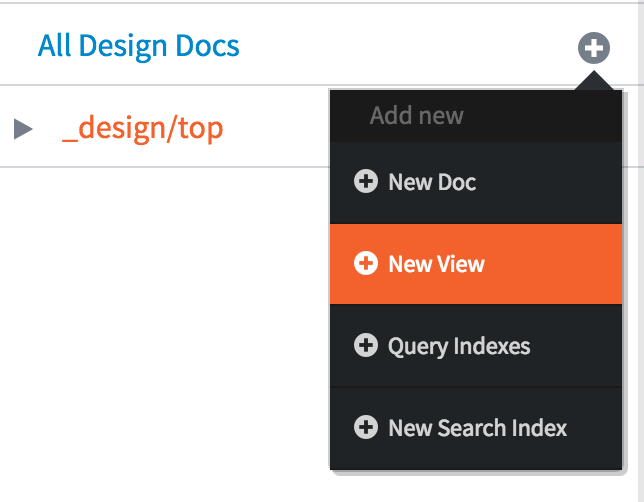
9. Create new view

10. Setup the new view:
View name: top_scores
Index name: top_scores_index
Map Function:
function(doc) {
 emit(doc.score,
    {score : doc.score,
    name : doc.name,
    date : doc.date});
}
Big Data


Social Media Monitoring
Built with Bluemix
Resource at: BluemixAsean.MyBluemix.net/Credentials
1. Starting up Node-RED Starter

Built with Bluemix

2. Listening to Twitter
3. Sending SMS

4. Listening to popular tweets
Built with Bluemix

5. Disconnect SMS Node
6. Adding Hadoop Service



7. Write to hadoop
Built with Bluemix

8. Format & Write to NoSQL
msg.payload = {
    'MESSAGE':msg.payload,
    "PAYLOAD":msg.tweet
}
return msg;
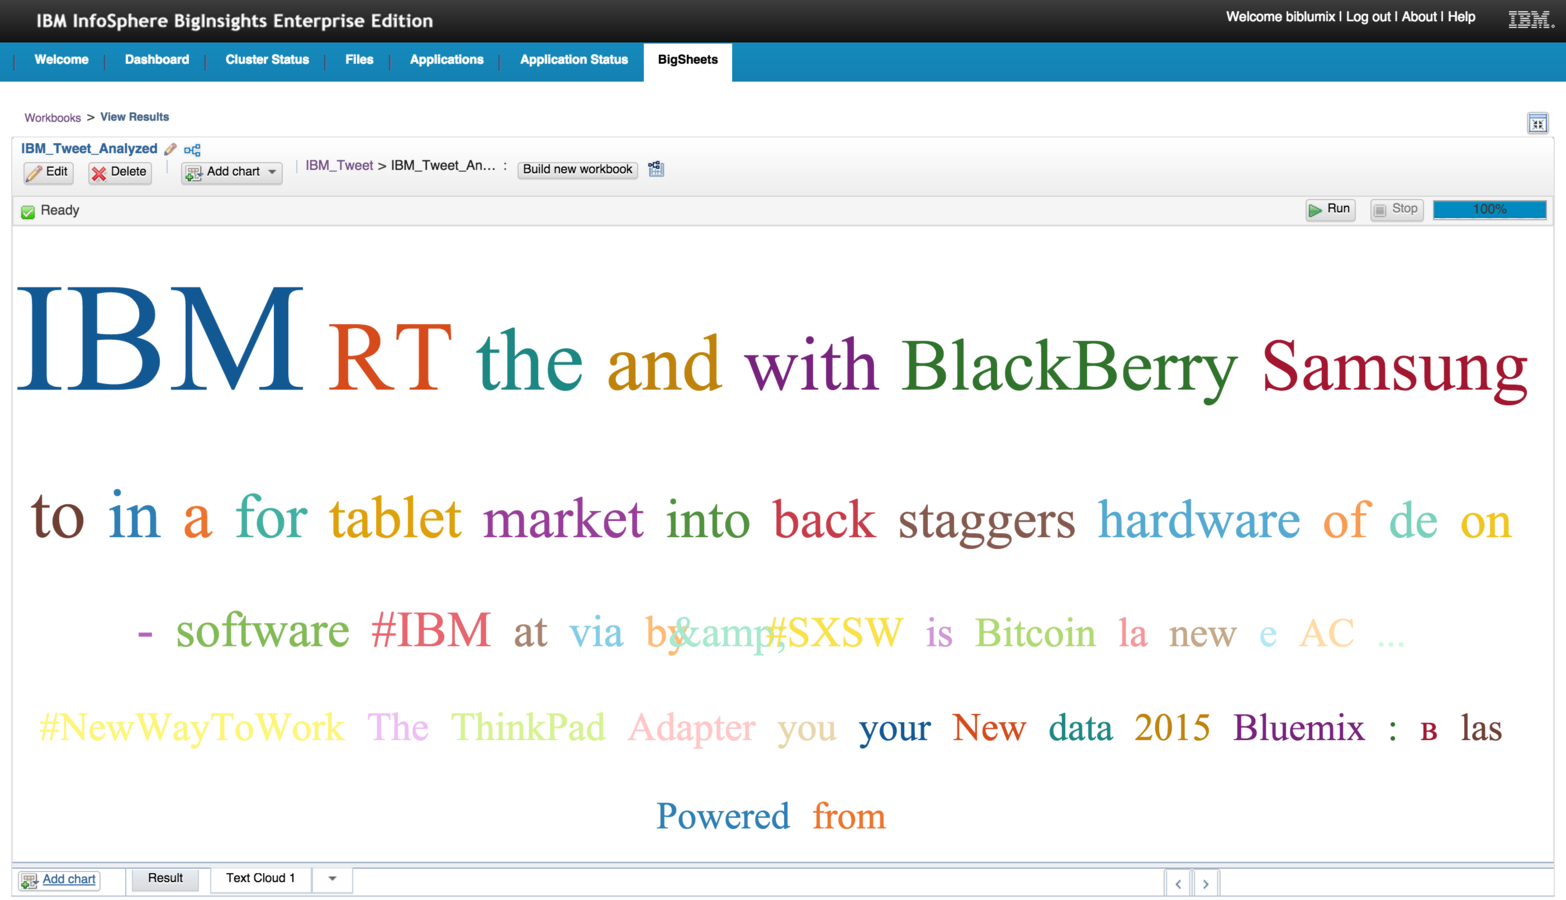
4. Big Data Analytics
Built with Bluemix

Deploying your First Java App
Deploying an existing Java Web App

Deploying Java App from Eclipse
Deploying Application from Eclipse and integrating with database
*VM Required
1. Open Eclipse for Java EE
Setting up & Deploy
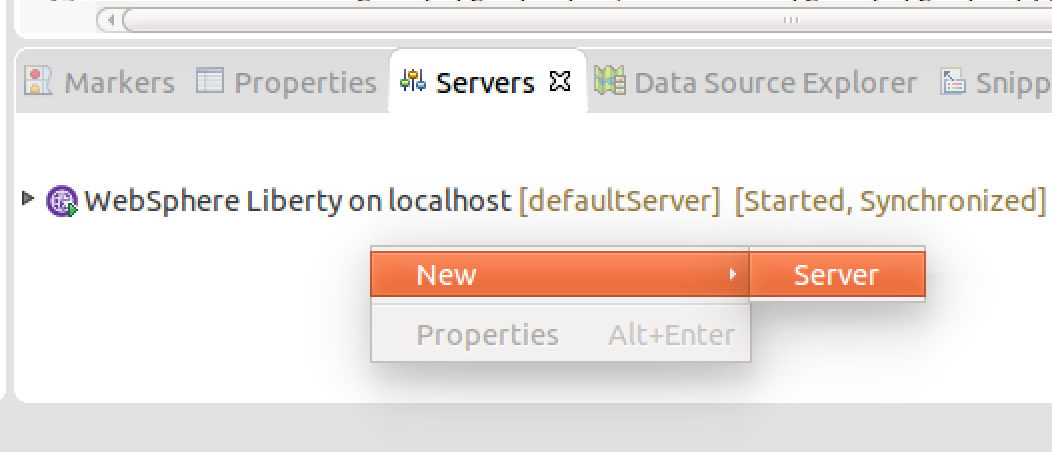
2. Create new server
from the server tab
3. Select IBM Bluemix
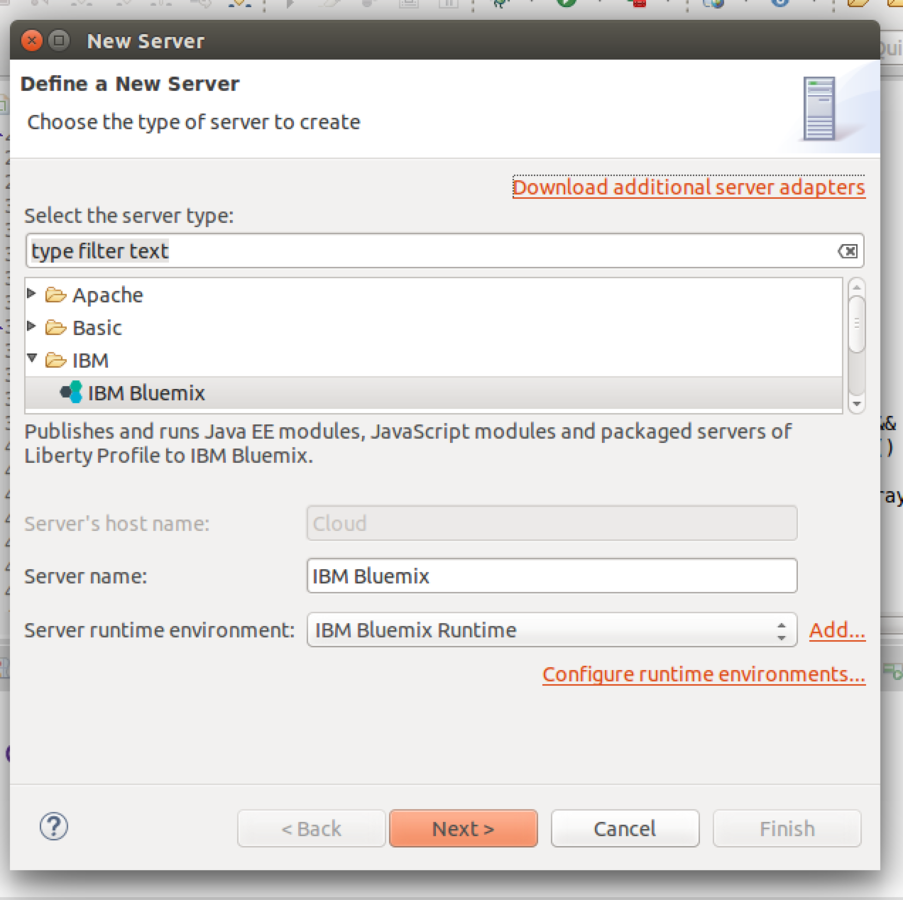
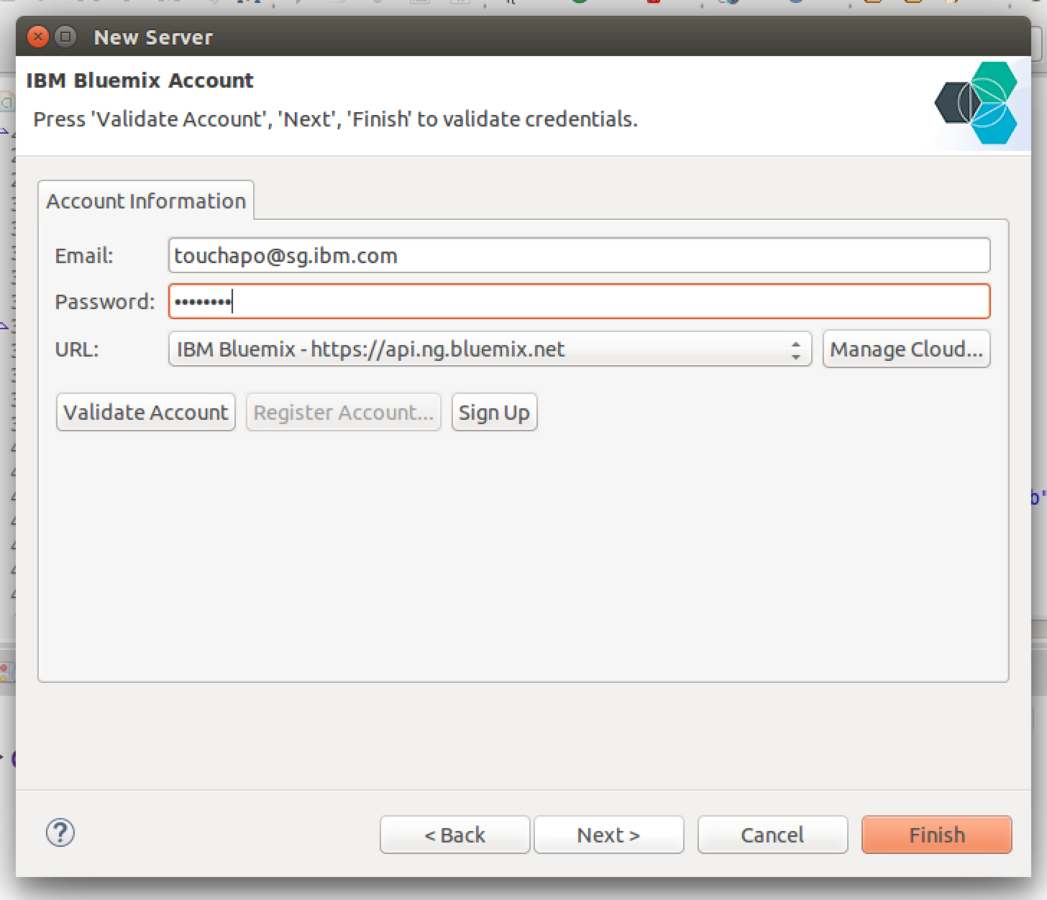
4. Enter Bluemix Credential
Setting up & Deploy
5. Select target Organization and Space
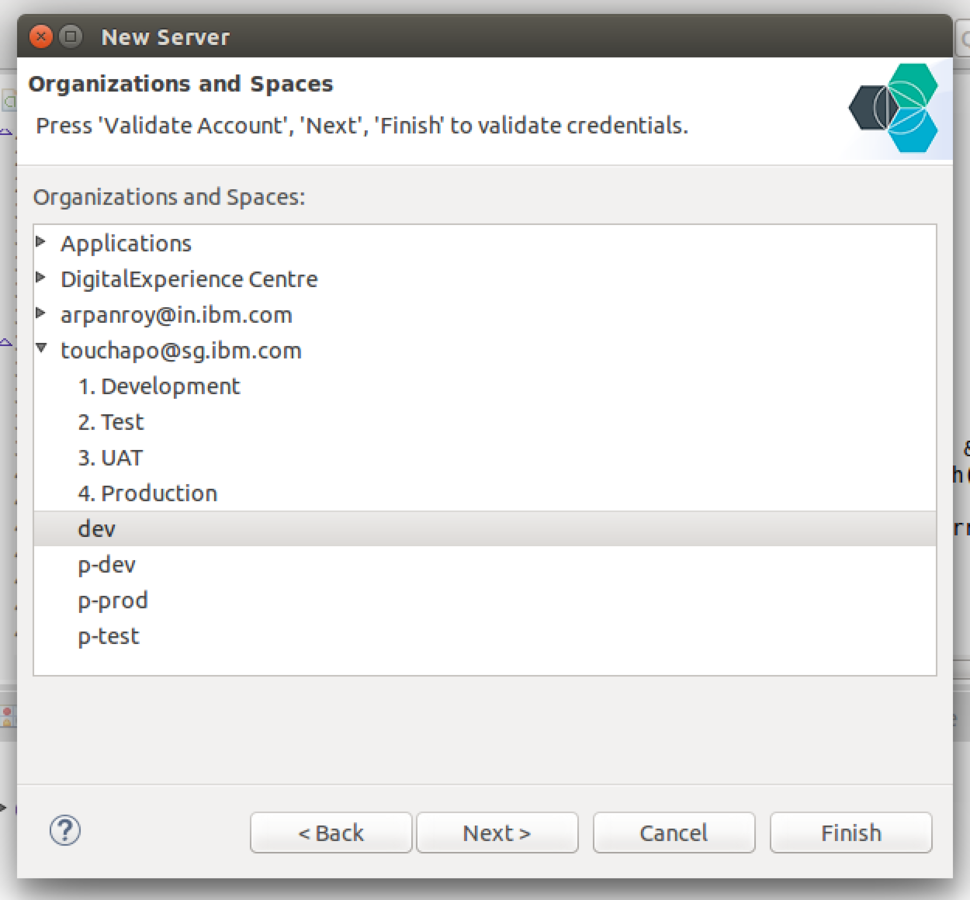
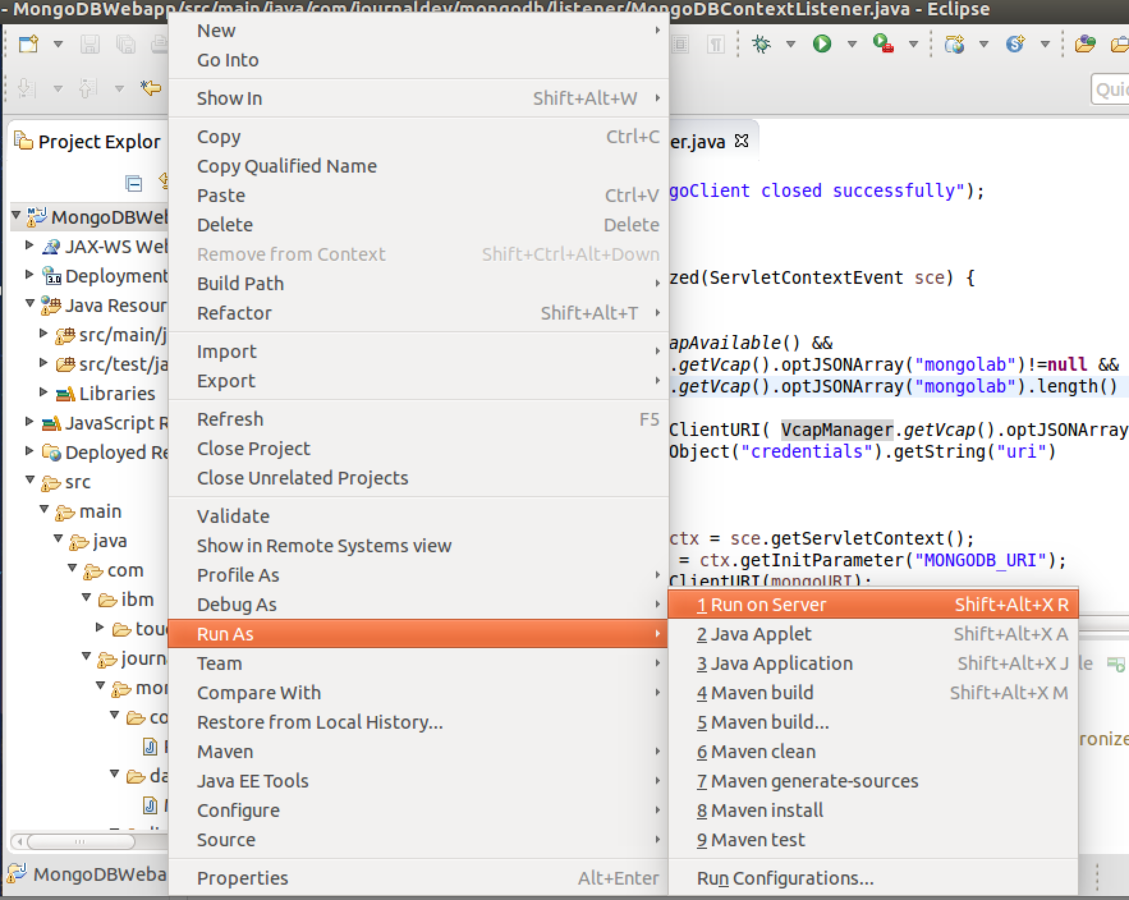
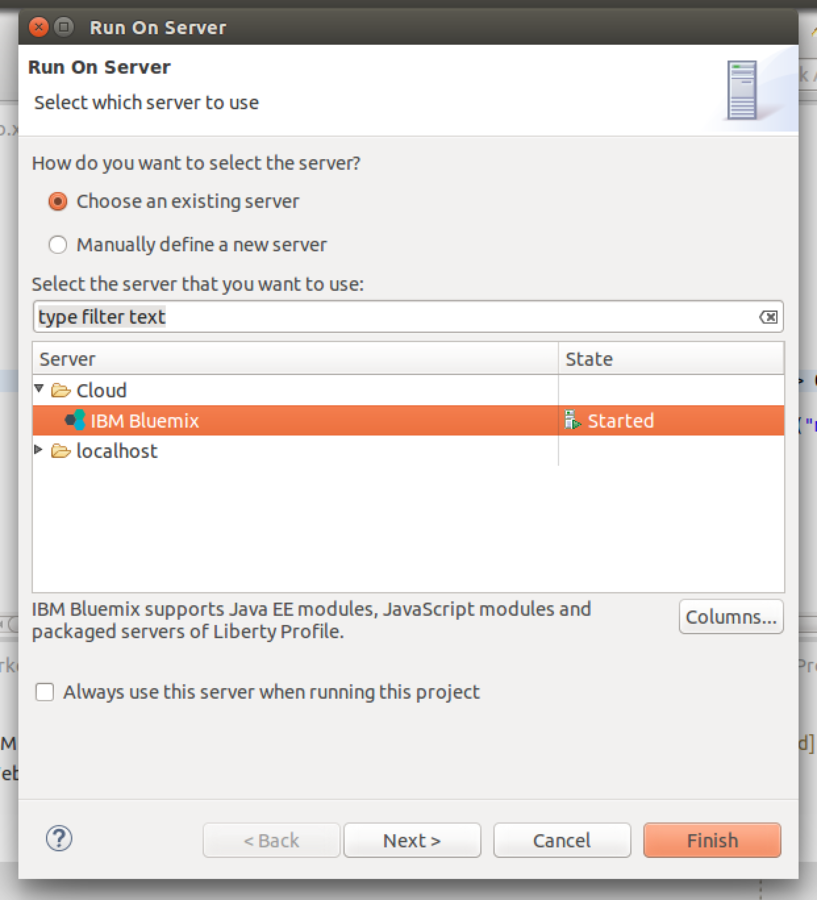
6. Run the project on server
7. Select Bluemix Server
Setting up & Deploy
8. Define Application name
9. Enter a UNIQUE
subdomain name
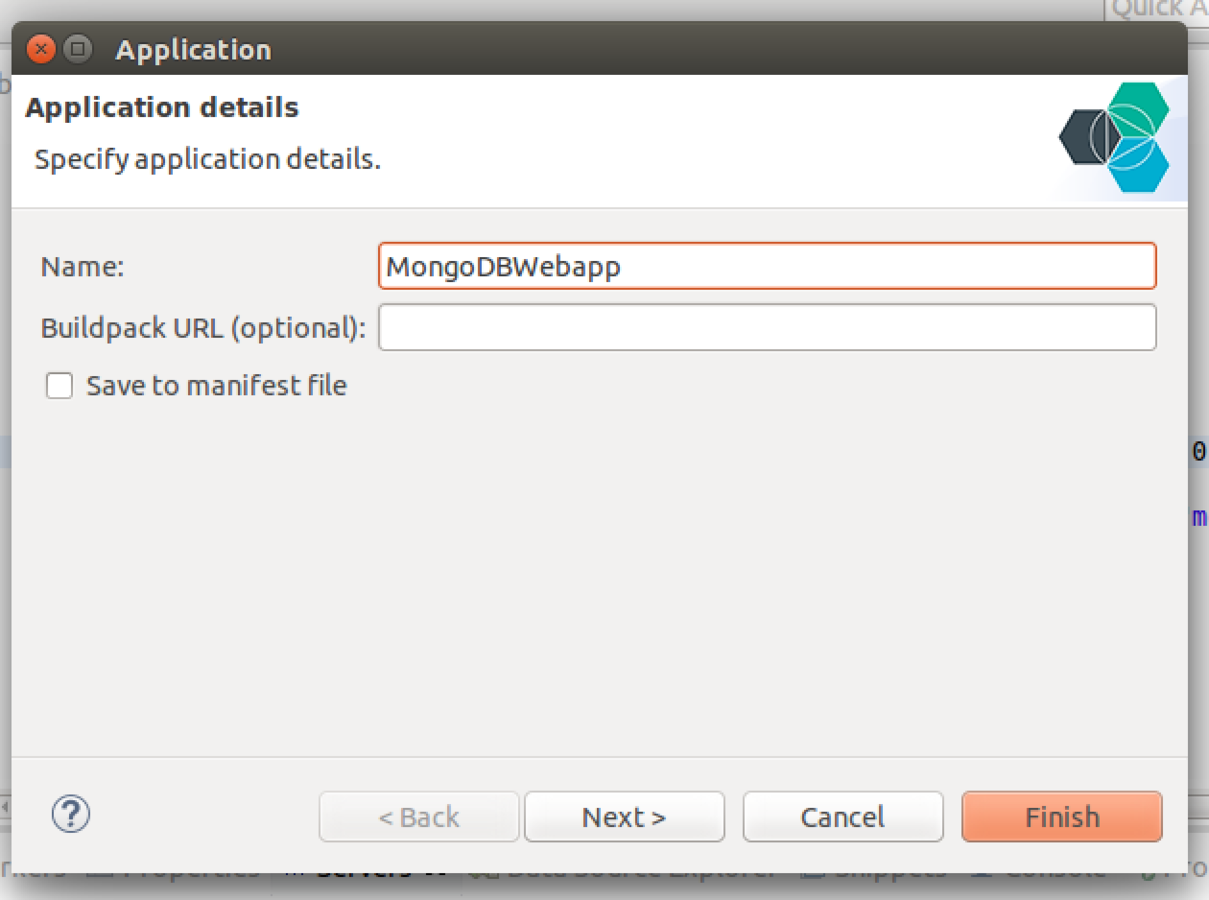
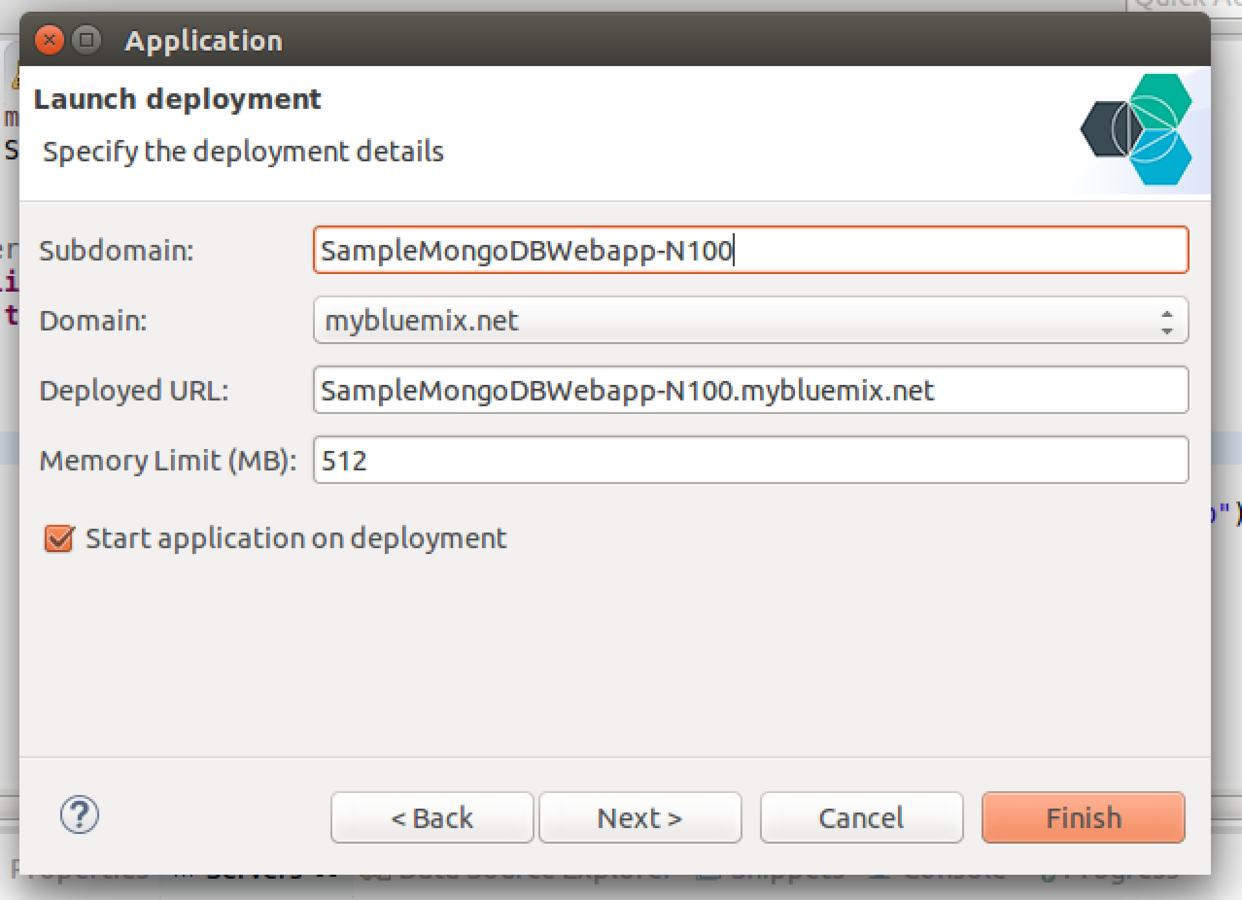
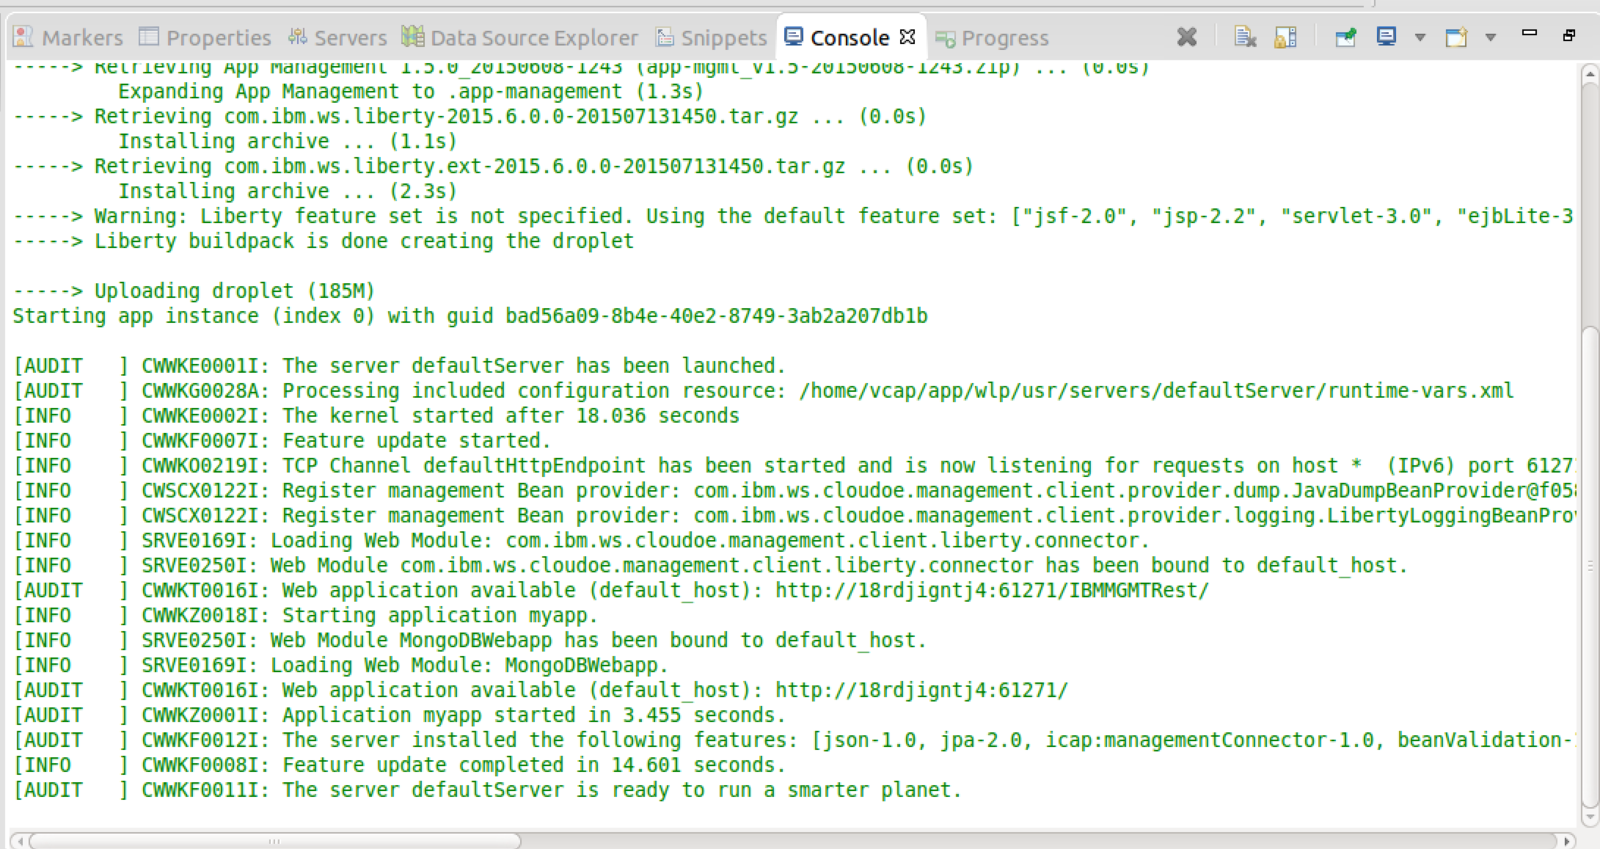
10. Your application is now
deployed onto Bluemix
Setting up & Deploy
11. Check Bluemix dashboard to see the new application running
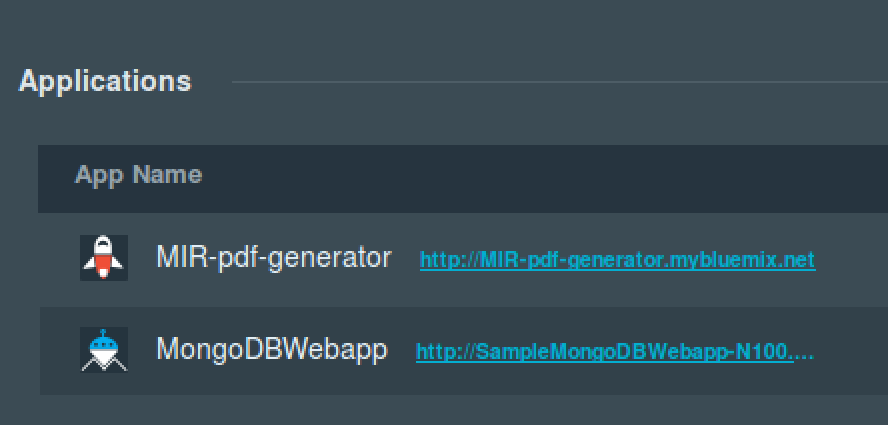
12. Click into
application to see status

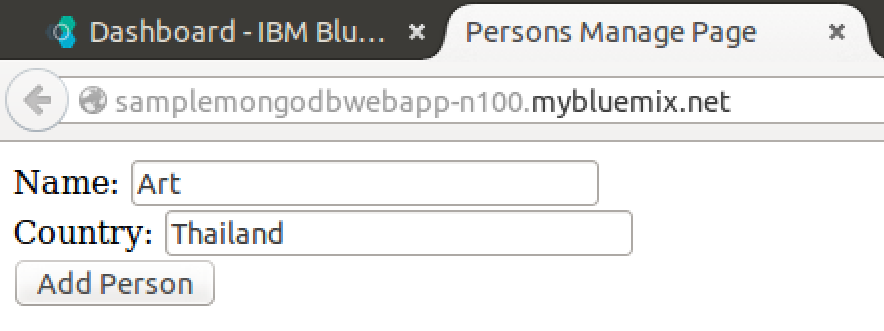
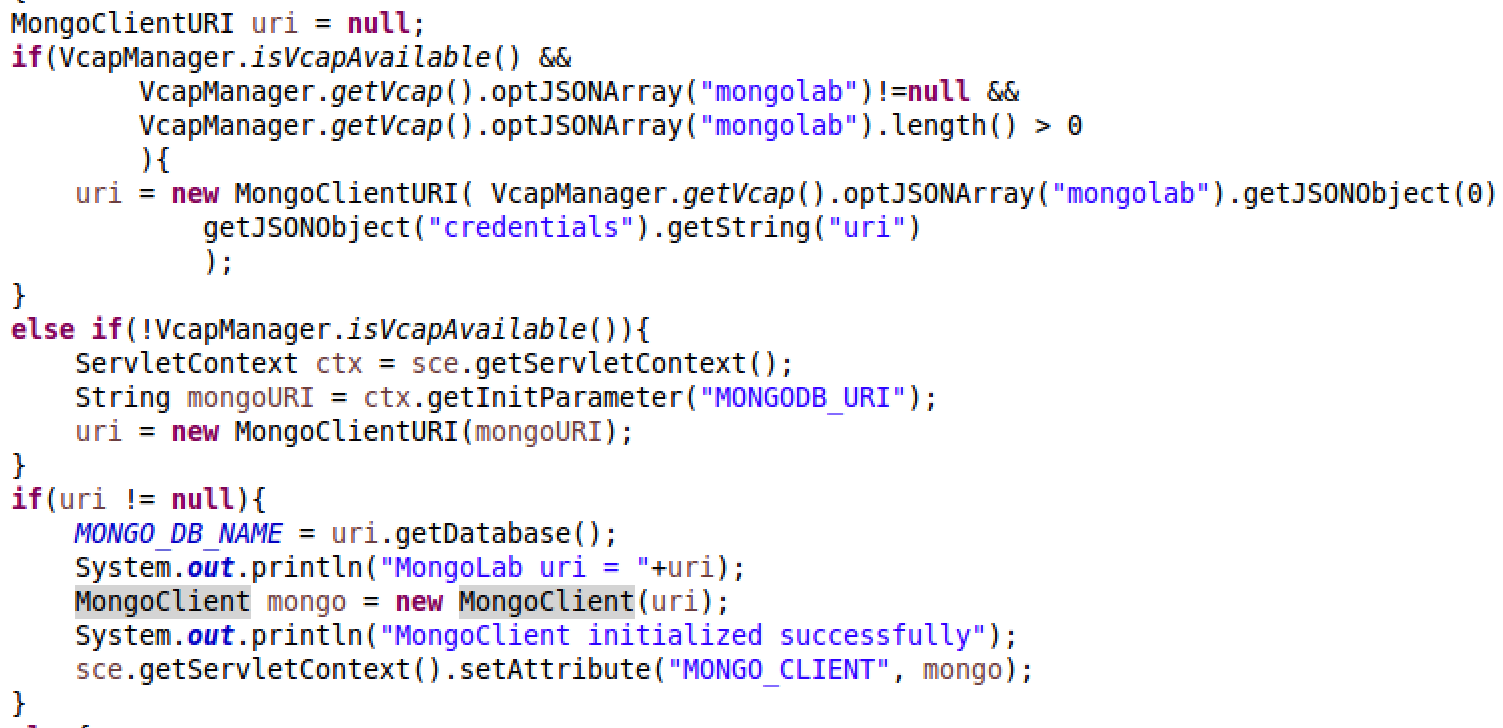
1. Add your name and
country in
Testing the service
2. The error is due to the service not being able to find a database




Adding Services
Auto Scaling
Monitoring & Analyics
Mongolab

1. Click on Add Service button
2. Add these services
3. Restage the application
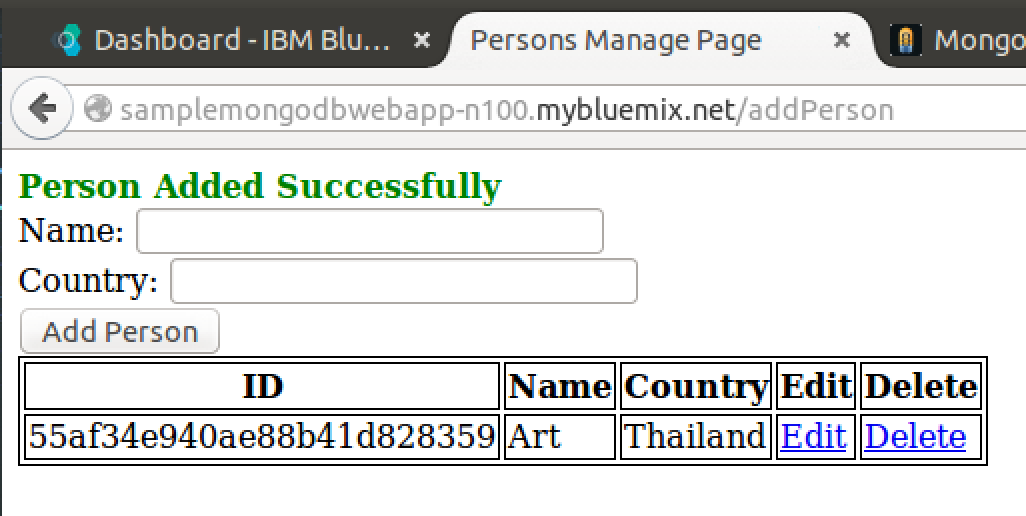
1. Add your name and
country in
Testing the service again
2. The app should now store your record into the database

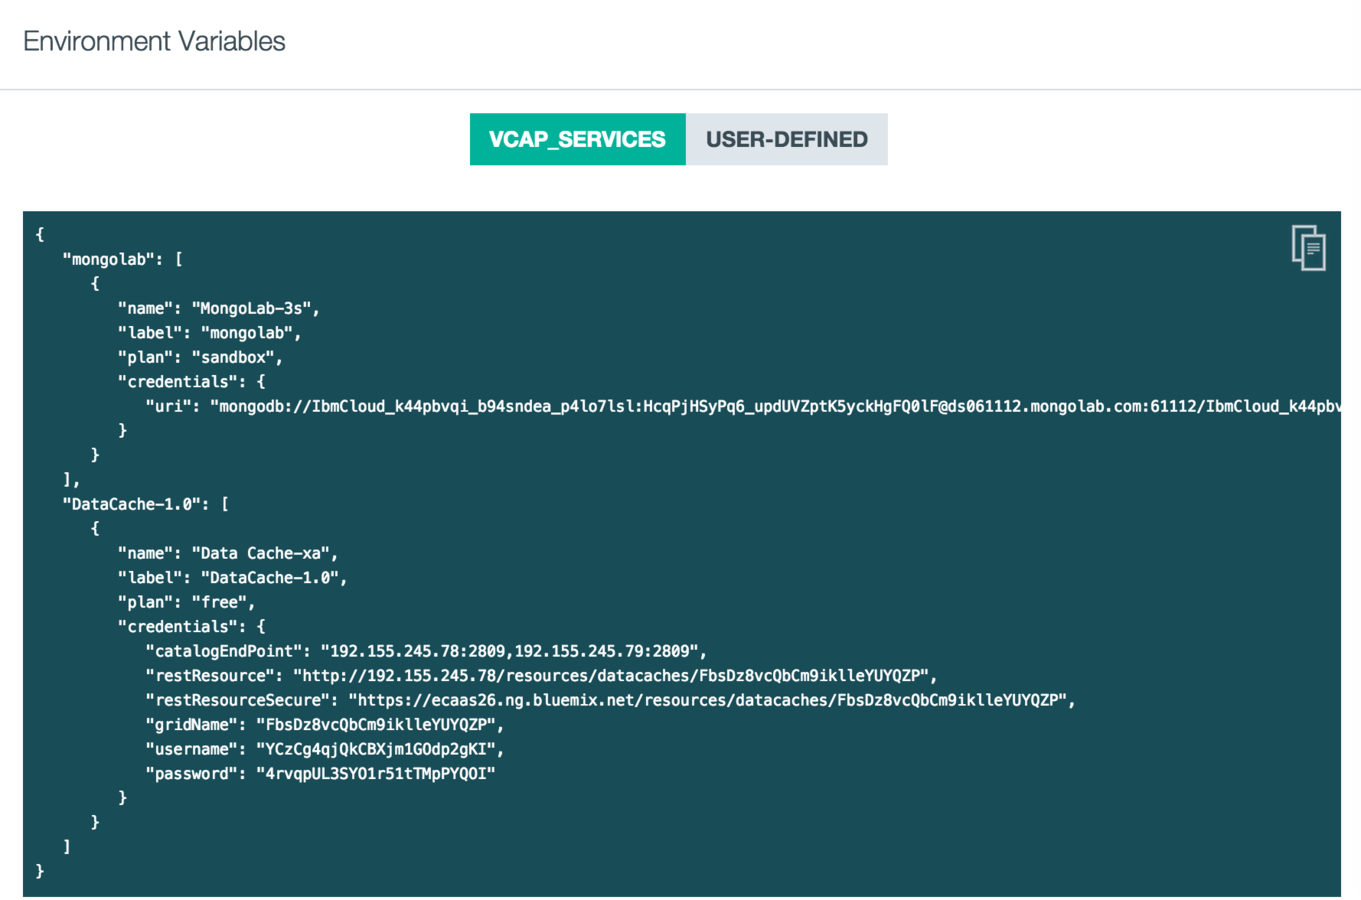
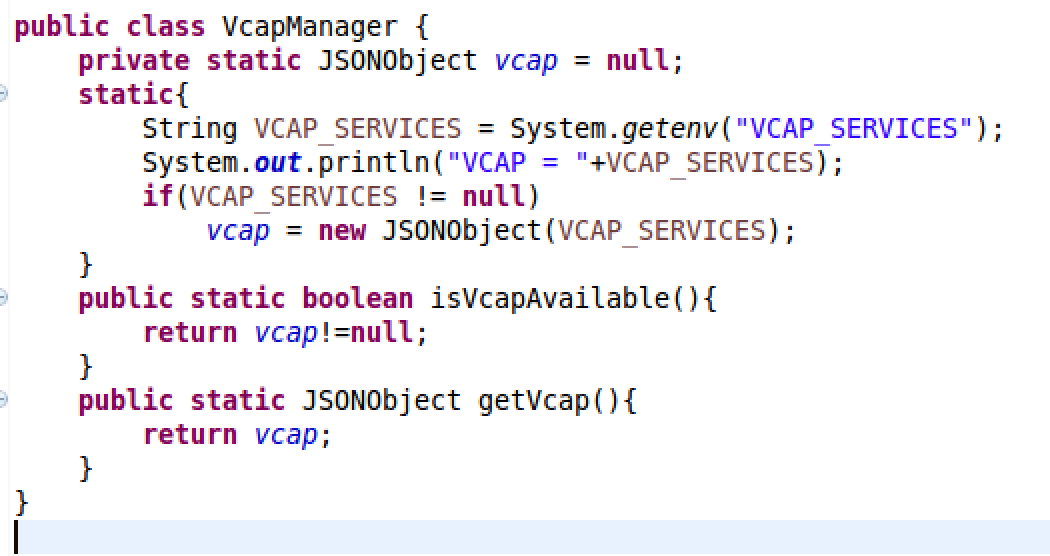
Behind the scene
Auto Scaling Services
1. Open Auto Scaling service page

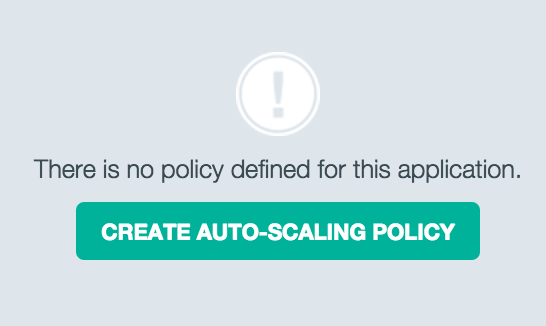
2. Create Auto Scaling policy

Monitoring & Analytics Services
1. Open Monitoring and Analytics service page
2. Availability, Monitoring and Logging tabs

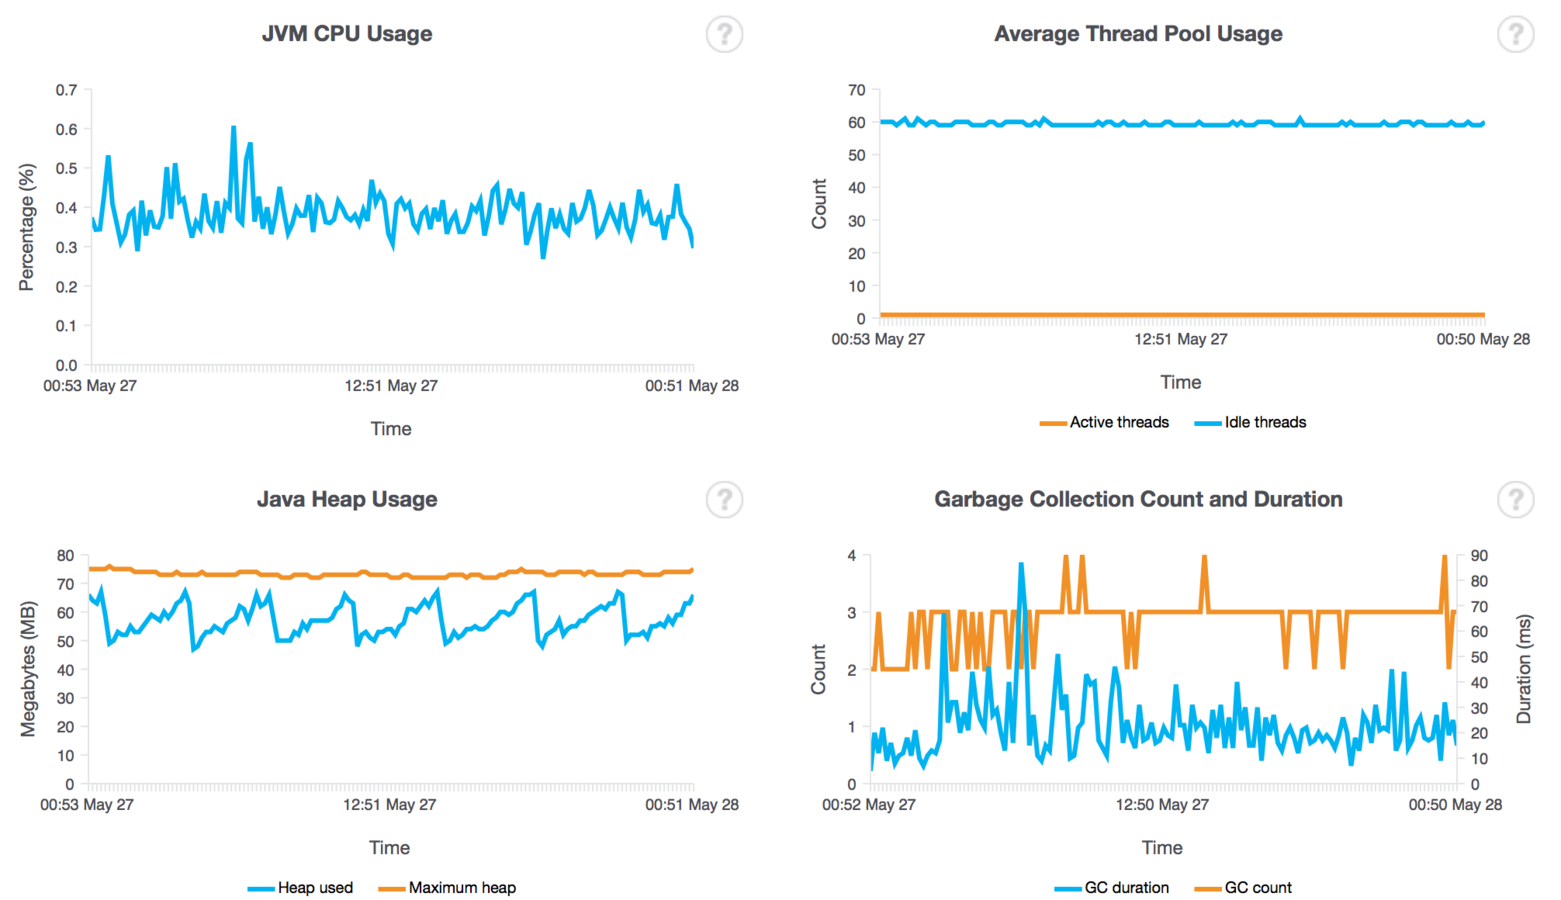
Monitoring & Analytics Services

Deploying your First Node JS App
Deploying an existing Node JS Web App

0. Install Cloudfoundry

1. Starting up Node JS Runtime


2. Adding Manifest File
applications:
- name: mysamplenodejs
  host: mysamplenodejs
  command: node app.js
3. Push using cf command line
cf push
Deploying First Containers
Deploying simple containers
and images from public repository
Starting simple containers
1. Start and echo "Hello World" from empty Ubuntu docker image
sudo docker run ubuntu:14.04 /bin/echo 'Hello world'2. Start Ubuntu in "interactive" bash mode
sudo docker run -t -i ubuntu:14.04 /bin/bash-i = "Interactive" - connect to container STDIN
-t = assign terminal
runs /bin/bash
Starting simple containers
3. Start Websphere docker image
sudo docker run -d -p 9081:9080 registry.ng.bluemix.net/ibmliberty4. Check all docker images
sudo docker images5. Check all running dockers
sudo docker ps-p <host_port>:<container_port> =
Bind container port to host port
-d = runs in background
6. Terminate running docker
sudo docker kill <docker_name OR docker_id>Building & running a new image
1. Navigate to desktop/Docker/container01 and check Dockerfile
FROM registry.ng.bluemix.net/ibmliberty
ADD FirstJavaApp.war /opt/ibm/wlp/usr/servers/defaultServer/dropins/
ENV LICENSE accept
2. Building image from Dockerfile
sudo docker build -t <your_container_name>:1.0
sudo docker images
3. Running your image
sudo docker run -d -p 9080:9080 <your_container_name>:latestDocker on Bluemix : IBM Container
1. Rename your docker image
sudo docker tag <your_container_name>:1.0 registry.ng.bluemix.net/<your_bluemix_container_repository>/<your_container_name>:1.02. Push your docker image into repository
sudo docker push registry.ng.bluemix.net/<your_bluemix_container_repository>/<your_container_name>:1.0Docker on Bluemix : IBM Container
ELK Stack Docker Image

ELK Stack Docker Image
1. Start sebp/elk docker image on local machine
sudo docker run -p 5601:5601 -i -t -d sebp/elk2. Rename the docker image
sudo docker tag sebp/elk registry.ng.bluemix.net/<your_repository>/logger_elk:1.03. Push to Bluemix
sudo docker push registry.ng.bluemix.net/<your_repository>/logger_elk:1.0ELK Stack Docker Image

Business Rules Services
Deploying ODM Business Rules on Bluemix

Cloud Integration
Integrating to On-Premise API

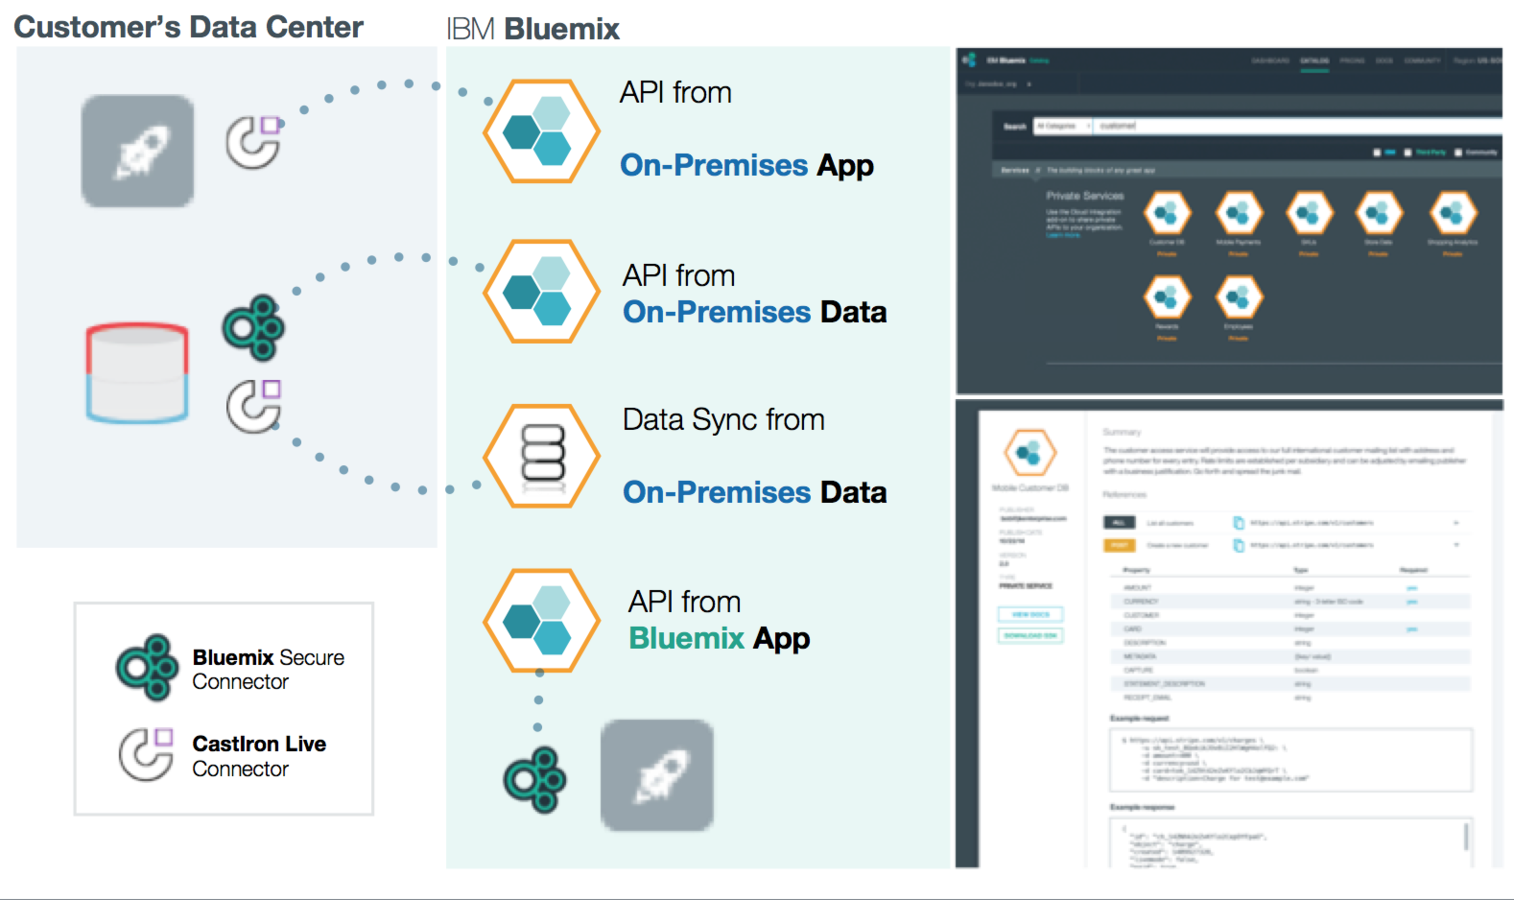
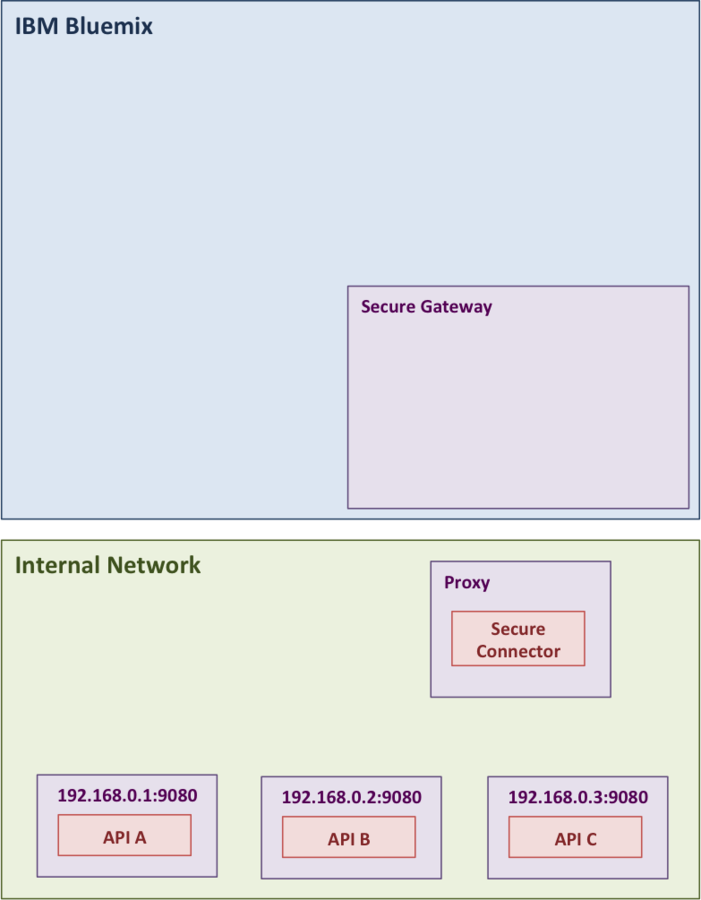
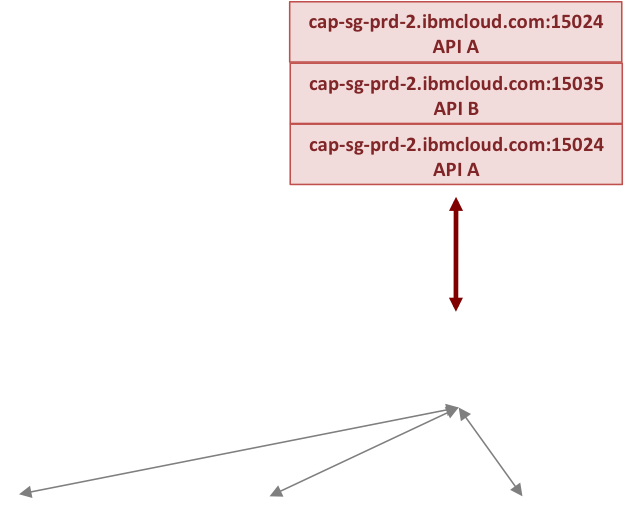
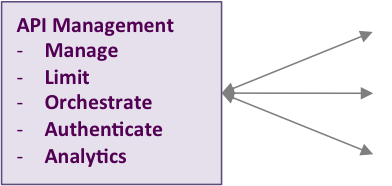
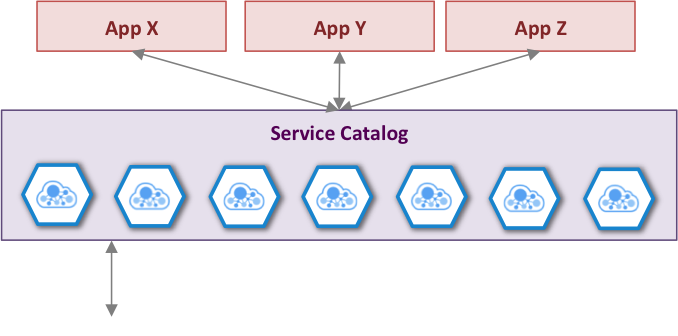
Composable Enterprise
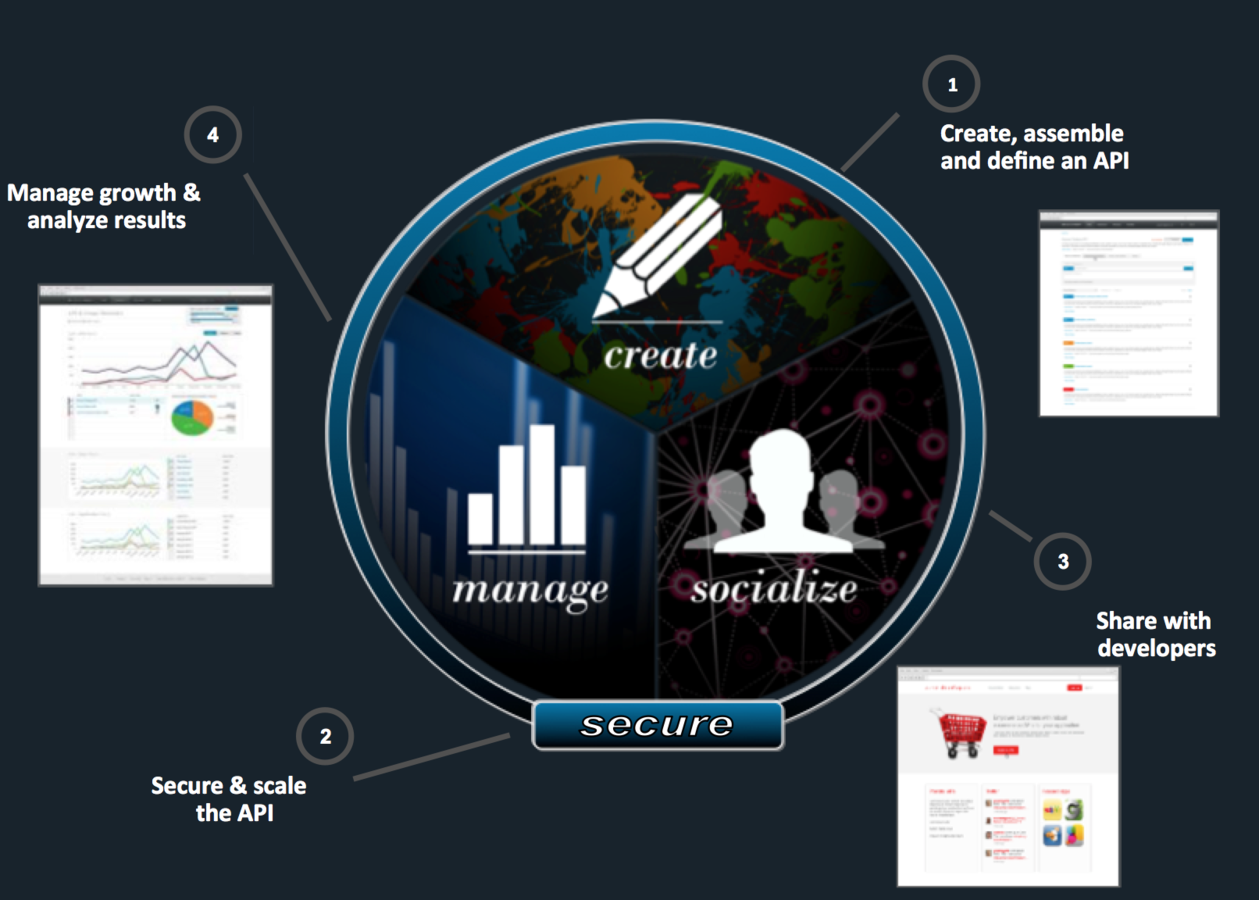
Composable Enterprise
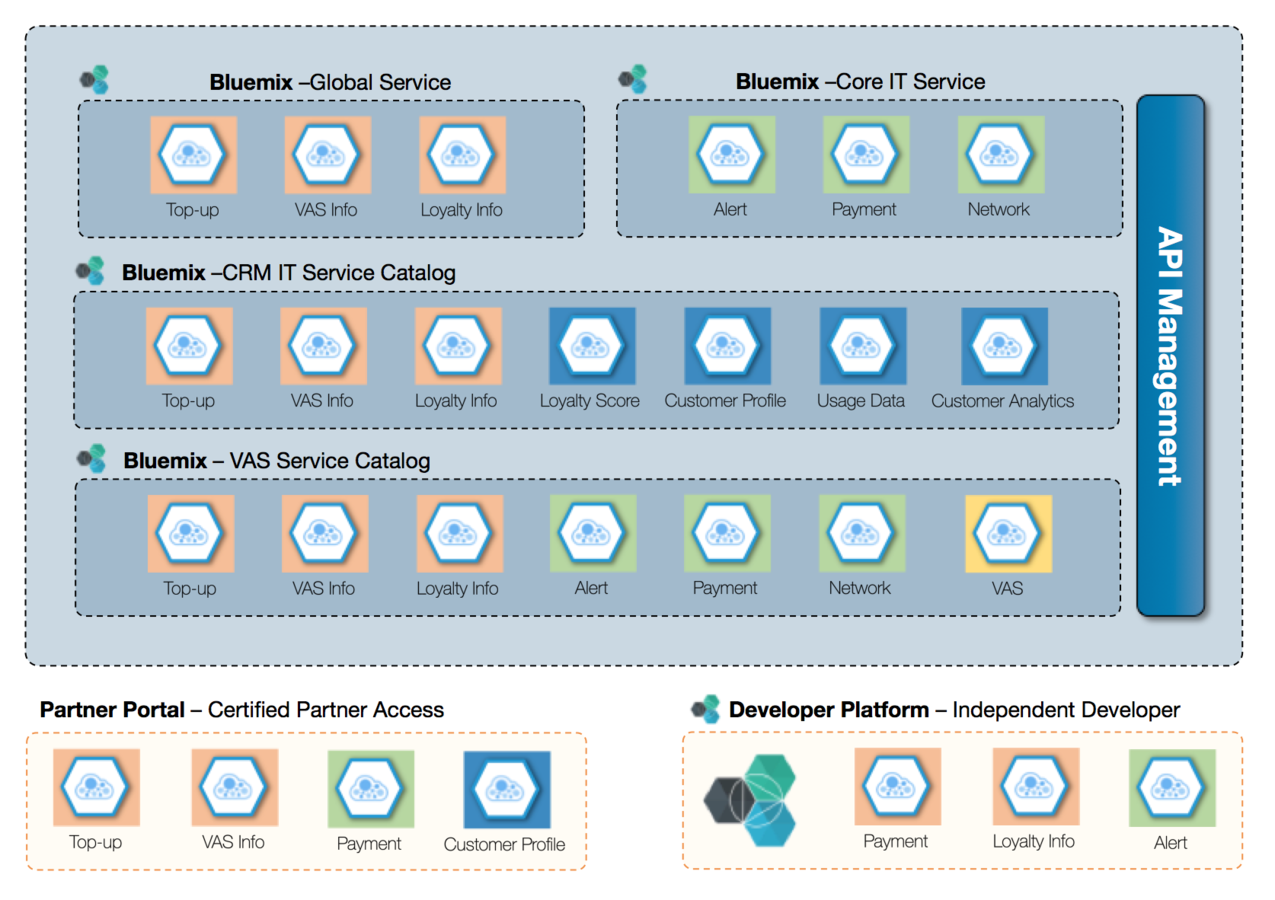
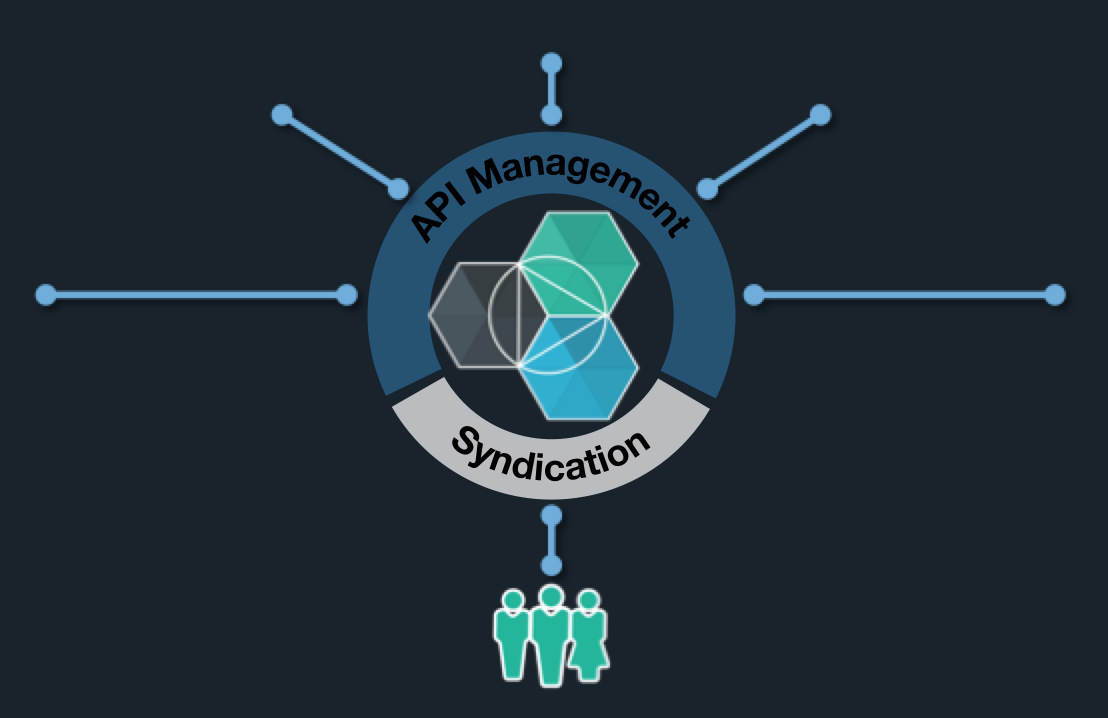
Hospital Network
Enterprise
Partner
Corporate Internal
Government Agency
Public
Establishing API Economy
Big Data
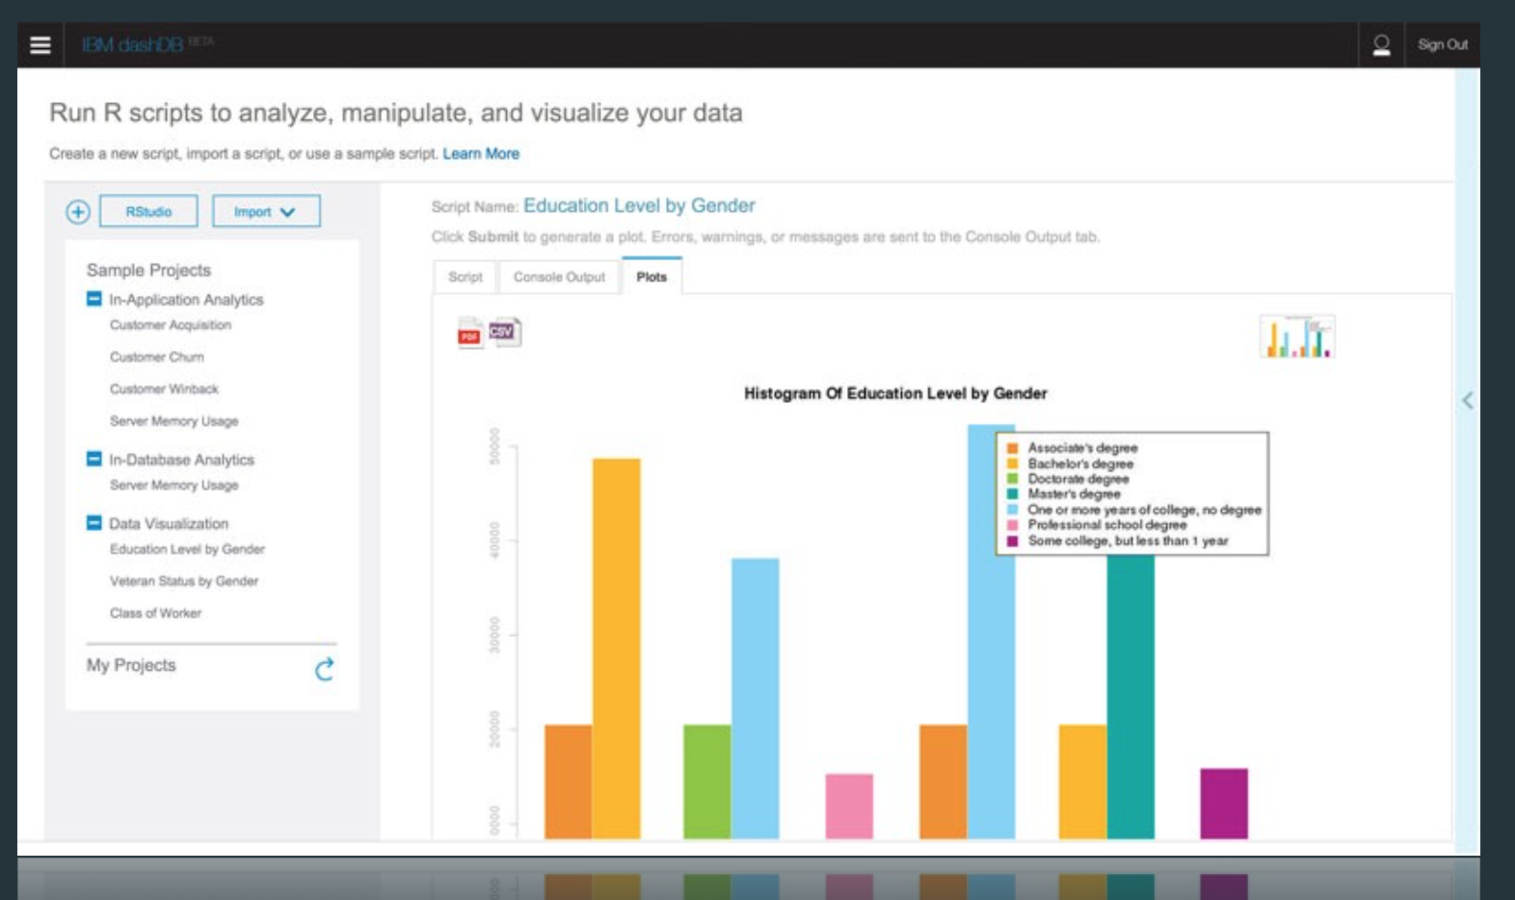
dashDB Lab
Copy of Bluemix_Workshop_v21
By Touchapon Kraisingkorn
Copy of Bluemix_Workshop_v21
- 1,558
