JBoss Fuse-
Running on JBoss EAP
Christina Lin
Before you begin....
Here are few things you will need to have:
- Installed JBoss Developer Studio with Integration plugins
- Download JBoss EAP 6.4.0 jar installer
- jboss-eap-6.4.0-installer.jar
- Download JBoss Fuse EAP patch
- fuse-eap-installer-6.2.1.redhat-xxx.jar

Setup local maven repositories
- Go to your ~/.m2/settings.xml, add the following repositories.
<profiles>
<profile>
<id>jboss-repos</id>
<repositories>
<repository>
<id>jboss-ga-repository</id>
<url>http://maven.repository.redhat.com/techpreview/all</url>
<releases>
<enabled>true</enabled>
</releases>
<snapshots>
<enabled>false</enabled>
</snapshots>
</repository>

Setup local maven repositories
- Continued...
<repository>
<id>jboss-earlyaccess-repository</id>
<url>http://maven.repository.redhat.com/earlyaccess/all/</url>
<releases>
<enabled>true</enabled>
</releases>
<snapshots>
<enabled>false</enabled>
</snapshots>
</repository>
</repositories>

Setup local maven repositories
- Continued...
<pluginRepositories>
<pluginRepository>
<id>jboss-earlyaccess-plugin-repository</id>
<url>http://maven.repository.redhat.com/earlyaccess/all/</url>
<releases>
<enabled>true</enabled>
</releases>
<snapshots>
<enabled>false</enabled>
</snapshots>
</pluginRepository>

Setup local maven repositories
- Continued...
<pluginRepository>
<id>jboss-ga-plugin-repository</id>
<url>http://maven.repository.redhat.com/techpreview/all</url>
<releases>
<enabled>true</enabled>
</releases>
<snapshots>
<enabled>false</enabled>
</snapshots>
</pluginRepository>
</pluginRepositories>
</profile>

Setup local maven repositories
- Continued...
<profile>
<id>fuse-repos</id>
<repositories>
<repository>
<id>fusesource-release-repository</id>
<url>https://repo.fusesource.com/nexus/content/groups/public/</url>
<snapshots>
<enabled>false</enabled>
</snapshots>
<releases>
<enabled>true</enabled>
</releases>
</repository>

Setup local maven repositories
- Continued...
<repository>
<id>fusesource-earlyaccess-repository</id>
<url>https://repo.fusesource.com/nexus/content/groups/ea</url>
<snapshots>
<enabled>false</enabled>
</snapshots>
<releases>
<enabled>true</enabled>
</releases>
</repository>
</repositories>

Setup local maven repositories
- Continued...
<pluginRepositories>
<pluginRepository>
<id>fusesource-release-plugin-repository</id>
<url>https://repo.fusesource.com/nexus/content/groups/public/</url>
<releases>
<enabled>true</enabled>
</releases>
<snapshots>
<enabled>false</enabled>
</snapshots>
</pluginRepository>

Setup local maven repositories
- Continued...
<pluginRepository>
<id>fusesource-earlyaccess-plugin-repository</id>
<url>https://repo.fusesource.com/nexus/content/groups/ea</url>
<releases>
<enabled>true</enabled>
</releases>
<snapshots>
<enabled>false</enabled>
</snapshots>
</pluginRepository>
</pluginRepositories>
</profile>
</profiles>

Setup local maven repositories
- Continued...
<activeProfiles>
<activeProfile>jboss-repos</activeProfile>
<activeProfile>fuse-repos</activeProfile>
</activeProfiles>

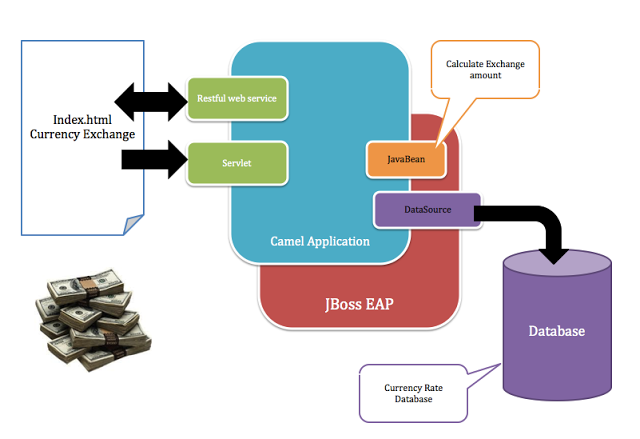
Currency Exchange Application

Setup JBoss EAP
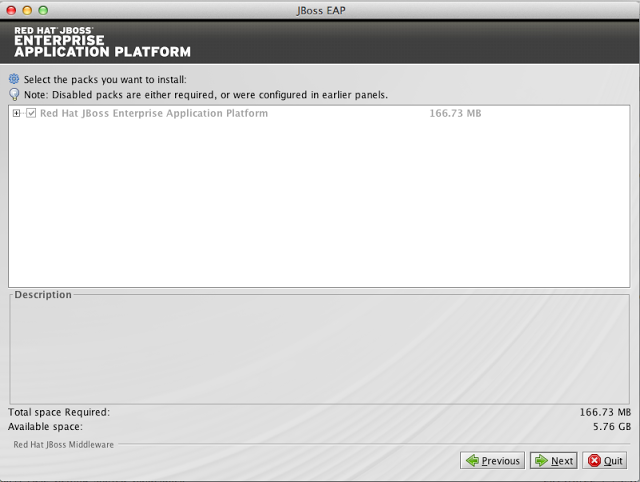
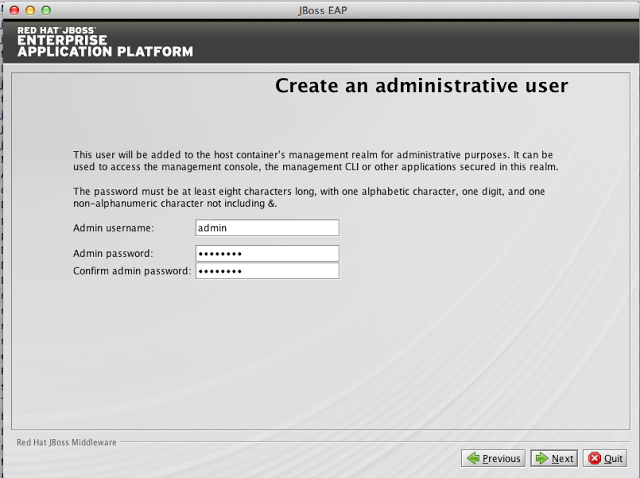
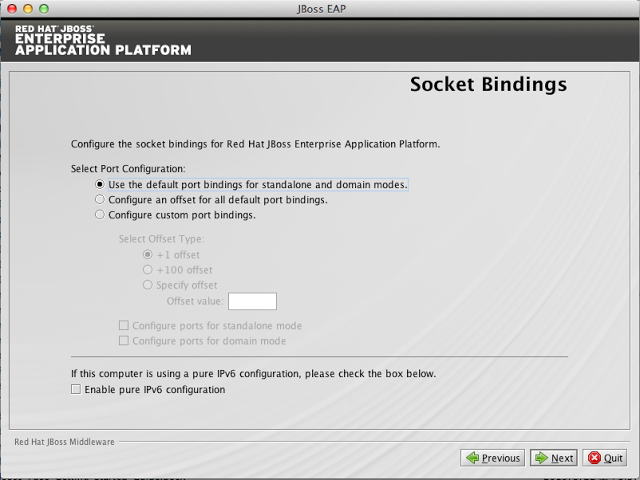
Run jboss-eap-6.4.0-installer.jar to start install JBoss EAP
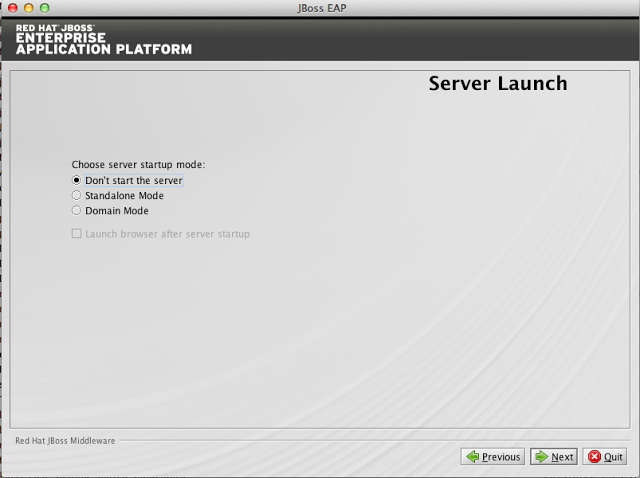

Install Fuse in EAP
Run fuse-eap-installer-6.2.1.redhat-xxx.jar to start setup Fuse libraries and configuration in EAP
java -jar fuse-eap-installer-6.2.1.redhat-xxx.jar your_eap_installpath
And your EAP is now ready!
Start the EAP by running to eap_installpath/bin/standalone.sh

Setup DataSource
- Copy the H2 database file fuseoneap.h2.db to ~/h2
- Logon to JBoss EAP admin console http://localhost:9990 using the password you set from previous steps
- Go to Configuration, select Connector and then to datasources.
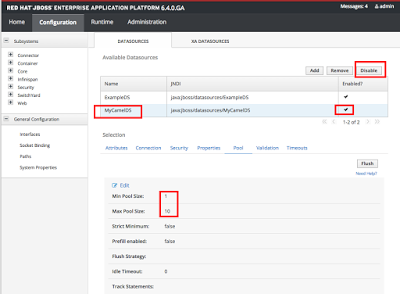
- Name :MyCamelDS
- JNDI Name: java:jboss/datasources/MyCamelDS
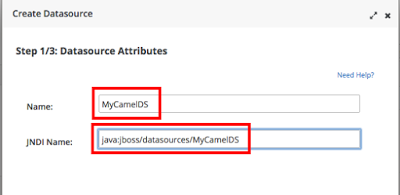

Setup DataSource
-
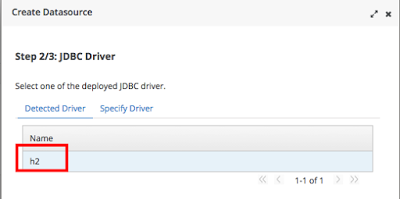
Select H2 as JDBC driver for this datasource
-
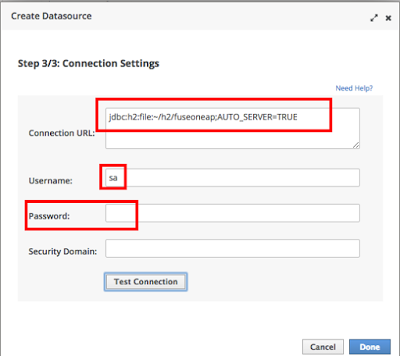
Enter
-
Connection URL: jdbc:h2:file:~/h2/fuseoneap;AUTO_SERVER=TRUE
-
Username: sa
-
Password:
-

Setup DataSource
-
Change the min and max pool size to 1 and 10. And then enable the MyCamelDS datasource.

Start Developing!
-
In JBoss Developer Studio, create an new maven project
-
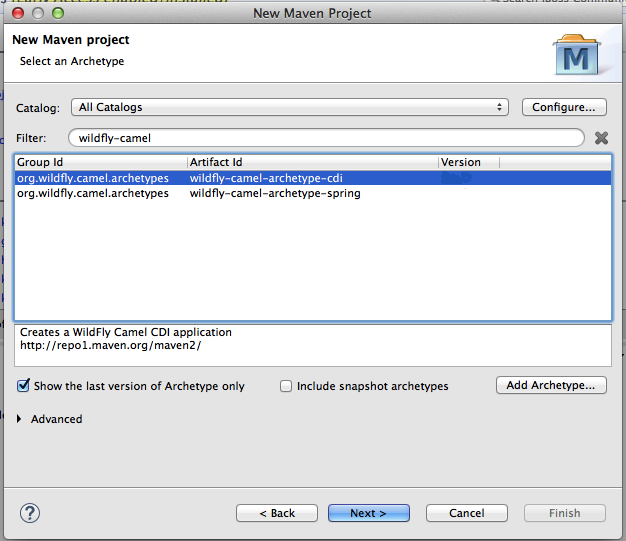
Select wildfly-camel-archetype-cdi
-
Uncheck "Show the last version on Archetype only" checkbox and select version 2.3.0-redhat-621084
-
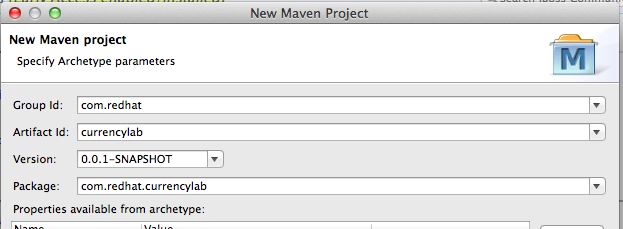
Group Id: com.redhat
-
Artifact Id: currencylab

Delete the unwanted
-
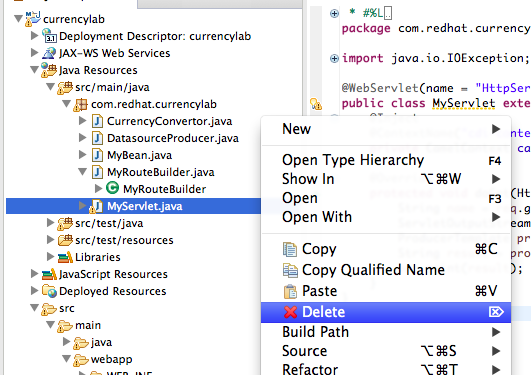
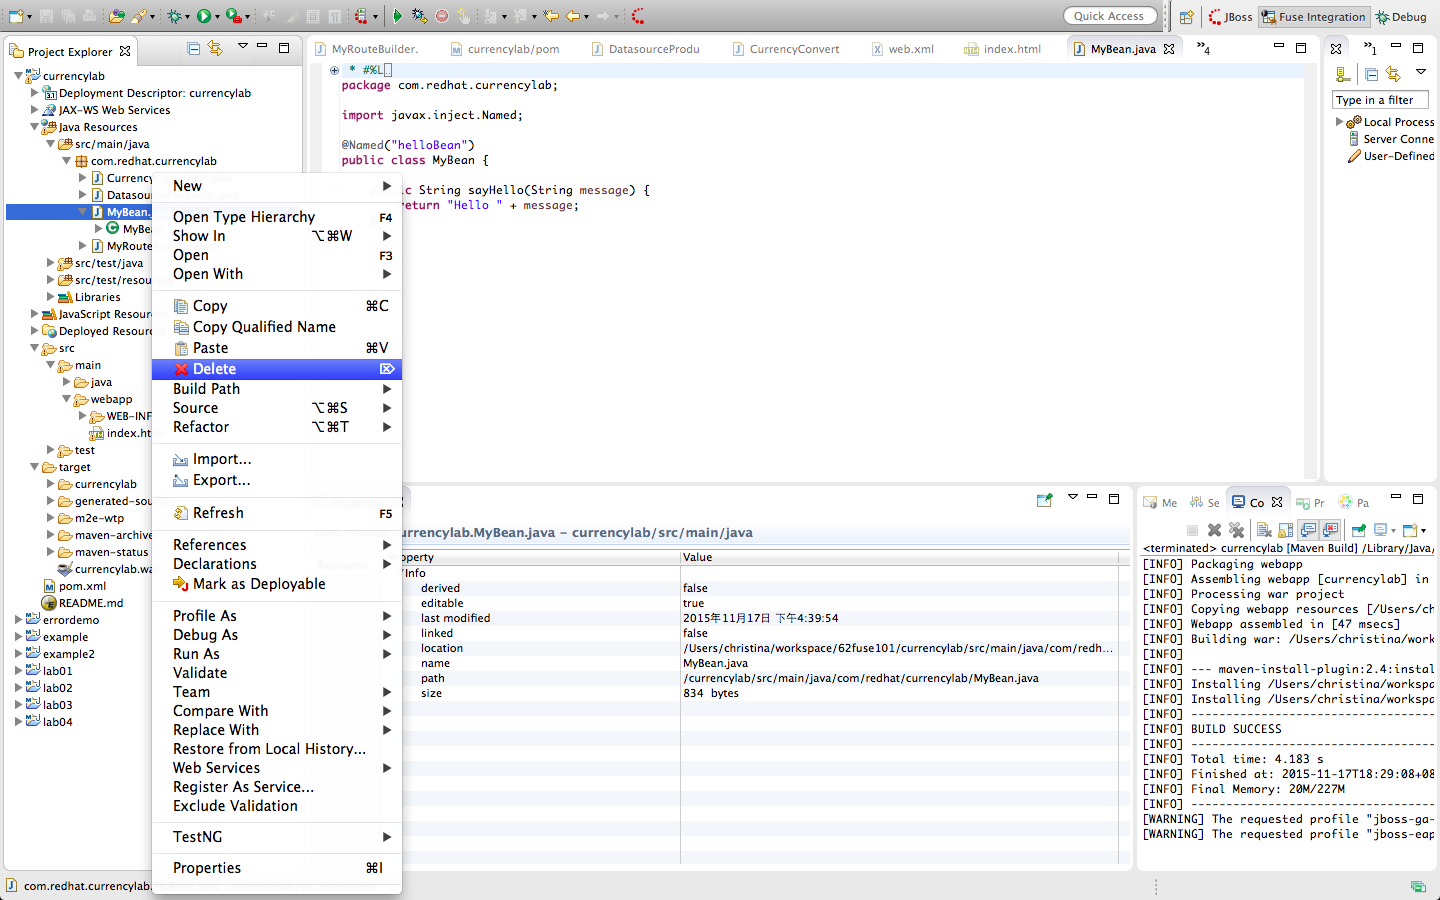
Delete two java files under com.redhat.currencylab
-
MyServlet.java
-
MyBean.java
-

Producer
-
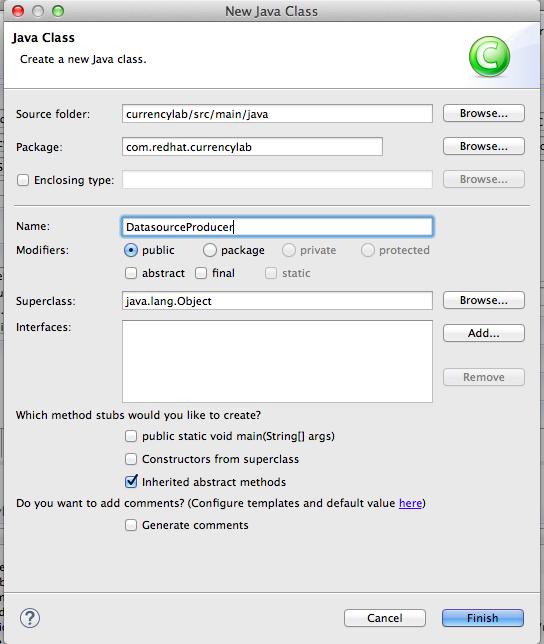
Create a Producer class that lookup the JNDI resource and register it in CDI context
-
DatasourceProducer
-
- Enter following settings.
public class DatasourceProducer {
  @Resource(lookup= "java:jboss/datasources/MyCamelDS")
  DataSource dataSource;
  @Produces
  @Named("MyCamelDS")
  public DataSource getDataSource() {
    return dataSource;
  }
}

Data Access Route
-
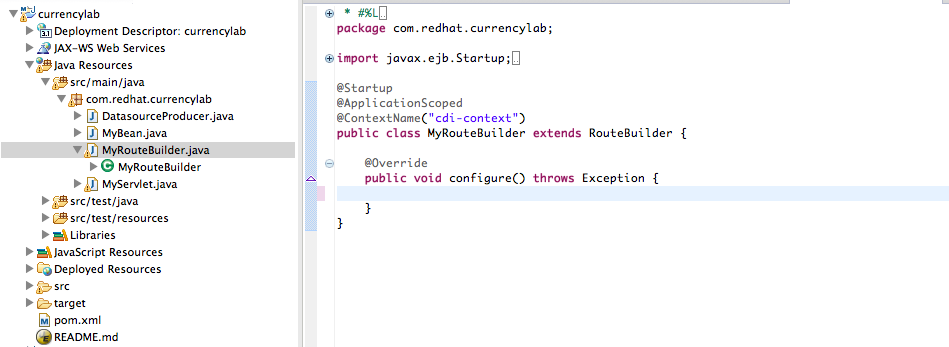
Go to MyRouteBuilder.java under com.redhat.currencylab
from("direct:getCurrencies").routeId("allcurrencies")
  .to("sql:select * from currencyexchange?dataSource=MyCamelDS")
  .marshal()
  .json(JsonLibrary.Jackson);
- Enter following route in configure method

Currency Convertor Bean
-
Create Java Bean class that does the actual calculation of currency.
-
CurrencyConvertor
-
-
Enter the following content to bean
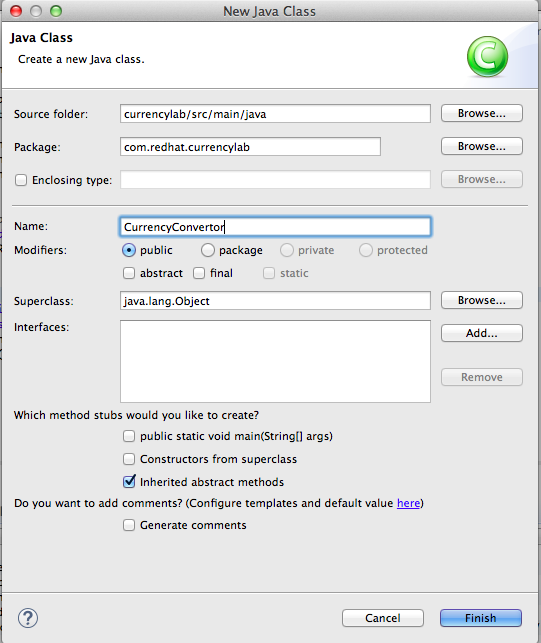
@Named("currencyconvertor")
  public class CurrencyConvertor {
    public double convertUSD(double amt, ArrayList<Map<String, Object>> data){
      Double rate = (Double)data.get(0).get("rate");
      return amt*rate;
    }
  }

Currency Convertor Route
-
Go to MyRouteBuilder.java under com.redhat.currencylab
- Enter following route in configure method
from("direct:getCurrency").routeId("covertcurrency")
  .log("Got currency: ${headers.amt} and amt${headers.currency} ")
  .choice()
    .when()
      .header("currency")
      .to("sql:select * from currencyexchange where currencycode = :#currency?dataSource=MyCamelDS")
      .log("exchange rate ====> ${body[0][rate]}")
      .to("bean:currencyconvertor?method=convertUSD(${headers.amt},${body})")
  .otherwise()
    .log("nothing to lookup")
     .transform().constant("nothing to lookup");

Setup Web Endpoint
-
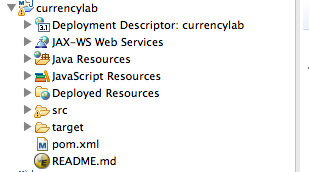
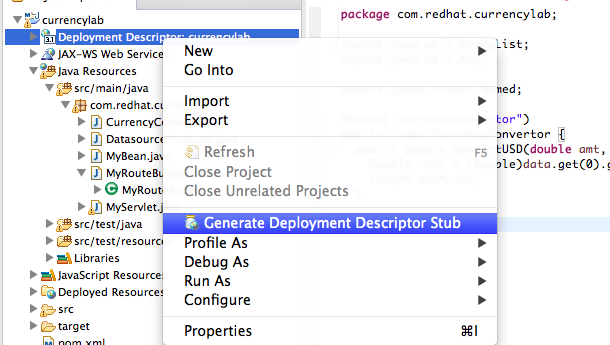
Generate web.xml by right click on Deployment Descriptor -> Generate Deployment Descriptor Stub
-
Add following servlet setting in the web.xml file.
 <servlet>
    <servlet-name>camel</servlet-name>
    <servlet-class>org.apache.camel.component.servlet.CamelHttpTransportServlet</servlet-class>
    <load-on-startup>1</load-on-startup>
  </servlet>
  <servlet-mapping>
    <servlet-name>camel</servlet-name>
    <url-pattern>/services/*</url-pattern>
  </servlet-mapping>

Servlet Endpoint Route
-
Go to MyRouteBuilder.java under com.redhat.currencylab
- Enter following route in configure method
from("servlet:///currencies?servletName=camel&matchOnUriPrefix=true")
  .routeId("servletCurrencies")
  .to("direct:getCurrencies");

from("servlet:///currency?servletName=camel&matchOnUriPrefix=true")
  .routeId("servletCurrency")
  .to("direct:getCurrency");

Restful Endpoint Route
-
In MyRouteBuilder.java under com.redhat.currencylab
- Enter following route in configure method
  restConfiguration().component("servlet")
      .contextPath("/camel").port(8080).bindingMode(RestBindingMode.json);
  rest("/currenciesrest")
      .get()
      .produces(MediaType.APPLICATION_JSON)
      .to("direct:getCurrencies");
 <dependency>
   <groupId>org.jboss.spec.javax.ws.rs</groupId>
   <artifactId>jboss-jaxrs-api_1.1_spec</artifactId>
   <scope>provided</scope>
</dependency>
- Add the dependency in
pom.xml

Display Page
-
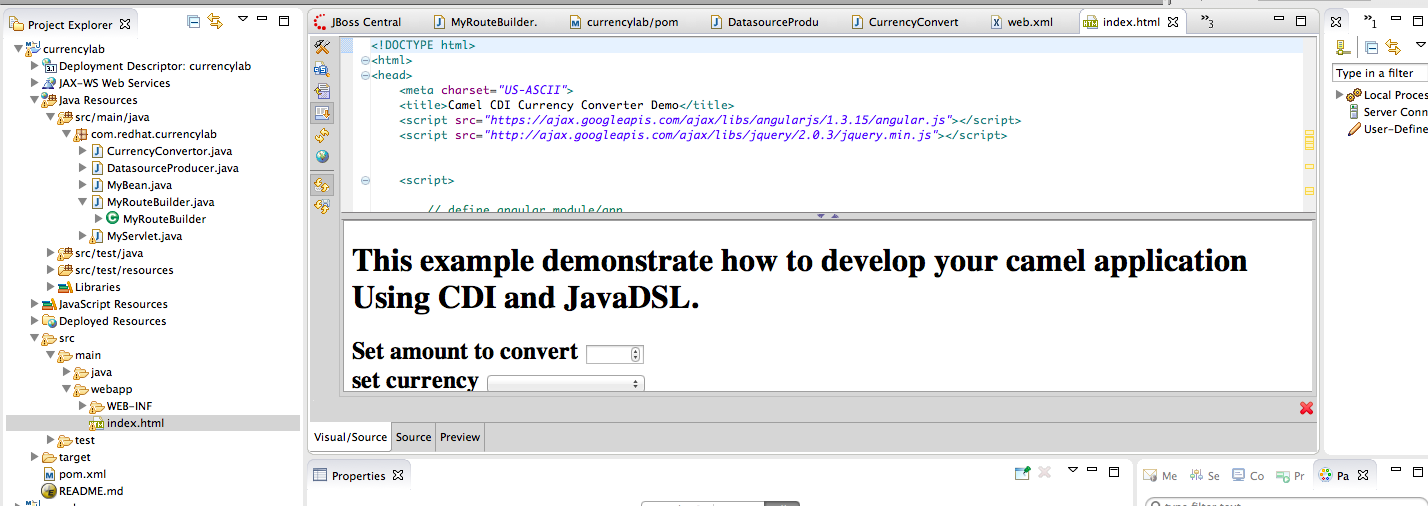
Add index.html under webapp folder
-
Download the web file
-
Build Fuse Application
-
Build Fuse Application by right click on application, Run As, Maven Build
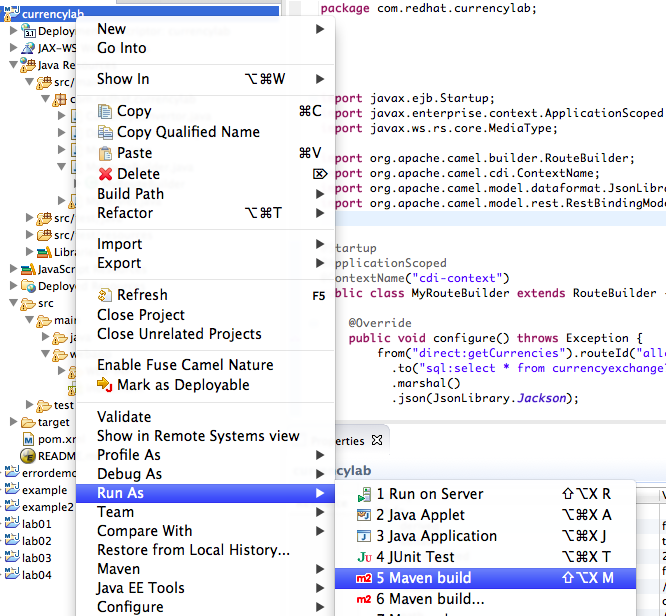
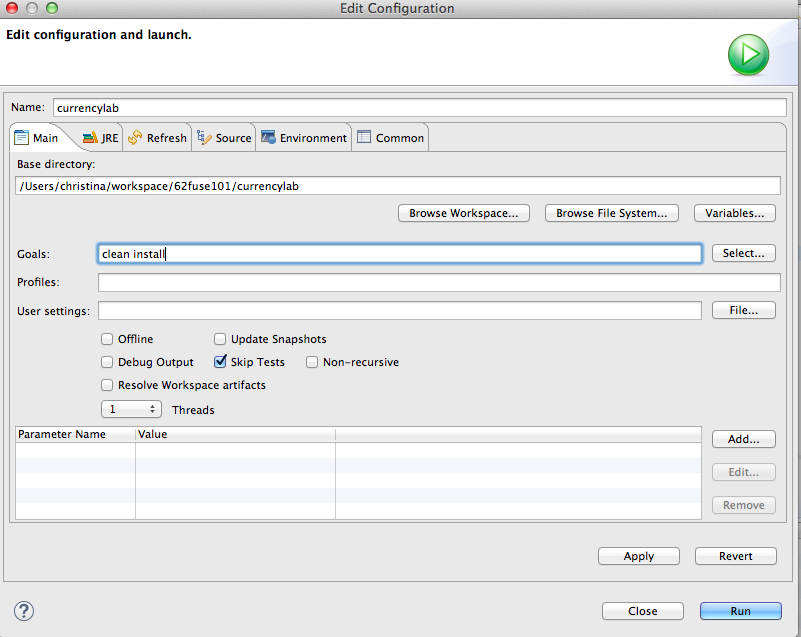
- Enter clean install
- If everything goes well, you will find a application package currencylab.war under target folder
Deploying Application
-
Logon to EAP admin console. http://localhost:9990 under runtime, click on "add" button, to add the war file to deploy
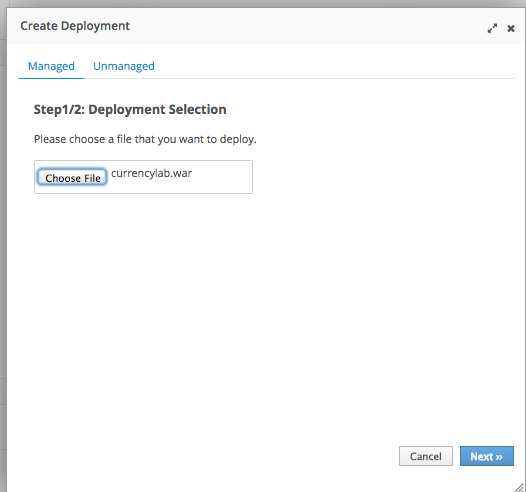
-
Enable the application by clicking on En/Disable button
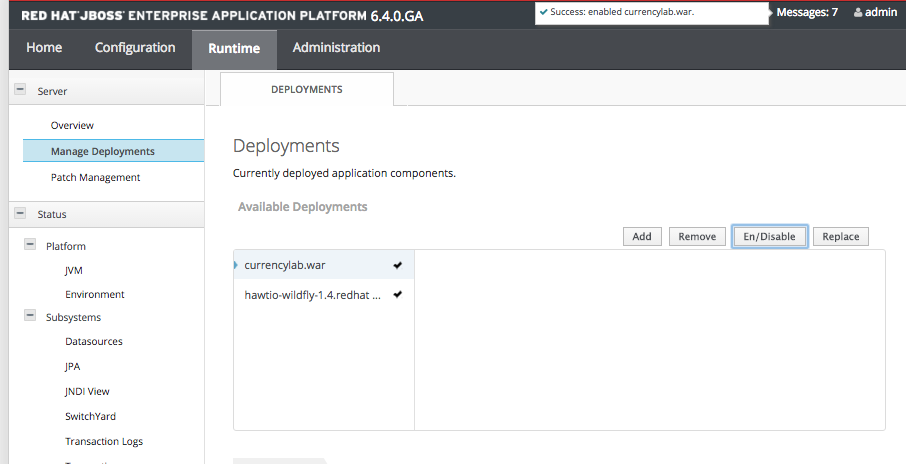
The Currency App
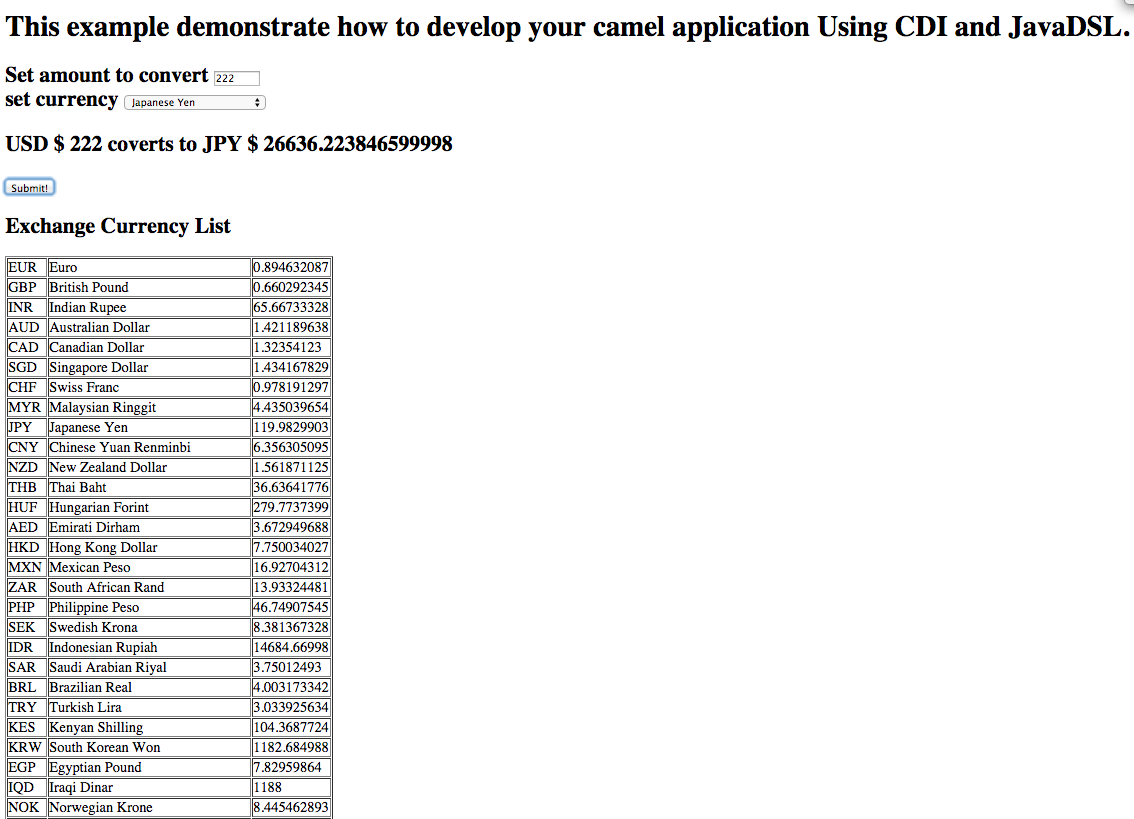
Fuse on EAP Lab
By weimeilin
Fuse on EAP Lab
- 6,749


