Missing Android
Material Components
Dmytro Danylyk
Timee GmbH.

What we have in AppCompat v7?
What we have in design spec?
Ingredients
Typography
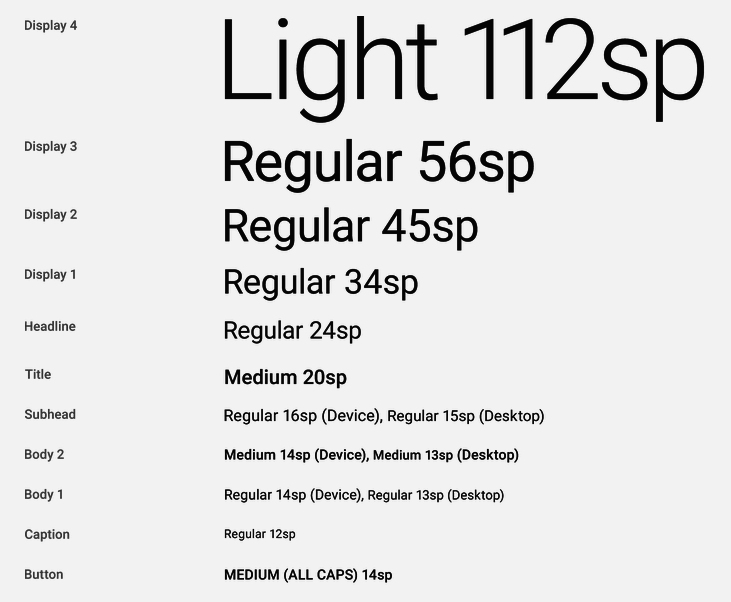
Recipe
<style name="Base.TextAppearance.AppCompat.Body1">
    <item name="android:textSize">@dimen/abc_text_size_body_1_material</item>
    <item name="android:textColor">?android:textColorPrimary</item>
</style>

<style name="Base.TextAppearance.AppCompat.Caption">
    <item name="android:textSize">@dimen/abc_text_size_caption_material</item>
    <item name="android:textColor">?android:textColorSecondary</item>
</style>

...

<style name="Base.TextAppearance.AppCompat.Button">
    <item name="android:textSize">@dimen/abc_text_size_button_material</item>
    <item name="textAllCaps">true</item>
    <item name="android:textColor">?android:textColorPrimary</item>
</style>
Code
Material text styles and dimensions are available in appcompat-v7 library.
styles_base_text.xmlSelectors
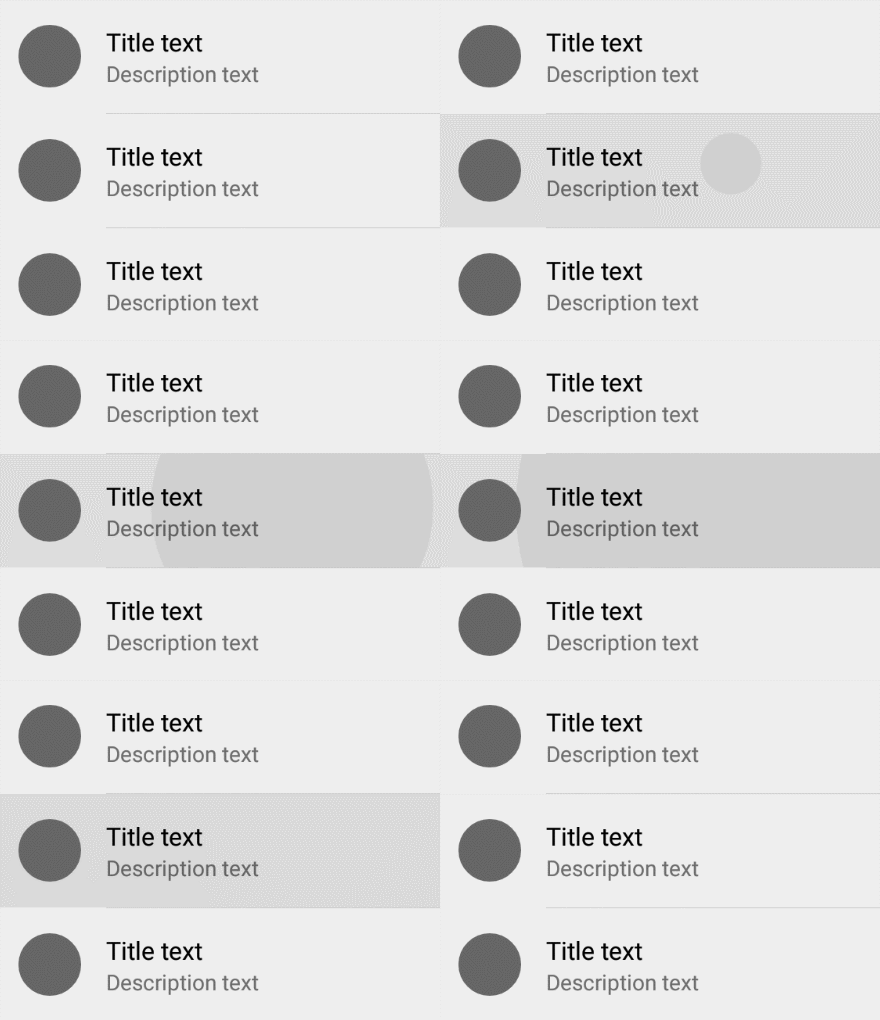
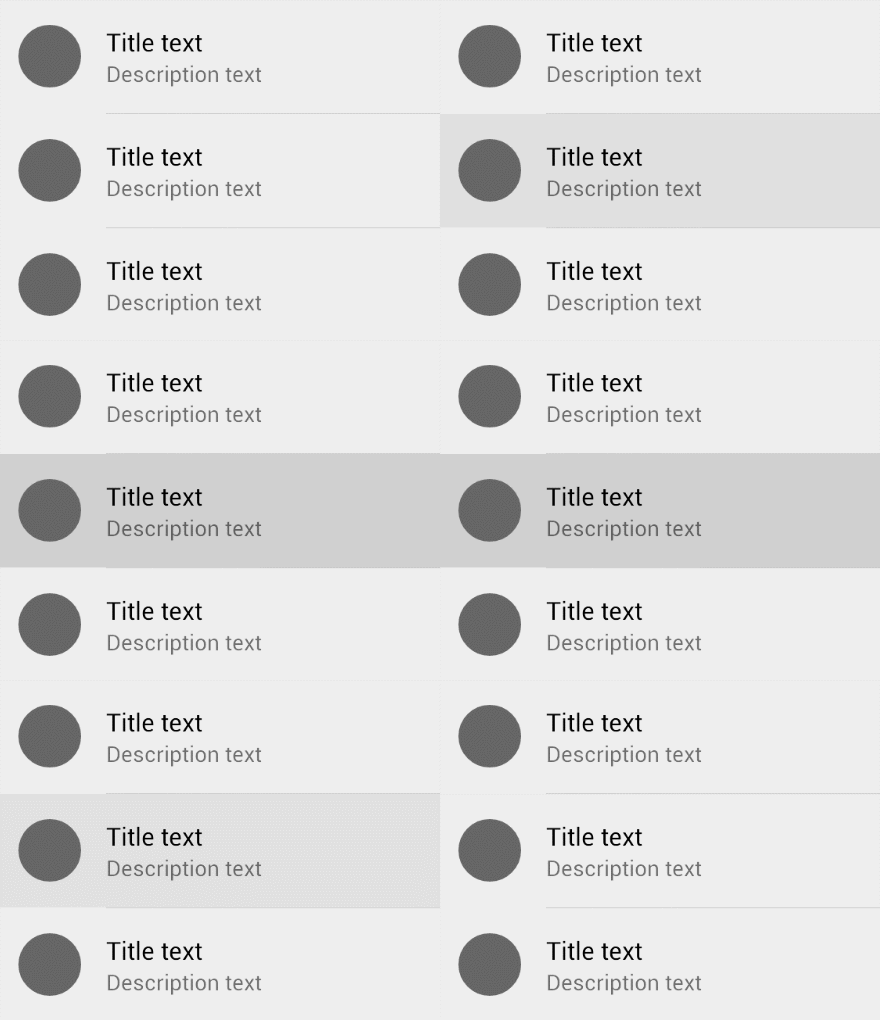
Lollipop
Older versions
Recipe
<?xml version="1.0" encoding="utf-8"?>
<ripple android:color="@color/flat_pressed">
    <item
        android:id="@android:id/mask"
        android:drawable="@drawable/btn_flat_normal"/>
</ripple>
Code
Result

Android L - Ripple effect
res/drawable-v21Recipe
<?xml version="1.0" encoding="utf-8"?>
<selector
    android:exitFadeDuration="400"
    android:enterFadeDuration="400">

    <item android:drawable="@drawable/btn_flat_pressed"
          android:state_pressed="true" />

    <item android:drawable="@android:color/transparent" />

</selector>
Code
Result
Older versions - Fade selector

res/drawableShadow
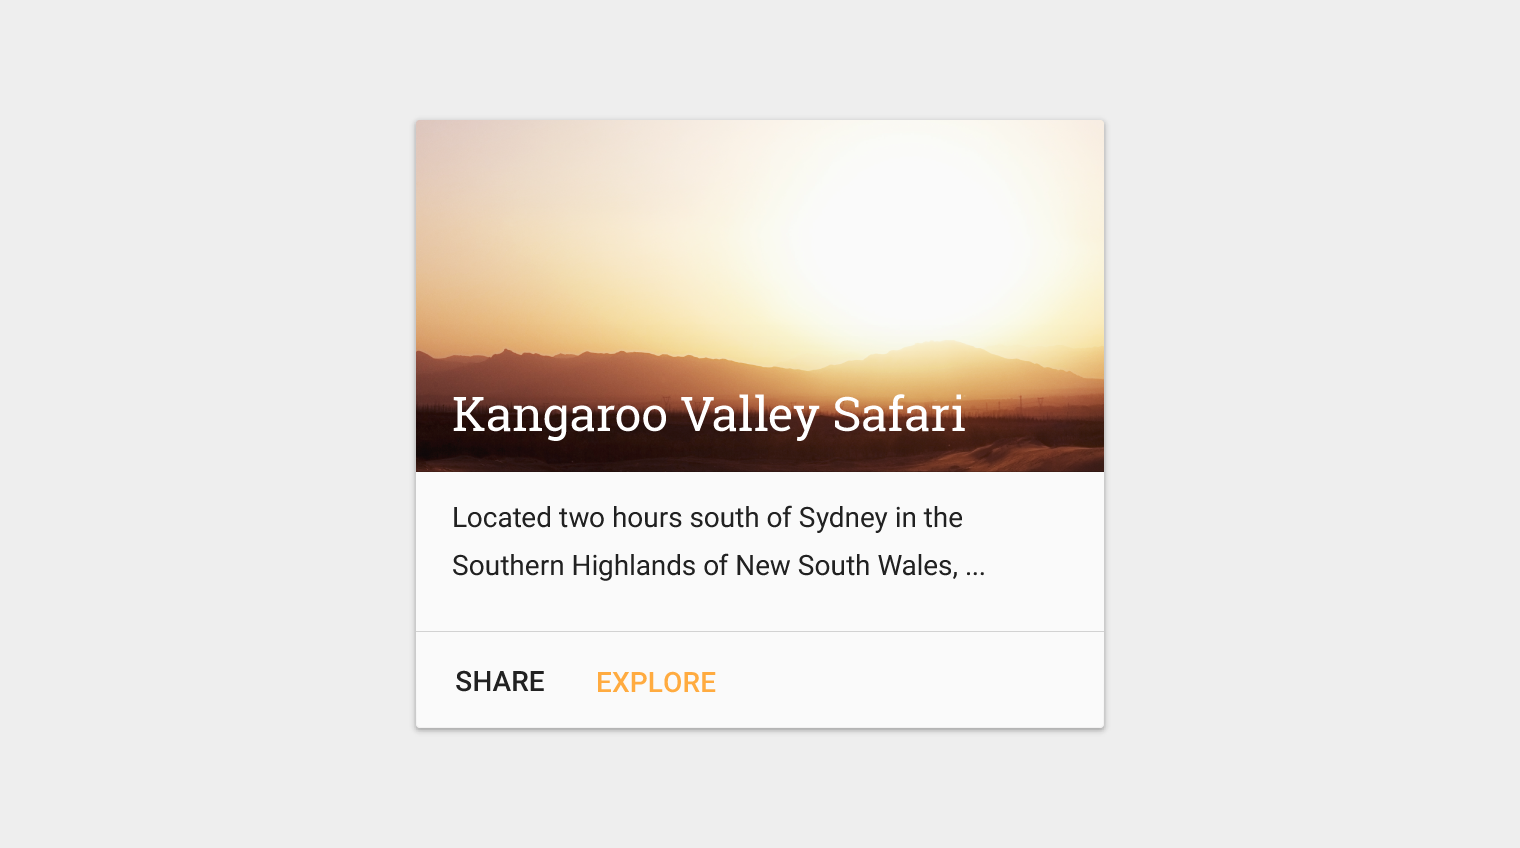
Recipe 1
Wrap view with a CardView and set app:cardElevation attribute.
Remarks
CardView can't draw circle shadow.
Not possible to set shadow position.
2.
1.
Not possible to set shadow color. (Make shadow darker or lighter)
3.
No method to set selector for shadow. (Lift on touch)
4.
Recipe 2
Set background 9.png image.
Remarks
For every component you need shadow image for all drawable-dpi folders.
1.
Ton's of resources increase apk size.
2.
Not flexible for changes.
3.
Shadow Layout
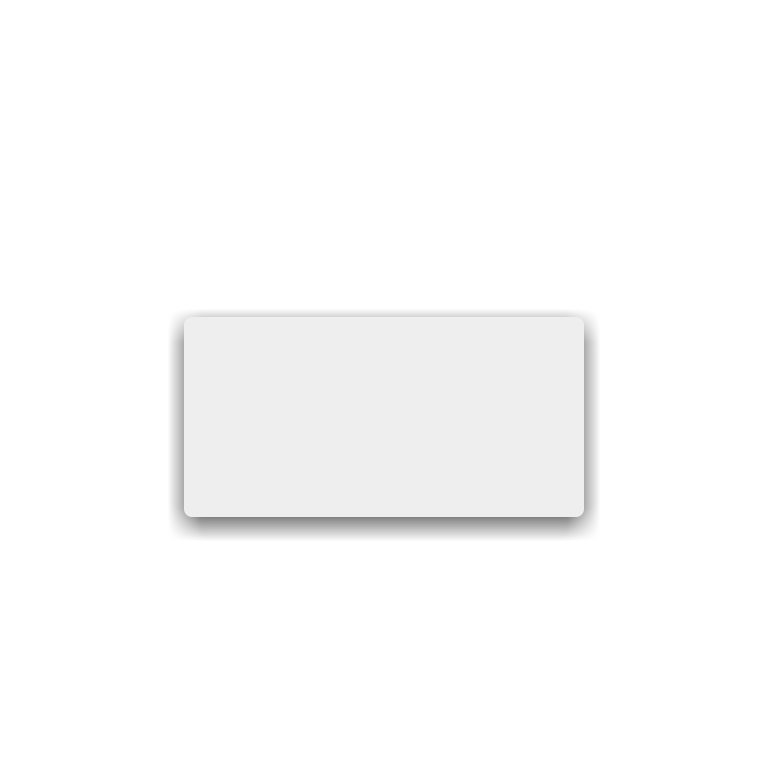
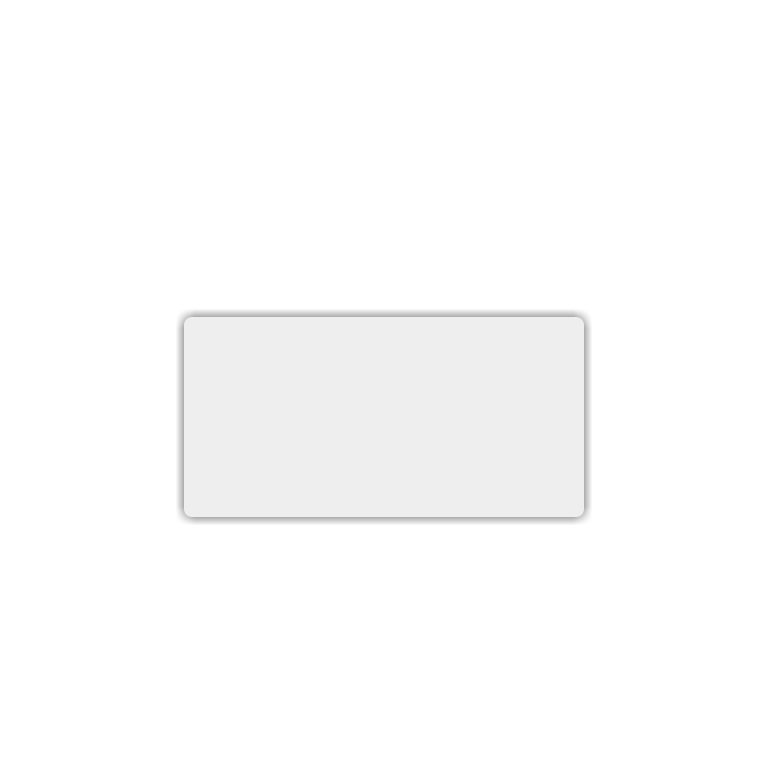
app:sl_shadowRadius="4dp"
app:sl_dy="0dp"
app:sl_dx="0dp"
app:sl_shadowRadius="8dp"
app:sl_dy="4dp"
app:sl_dx="0dp"Recipe 3
<com.dd.ShadowLayout
        android:layout_width="wrap_content"
        android:layout_height="wrap_content"
        app:sl_shadowColor="#AA000000"
        app:sl_cornerRadius="4dp"
        app:sl_dy="1dp"
        app:sl_dx="1dp"
        app:sl_shadowRadius="4dp">

    <!--Your view here-->

</com.dd.ShadowLayout>
Code
Custom view group which will wrap View and display shadow for pre Lollipop devices.
res/layoutRemarks
setShadowLayer(float radius, float dx, float dy, int shadowColor)Approach 1: draw shadow on generated Bitmap with shadow layer.
1.
Simple ~ 100 lines of code.
3.
Not very efficient.
4.
Approach 2: draw shadow on view canvas. (without hardware acceleration)
2.
Shadow Layout
Links & Resources
Simple cooking
Buttons
- Floating action button
- Raised button
- Flat button
Flat button


Lollipop
Older versions
Recipe
<style name="AppCompat.Button.Flat" parent="Base.TextAppearance.AppCompat">
    <item name="android:background">@drawable/btn_flat_selector</item>
    <item name="android:minWidth">88dp</item>
    <item name="android:minHeight">36dp</item>

    <item name="android:textAllCaps">true</item>
    <item name="android:textSize">14sp</item>
    <item name="android:textStyle">bold</item>

    ...
</style>
Code
res/values/styles.xml<Button
android:layout_width="wrap_content"
android:layout_height="wrap_content"
android:text="Button"
style="@style/AppCompat.Button.Flat"/>res/layoutButton with custom style and transparent background selector.
Raised button
Lollipop
Older versions
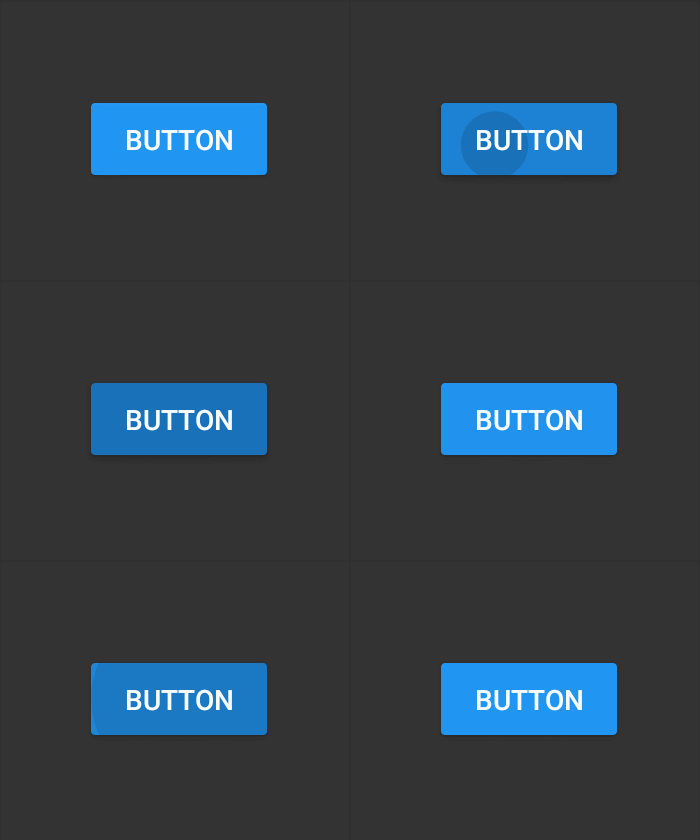
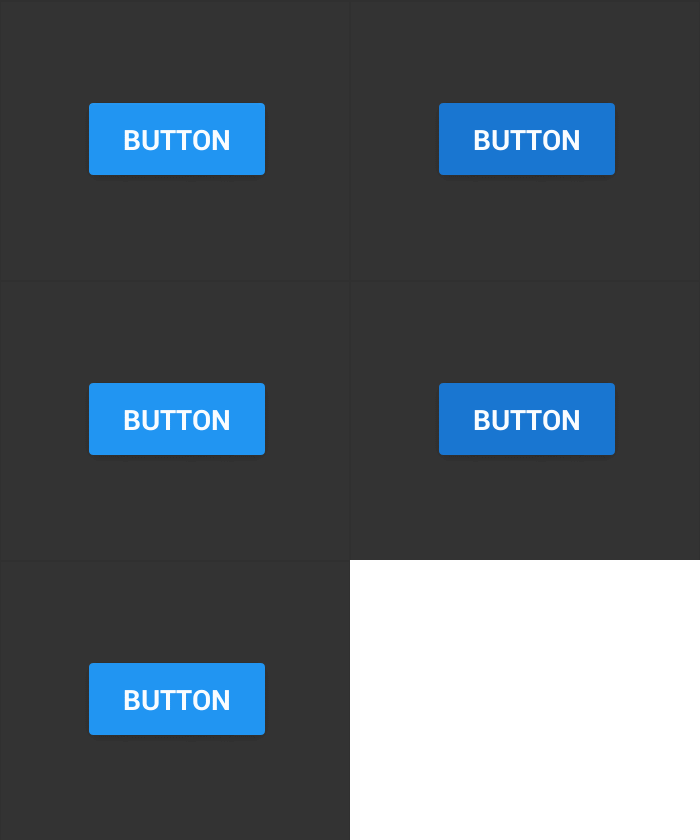
Recipe
<android.support.v7.widget.CardView
        android:layout_width="wrap_content"
        android:layout_height="wrap_content"
        app:cardCornerRadius="4dp"
        app:cardPreventCornerOverlap="false"
        app:cardElevation="2dp">

    <Button
            android:layout_width="wrap_content"
            android:layout_height="wrap_content"
            android:minWidth="88dp"
            android:minHeight="36dp"
            android:text="Button"
            ...
            />

</android.support.v7.widget.CardView>
Code
Button wrapped with a CardView and cardElevation.
res/layoutFloating action button
Lollipop
Older versions
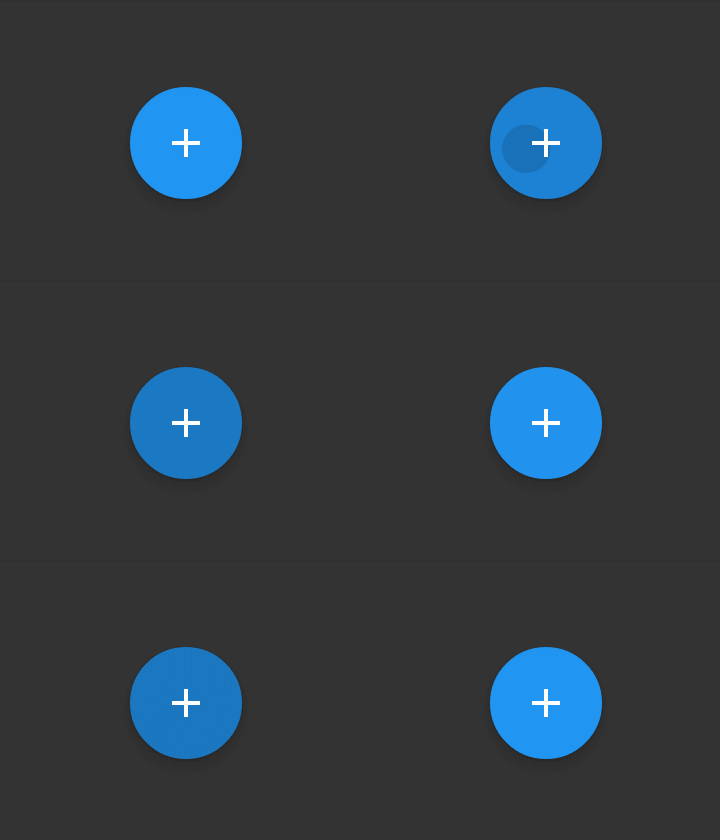
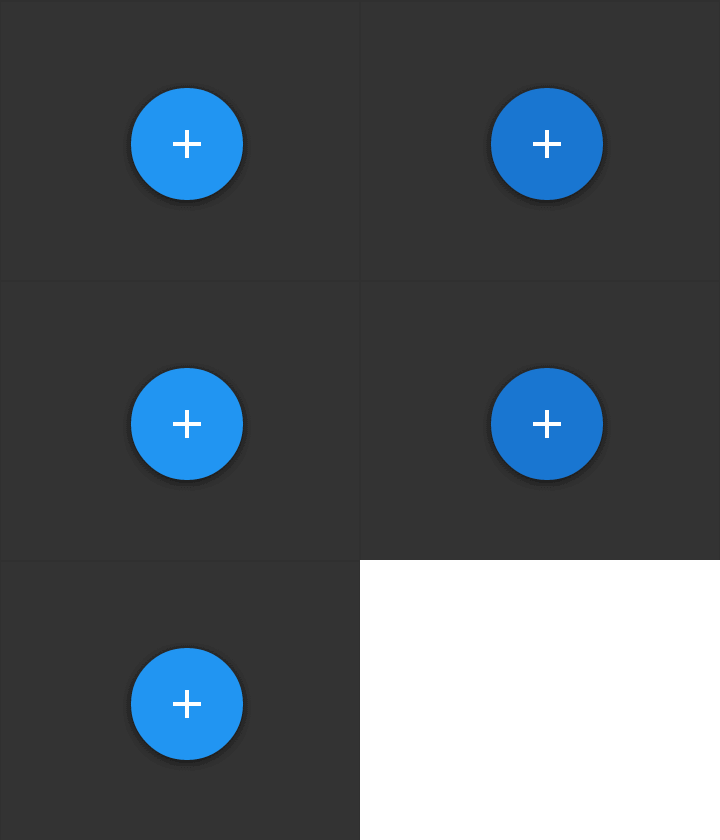
Recipe
<com.dd.ShadowLayout
        android:layout_width="wrap_content"
        android:layout_height="wrap_content"
        app:shadowColor="#AA000000"
        app:cornerRadius="56dp"
        app:dy="1dp"
        app:shadowRadius="4dp">

    <ImageButton
            android:layout_width="56dp"
            android:layout_height="56dp"
            android:layout_gravity="center"
            android:src="@drawable/ic_add_white"
            android:background="@drawable/selector"
            android:elevation="4dp"/>

</com.dd.ShadowLayout>
Code
ImageButton with icon and oval shape as a background, wrapped with ShadowLayout to display shadow for pre Lollipop devices.
res/layoutQuestions and answers
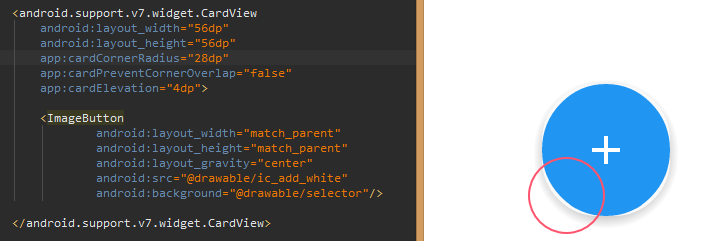
Why not to use CardView for shadow?
1.
You can't make card view circle.
Questions and answers
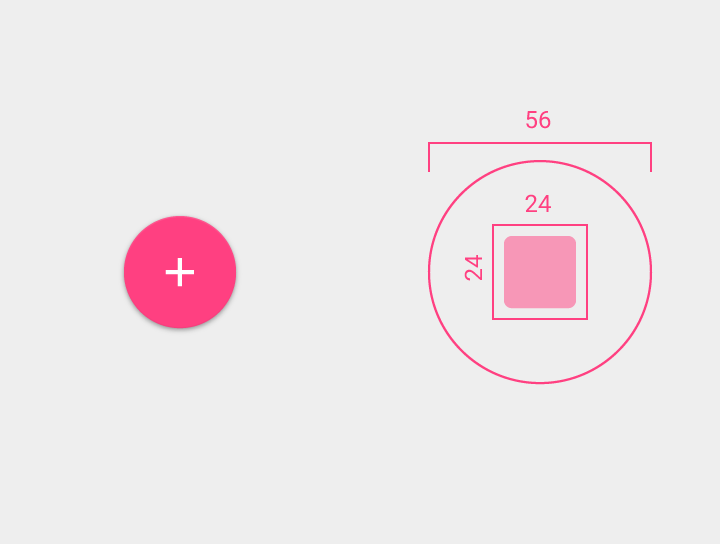
Why not to use png image for shadow?
2.
Different buttons have different size, shadow radius, position, color - creating separate set of resources is not convenient - but most efficient.
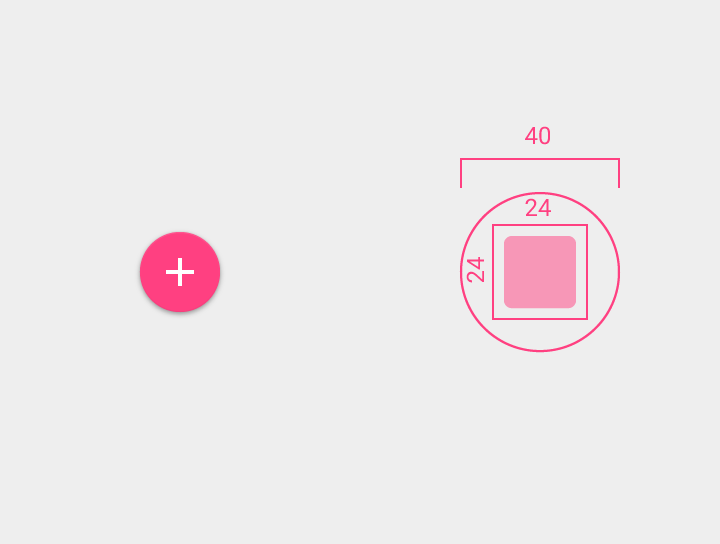
Floating action button
Links & Resources
Raised button
Flat button
(in progress)
(in progress)
(in progress)
(in progress)
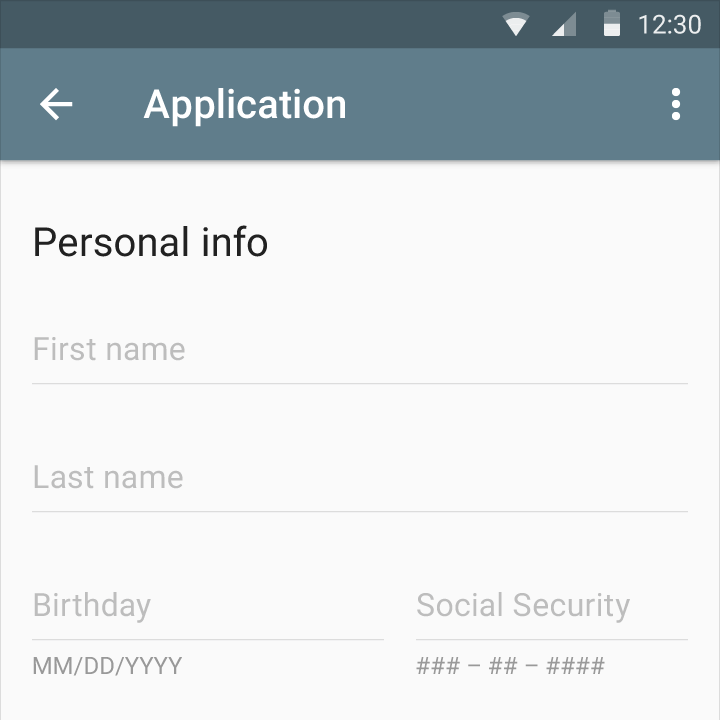
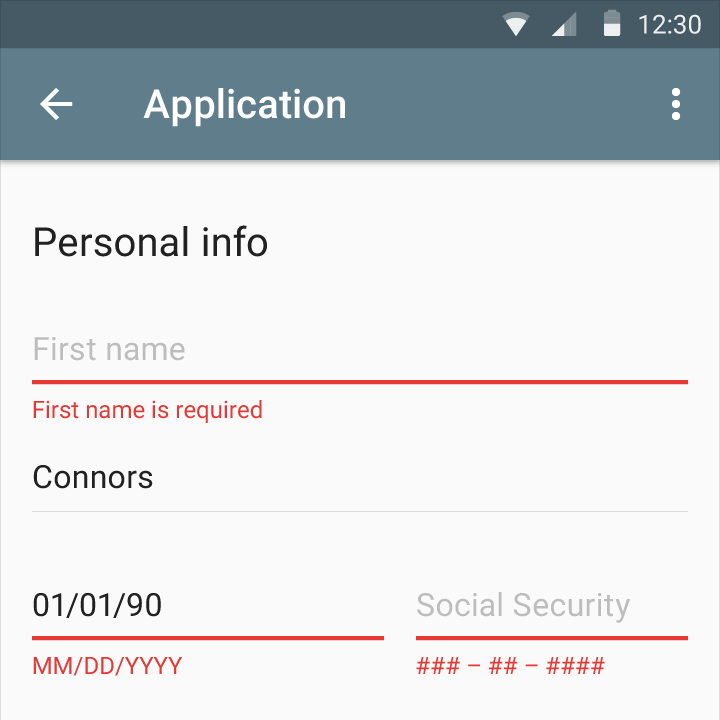
Text fields input error
Recipe
<com.dd.ErrorLabelLayout
	android:id="@+id/nameErrorLayout"
	android:layout_width="match_parent"
	android:layout_height="wrap_content">

	<EditText
		android:id="@+id/editFirsName"
		android:layout_width="match_parent"
		android:layout_height="wrap_content"
		android:hint="First name"/>

</com.dd.ErrorLabelLayout>
Code
Custom view group which will wrap EditText, show error label and tint EditText background to red or any other color.
res/layoutRemarks
mEditText.getBackground().setColorFilter(mErrorColor, PorterDuff.Mode.SRC_ATOP);To tint EditText drawable you can use ColorFilter.
public void setError(String text) {
        mErrorLabel.setVisibility(VISIBLE);
        mErrorLabel.setText(text);
        // tint drawable
        mDrawable.setColorFilter(mErrorColor, PorterDuff.Mode.SRC_ATOP);
        // changing focus from EditText to error label, necessary for Android L only
        // EditText background Drawable is not tinted, until EditText remains focus
        mErrorLabel.requestFocus();
    }
EditText background Drawable is not tinted, until EditText remains focus, don't forget to switch focus to other view.
2.
1.
Keep it simple ~ 100 lines of code
3.
Error Label Layout
Links & Resources
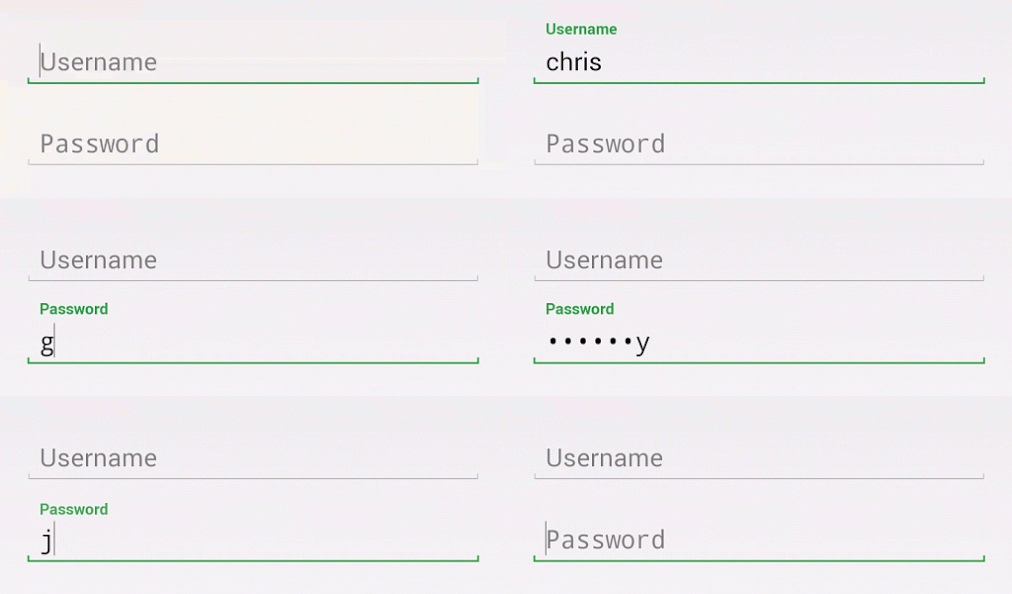
Floating label
Recipe
<com.dd.FloatLabelLayout
	android:id="@+id/nameFloatLayout"
	android:layout_width="match_parent"
	android:layout_height="wrap_content">

	<EditText
		android:id="@+id/editFirsName"
		android:layout_width="match_parent"
		android:layout_height="wrap_content"
		android:hint="First name"/>

</com.dd.FloatLabelLayout>
Code
Custom view group which will wrap EditText, show floating label when EditText is in focus.
res/layoutFloat Label Layout
Links & Resources
Dialogs
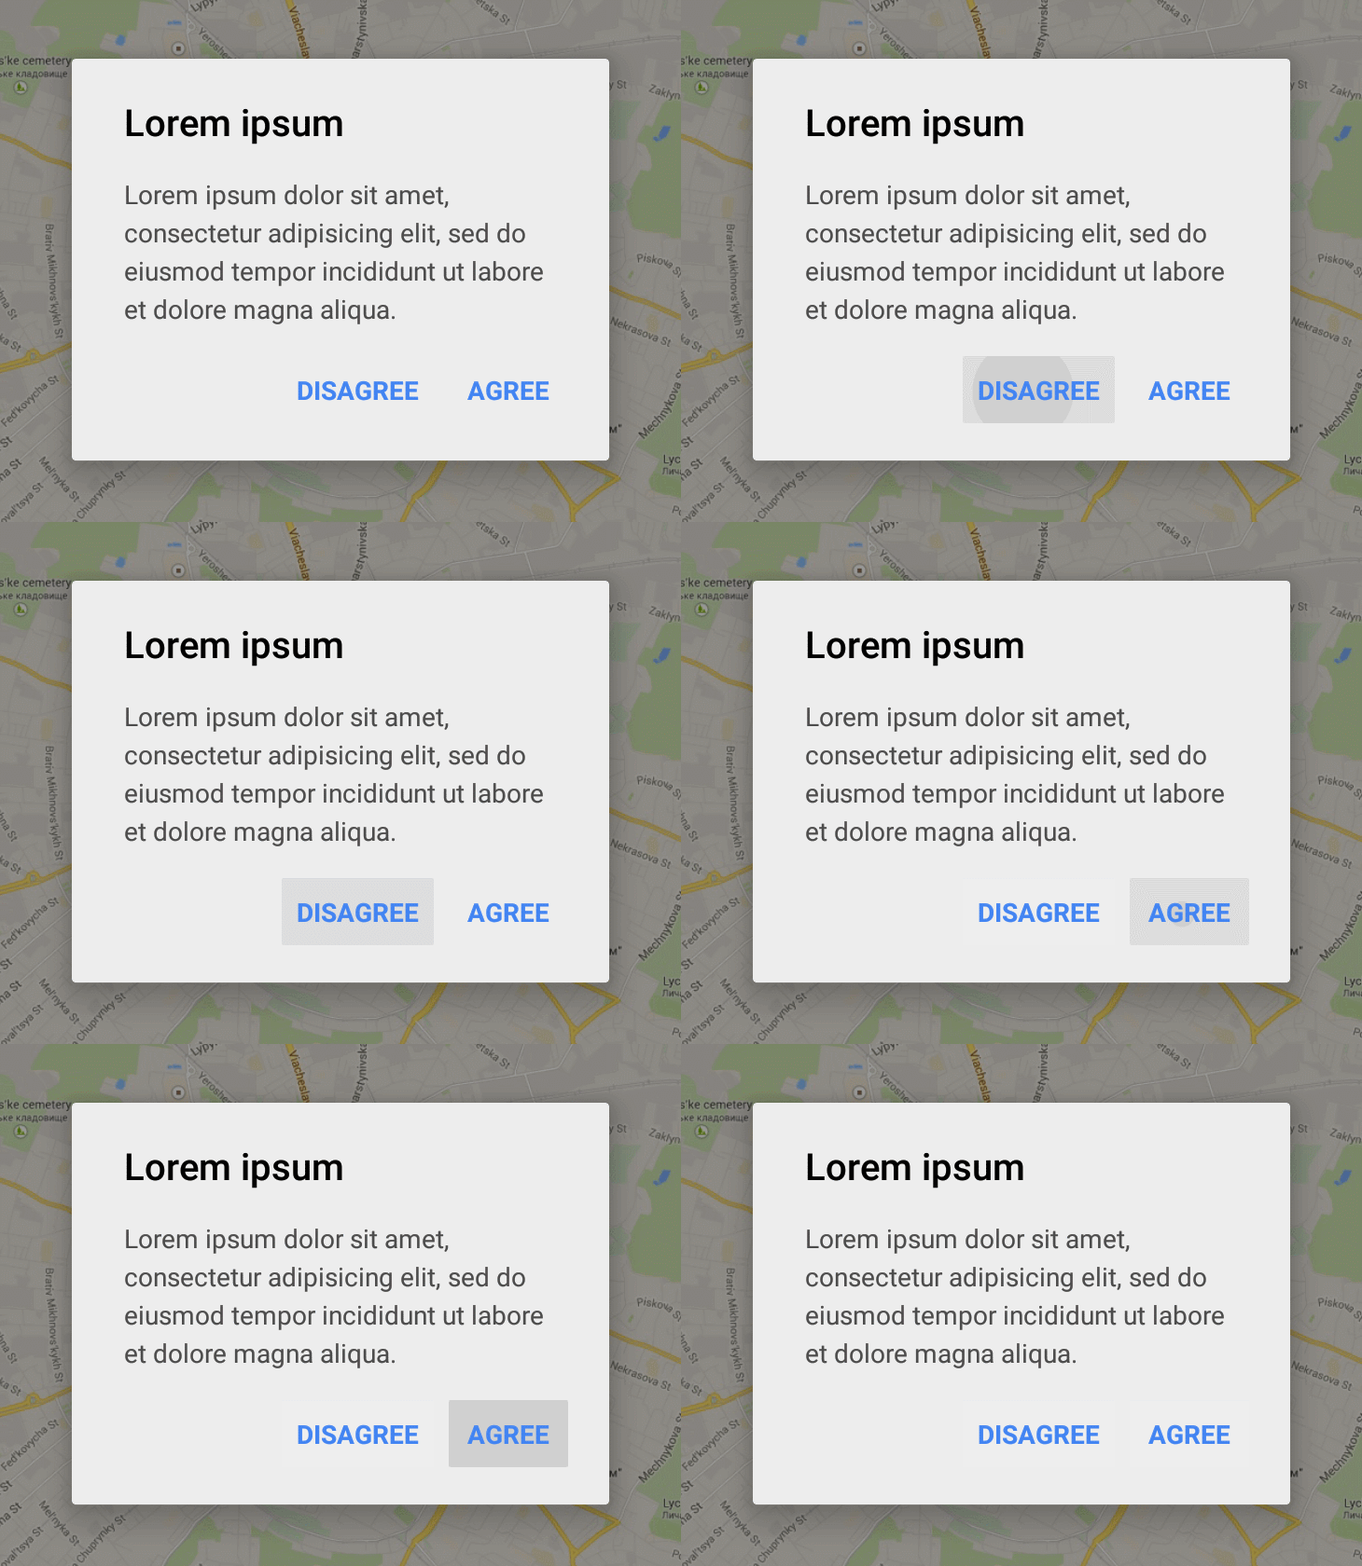
Recipe
MaterialDialog.Builder build = new MaterialDialog.Builder(this)
        .body(...)
        .title(...)
        .buttonMode(MaterialDialog.ButtonMode.NORMAL)
        .positiveButton("Agree",
                new MaterialDialog.ButtonClickListener() {
            @Override
            public void onButtonClicked(MaterialDialog dialog, View view) {
                dialog.dismiss();
            }
        })
        .negativeButton("Disagree",
                new MaterialDialog.ButtonClickListener() {
            @Override
            public void onButtonClicked(MaterialDialog dialog, View view) {
                dialog.dismiss();
            }
        });
MaterialDialog materialDialog = build.build();
materialDialog.show();
Code
Extend Dialog and set custom content view. As a root layout use either CardView or ShadowLayout.
Remarks
As a root view preferable to use ShadowLayout which gives you darker shadow in comparison with CardView.
getWindow().setDimAmount(0.4f);Material dialog use lighter dim amount value.
2.
1.
For buttons use AppCompat.Button.Flat style (see Flat button section).
3.
For text style use TextAppearance.AppCompat.Body1 and TextAppearance.AppCompat.Title from appcompat-v7 library.
4.
Material Dialogs
Links & Resources
(in progress)
(in progress)
Snackbar & Toast

Recipe
Snackbar.Builder builder = new Snackbar.Builder(this)
        .timeout(Snackbar.TIMEOUT_MEDIUM)
        .type(Snackbar.Type.SNACKBAR)
        .title(...)
        .buttonColor(Color.BLUE)
        .button("Undo", new Snackbar.ButtonClickListener() {
            @Override
            public void onButtonClicked(Snackbar snackbar, View view) {
                snackbar.cancel();
            }
        });
Snackbar snackbar = builder.create();
snackbar.show();
Code
Create class which will add or remove Snackbar's view to activity decor view over all other components.
Remarks
To show snackbar use activity decor view group.
activity.getWindow().getDecorView();1.
For buttons use AppCompat.Button.Flat style (see Flat button section).
2.
For text style use TextAppearance.AppCompat.Body1 from appcompat-v7 library.
3.
Snackbar & Toast
Links & Resources
(in progress)
(in progress)
Complex cooking
Pickers
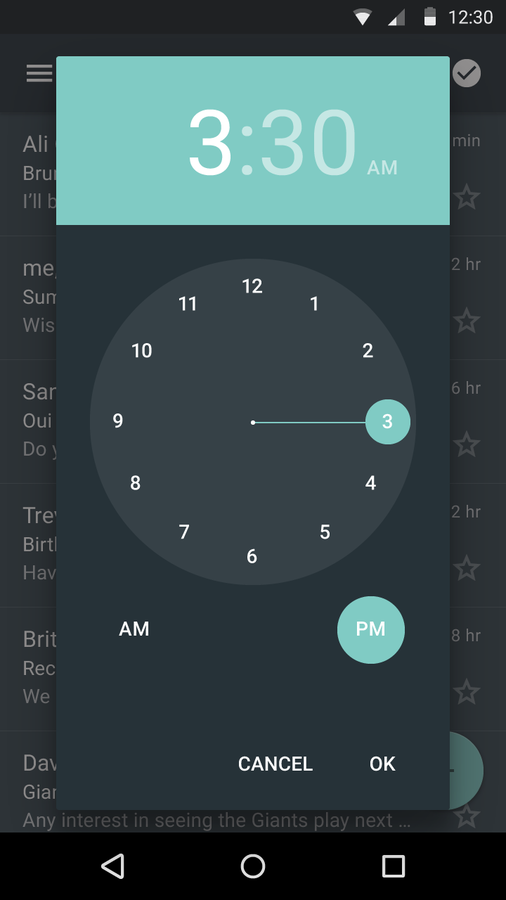
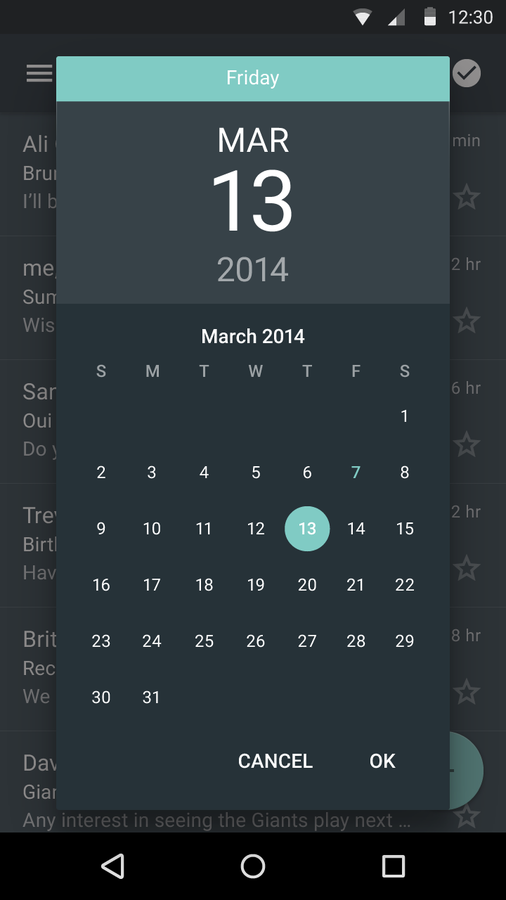
Recipe
DatePickerDialog datePickerDialog = DatePickerDialog.newInstance(this,
        calendar.get(Calendar.YEAR),
        calendar.get(Calendar.MONTH),
        calendar.get(Calendar.DAY_OF_MONTH));
datePickerDialog.setYearRange(1985, 2015);
datePickerDialog.show(getFragmentManager(), null);

TimePickerDialog timePickerDialog = TimePickerDialog.newInstance(this,
        calendar.get(Calendar.HOUR_OF_DAY),
        calendar.get(Calendar.MINUTE), true);
timePickerDialog.show(getFragmentManager(), null);
Code
Clone and add as a library project.
https://android.googlesource.com/platform/frameworks/opt/datetimepickerChips
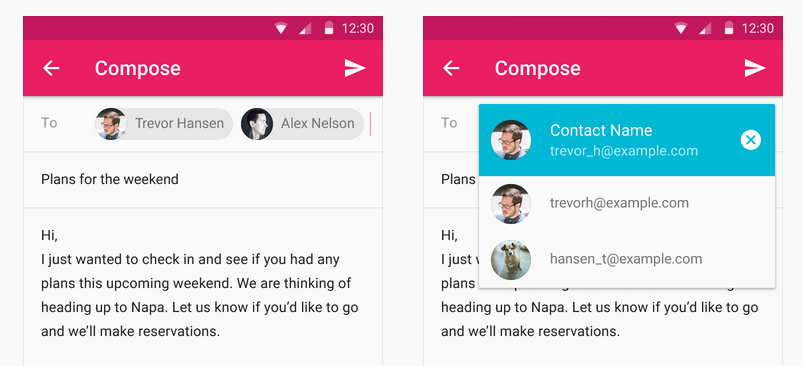
Available as third-party library.
Progress
Available as third-party library.

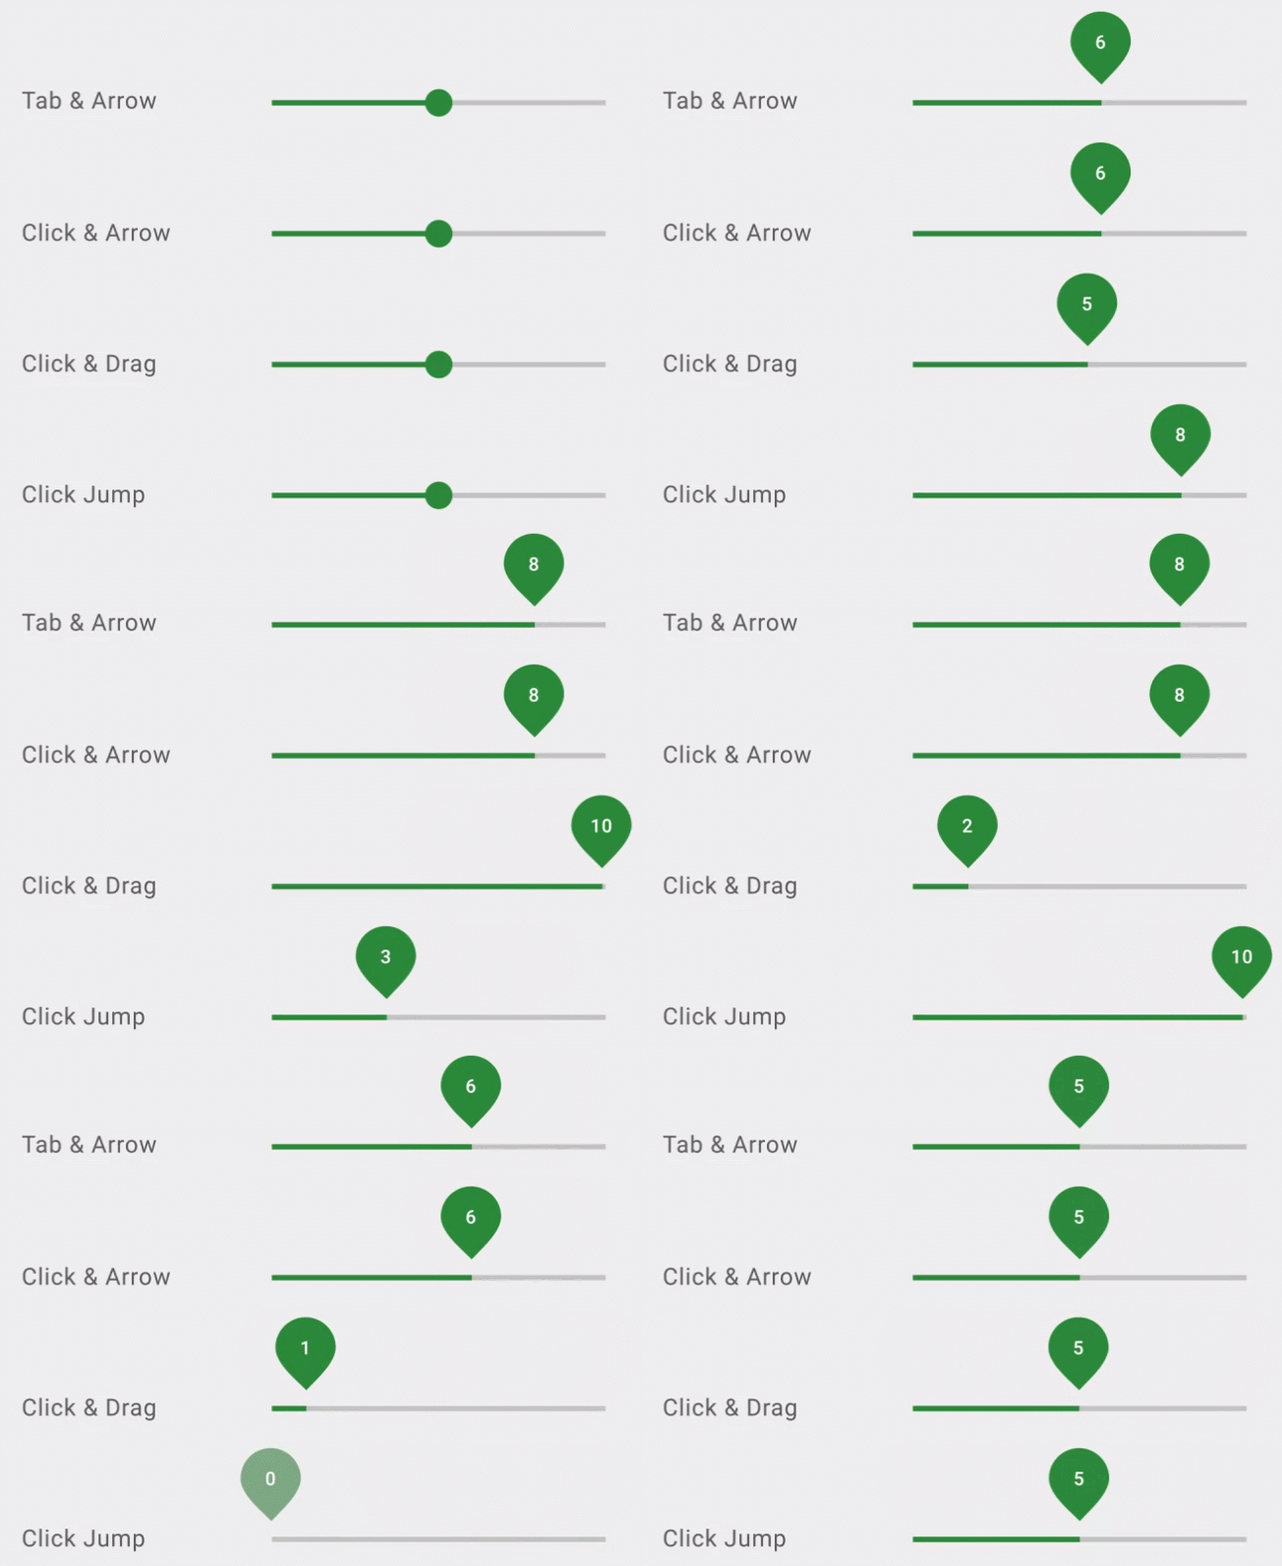
Sliders
Available as third-party library.
Tabs
Available as third-party library.

Summary
Use CardView or ShadowLayout if you need shadow for pre Lollipop.
Almost all third party libraries have issues and only partly imitates Material Design spec behavior.
1.
2.
Some components are easy to implement - it is worth it to make your own material-support library and reuse it.
3.
@dmytrodanylyk
dmytrodanylyk.com
slides.com/dmytrodanylyk
S
missing-material-components
By Dmytro Danylyk
missing-material-components
- 31,067


