Printing a Lithophane
What is a Lithophane
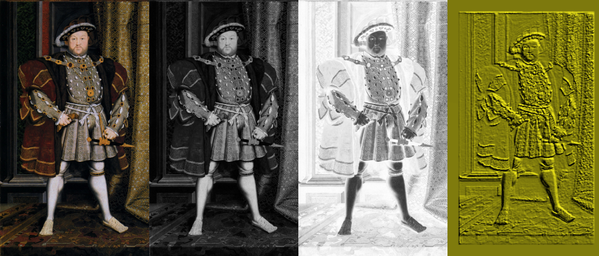
A Lithophane is an etched or a piece of moulded artwork in a thin porcelain that can be seen clearly when it is back lit with a light source.
Baron Paul de Bourging
Historians believe the art form originated in the 1820s by a man named Baron Paul de Bourging. Since then, there have been many methods of creating lithophanes. 3D printing has brought a newer, and much easier method of creating these photo-based art forms.
Photoshop and Lithophanes
A final Lithophane is just a piece of 2D artwork or 2D photograph that has been converted into a special 3D image. This is technique used to have to be done manually, but with the help of Photoshop CC and the incredible folks in Photoshop engineering , they have worked on and created a free downloadable action that will create a Lithophane direct from Photoshop
Step One
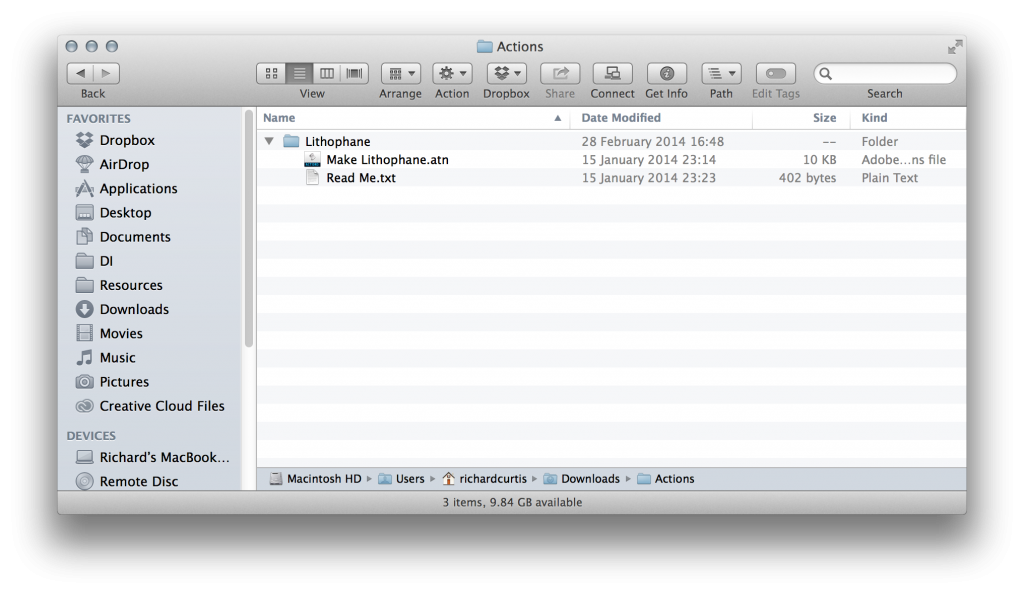
First things first, you will need to download the following action (action is available here)
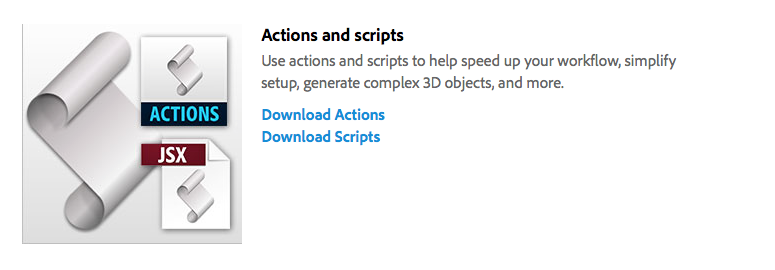
Download actions - under actions and scripts
This will download a file called “Actions.zip”. Click on the link to download it to your computer
Once the .zip file has downloaded you may need to unzip it.
Step Two
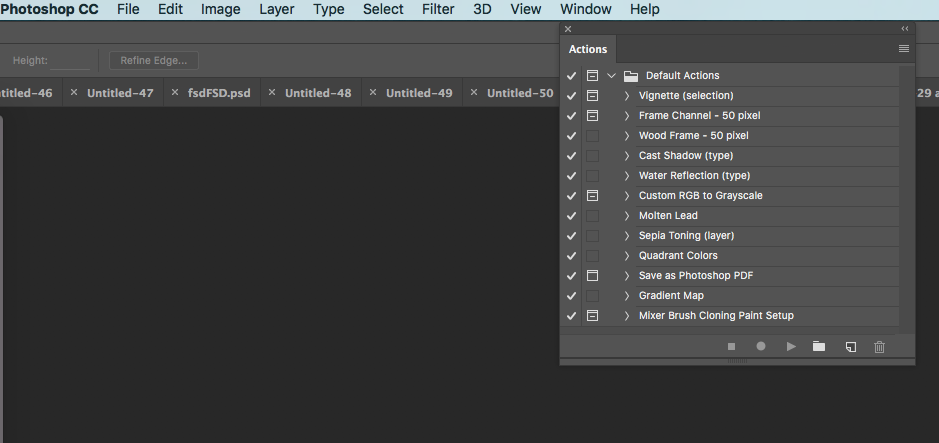
To install the action into Photoshop, you will need to open the actions window. The actions window is available under the menu option Window / Action
Step Three
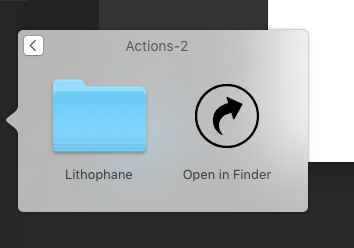
Once the file open dialog is shown, locate the folder Lithophane Select the “Make Lithophane.atn” file and load this into Photoshop CC.
Step Four
The following action should now be available inside Photoshop CC.

Open Your Image in Photoshop
Run action
Step Five
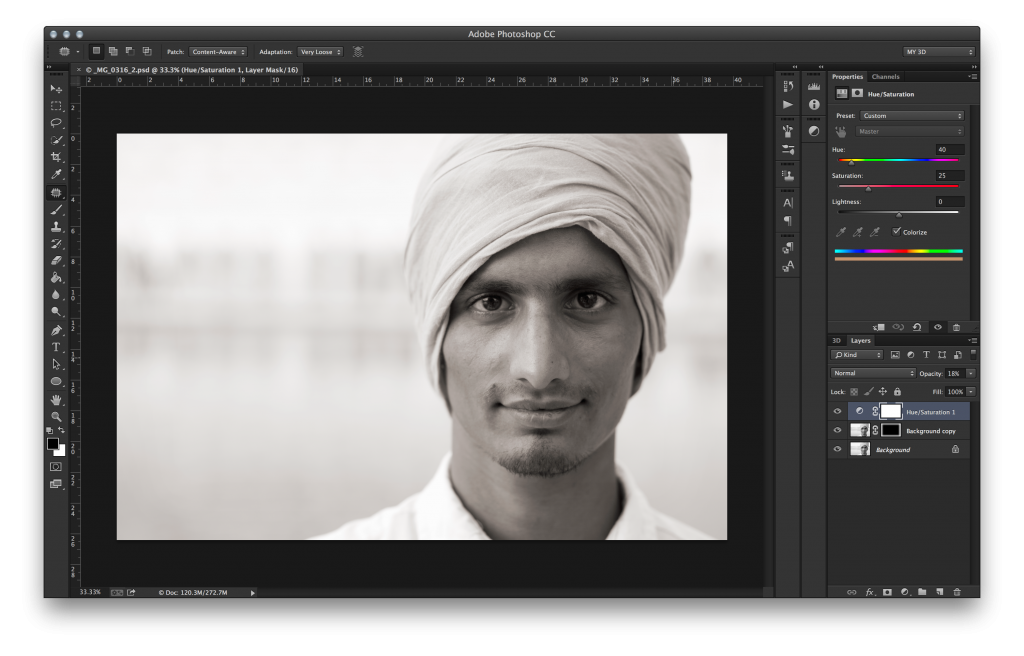
Select the Background 2D layer (under the layers panel, marked purple below) in Photoshop CC and click the play icon.
The action will automatically convert the 2D image into a 3D printable object.
Step Six
Select the Background 2D layer (under the layers panel, marked purple below) in Photoshop CC and click the play icon.
The action will automatically convert the 2D image into a 3D printable object.
Step Seven
With Photoshop, you can print any compatible 3D model without worrying about 3D printer limitations. In preparation for printing, Photoshop automatically makes 3D models watertight. Photoshop also generates the necessary support structures—scaffolding and rafts—to ensure that your 3D prints are successful.
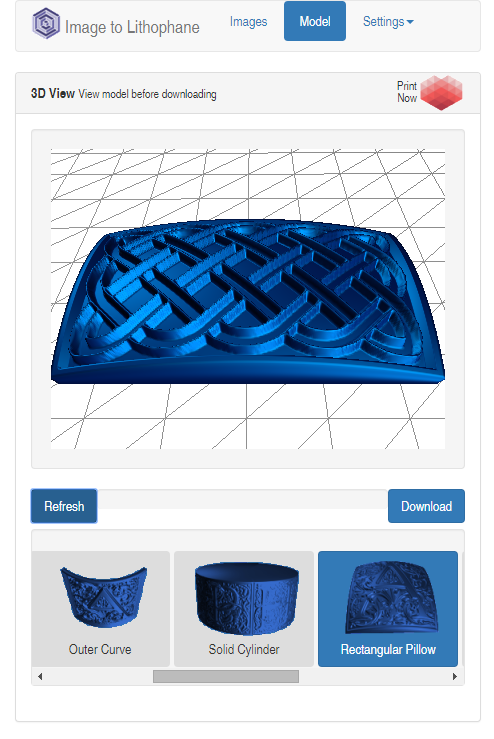
Image Size
4 by 6 or 4 by 7
Preparing to print 3D objects
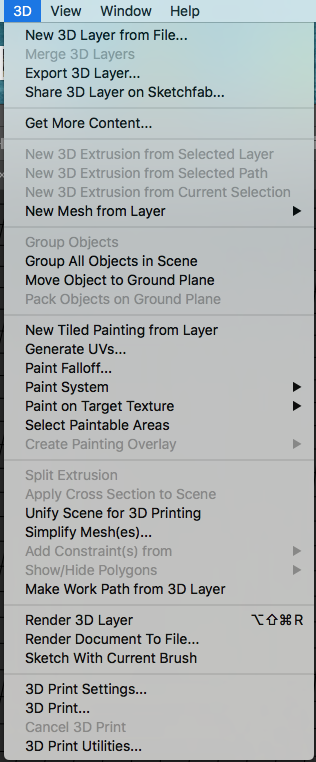
- Select Window > Workspace > 3D to switch to the 3D workspace
- Open the 3D model in Photoshop. If necessary, customize the size of the 3D model while opening it.
- Select 3D > 3D Print Settings.
Preparing to print 3D objects
3D print settings to an STL file
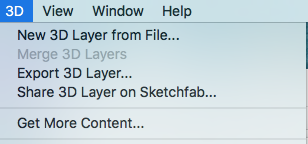
Click Export 3D Layer and save the file to an appropriate location on your computer.

3D Printing Services
APPOINTMENT must be made
One person drop-off the collected class .stl files
Turn around time
This can be up to 10 days and we have until the 13th to get them back
deck
By nmn_slides