CMS
Week 5
Working with Drupal 8
Slides
Summary
- Recap Drupal 8
- Acquia Dev Desktop
- Installation
- Setup new site
- Setup existing site
- Working on a Drupal site
- Installing existing site
- Managing blocks
- Adding a content type
- Adding a view
- Add a webmaster role & user
What to remember
Get acquainted with these subjects

Subjects
-
Basic content management
-
Add/edit pages/articles
-
-
Menu management
-
Basic Block management
-
Place blocks
-
Use custom blocks
-
-
Install/enable a theme/module
-
Use reports/logs
-
Change basic configuration
Acquia Dev Desktop
Installation
Download & install
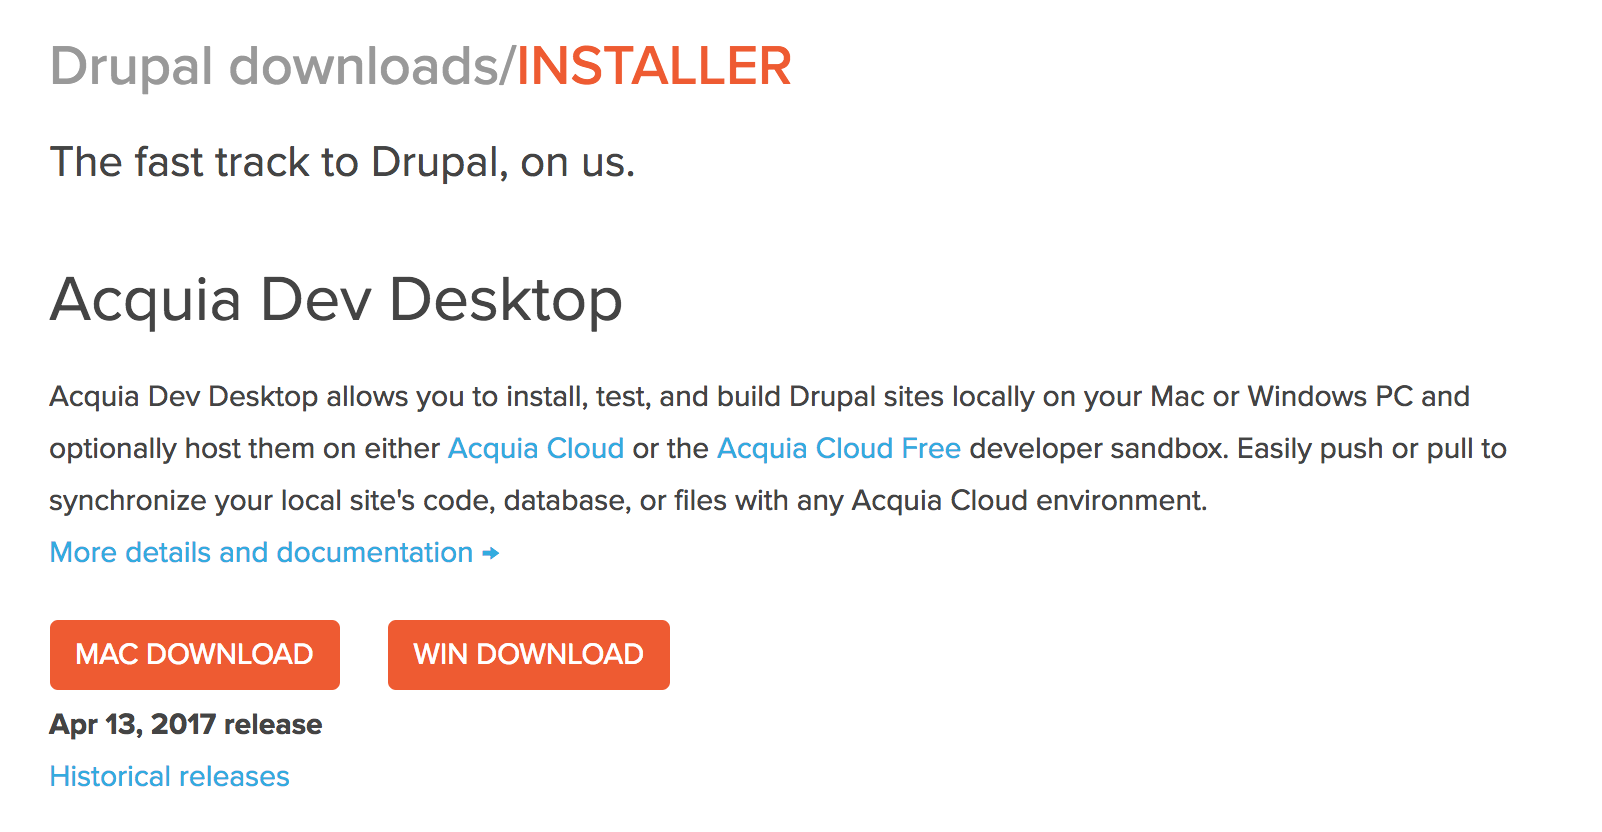
Install
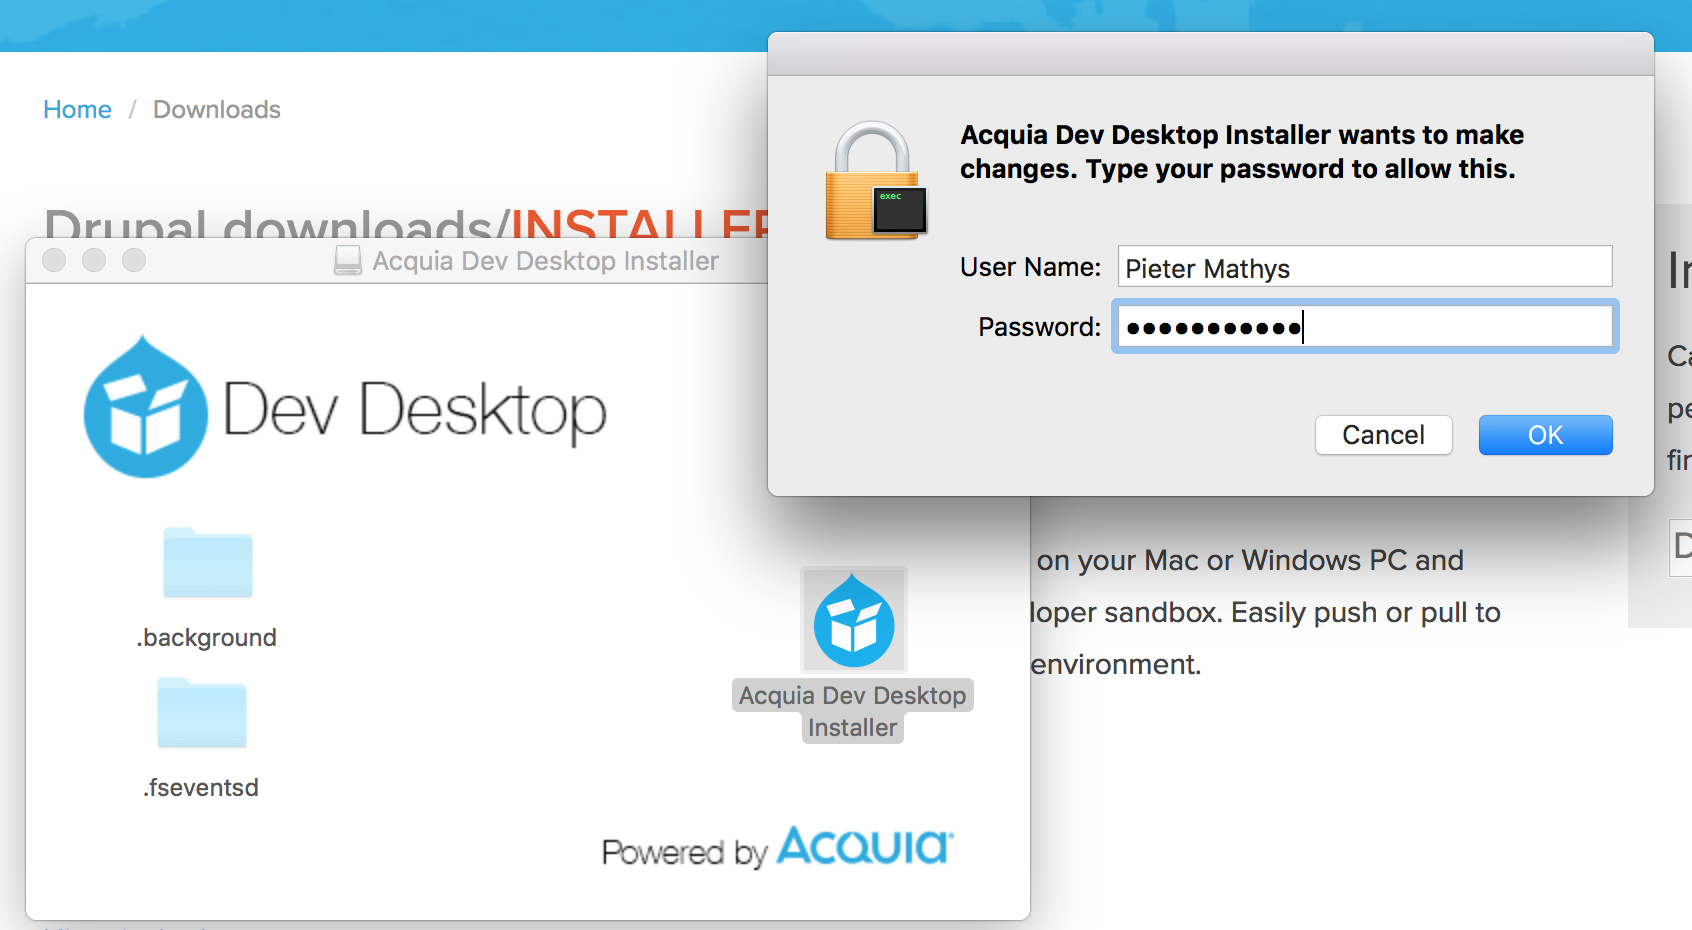
Follow wizard

Follow wizard
Follow wizard
Install dir
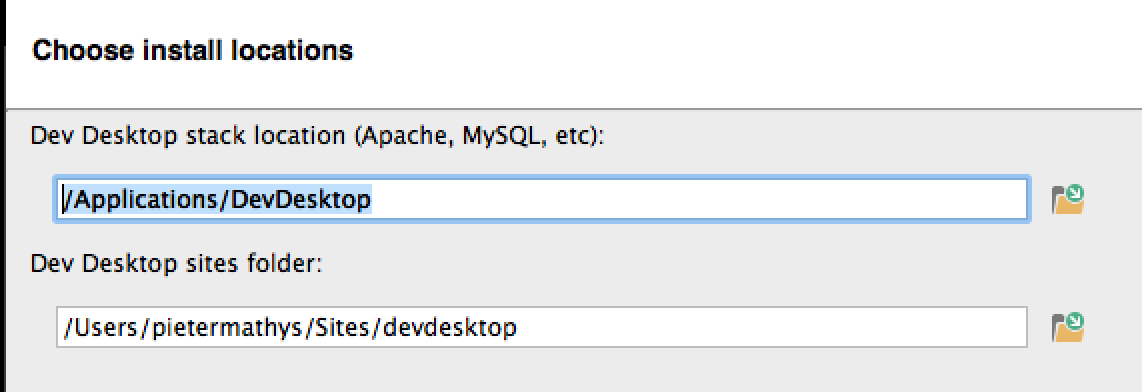
For Windows:
Install directly on c:/
(or root of a different HD: d:/, e:/)
Windows will run into issues with filenames being too long if it is installed in c:/Program files/Acquia
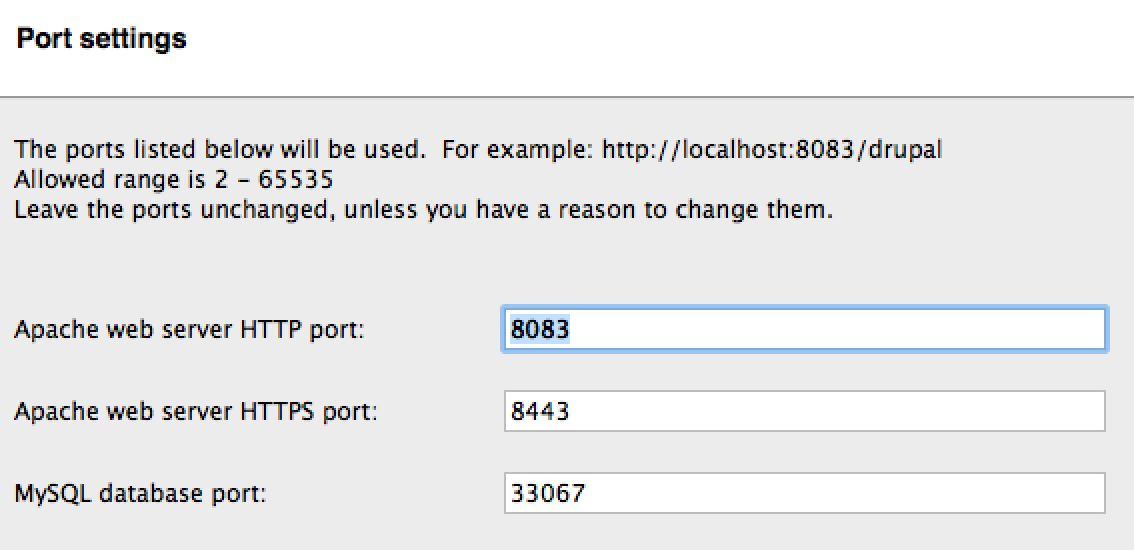
Ports
Use recommended
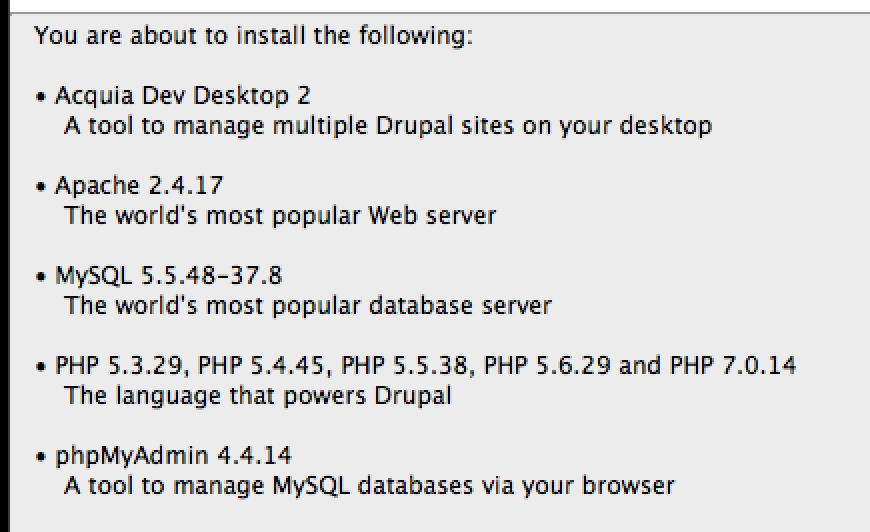
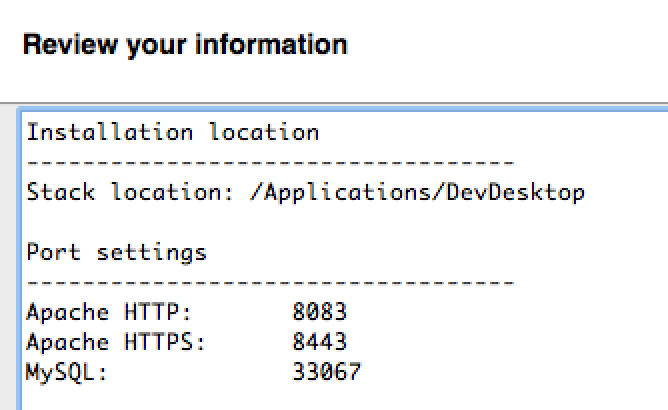
Review & ready
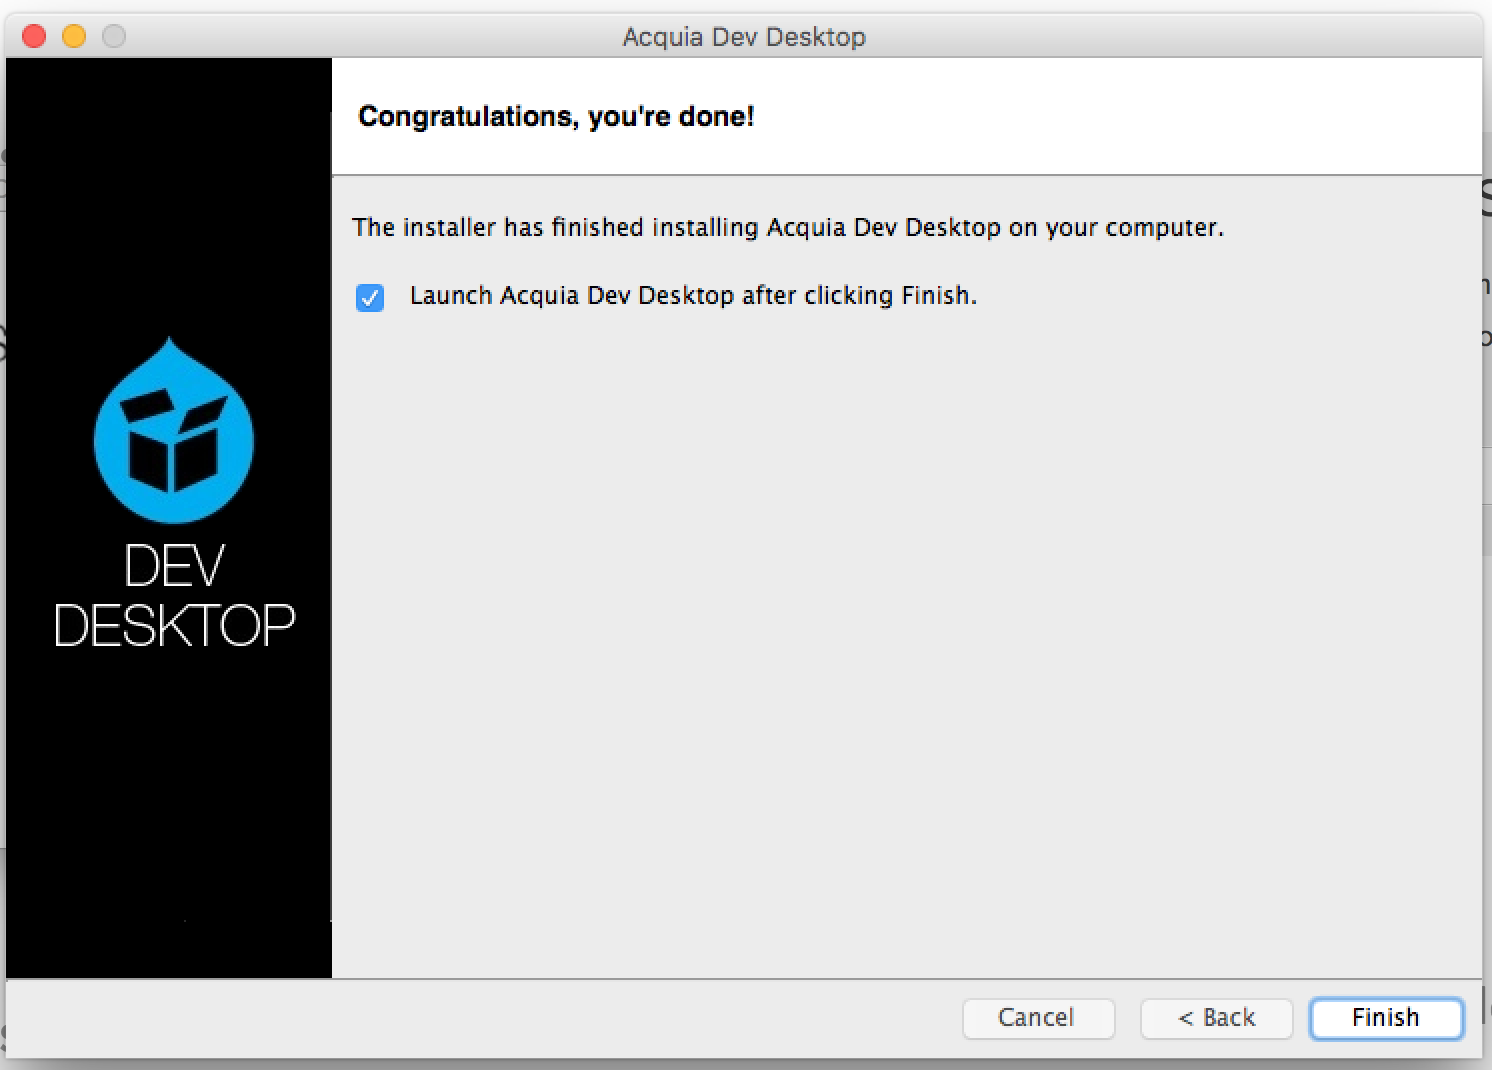
Installation

Done
Notice: Stop MAMP/XAMP
Make sure the MAMP/XAMP servers are stopped
Acquia Dev Desktop
Installing new site
First time
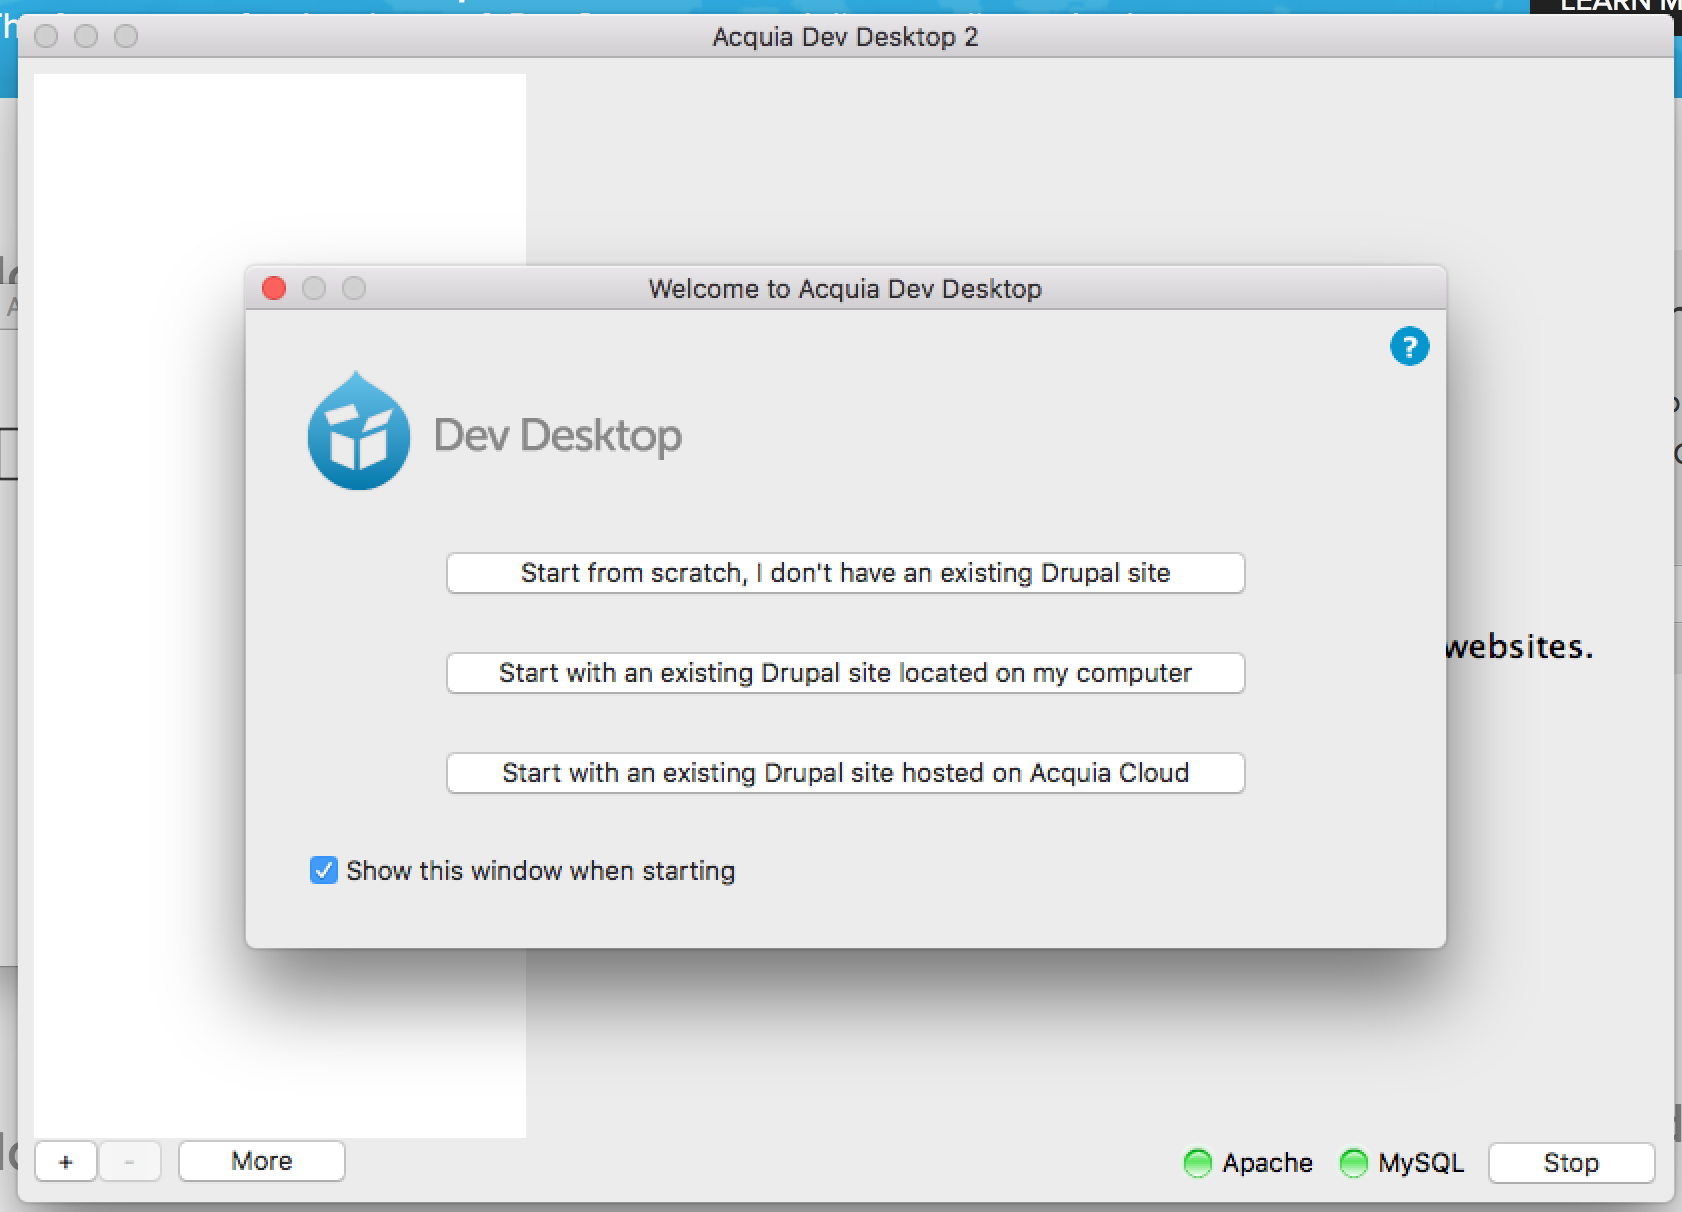
Start from scratch - D8
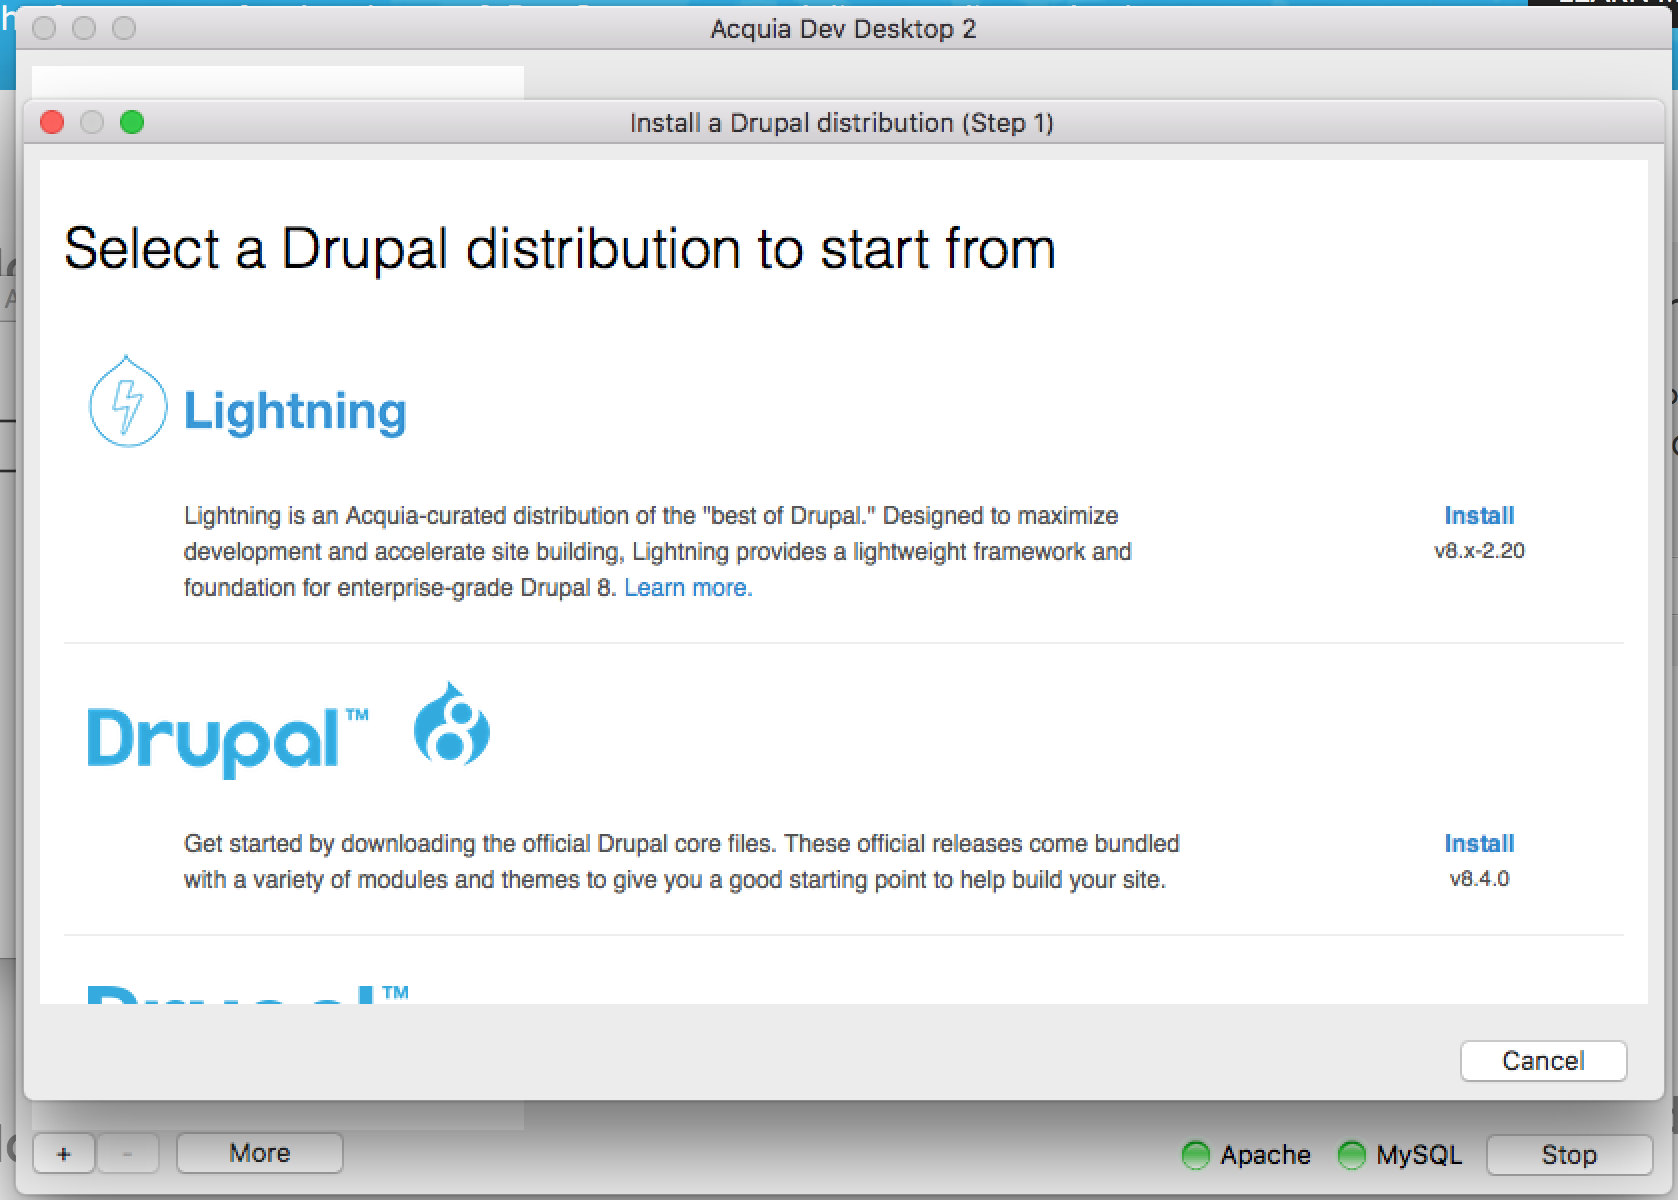
Start from scratch - D8
Start from scratch - D8
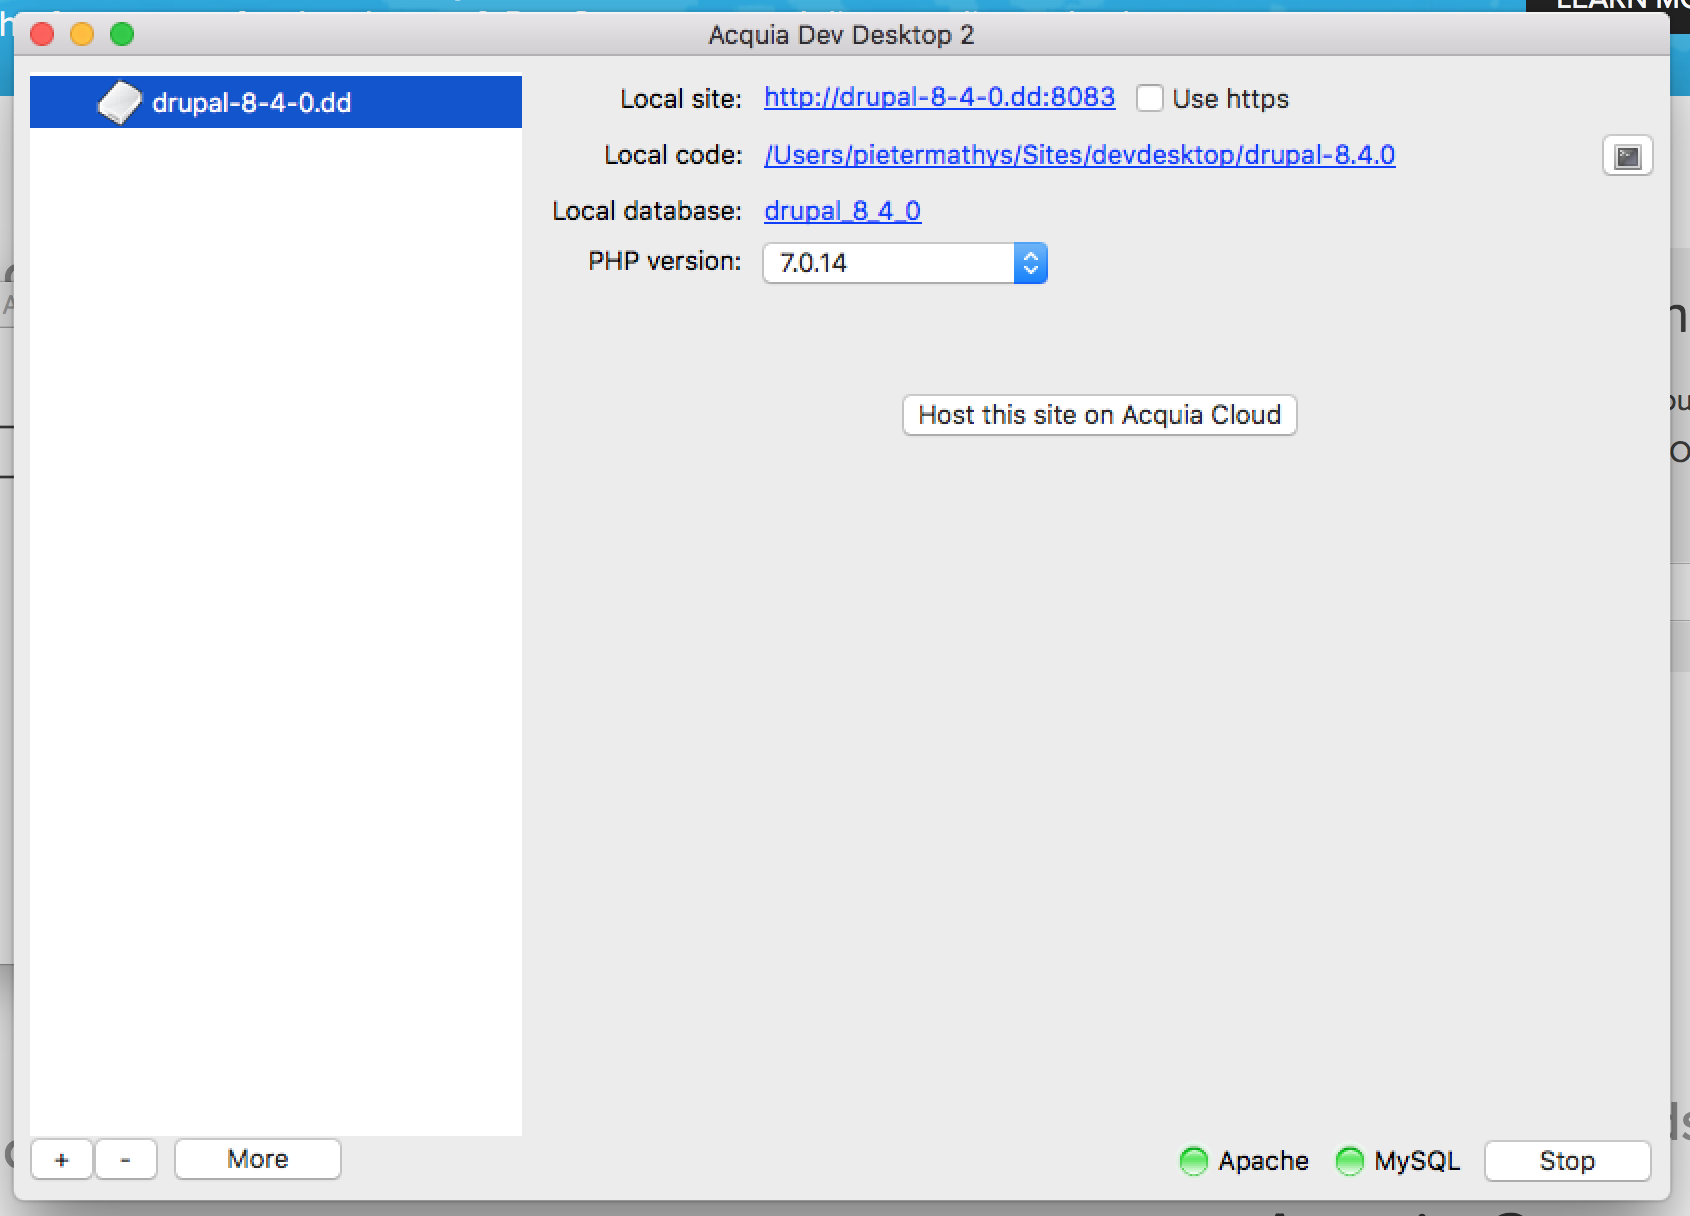
Dashboard
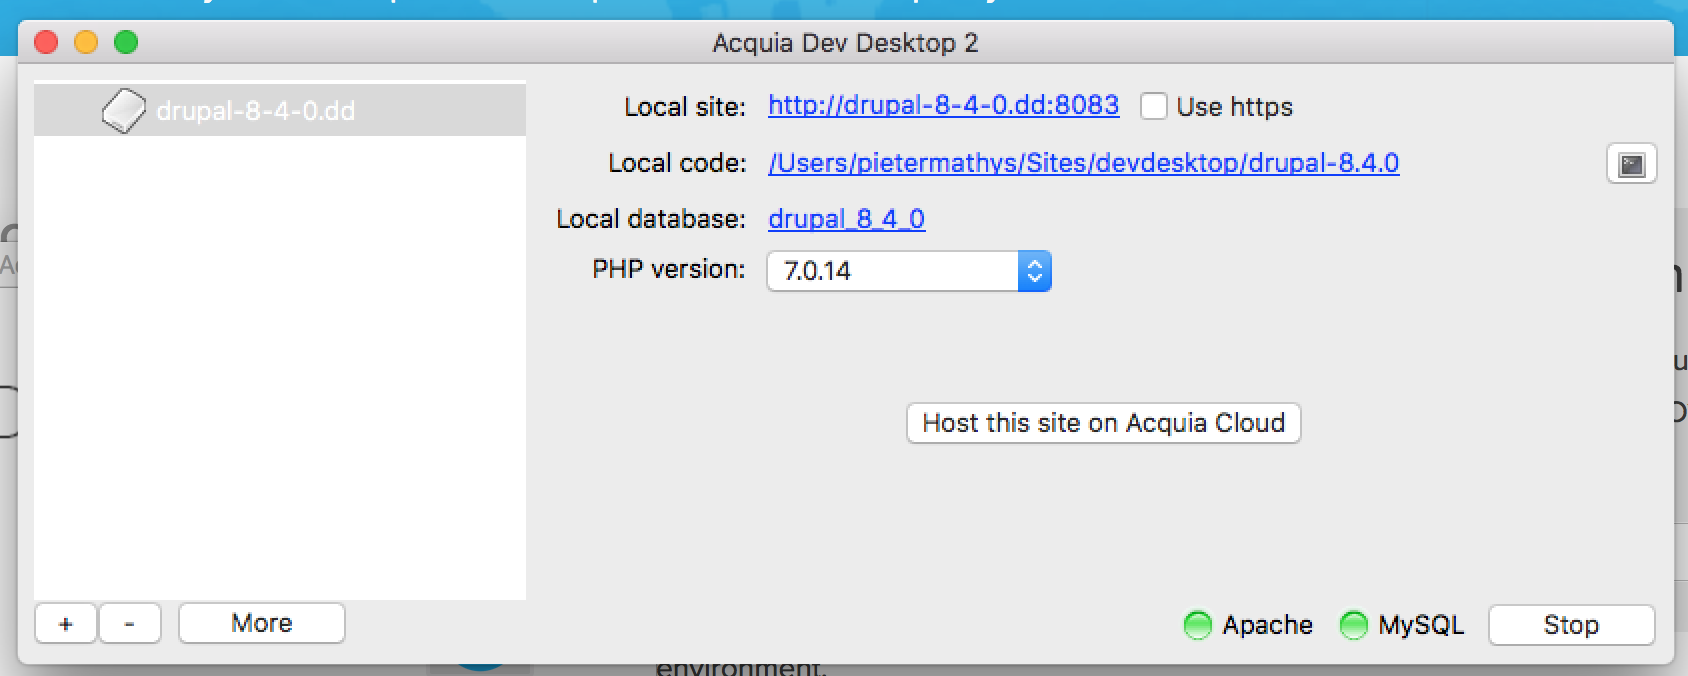
Sites
Add/Delete Sites
Open site
Local code
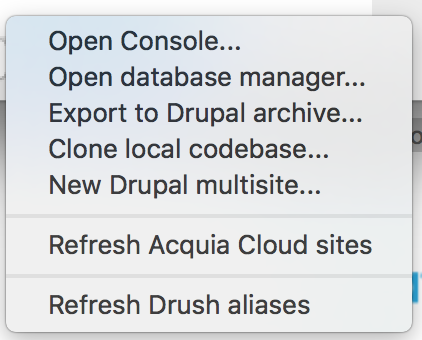
Manage DB
Start/Stop servers
Exercise:
Install a new site
- Use Acquia Dev Desktop
- Install a D8
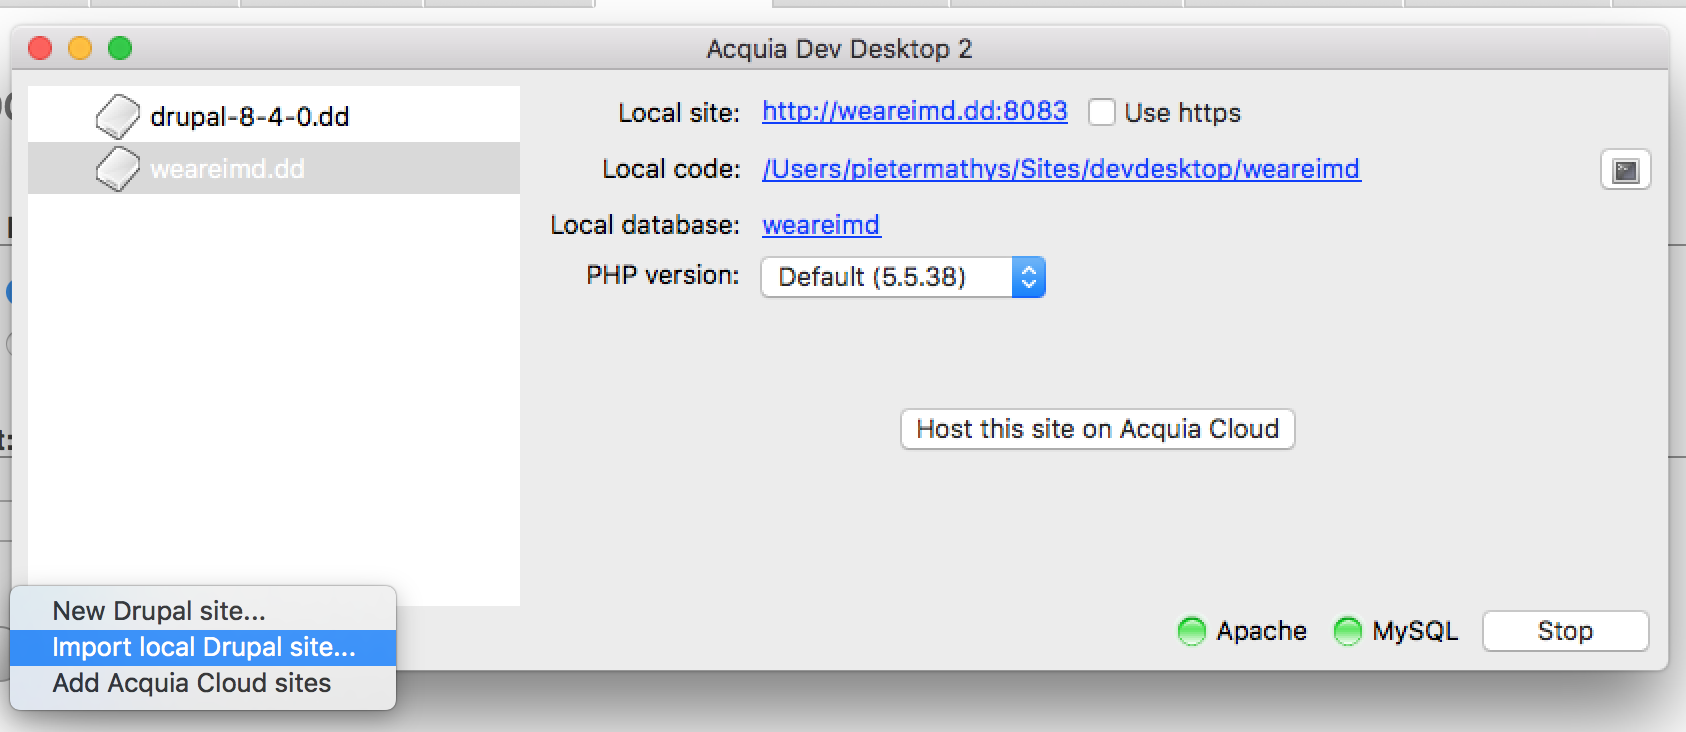
Acquia Dev Desktop
Install existing site
1) Import local drupal site
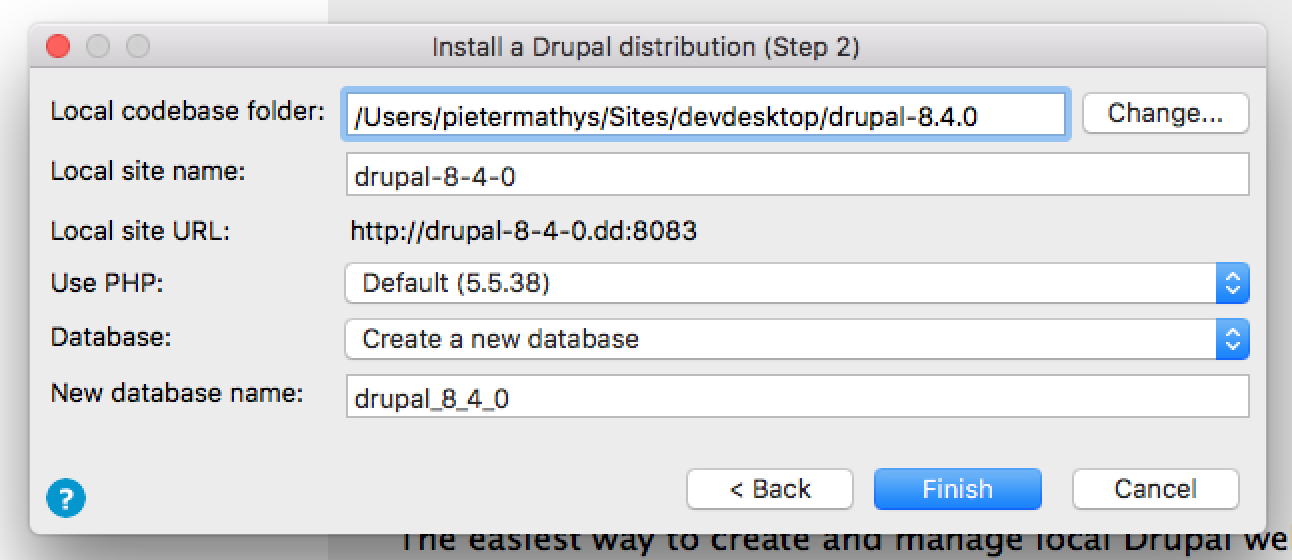
2) Set codebase

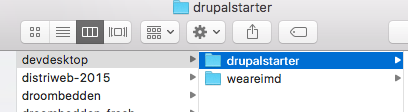
Of bv: weareimd ipv drupalstarter
3) Set name

4) Set php
Default is fine, 7 is better.

5) Import database
Pick: Start with MySQL Database dump file

Everything together
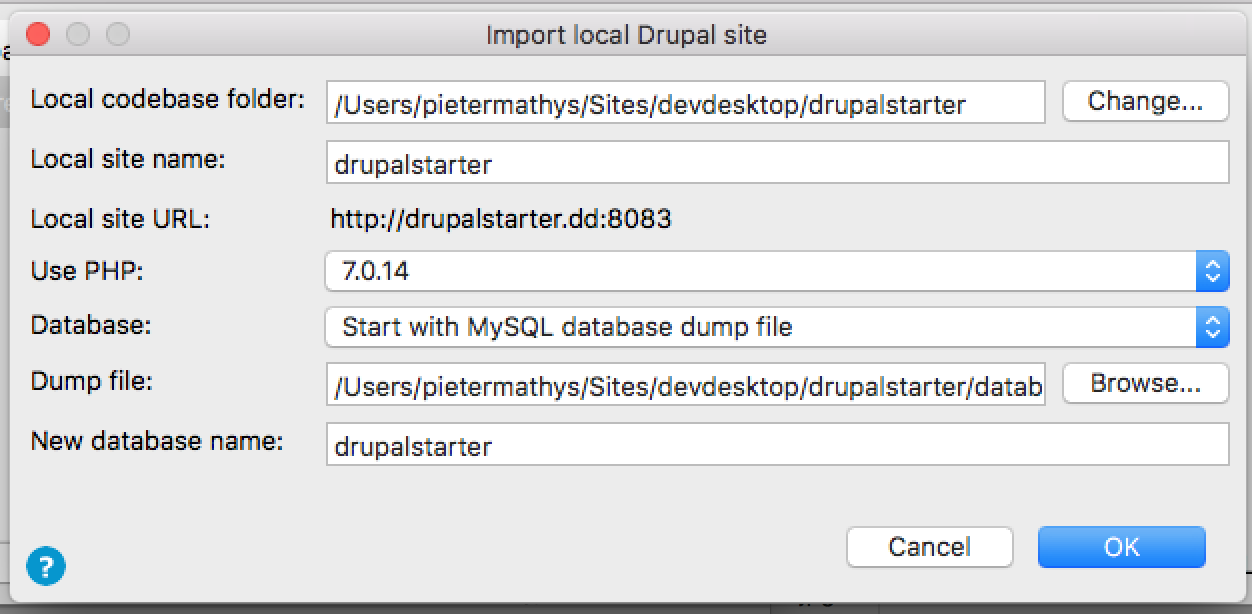
6) Hit OK
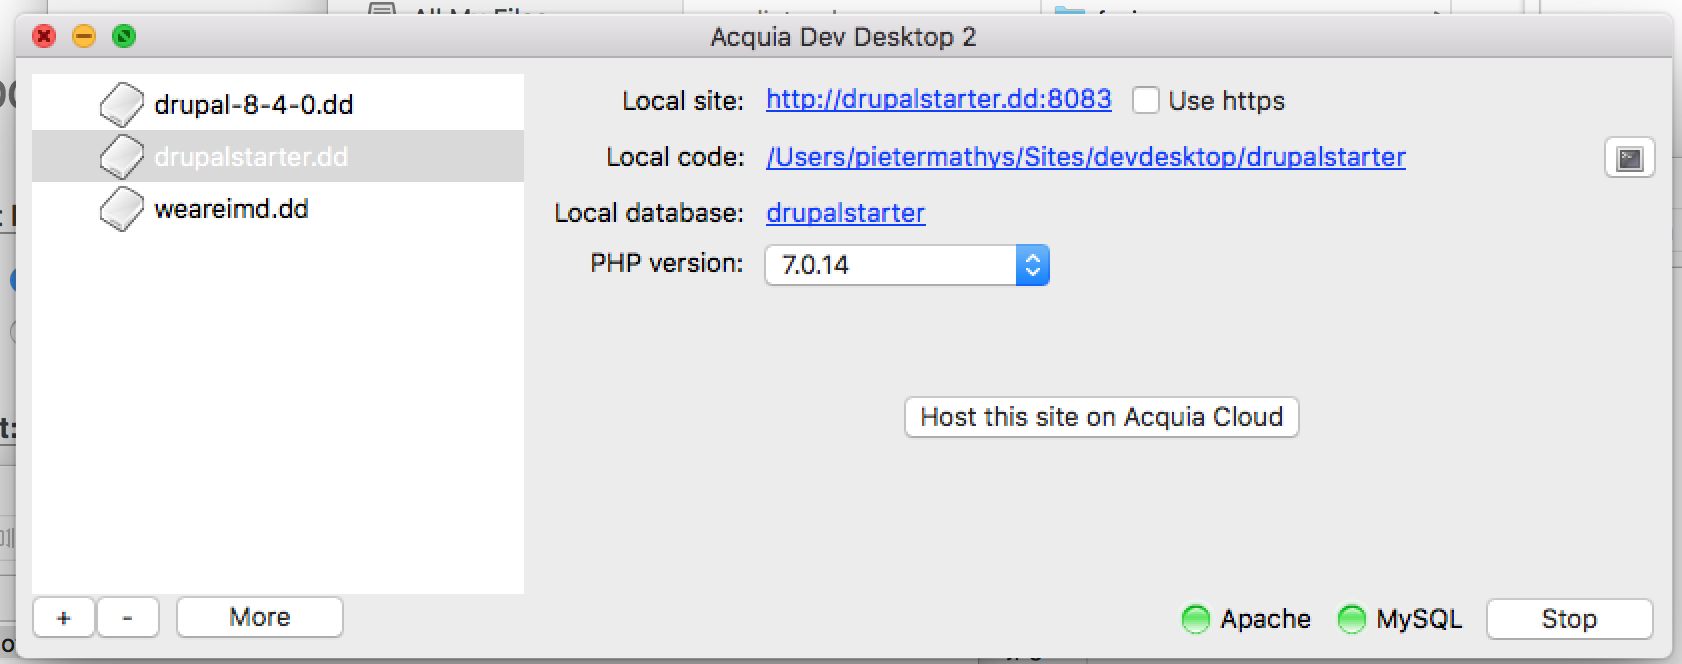
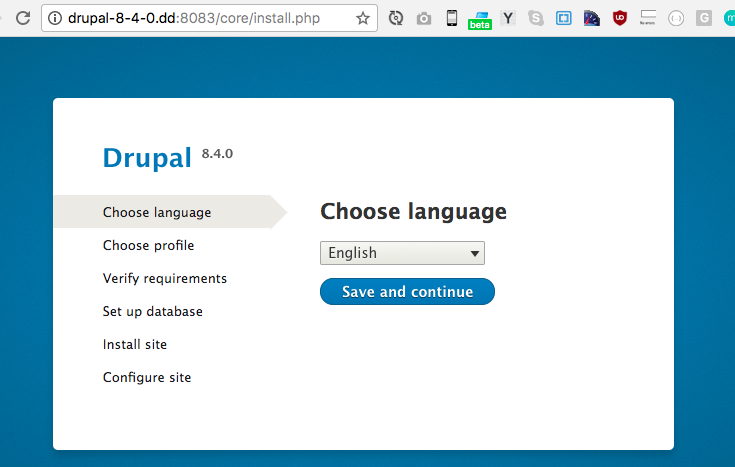
7) Visit site & log in
root
root
Manual install?
When installing a site manually (with MAMP/XAMP), do the following:
- Add a new site-directory in htdocs/
- Place the downloaded code
- Create a new database through phpMyAdmin
- Import the database backup
- Go to /sites/default/
- Copy & rename default.settings.php to settings.php
- Add the snippet (next slide) at the bottom of the settings.php file
Manual install?
4.2) Add the snippet (next slide) at the bottom of the settings.php file
$databases['default']['default'] = array(
  'driver' => 'mysql',
  'database' => 'database_name',
  'username' => 'database_user',
  'password' => 'database_password',
  'host' => '127.0.0.1',
  'port' => '',
  'prefix' => '',
);
Change values to match your setup!
Site should then be visitable on localhost/name
Working on an existing project
Context
You just got your first internship at a Drupal agency.
They have decided your first project will be to update a site that isn't ready yet to go live.
Context
This is a series of exercises that will teach you how to:
- Install an existing Drupal site
- Place & modify blocks
- Add a simple content-type: Teacher
- Add a simple page view: Teachers
- Define a webmaster role & add a user
Download
Ex 1
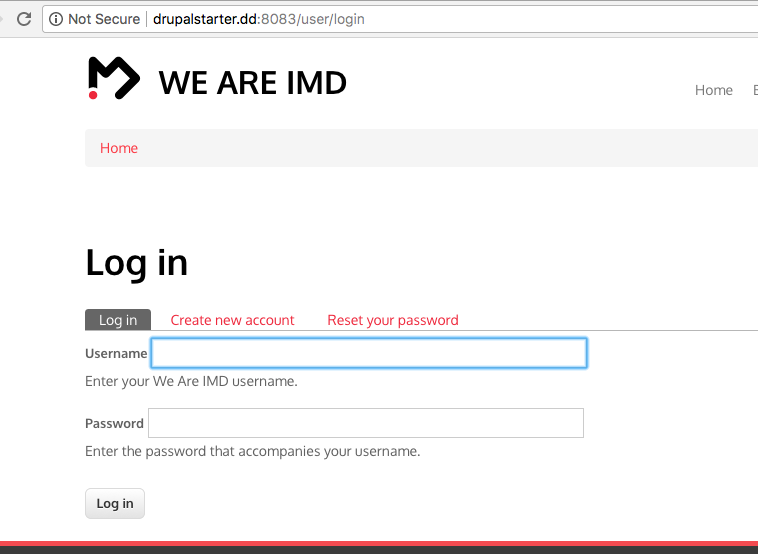
Install an existing Drupal site
Set up the existing site
Using the download from previous page, install the Drupal 8 site.
Use the slides as a how-to.
Ex 2
Manage blocks
Manage blocks
- Hide the site name from the header
- Remove the block "Powered by Drupal"
- For the homepage:
- Don't show these sidebar blocks:
- User menu
- Tools
- Add 3 blocks with some text content. F.e.:
- "Design"
- "Development"
- "Community"
- Don't show these sidebar blocks:
Use Block page settings to hide/show
blocks on specific pages
Style blocks
Now that we have some blocks we can add some styling.
Use browser Devtools (inspect element) to figure out which classes to use.
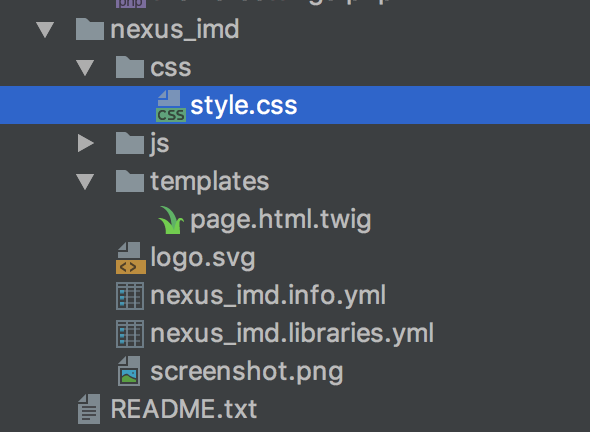
In the nexus_imd theme you can add custom CSS.
Ex 3
Add content type: Teacher
Add content type: Teacher
Add a new content-type: Teacher
Disable:
- Publishing options
- Promoted to front page
- Sticky at top of lists
- Create new revision
- Display settings
- Display author & date info
- Menu settings
- Available menus: none
CT Teacher: manage fields
Add the following fields:
- Photo - Image
- Function - Text
- Email - Email
- Description - Text long formatted
CT Teacher: form display
Disable unwanted fields:
- Promoted to front page
- Sticky at top of lists
- Comments
CT Teacher: manage display
For default view mode change:
- Disable:
- Links
- Comments
For teaser view mode change:
- Add two groups: Left & Right
- In Left place:
- Image
- In Right place:
- Description
CT Teacher: path alias
Add a new path alias specifically for the new CT Teacher.
The output should look like this:
/teacher/name-of-teacher
(For name we use the title of the node)
CT Teacher: Add & Style
Add some content.
Using preview function you can see the result of new nodes.
In the nexus_imd theme you can add custom CSS.
Ex 4
Add view: Teachers
Add view: Teachers
Using Views UI, add a new view: Teachers
- Show Content of type Teacher
- Create a page
- Title: Teachers
- Path: teachers
- Display format: unformatted -> teasers
- Items to display: 9
- Create a menu link: Main nav -> Teachers
Review result & style
Go to the page /teachers to see the results.
In the nexus_imd theme you can add custom CSS.
All exercises should be completed by next week!
As we will continue building upon this site.
CMS1 W5 T+P 17-18
By Pieter Mathys
CMS1 W5 T+P 17-18
Working with Drupal