Exercises
Create a theme
Requirements
- Host your site locally using MAMP/XAMP/...
- Forget Acquia Dev Desktop: It is no longer updated!
- Install a Drupal site with the Demo profile Umami
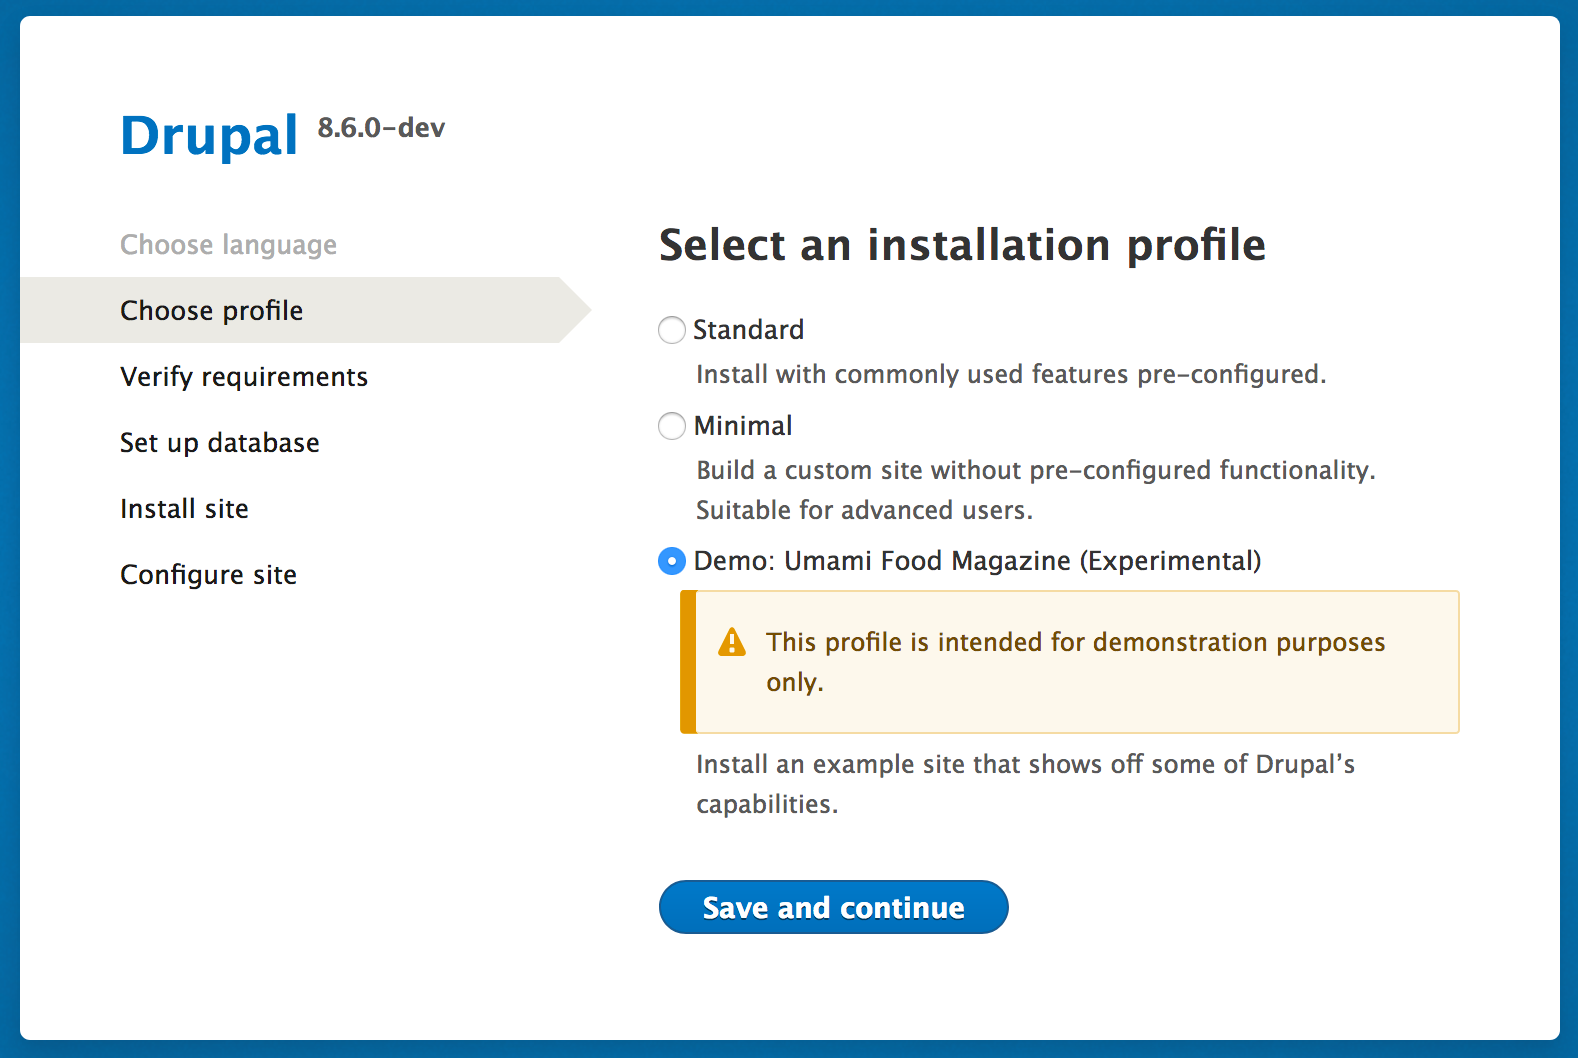
Goal
Recreate a theme
similar to the Umami theme
Preparation
Create a theme
File structure
- Open your Drupal project with a good editor
- PHPStorm
- Visual Studio
- Brackets?
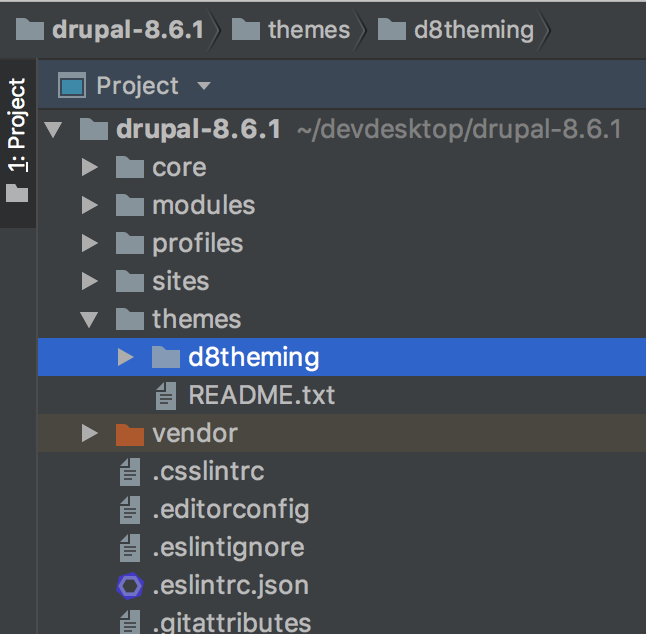
- Go to the map /themes
- All themes are installed in this folder
- Create a new folder
- Choose a sensible name
Picking a name
Each individual theme is contained in a directory named after the theme itself. For example fluffiness/.
The name must be all lowercase, start with a letter, and uses an underscore (_) instead of spaces.
This name will be important, a lot of files will have a reference to this name.
Changing the name later can be annoying.
Info File
Create a theme
Look at the examples
Your Drupal installation already contains a number of themes.
As example check these out:
- /core/themes/bartik
- /core/themes/classy
- /core/profiles/demo_umami/themes/umami
Create .info.yml
In our new folder (F.E.: /themes/fluffiness) add a new file. Name this file:
<themename.info.yml>
F.E.:
- fluffiness.info.yml
- d8theming.info.yml
This name must be the same as the folder name!
Add info .info.yml
Look at /core/profiles/demo_umami/themes/umami/umami.info.yml
Copy the contents to your own info.yml file
Change the following key/value pairs:
- Name
- Description
Update info .info.yml
Change the following key/value pairs:
- Name
- Description
- Version (8.x)
Remove the following key/value pairs:
- libraries
- libraries override
- datestamp
Activate the new theme
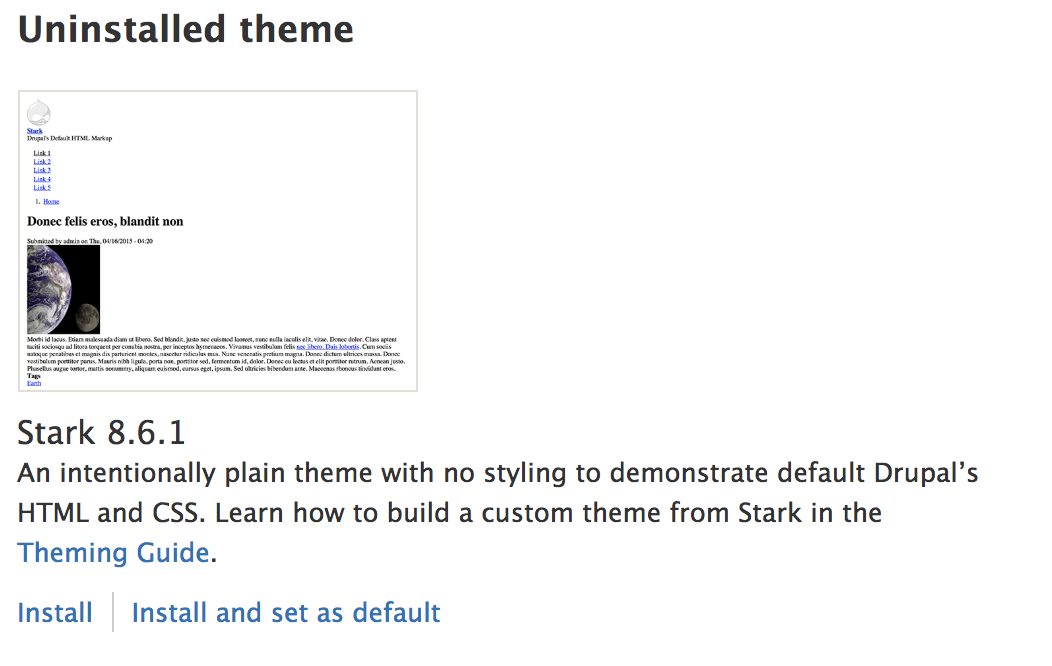
Go to your site, to the appearance page:
- localhost/drupal/admin/appearance
Find your newly created theme and hit Install & set as default
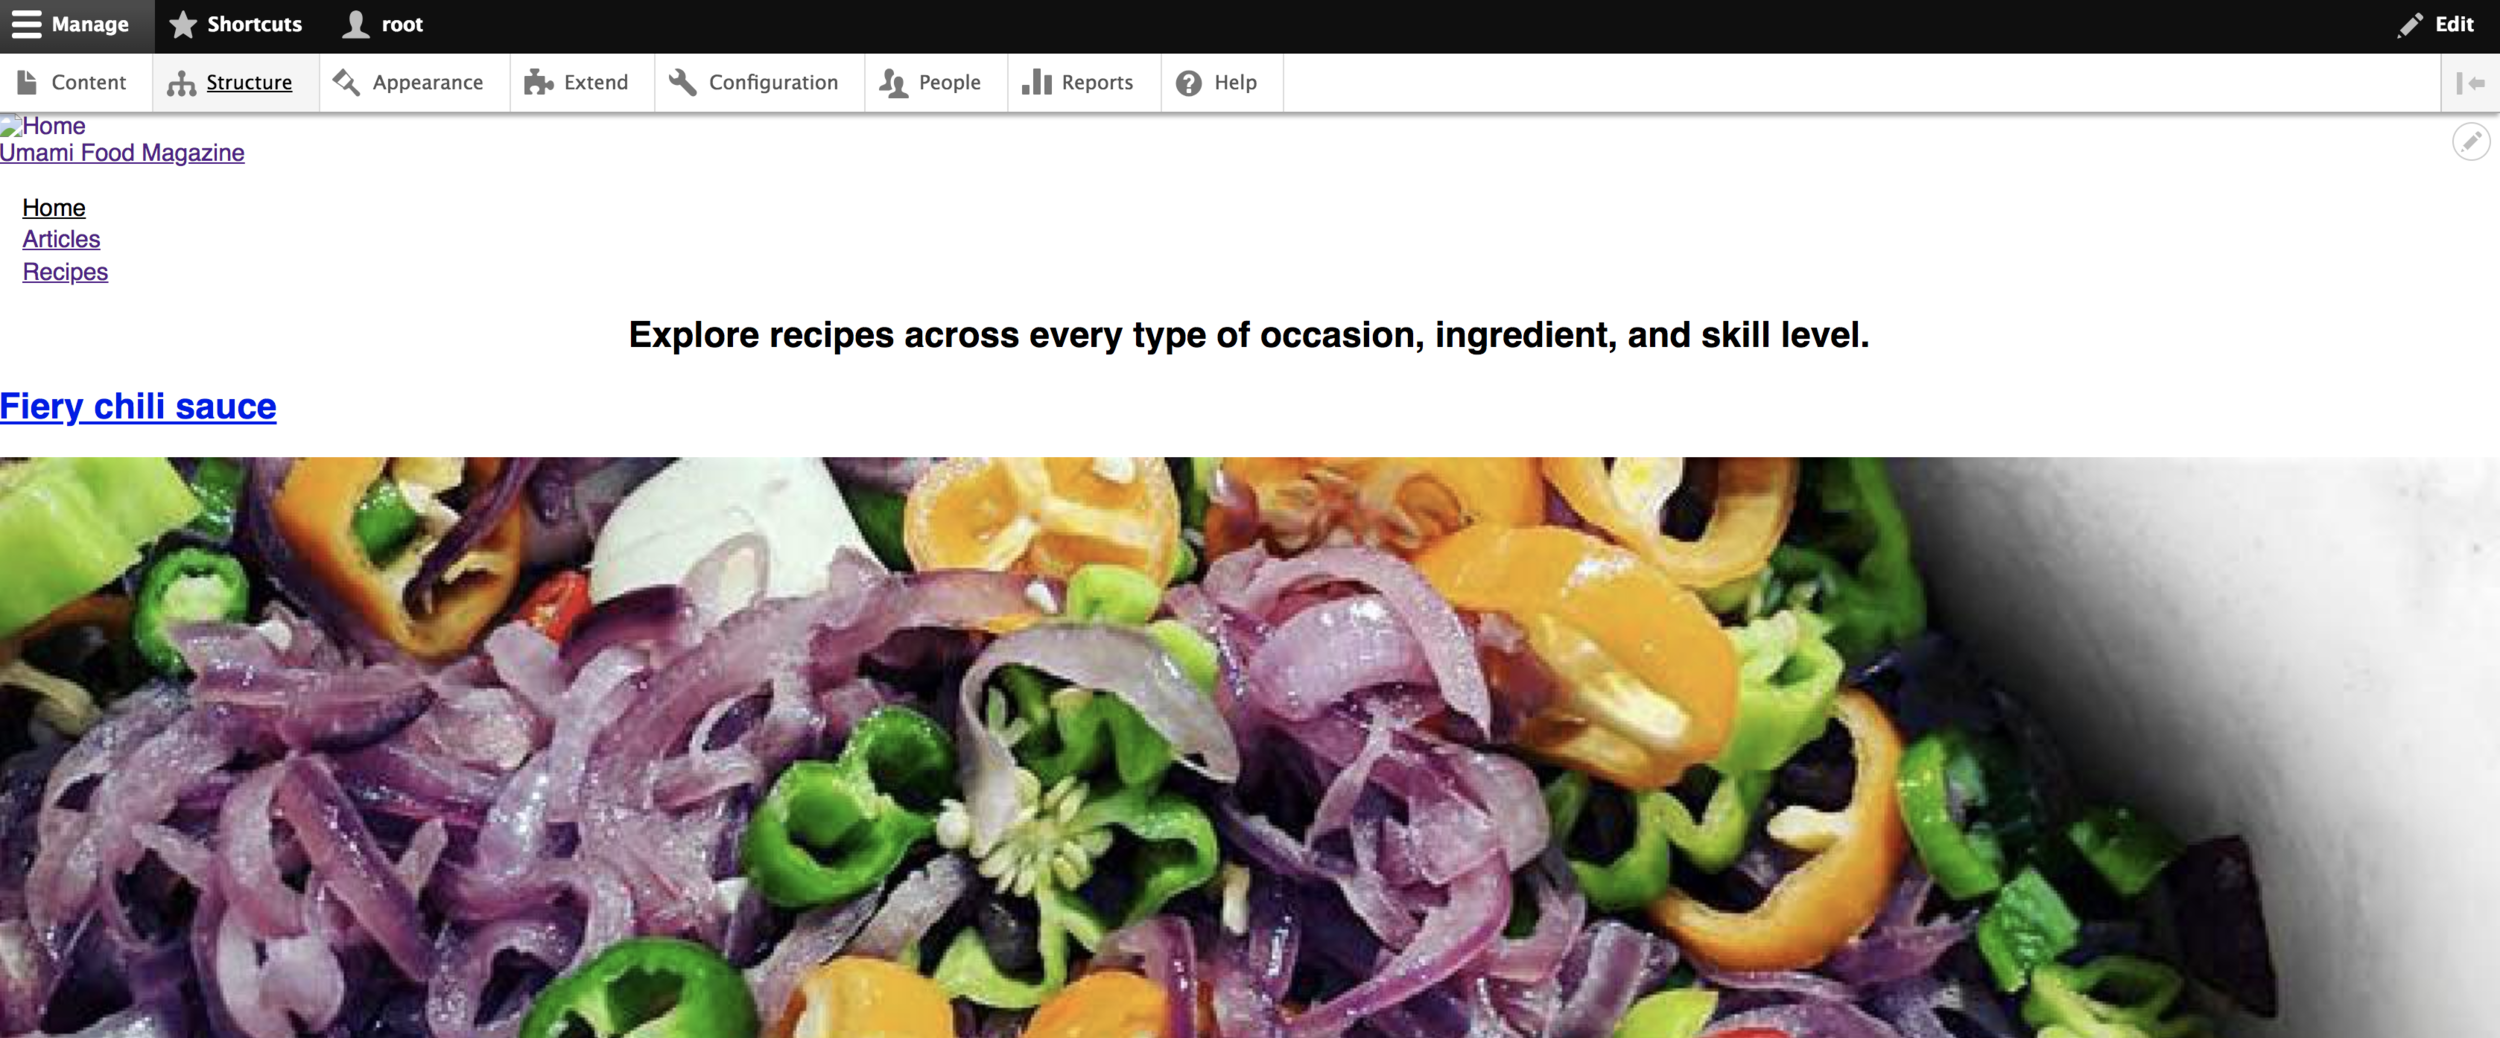
Success?
If all went well your theme should be active, and your site will look like this:
Note: if you don't use the same regions
If you use new/different regions, you will have to place the blocks in the correct/new regions.
Go to:
/admin/structure/blocks
Docs
Adding libraries
Create a theme
Adding CSS
In your theme, add a new folder: css
/themes/fluffiness/css
In this folder, create a new file: styles.css
/themes/fluffiness/css/styles.css
Add .libraries.yml
In your theme, add a new file: <themename>.libraries.yml
/themes/fluffiness/fluffiness.libraries.yml
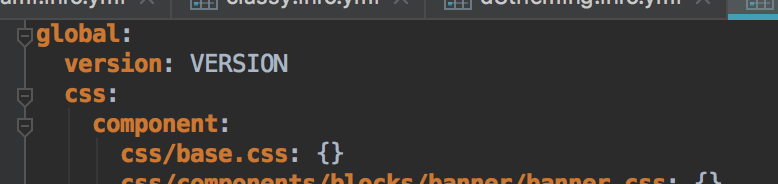
Look at the classy.libraries.yml file
Copy the first 4 lines to your library file:
global:
  version: VERSION
  css:
    component:
      css/styles.css: {}
Rename base.css
to styles.css
Link .libraries.yml
In your theme's info.yml file, add the following code:
libraries:
- fluffiness/global
Add some CSS
Add some CSS to your css/styles.css file for testing
F.E.:
Clear caches, refresh home & check result.
body {
    background-color: hotpink;
}
Notes
Docs
Adding Assets
Create a theme
Adding Assets
Want to use assets for you CSS?
Add a new folder: images
/themes/fluffiness/assets
Add theme-assets to this folder:
- Images: assets/images
- Video: assets/video
- Fonts: assets/fonts
- etc
Adding Assets
You can these use these assets in your theme CSS:
background: url('/themes/fluffiness/assets/images/cat.jpg')Adding Logo
Create a theme
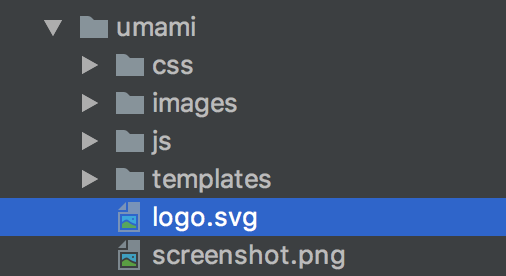
Adding a logo.svg
You can add your own .svg logo to the theme, just place it like this:
This logo will automatically be used
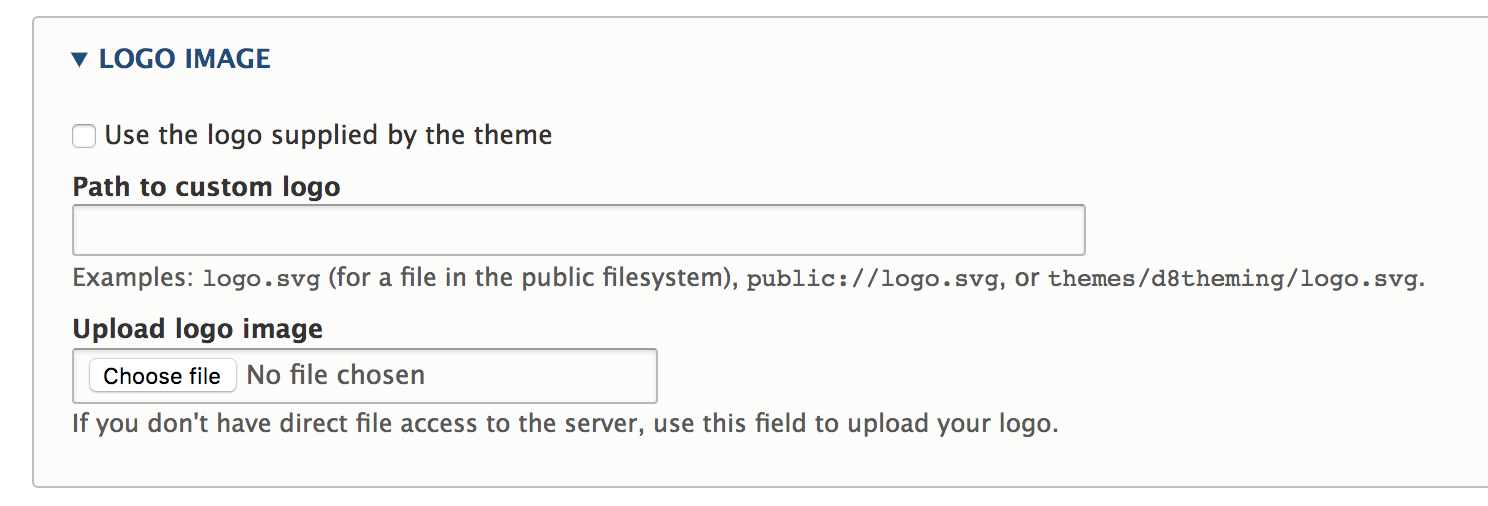
Adding a logo.png
Want a non-svg logo? Add it through:
/admin/appearance/settings/d8theming
Other ways
Adding Screenshot
Create a theme
Adding a logo.svg
Add a screenshot.png/.gif file to the theme:
This logo will automatically be used
Drupal 8 Theming IMD - Exercise 1
By Pieter Mathys
Drupal 8 Theming IMD - Exercise 1
D8 IMD Theming Exercises: Create a theme