
DIGITAL SECURITY
WITH RACCOONS
WITH RACCOONS
DIGITAL SECURITY
CHECK IN,
RACCOSMONAUTS!
CHECK IN, RACCOSMONAUTS!
WHAT IS (YOUR)
DIGITAL SECURITY?
WHAT IS (YOUR)
DIGITAL SECURITY?
YOUR BIG STROKES
HAVE A
BIG IMPACT
YOUR BIG
STROKES
HAVE A
BIG IMPACT
BUT YOU NEED MANY SMALL STROKES TO COVER ALL THE DETAILS
BUT YOU NEED MANY SMALL STROKES TO COVER ALL THE DETAILS
ONLY YOU CAN DECIDE WHAT IS DETAILED ENOUGH FOR YOU
WHEN IS IT DONE?
ONLY YOU CAN DECIDE WHAT IS DETAILED ENOUGH FOR YOU
WHEN IS IT DONE?
HOW TO SAFELY
USE THE WEB
1
PRIVACY BROWSER
2
DISABLE SEARCH HISTORY
3
SECURE
DNS

4
USE A
VPN


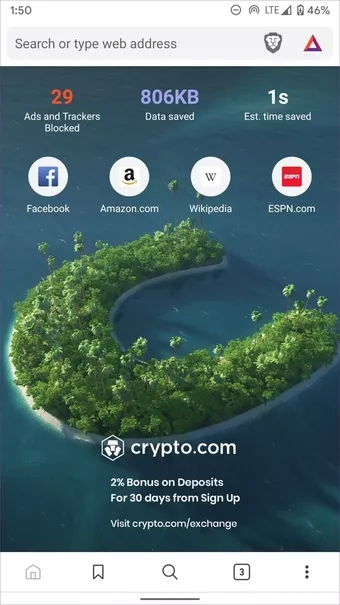
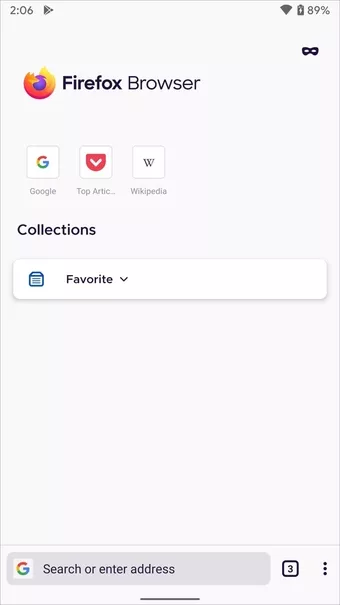
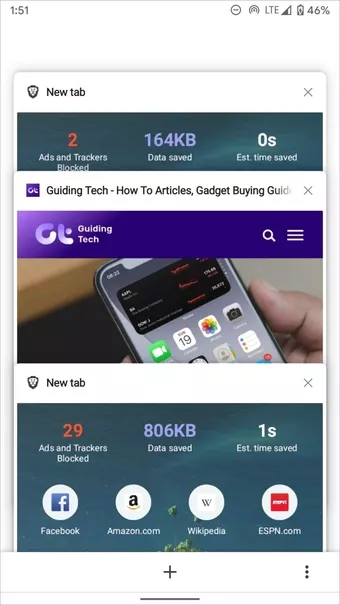
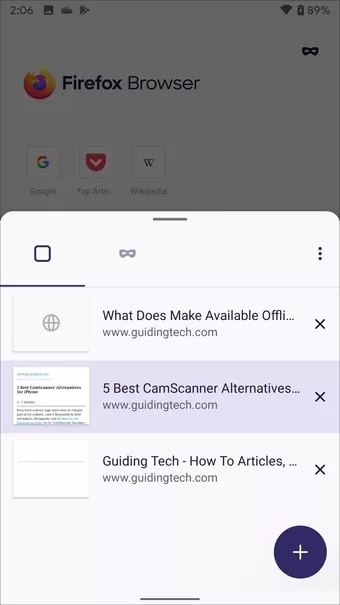
PRIVACY BROWSER
1
2
DISABLE
SEARCH
HISTORY
... and everything Google is tracking about you that you can live without


3
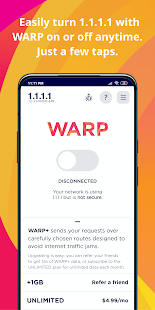
SECURE DNS

[play store link]


3
SECURE DNS
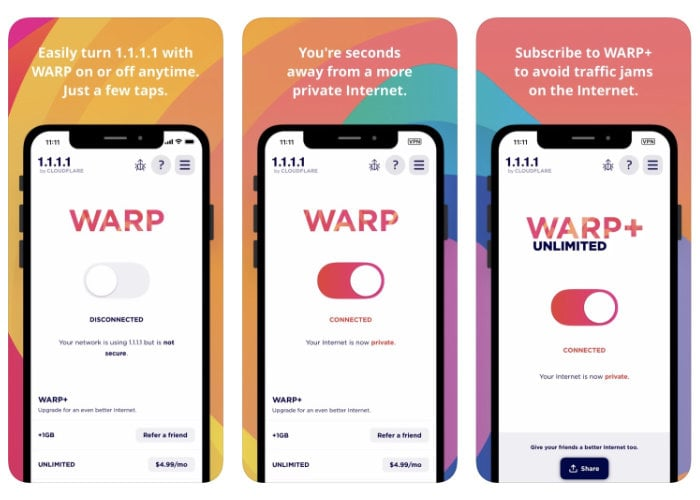
[app store link]

4
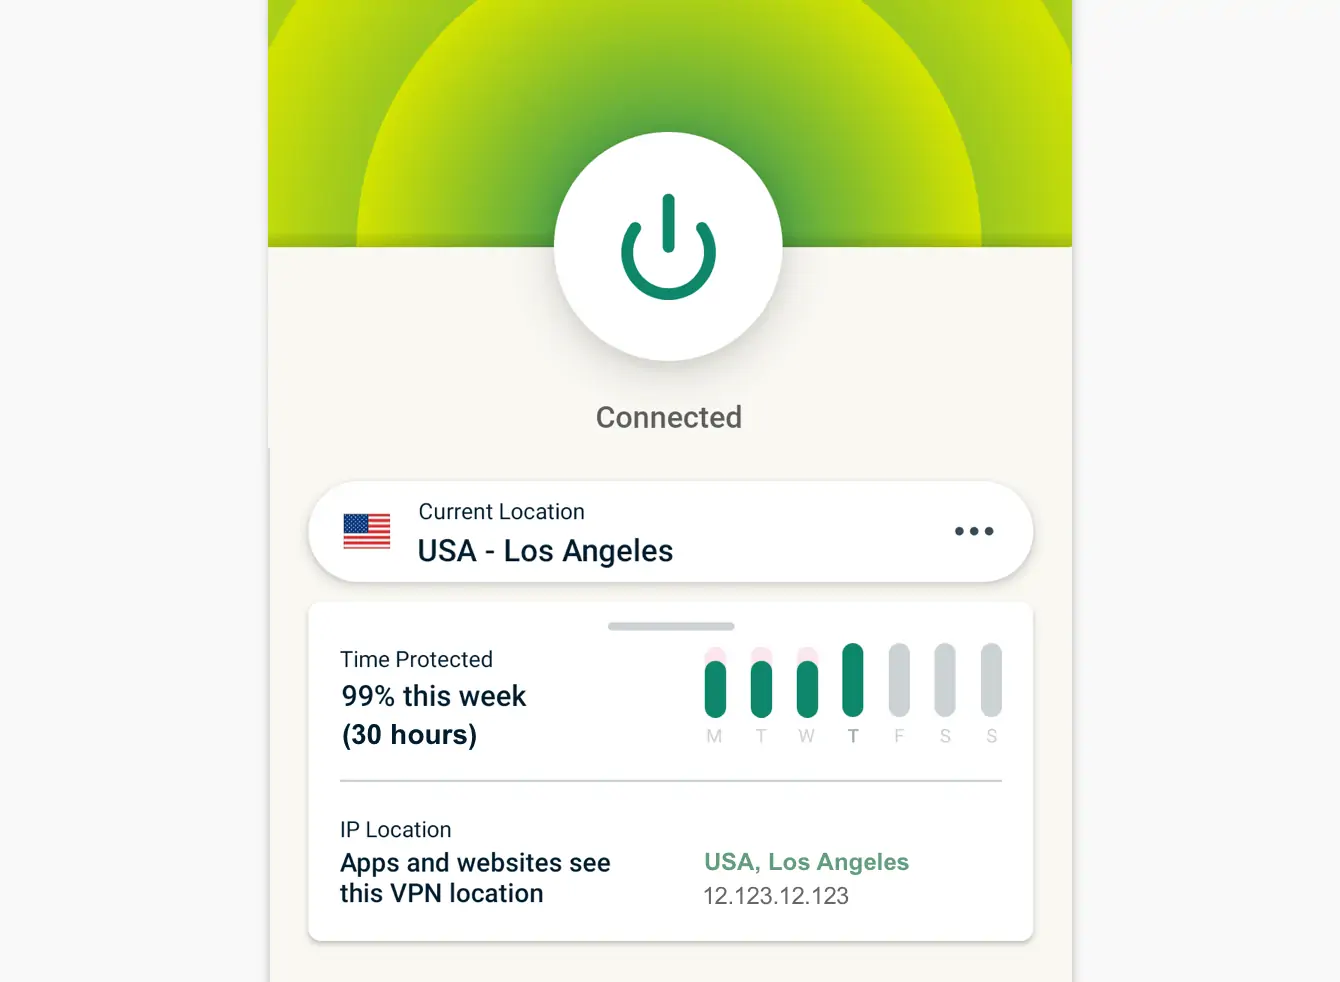
VIRTUAL PRIVATE NETWORK
1
Set solid
passcode
2
Verify iCloud setting
(off where possible)
3
No/limited lock screen notifications
6
PIN code
on your SIM
5
Turn-off Auto-Join WiFi networks
4
Optional : Add SOS Emergency Contact


4321
p@$$w!rD
FastBulkCat
local
remote server
PIN
vs
PASSWORD
vs
PASSPHRASE
vs

HOW MANY PASSPHRASES DO YOU NEED?
PASSWORD MANAGER
1
MICROSOFT / iCLOUD
2
GENERATE YOUR PASSPHRASES
1
PICK NUMBER
OF WORDS
2
3
LOOKUP RESULT
ON WORDLIST
4
5
6
GENERATE STRONG PASSWORDS
1
ONLY REMEMBER
ONE PASSPHRASE
2
UNIQUE
PASSWORDS
3
SECURE
SHARING
4
PORTABILITY
& SYNC
5
WHY USE A PASSWORD MANAGER?

BETTER
UX
6
Shall we use
iCloud Keychain?


Apple Only
Proprietary
Individual focus
Targeted
SOURCE : "Censorship, Surveillance and Profits:
A Hard Bargain for Apple in China"
New York Times, 17 May 2021
AUTHENTICATION
BASIC FEATURES
1
Open Source Security
2
End-to-End
Encryption
3
Cross Platform
Apps & Sync
6
Support for 2FA, FIDO, and T-OTP
5
Password Capture & Auto-Fill
4
Support for all Popular Browsers
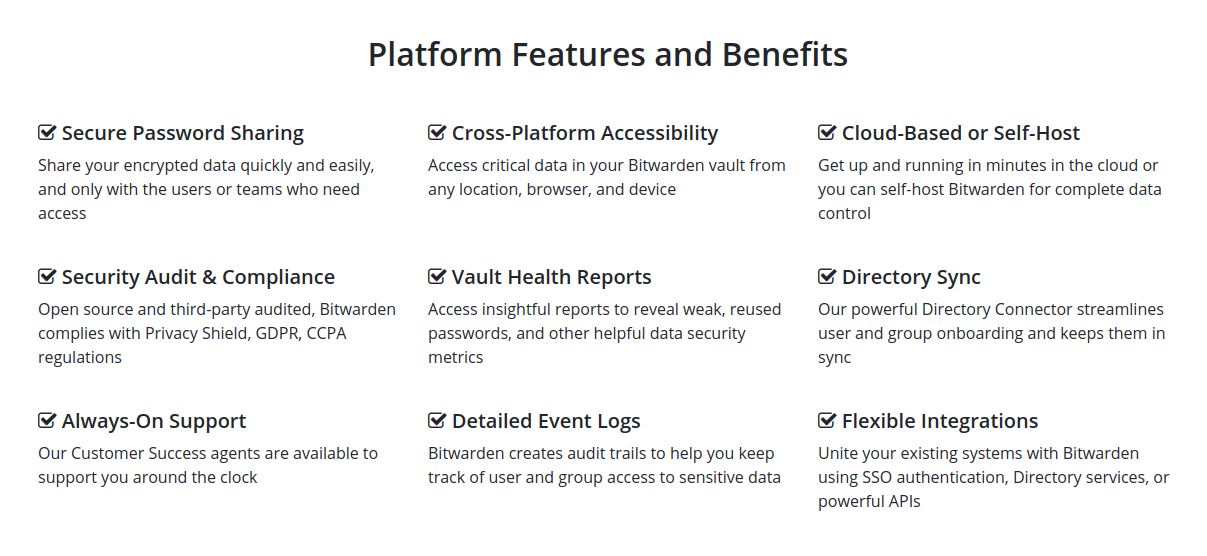
ADVANCED FEATURES
HOW TO USE BITWARDEN?
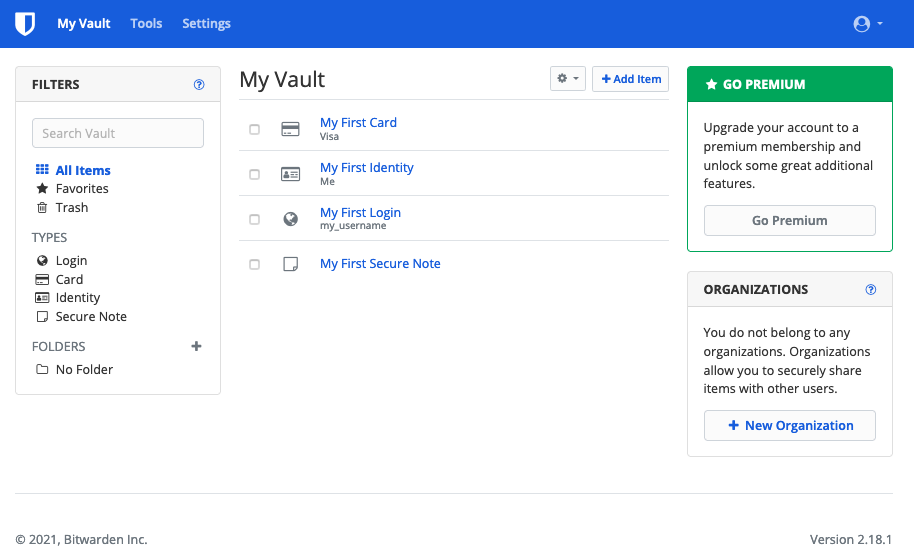
Web Vault
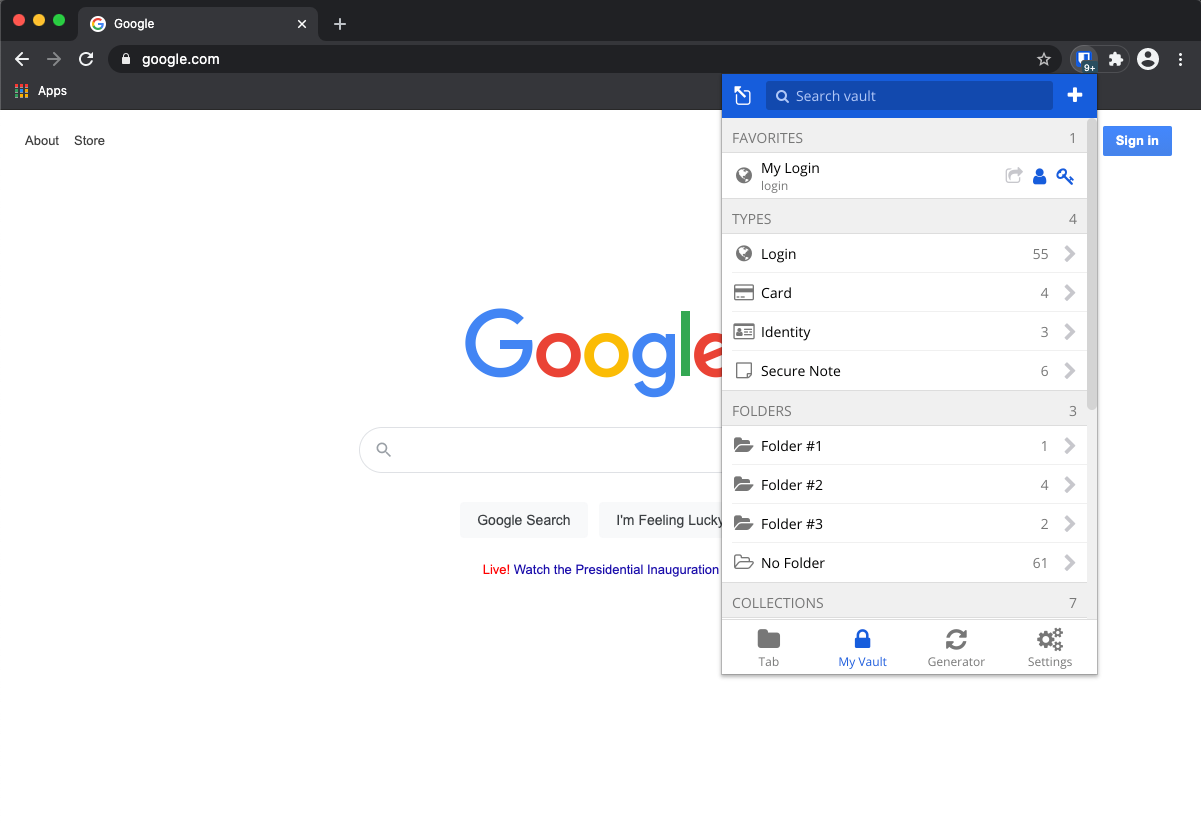
Browser Extension
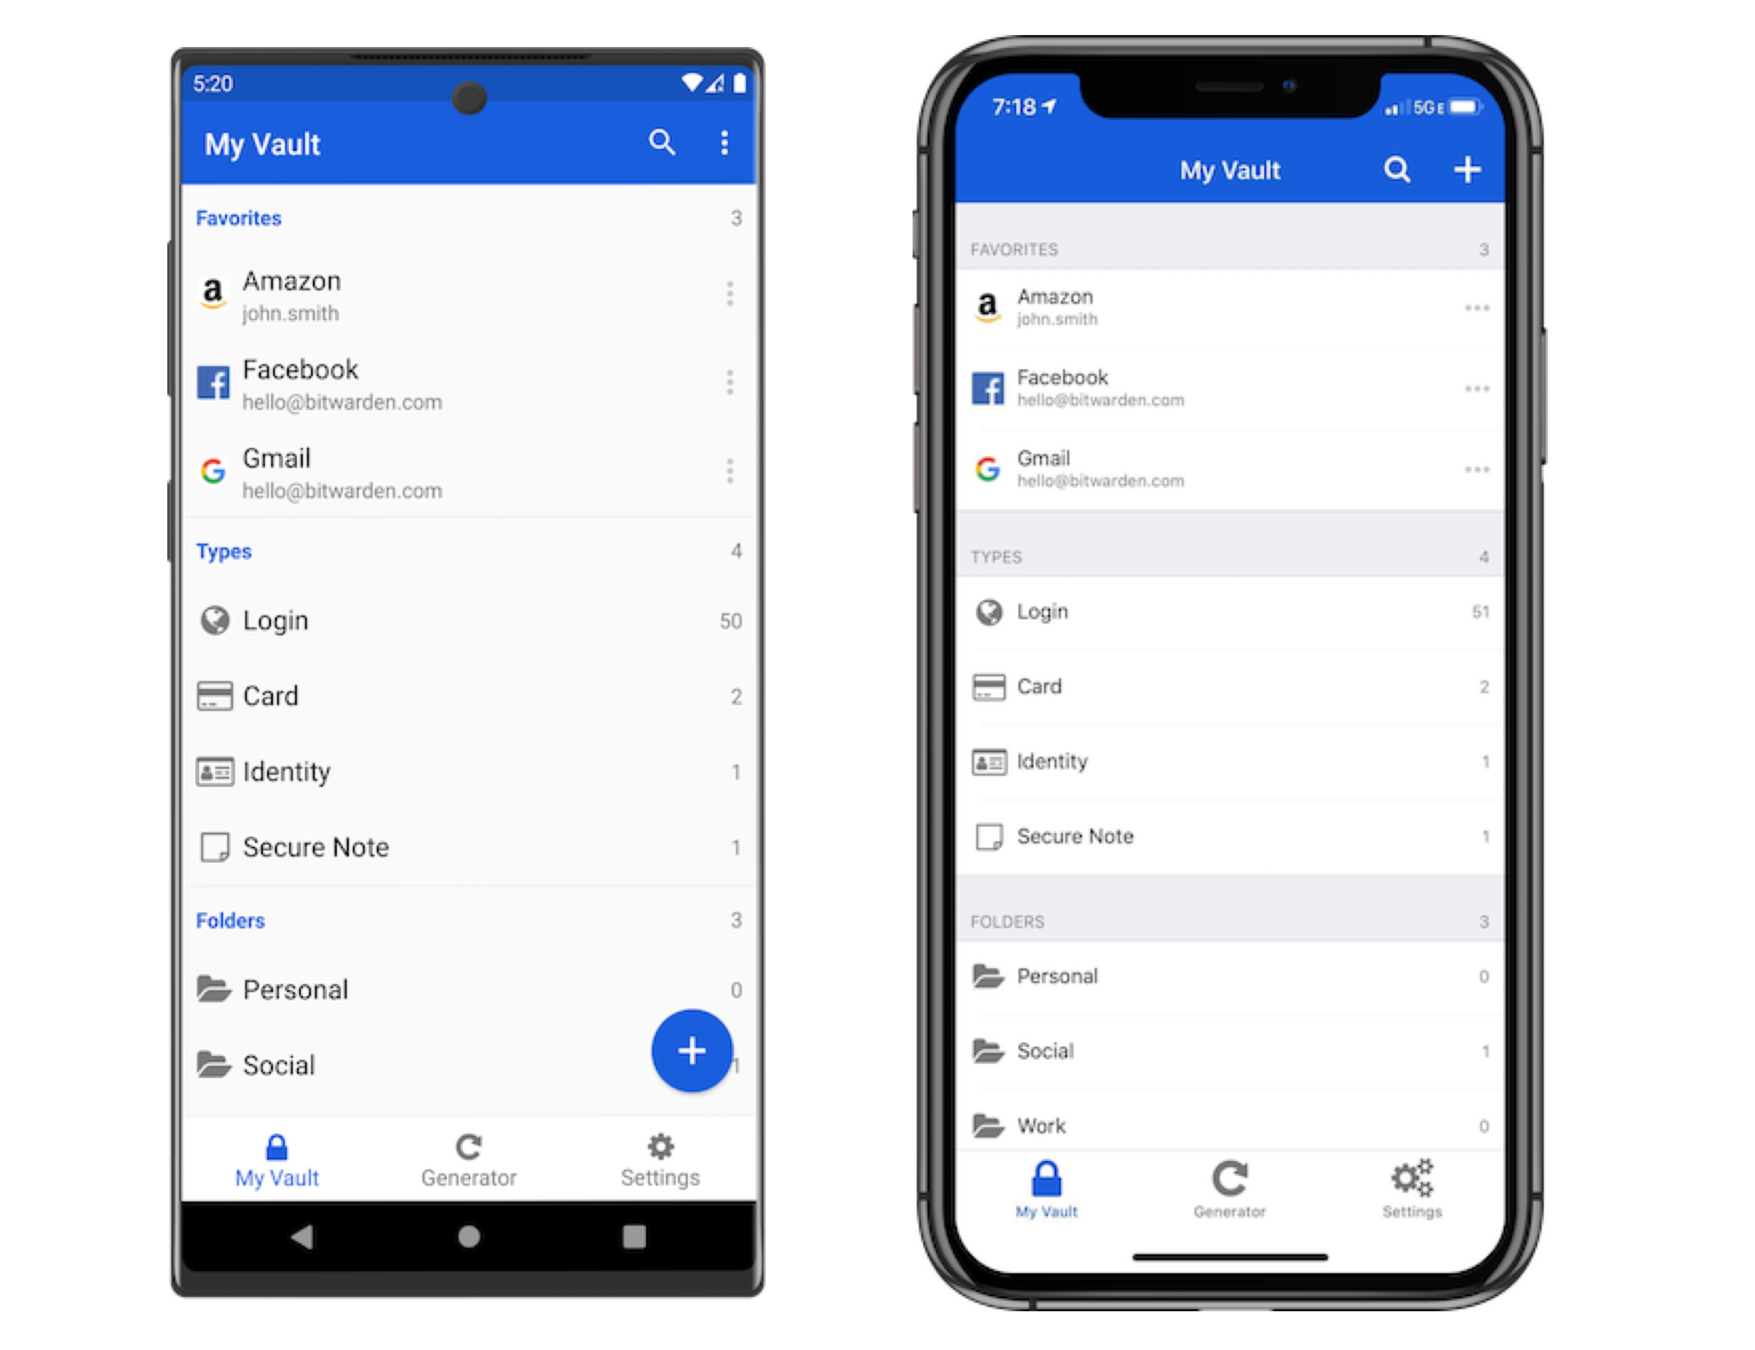
Mobile App

Web Vault

Let's get you setup with
Invite People to Organization
BitWarden Admin
Create Organization
1
3
Create Collection for Shared Passwords
2
Grant access to Collections
4
Use Passphrase generated with Diceware
BitWarden Users
Accept invitation
5
7
Click "Create Account"
6
Login to your Vault
8
ACCOUNT SETUP
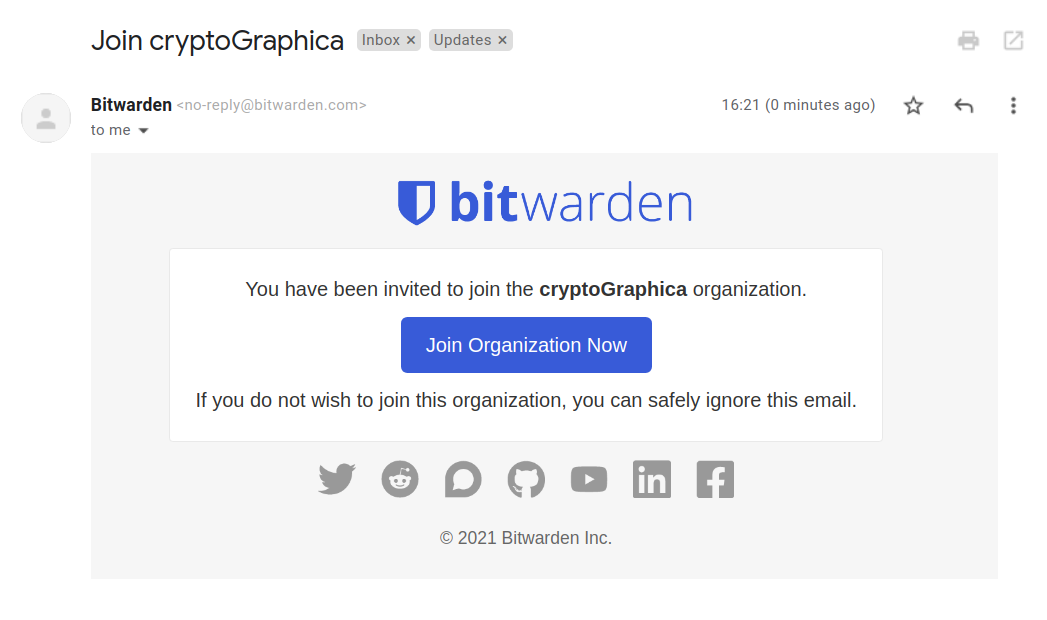
Accept invitation
5

Click "Create Account"
6
"Get Started" to sign up
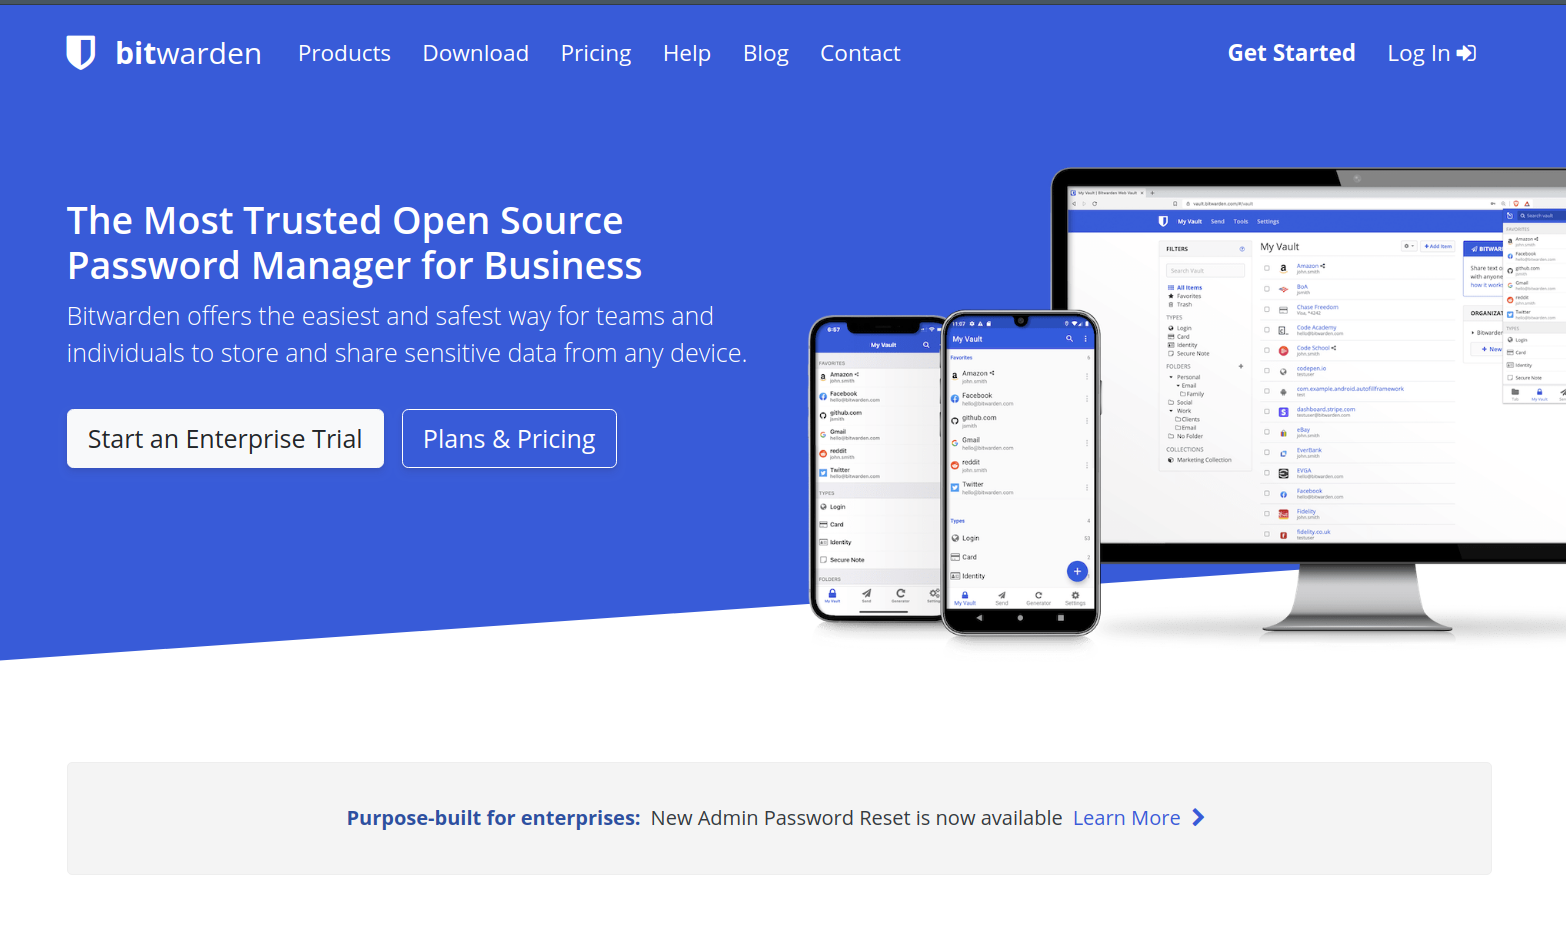
https://bitwarden.com/
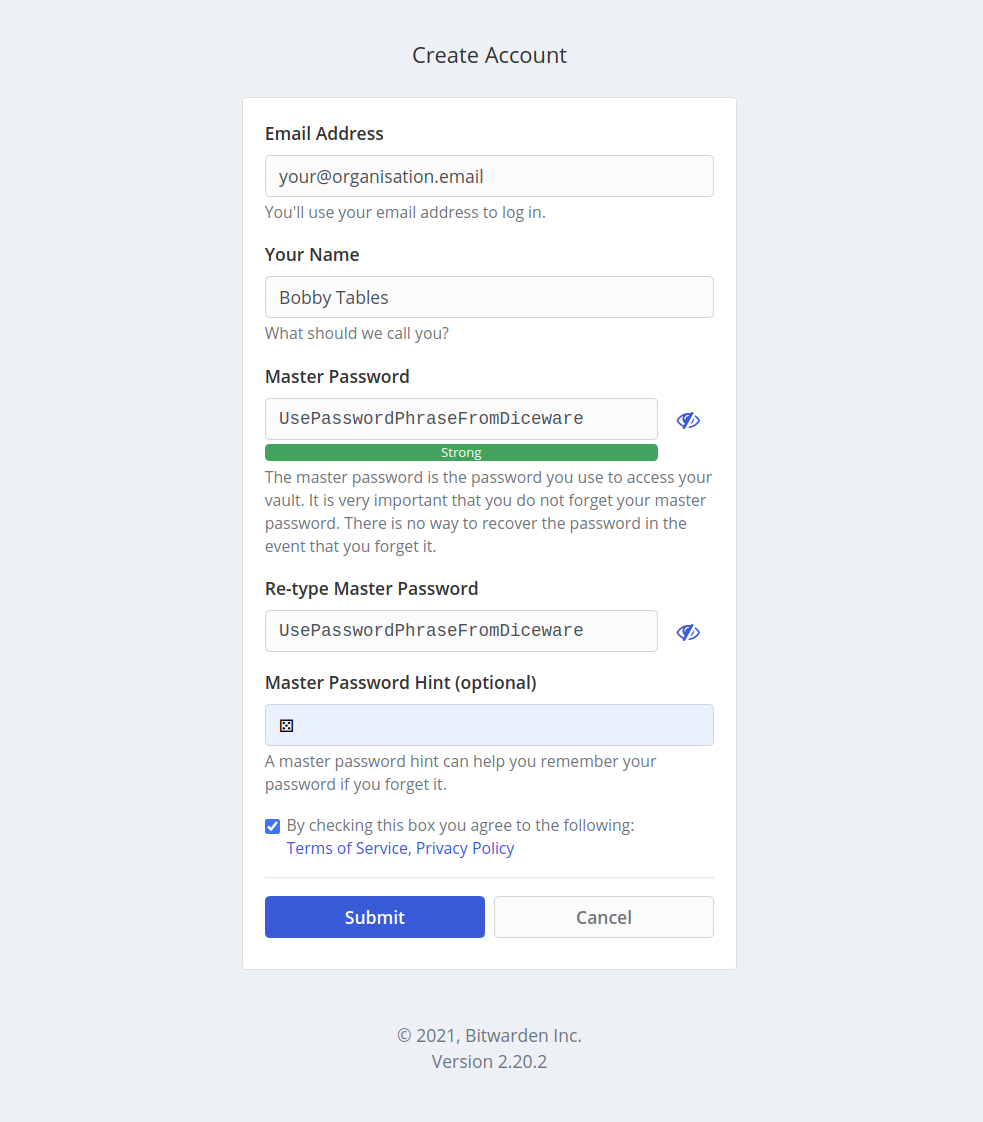
Use Passphrase generated with Diceware
7
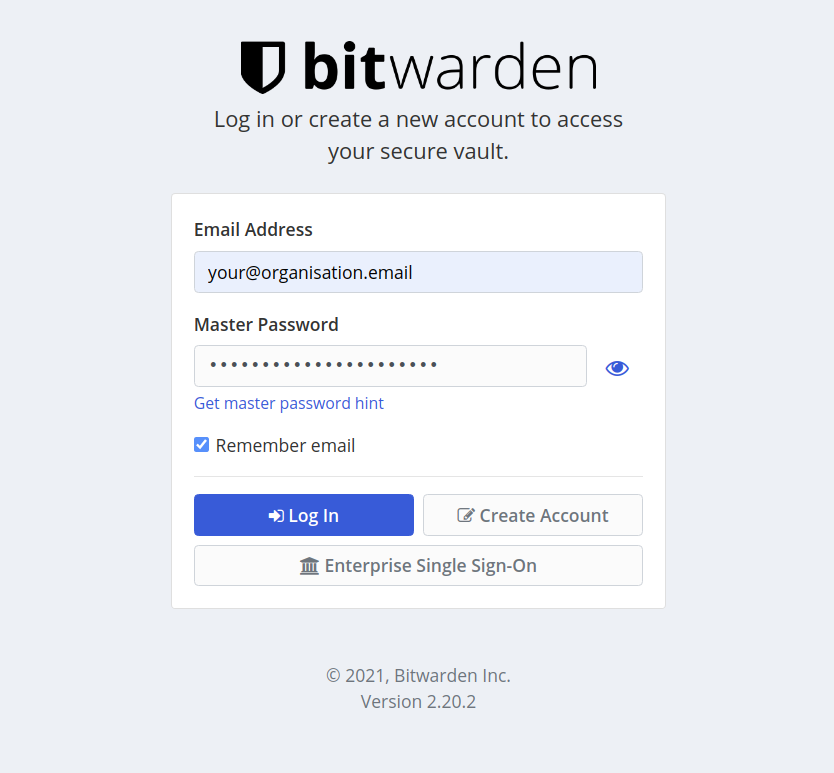
Login to your Vault
8
Welcome to your Vault
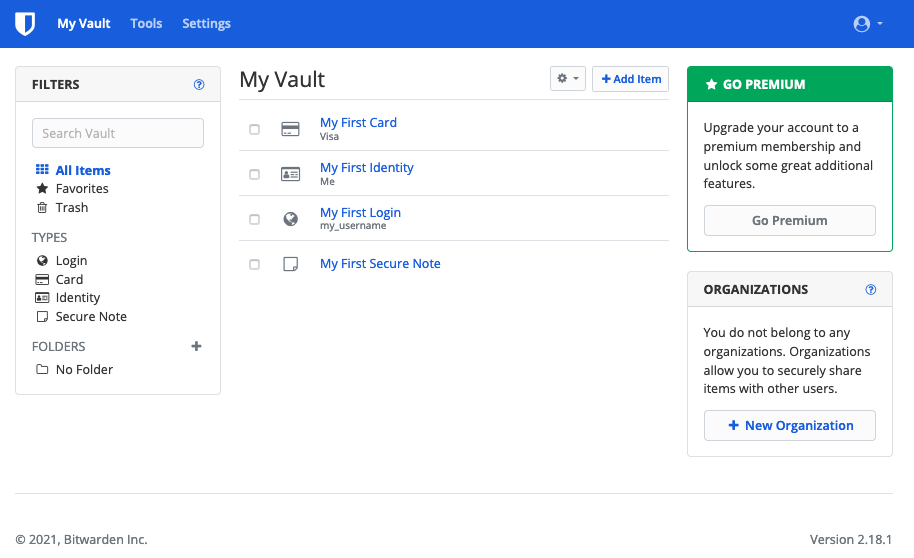

You've succesfully invited your Emergency Contact ...
VAULT SETTINGS
Vault Timeout
1
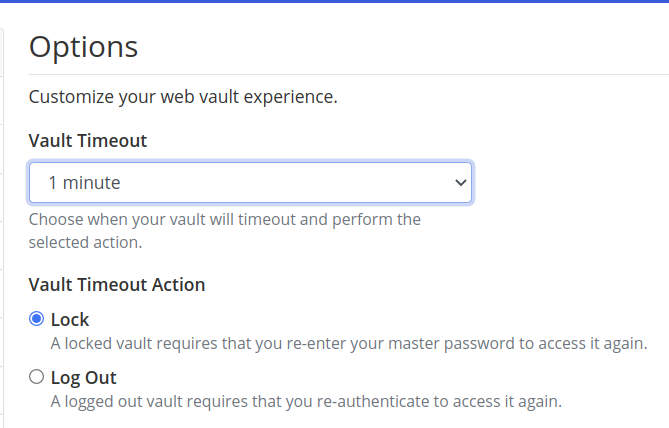
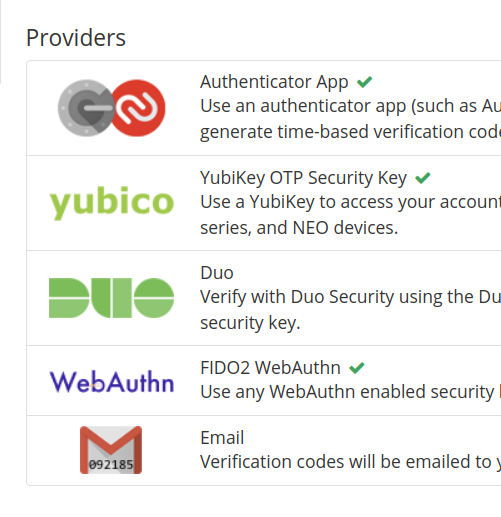
Two-step Login
2
Browser Extensions
Let's get you setup with




Set Timeout Settings
Install Browser Extension
1
3
Login and Pop out
2
Set Options
4
BASIC SETUP
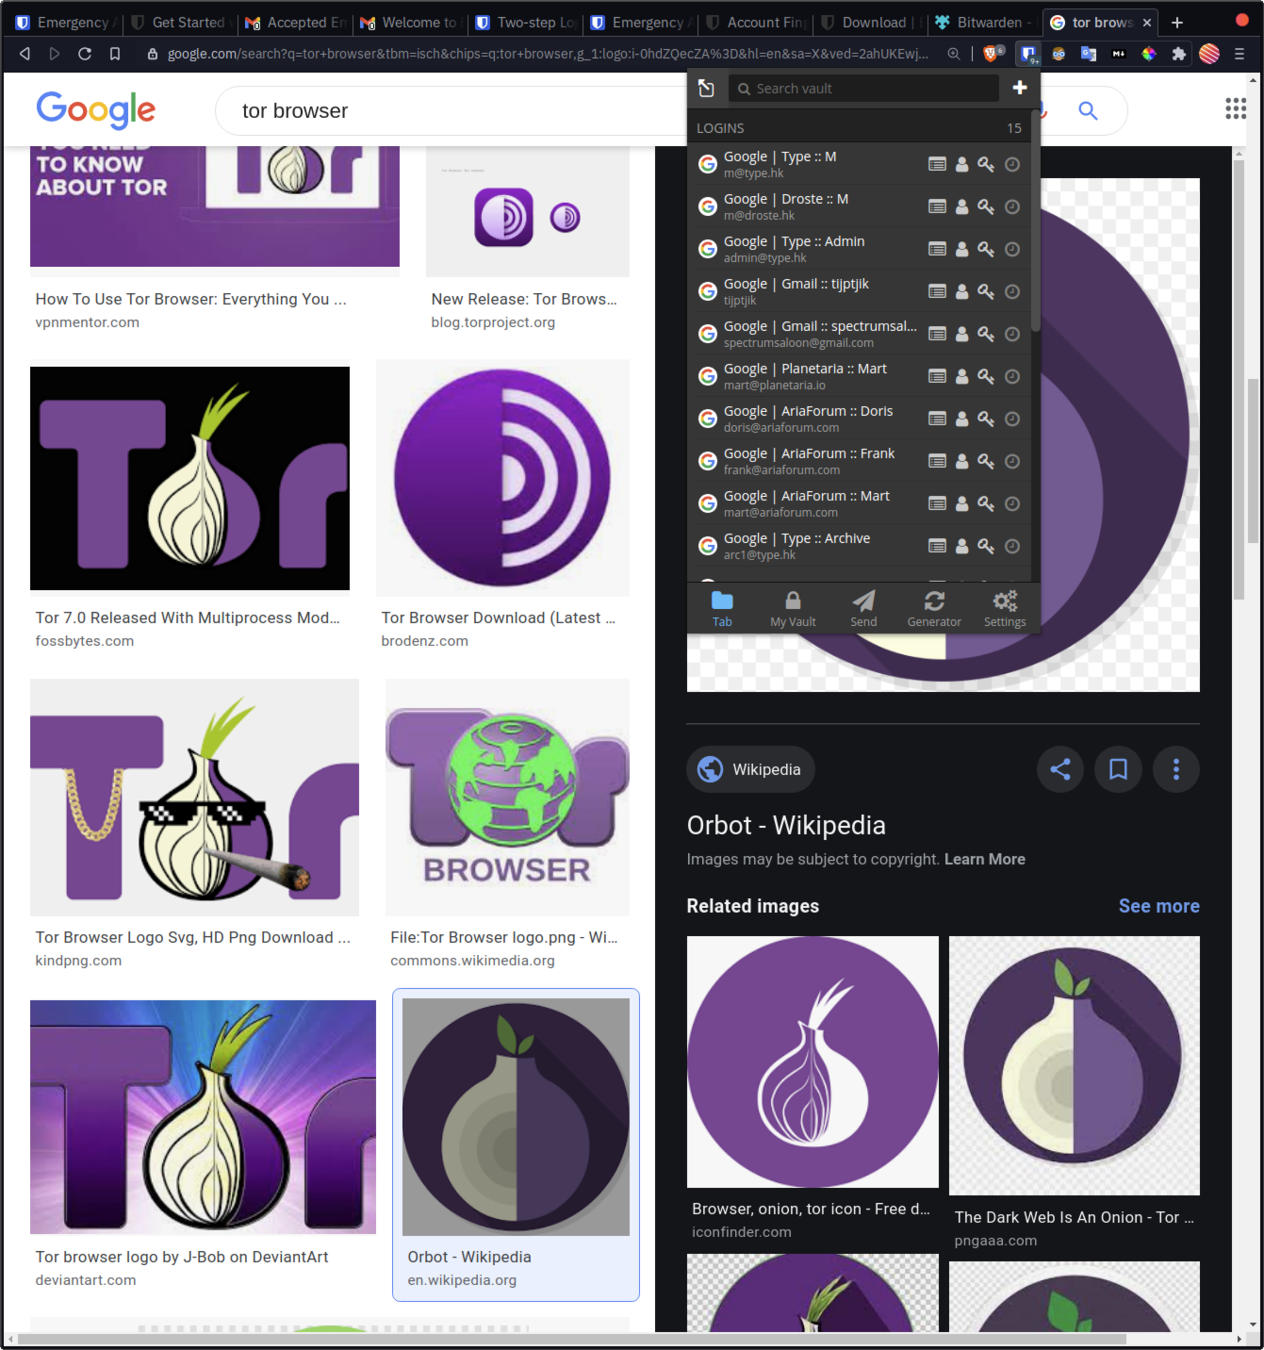
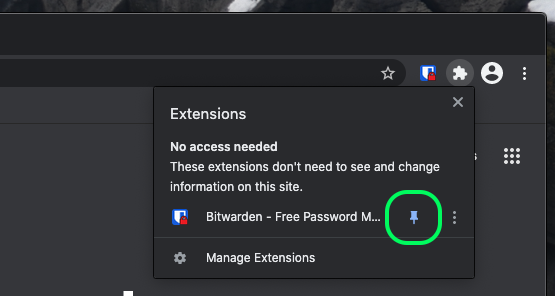
Install extension & pin it
1
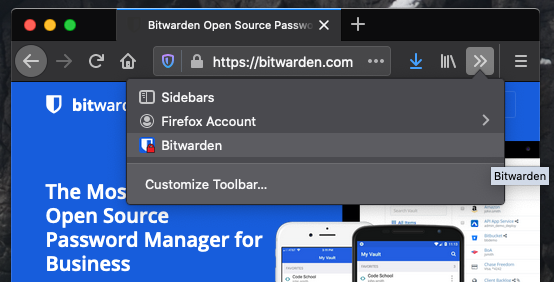
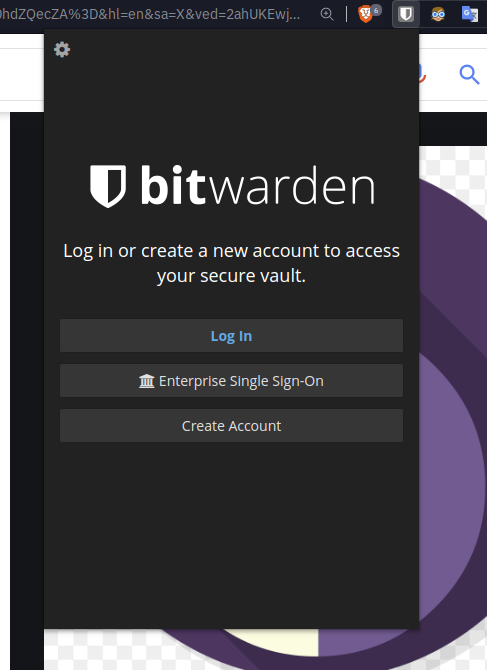
Login and Pop out
2
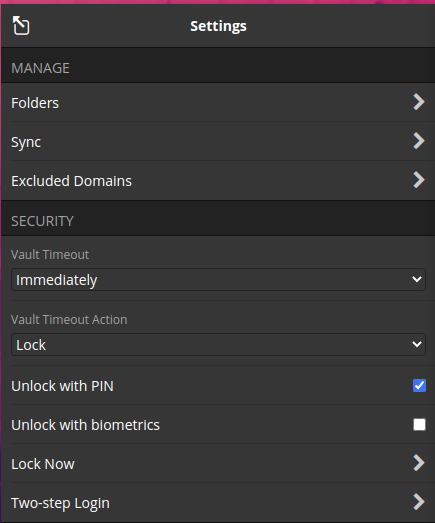

Set Timeout Settings
3
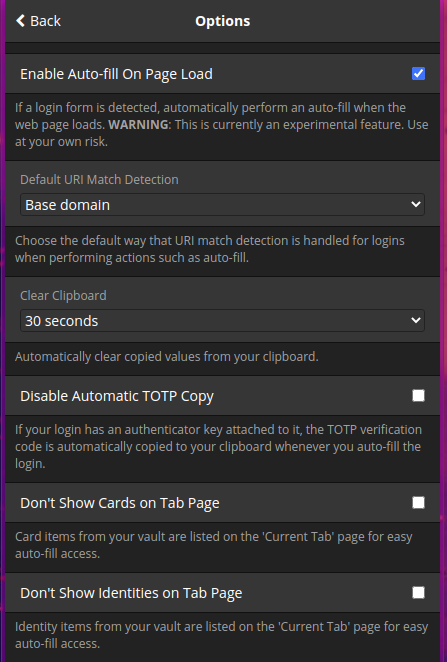
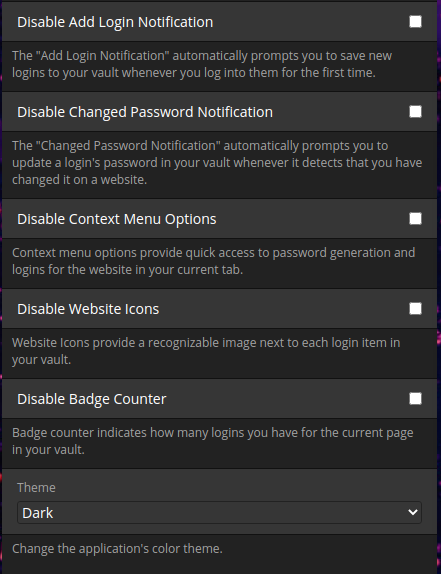
Set options to what your are comfortable with
4
Log in to BitWarden extension
1
3
Existing account : login and store password
2
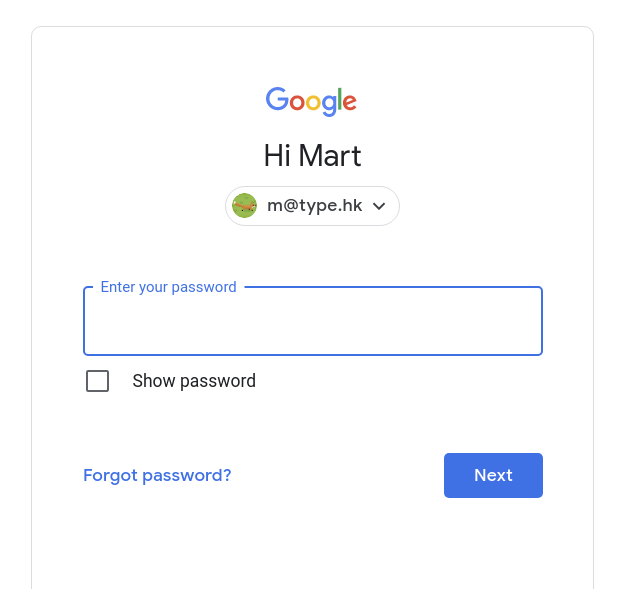
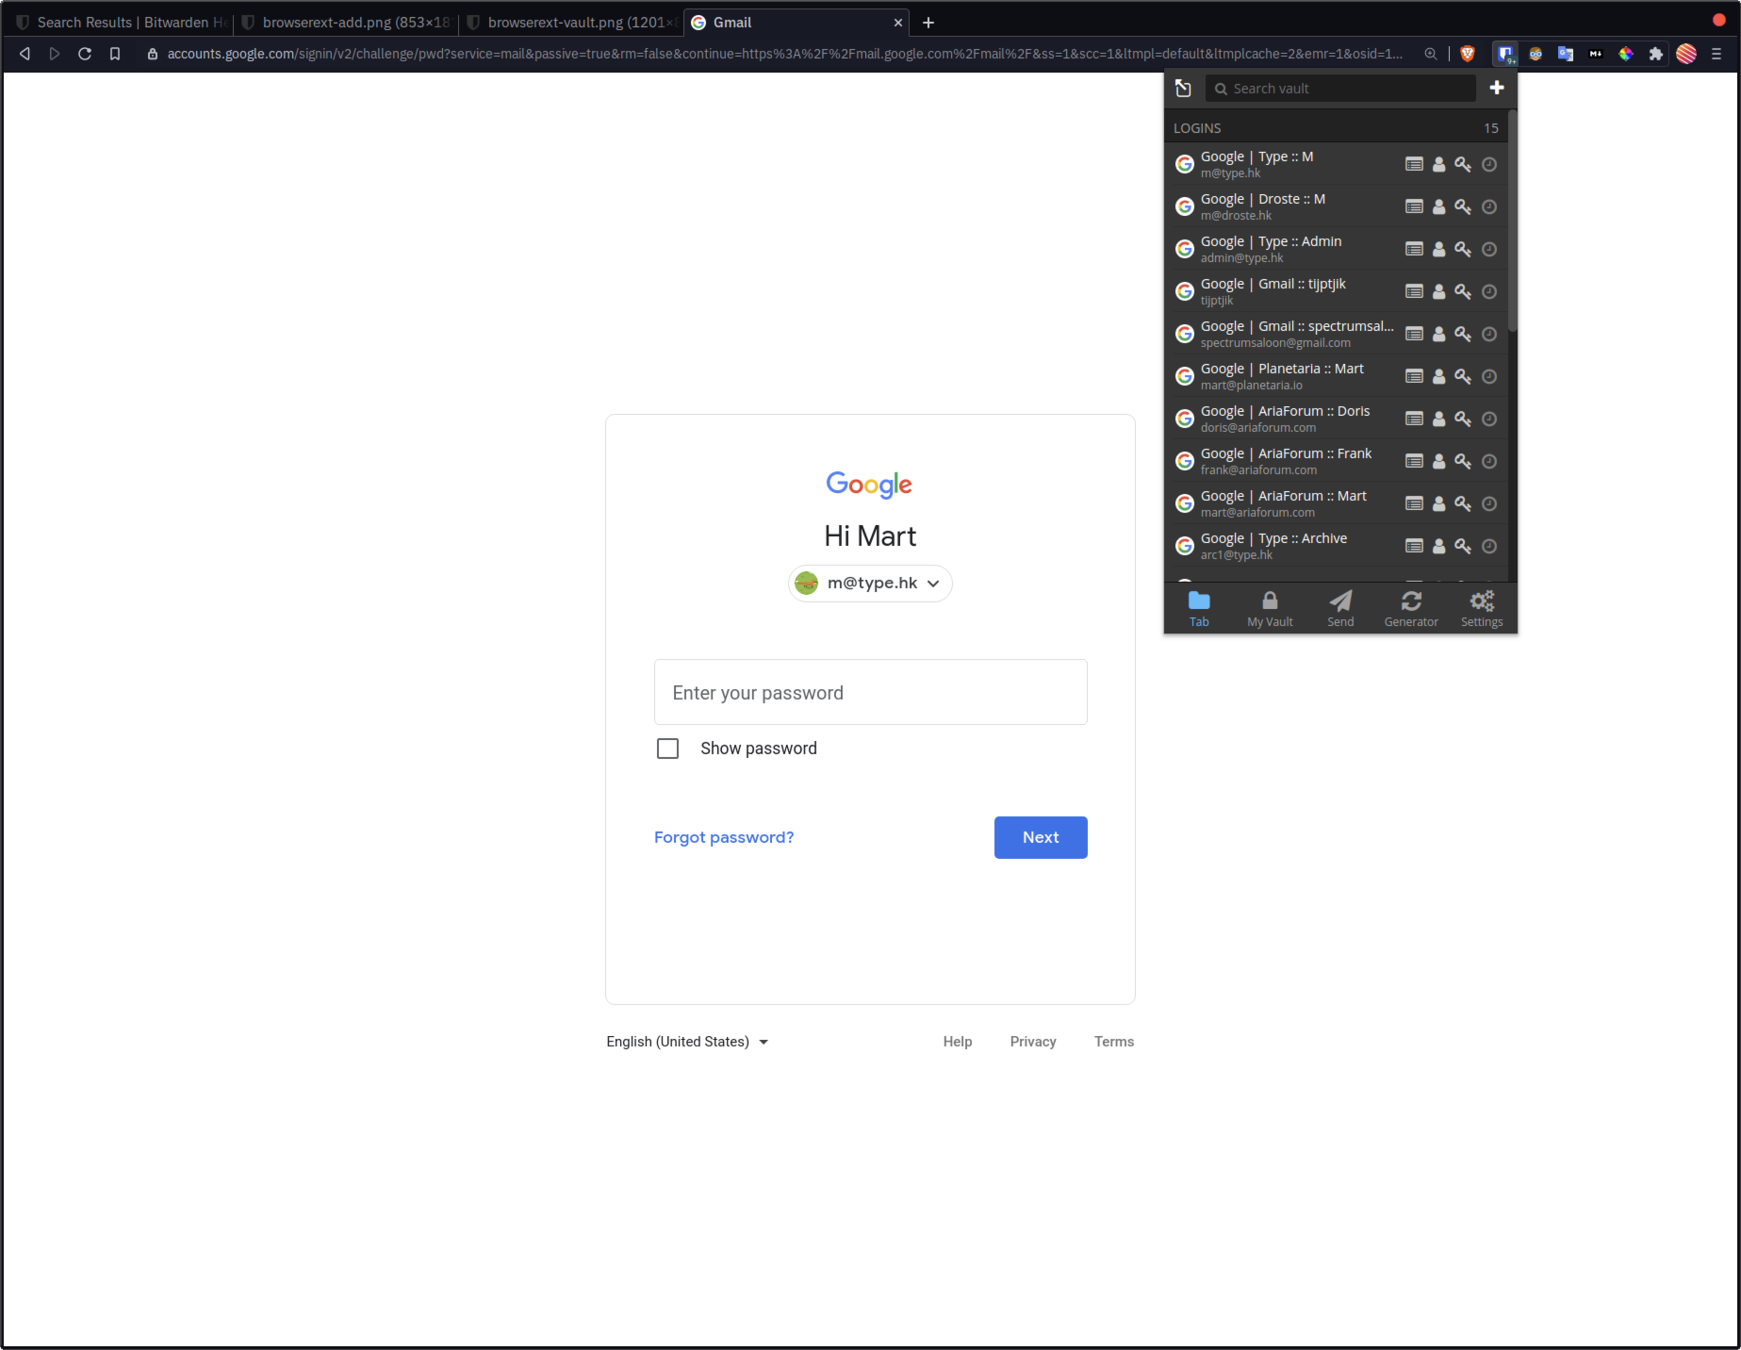
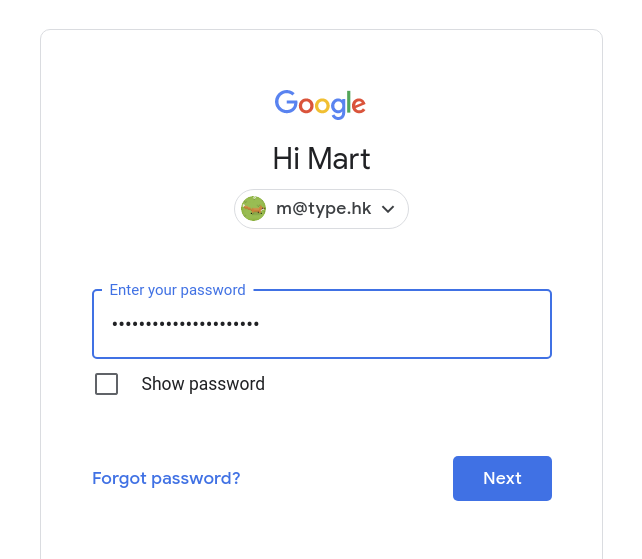
Login flow with BitWarden
4
DAILY USE
New account : generate and store password
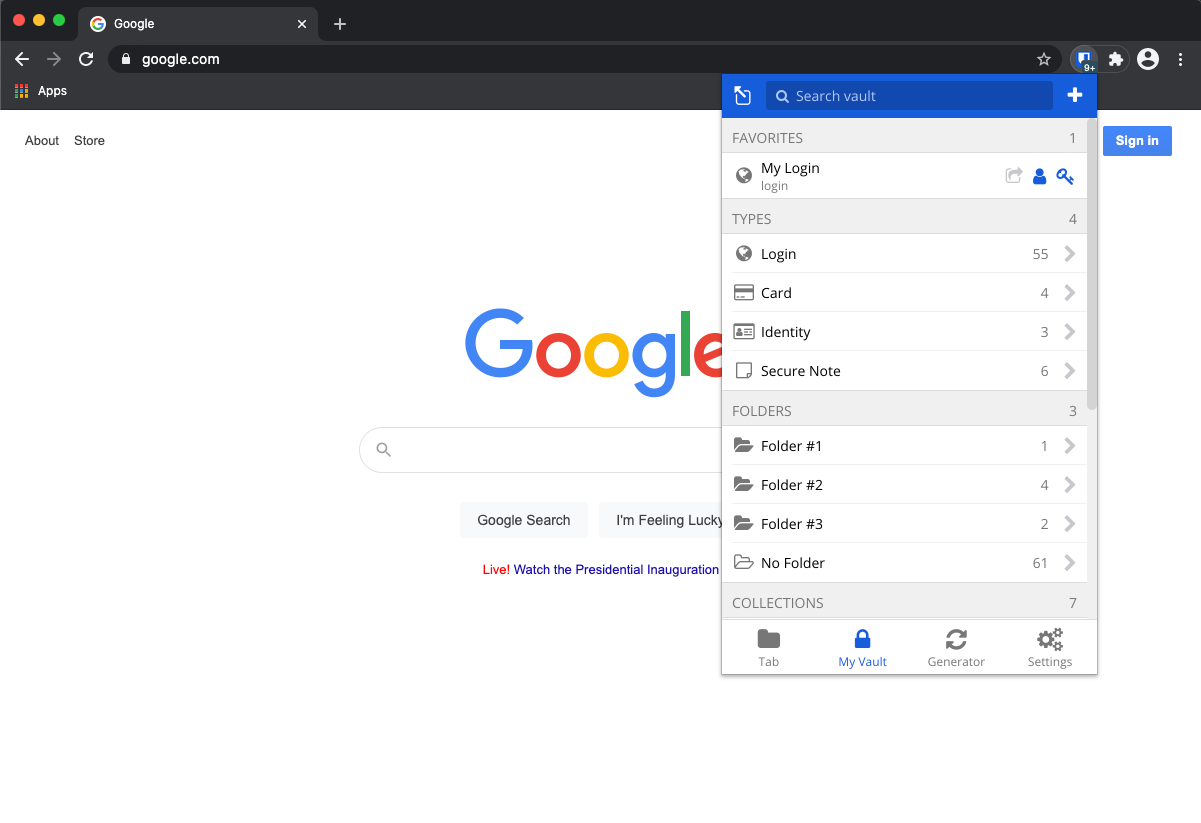
Log in to BitWarden extension
1
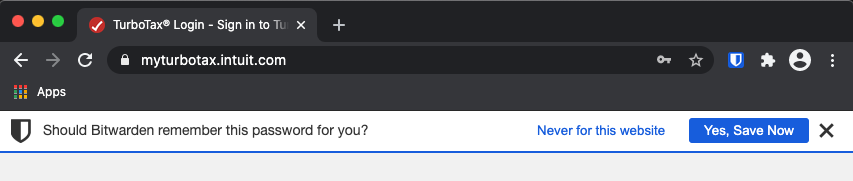
Existing account : login and store password
2
New accounts : generate and store password
3
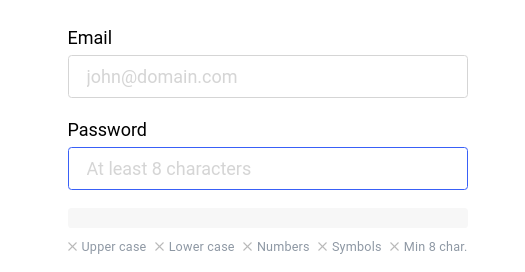
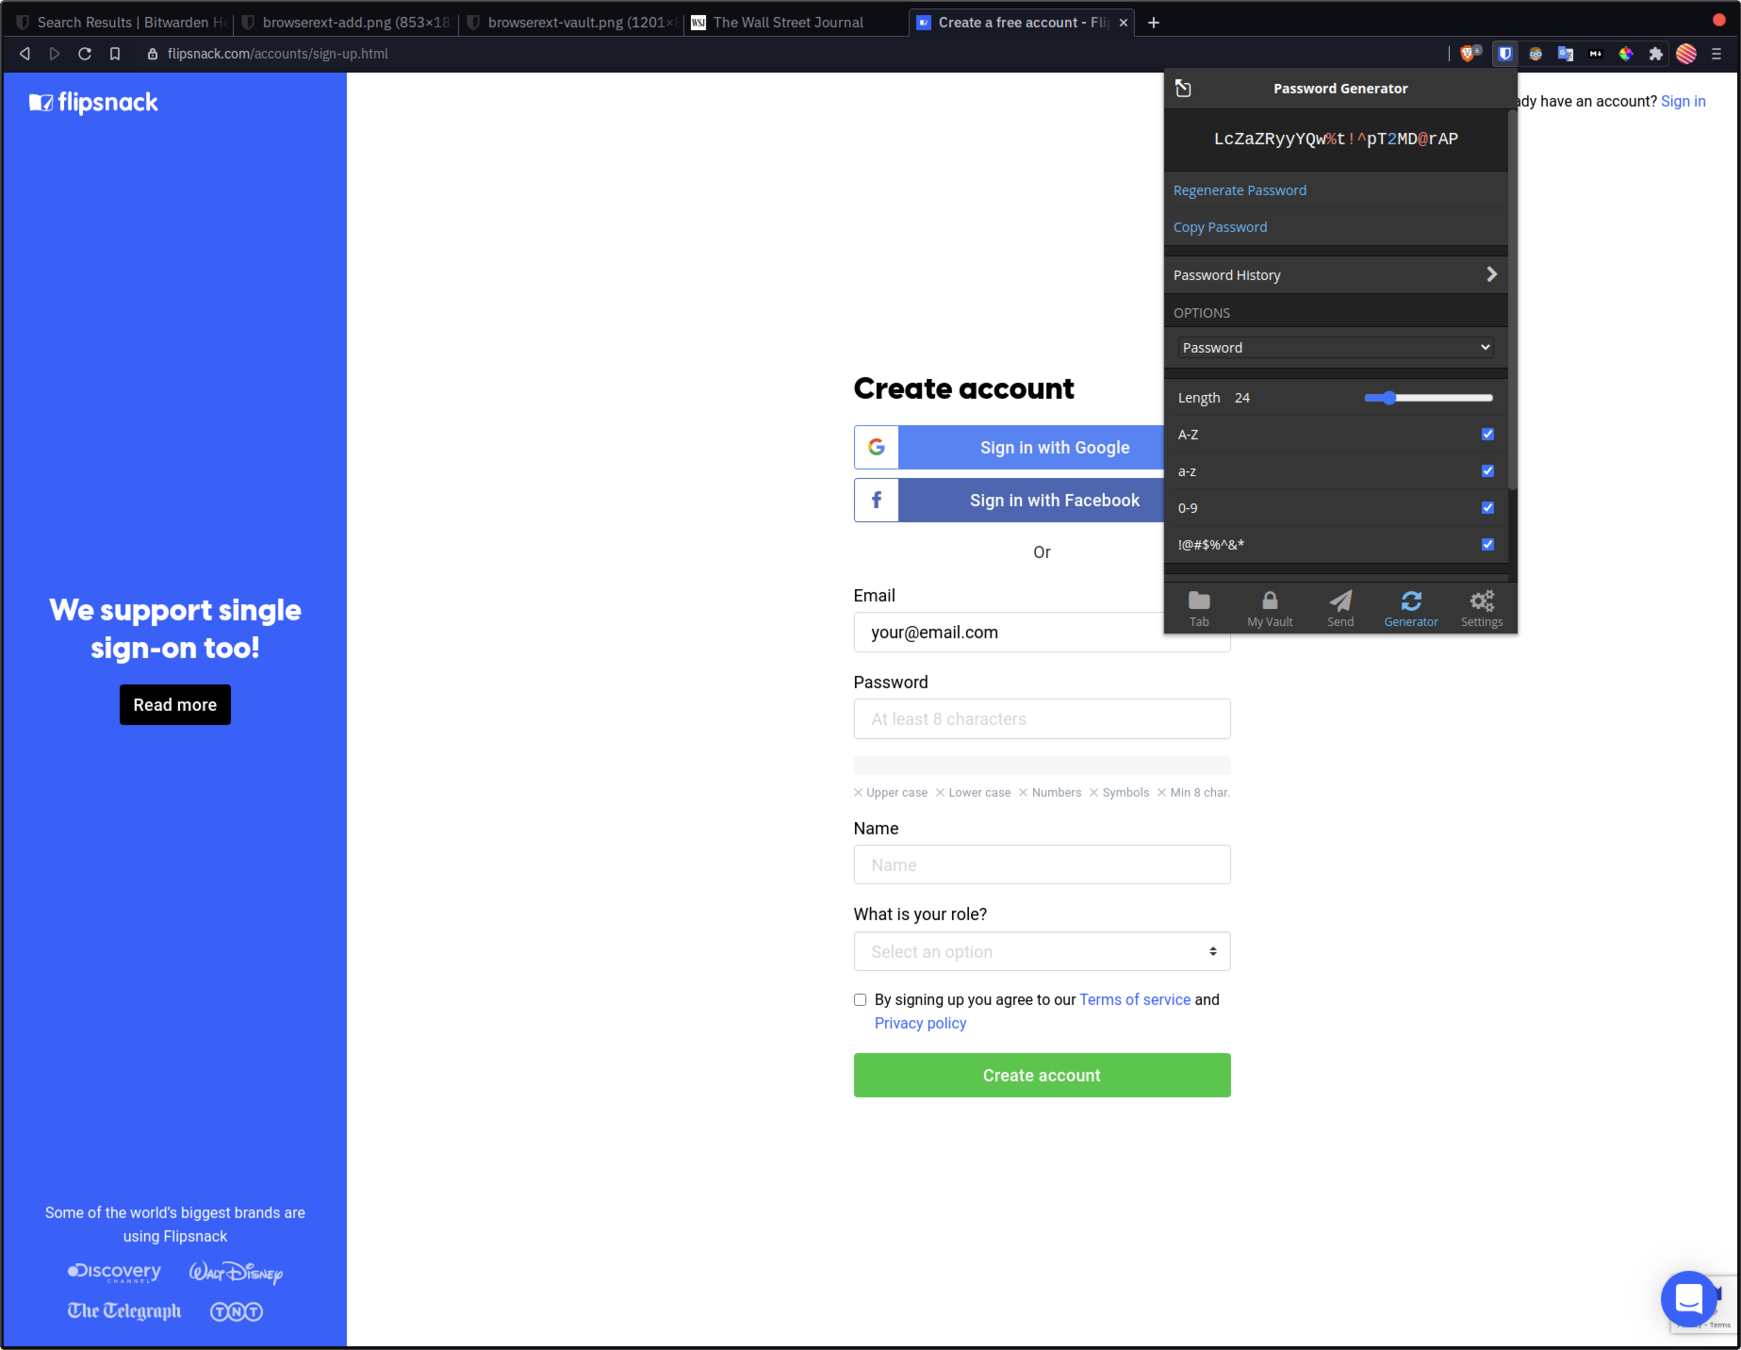
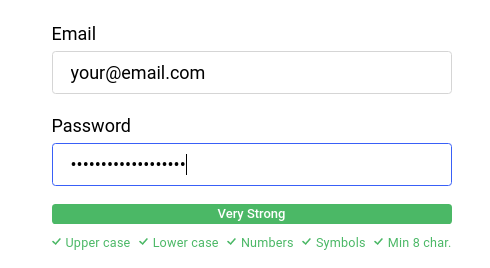
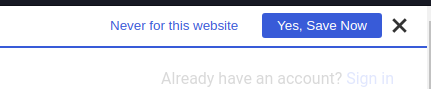
Login flow with BitWarden
4
Let's get you setup with



Select matching logins from keyboard
Install Mobile App
1
3
Setup Auto-fill
2
Set Options
4
BASIC SETUP & USE
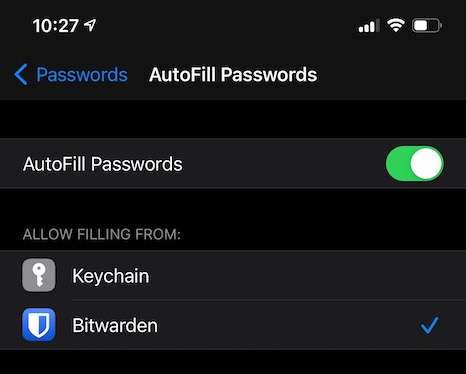
- Open the iOS Settings app on your device.
- Tap Passwords.
- Tap AutoFill Passwords.
- Toggle AutoFill Passwords on and tap Bitwarden in the Allow Filling From list:
- Disable any other Auto-fill service (like Keychain)
Setup Auto-fill
2
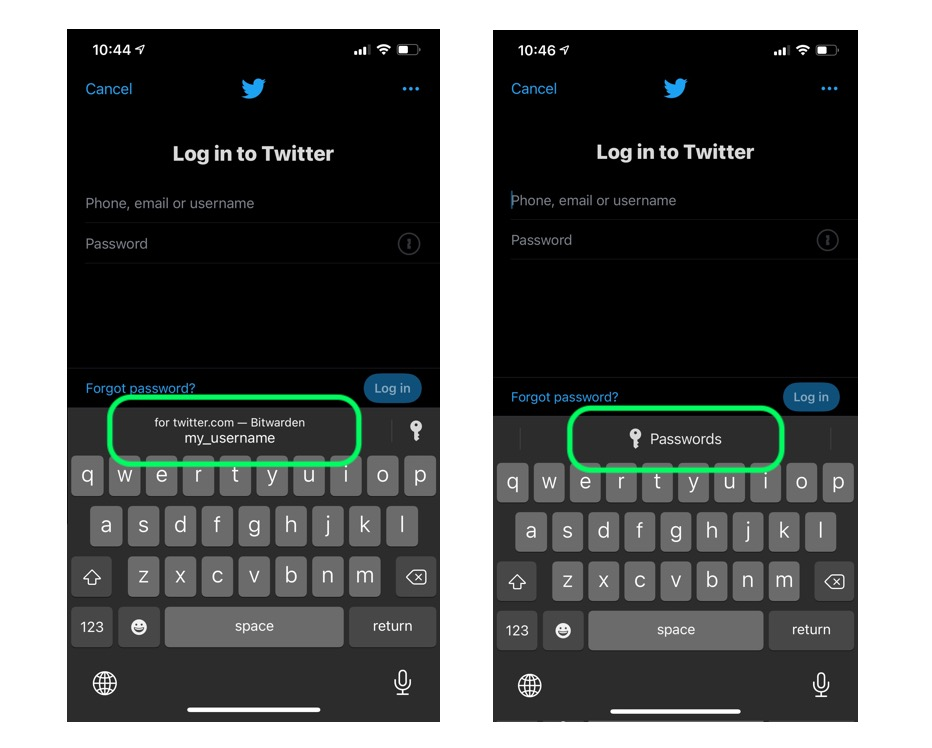
USE : Select matching logins from keyboard
3
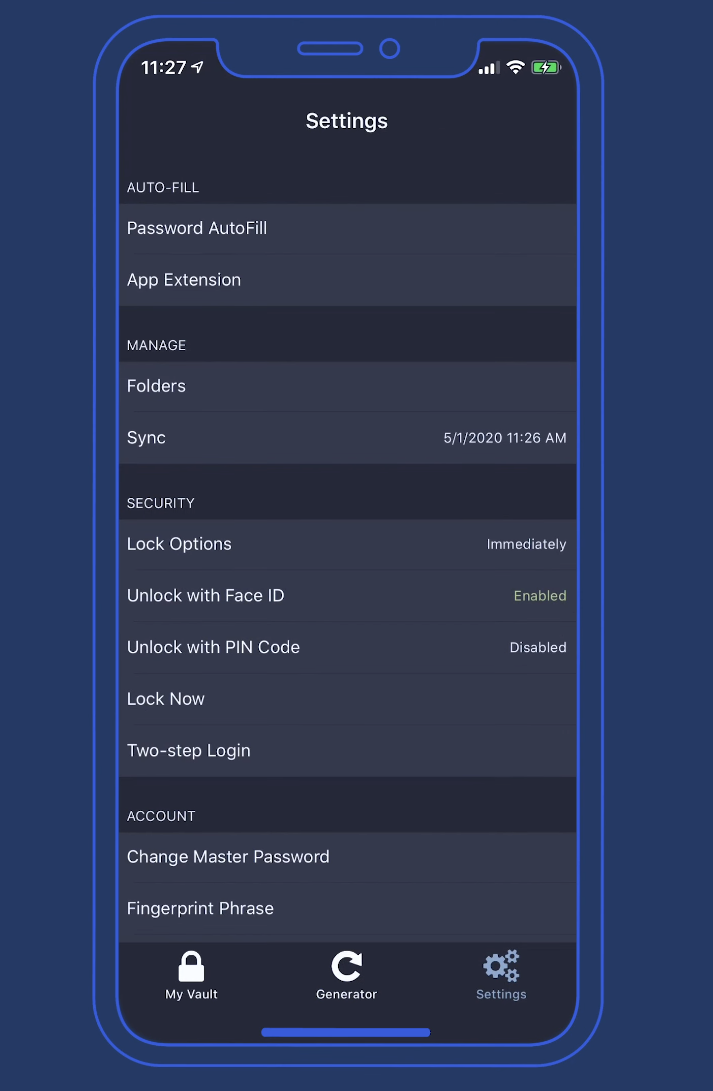
Set Options
4
- Lock Options : Immediately
- Unlock with FACE ID : Disabled
- Unlock with PIN Code : Enabled
- Two-Step Login : Enabled
HTTPS / 2FA Reports
Import passwords from other managers
1
3
Password Reports
2
Data Breach Reports
4
... THERE'S MORE
Support for Timed - One Time Passwords
5
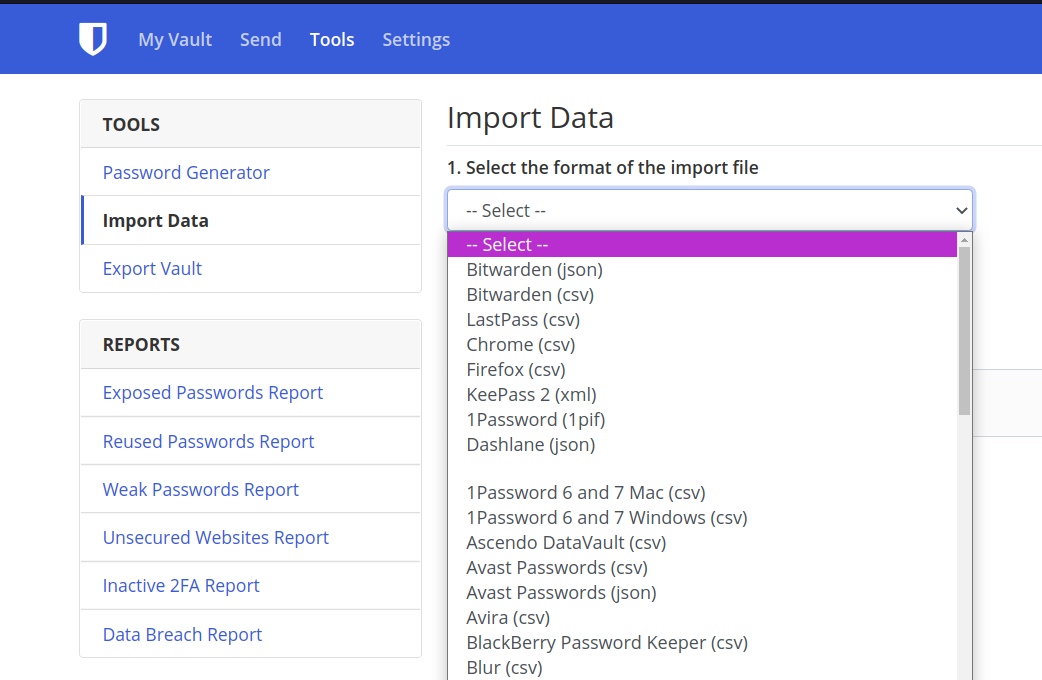
Import passwords from other managers
1
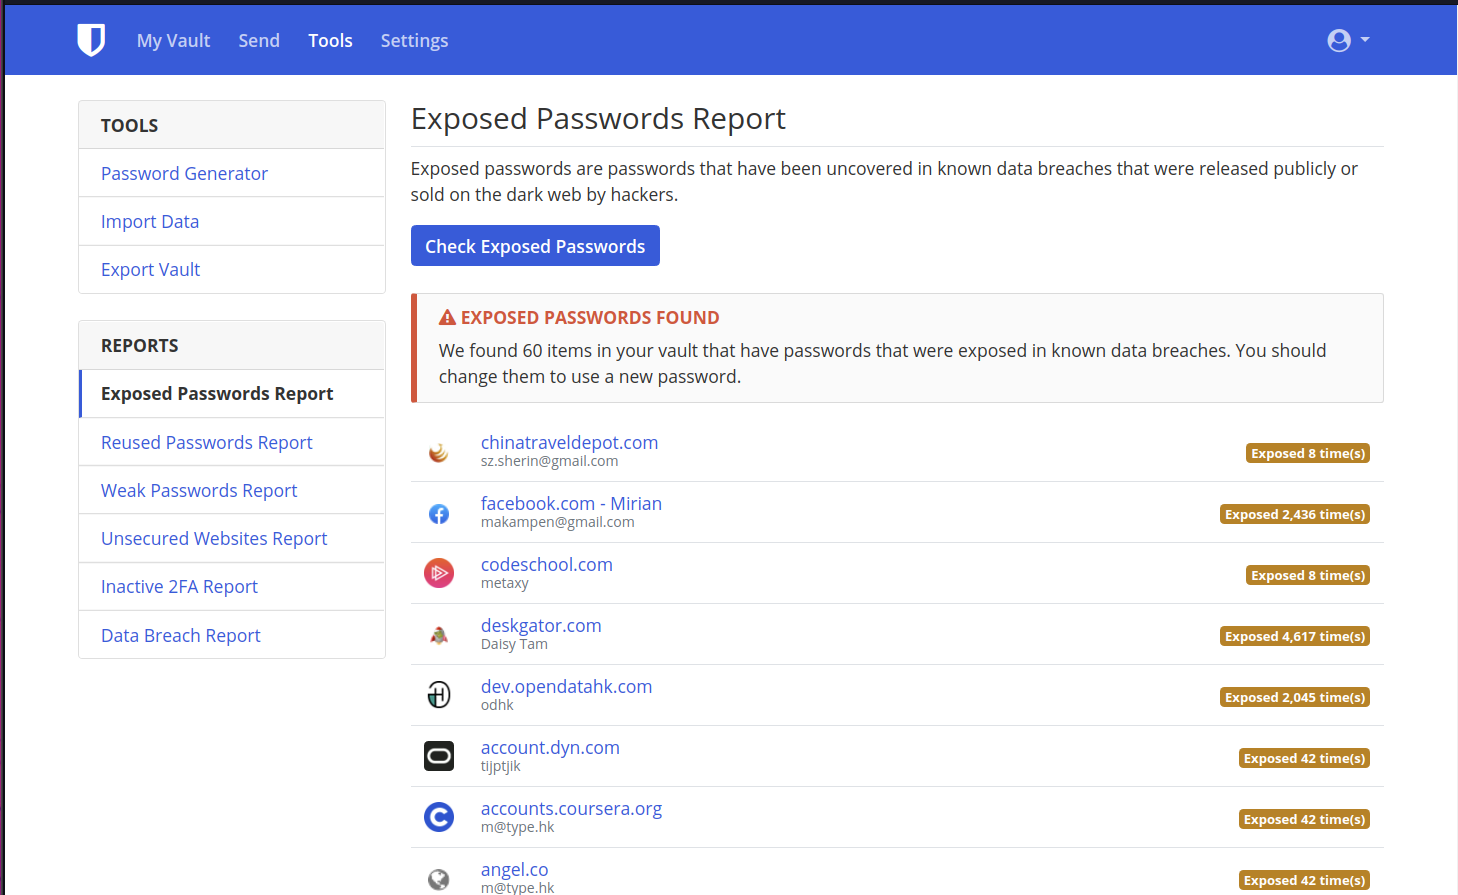
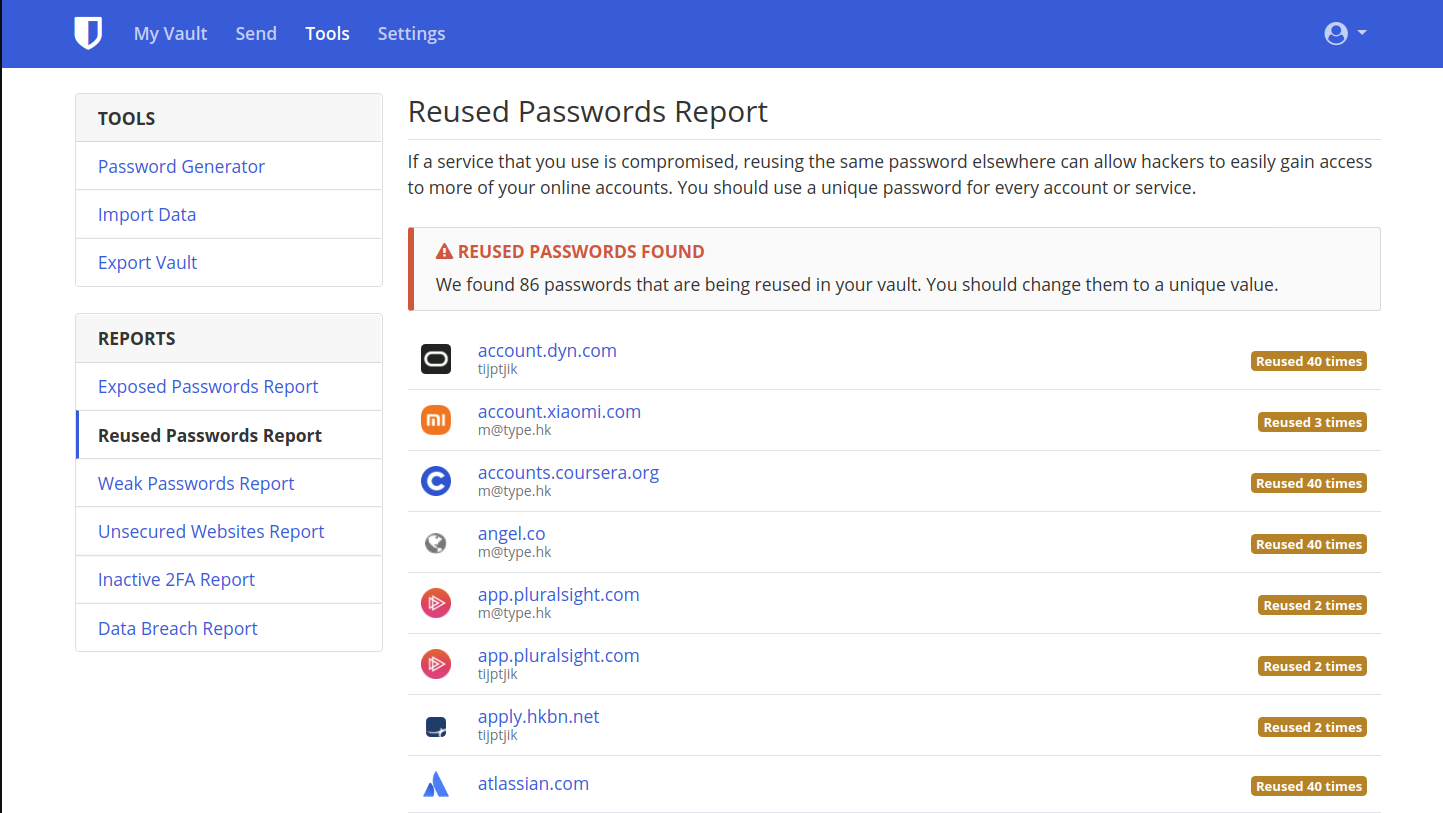


Password Reports
2
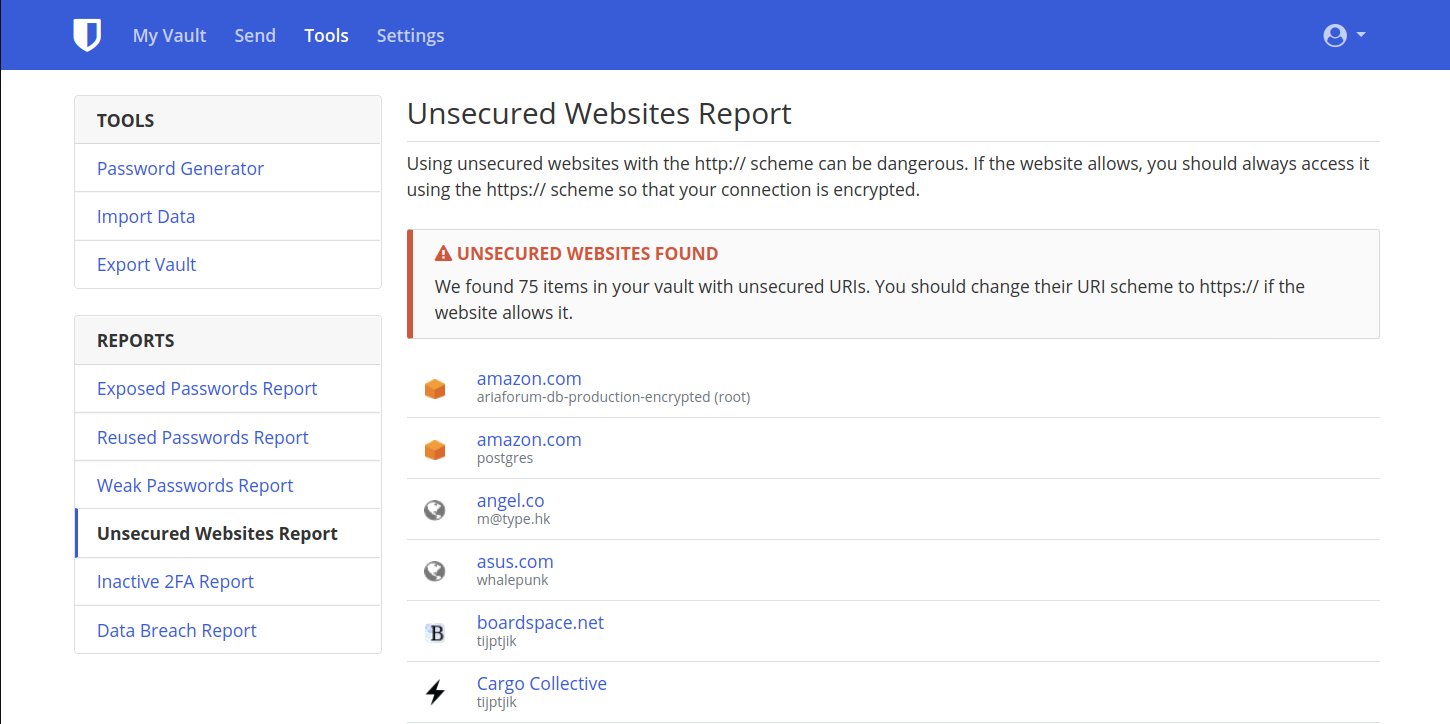
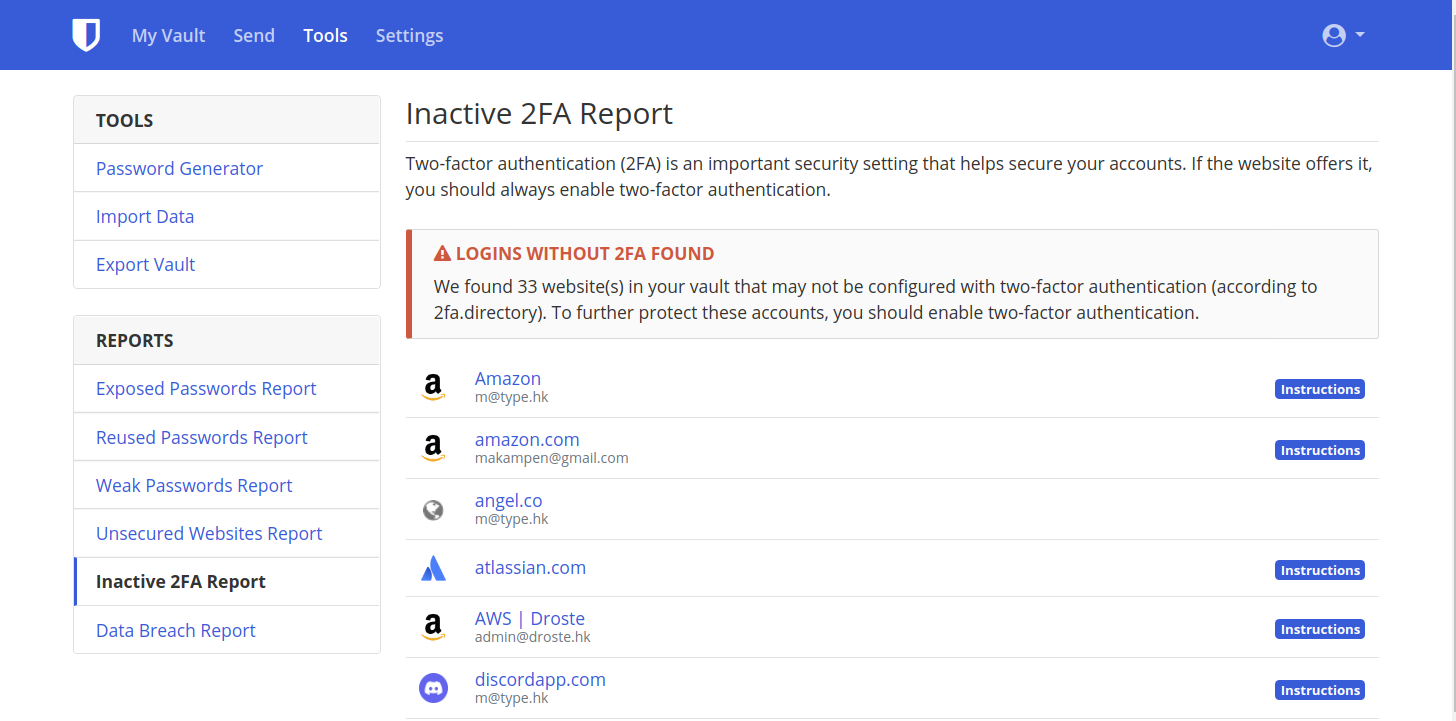
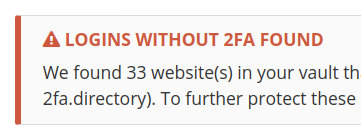
HTTPS / 2FA Reports
3
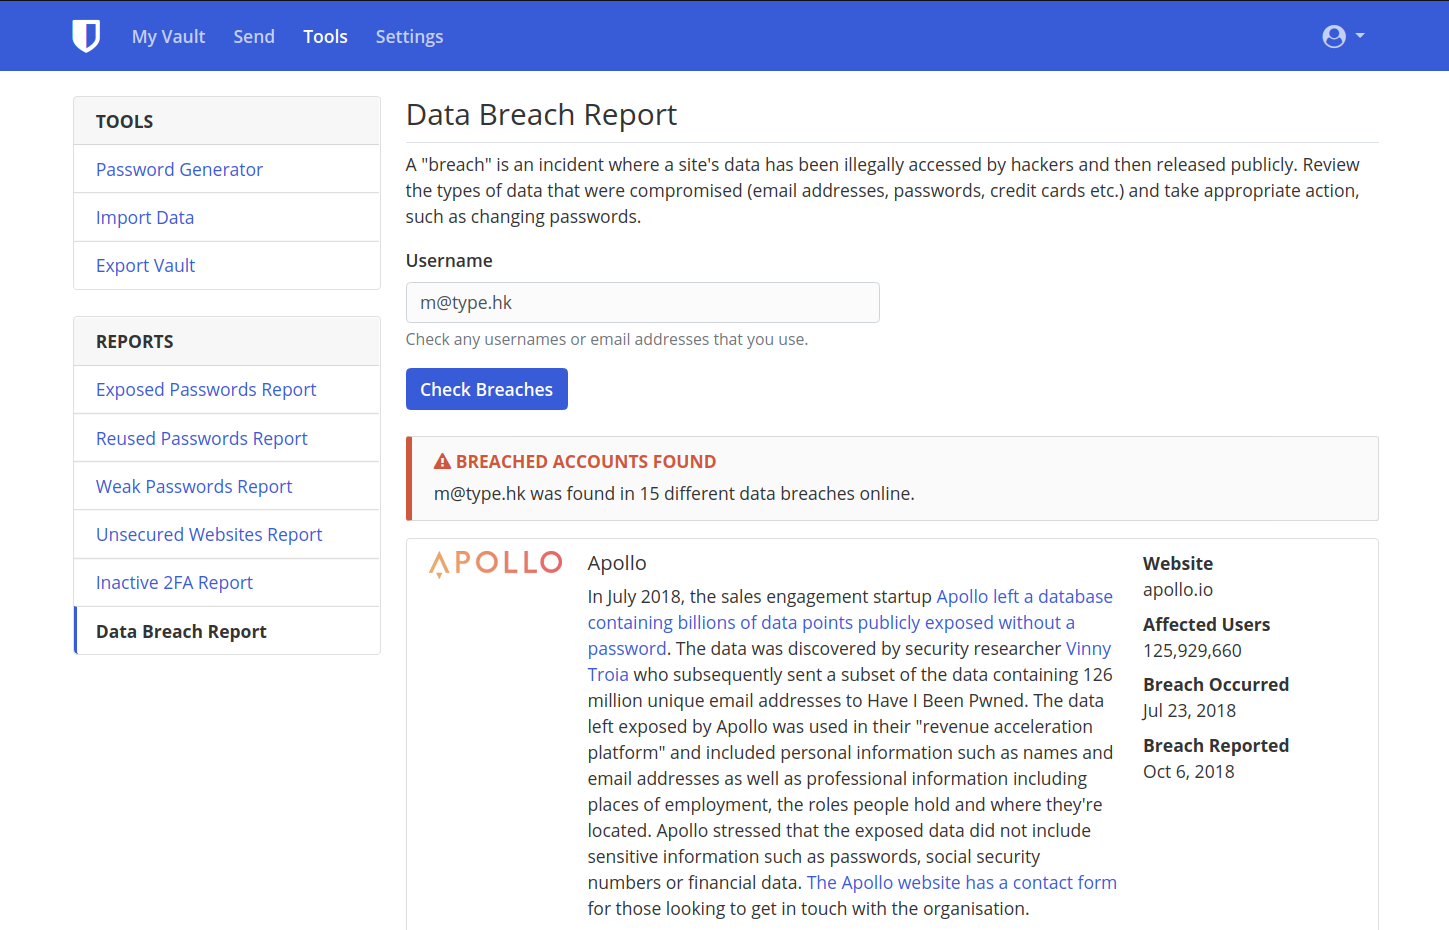
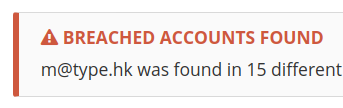
Data Breach Reports
4
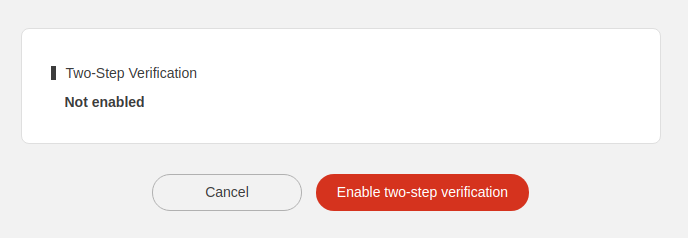
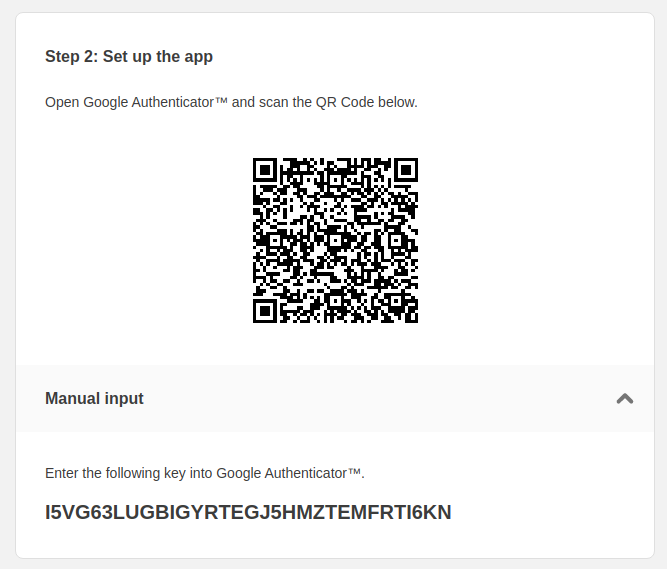
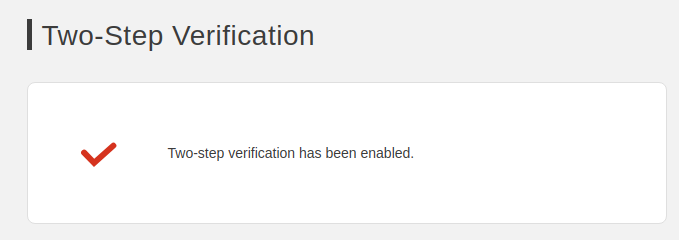
BitWarden Authenticator (TOTP)
5
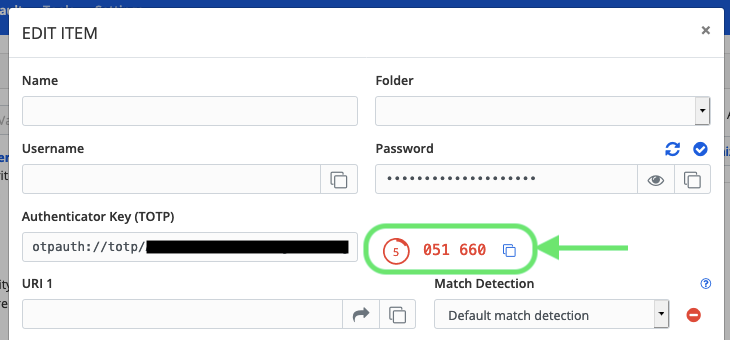
ENCRYPTION
share secrets
confidentiality
... in transit
confidentiality
... at rest

trust sources


How can we encrypt files on MacOS?
Use VeraCrypt on MacOS
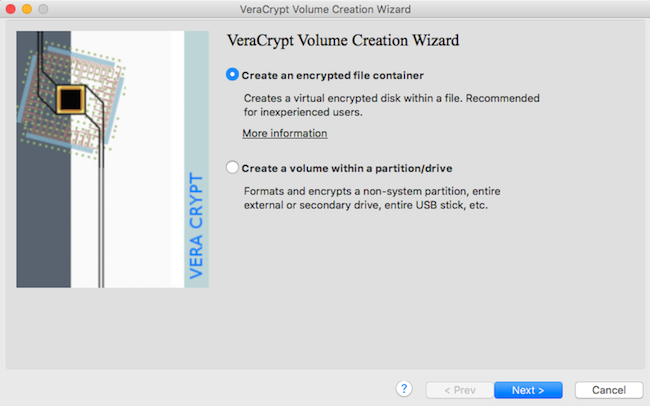
Launch VeraCrypt app
1
Create Volume
2
Use VeraCrypt on MacOS
Select the "Hidden" option
3
Select any location for the Volume and use any name
4
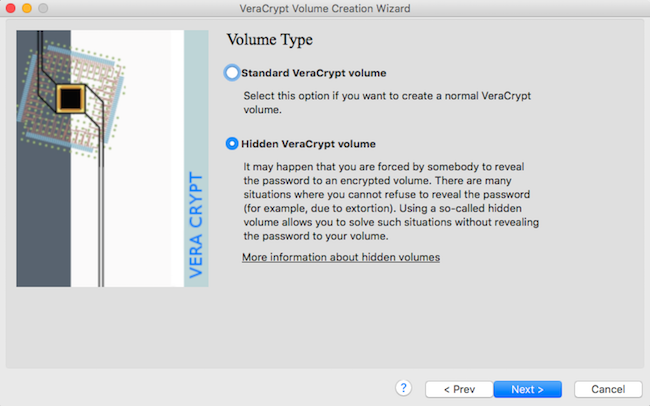
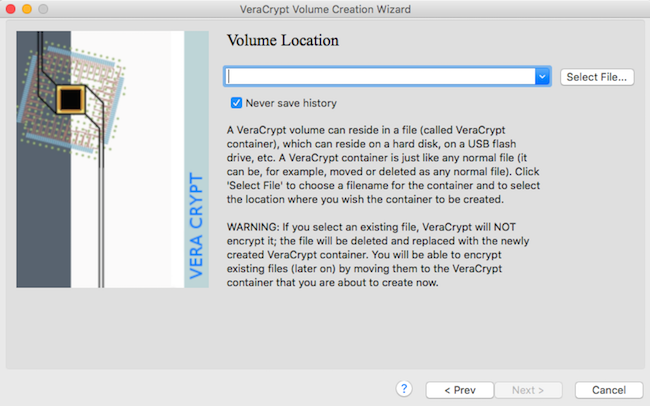
Use VeraCrypt on MacOS
Leave the default algorithm
5
Choose size that can contain both presumed and true sensitive files
6
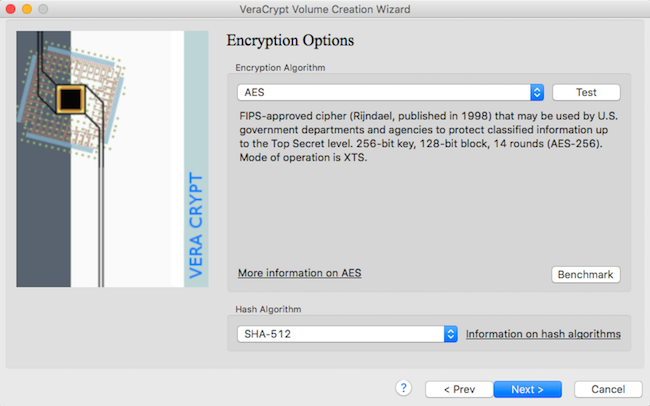
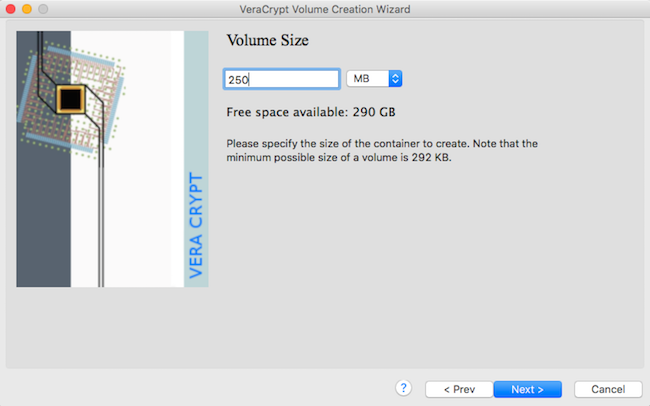
Use VeraCrypt on MacOS
Create a memorable password - not a BitWarden generated one
7
Select "exFat" as format Option, then move the mouse until half the bar is green, then Format
8
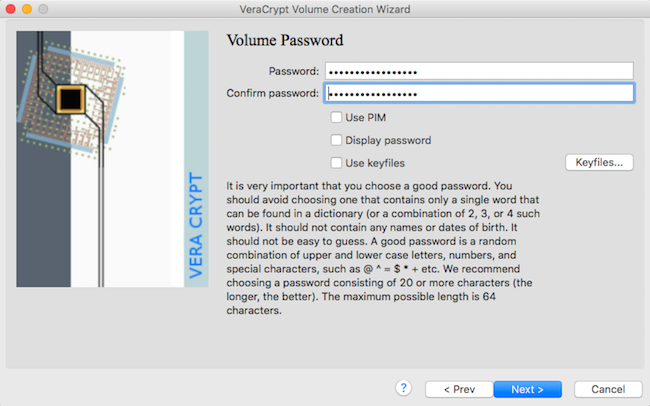
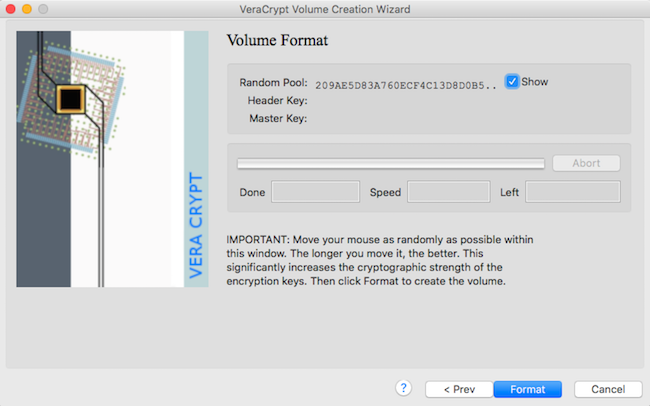
Use VeraCrypt on MacOS
Click next to repeat steps for the hidden volume, and choose a size for sensitive files
9
Generate secure password with BitWarden and use it
10
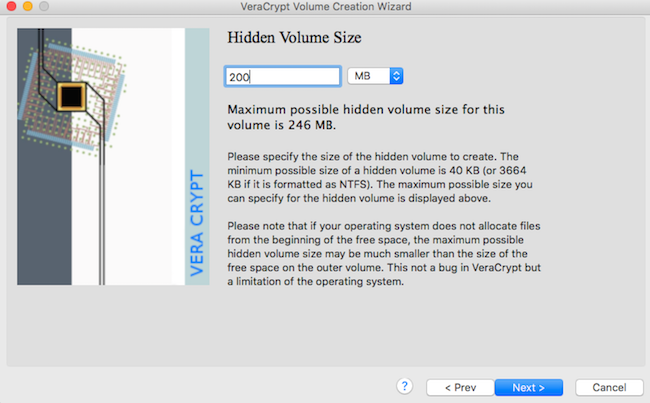
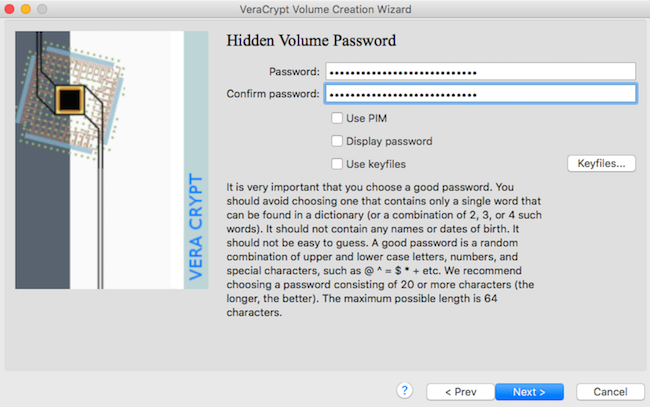
max size is incorrect !!
Use VeraCrypt on MacOS
If you were successful, you should see this modal with a warning message
11
Click "next" and "exit" - you're ready to mount your volume!
12
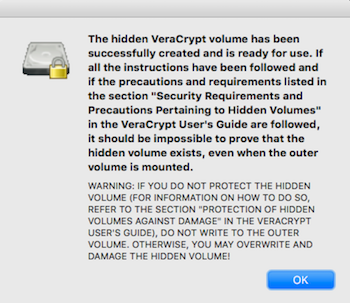
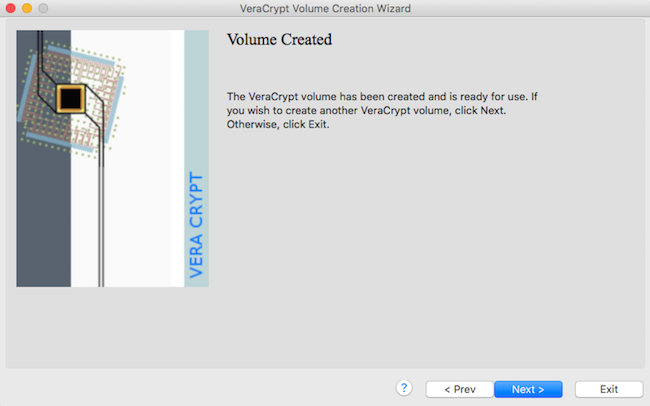
don't damage hidden volume !!
Use VeraCrypt on MacOS
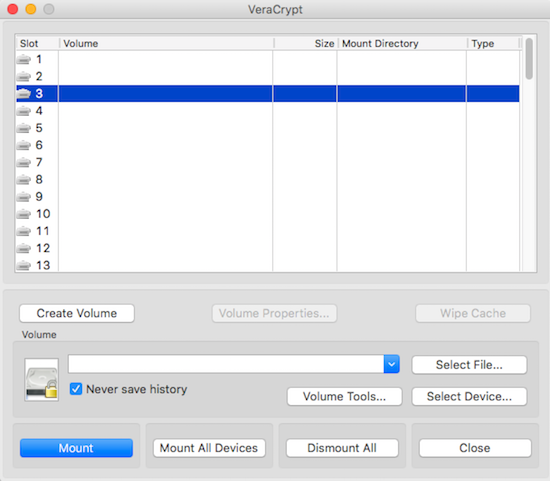
Launch VC app, select a slot ,"Select File" to locate your volume, and mount it
13
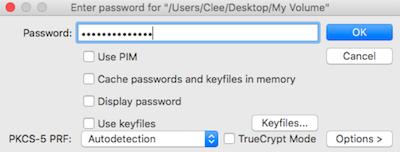
Enter your 'memorable' password for the decoy volume, and your BW pass for the hidden volume
14
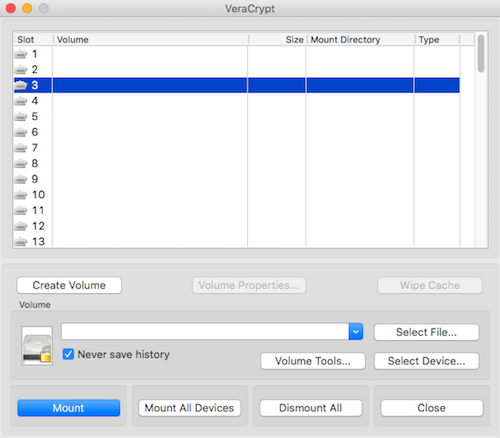
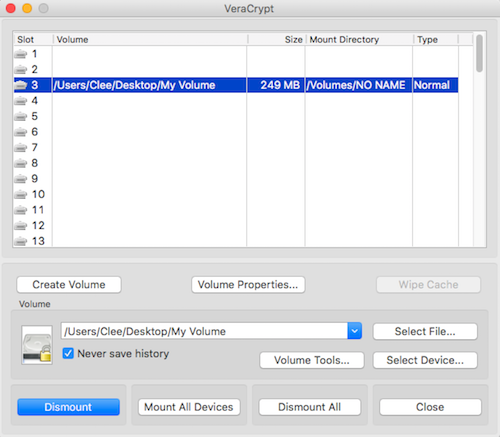
Use VeraCrypt on MacOS
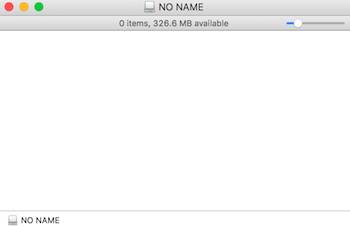
If successful, it will show up as mounted - double click to open in Finder
13
Place your decoy / sensitive files into the volume with it's mounted
14
Use VeraCrypt on MacOS
Once you're finished working on the files, "Dismount" it.
15
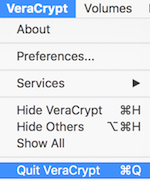
Quit VeraCrypt when no longer in use
16
FINDER EJECT IS NOT ENOUGH !!
Use VeraCrypt on MacOS
Once you're finished working on the files, "Dismount" it.
15
Quit VeraCrypt when no longer in use
16
FINDER EJECT IS NOT ENOUGH !!
1
Delete files,
unless your cannot
2
When not in use, unmount VC volumes
3
Do not automount VC volumes
6
Create Traveler disks
for USB drives (WIN only)
5
practice quick dismounting
4
Uninstall VeraCrypt if moving through sophisticated security
1
volume equivalent in size to a 4K movie
2
name volume as movie
3
store it next to other real movie rips
6
disable recent file function
5
no shortcuts to hidden volumes
4
add "decoy" volume password to BitWarden
the.phantom.2018.x265.NAHOM.mkv
6
disable recent file function
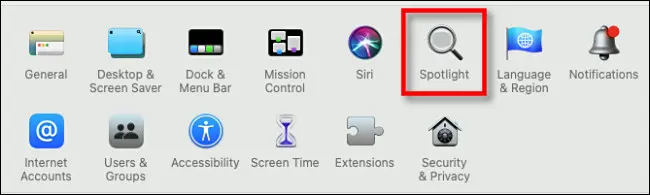
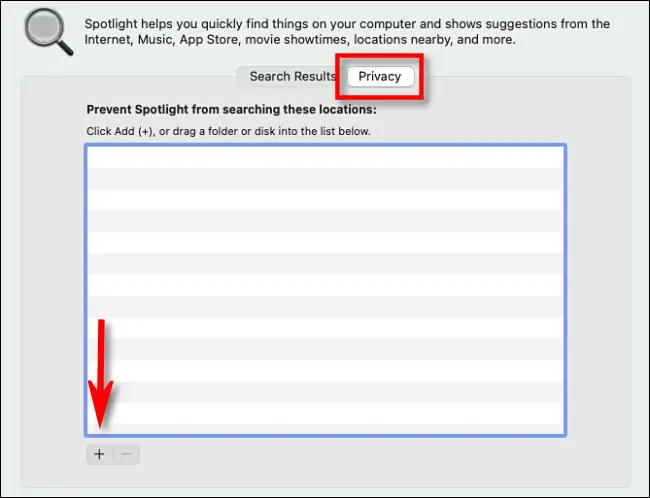
disable recent file function
Spotlight settings
Add "Macintosh HD" to the list
pro tip: disable spotlight
6
disable recent file function
disable recent file function
Setting to zero Finder's menu recent items count (via System Preferences > General) also sets to zero all Office applications' Open Recent... items count.
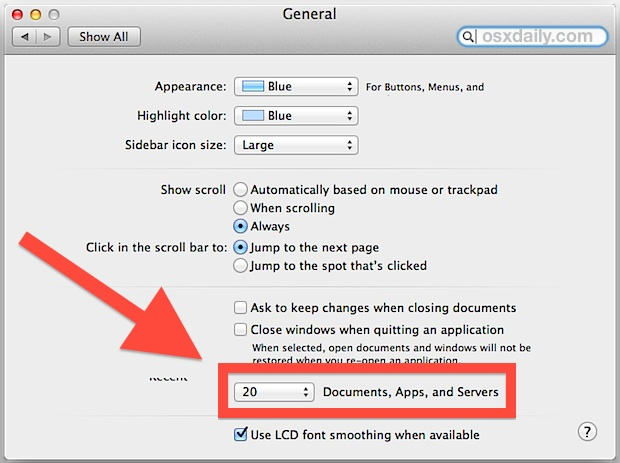
1
Be prepared to lose
your data instead
of revealing it
2
If cloud-based, use
differential sync
3
Backup your
volume
6
The passphrase can be changed if necessary
5
Dismount volume, before backing up
4
"protect hidden volume against damage"
4
"protect hidden volume against damage"
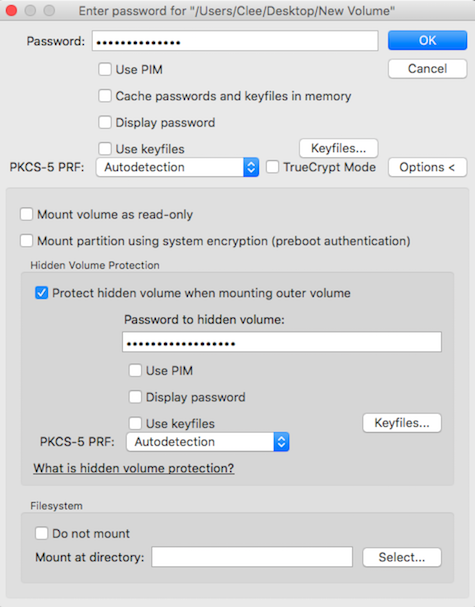
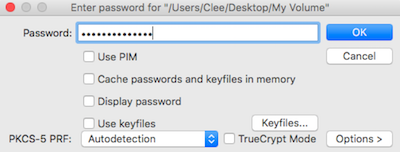
When mounting, enter decoy volume password, and select "Options"
select "When mounting, select "Options" and enter hidden volume password
4
"protect hidden volume against damage"
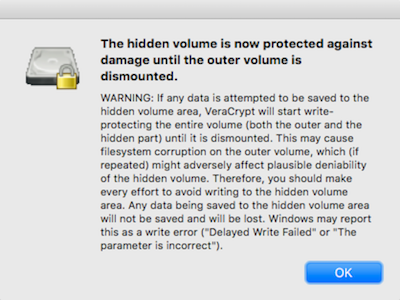
Read the warning carefully - TL;DR do not write to the hidden volume while both volumes are mounted
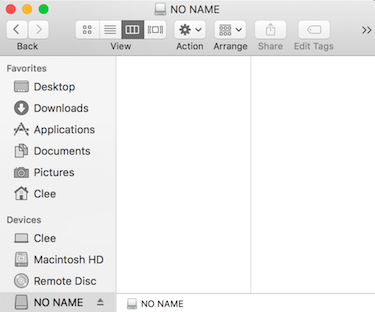
double click on the volume to open the decoy volume, you can now safely modify files


DIGITAL FOOTPRINT
identifiers
monitoring & tracking


1
IP address
4
WiFi / BT
devices
3
RFID devices
2
dns requests

NETWORK
1
IP address
1
public WiFi ... carefully
2
connect over TOR
3
connect over VPN
SOLUTIONS

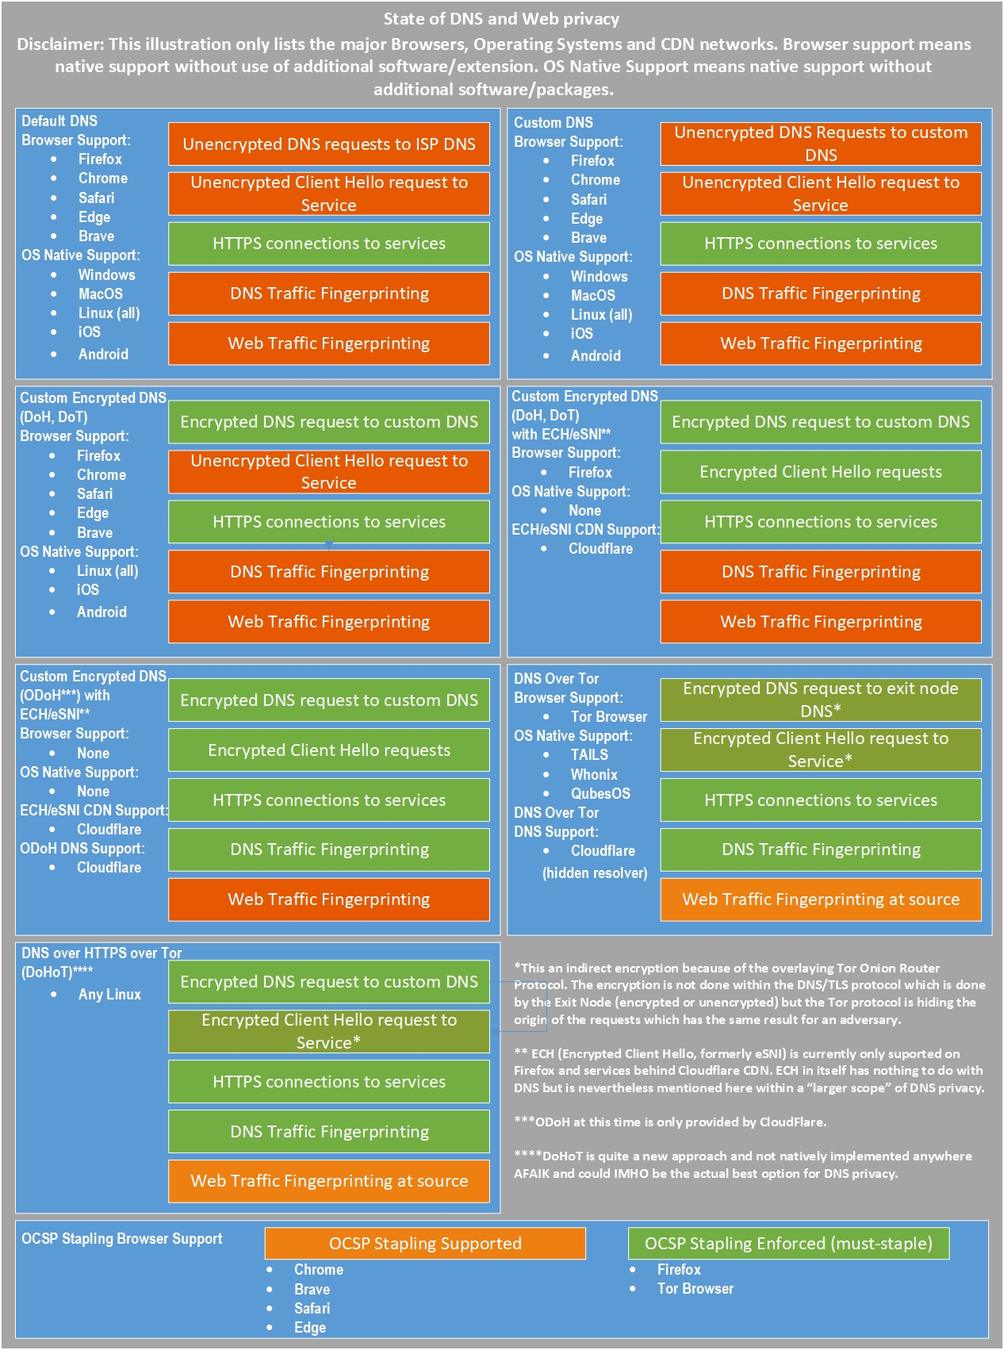
2
dns requests
1
Use TOR
2
Use TOR + VPN
SOLUTIONS
3
RFID devices
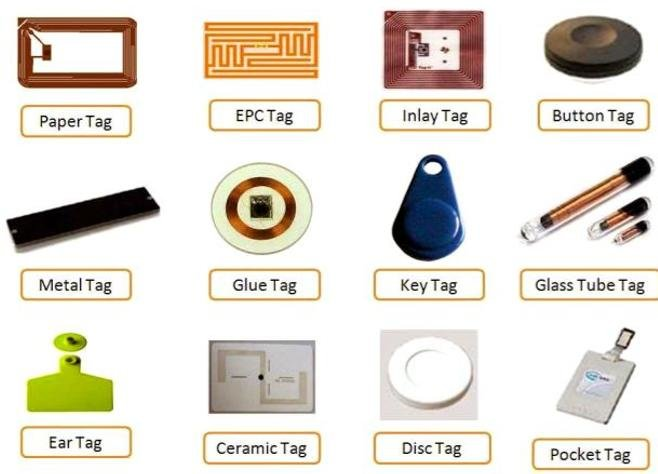
1
dont use
them
2
store inside RIFD blocker
SOLUTIONS
4
WiFi / BT
sensors
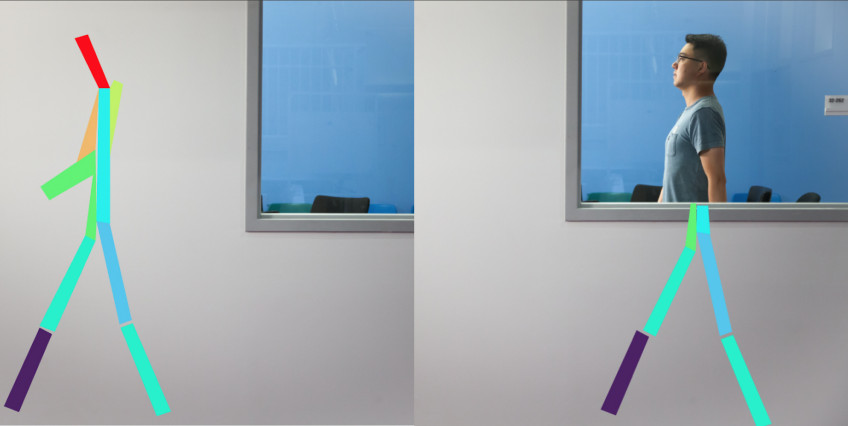
1
dont carry /
take our batteries
2
meet in
"faraday cages"
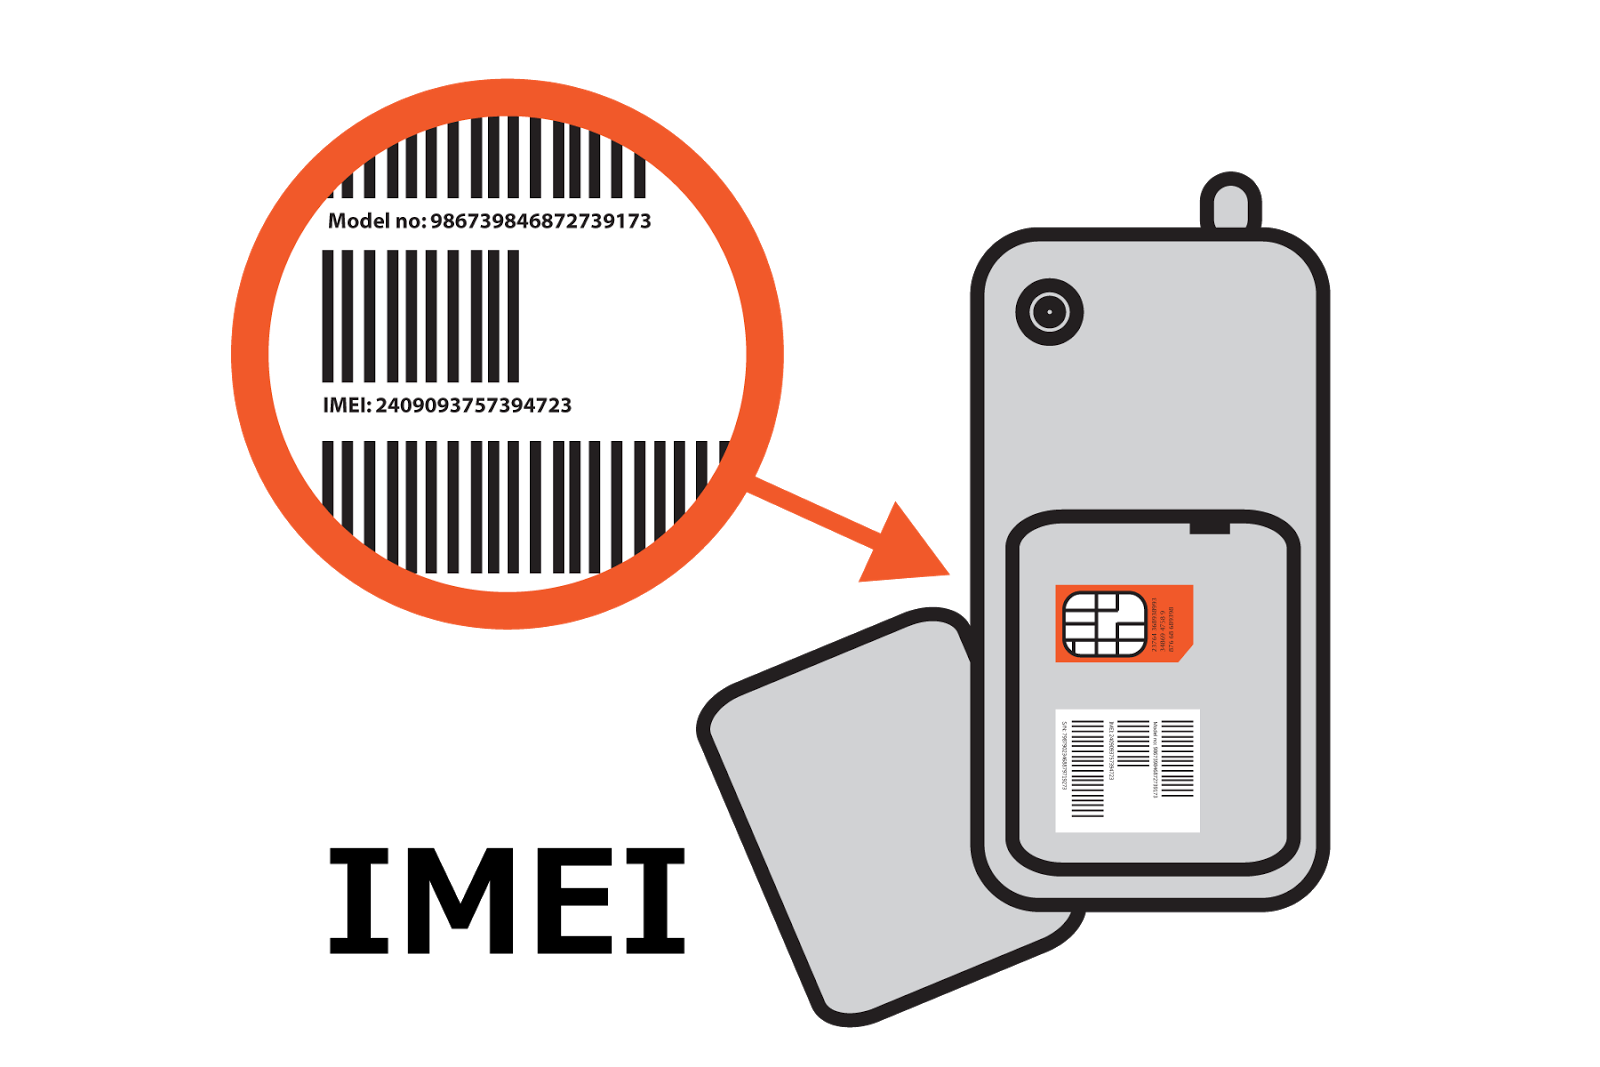
1
IMEI / IMSI
3
BT MAC
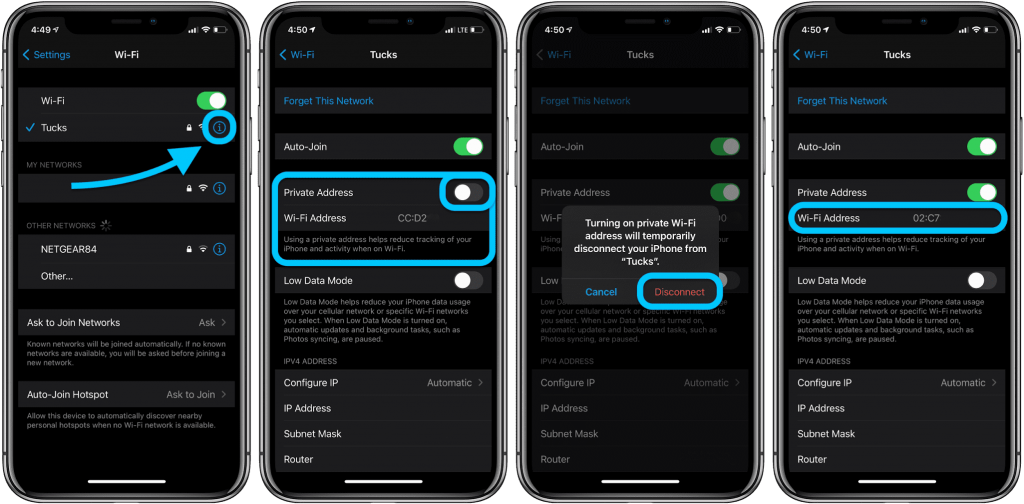
address
2
WiFi / Eth
MAC address
HARD
WARE
1
IMEI + IMSI
subscription pairs are recorded
3
IMEI tracked at
Point of Sale
2
IMEI + IMSI
pairs are tracked at antenna
HARD
WARE
4
IMSI tracked
at Point of Sale
5
Apple & Google track IMEI
2
Eth / WiFi
Mac Address
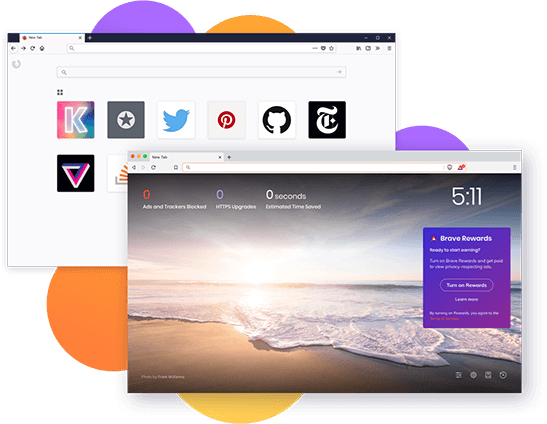
1
Turn off Telemetry
2
Replace the G with DuckDuckGo
3
Private and Secure DNS
6
Security Extensions
5
Rip out Social Media
4
Shields Up!
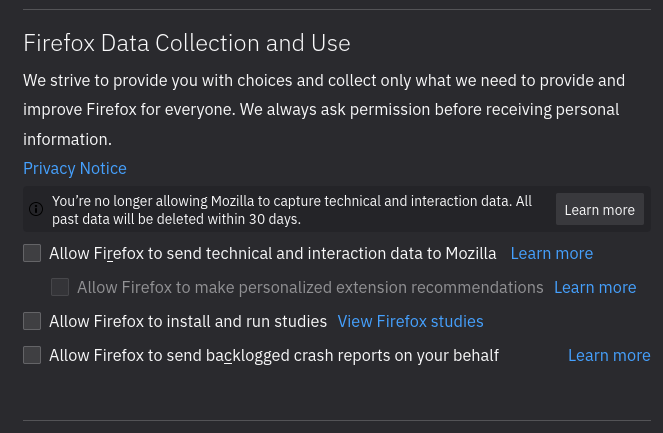

1
Turn off Telemetry
about:telemetry
2
Private and Secure DNS
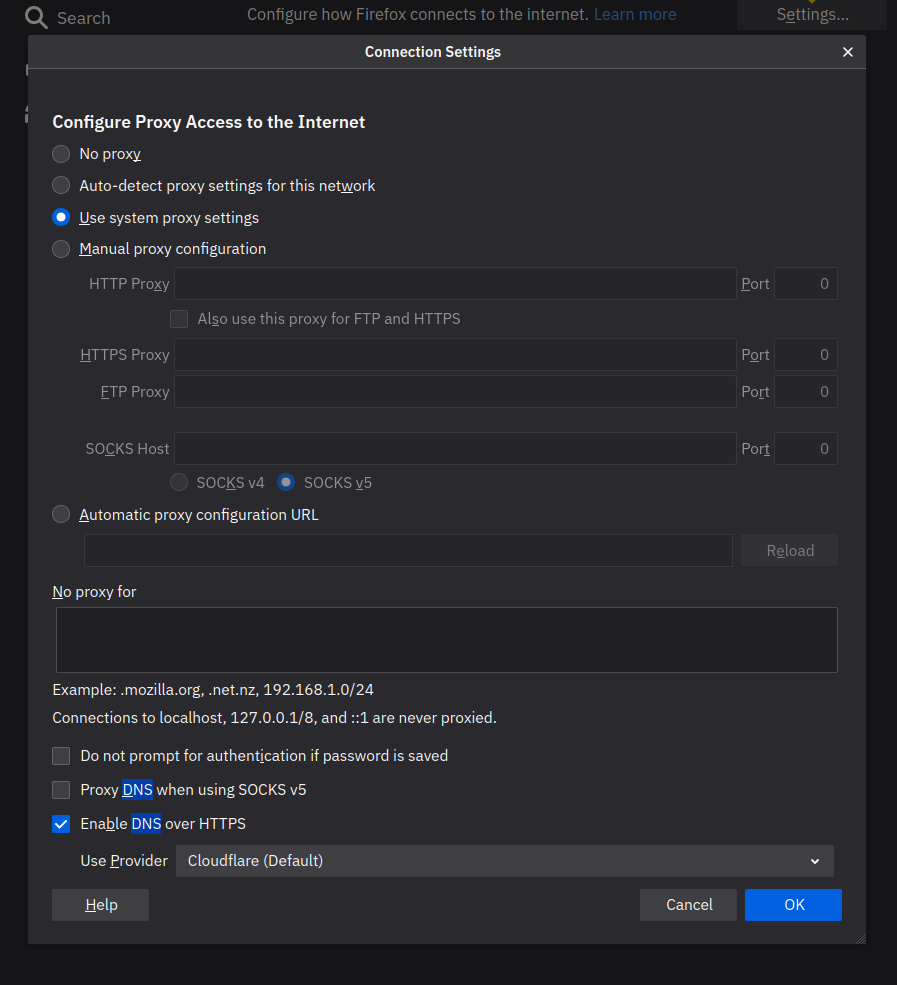
Preferences > General Tab > Network Settings > Settings > Enable Enable DNS over HTTPS.
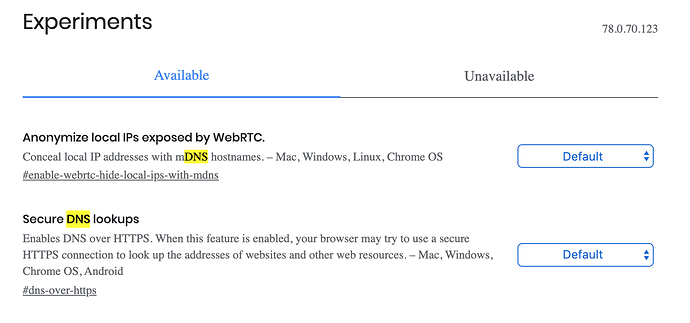
Replace the G with DuckDuckGo
3
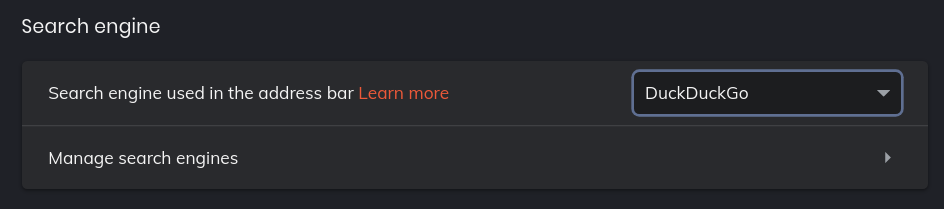
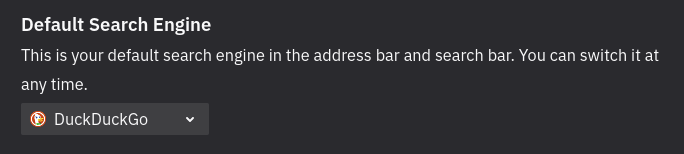
PRO TIP : turn off search suggestions
4
Shields Up!
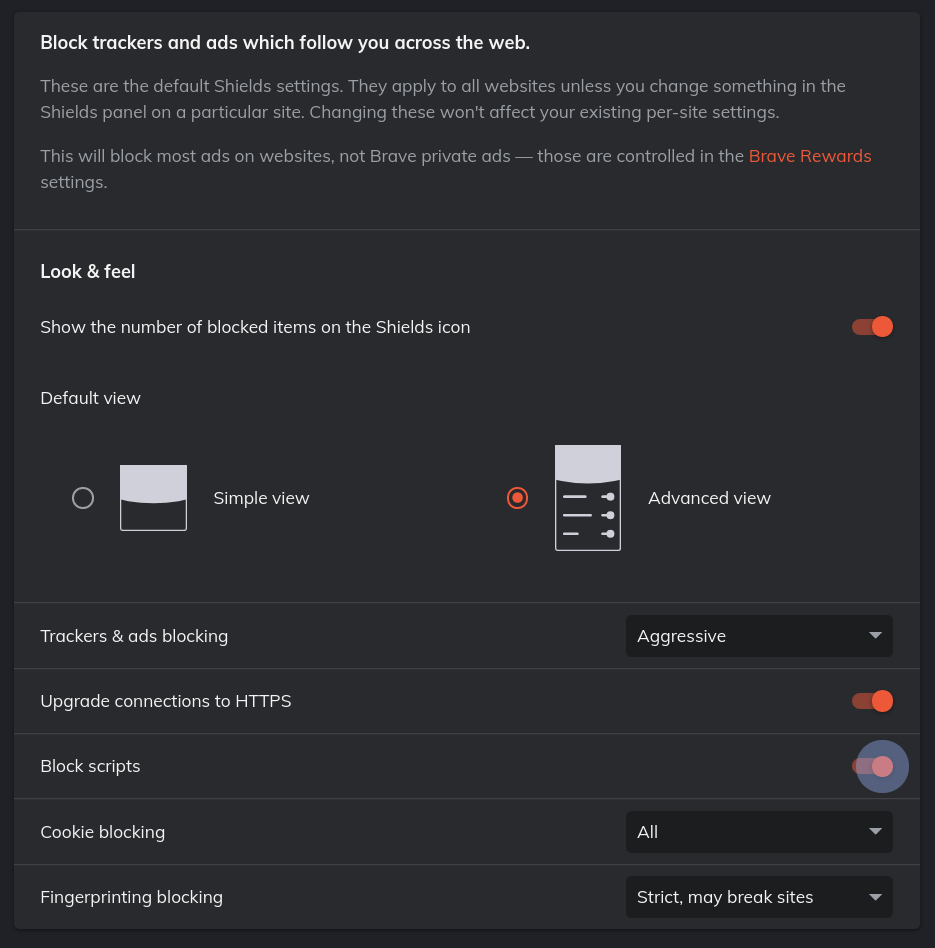
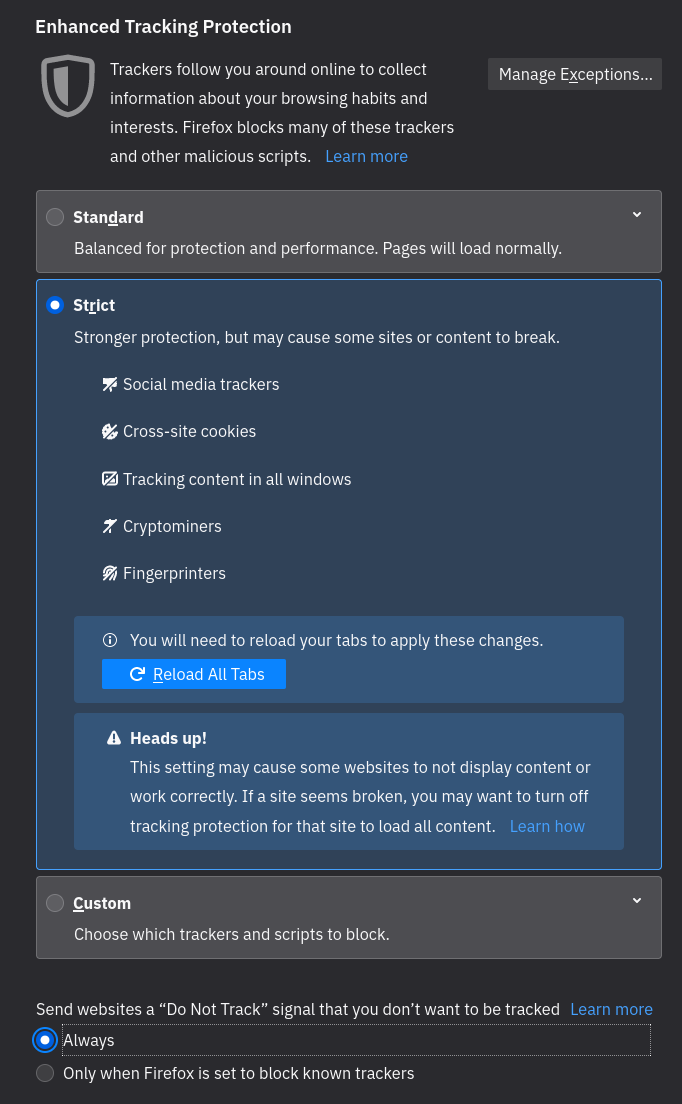
5
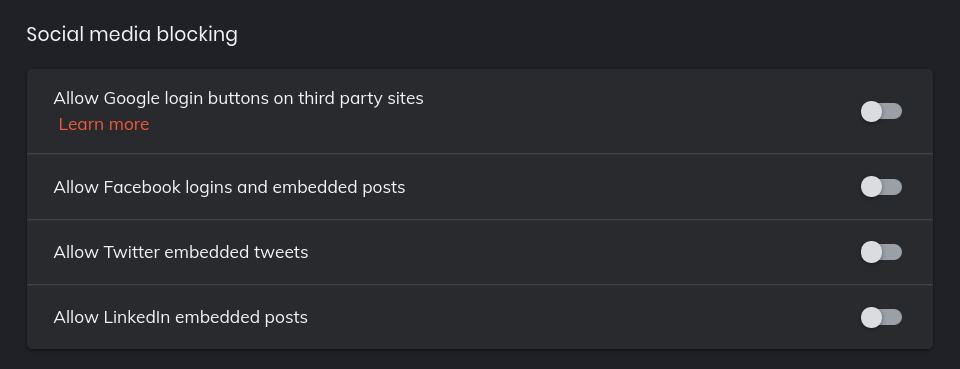
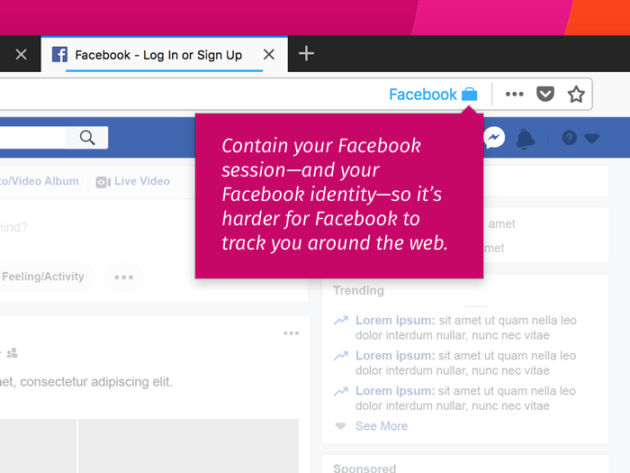
Rip out Social Media
6
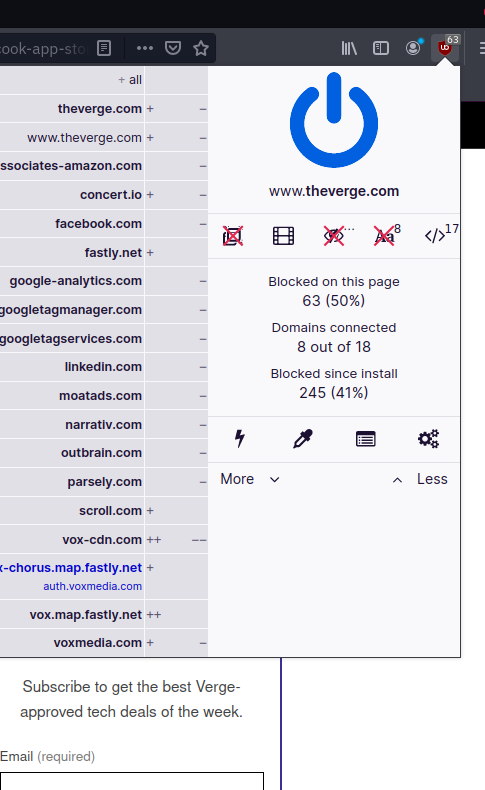
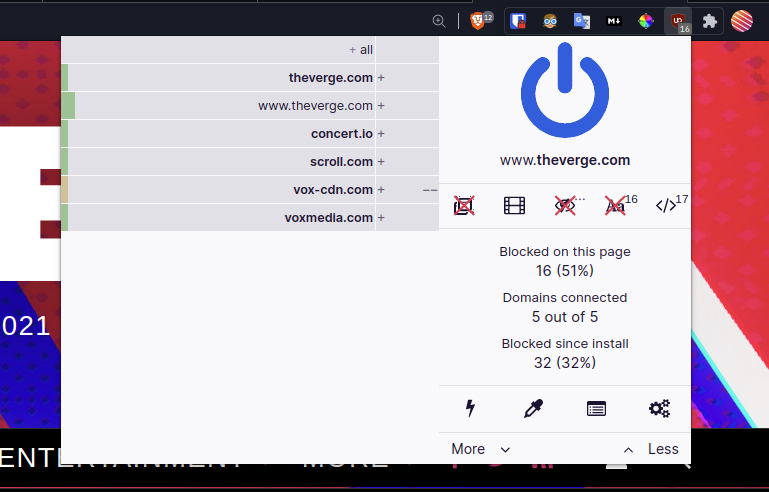
Security Extensions

TOR
1
anonymous browsing through layer of proxy servers
2
prevents browser fingerprinting
3
be default, only protects browser; not apps
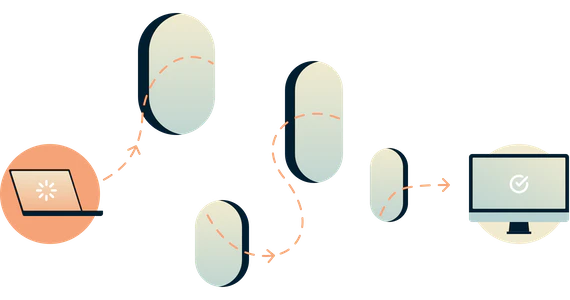

TOR over VPN
1
all the privacy
benefits of TOR
2
Home network cannot see TOR connection
3
TOR entry nodes cannot see your IP
Mart
GIVEN NAME
vs
PSEUDONYM
vs
ANONYM
tijptjik
?

revealing
GIVEN NAME
PSEUDONYM
vs
ANONYM
obscuring
Mart
tijptjik
?
persistent
GIVEN NAME
PSEUDONYM
vs
ANONYM
ephemeral
Mart
tijptjik
?
What you can do
to stay secure
Keep them up to date!
1
Don't share device
Make sure they auto-lock
2
3
Avoid connecting external devices
4
Encrypt drives and USB sticks
5

Your Devices
1
2
3
4
5
Only install apps from trusted sources (Google Play, official sites)

Your Apps
Keep apps up to date!
Avoid pirated software
Turn off sharing / back up features
1
2
3
4
1
2
3
4
Always use the password manager
Your Accounts

Set accounts up properly ... or delete them
Set reminders to review security settings
(3x per year)
1
1
2
2
3
3

Communicate
Allow for healthy distrust
Verify each other's identity
Avoid stress, allow for slow pace
Avoid clicking on links from strangers (use bookmarks)
1
1
2
2
3
3
4
4
QUESTIONS?!
QUESTIONS?!

Digital Security with Raccoons
By Mart van de Ven